-->

Welcome

I love answering your questions. If you ask them in the comment section, I have no way to answer you (if you haven't heard from me, that is why). If you use the "EMAIL ME" in the left column of this page, I will be able to respond to you. You can also use it if you want to be added to my newsletter. Laura

Monday, January 31, 2011

Cigar Box Books

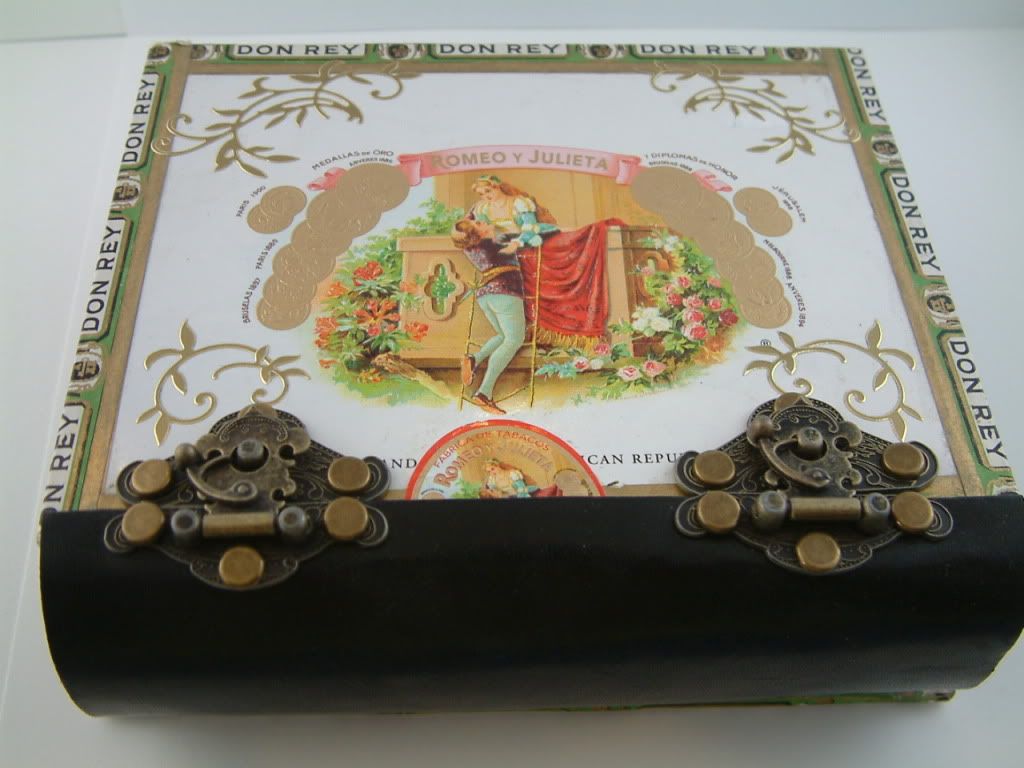
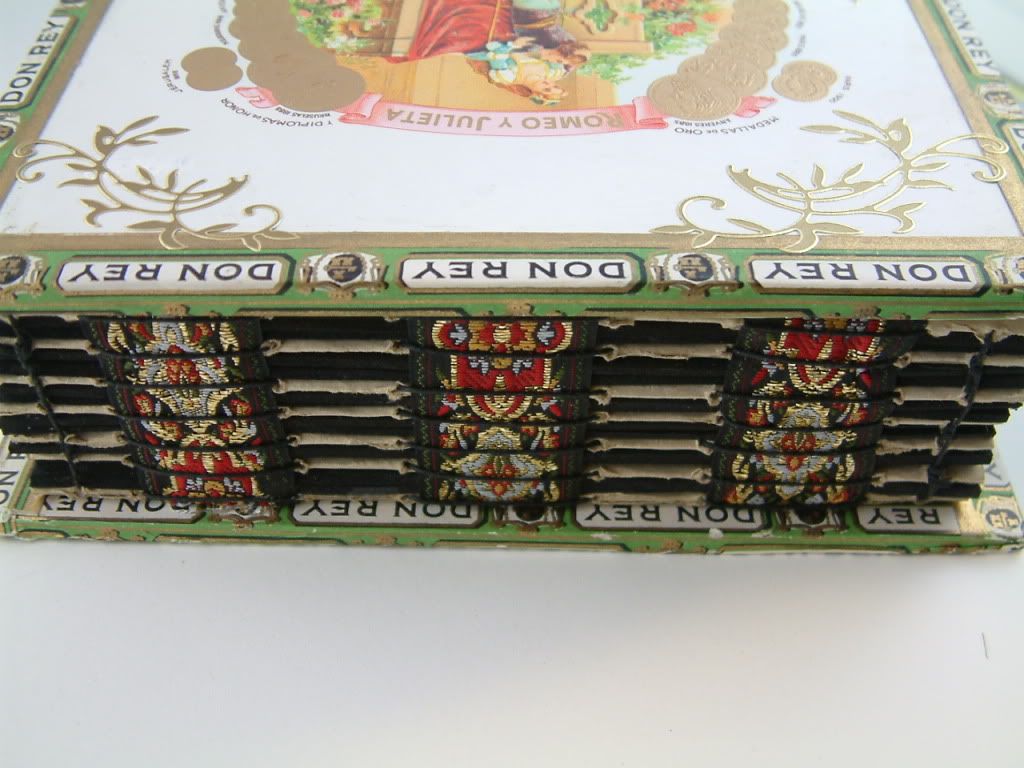
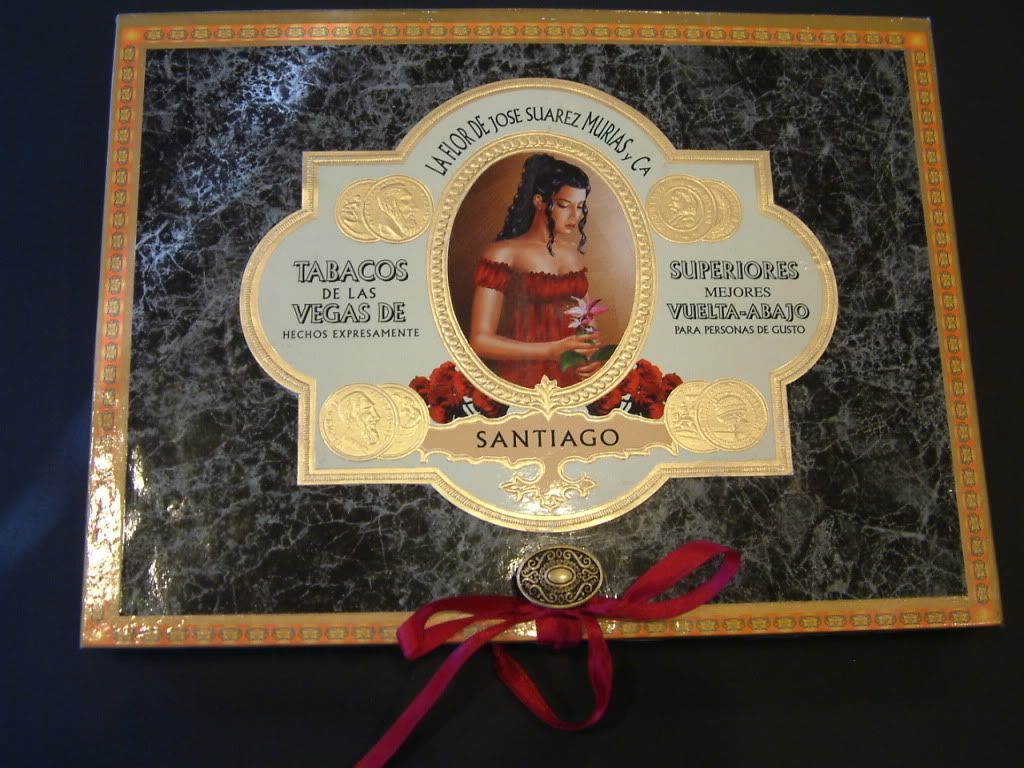
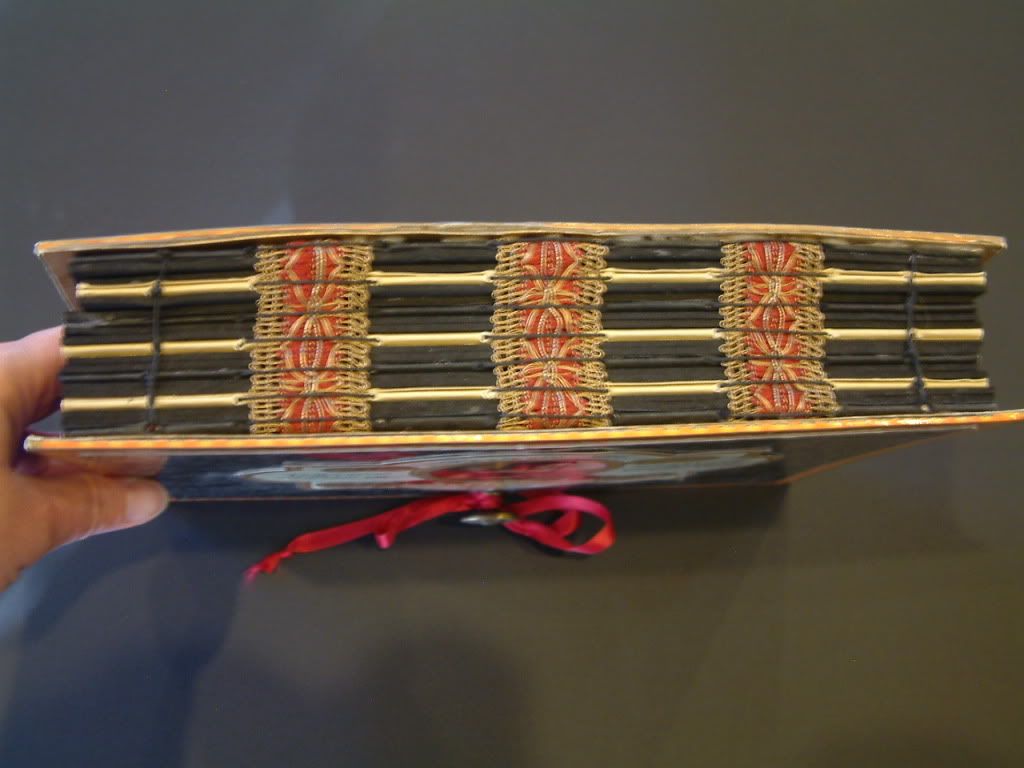
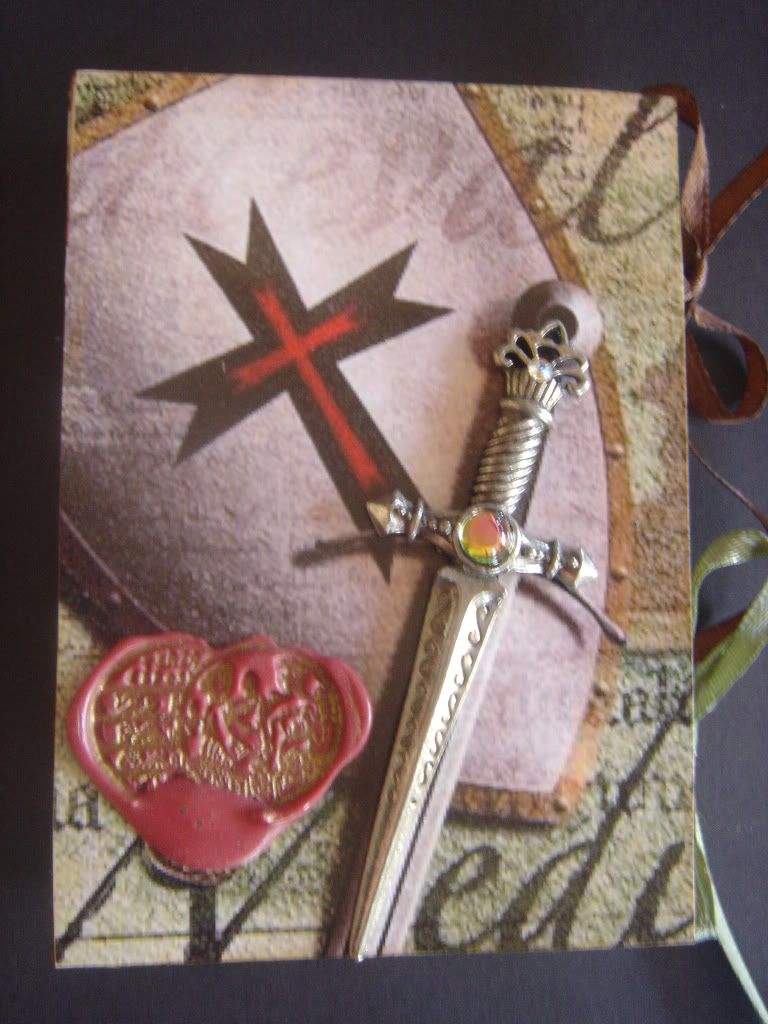
Since I’ve been posting cigar box labels and edgings that you can download and use for your art I thought I would share with you my cigar box books.  To make these books I cutoff the top and bottom of a cigar box and use them as the front and back covers of the book.  The inside pages are cardstock.  I sew the groups of pages or “signatures” together with wax linen thread.  The ribbon is woven in the spine as I sew the signatures together.  I glue the top and bottom box lids to the top and bottom sheet of cardstock.  In the pictures below you can see different closure options (knob, handle with key, and leather with latch).
If you missed the postings on the downloadable images, here are the links.

Friday, January 28, 2011

Tutorial - Creating a Stained Glass Look by Embossing Transparency Film

In November I posted a tutorial on “Creating a Stained Glass Look Using a Glass Slide”.  Embossing transparency film is another option to creating the look of stained glass although I don’t think is sparkles quite as nicely as real glass.  But with transparency film, you can print and emboss any digital image, whereas with glass, you are limited to rubber stamps.


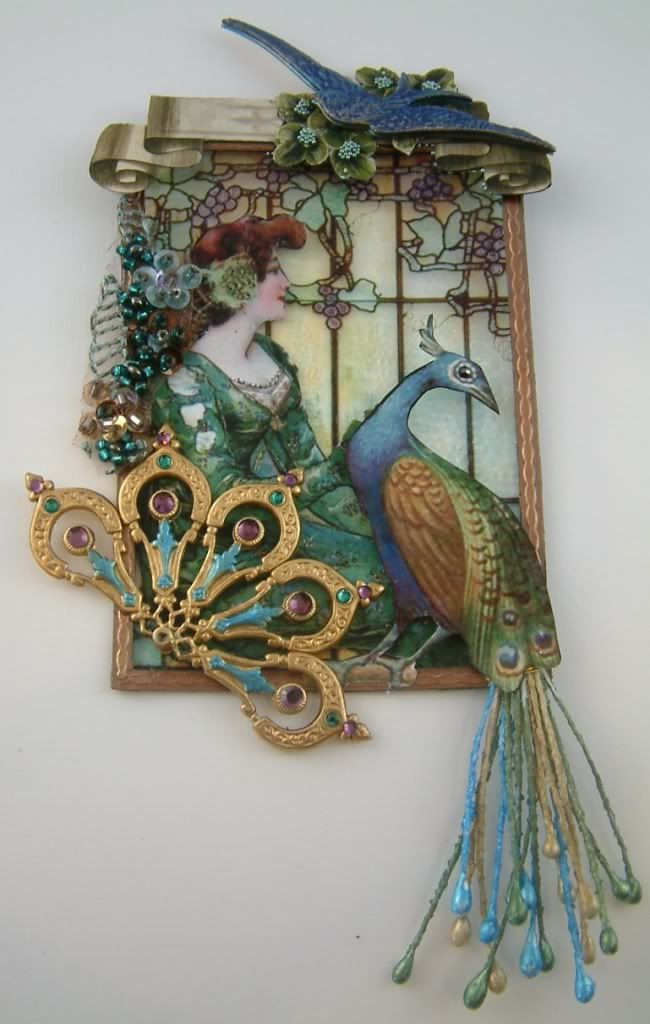
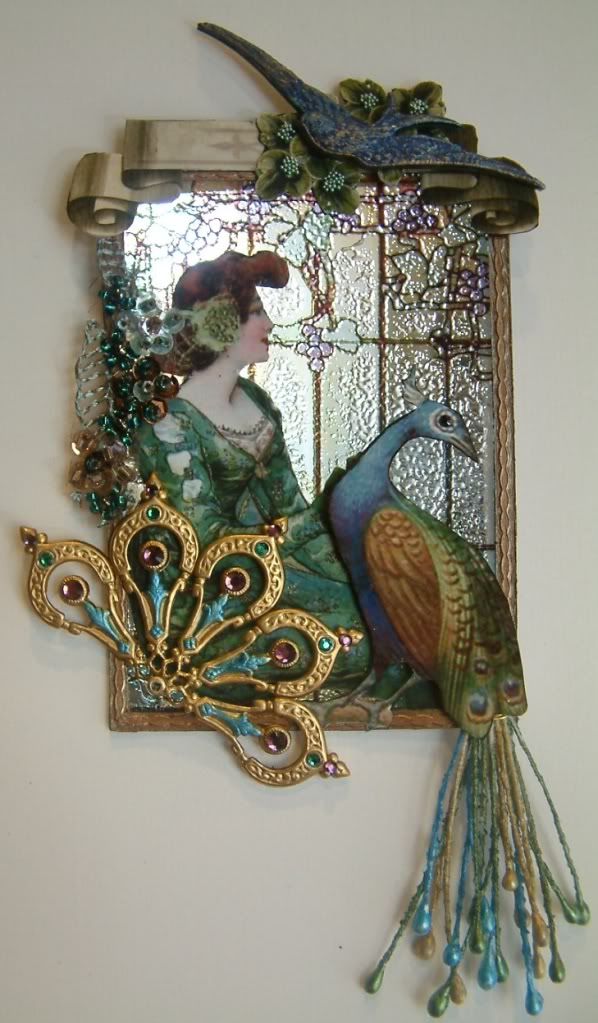
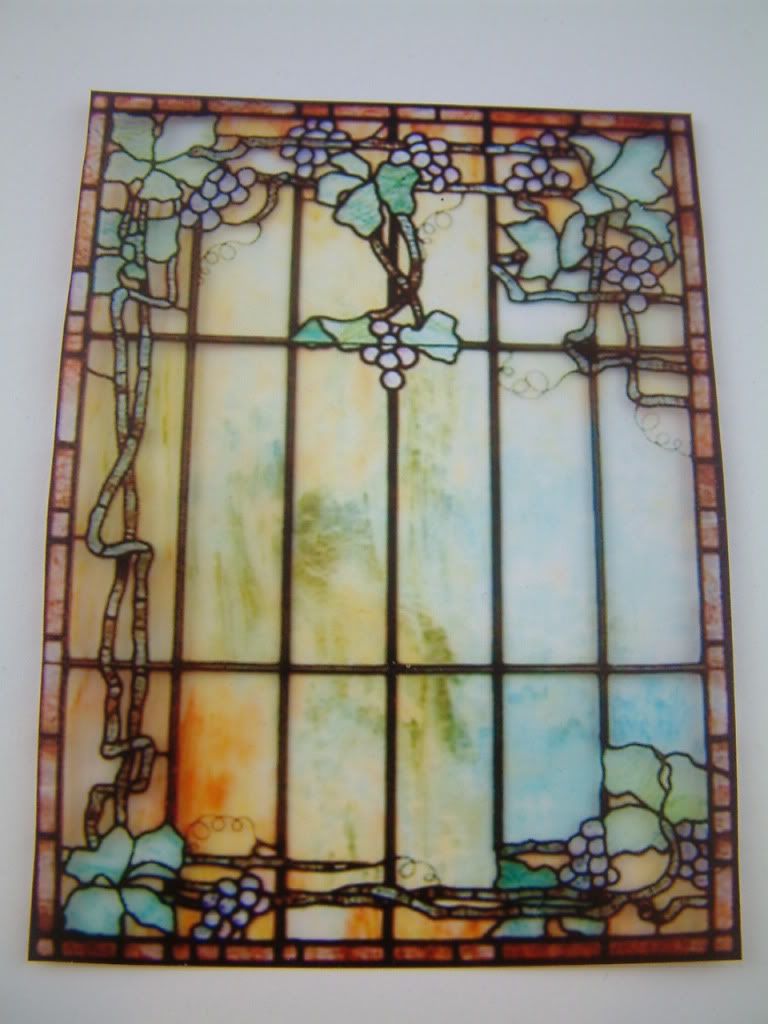
The base of the ATC below is an image of an art nouveau stained glass window that I printed on transparency film and embossed.  So that you could better see the colors on the transparency, the first image of the piece is photographed on white paper.  The second image is photographed with the light behind the piece.  Be sure to click on the image to see all the details.
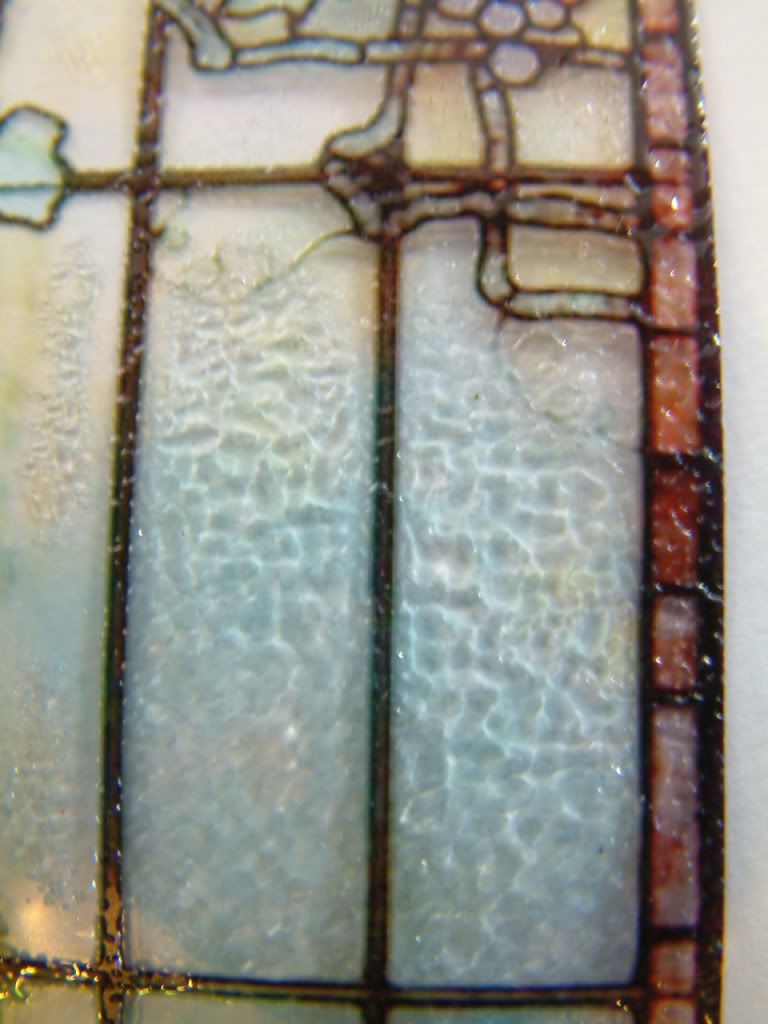
The image below shows the piece with the light behind it.  You can see the rippling effect of the embossing that looks like old stained glass.

What you will need:
  • Transparency Film for Inkjet Printers
  • Clear Embossing Powder
  • Heat Gun
Optional:
  • Versamark Stamp Pad
  • Versamarker Pen

There are two options when working with transparency film.  You can use a rubberstamp and Staz-On ink to stamp and emboss the image on the film or you can print the image on the film using an inkjet printer.  This tutorial covers printing an image.  With either method make sure the transparency film is made for use in an inkjet printer so that it will standup to the heat of the printer and the heat gun.  You can purchase transparency film at office supply stores like Office Max and Staples as well as online stores like Amazon.  The film comes in letter sized sheets (8 1/2“ x 11 ½”).

Transparency Film
You can purchase transparency film at office supply stores like Office Max and Staples as well as online stores like Amazon.  The film comes in letter sized sheets (8 1/2“ x 11 ½”).
Versamark
You can purchase Versamark stamp pads and Versamaker pins at most craft stores and online craft and scrapbooking stores.
PRINTING AND EMBOSSING YOUR IMAGE
  • Transparencies usually have a smooth side and a rough side.  Stamp or print your image on the rough side.
  • If you are printing multiple images only print on about a quarter of the transparency film at a time.  The ink needs to be wet for the embossing powder to stick.  If you print too many images, by the time everything has printed, the first images printed will be dry so the embossing powder won’t stick.  Once you have embossed your images you can cutoff the part that is used and run the unused portion through the printer again.
  • If your printer feeder doesn’t pull the transparency film, use removable double stick tape to adhere the film to a sheet of paper and try again.  Some transparency film comes with a white strip on one end to make it easy for the printer feed to grab the film.
  • Before you start to print have your embossing powder ready to sprinkle on the image the moment it comes out of the printer.  You don’t have much time before the ink dries.
  • Use a heat gun to melt the embossing powder.  Keep the gun moving and don’t over heat the transparency film or it will begin to warp.
BEFORE EMBOSSING
AFTER EMBOSSING
When you finish embossing you can go back and add paint and or ink to your piece.  I added purple alcohol ink to the grapes in the art nouveau piece as I thought they would look better darker.
OTHER OPTIONS
If your printer ink dries too quickly to get a good result:
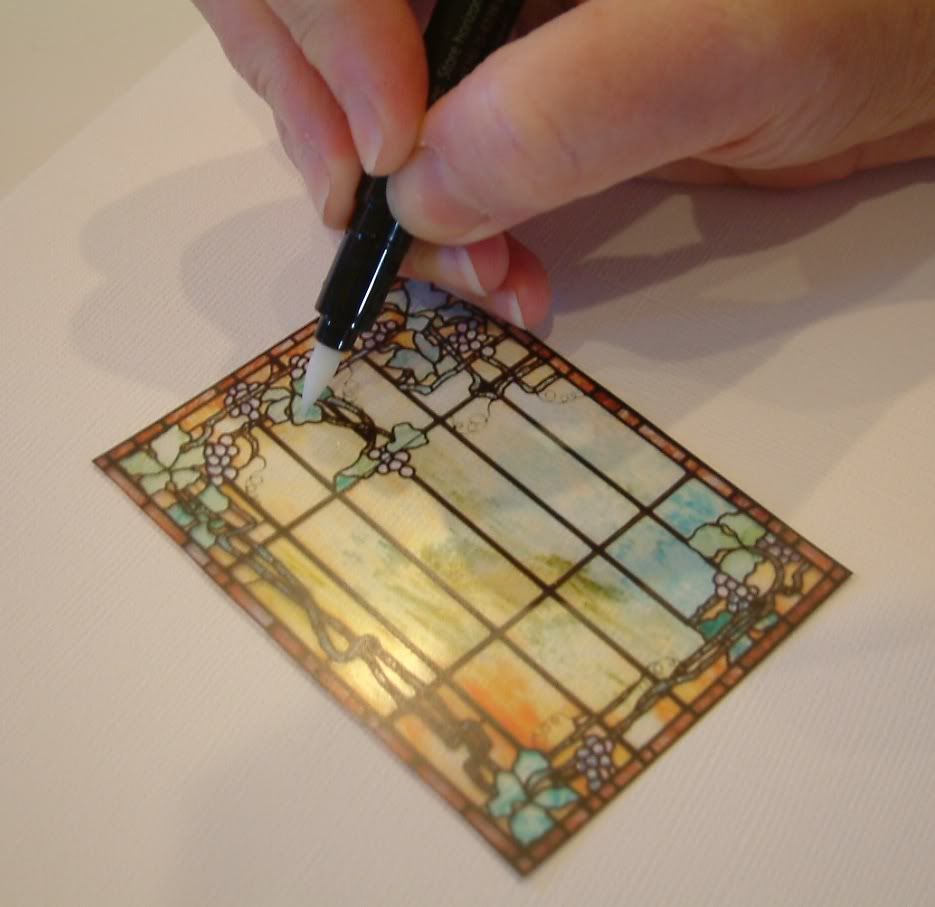
Let the image dry completely.  Use a Versamark pen to coat the desired areas.  Next, apply embossing power and heat to melt.  Versamark provides a clear tacky surface that embossing powder sticks to.
If you want to add additional embossing:
Use a Versamark pen to coat the desired areas.  Next, apply embossing power and heat to melt.
If you want to emboss the entire image:
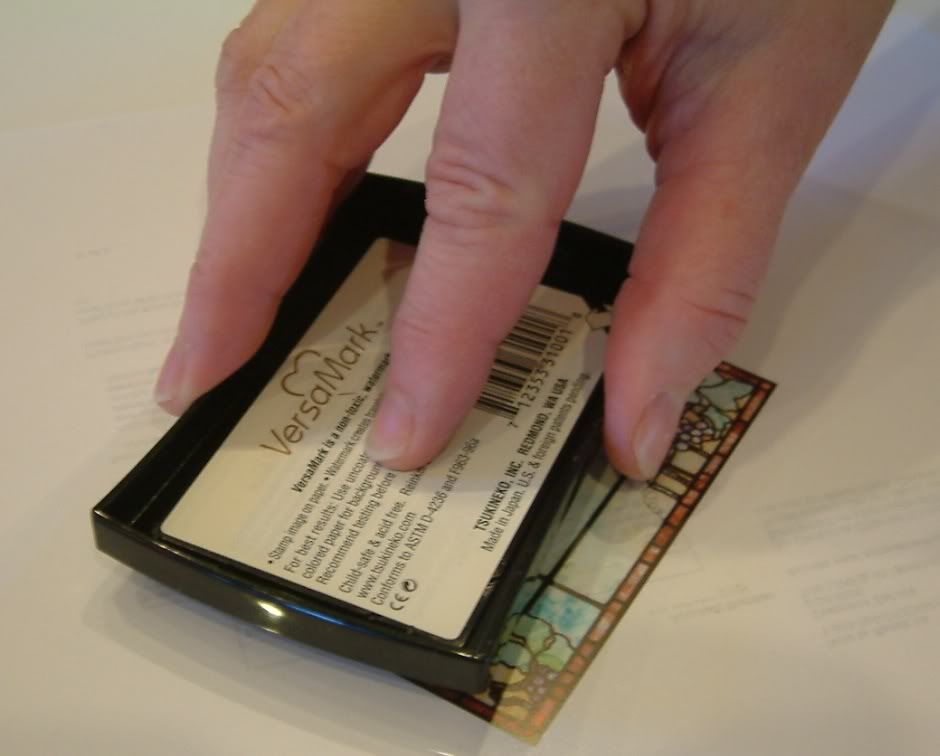
Print the image on the transparency film and wait for it to dry.  Use a Versamark stamp pad to coat the entire image.  Next apply embossing power and heat to melt.
CREATE A FRAME FOR YOUR EMBOSSED TRANSPARENCY IMAGE
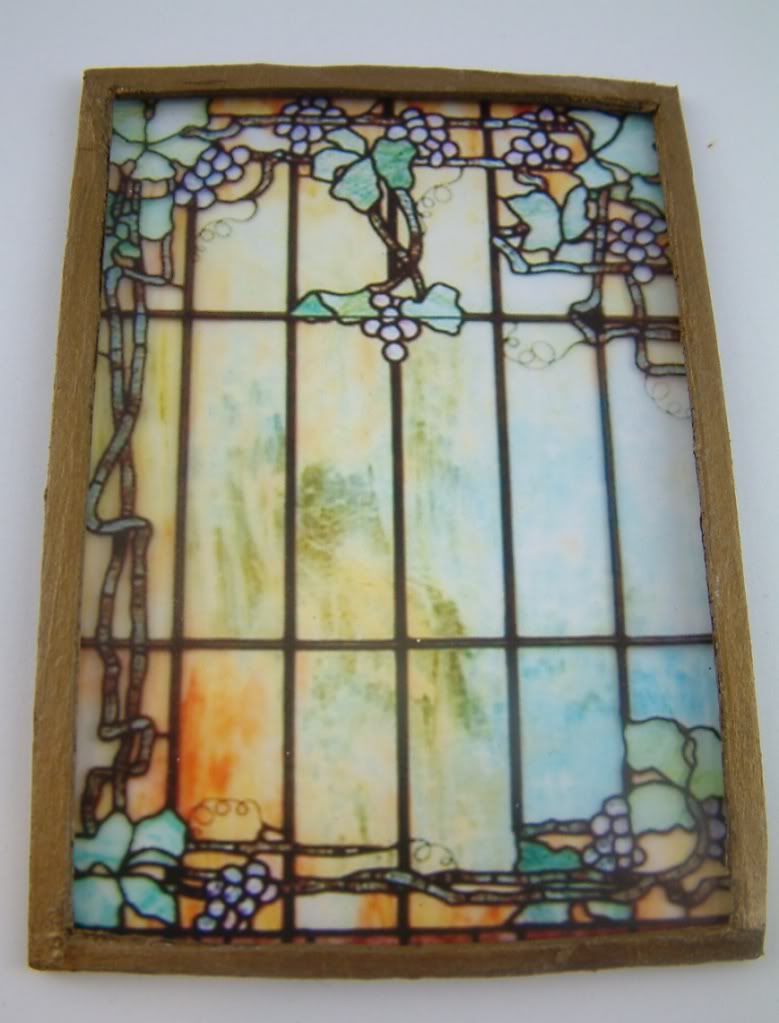
To frame the image you need to sandwich the transparency film between two pieces cardstock or chipboard.  For the art nouveau piece I cut two 2 ½” x 3 1/2“ pieces out of thin chipboard (one for the front and one for the back).  I then cut a hole in the center of each piece leaving a thin border and painted the chipboard.  The size piece you cut and the hole you cut in each piece will depend on the size of your project and how much of the image you want to expose.  Make sure that you cut the embossed transparency image slightly larger than the opening so you have room to apply glue to the edges.
Chipboard Frame (make 2 pieces one for front & one for back)
Transparency Glued Between Two Pieces of Chipboard

You are finished and ready to add images and embellishments.  The images and embellishmentsl add stability to the piece.
PRINTING THE IMAGE WITHOUT EMBOSSING
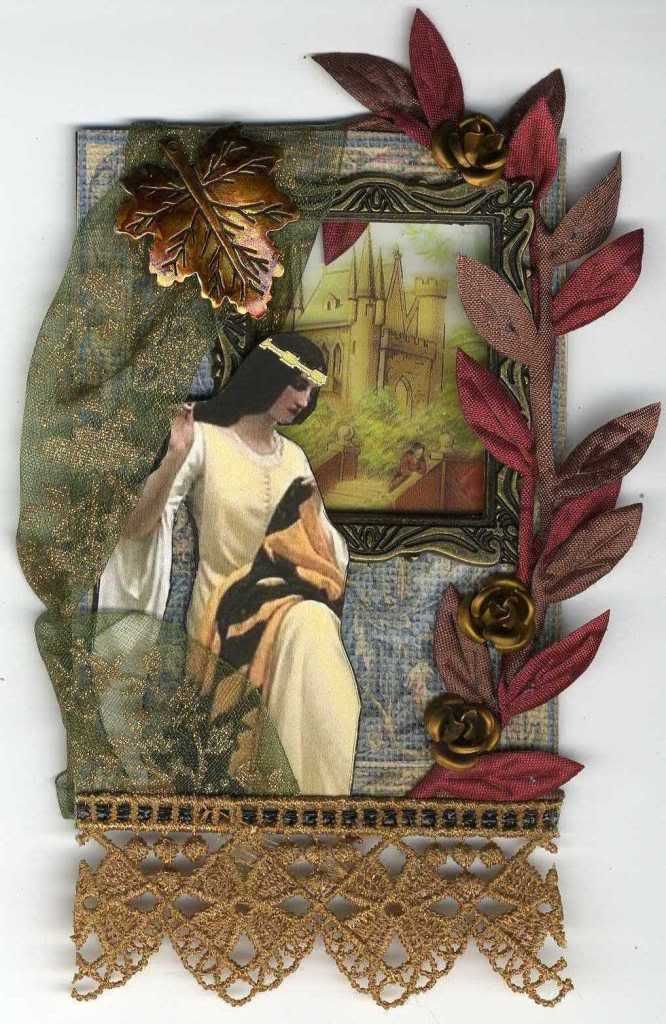
If you are looking for more of a matte finish, don’t emboss the transparency.  Below is an ATC titled “The Lady of Shalott”.  In the poem by Alfred Lord Tennyson, the lady of Shalott sits by a window and weaves.  She is cursed and cannot look out of the window at the view of Camelot or she will die.  I wanted to create the effect of a window so I printed the picture of the castle on transparency film but did not emboss the image.

Click here to download PDF file of this tutorial.

Tuesday, January 25, 2011

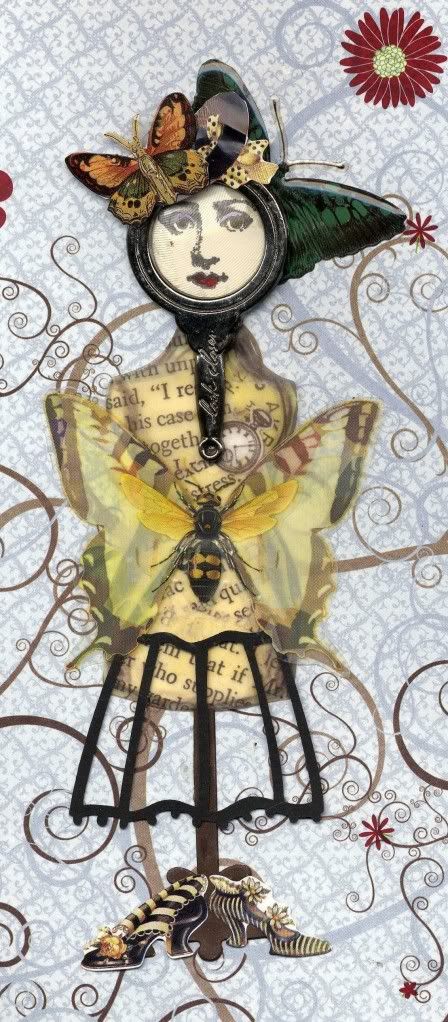
Butterfly Art Doll

Friday, January 21, 2011

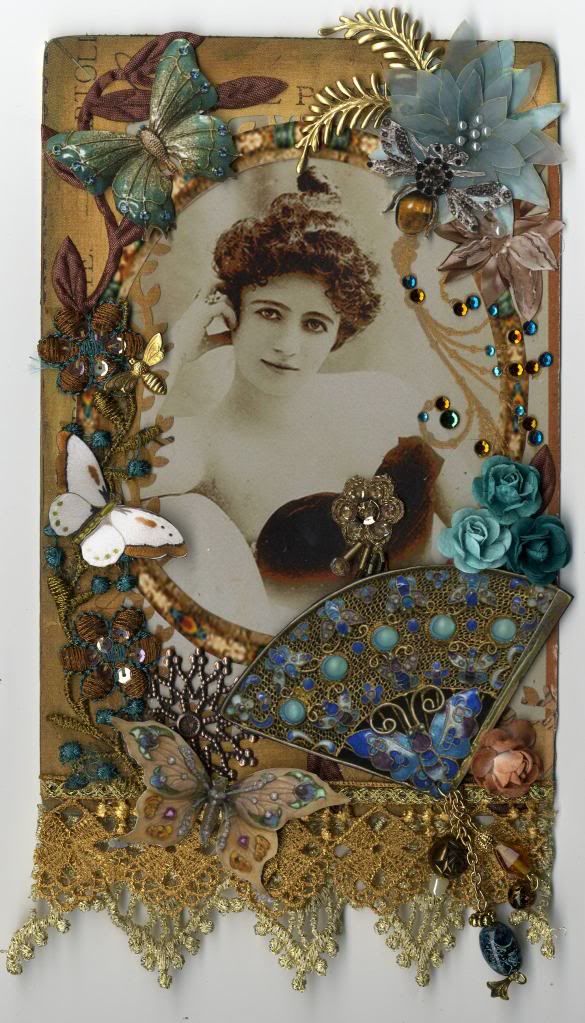
Le Courtesan - Altered Cabinet Card

I made the turquoise flower in the upper right corner by first printing the flower on white presentation paper then printing the image in three smaller sizes on vellum.  I glued all the pieces together and added pearls.  The butterflies, bee and fan are all images of jewelry.

If you aren't familar with cabinet cards they were the style of photograph which was universally adopted for photographic portraiture in 1870. It consisted of a thin photograph that was generally mounted on cards measuring 4¼ by 6½ inches.

Wednesday, January 19, 2011

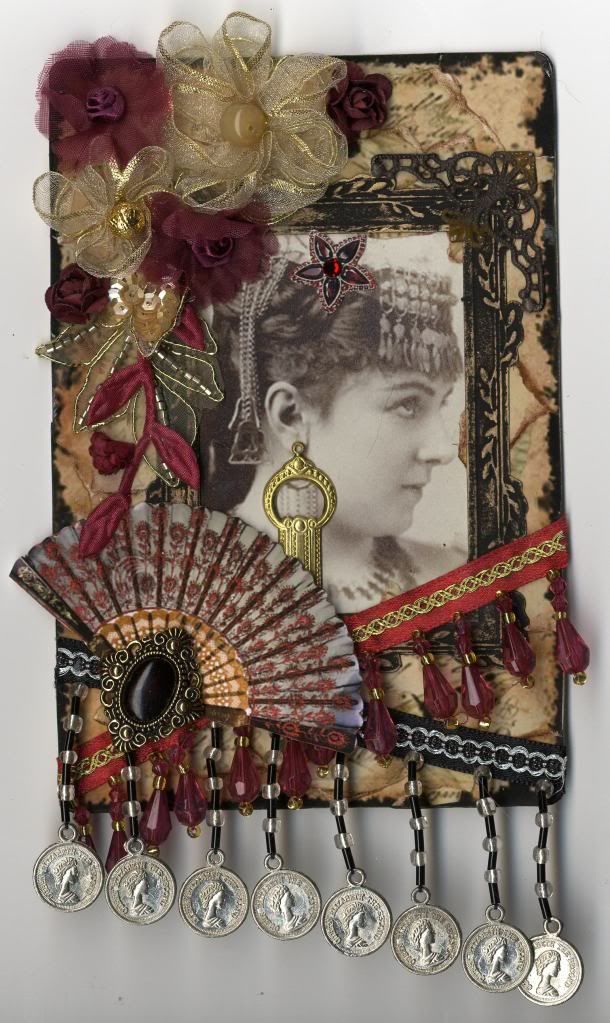
Gypsy Altered Cabinet Card

Tuesday, January 18, 2011

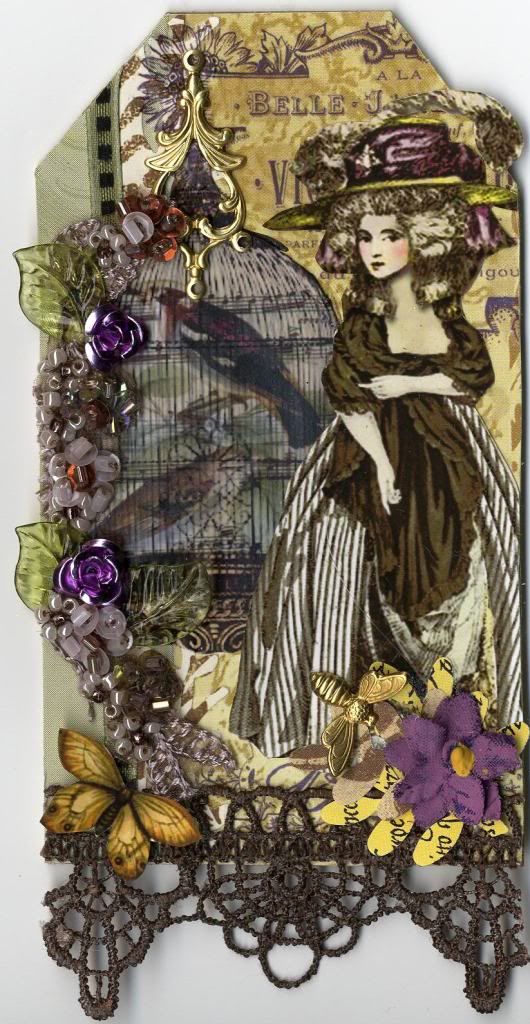
Marie Antoinette Tag

The birdcage on this tag is a rub-on I created using Grafix Rub-Onz.  Click here for the tutorial.

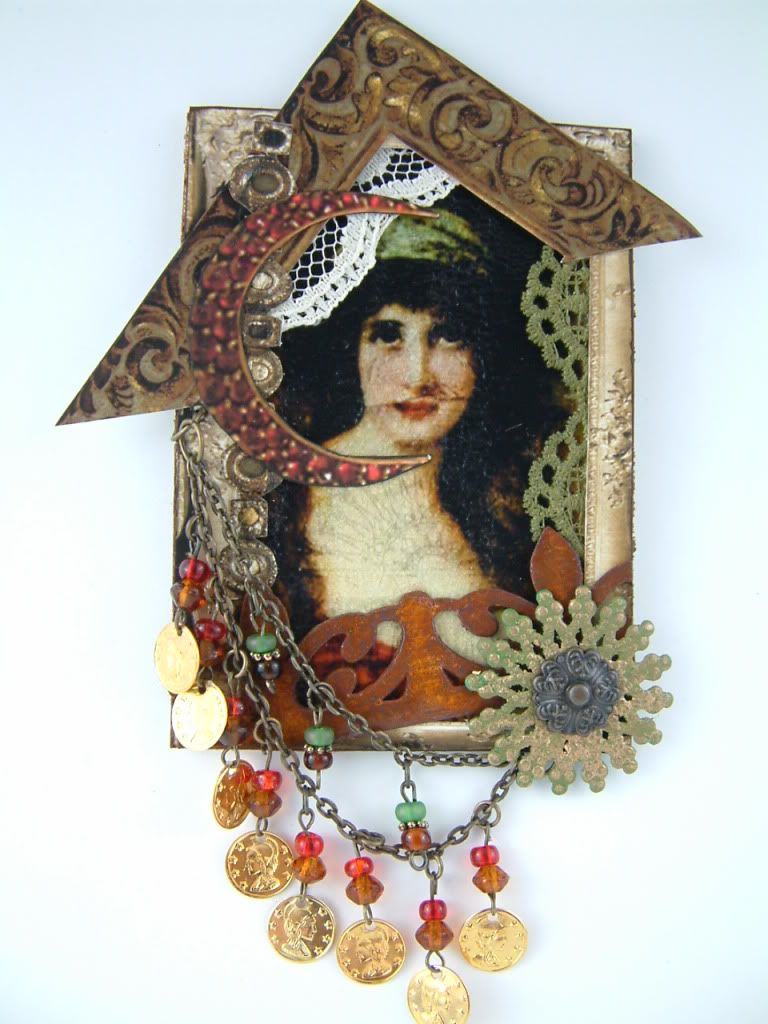
Gypsy ATC

For the image in this ATC I used the crackle technique described in the Tutorial – Aging and Crackling an Image.

Monday, January 17, 2011

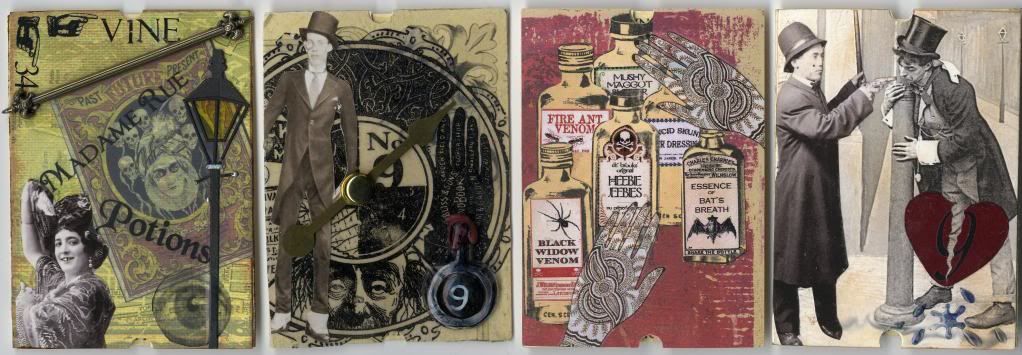
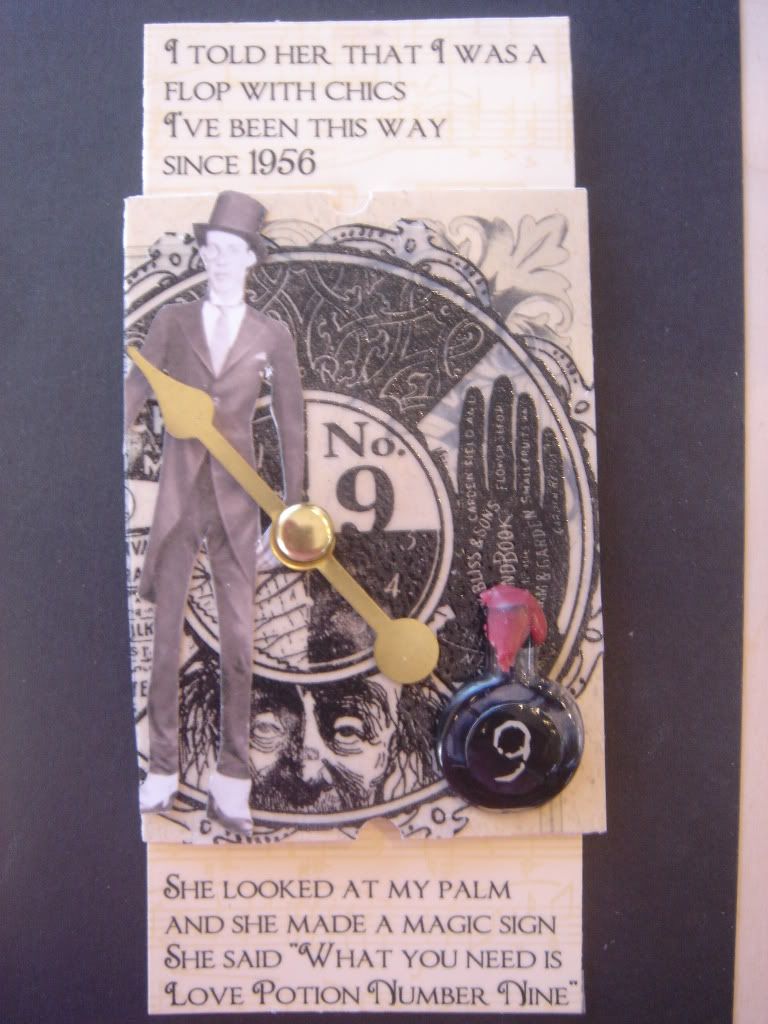
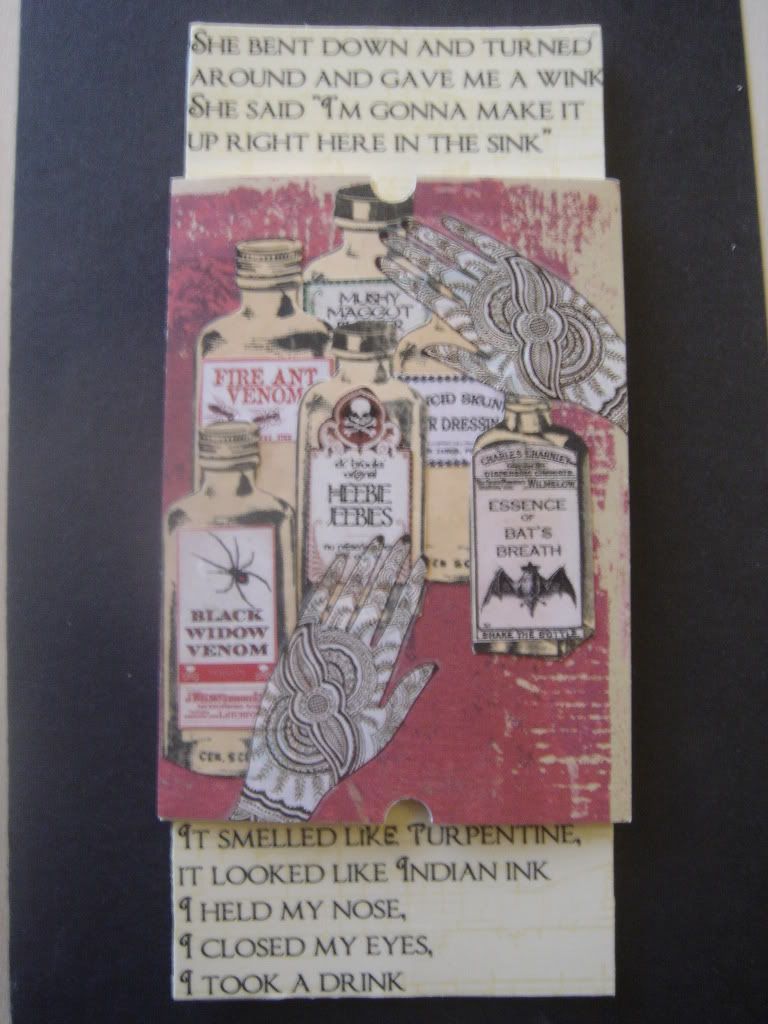
Love Potion #9 ATCs - Song Swap

This set of 4 ATCs was created for a song swap.  The premise of the swap is that you choose a song and illustrate it in four cards.  I found the first challenge to be choosing a song.  It turned out to be a difficult task to find a song that could be neatly illustrated in four cards.  In addition the lyrics must also be included on the card.  I finally chose Love Potion #9, which has been a favorite of mine since I was a kid.  At the bottom and top of each card is a niche that when pulled expands the card to reveal the lyrics.  In the third card the bottle contains real ink and is sealed with wax.


Friday, January 14, 2011

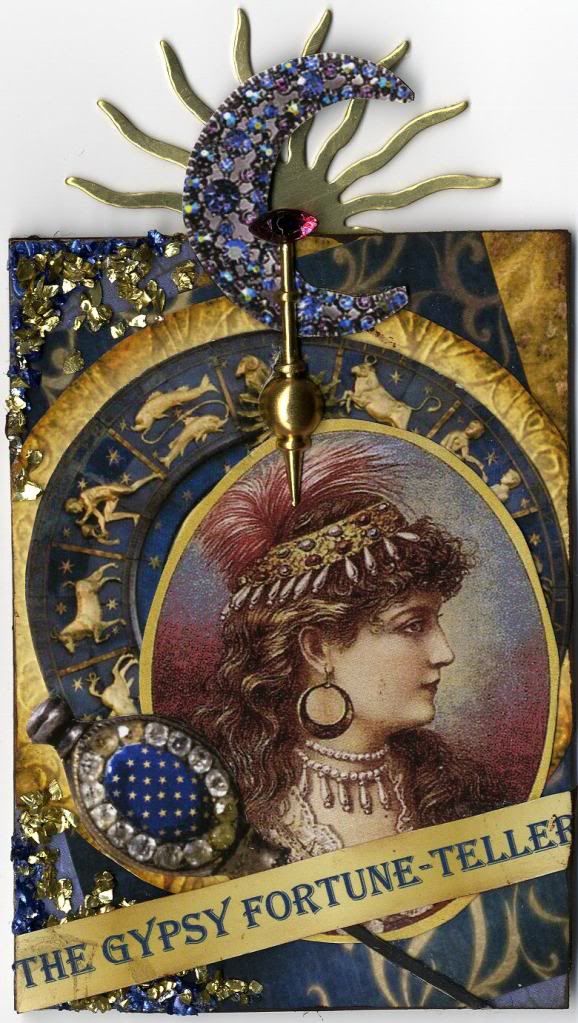
The Gypsy Fortune Teller ATC

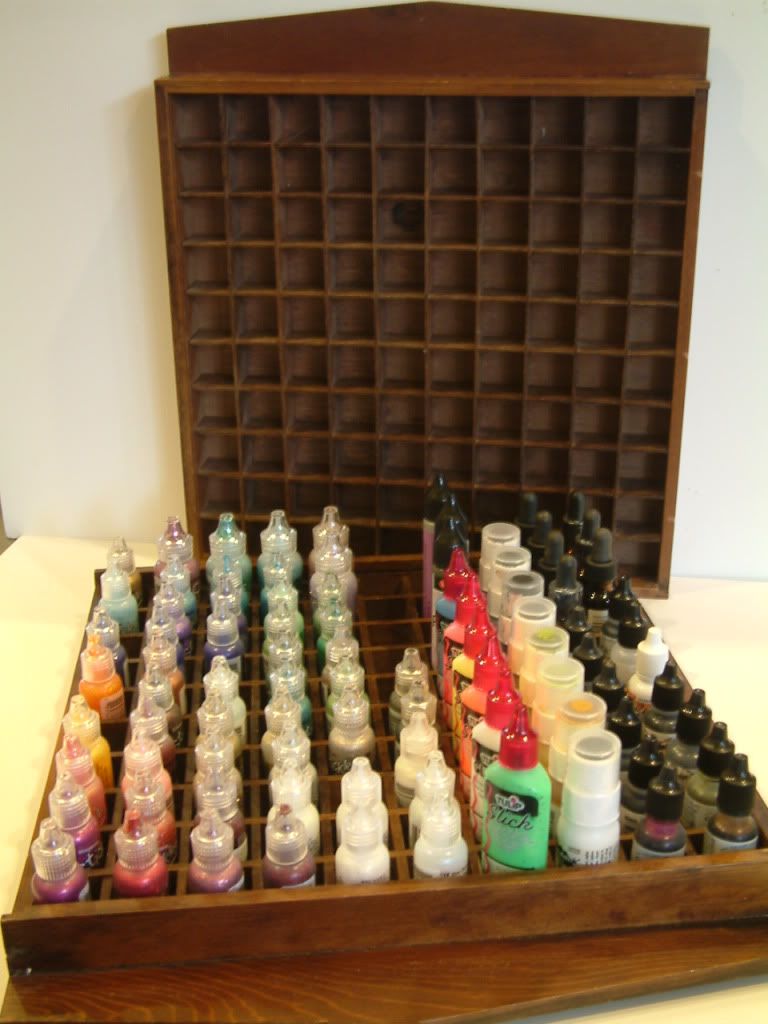
Organizational Tip - Using Thimble Display Cases as Storage Trays

To store small containers I use thimble display cases.  Laid flat they become a storage tray.  They work great as you can see the color of the container and it’s easy to take the tray where ever your project is.  I purchased my trays on Ebay.  The newer cases are expensive but older inexpensive ones pop-up regularly.  My trays have 100 slots and measure approximately 15 ½” x 14”. 
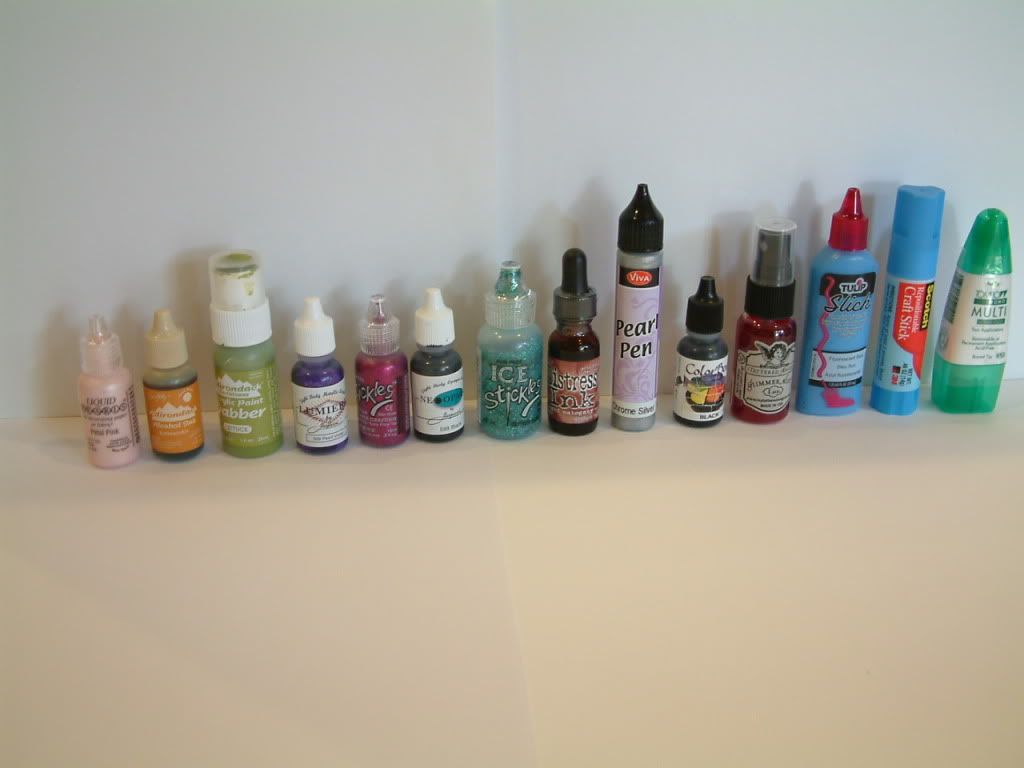
Some of the products you can store are:
  • Ranger Alcohol Inks
  • Ranger Stickles (large and small containers)
  • Viva Pearl Pens
  • Lumiere Paints
  • Liquid Pearls Paint
  • Neo Opaque Paint
  • Adirondack Paint Dabber
  • Tulip Slick Paint
  • Glimmer Mist
  • Stamp Pad Re-inkers (Staz-On, Color Box, Distress Inc. etc.)
  • Some Glue Containers (Tombo Multi, Glue Sticks, etc.)

    Wednesday, January 12, 2011

    Venetian Mask ATC

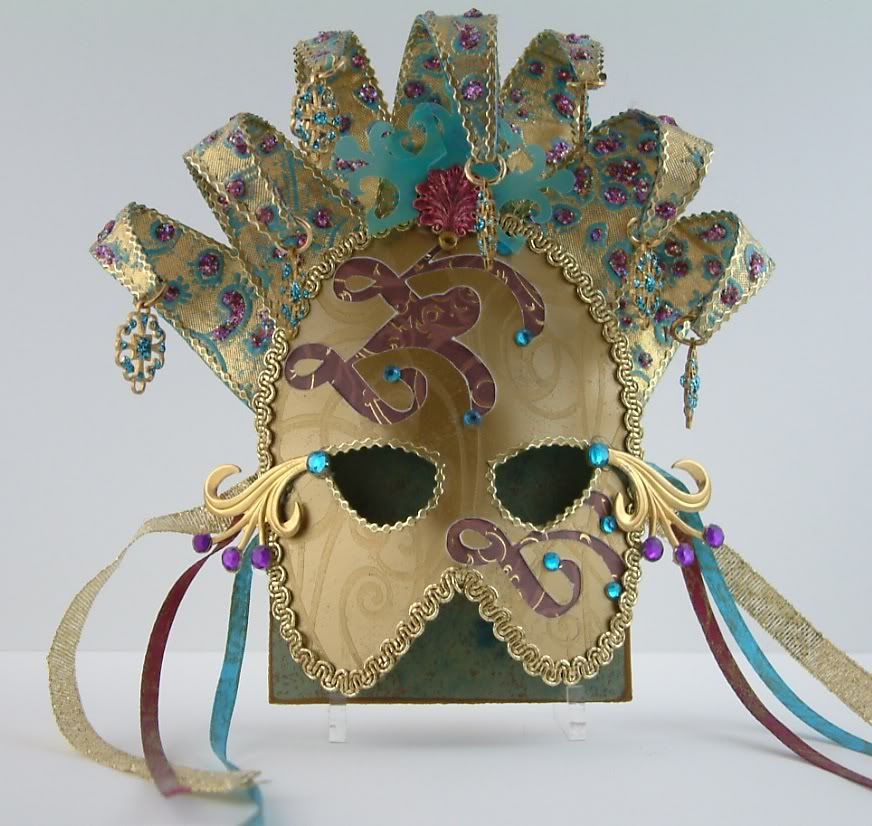
    The base of this three dimensional mask is the standard ATC size of 2 1/2" x 3 1/2".   
    I embedded wire in the decorative triangles at the top so that they would hold their shape.

    Thursday, January 6, 2011

    Dress Form

    I made this dress form for a swap in the Marie Antoinette Mail Art Group.

    Wednesday, January 5, 2011

    Three Muses Challenge - Old Fashioned

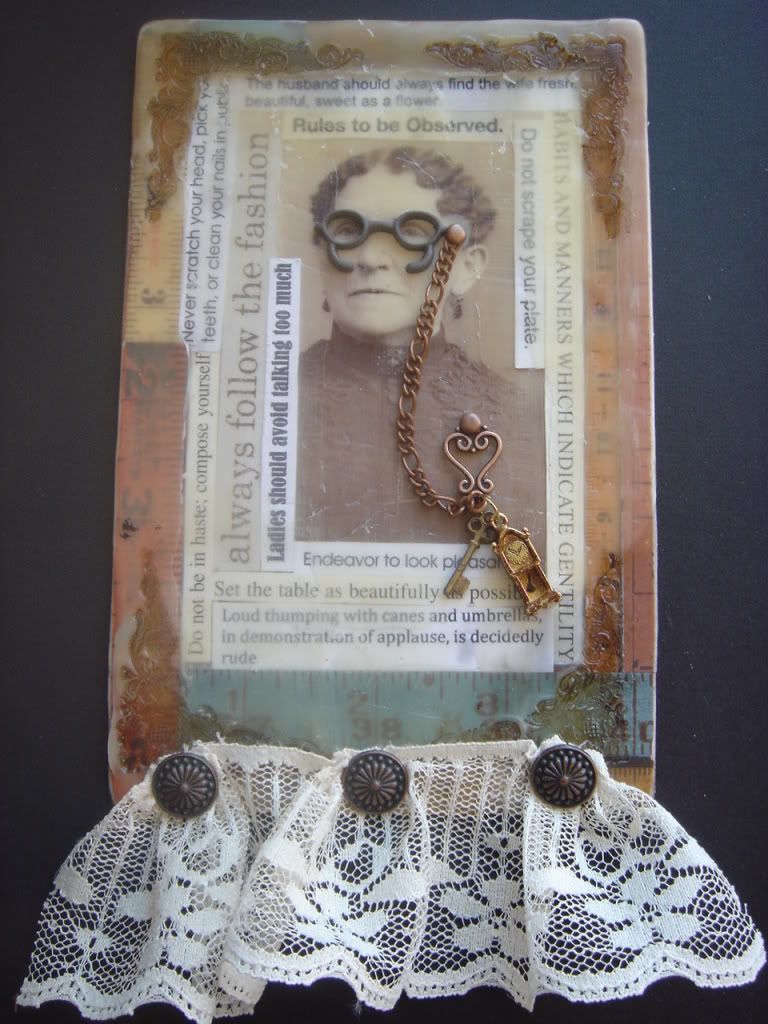
    The Three Muses Challenge this week is “Old Fashioned”.  My entry is an altered cabinet card titled “Miss Prim”.  She of course has all kinds of rules that a woman must follow.

    • Do not scrape your plate
    • Set the table as beautifully as possible
    • The husband should always find the wife fresh, beautiful, sweet as a flower
    • Never scratch your head, pick your teeth, or clean your nails in public
    • Do not be in haste; compose yourself
    • Loud thumping with canes and umbrellas, in demonstration of applause is decidedly rude.
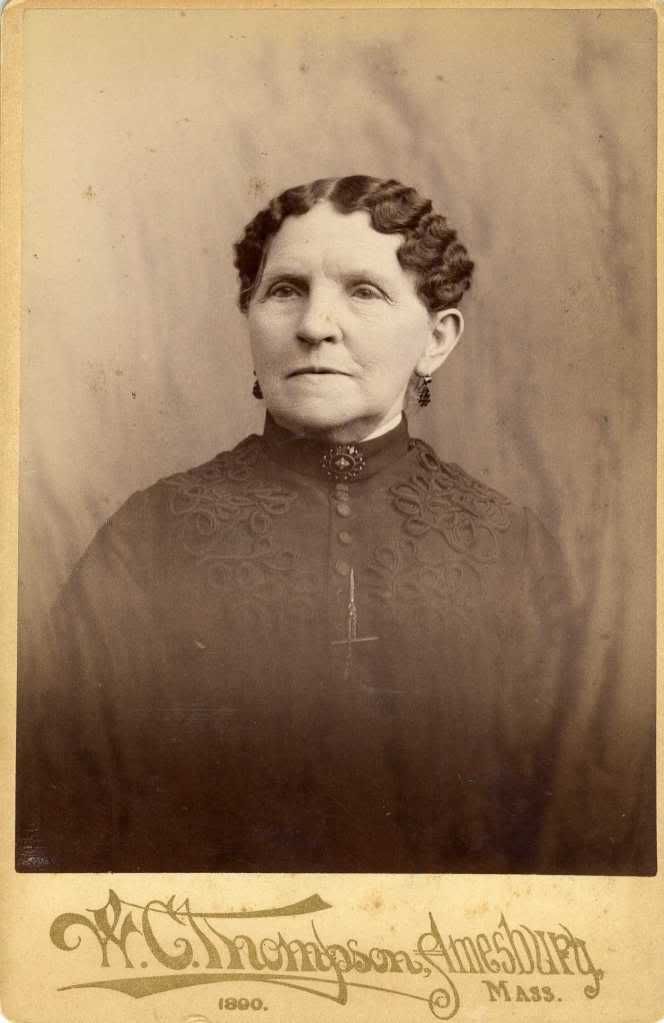
     The card is coated with wax.  I pressed a stamp in the corners while the wax was hot and added alcohol ink to give it more dimension.  Below is the card before altering.

    Thursday, December 30, 2010

    Art Doll - Time Flies

    Tuesday, December 21, 2010

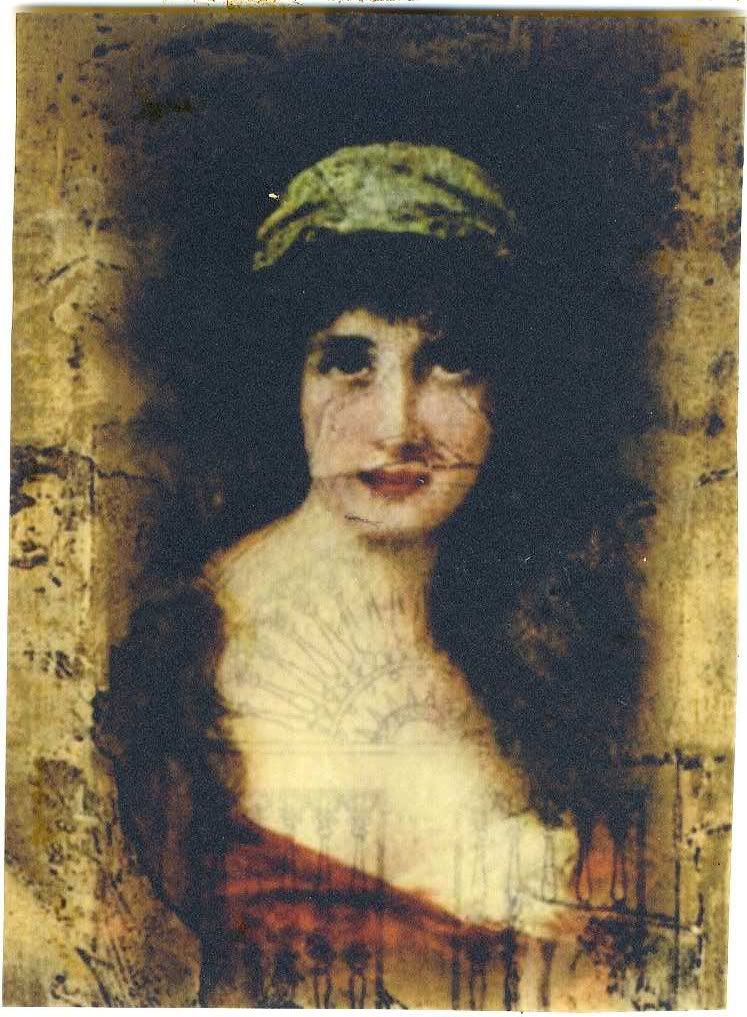
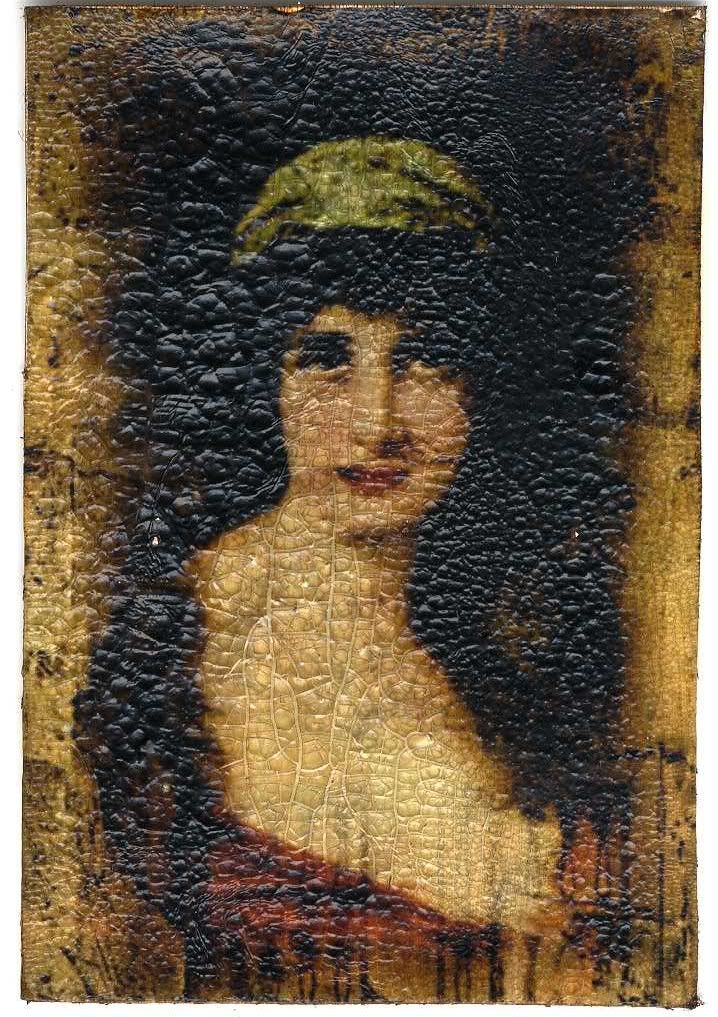
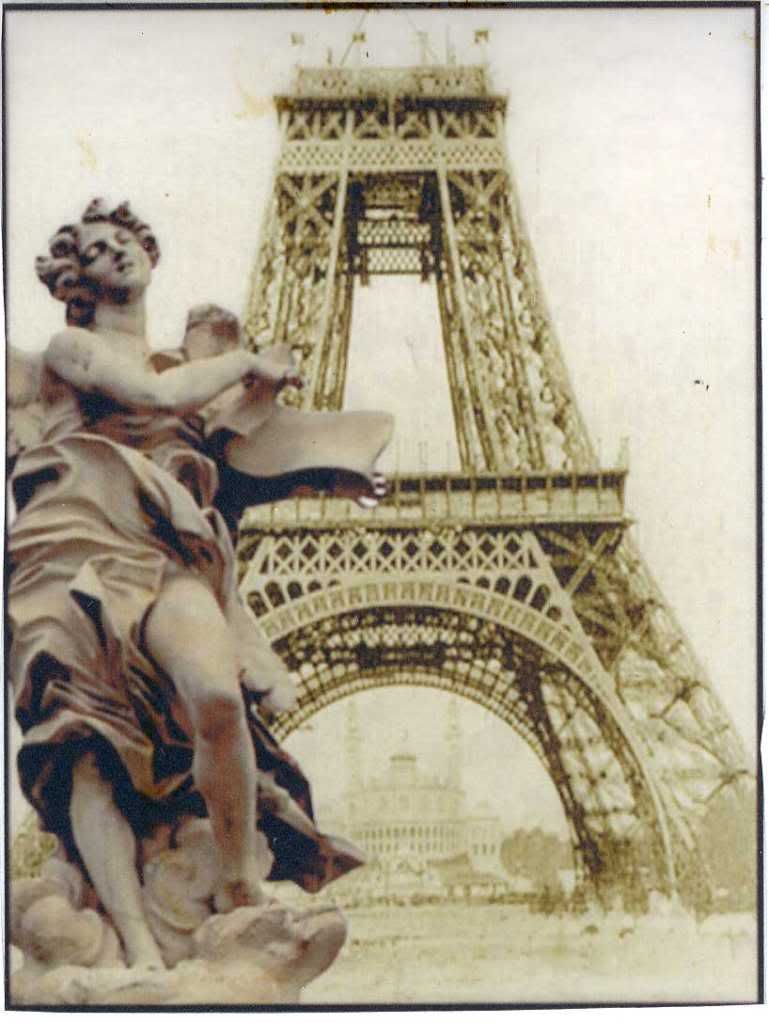
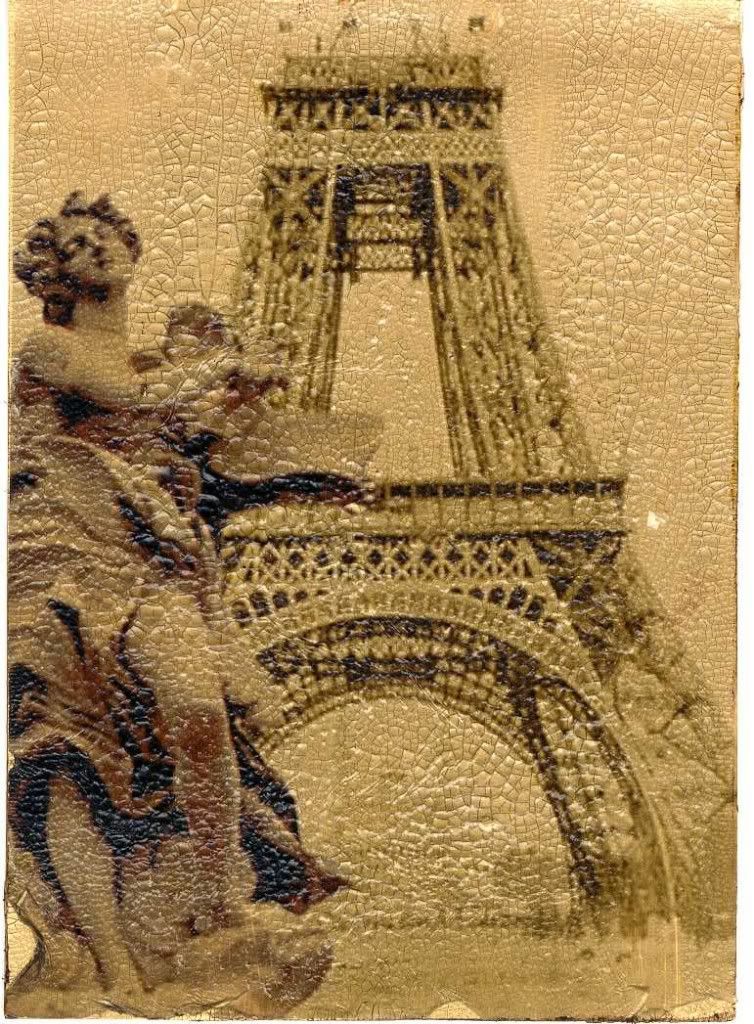
    Tutorial – Aging and Crackling an Image using Grafix Rub-Onz Transfer Film and Ranger Distress Crackle Paint

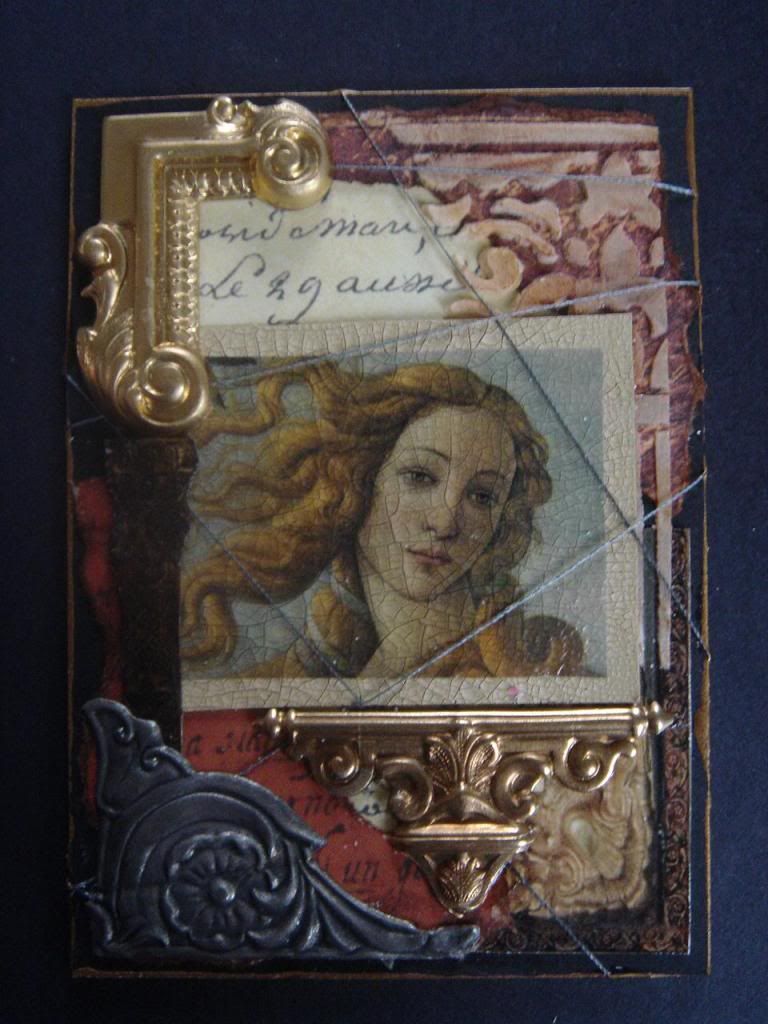
    When I was designing the ATC below I wanted the image of Botticelli’s Venus to have the look of an aged crackle painting.  The problem is that the crackle techniques and products, with which I’m familiar, would cover the image when painted over with crackle medium and paint or crackle paint.  I had been working with Grafix Rub-Onz for a while and I got the idea that maybe I could achieve the effect I wanted by first crackling paper and then applying a rub-on over the crackled paper.  It worked!  Not only does is look aged but also has a worn texture.

    Step 1 – Crackling a Surface Using Ranger Distress Crackle Paint
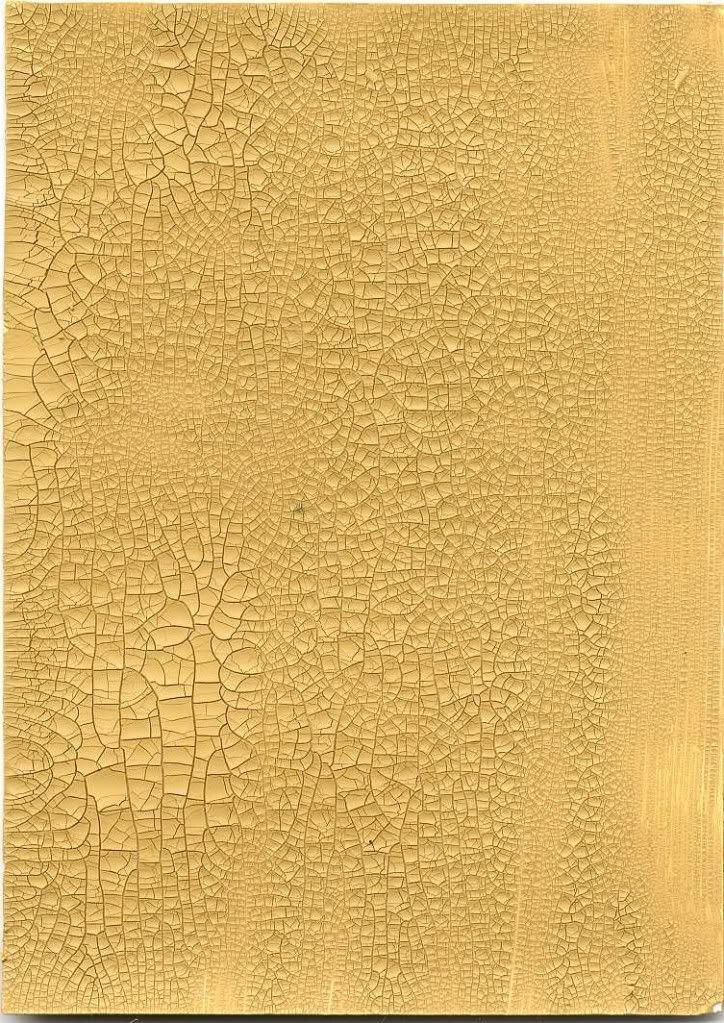
    You can use any crackle method you choose but I find when working with small projects the Ranger Crackle Paint works the best because it gives you fine detailed cracks.  If you use something like Delta’s Crackle the cracks are too large.  Ranger Crackle is also nice because the paint and the crackle medium are all in the same bottle so it’s a one step process.  With other methods, you must apply the crackle medium first, wait for the perfect level of dryness and then apply paint.  With Ranger Crackle, just paint your surfacet; let it try and you’ll get a great result every time.  Distress Crackle Paint comes in a large variety of colors.  You can use this technique on any surface that the paint sticks to.
    • First, stir the pot thoroughly as the crackle component of the mixture tends to sink to the bottom of the container.  I use a popsicle stick.
    • Apply a very thick coat to your piece stroking in one direction.  Try not to over stroke the same area if possible.  In other words, go over the same area as few times as possible.
    •  Let it dry and you should get a nice detailed crackle effect.
    Below I used the color “Antique Linen” to crackle an ATC size piece of white cardstock.  Crackle paint and cardstock color combinations give different results.  For example, if you use the crackle color “Picket Fence”, which is white on black cardstock the end result will be a light blue.
    TIP:  Crackle paint is a use it or lose it product, as it slowly dries out once you open the container.  I check my containers every so often and add water so they don’t dry out.

    Step 2 – Create a Rub-on Using Grafix Rub-Onz Transfer Film
    I’m not going to cover the steps to create a rub-on as they are covered in the tutorial “How to Create Your Own Grafix Rub-Onz.  Here is the link http://artfullymusing.blogspot.com/2010/12/tutorial-create-your-own-rub-ons-using.html

    Step 3 – Apply the Rub-on To the Crackled Surface
    • Once you have created your rub-on, separate the transfer film from the adhesive film at the edge. 
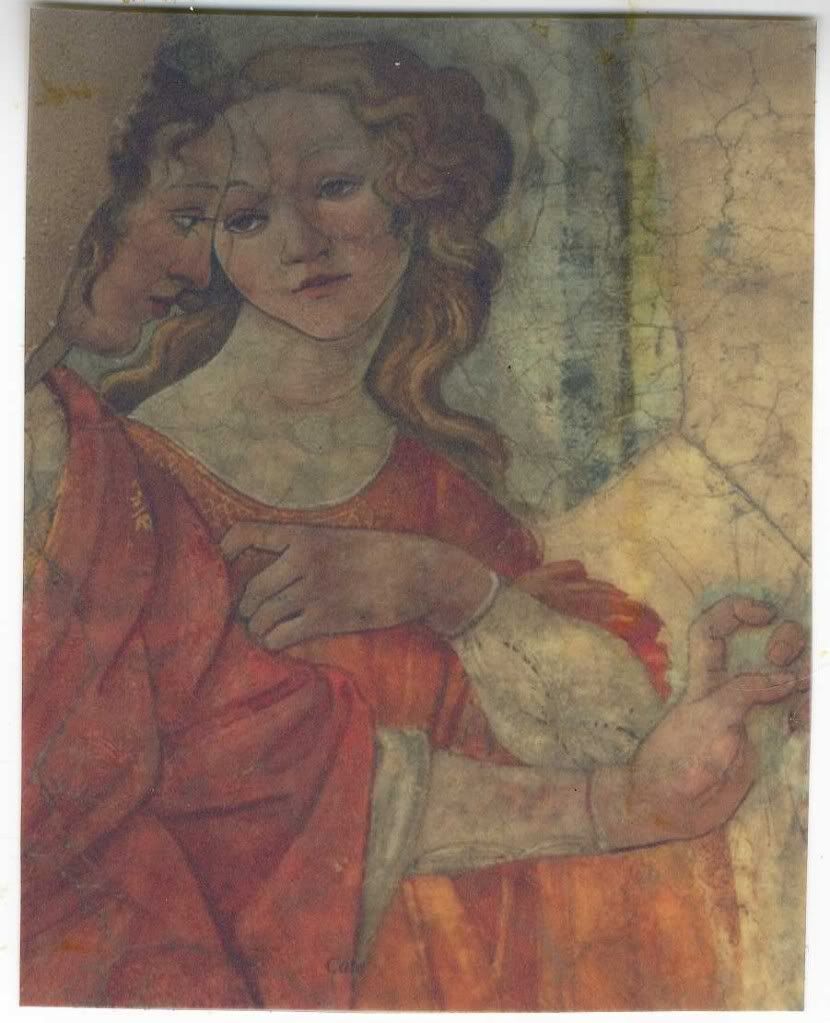
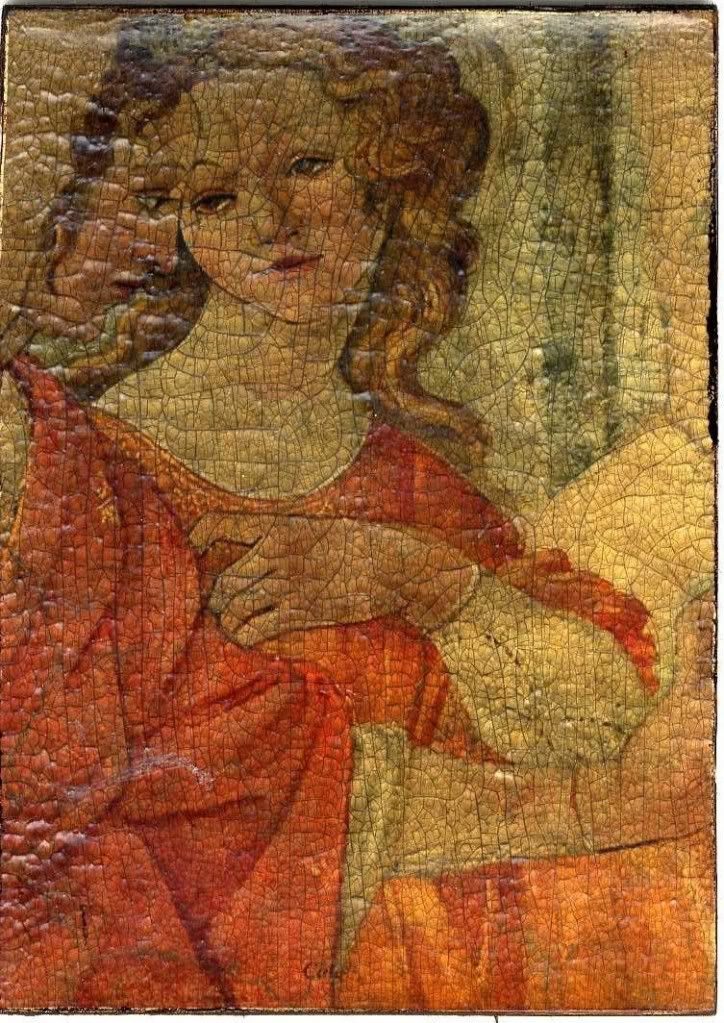
    • Place the image (sticky side) on to the crackled surface and using a popsicle stick, rub the image until you can lift the transfer film.
    • Once you’ve removed the transfer film rub the image with your fingers to press the rub-on into the cracks.
    • You’re done and ready to embellish.
    Rub-On

    Rub-on Applied to the Crackled Cardstock

    Finished ATC
    More Examples of the Technique
    Rub-On
    Rub-on Applied to the Crackled Cardstock

    Rub-On
     Rub-on Applied to the Crackled Cardstock
    You can purchase Ranger Distress Crackle Paint at http://www.franticstamper.com/search.asp?keyword=crackle&sortby=0&catid=591

    The Grafix website where you can find sites to purchase Rub-Onz Transfer Film


    Friday, December 17, 2010

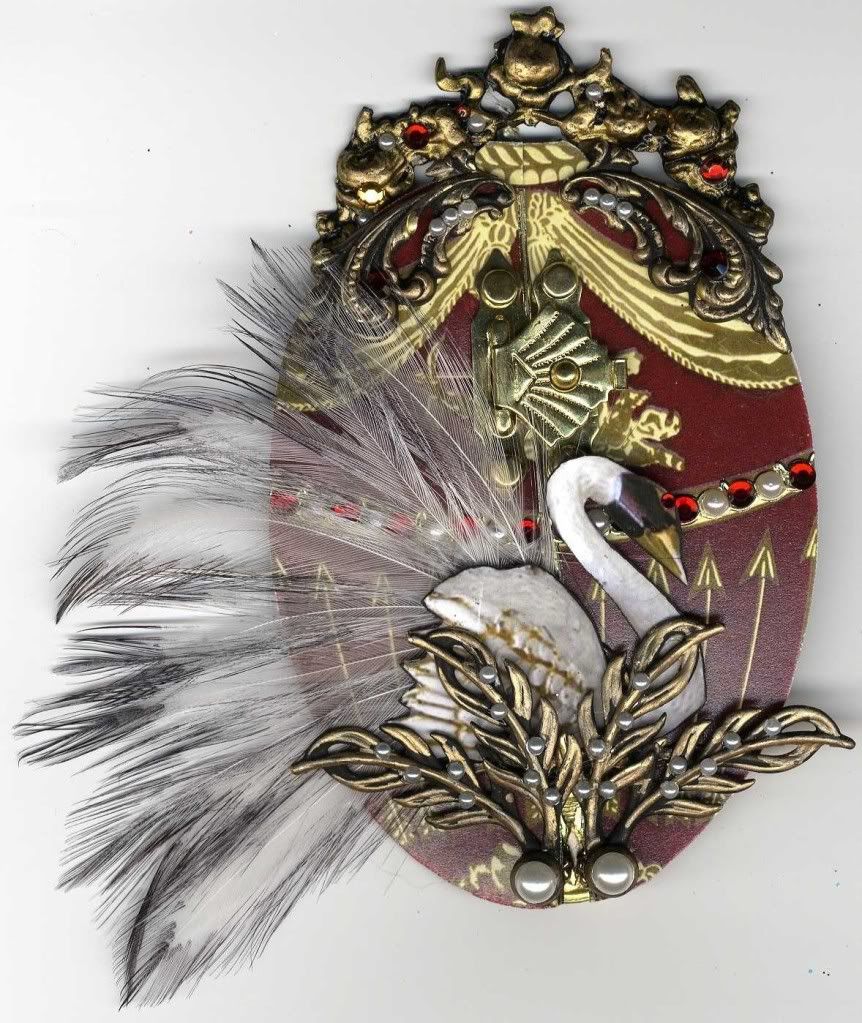
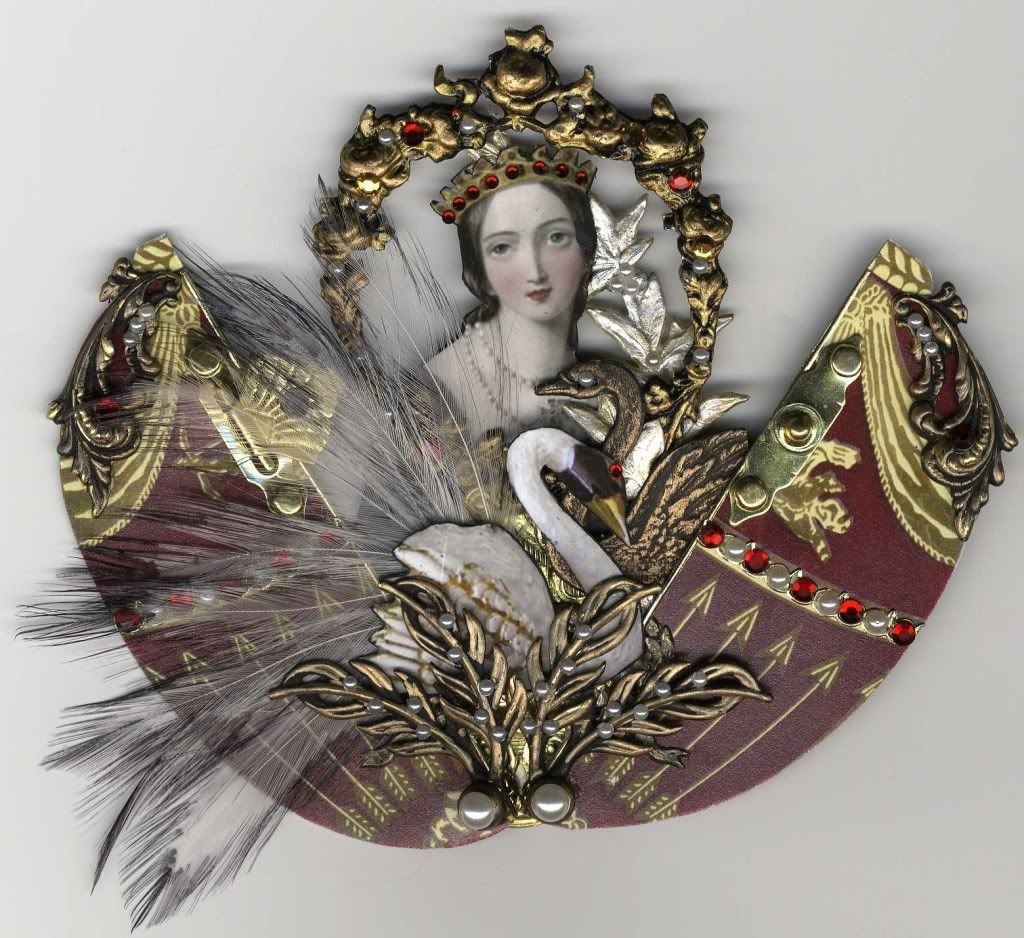
    Red Faberge Egg ATC

    I'm working on a series of four Faberge Egg ATCs and this is the second in the series. To see the first click here.  The engineering on this one was more complicated than the first as I wanted the white swan to appear in the middle, whether or not the egg is opened or closed.

    I purchased the German Scrap (black swan, laurel leaves, and decorative gold piece under the white swan) from Collage Stuff.  I added the gold to the black swan using gold Rub’n Buff.  I purchased the metal charms & findings from Fancifuls Inc.  I purchased the metal picture frame from Ebay.  I painted the metal items first with black, then lightly with gold, then I applied gold Rub n’ Buff.  The point of this process was to give them dimension.

    Monday, December 13, 2010

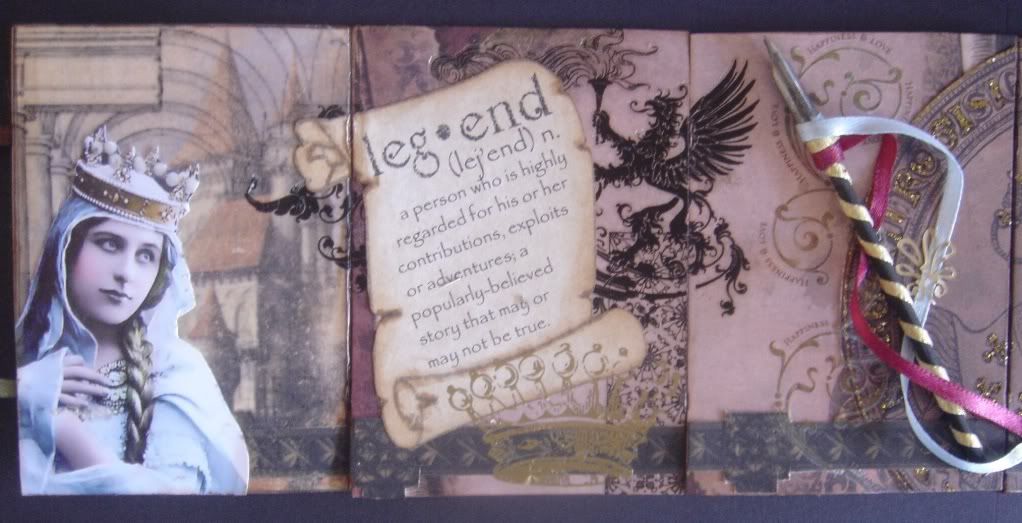
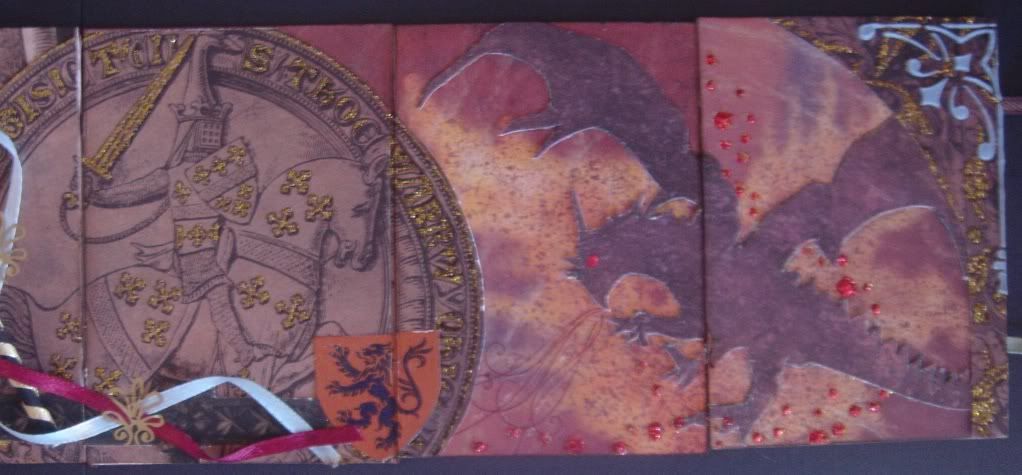
    Thinking Out Of the Box - Book ATCs - Medieval Times Knights

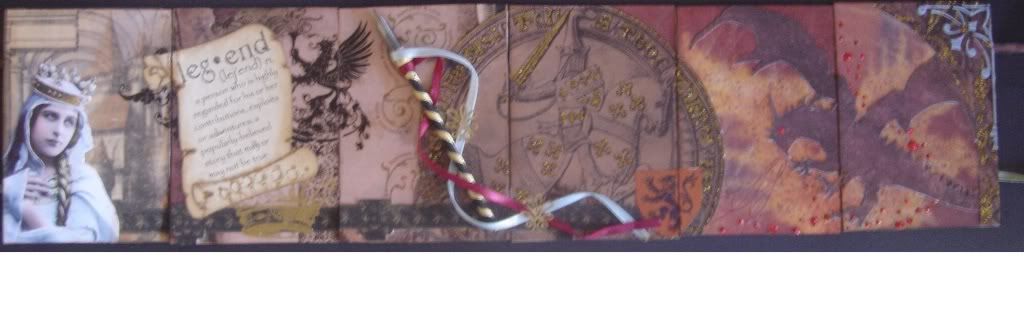
    This ATC book titled “Legend” is connected using two ribbons that run along the back of all of the cards. 
    The arches behind the woman in the first card, are a rub-on I made as described in the tutorial “Create Your Own Rub-ons Using Grafix Rub-Onz Transfer Film”The lance is made from a wooden skewer with a pen nib attached to the end.