Welcome
I love answering your questions. If you ask them in the comment section, I have no way to answer you (if you haven't heard from me, that is why). If you use the "EMAIL ME" in the left column of this page, I will be able to respond to you. You can also use it if you want to be added to my newsletter. Laura
Wednesday, March 30, 2011
Monday, March 28, 2011
Springtime in Versailles Postcard
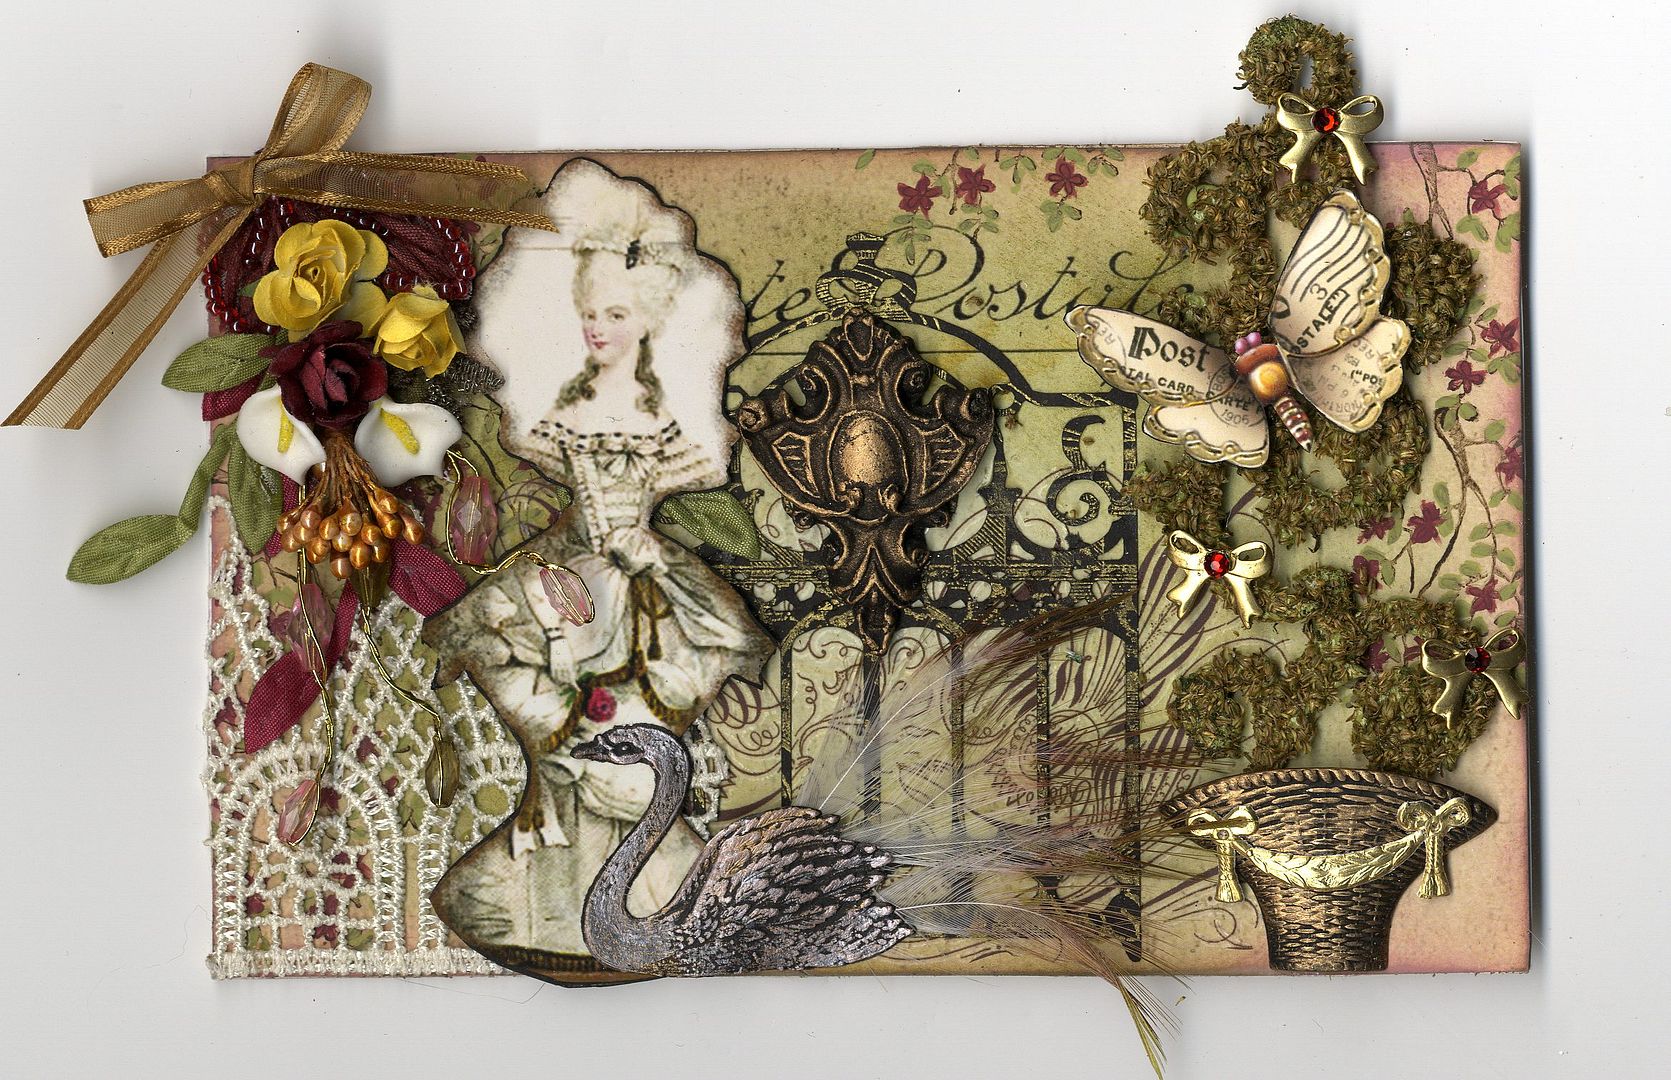
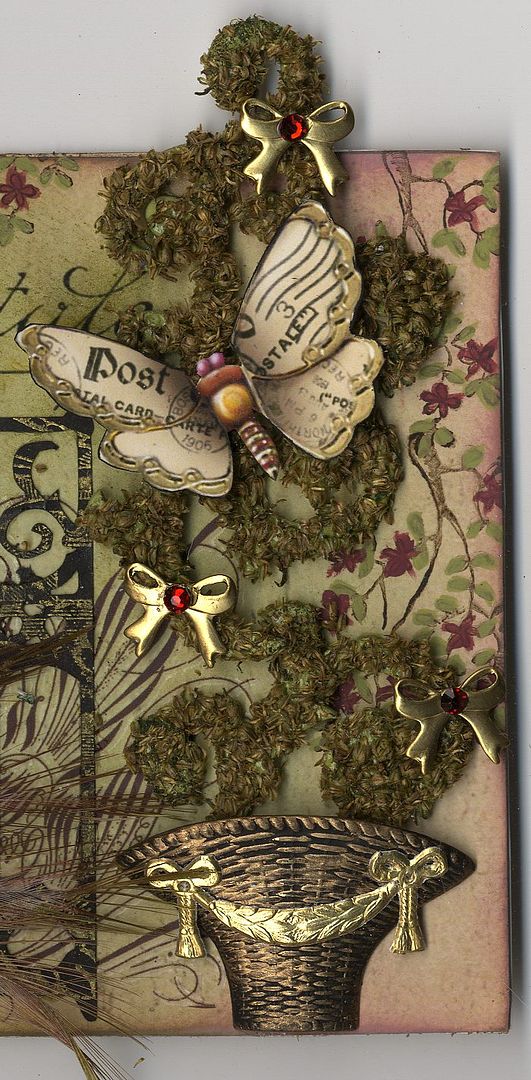
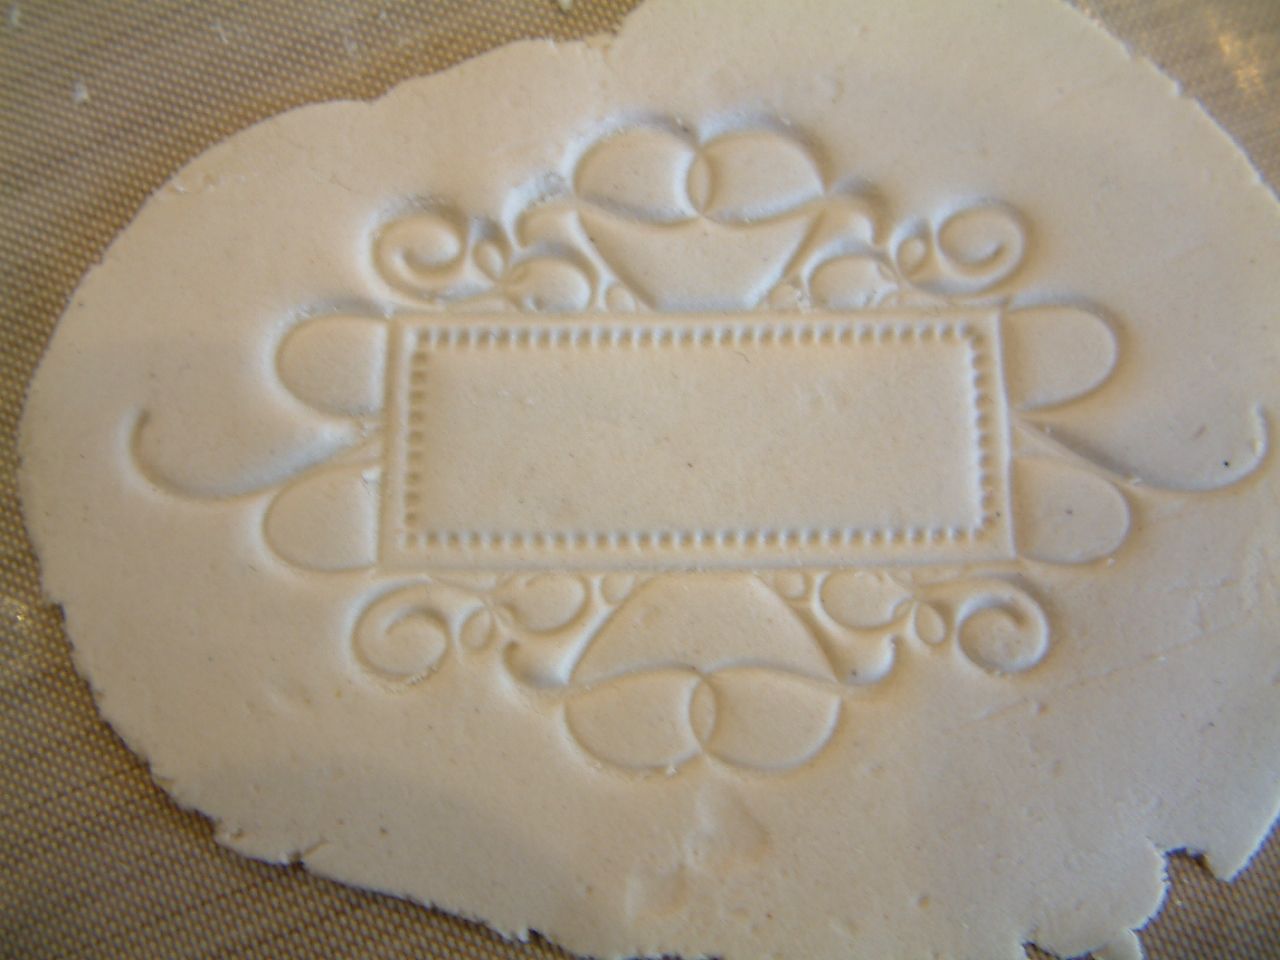
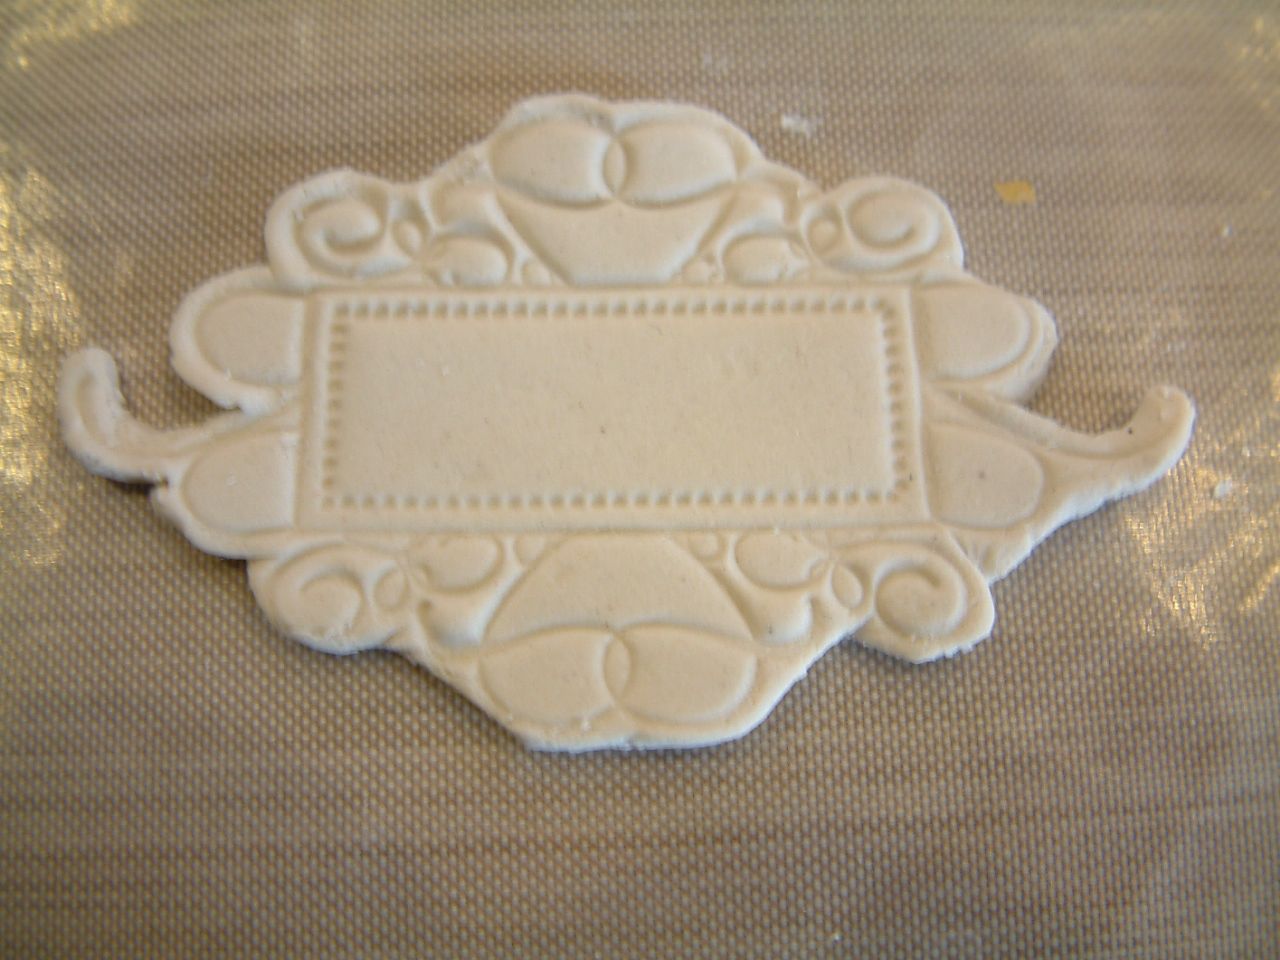
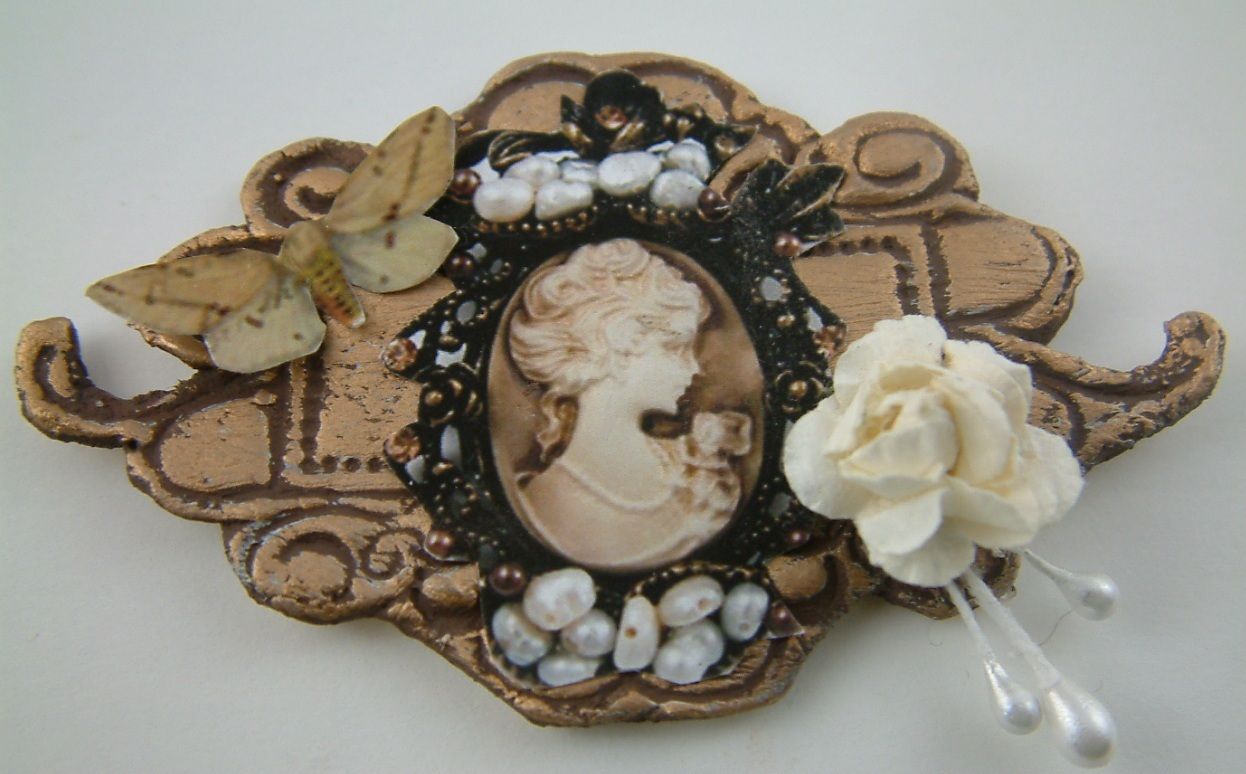
I’ve been working on a 4 x6 postcard for a swap in the Marie Antoinette Mail Art Group. The theme is “Spring” so my piece is titled “Springtime in Versailles. The plaque on the gate is the one I made in the tutorial "How to Make Your Own Molds & Working with Paper Clay".
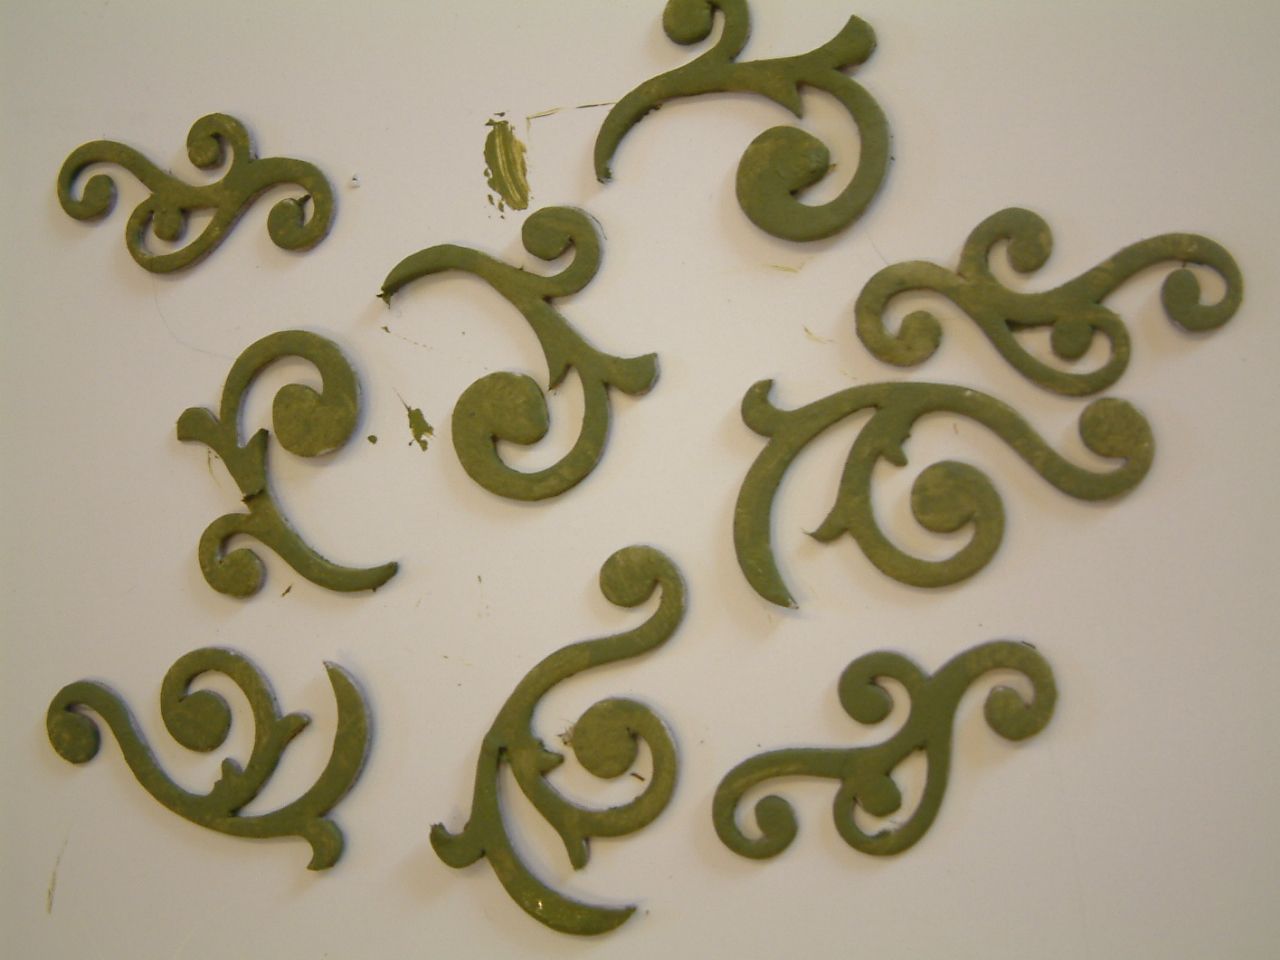
I decided I wanted to create a topiary since the French gardens at the time were so formal. To make the topiary I started by painting chipboard swirls green.
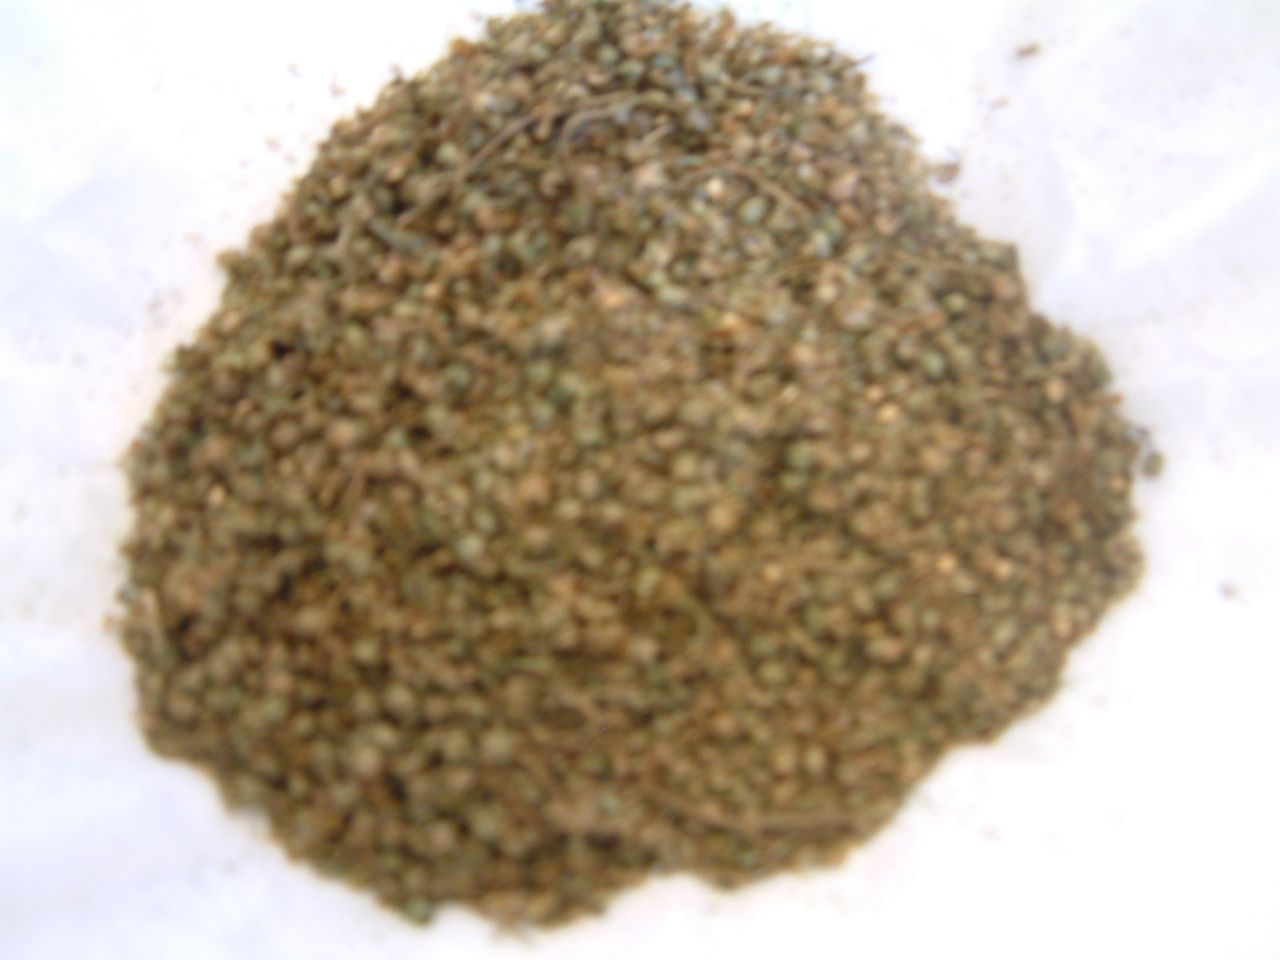
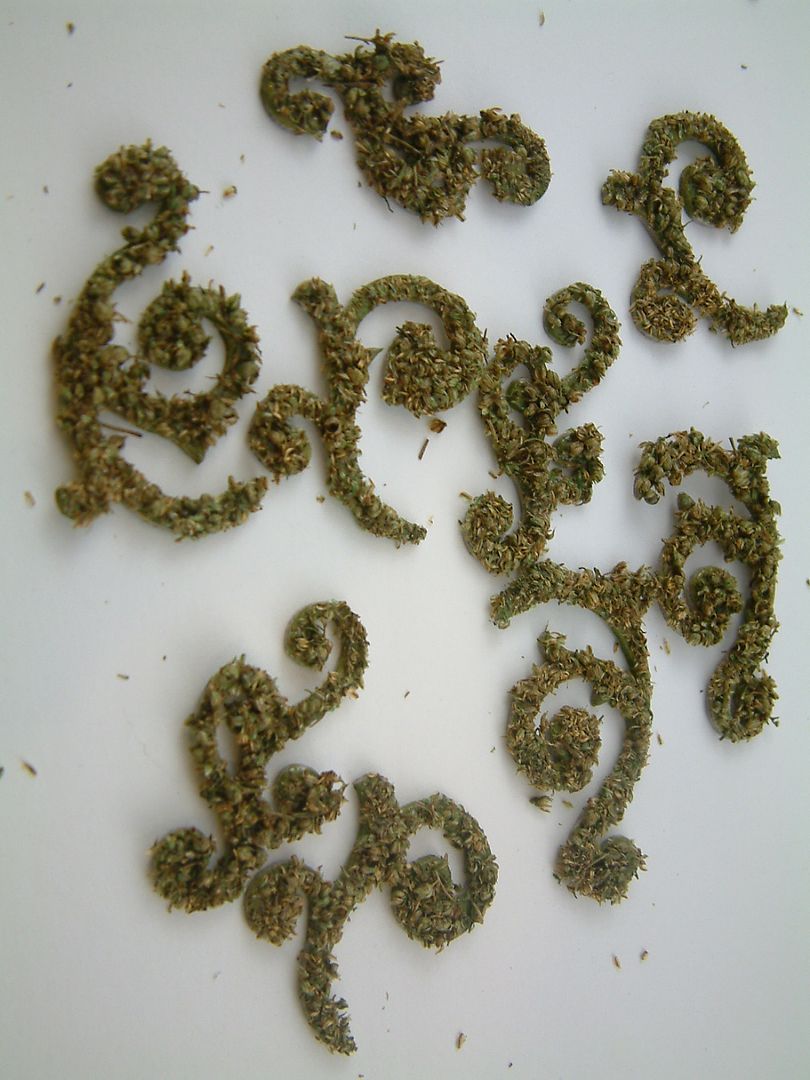
Next, I removed flowers from the stems of dried flowers.
I applied Glossy Accents glue (dries clear) to the painted swirls and dipped them in the dried flowers.
Lastly, I glued the swirls to the postcard and dressed them with jeweled ribbons and a butterfly.
Saturday, March 26, 2011
Tuesday, March 22, 2011
Three Muses Challenge
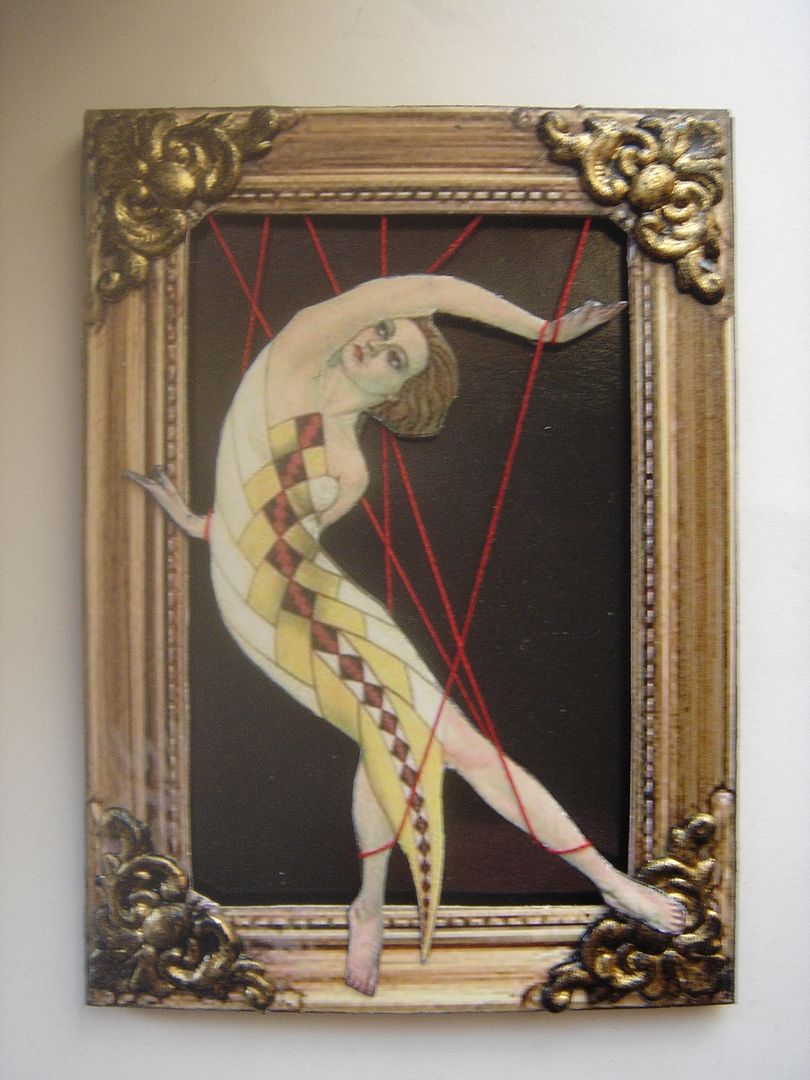
This week’s Three Muses Challenge is “Land of Odd”. My entry for the week is titled “Marionette”. The image is from a vintage magazine. To give the piece dimension I popped up the frame and image using double sided foam tape. I wrapped her in thread to give the sense of someone behind the scene is pulling the strings.
Sunday, March 20, 2011
Tutorial – How to Create Backgrounds & Embellishments Using Paper Clay and Rubber Stamps
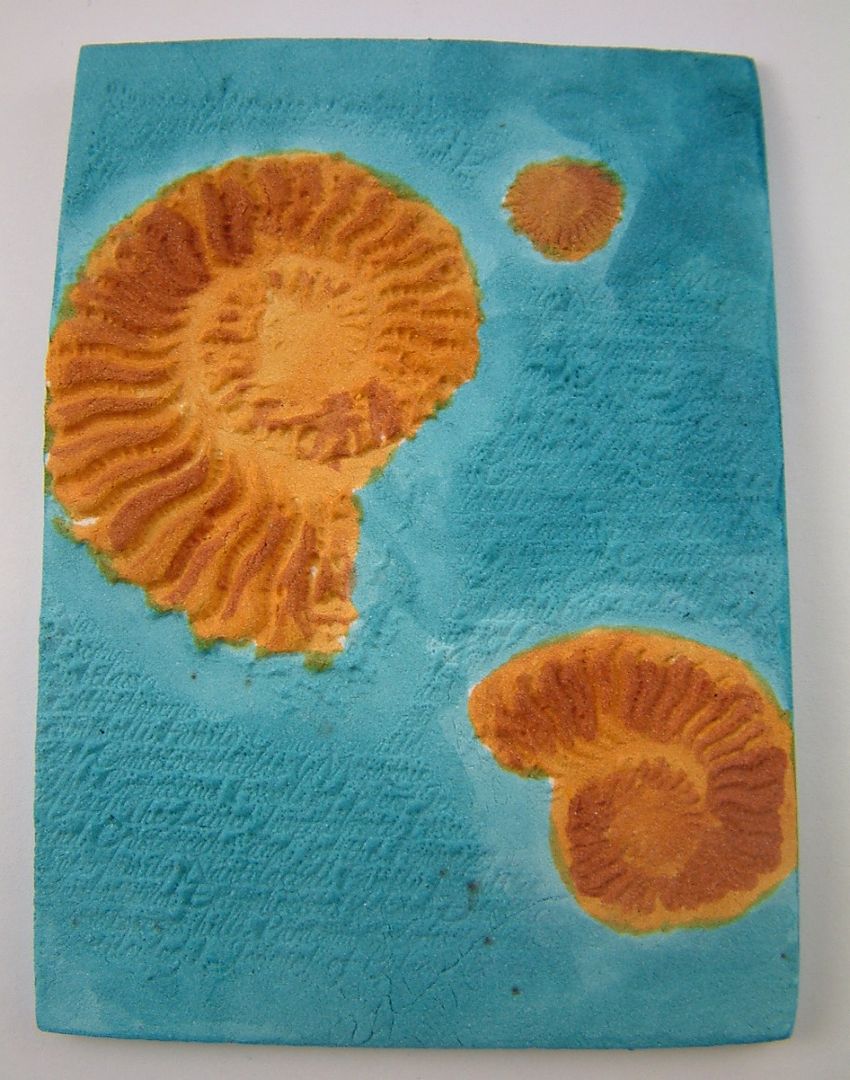
Stamping in paper clay is a great way of creating all kinds of dimensional embellishments and backgrounds and gives you another way to use your stamps. The background of the collage piece below is paper clay that has been pressed with a rubber stamp and painted with alcohol inks. In this tutorial I’ll take you through the steps of creating backgrounds and other embellishments using paper clay and rubber stamps.
You can use any type of clay for this tutorial but if you don’t have a lot of experience with clay, and don’t have a dedicated machine to bake clay, you might find paper clay easier. Paper clay is easy to work with, does not require baking (air dries), can be painted, is easy to trim, is light weight and fairly durable.
If after reading the tutorial on “How to Make Your Own Molds and Molding with Paper Clay”, you made an investment in paper clay, stamping clay is another way to use your supply.
What You Will Need
Rubber Stamps or Acrylic Stamps (foam stamps won’t work)
Nonstick Surface such as a nonstick craft sheet, wax paper, parchment paper etc.
Some type of tool to roll out the clay like a rolling pin, brayer, or drinking glass.
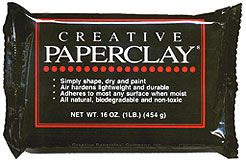
Creative Paper Clay – In the US you can find this at both Michaels and JoAnn craft stores. Other crafts stores may also carry it. On-line you can purchase it from Amazon.com, Createforless.com, Overstock.com and a huge variety of other on-line stores.
I recommend reading through the entire tutorial before starting
Step One – Condition the Clay
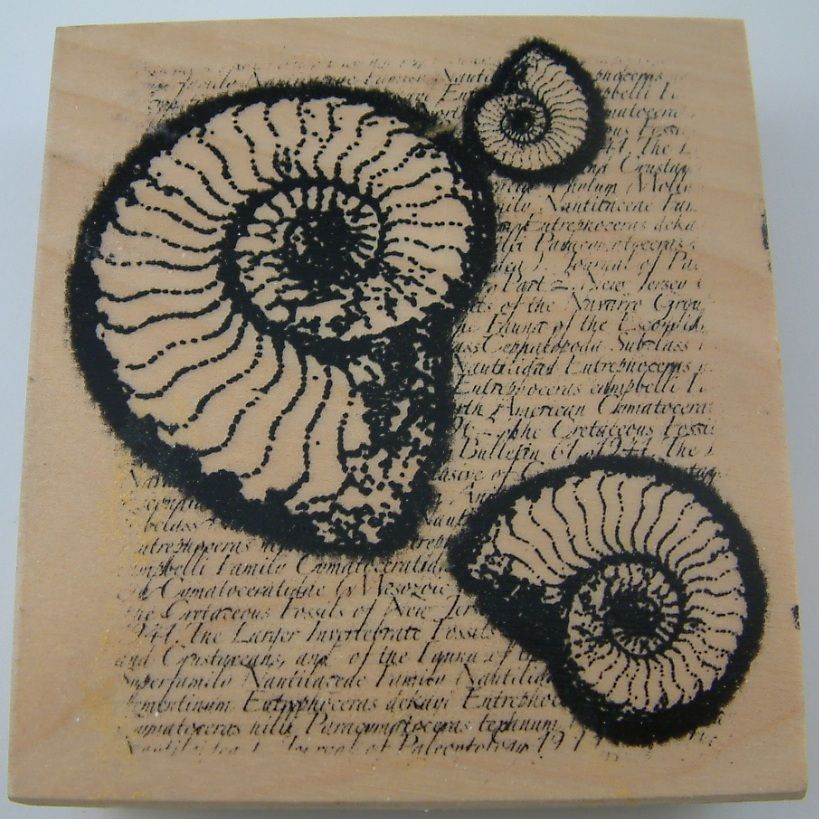
First choose a stamp. You need to use either a rubber or acrylic stamp as a foam stamp is too soft. The design on the stamp I chose was almost the size of a standard ATC (2 ½” x 3 ½”).
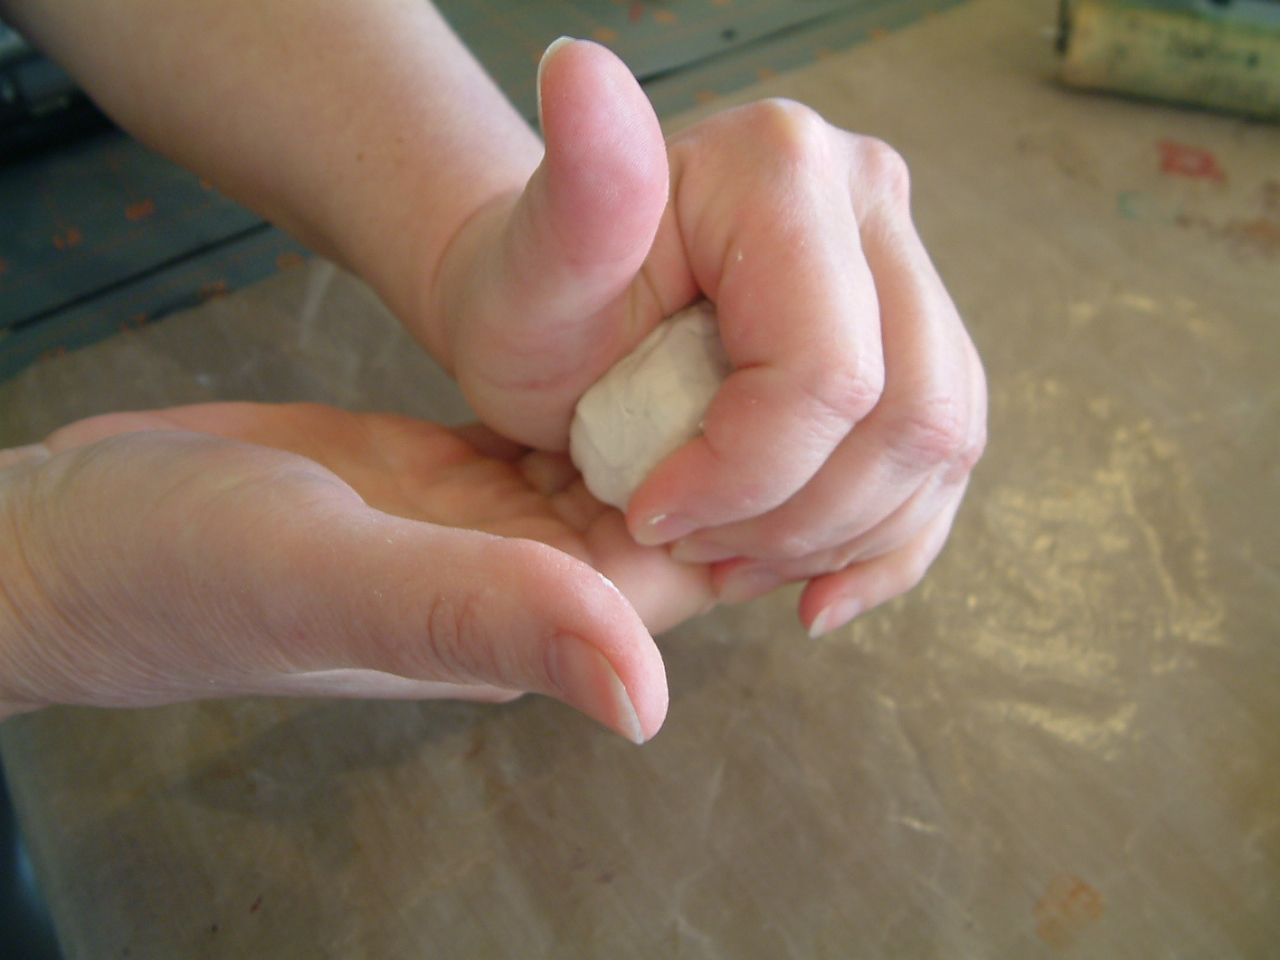
Remove the amount of clay you think you will need. You should remove enough so that once the clay is rolled out it is slightly larger than the stamp and is the thickness you desire. Since the example is an ATC I used enough clay so that when rolled out the clay was approximately 1/8” thick. For an ATC base I wouldn’t go any less than this as the clay will shrink slightly when it dries. Knead the clay together so that the texture is consistent.
Step Two – Rollout the Clay
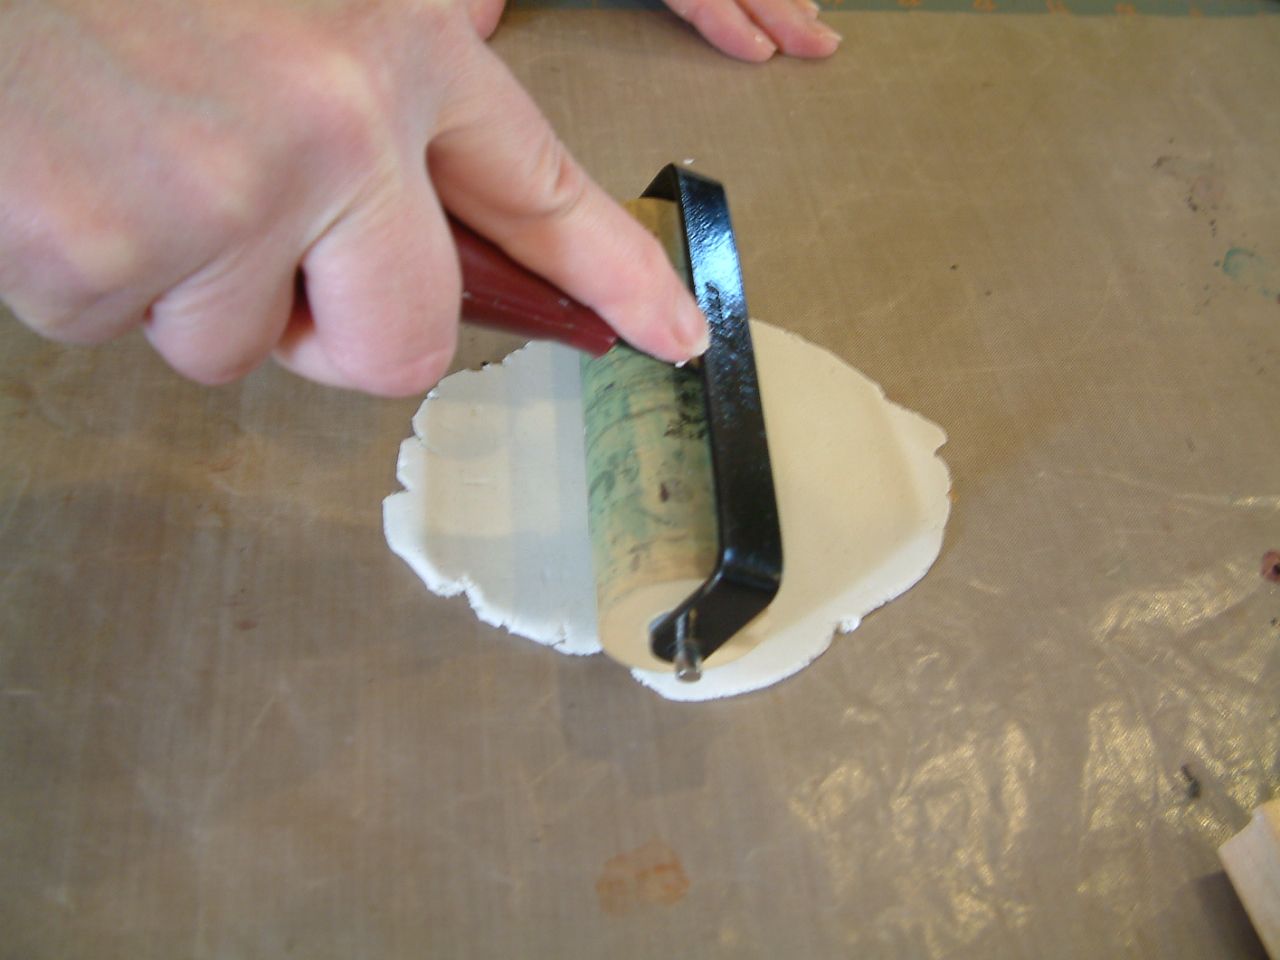
Fatten your conditioned clay and place it on your non-stick surface. Use some type of tool to roll out your clay. I used a brayer. Roll the clay out so that it is slightly larger than your stamp or the image on your stamp. Try to keep the thickness consistent.
Step Three - Stamp the Clay
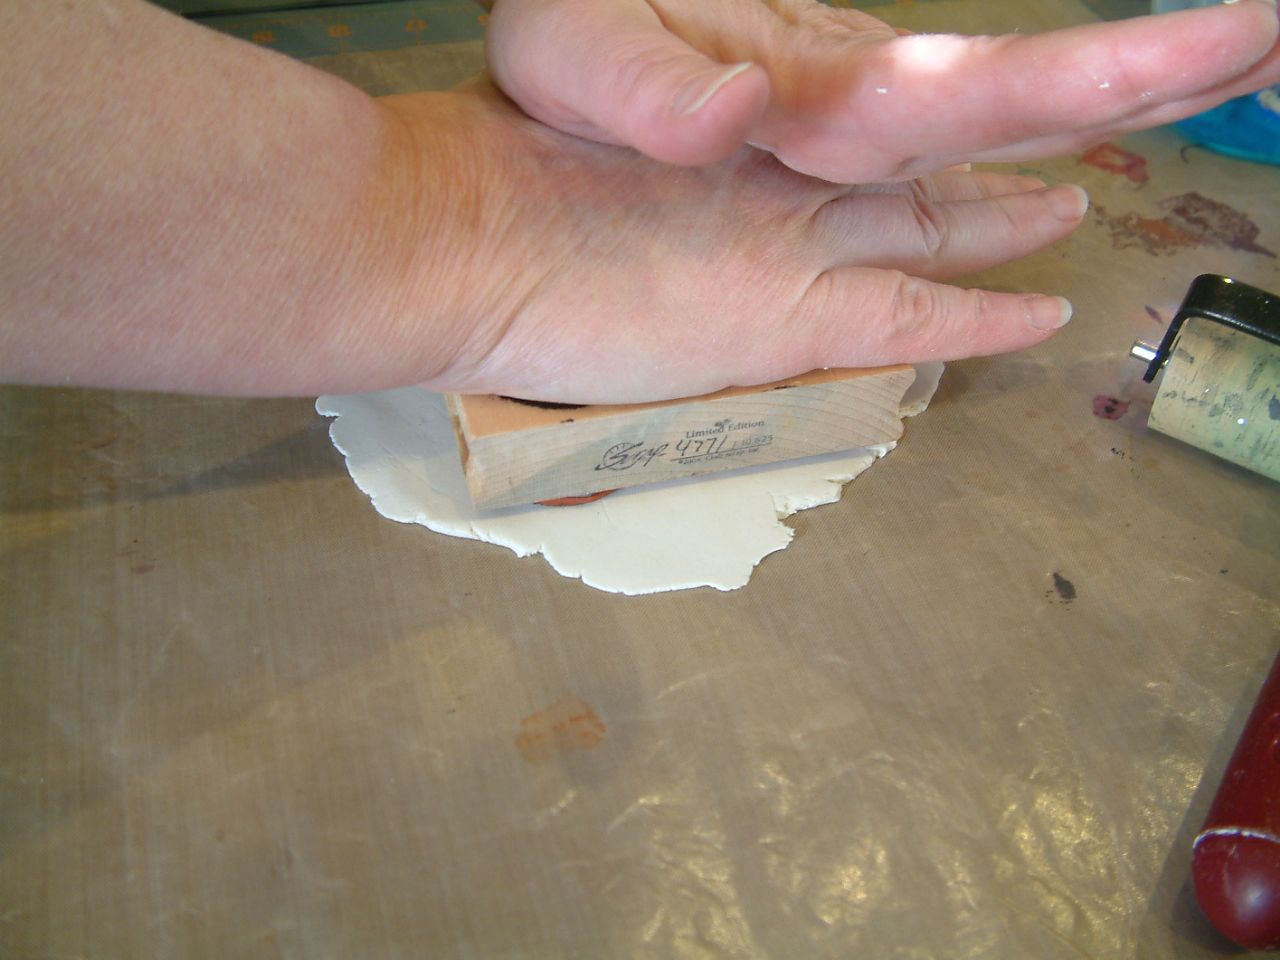
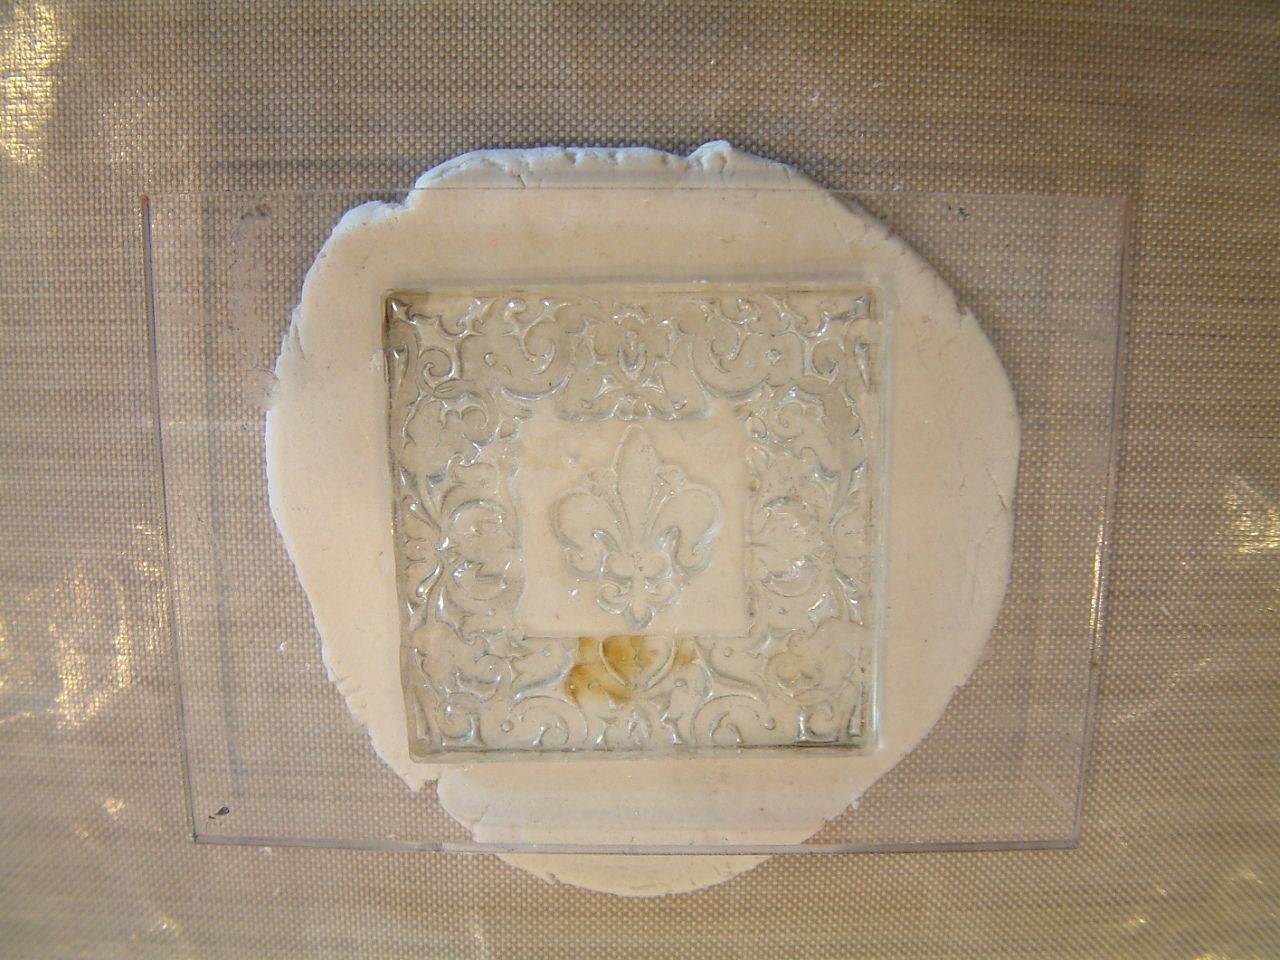
Firmly press your stamp into the clay. You don’t need to spray the stamp with a release as the stamp won’t stick to the clay.
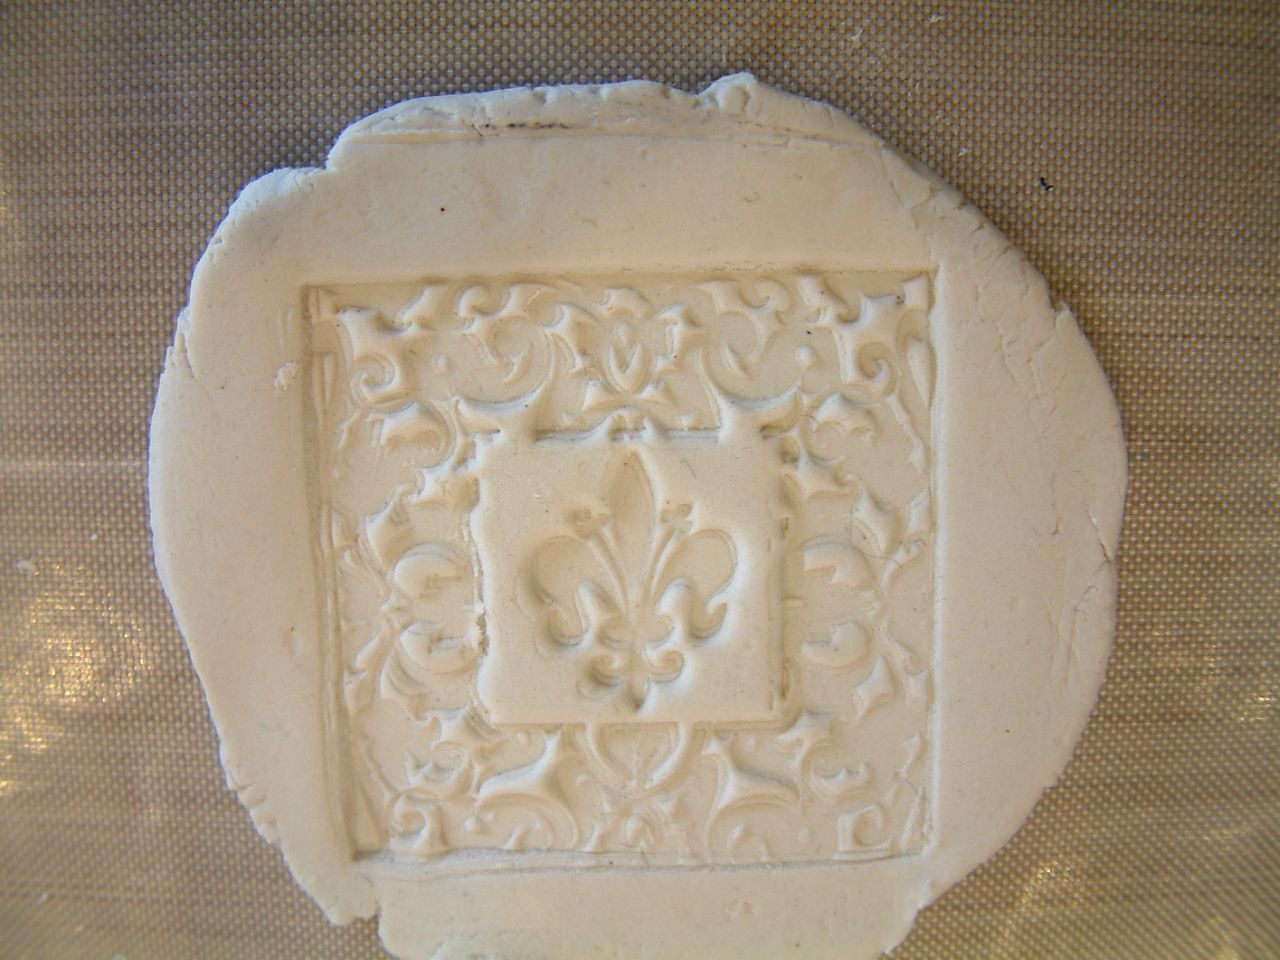
Remove the stamp from the clay. If you didn’t get the result you expected just start again by conditioning the clay and rolling it out again.
Step Four - Trim the Clay
Since the example is for the background of an ATC I need to trim the clay. You could choose not to trim your stamped clay if you were using it on the cover of an altered journal or book and you wanted the edge to have a rough look.
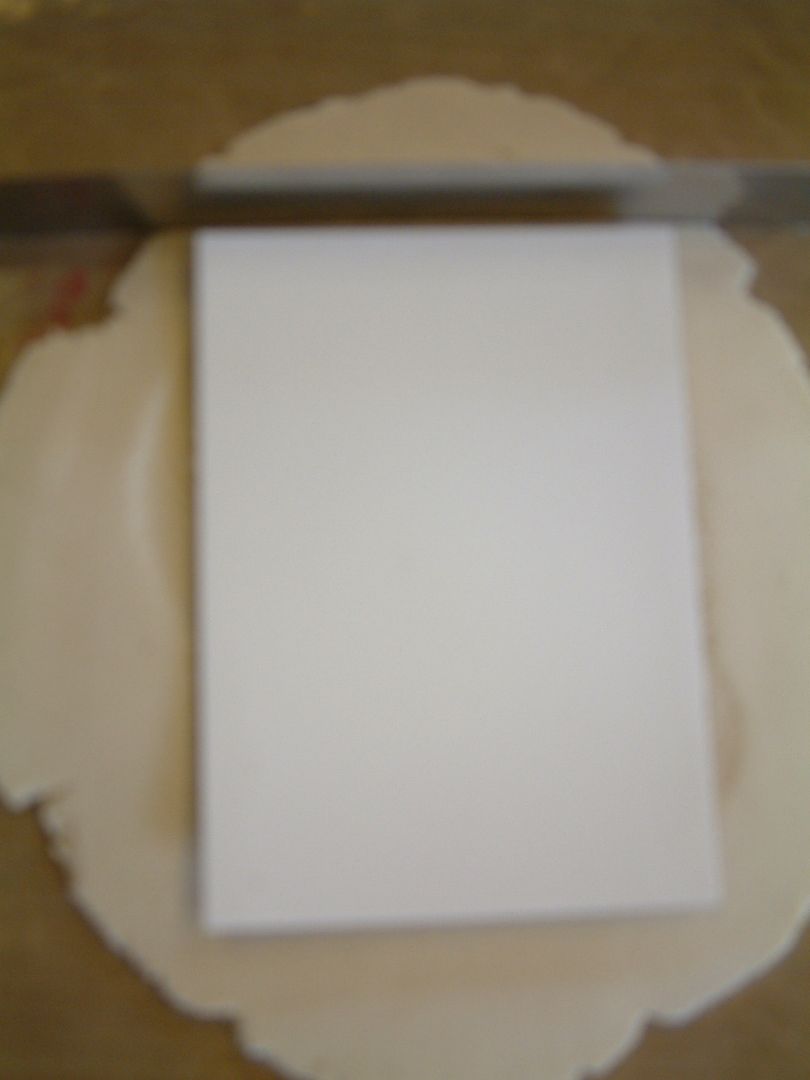
I use a long blade that is made to cut clay. You could also use a knife or the edge of a metal ruler if it is thin. Paper clay will shrink as the water evaporates so if the finished size of the dried clay piece is important, trim the piece slightly larger than what you need. Since the example, when dry, needs to be the standard ATC size I trimmed my clay slightly larger. I placed a piece of cardstock the size of an ATC on the clay and used it as a guide.
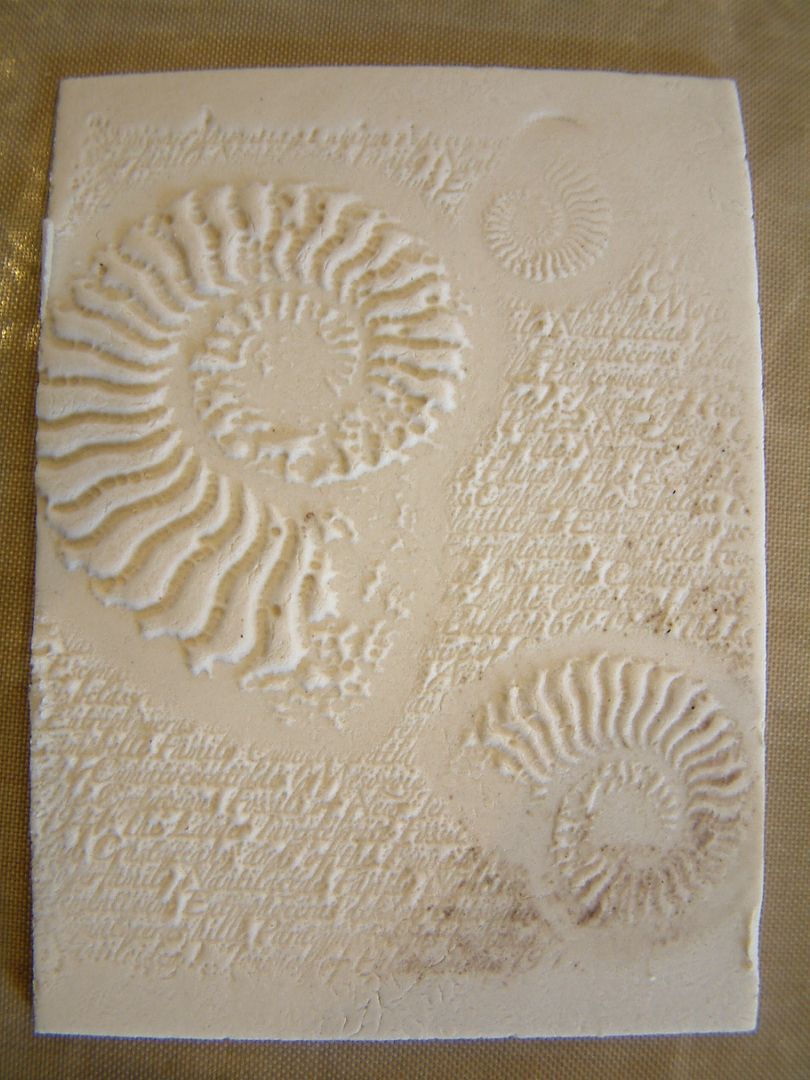
Below is the finished trimmed ATC background.
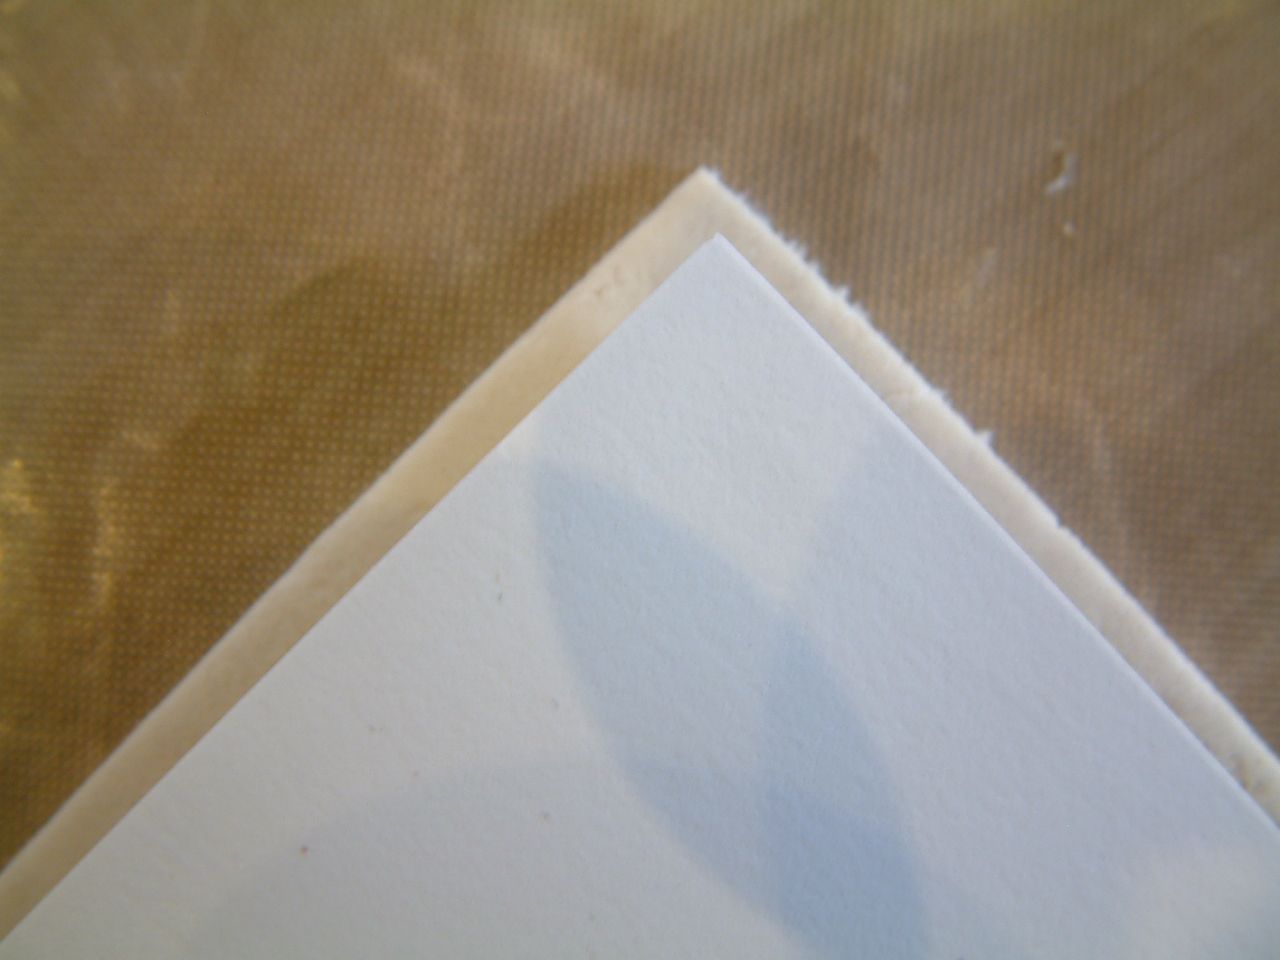
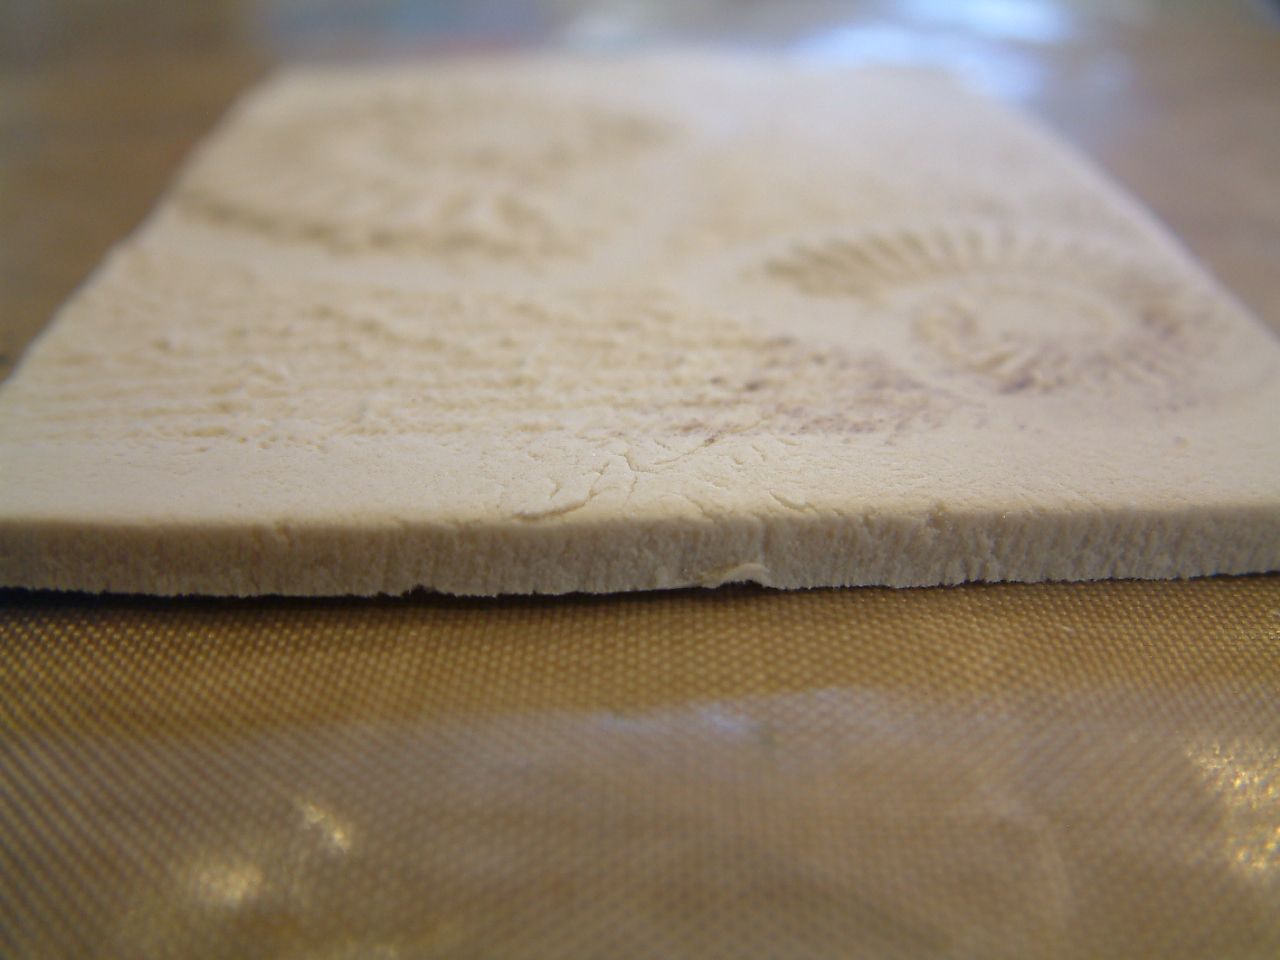
In the image below you can see the thickness of the piece.
Step Five - Drying the Clay
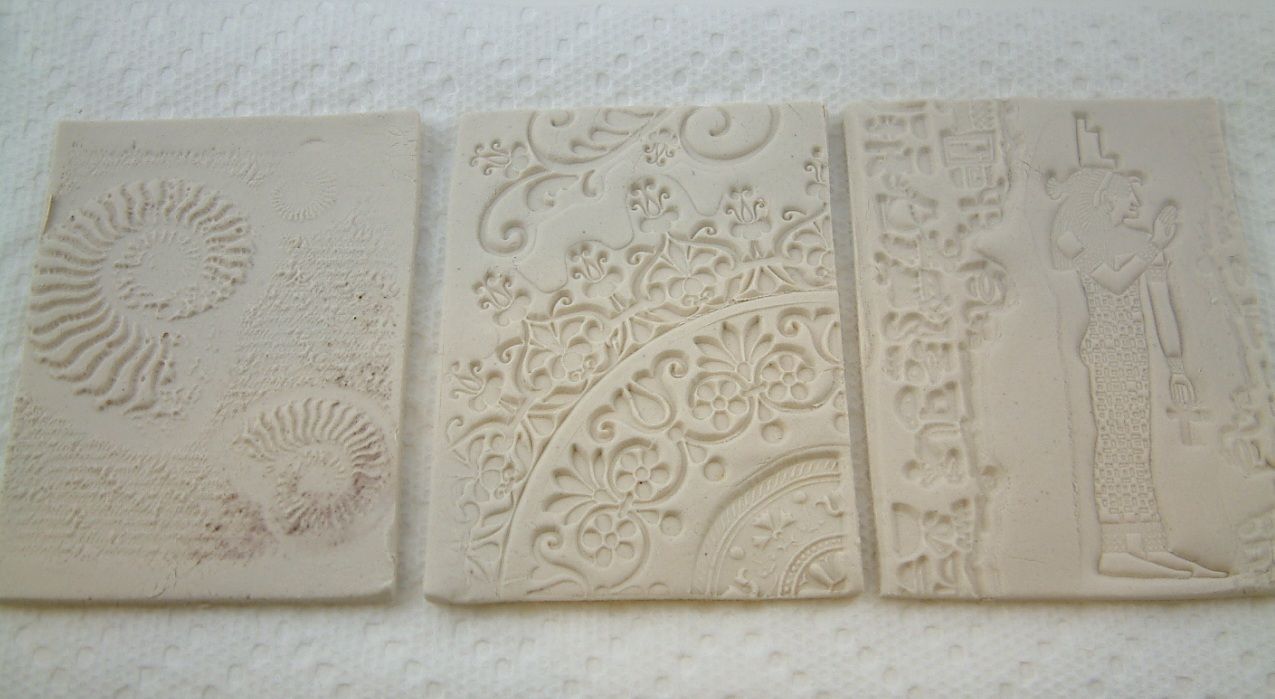
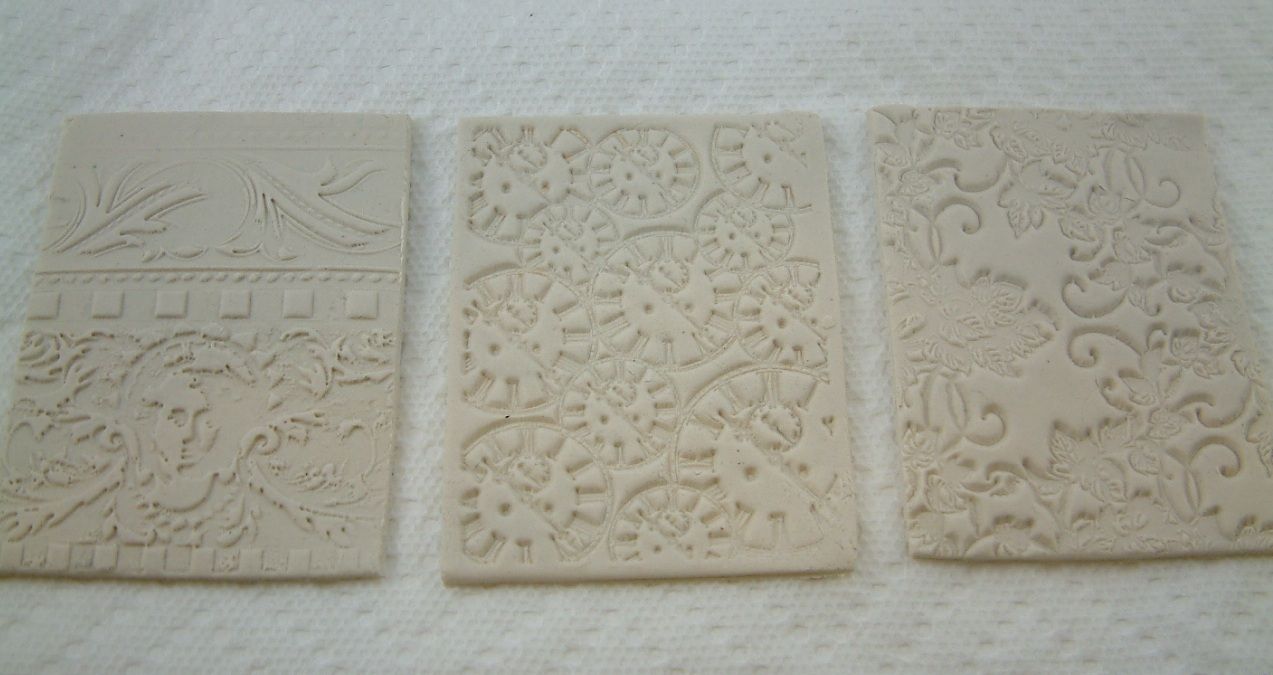
Carefully remove the stamped clay from your non-stick surface and place the clay on a paper towel. The towel helps draw the moisture out of the clay. When I work with clay I usually stamp several pieces. In the images below you can see all of the ATC backgrounds I stamped.
Paper clay takes a long time to dry and the drying time will vary with the dampness of your climate. The key to getting a good result is to control the drying process. I can’t stress this enough. Paper clay likes to curl as it dries. The larger and thicker the piece the longer it will take to dry. For a piece as large and thick as the example piece, it took 3 days. The reason it took that long is that I controlled the drying process. If you just left the clay lay in the open air it will dry overnight but it would be warped and not flat.
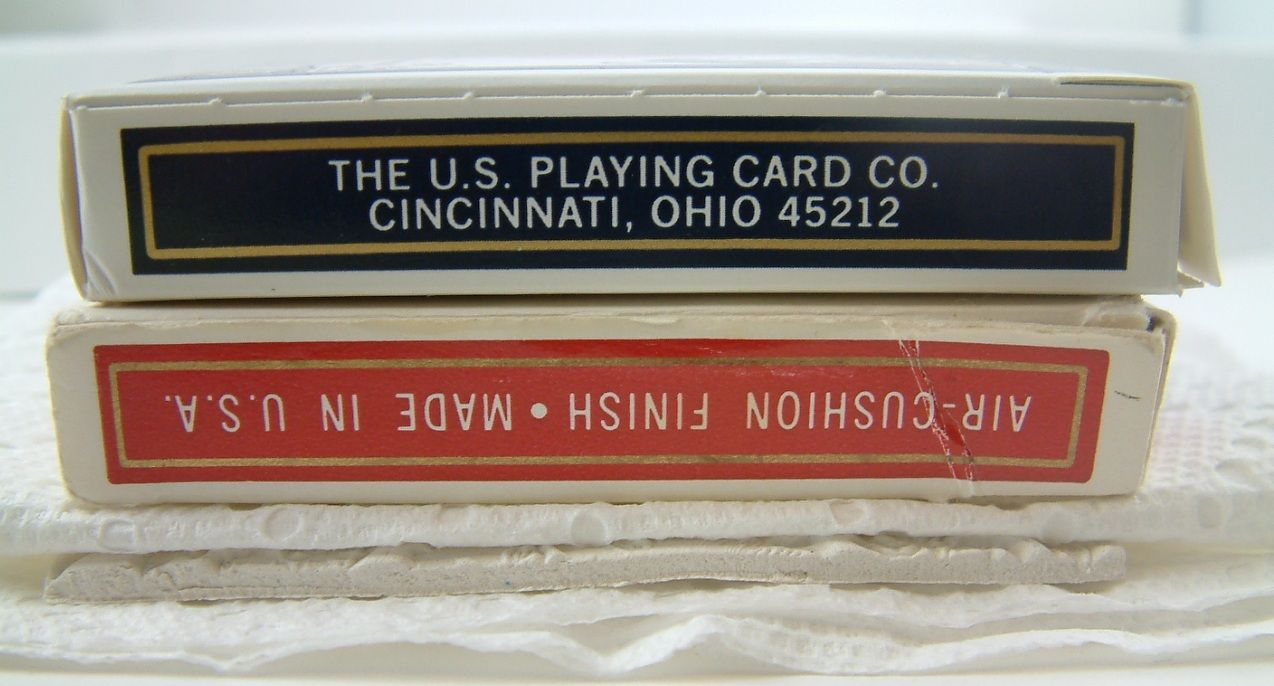
To control the drying process I first placed the clay pieces on a paper towel. I turned the pieces over every hour or so and flattened them if they were starting to warp (you can adjust them as long as they are still wet). If I could not monitor them I placed them in between sheets of paper towels, and place weight on them (like at night when I went to bed). I kept repeating this process until they were dry. Smaller pieces take much less time to dry. For ATC sized pieces I use decks of cards as weights.
Note: When the clay dries it changes from an off white color to white. The outside will look dry but the inside might not be. When the piece is dry it will be very stiff. If there is any flexibly then the piece is not dry and you need to insure that it does not warp.
Step Six Four – Final Touchup
Once your piece is dry you made need to make some final adjustments. Once the example piece was dry it was slightly too large so I used sandpaper to remove just a little from the sides of the piece. If you are touching up smaller more intricate pieces you can use precision filing tools and or small scissors in addition to sandpaper. See the link below for information about precision filing tools http://artfullymusing.blogspot.com/2010/11/cool-tool-precision-file-set.html
You are now ready to paint and embellish your stamped clay piece!!
NOTE: When gluing objects to paper clay you can use any glue that you would use with paper.
I used alcohol inks to paint the example piece. I chose ink because it is translucent so you can still see the texture of the clay and it is easy to create dark and lighter areas with the same color ink.
Here Are Some More Examples of Stamped Pieces
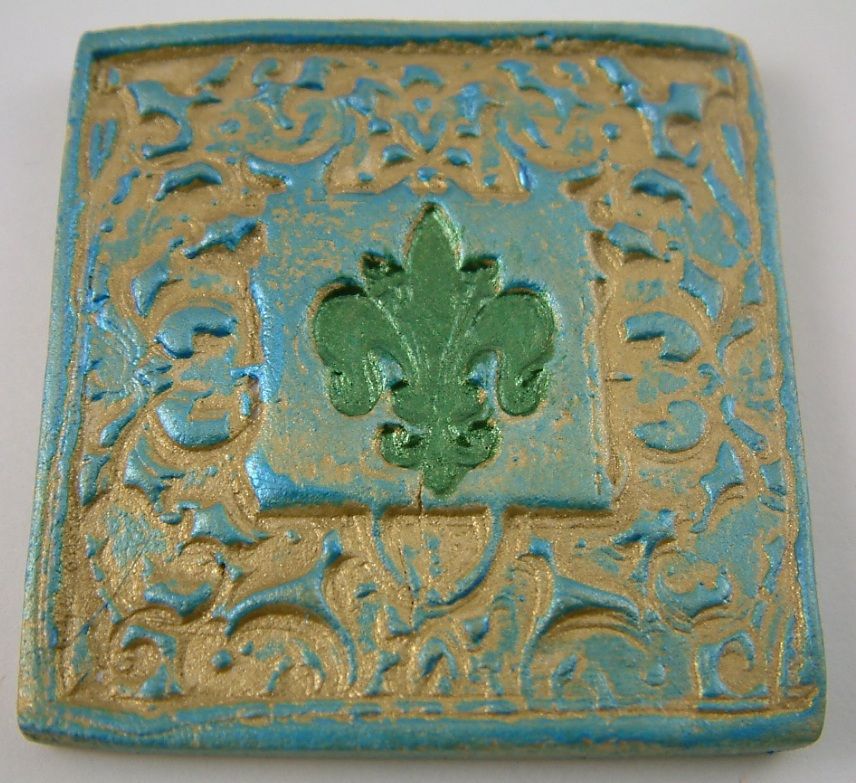
In the example below I used an acrylic stamp to create a 1 ¾” x 1 ¾ embellishment. Small embellishments that you are going to glue onto another surface don’t need to be as thick as the ATC backgrounds.
First, I painted the piece with gold paint. Next, using my finger I lightly brushed on teal metallic paint to just the raised surfaces. Finally, using a brush I painted green metallic paint on the fleur de lis design.
Below I used an acrylic stamp to create a 3” x 1 ¾” piece. I carefully trimmed the wet stamped piece with scissors before starting the drying process.
Storing Paper Clay
To keep your paper clay moist, seal the package in a plastic bag. Next, place the plastic bag in another plastic bag. Drip some water into the second bag and seal it. Because you sealed the clay in the first bag the water won’t come in touch with the clay but will evaporate in the second bag and keep the air moist around the first bag. And as you know, no bag is completely airtight. If you don’t do this your clay will dry out. This is also a great trick for keeping brown sugar moist.
Saturday, March 19, 2011
Altered Book Cover – Dollhouse Door - Dollhouse Supplies
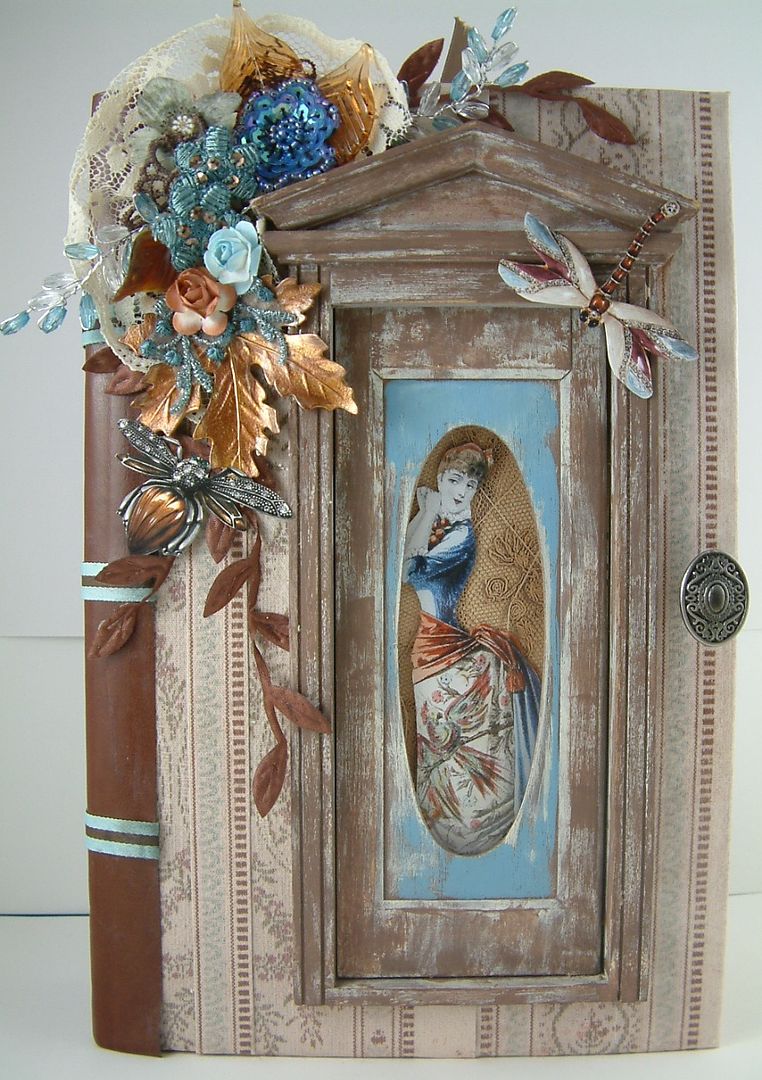
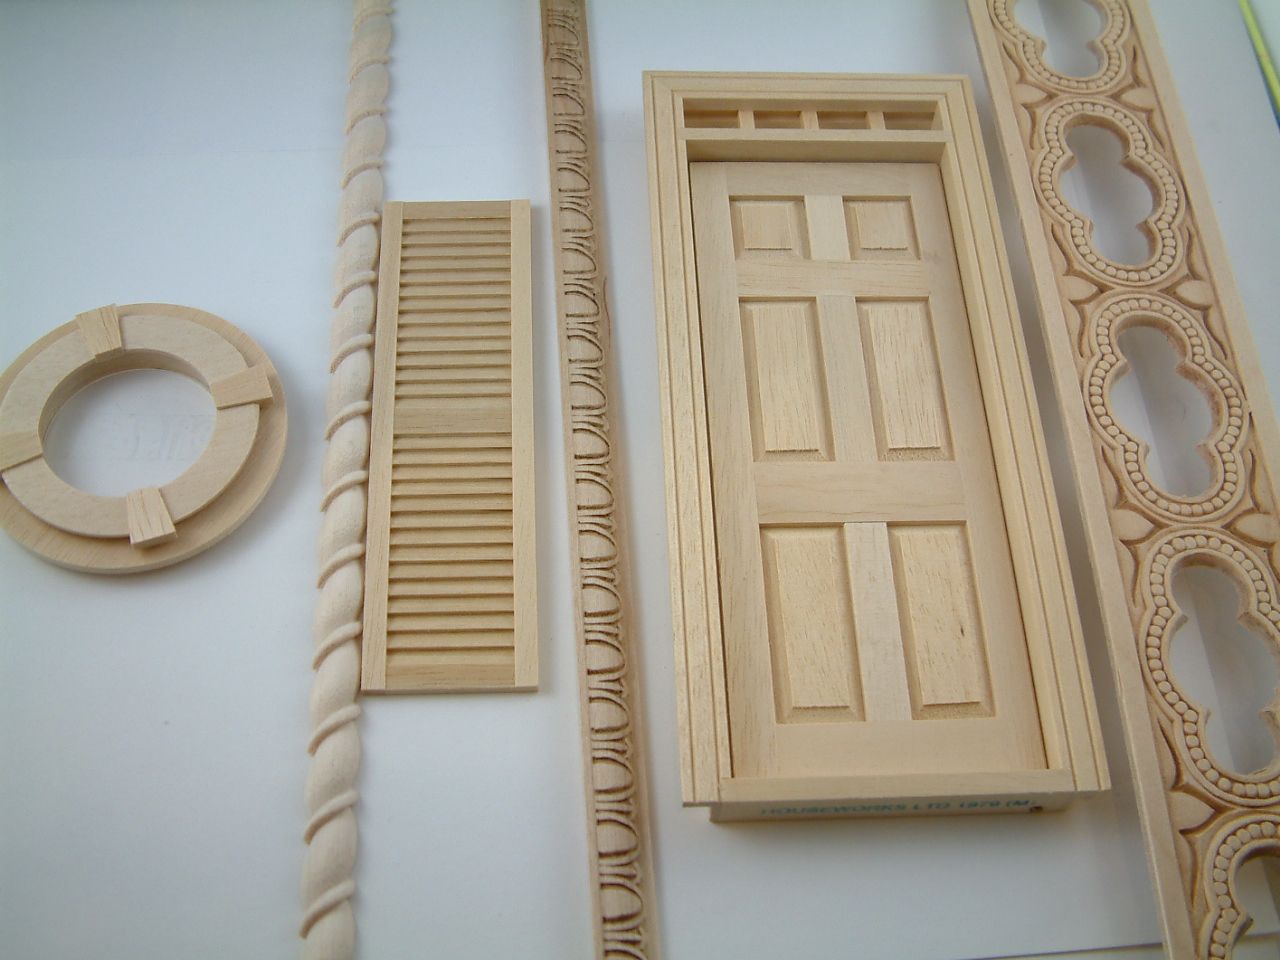
For those who enjoy altering books here is an idea for the cover. In the book below I used a dollhouse door. First I painted and distress the door. Next I cut a hole in the cover and a hole in several pages of the book (the depth of the door insert). Then I glued all of the cut pages together and glued the cover to the pages. Finally I Insert the door in the hole and glue it in place.
I use all kinds of dollhouse architectural and hardware items in my collage pieces. They usually come unfinished so you can alter them anyway you like. Some craft stores carry dollhouse supplies and there are several online suppliers. I’ve also purchased items on eBay.
Thursday, March 17, 2011
Tuesday, March 15, 2011
Coral Reef
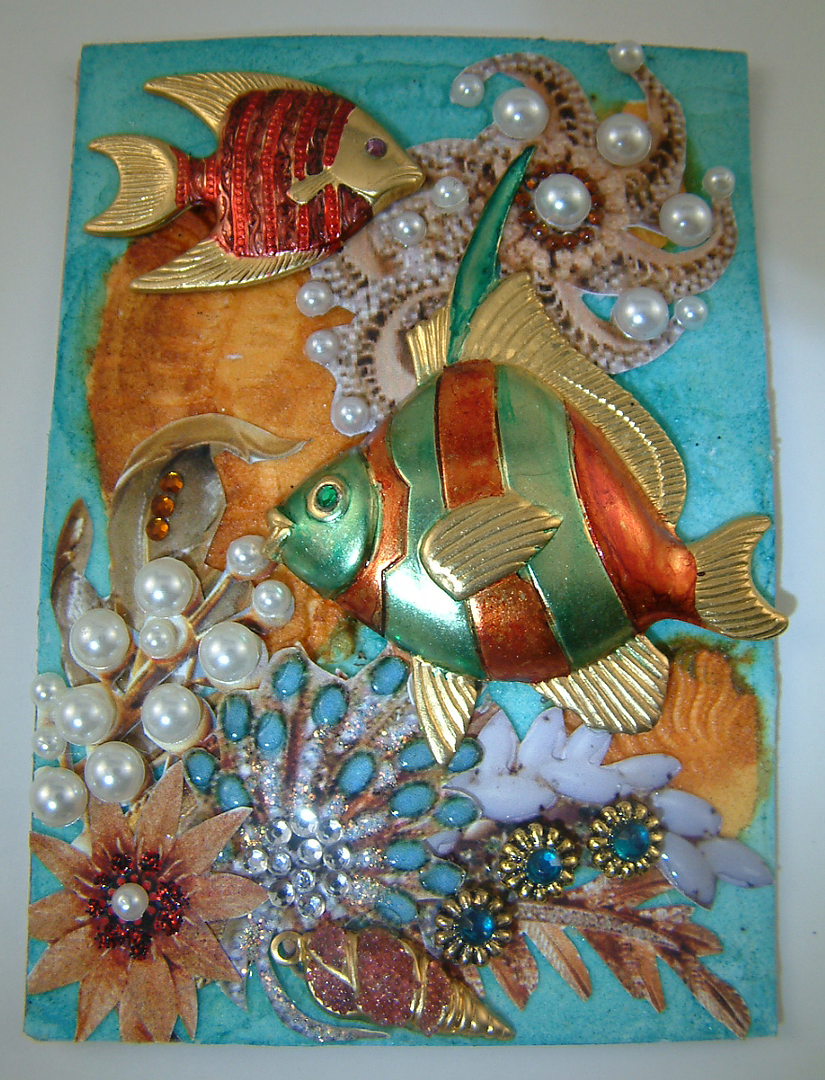
The fish are brass pieces that I painted with alcohol inks. The other sea life (octopus) and plants are images of vintage jewelry. I’ve added Glossy Accents, Stickles, rhinestone’s and pearls to add sparkle and dimension. The background is paper clay that has been pressed with a rubber stamp and painted with alcohol inks. Sunday I will be posting a tutorial on how to create paper clay backgrounds and embellishments using rubber stamps.
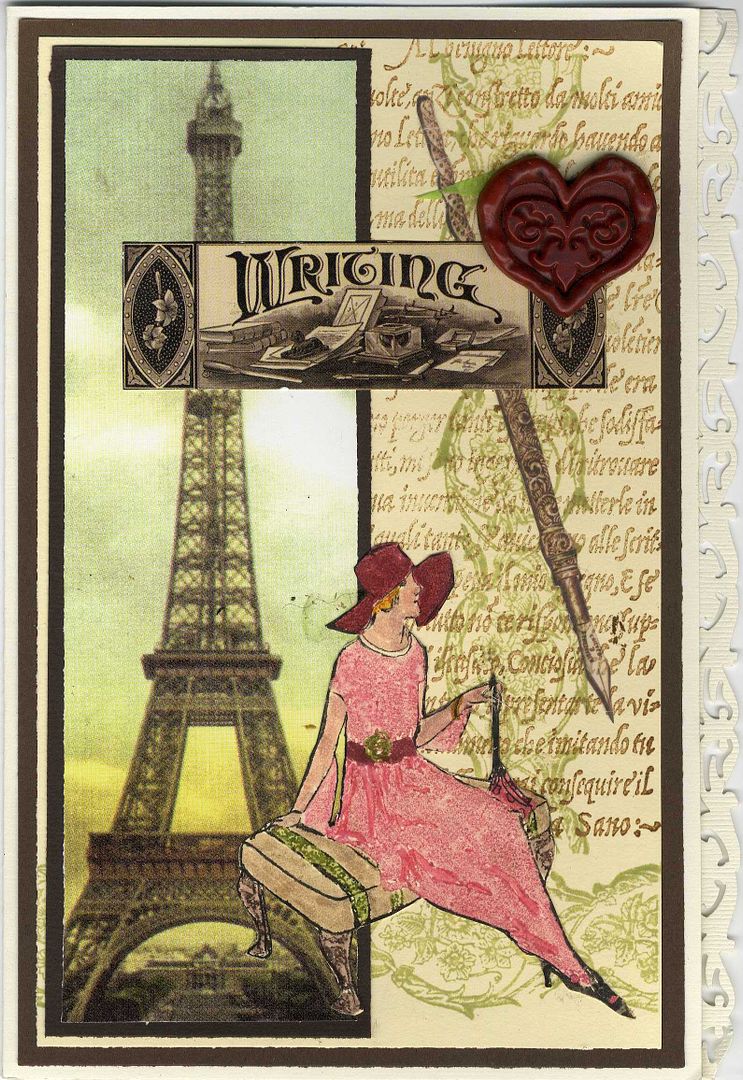
Marie, Summer and Paris
The Eiffel tower in the background of this piece is a rub-on I made using Grafix Rub-Onz transfer film. To view the tutorial on how to make your own rub-on transfers click here. http://artfullymusing.blogspot.com/2010/12/tutorial-create-your-own-rub-ons-using.html
Friday, March 11, 2011
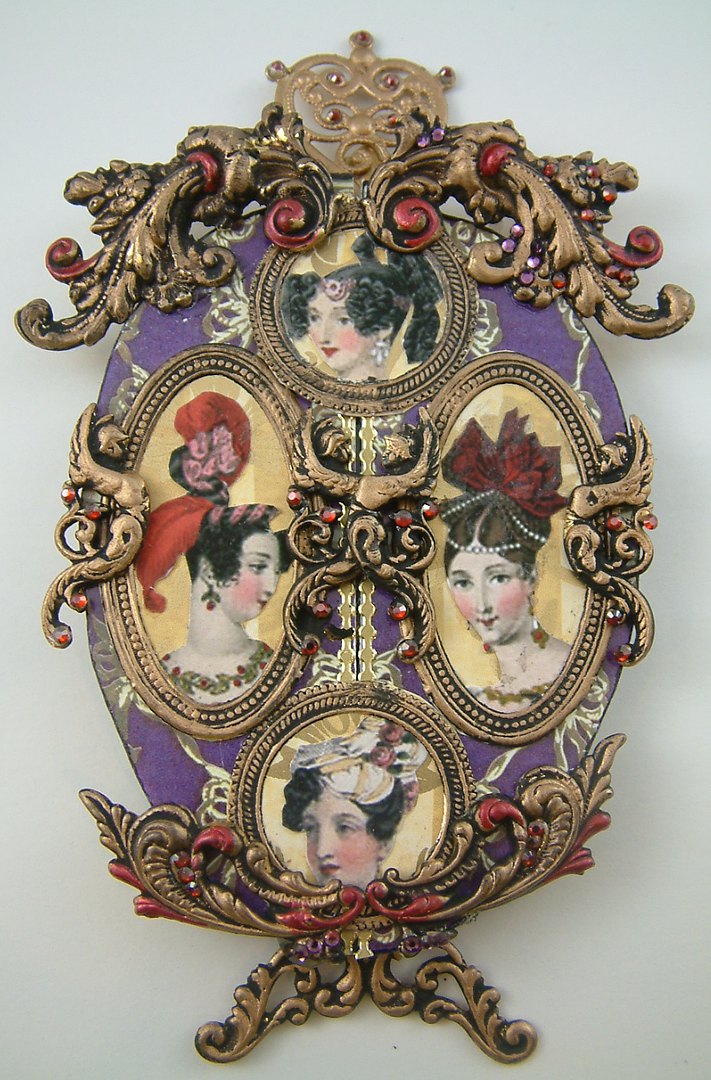
Purple Faberge Egg ATC
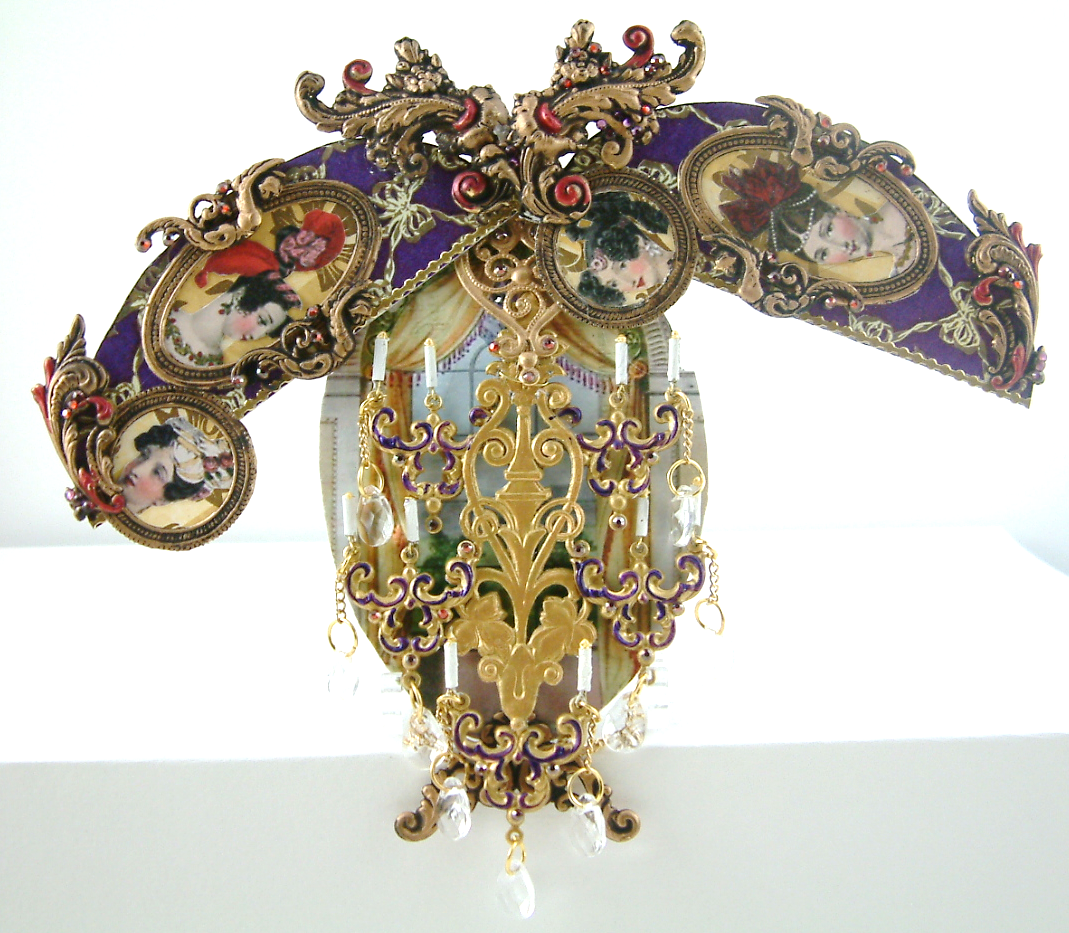
Well, I finally finished another ATC egg, now only one more to go. The logistics on this one were tough. I had to engineer it so when the egg is closed you can pull the chandelier up so you don't see it but when the egg is open you can drop it down so you can. If you missed the other eggs you can click here. http://artfullymusing.blogspot.com/search/label/Faberge%20Eggs
The chandelier is made from brass pieces, German scrap, chain, plastic crystals and beads.
Sunday, February 27, 2011
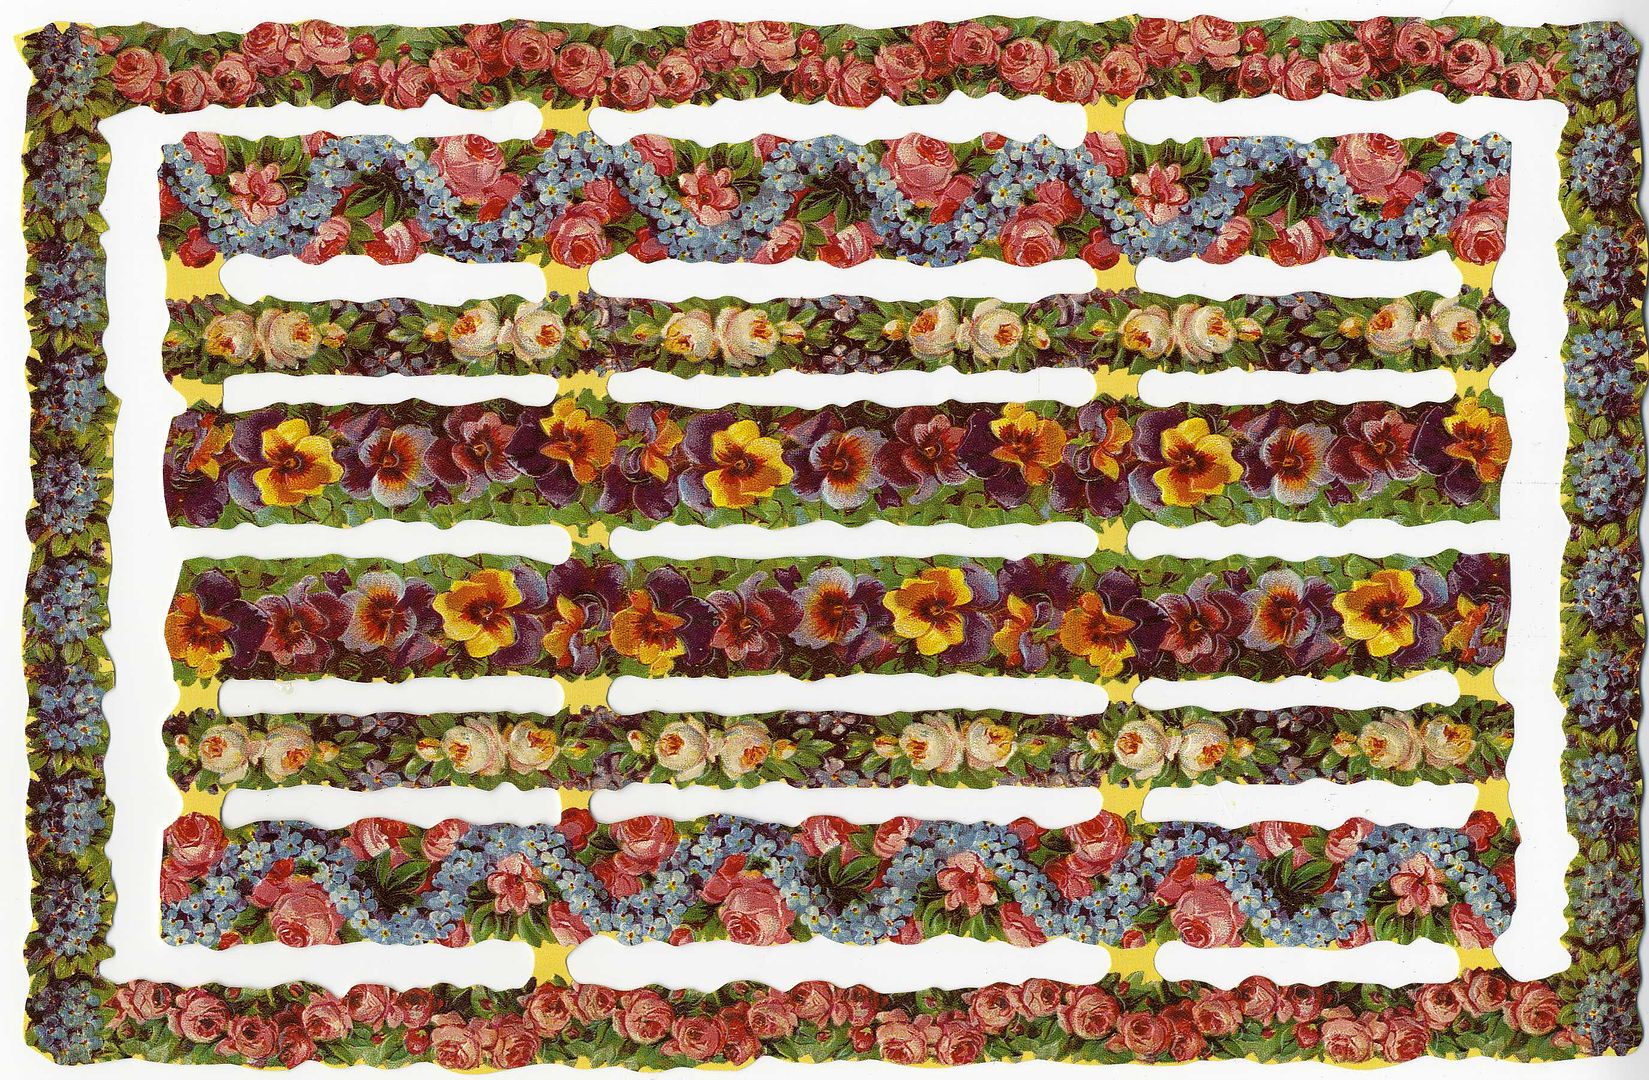
Vintage Victorian Scrap – Second Set
Here are some vintage Victorian scrap images for you to use in your art. To download an image, click on the image to expand it, right-click and select Save As.
If you missed the first set, click here. http://artfullymusing.blogspot.com/2011/02/vintage-victorian-scrap-first-set.html
Saturday, February 26, 2011
Tutorial – How to Make Your Own Molds and Molding With Paper Clay
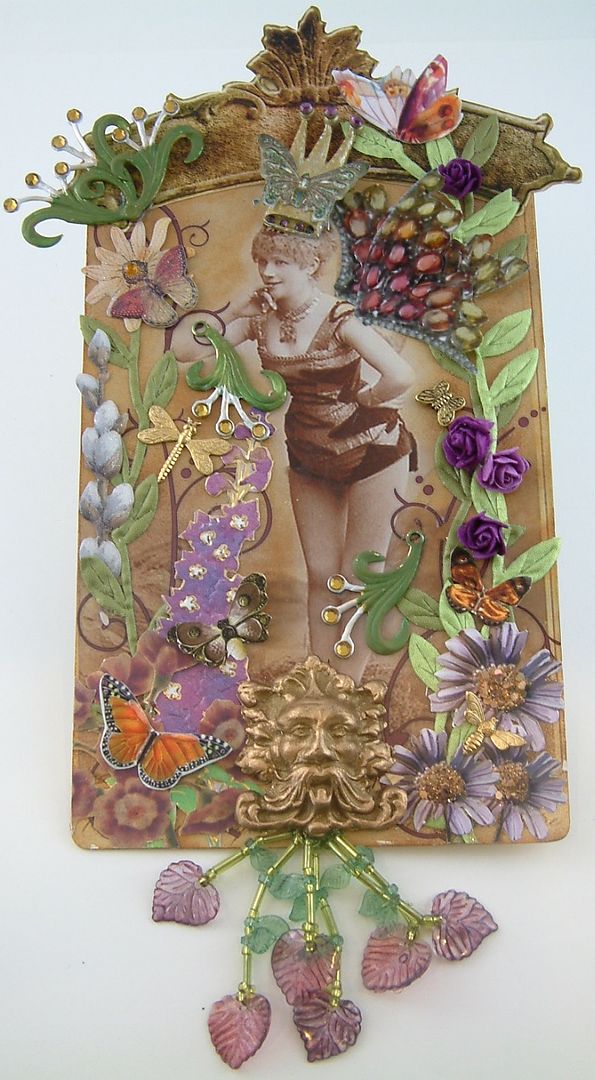
This altered cabinet card is titled “In the Land of the Butterfly Queen”. The garden face at the bottom of the card is made of paper clay.
To save money I often purchase an interesting but expensive piece that I can use to make into a mold, I then create as many pieces as needed. I’ve also made molds of decorative objects in my house. After I create the mold I typically use paper clay to mold the piece. This is because paper clay does not require baking (air dries), can be painted, is easy to trim, is light weight and fairly durable.
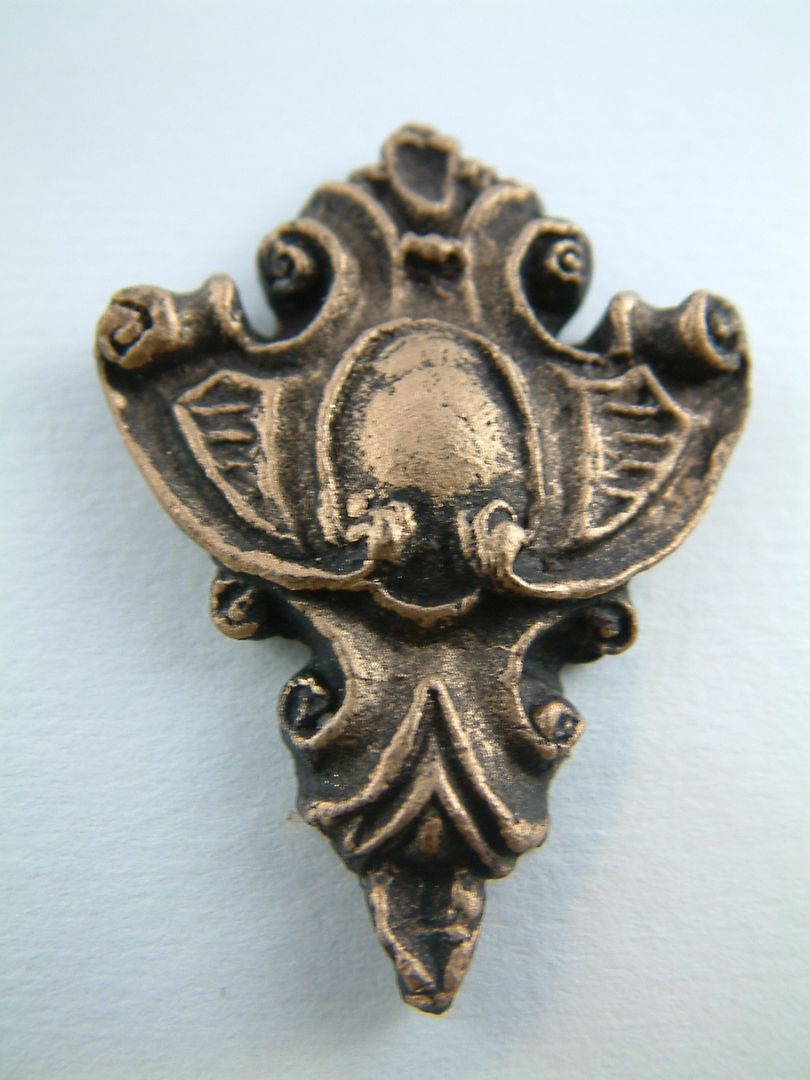
Below you can see the stages of the garden face from brass piece to finished painted paper clay piece.
This tutorial walks you through the steps of making a mold and then molding items using paper clay. You can make a mold from metal or plastic objects and from rubber stamps. The mold you make can be used with a variety of materials including UTEE, wax, soap, and air clay or clay requiring baking. The mold can stand up to the heat of materials such as melted wax. For the purposes of this tutorial I’m going to focus on using the paper clay with the mold because for me it is the most common use molds and it doesn’t require the use of a melting pot or oven.
What You Will Need
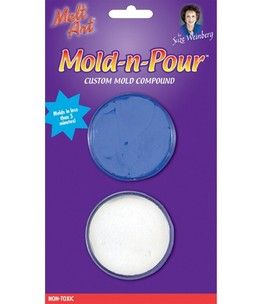
Mold-n-Pour – In the US you can find this at both Michaels and JoAnn craft stores. Other crafts stores may also carry it. On-line you can purchase it from Amazon.com, Createforless.com, Overstock.com and a huge variety of other on-line stores.
Creative Paper Clay – You can find this product in pretty much the same places as the Mold-n-Pour.
I recommend reading through the entire tutorial before starting
Making a Mold from a Metal or Plastic Object
Step One – Selecting an Object to Mold
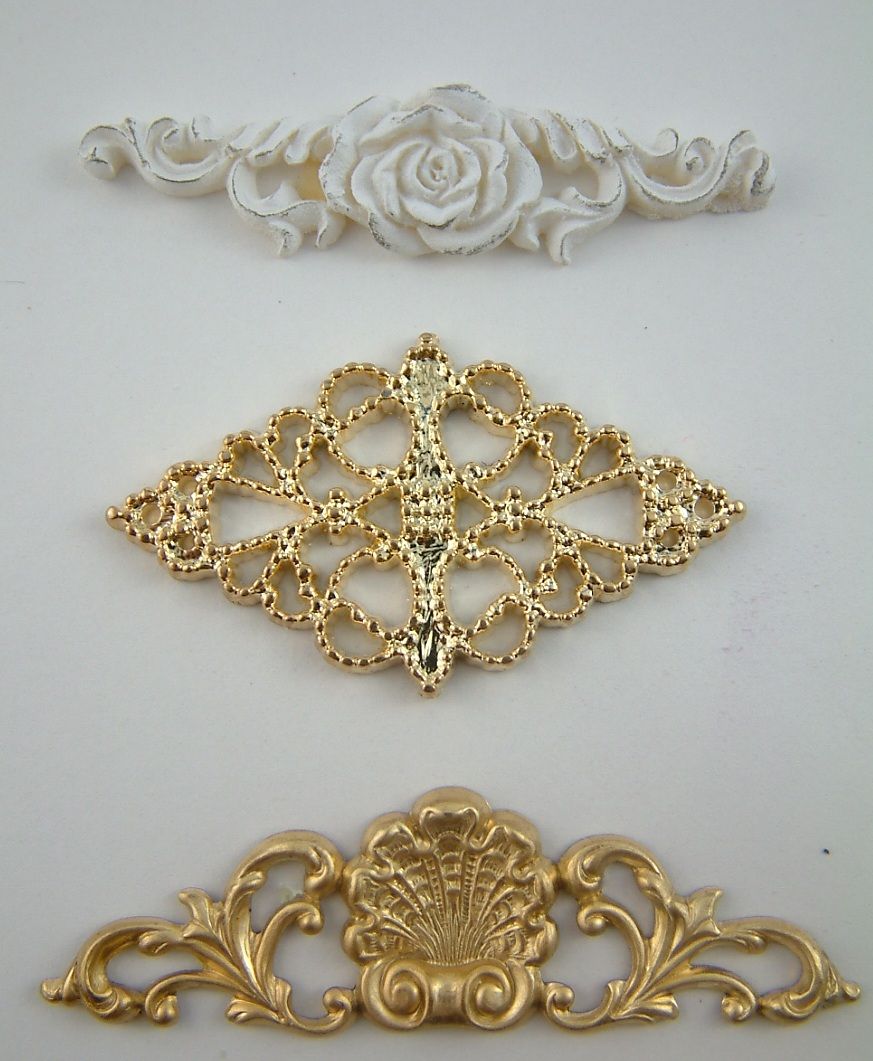
To make it cost effective, I try to choose objects that I think I will want to repeatedly mold. You’ll want to select a dimensional object and one that does not have too much detail with too many holes. It is difficult to get a good mold if there are lots of holes and once you mold the piece it is hard to clean it up.
The objects below are bad choices as there are lots of holes and detail.
Here are a few good examples of objects I’ve molded.
Architectural details make good molds. In the card below I used the top and bottom of one column and the top of the other. Using paper clay made it easy to cut the columns in half so I could use both ends.
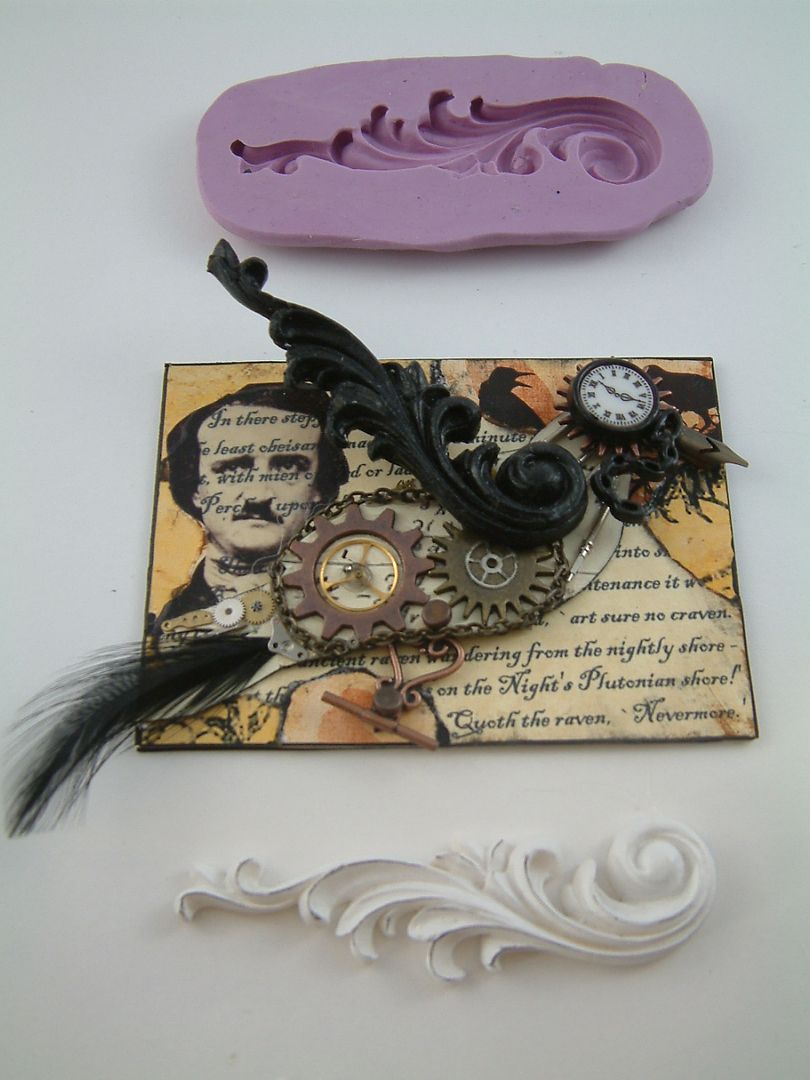
I molded a resin flourish to create a wing.
I made a mold of a plastic fleur de lyse that you see on the glass slide card below.
Step Two - Prepping the Molding Material
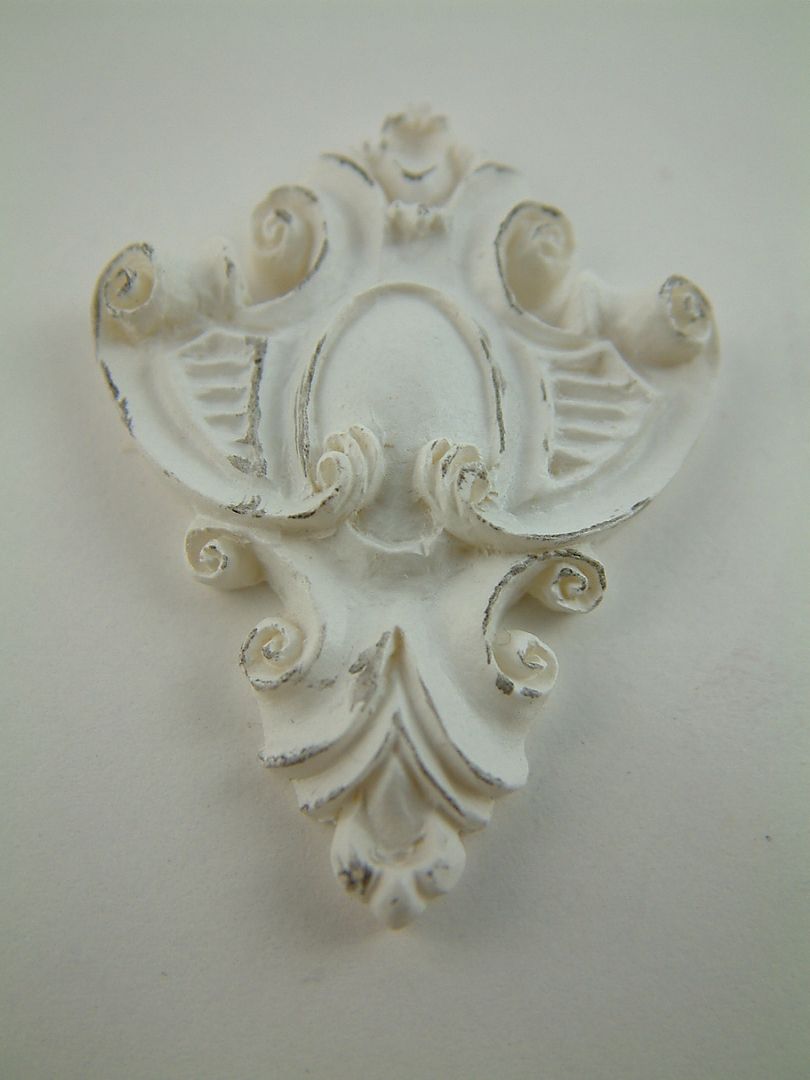
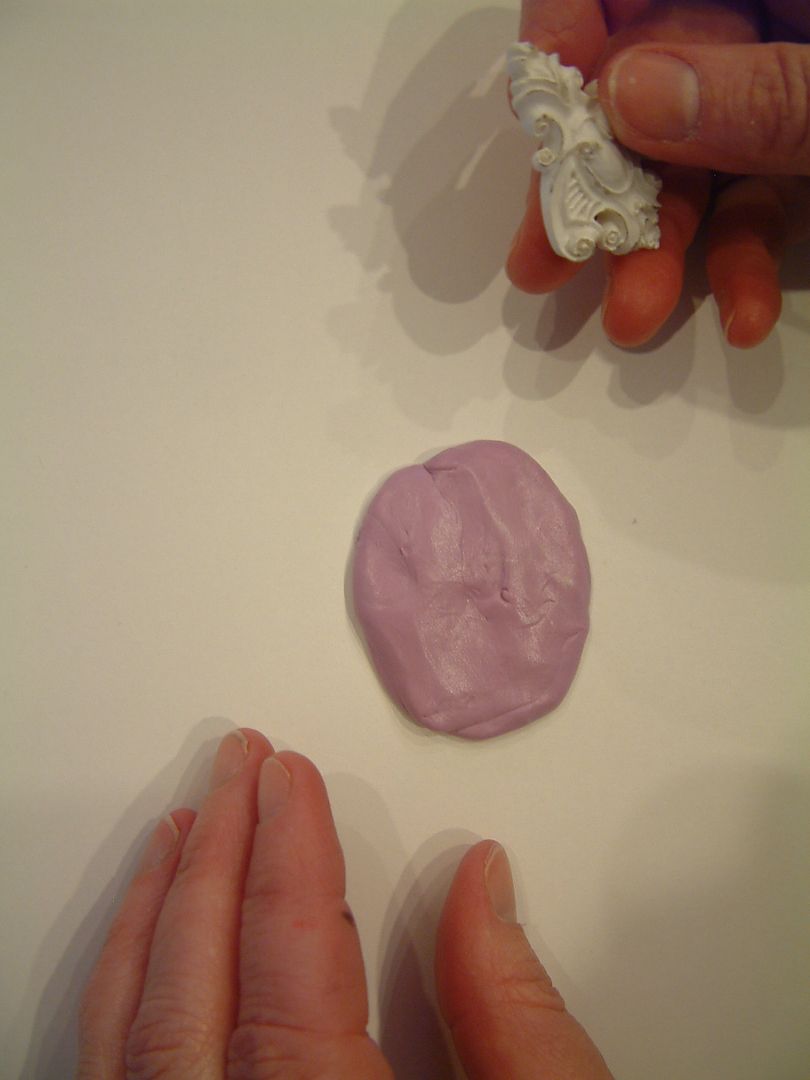
In this tutorial I’ll be creating a mold of the resin piece in the picture below.
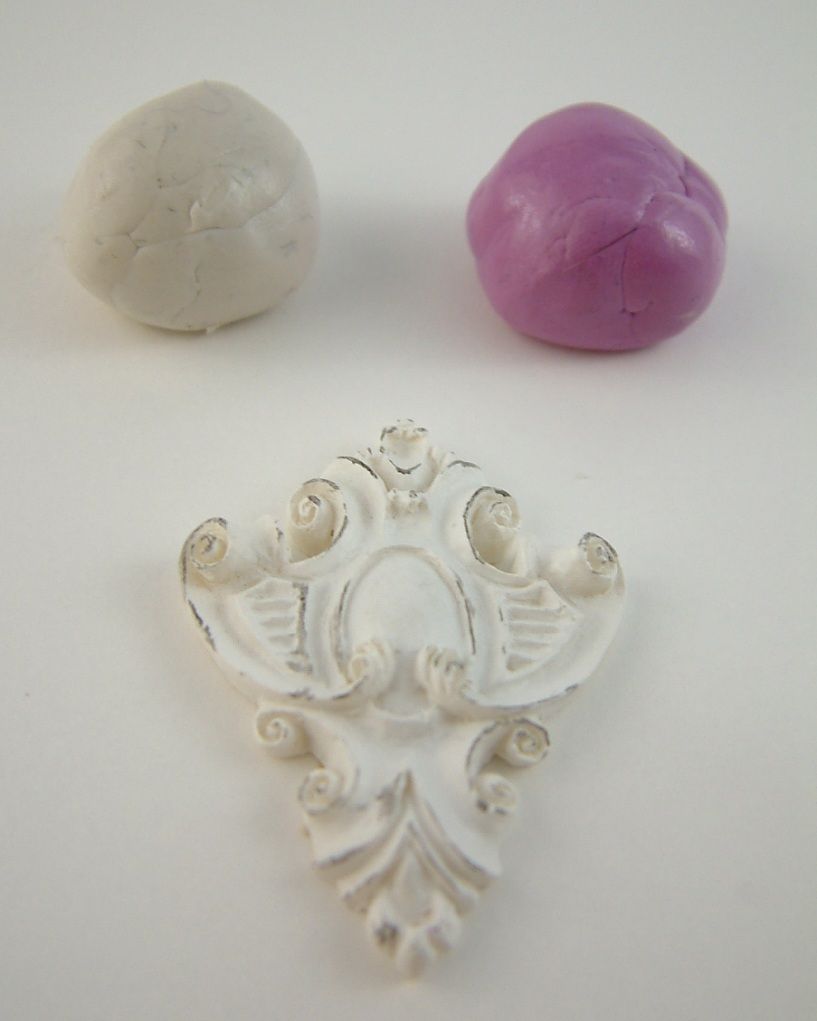
Combining the materials from the two containers causes the mold to set. Don’t mix the materials until you are ready. Depending on the dampness of your climate you only have about 5-10 min before the mixture hardens. Only use the amount of material you need. The material in one container will be white and the other will be purple or blue (I think they recently changed the color from purple to blue). For the purpose of this tutorial I’ll start with the colored material.
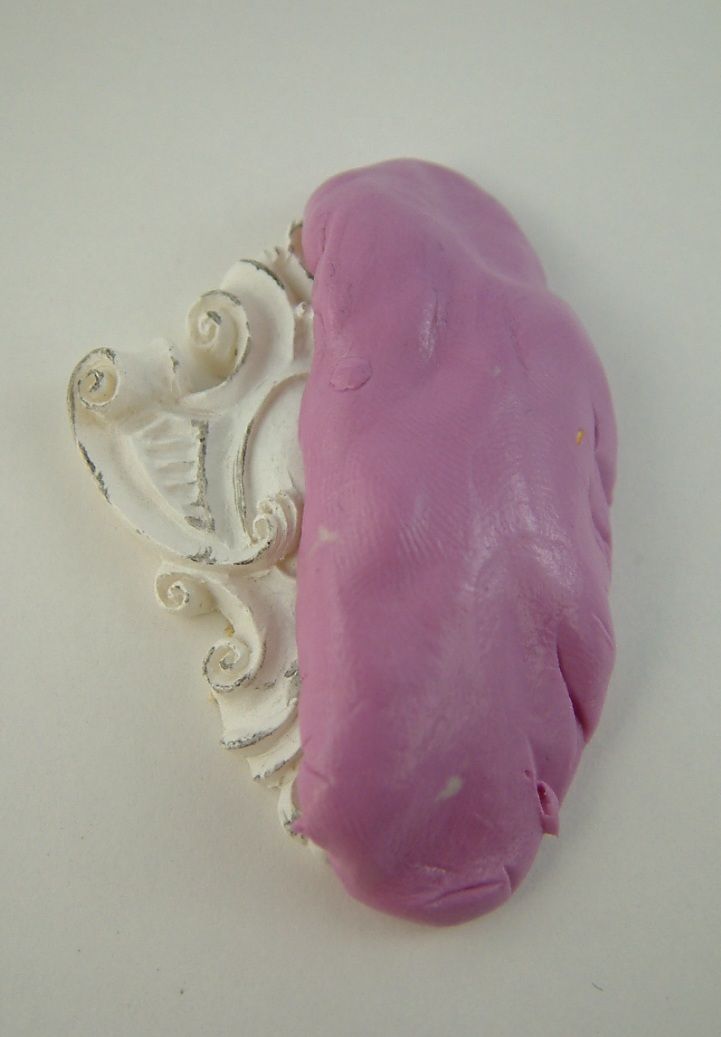
Remove enough blue or purple material from the container to cover a little more than half of your object. You can stretch the material over the object to determine if you have enough. In the picture below, note how there is enough material to cover a little more than half of the object.
Once you think you have the right amount of material, roll it into a ball. Remove the same amount of white material from the other container and roll it into a ball. Adjust the amount of white material until the balls are equal in size. See below.
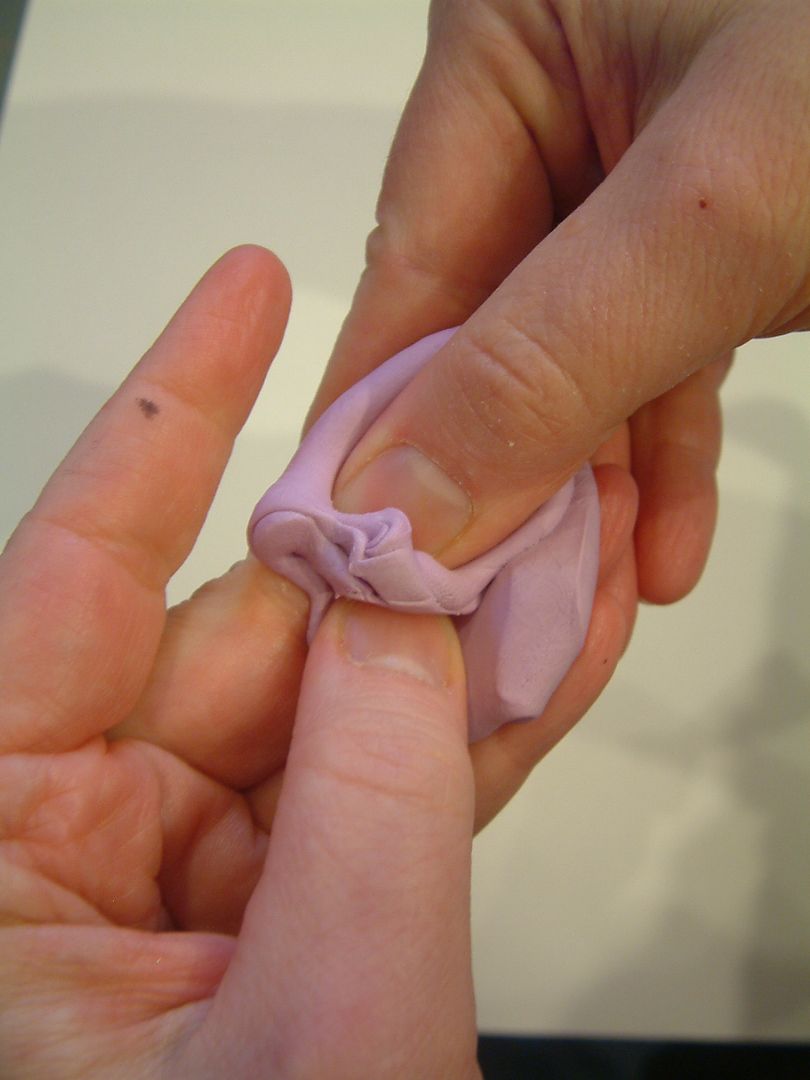
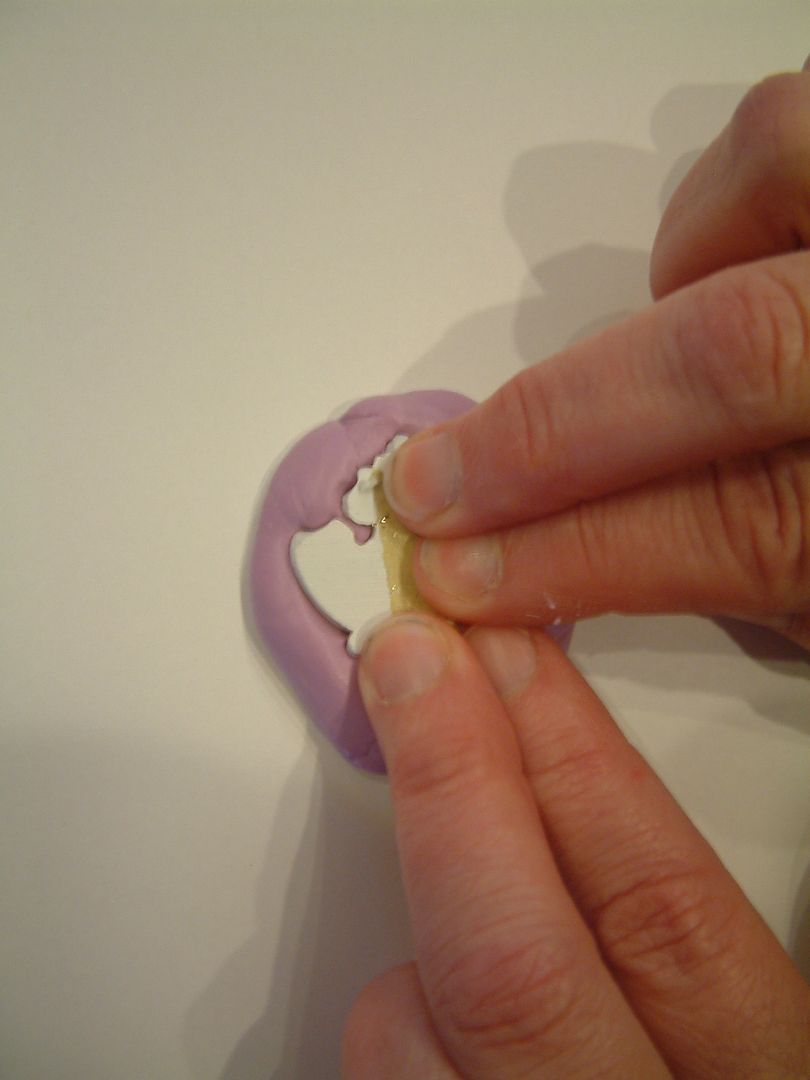
Begin mixing the balls together, quickly kneading and blending them into a single color. Remember once you begin combining the materials, you only have about 5 – 10 minutes before the mixture sets. Knead the material with the tips of your fingers as the heat from your palms makes the molding material set more quickly.
Step Three - Molding Your Selected Object
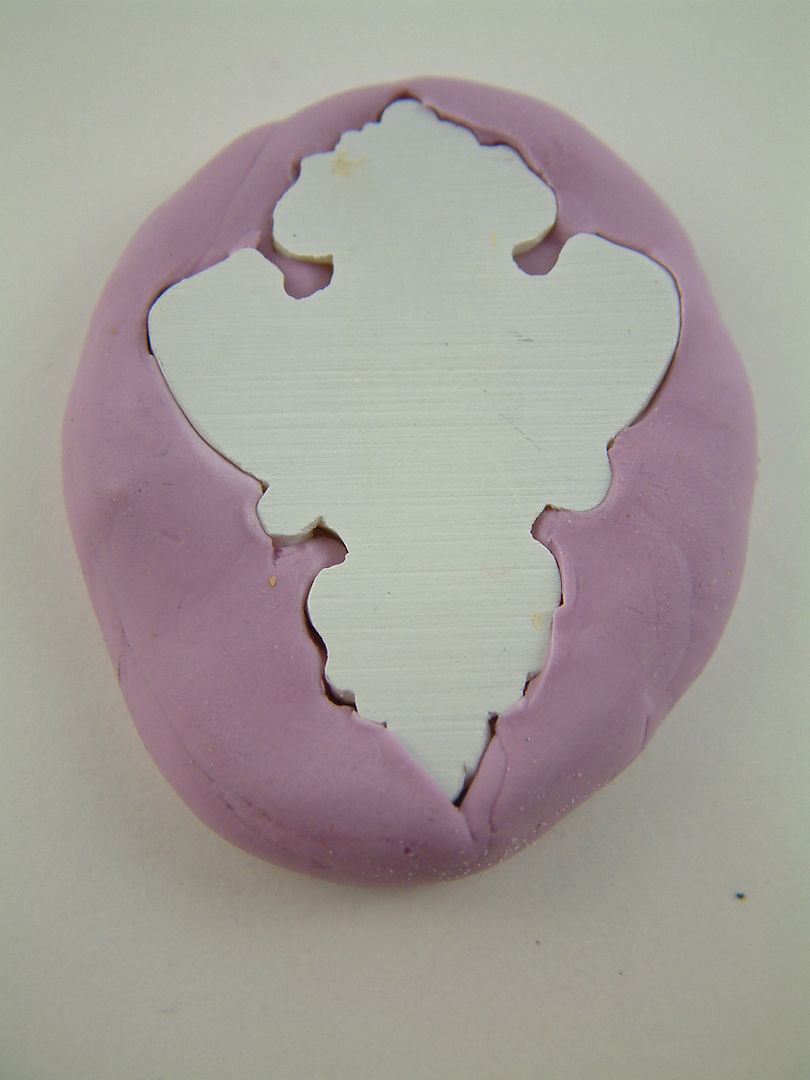
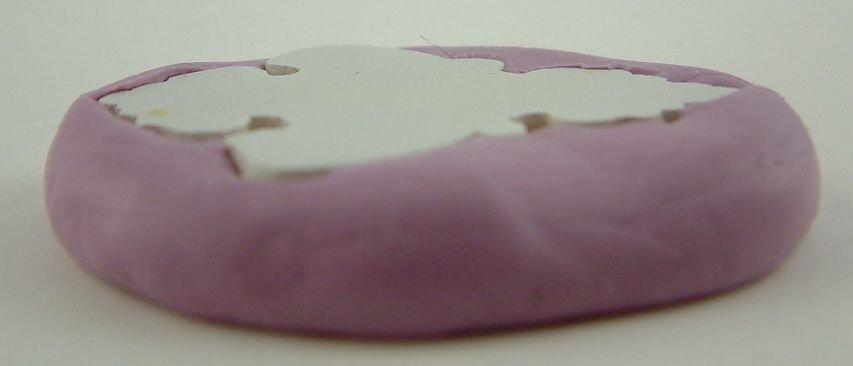
Flatten out your mixed molding material so that it is slightly larger than your object and press your object into the material. Be careful not press the object completely though the molding material. The material should be flush with the sides of the object. You may need to press and adjust the molding material to get it properly around the object.
Step Four – Drying
Leave your object in the molding material for about 10 minutes then remove. The mold should be set and ready to use.
Molding with Paper Clay
Step One – Pressing Clay into the Mold
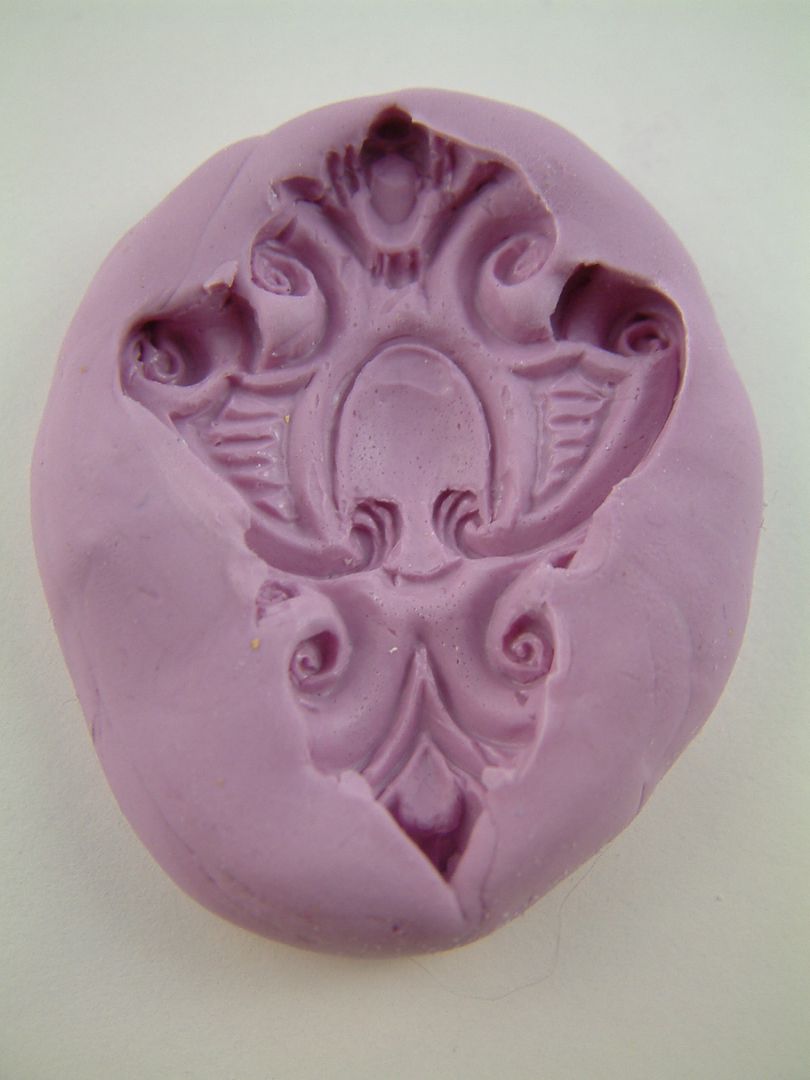
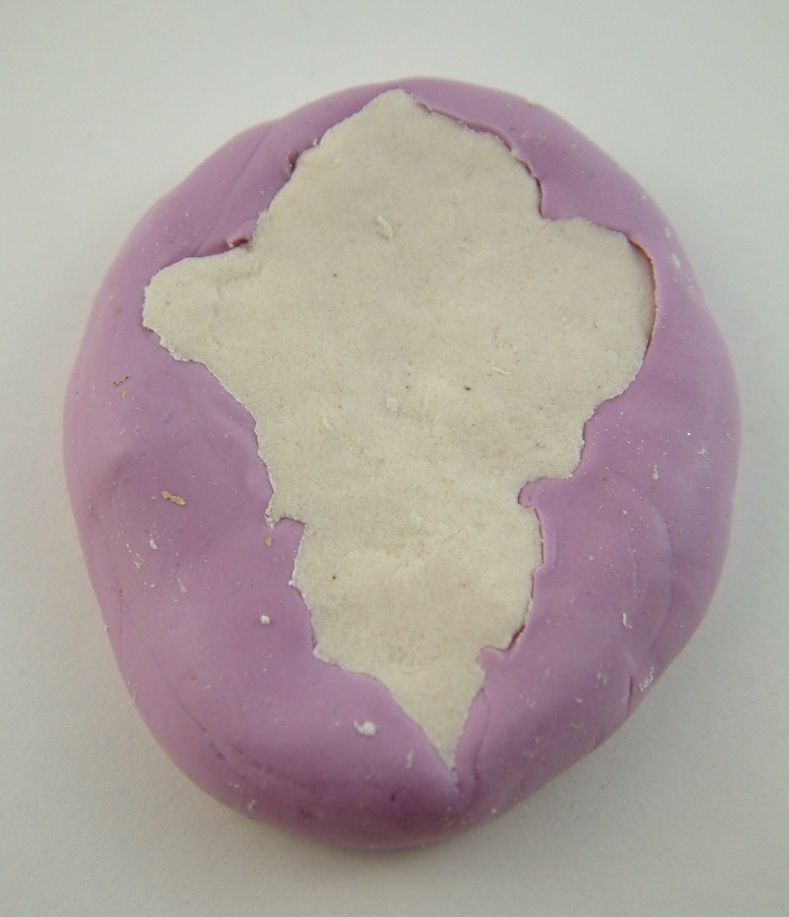
Paper clay is very easy to work with. Remove the amount you think you will need to fill the mold. Knead the clay together so that the texture is consistent. Press the clay into the mold. You want the mold to be filled and the clay to be flush with the top of the mold. Remove any excess clay.
Step Two – Removing the Molded Clay
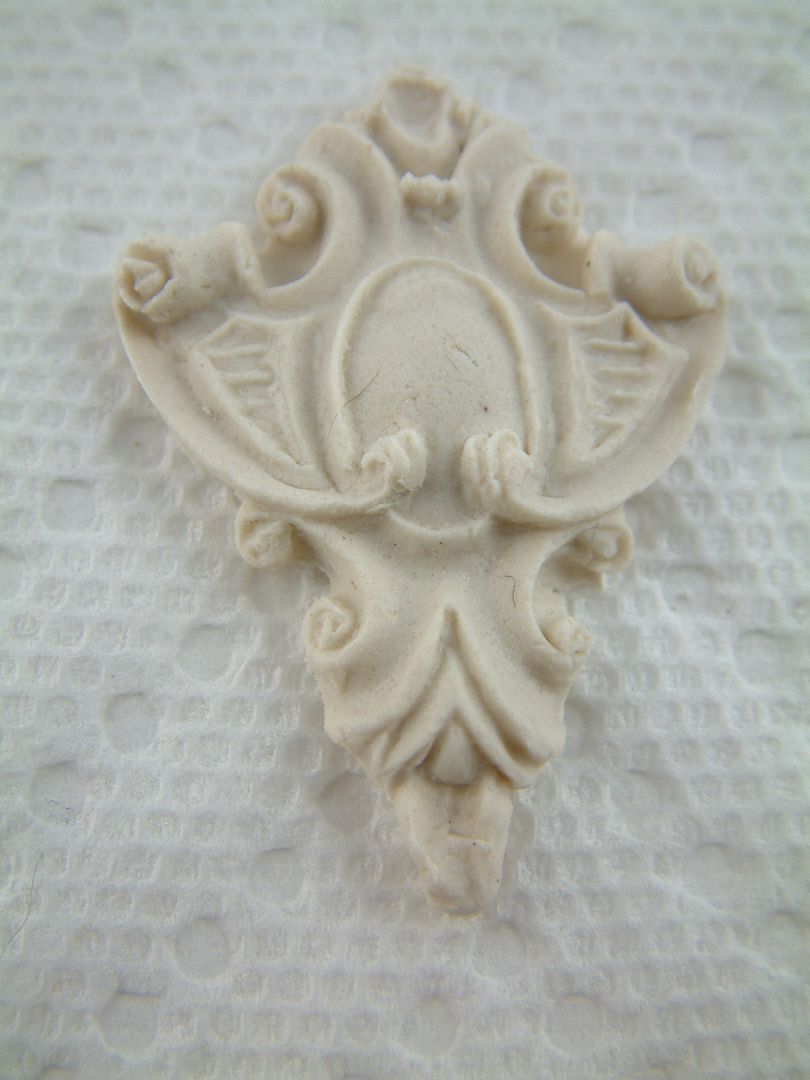
Leave the clay in the mold to dry for about an hour. In this allows the clay to dry just slightly which makes it easier to remove without damaging the design. Carefully remove the molded clay and place it on a paper towel. The towel helps draw the moisture out of the clay.
Step Three - Drying the Clay
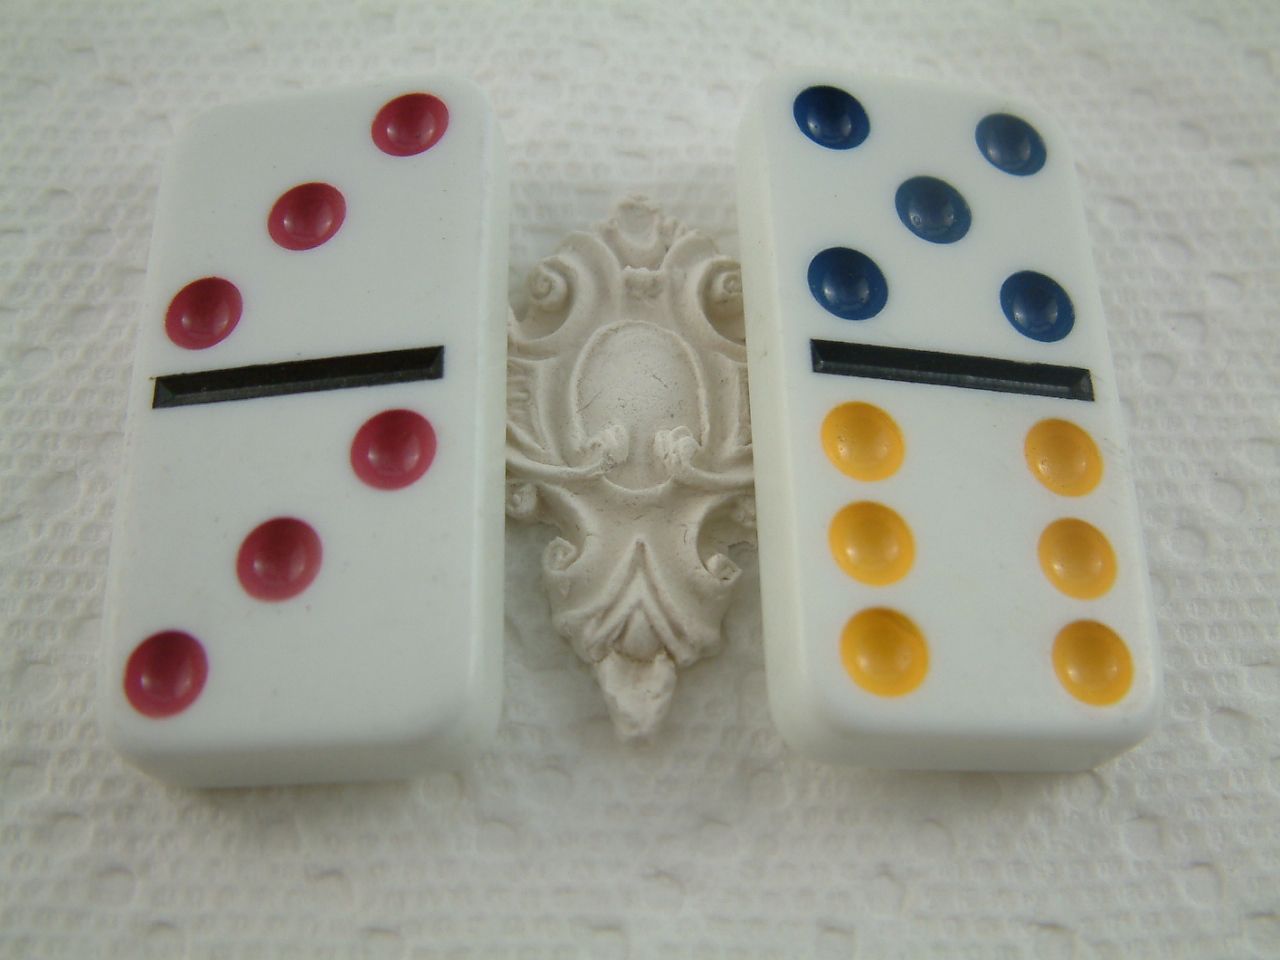
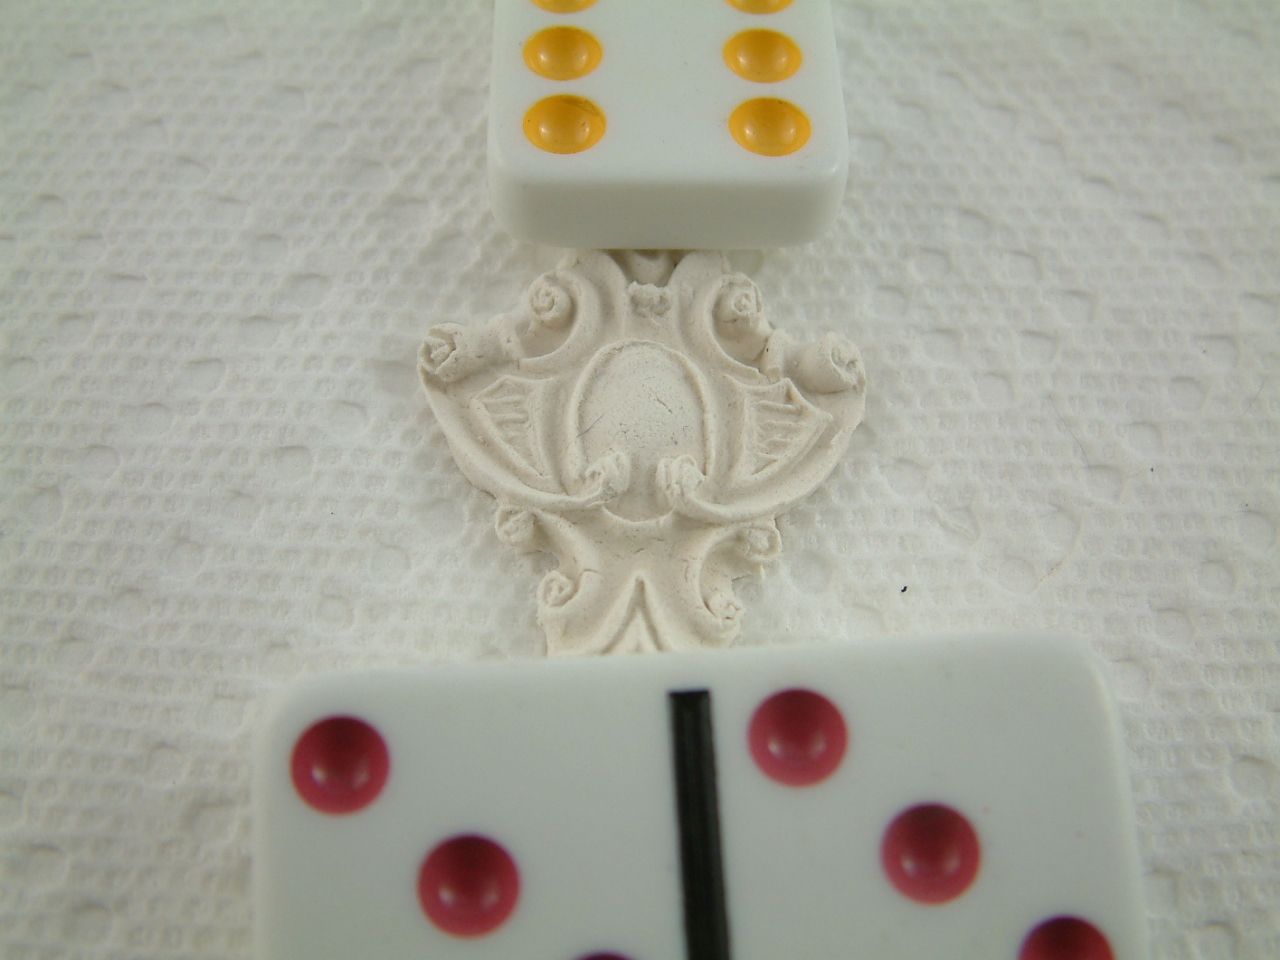
Paper clay takes a long time to dry and the drying time will vary with the dampness of your climate. It could take as long as a day for it to get completely dry. During the drying process you should occasional move the molded clay to a different spot on the paper towel. Paper clay likes to curl as it dries so once the outer surface is just a little dry apply some weight to the molded clay to prevent curling. You can see below I placed dominos on the edges of the molded clay to add pressure. As the clay dries it will turn from an off white color to white and become rigid. The clay may seem dry on the surface but it may still be wet in the middle.
Step Four – Trimming
You may need to trim or cleanup your dry molded clay piece. You can trim up your molded piece with scissors, sandpaper, or precision filing tools. Here is the link for information on precision filing tools http://artfullymusing.blogspot.com/2010/11/cool-tool-precision-file-set.html
You are now ready to decorate your molded piece.
Making a Mold from a Rubber Stamp
The steps for making a mold from a rubber stamp are exactly the same as for a metal or plastic object. The only difference is to make sure that you have enough molding material than when mixed, covers the raised part of the rubber stamp. Instead of pressing an object into the molding material press the rubber stamp into the molding material. Leave the rubber stamp in place for 10 minutes and remove when the mold is set. When choosing a rubber stamp, too much fine detail does not make a good mold. For this card titled “Le Jardin” I wanted to create a topiary, so I made a mold from a garden urn rubber stamp.
Storing Paper Clay
To keep your paper clay moist, seal the package in a plastic bag. Next, place the plastic bag in another plastic bag. Drip some water into the second bag and seal it. Because you sealed the clay in the first bag the water won’t come in touch with the clay but will evaporate in the second bag and keep the air moist around the first bag. And as you know, no bag is completely airtight. If you don’t do this your clay will dry out. This is also a great trick for keeping brown sugar moist.
Subscribe to:
Posts (Atom)