-->

Welcome

I love answering your questions. If you ask them in the comment section, I have no way to answer you (if you haven't heard from me, that is why). If you use the "EMAIL ME" in the left column of this page, I will be able to respond to you. You can also use it if you want to be added to my newsletter. Laura

Friday, May 30, 2014

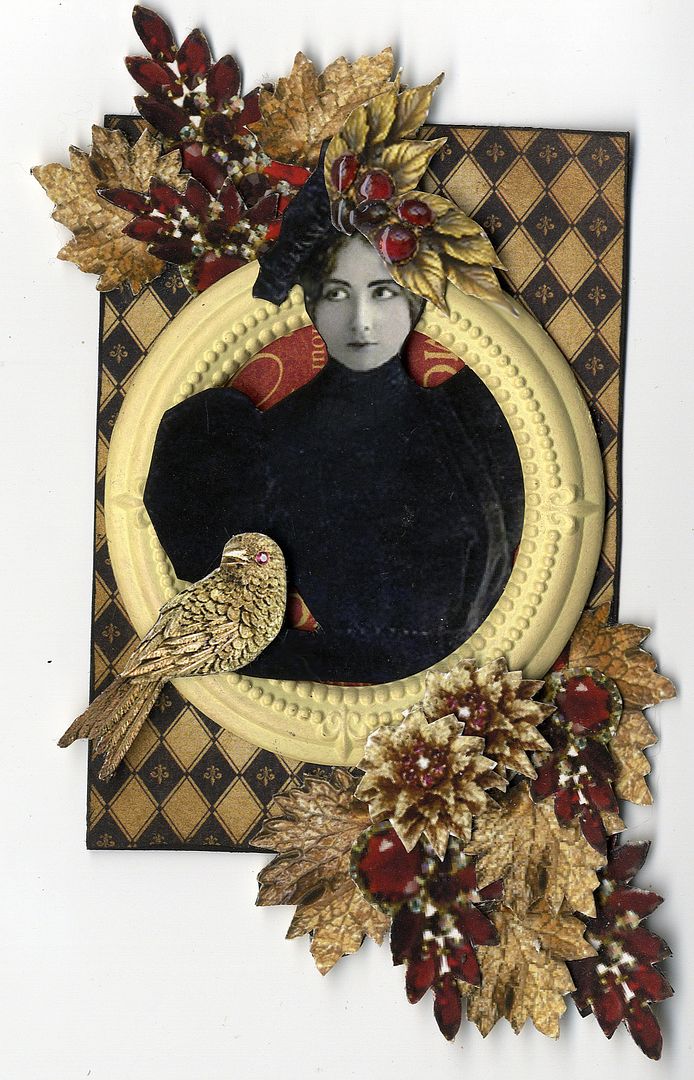
ATCs

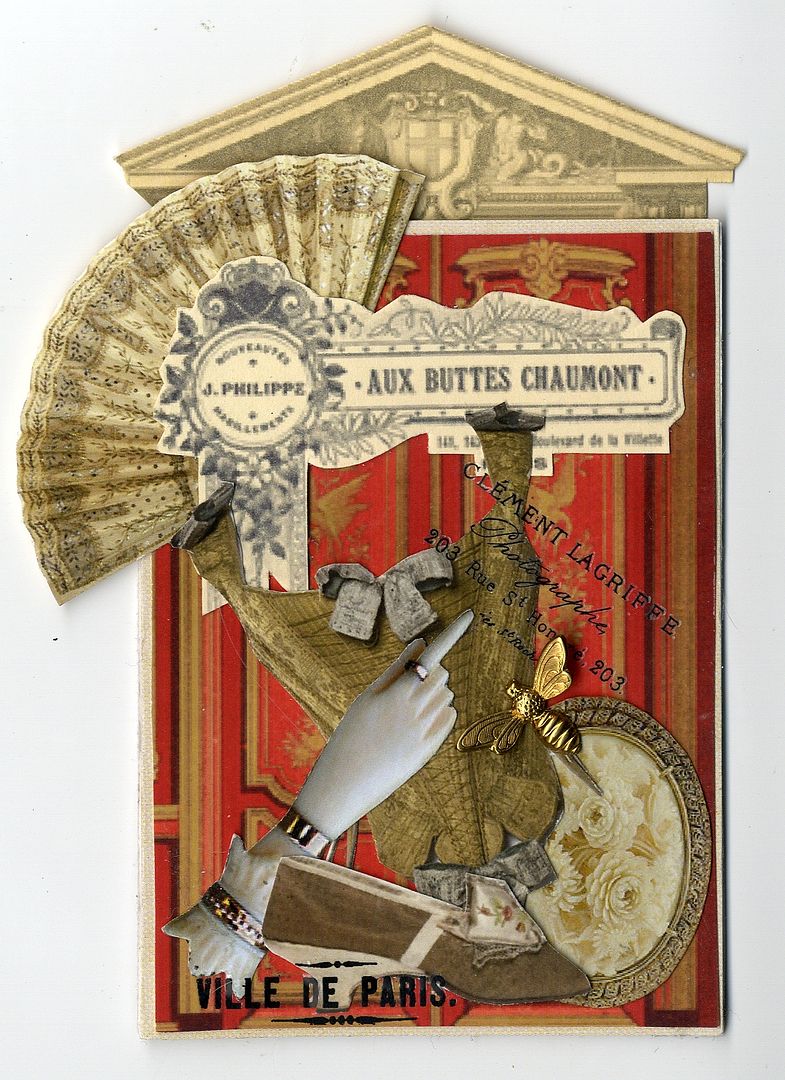
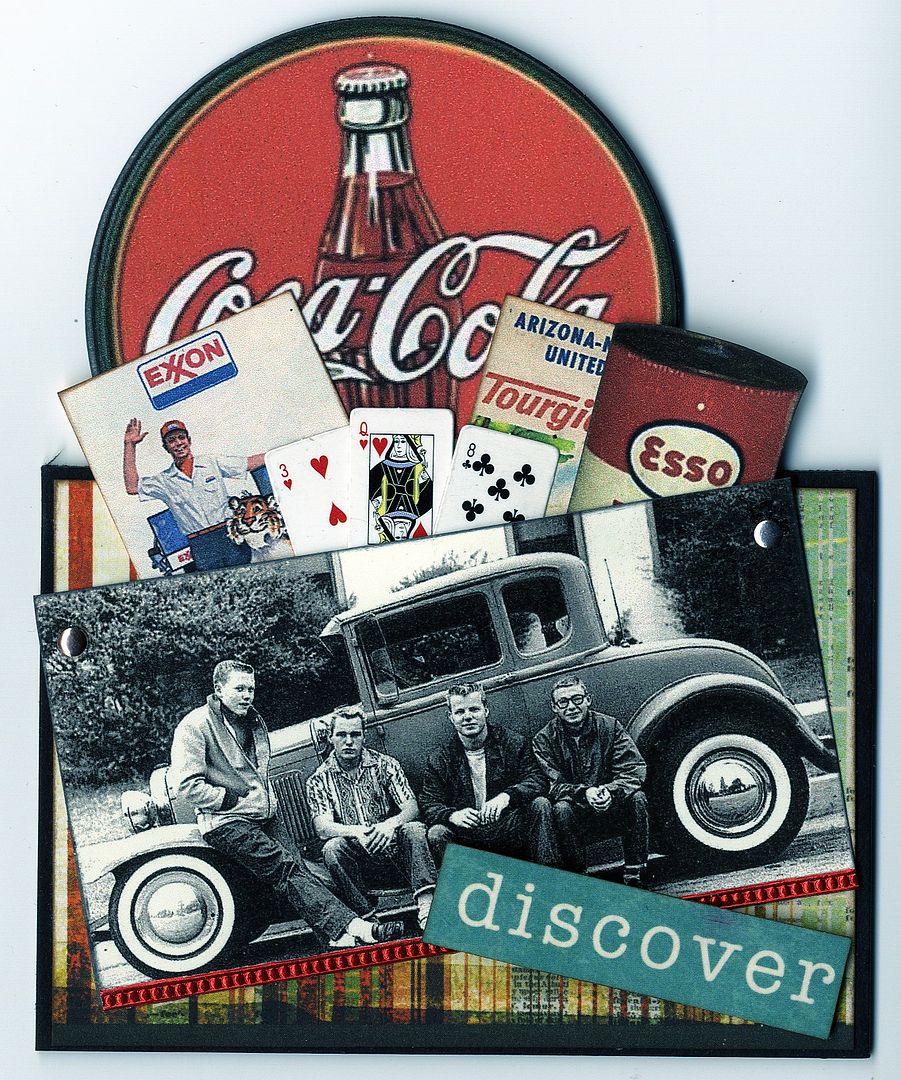
Here are a couple of ATCs I made a while ago for swaps.  The jeweled, leaf and bird images on the one above are from my Bejeweled Collage Sheet.

Tuesday, May 20, 2014

Bookmarks

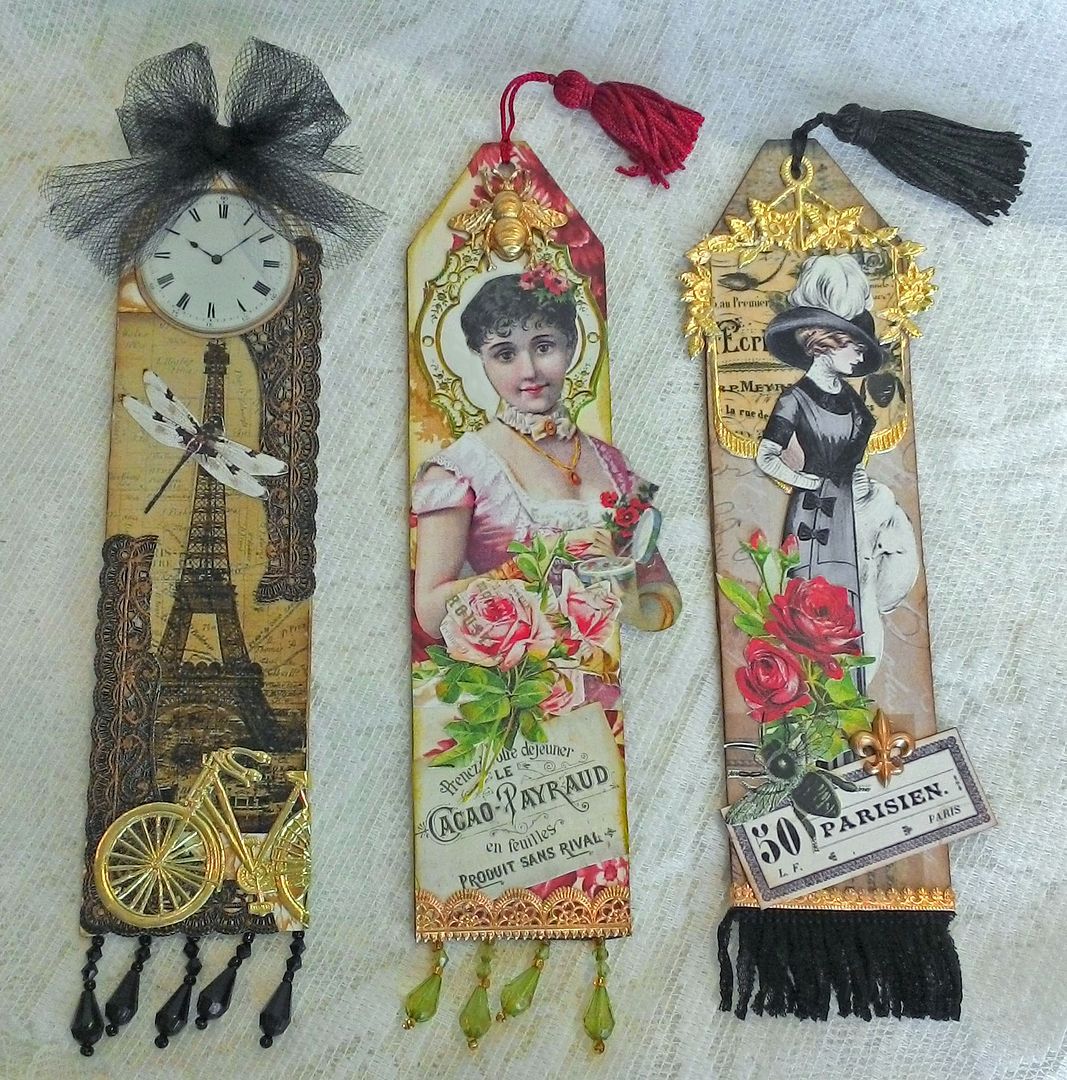
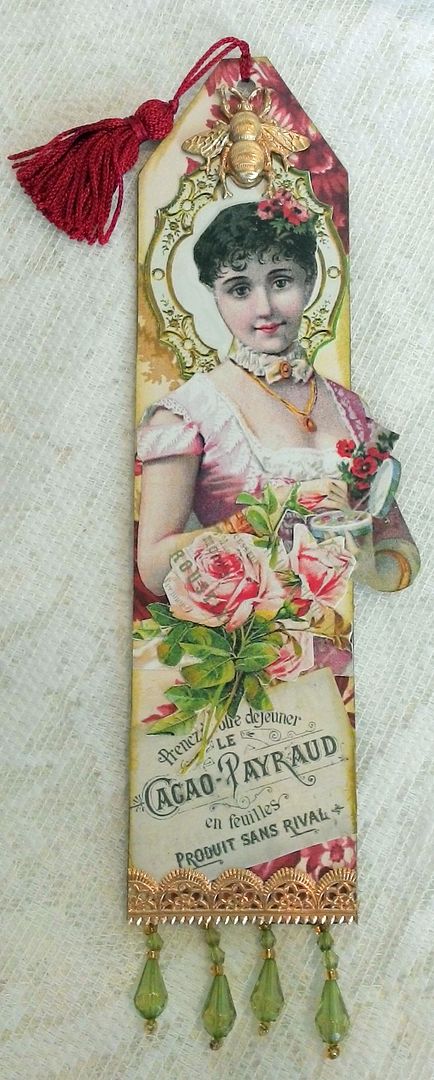
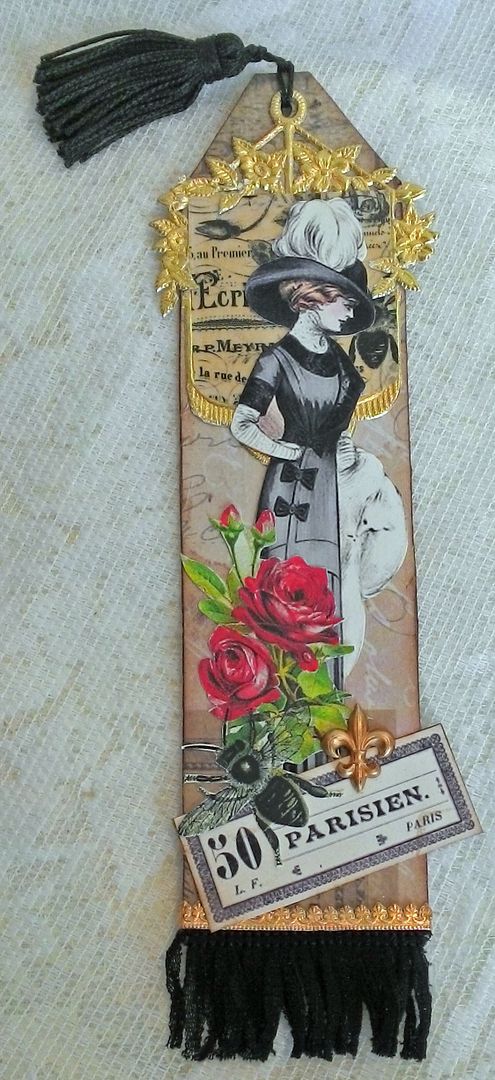
When I was working on the Springtime in Paris altered book in the previous post, I decided to make some bookmarks.  I started by cutting out the bookmark shape in heavy chipboard.
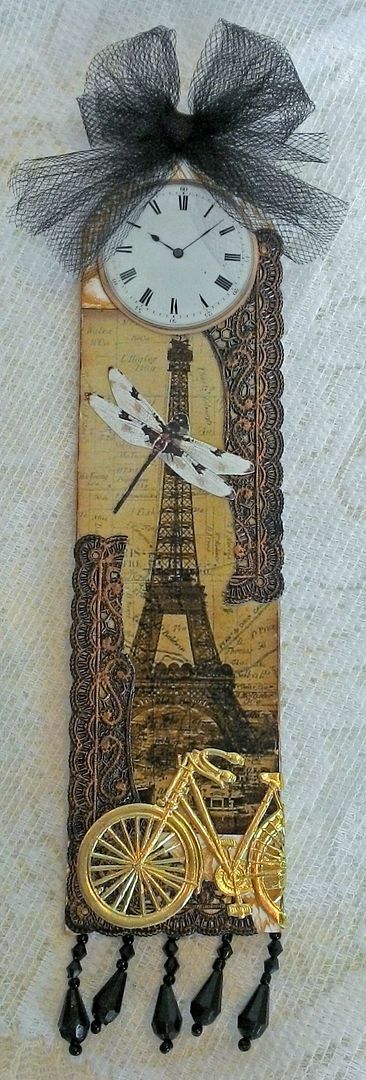
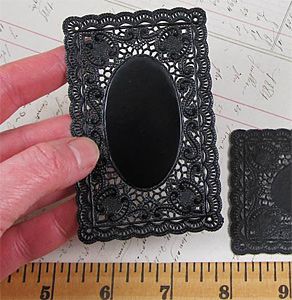
To frame the Eiffel Tower I cut apart a black doily frame and use Gilders Paste to accent the raised areas.

Just like I do with my ATCs, I went off the edge of the bookmark with the image of the Victorian lady.
The fringe at the bottom is black tulle.  On the Dresden banner I applied a piece of the French Floral Overlays Collage Sheet printed on vellum.  You’ll be seeing a lot more pieces from me using that collage sheet in all kinds of different ways.

Saturday, May 17, 2014

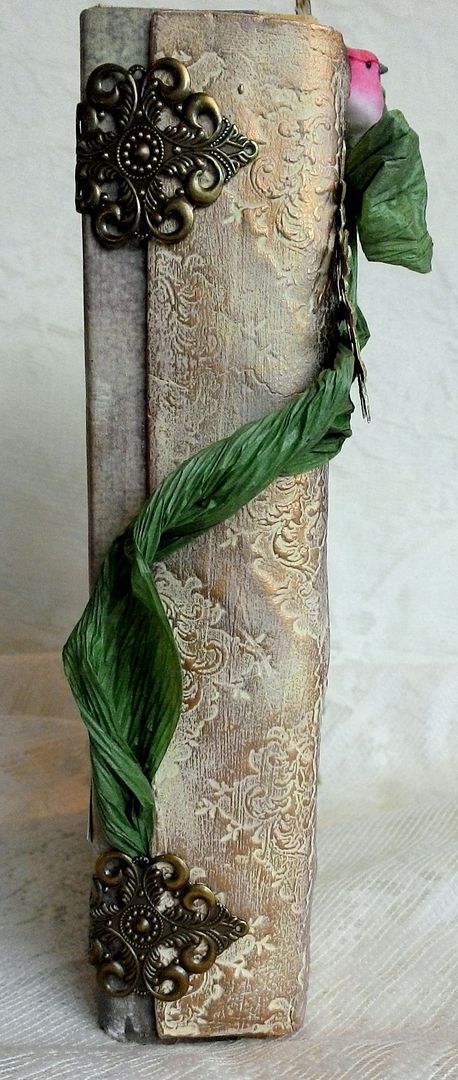
Springtime in Paris Altered Book with Paper Clay Stamped Spine Tutorial

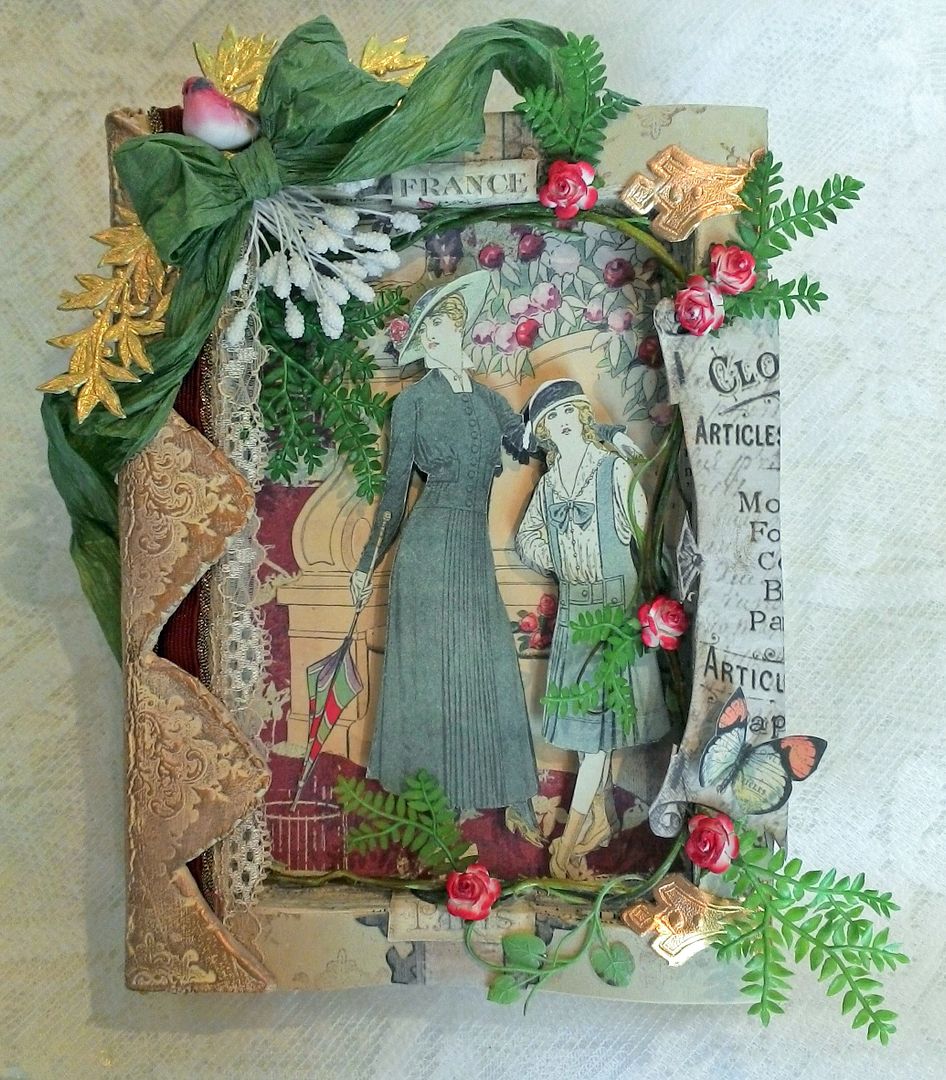
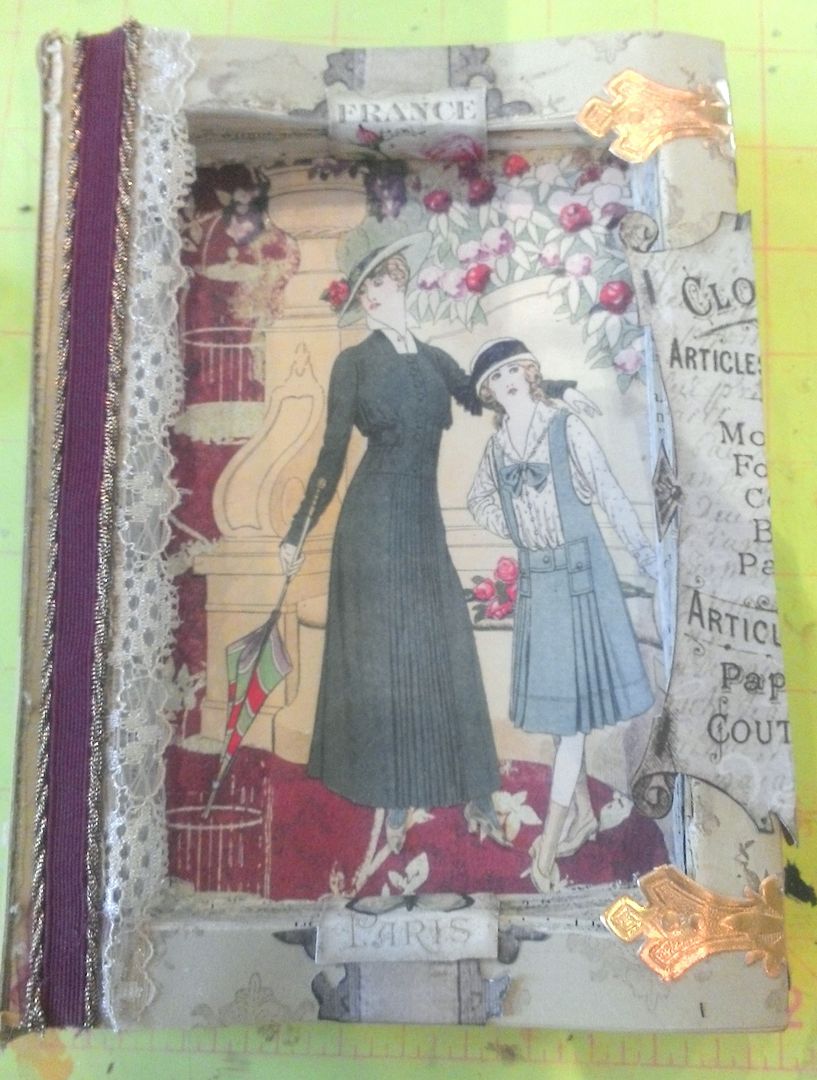
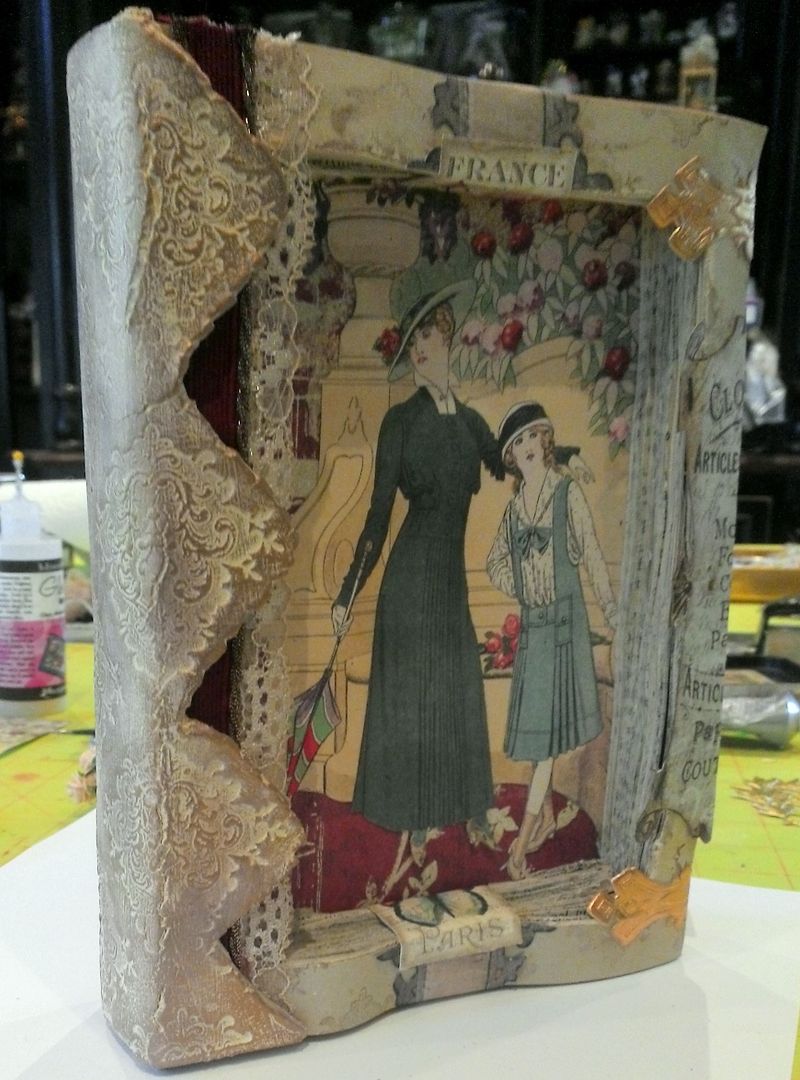
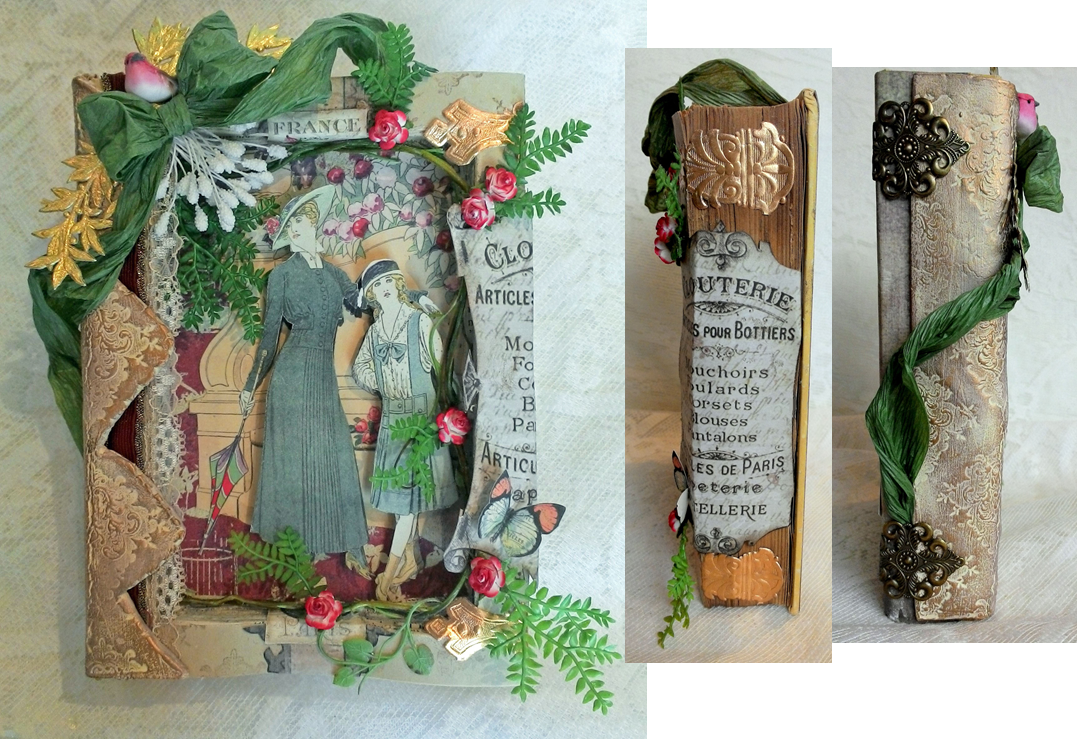
Its springtime in Paris and my homage to the season is this altered book.  Unlike other altered books I’ve shown you, I’m using decorative images and paper to hold the pages together rather than gluing them to each other; a big time saver!
I’ve shown you how to stamp on paper clay and how to mold stamped clay to a bottle, so how about stamping clay and molding it to a book spine.
TUTORIAL
Clay Spine
Since it takes a while for paper clay to dry, I started by making the stamped piece for the book spine.  First, I rolled out paper clay on a piece of wax paper.  You could also use a non-stick craft sheet or tin foil; anything that keeps the clay from sticking to the surface.  I used a brayer to roll out the clay to a thickness of about 1/8” thick.
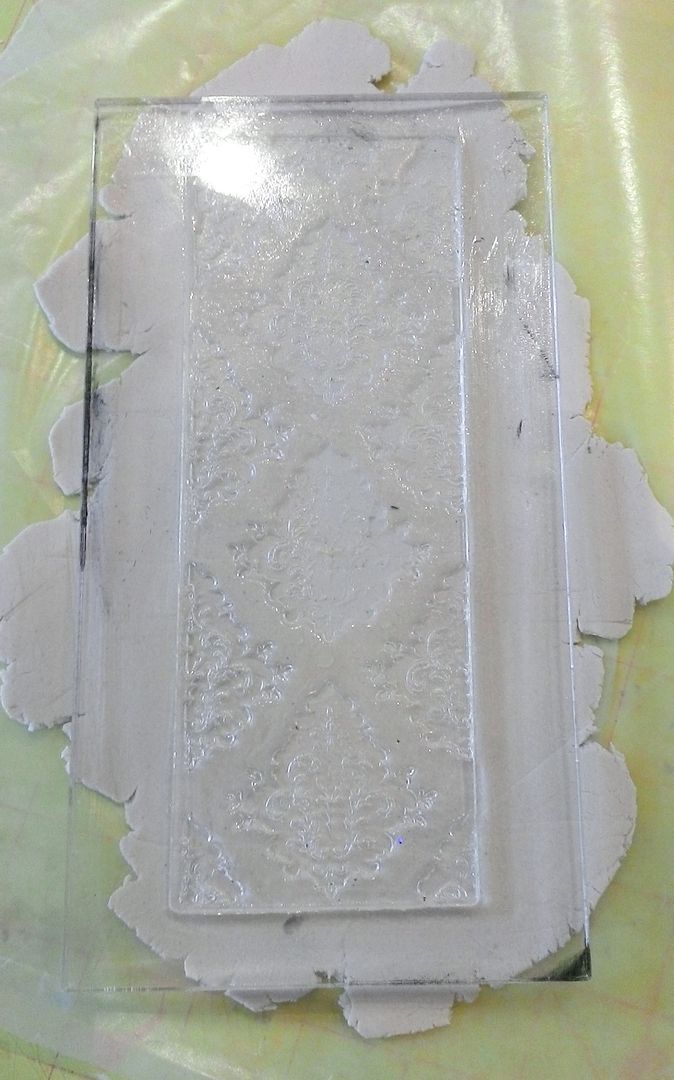
Next, using a yummy damask clear stamp, I pressed the stamp firmly into the clay.
Carefully remove the stamp from the clay revealing the pattern which will become more prominent when colored.
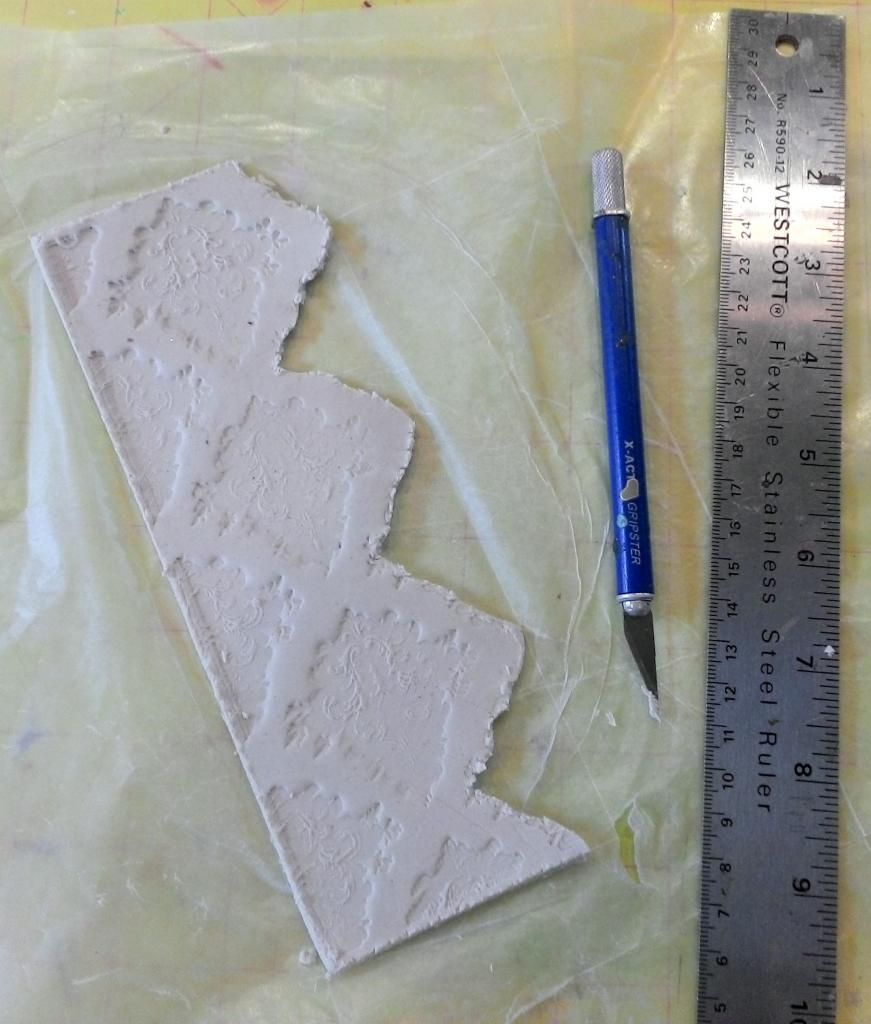
Next, I trimmed one side and the top and bottom of the clay using a metal ruler and X-acto knife.  I used the X-acto knife to trim away some of the clay on the right side.  After the clay dries I will sand away any remaining excess clay.  
Note: Paper clay shrinks when it dries so keep that in mind when deciding how much clay to trim away and what stamp to use.
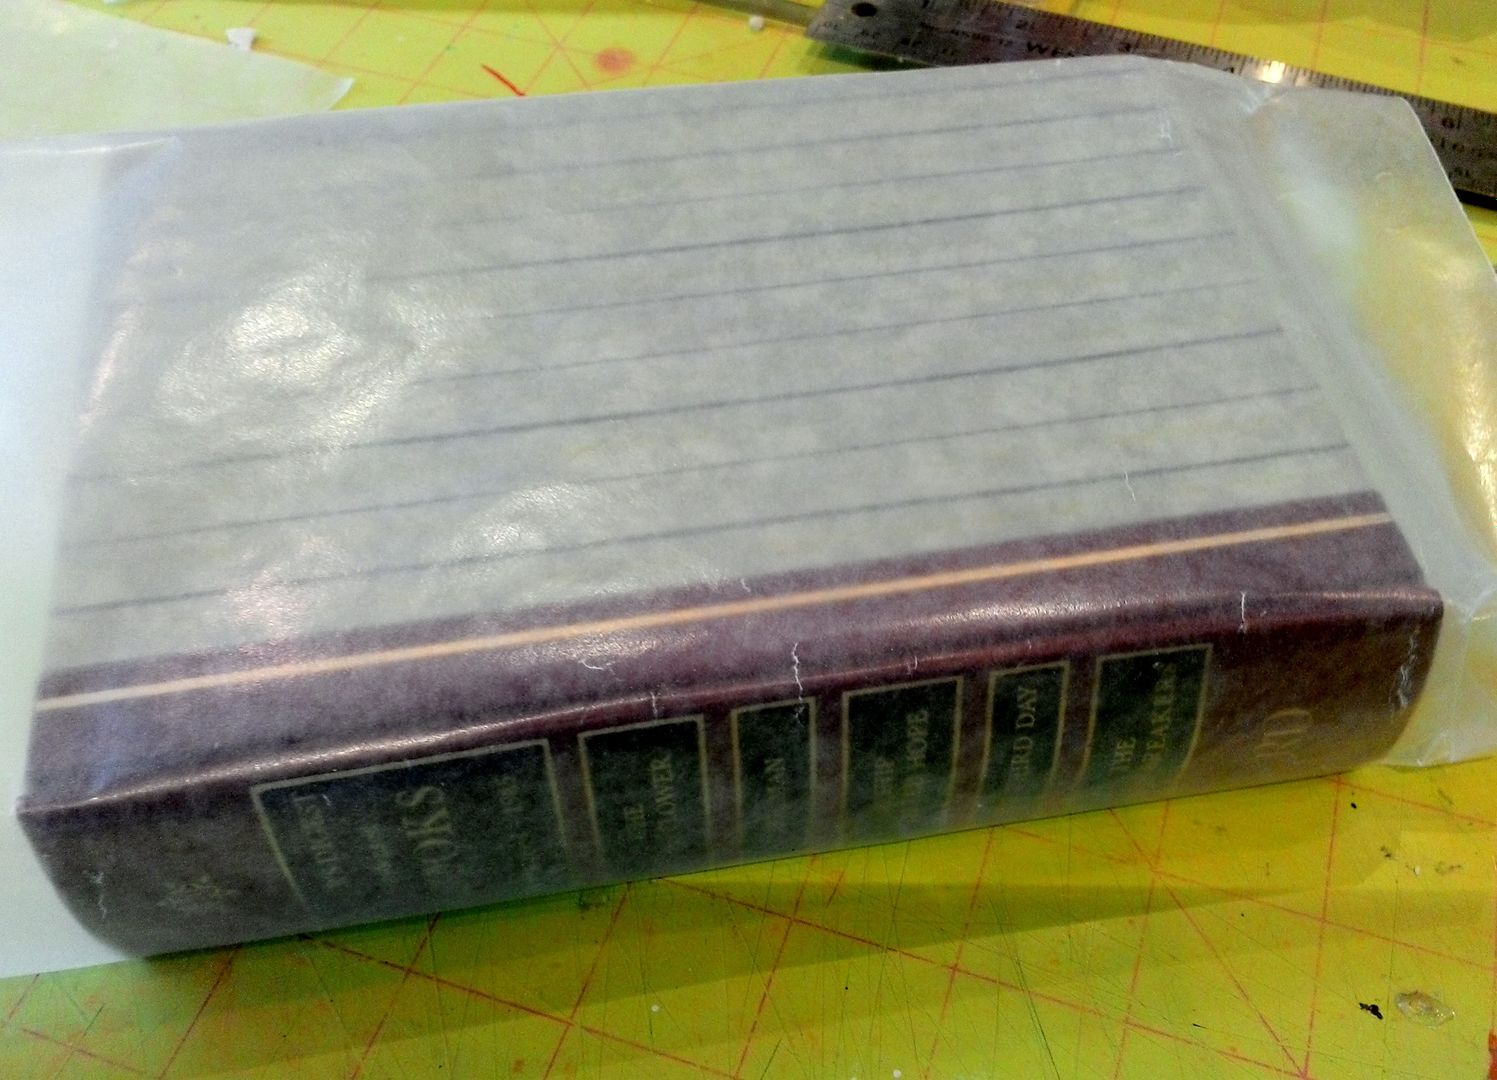
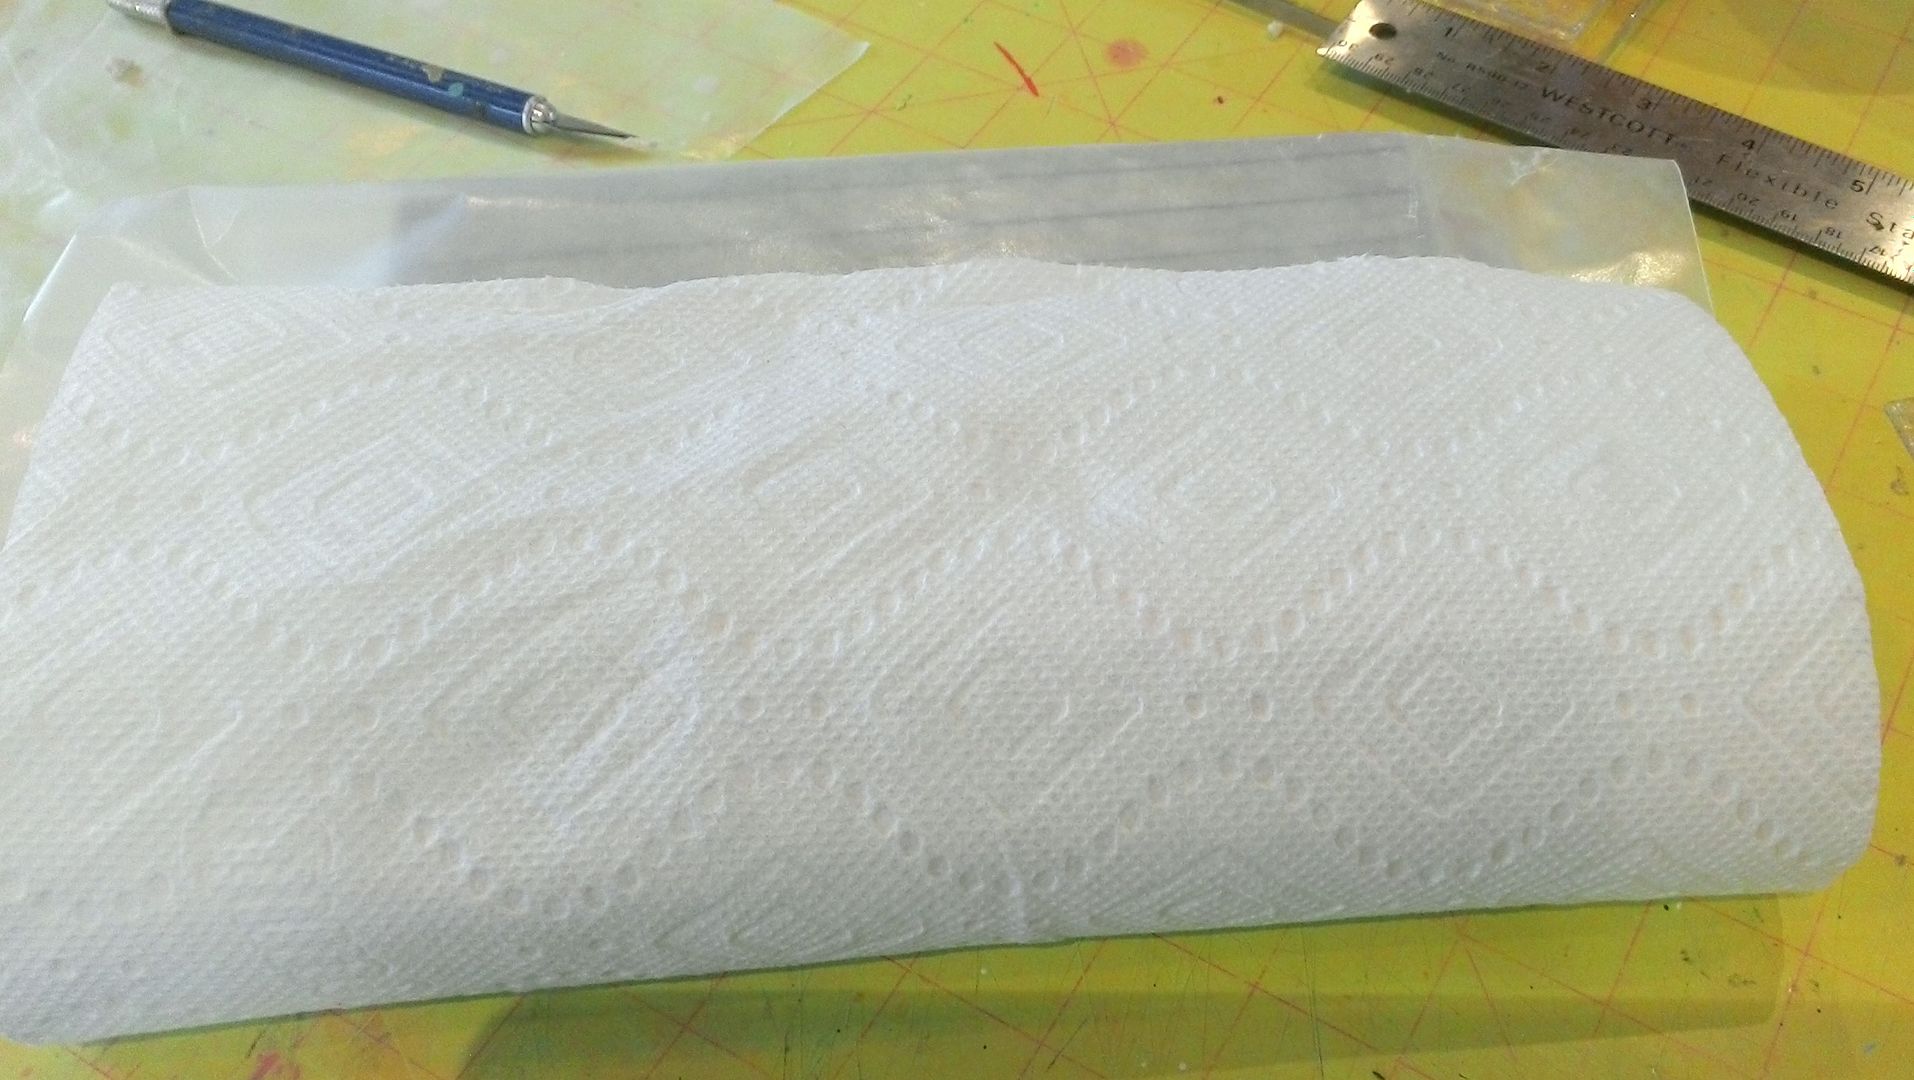
Since I wanted the clay to curve around the spine of the book I needed it to dry in a curved position.  I wrapped wax paper around the second book (which is the same size as the book I altered) to protect the book from the moisture in the clay.
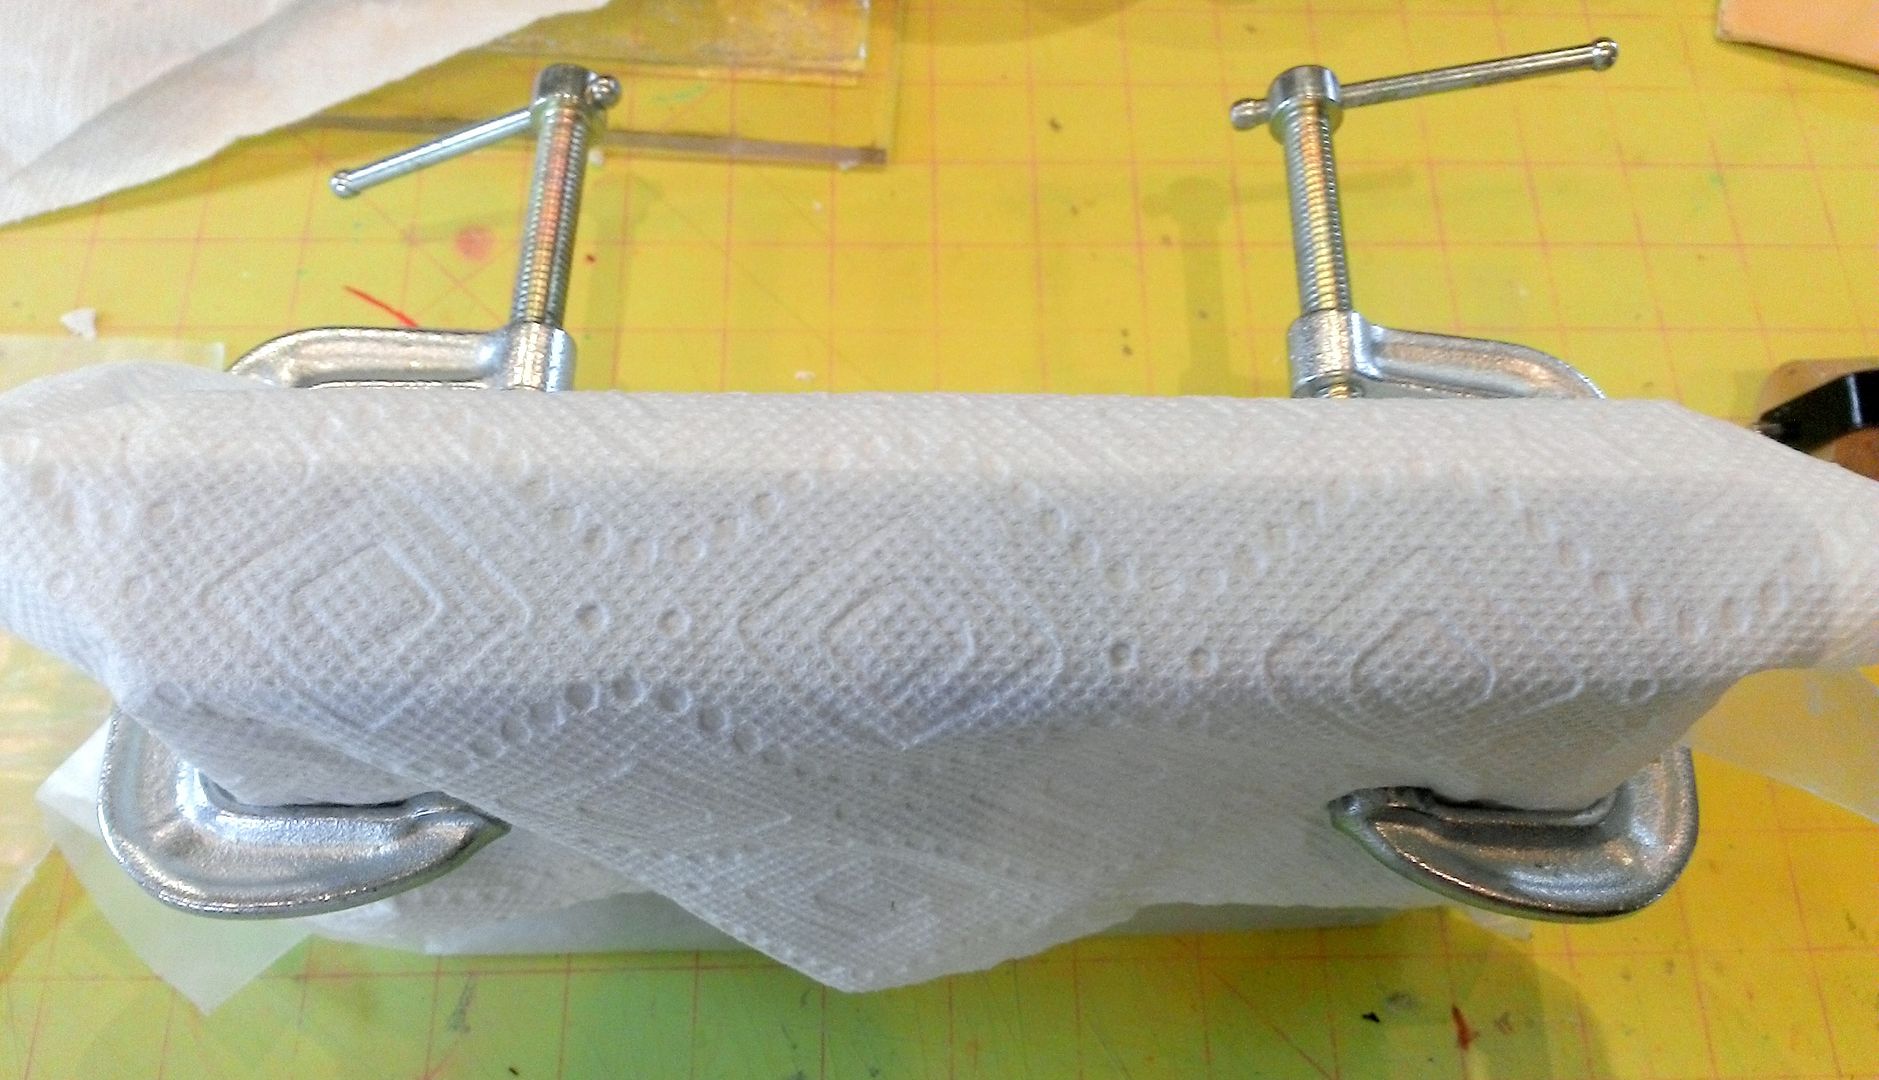
To help draw the moisture out of the clay, I wrapped the end of the book with a paper towel.
I used a pair of C-clamps to keep book closed and the papers in place.
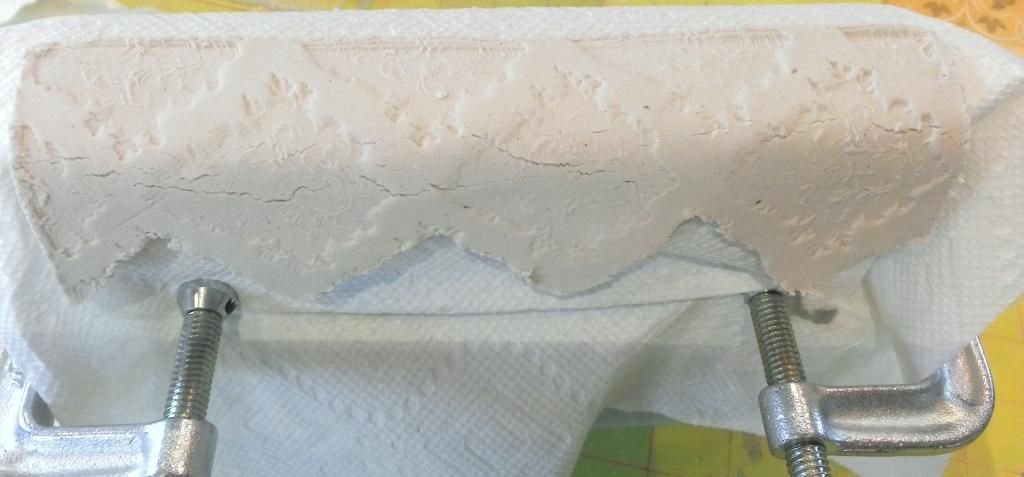
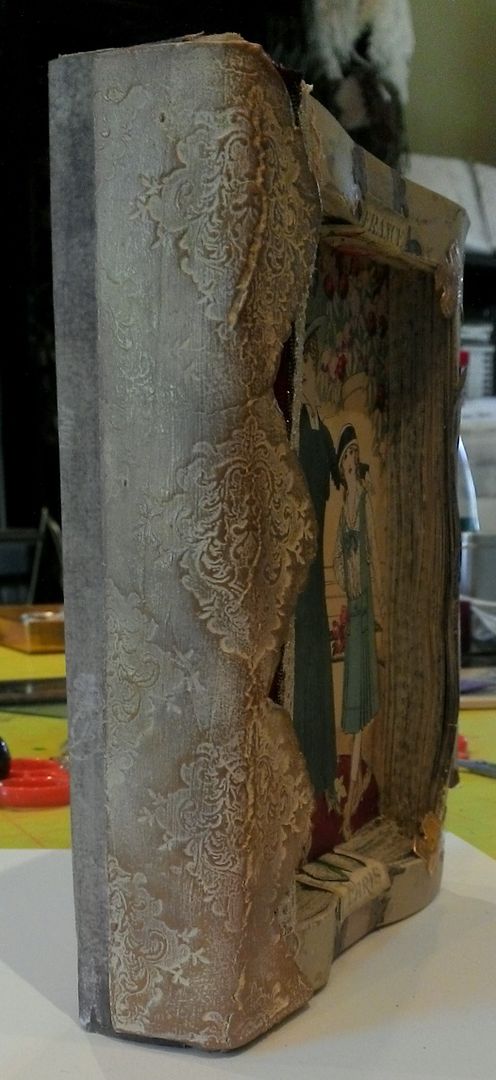
Next, I carefully molded the clay around the spine of the book in the same position as I will attach it to the altered book.  Notice the cracks.  You may find that your clay cracks some when you bend it.  Personally, I think it adds to the vintage look of the book.  If you don’t like the cracks, use your finger dipped in a small amount of water and gently rub out the cracks; be careful not to rub out the design.
Let the clay dry (could take 2 days).  After a couple of hours, you might want to lift the clay piece off the paper towel to allow the towel to dry and then place the clay back on the book.  Paper clay likes to curl or warp as it is drying.  Once the surface feels dry, you can place a light object on the surface to keep it from curling as the back and insides of the clay continues to dry.
If you have never worked with paper clay you might want to use just a small piece and experiment so that you can get a feel for how long it takes to dry in your climate and how to prevent warping.
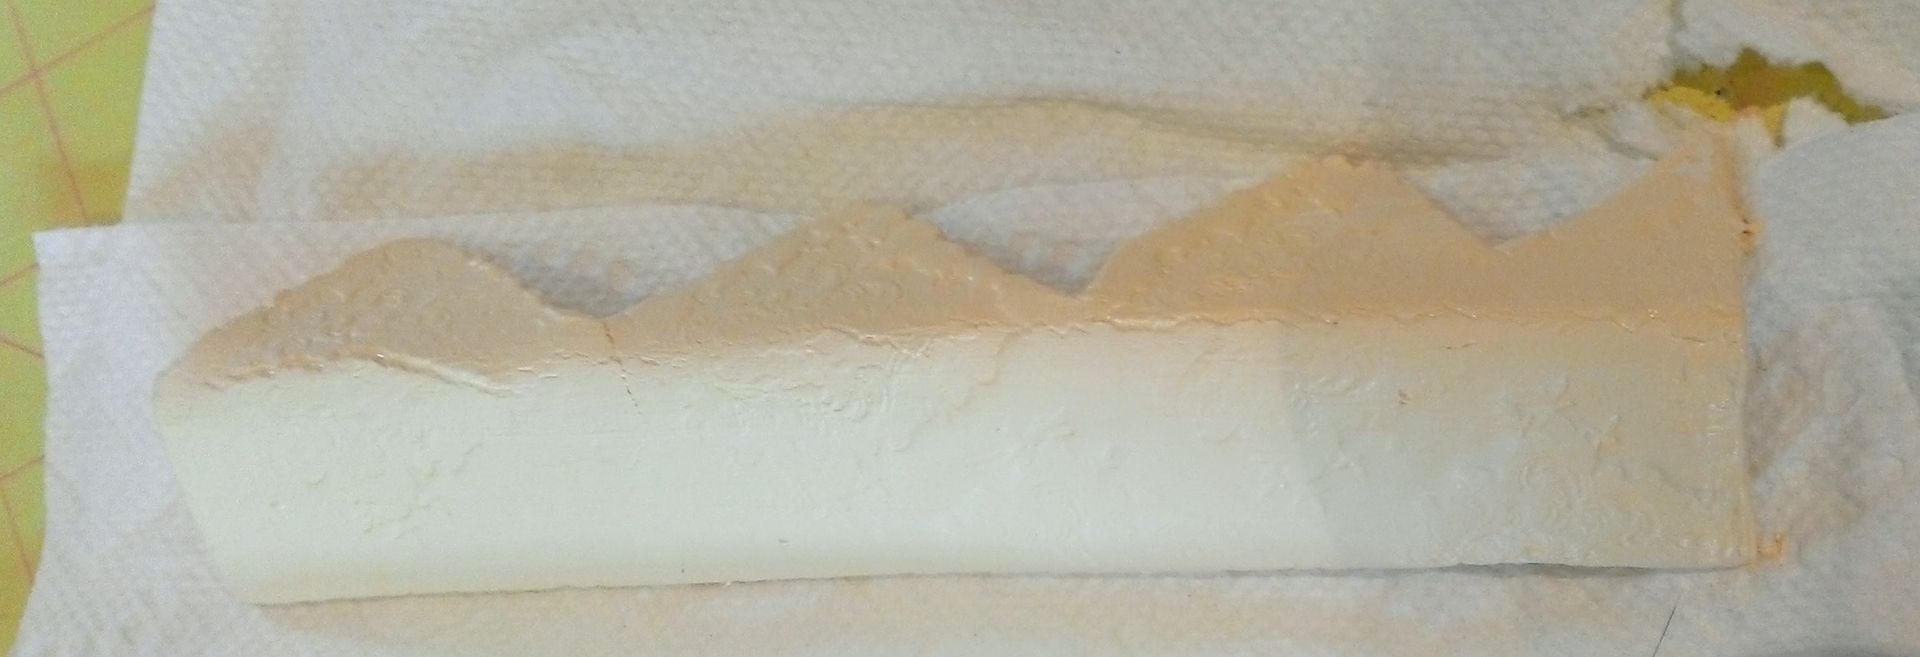
Once the clay is completely dry, you can sand away any excess or rough areas.  Once I sanded the clay I painted it with pale yellow acrylic paint.
Next, I used Walnut Distress Ink and a sponge to add more color and to make the pattern pop.  The picture below shows how it looks although unlike in the picture, I did this before attaching the clay to the book.
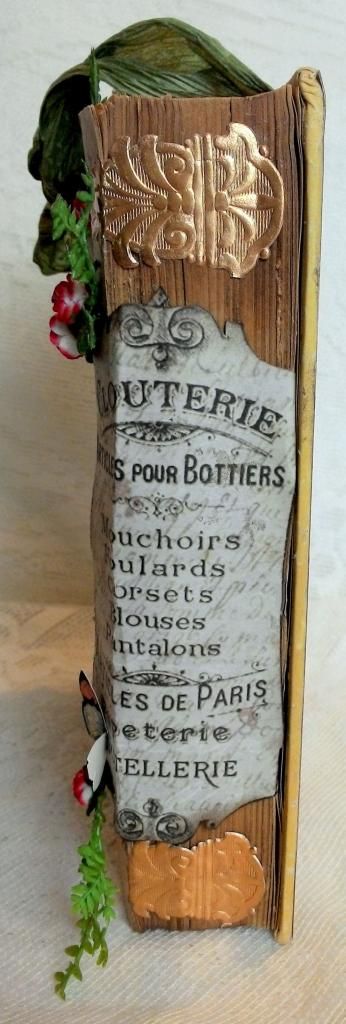
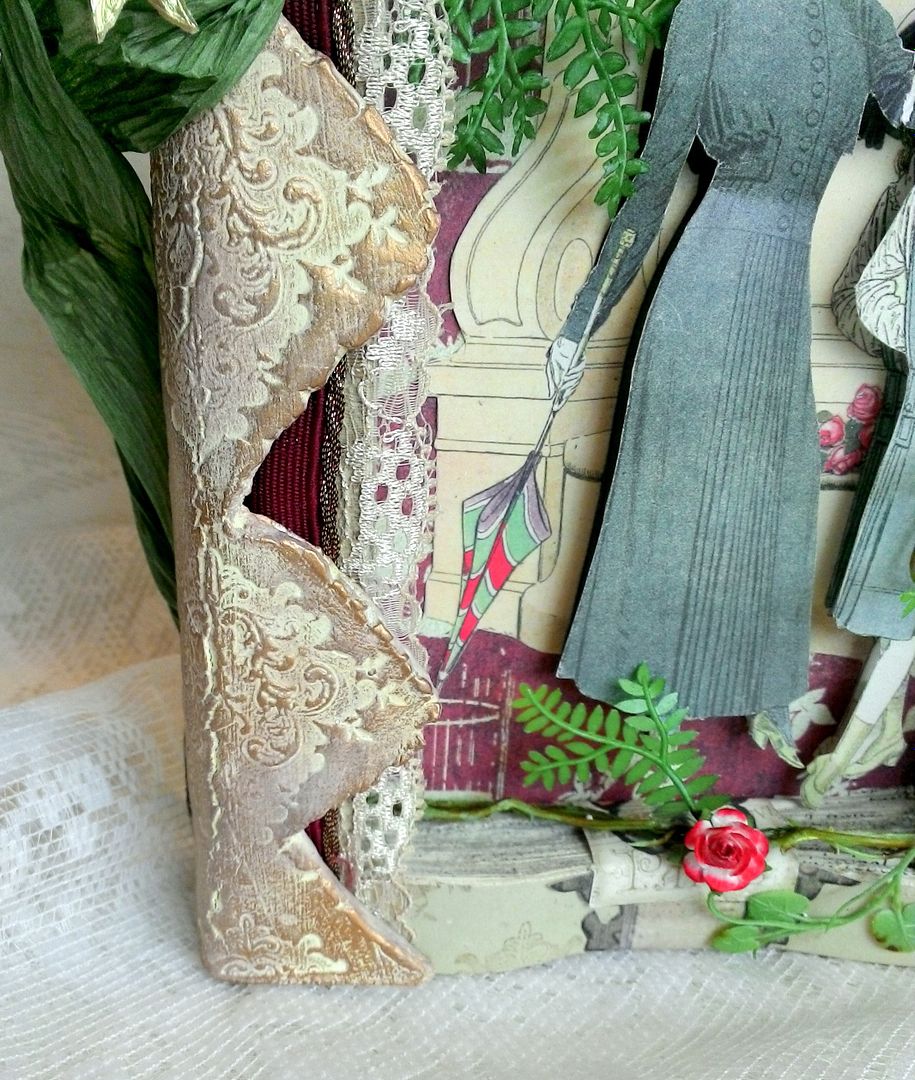
Originally, the plan was to stop coloring the clay after applying the ink but I then decided (after I attached the clay to the book) to add Inca Gold Gilders Paste to the raised parts of the design.  The gold complimented the other gold accents on the book.
Altering the Book
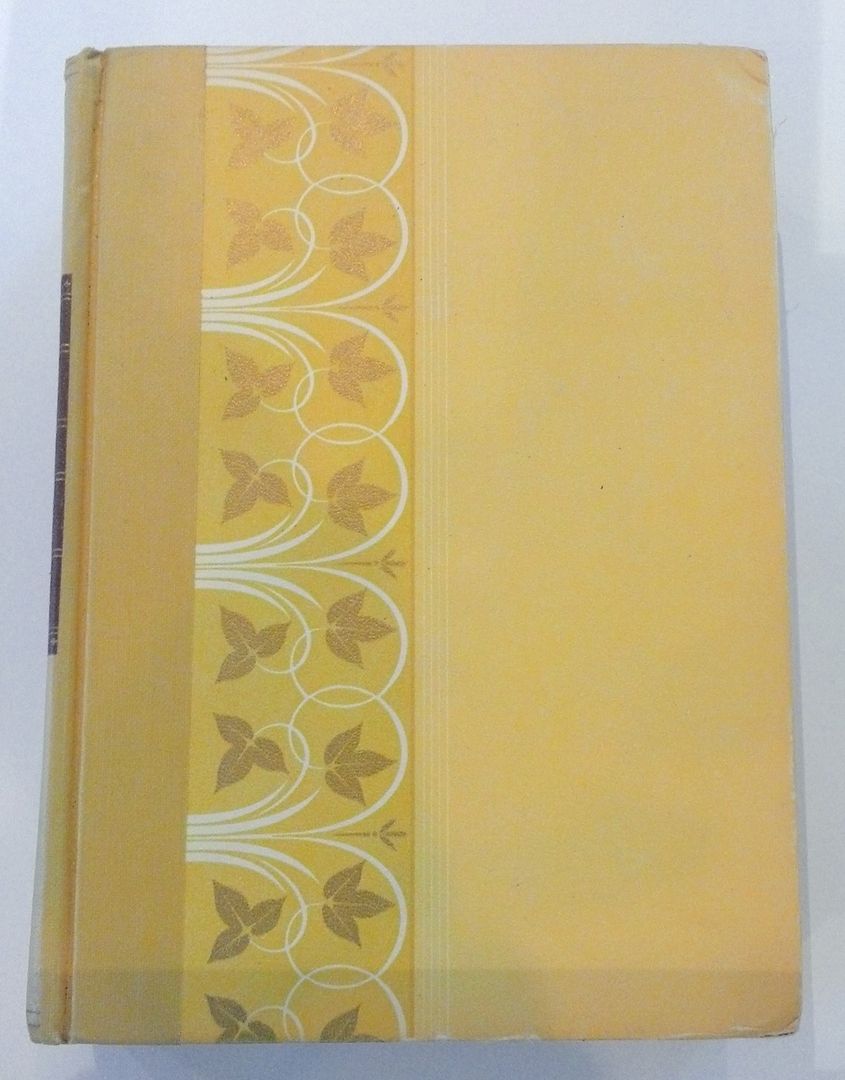
I started with an old Readers Digest Book (I have tons of them).  I choose one with a yellow cover as I am not going to cover the edges and I thought the yellow would coordinate with the other colors.
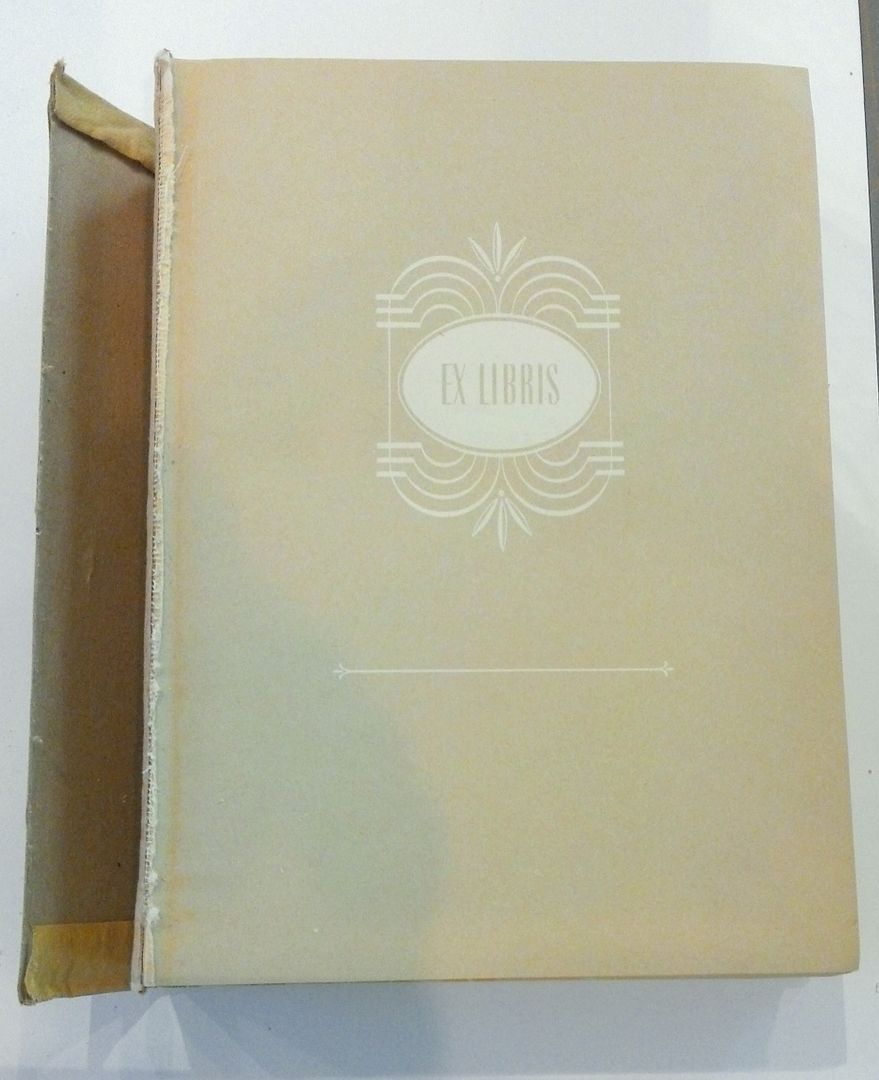
Next, I removed the front cover using an X-acto knife.
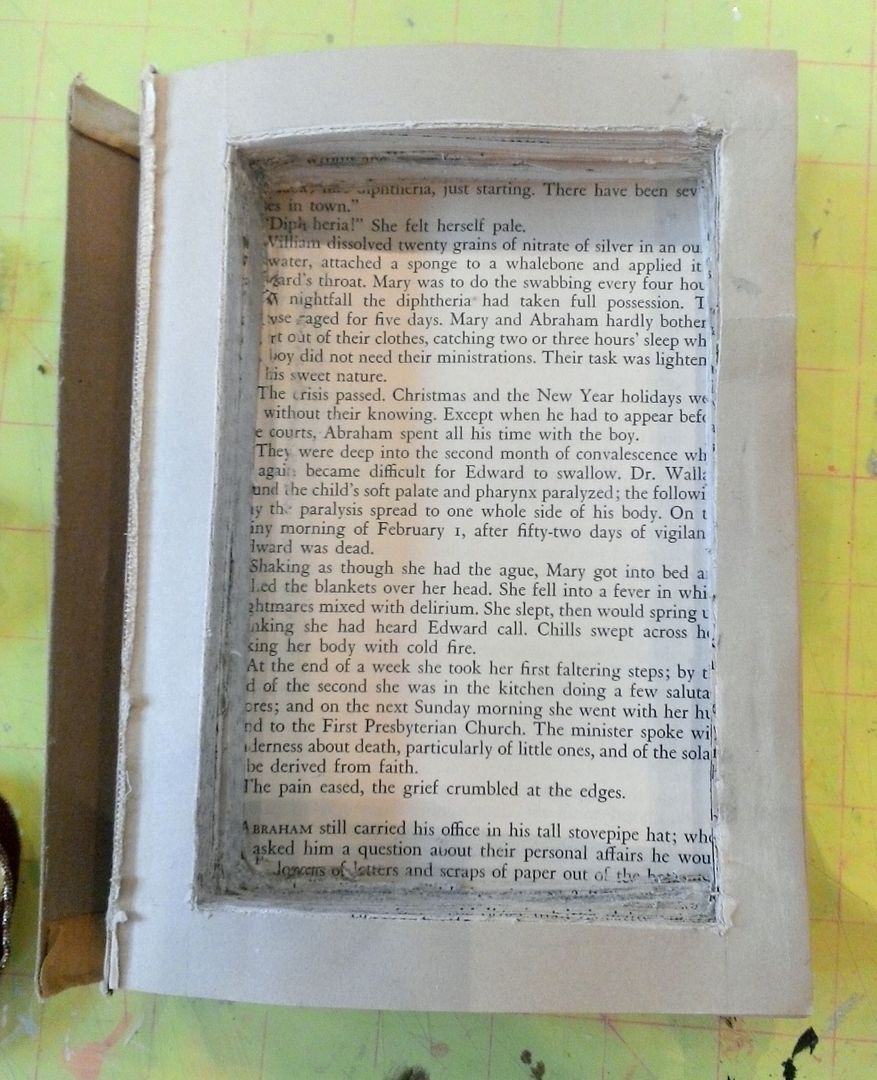
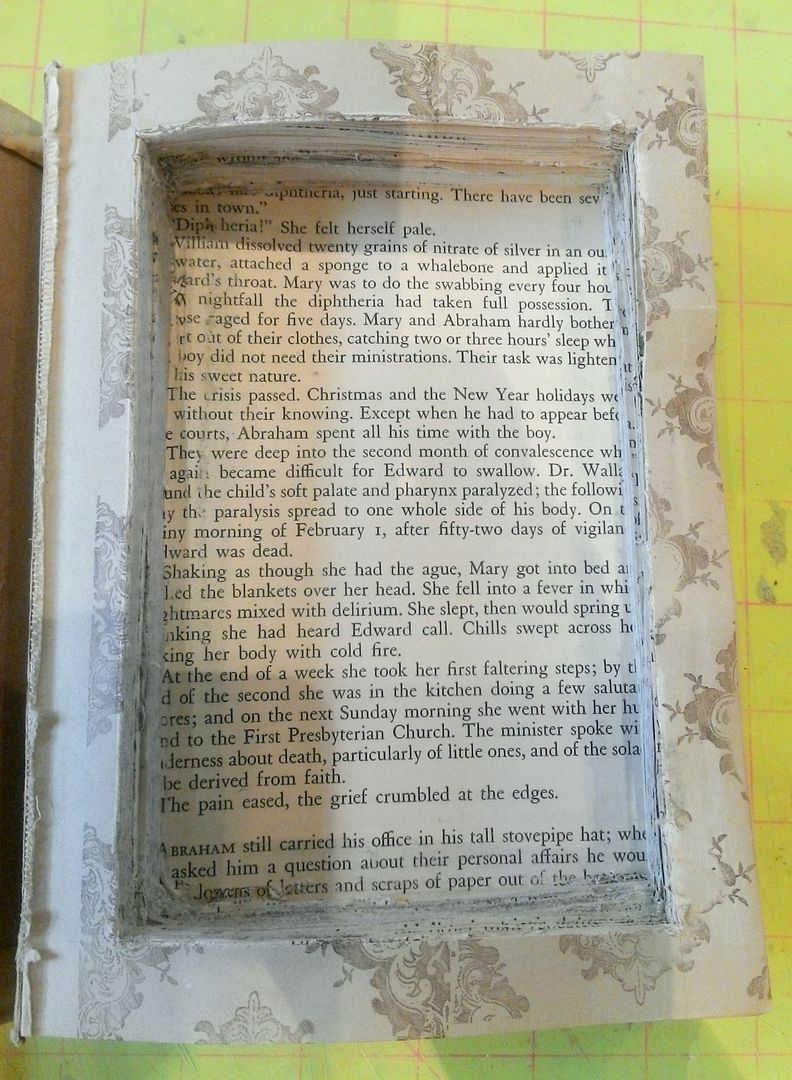
Once I decided on the size of the shadowbox, I cut a hole through pages in the book.  The depth of the hole depends on the embellishments you intend to use.  I used a piece of sandpaper to sand away some of the ragged edges.
I stamped the front page of the book with the same stamp I used to create the clay spine.
Now the fun starts and you can begin adding images and paper in the shadow box.  Anything you want to attach to the back of the shadow box should be done before combining the pages.
For this altered book, I did not glue the pages together to keep them in place.  Instead, I used decorative paper and images glued to the first page in the book and then wrapped around the pages and glued the last page in the book.  I did this on the top, bottom and right side of the book.  This keeps the pages together and saves you the tedious job of gluing each page to the next.
Once you have the images glued to the top, bottom and right side of the book you can glue the last page to the back cover of the book.  If the spine of the book separates from the book when you remove the cover, you can glue it to the spine of the pages (which is what I did for this book).
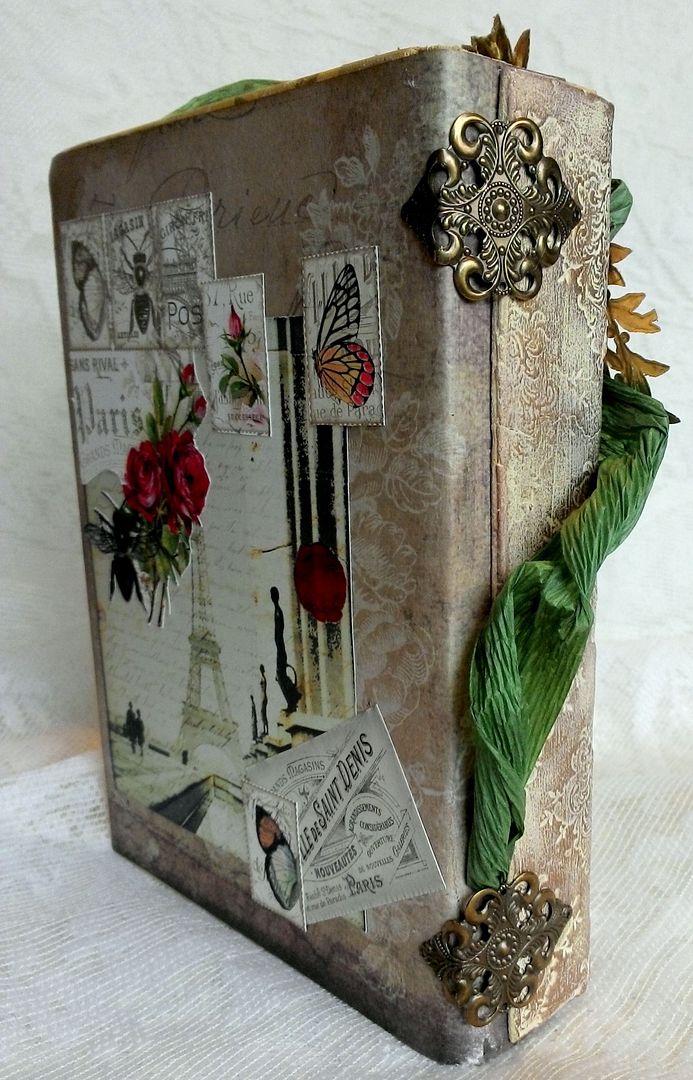
Other decorative elements that I added to the book is the Dresden hardware, lace and ribbon.
Next, I glued the clay spine to the book.
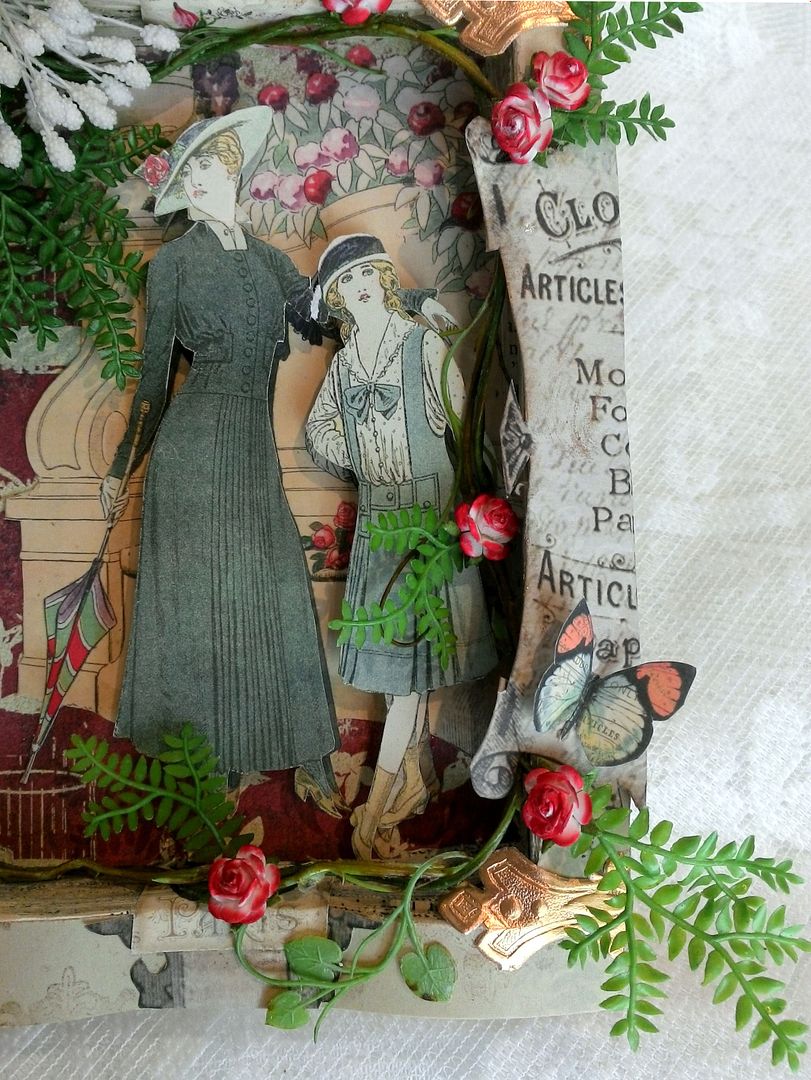
To make the woman and girl appear dimensional, I cut out a second version and used double-stick foam tape to attach them to the book.  It was at this point that I decided the clay needed the gold accent to balance the gold hardware.
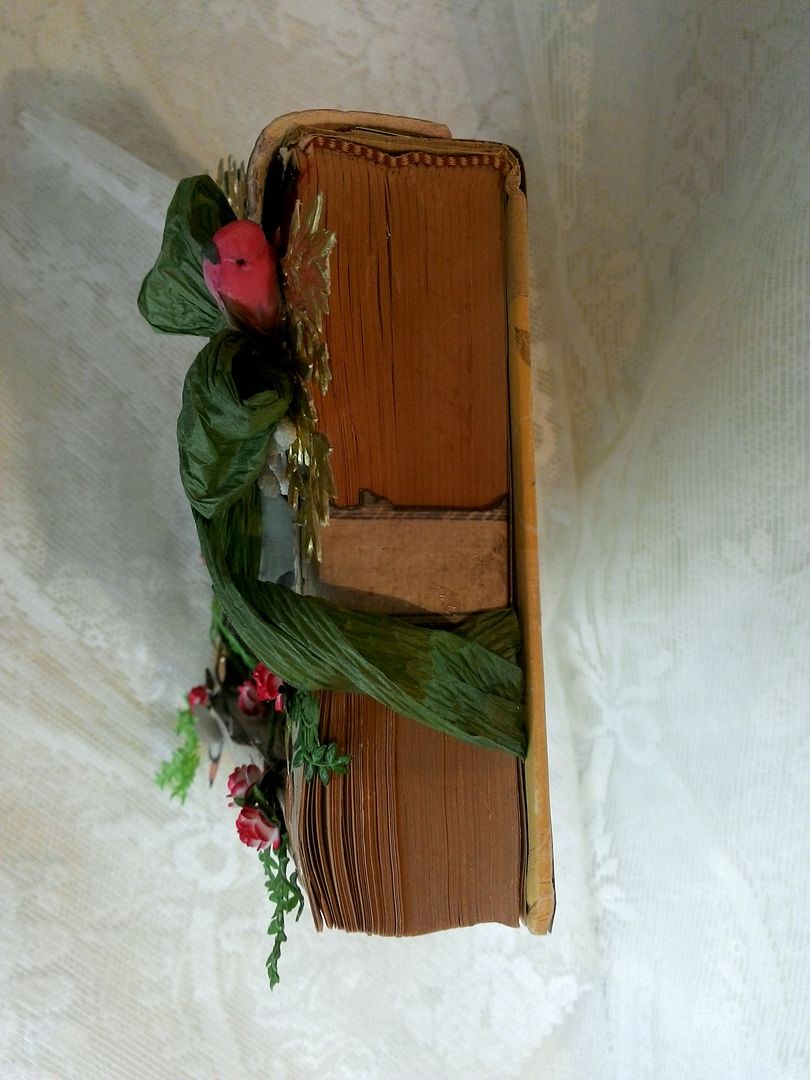
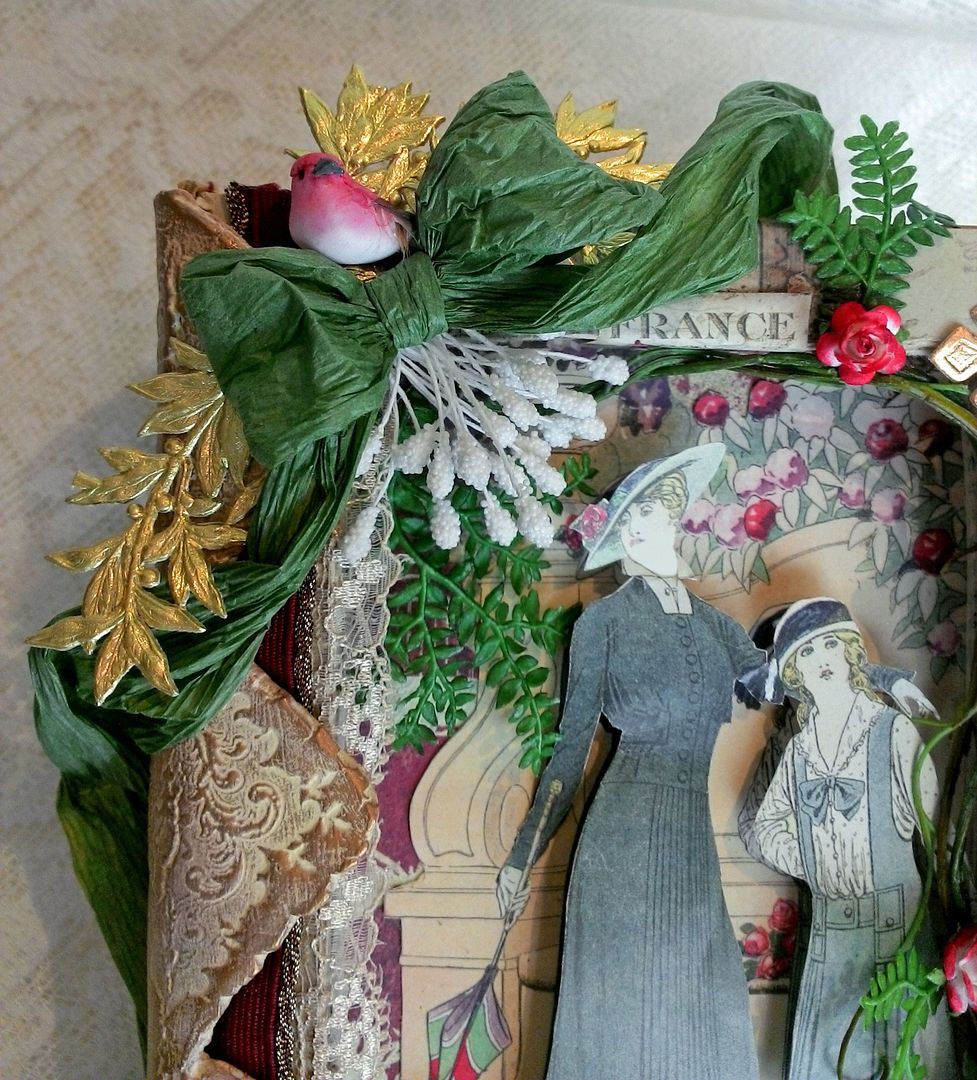
In the corner of the book, I added the crinkle paper ribbon.  I love using this type of ribbon because it is lightweight and holds its shape.  I tucked the ends of the ribbon in between pages of the book and underneath the clay.  I also added Dresden myrtle, white stamen and a little bird.
The fern garland is tucked into the shadowbox and some of the leaves are glued to the front of the book.  I added variegated roses for color.
Since the clay did not wrap all the way around the spine and to add a decorative element I bent and attached brass filigree. 
 

Thursday, May 15, 2014

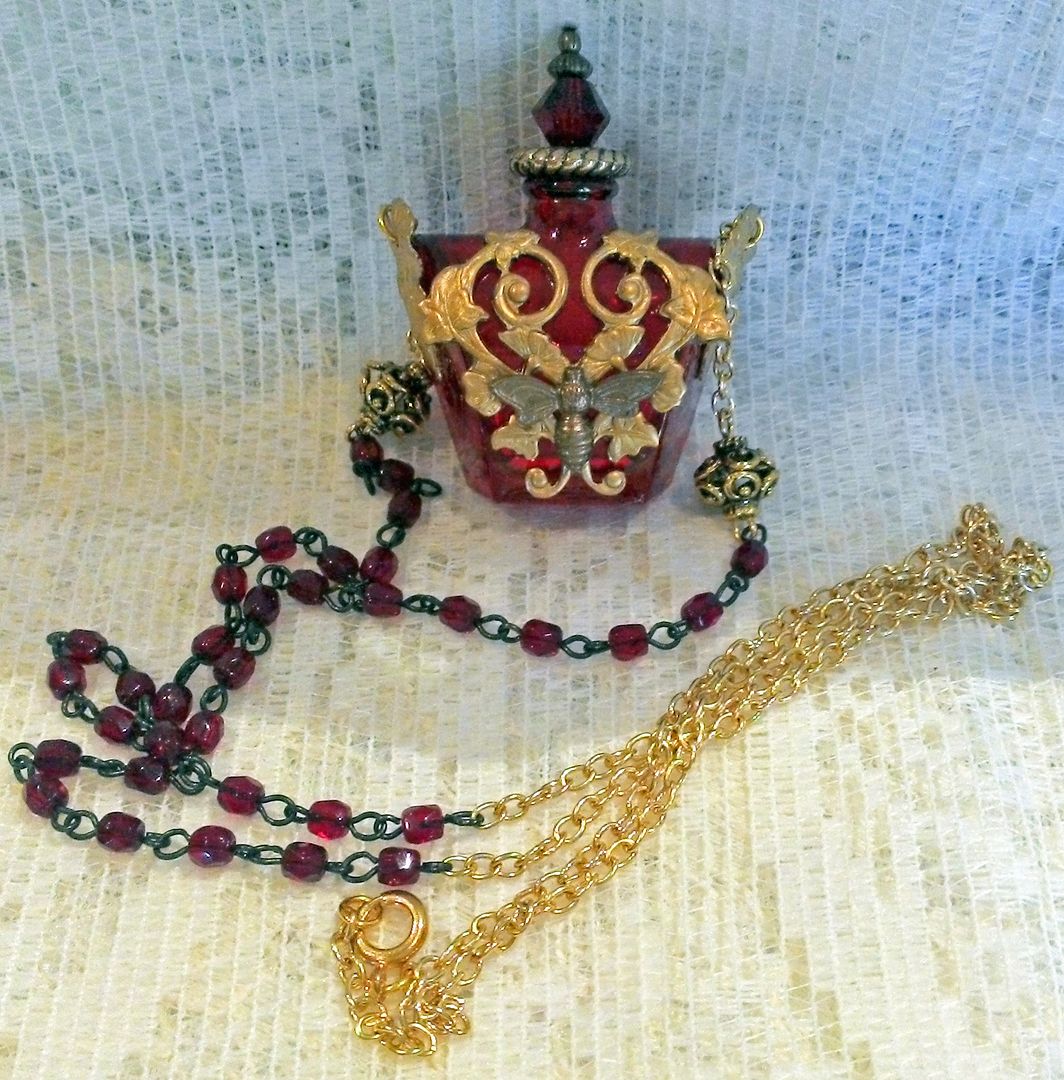
Perfume Bottle Necklace


Continuing on with altered bottles is something to wear.
The bottle is painted with alcohol ink.  I used the leaves on the sides of the bottle to attach the chain. 

Wednesday, May 7, 2014

Butterfly Altered Bottle

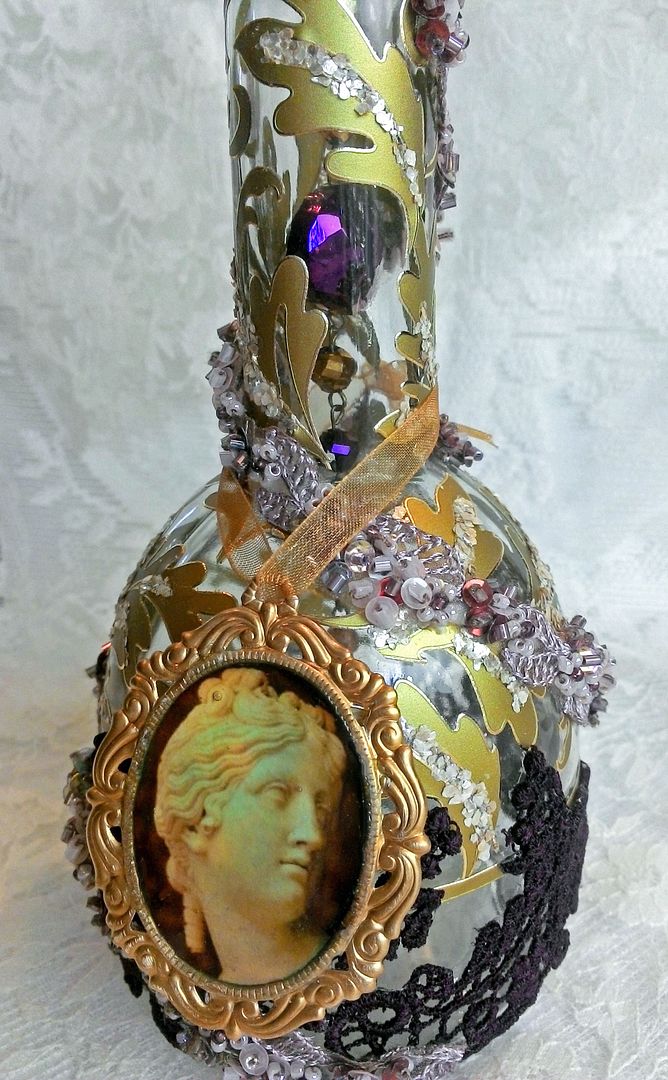
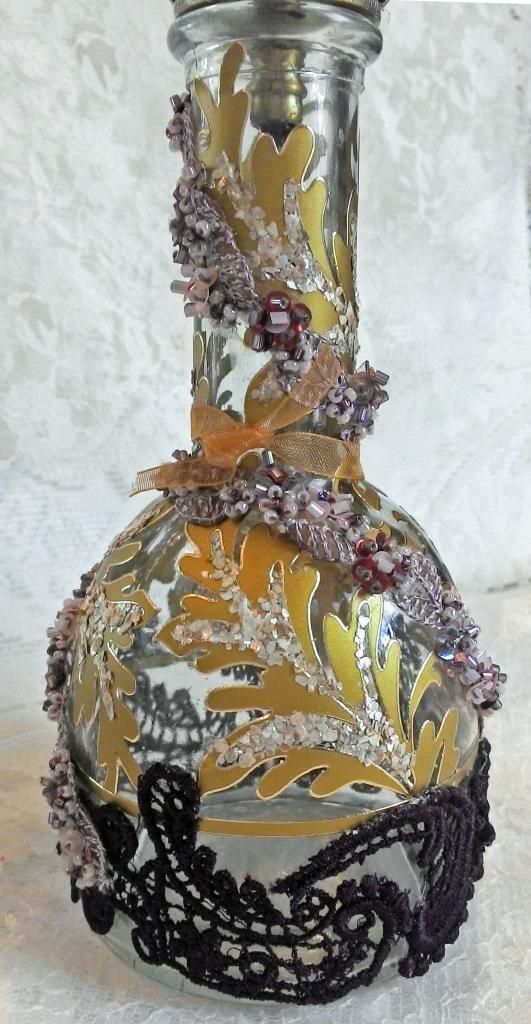
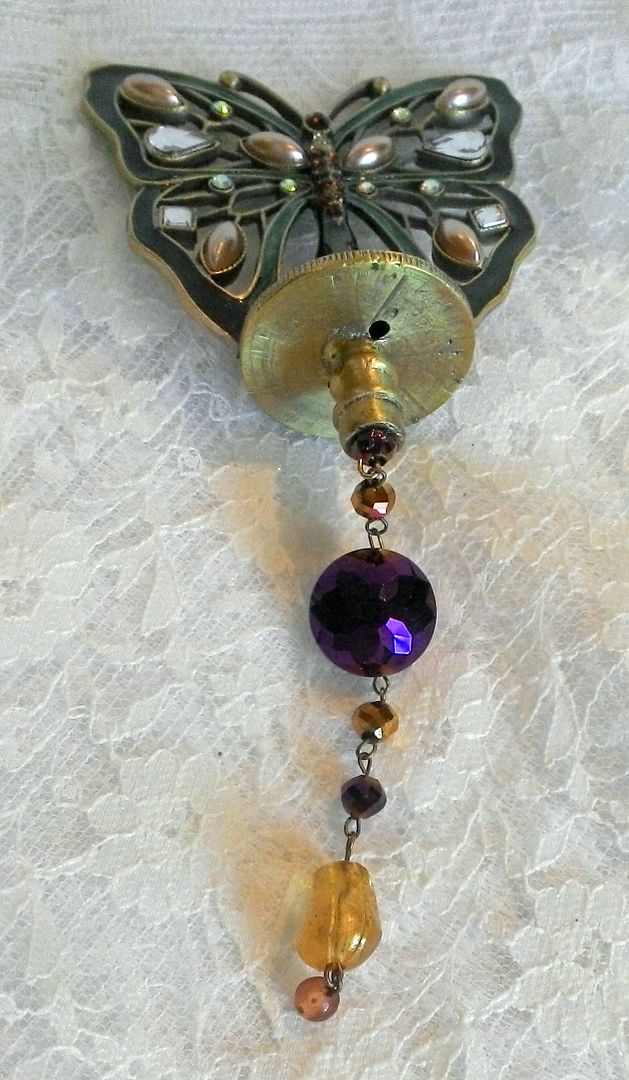
This bottle was a real find at the craft store last year.  I bought three in all, with each having a different butterfly stopper.  They are clear bottles with the beautiful cloisonné butterfly stoppers.  To alter the bottle I started by applying the metallic gold leaf stickers.  I filled the gaps in the leaves with micaflakes.  
At the base of the bottle I added lace and draped around the bottle is beaded trim.
Lastly, I added a cameo with a Greek statue image that I domed by using Glossy Accents.  I removed the rubber part of the stopper to expose the shaft.  To the indented area at the base of the shaft I added a string of beads.  You can see the beads dangling inside the bottle.
Thanks for all of your lovely comments about the first bottle. There are many more to come and with some of the posts I’ll have more formal tutorials.

Monday, May 5, 2014

Altered Bottle

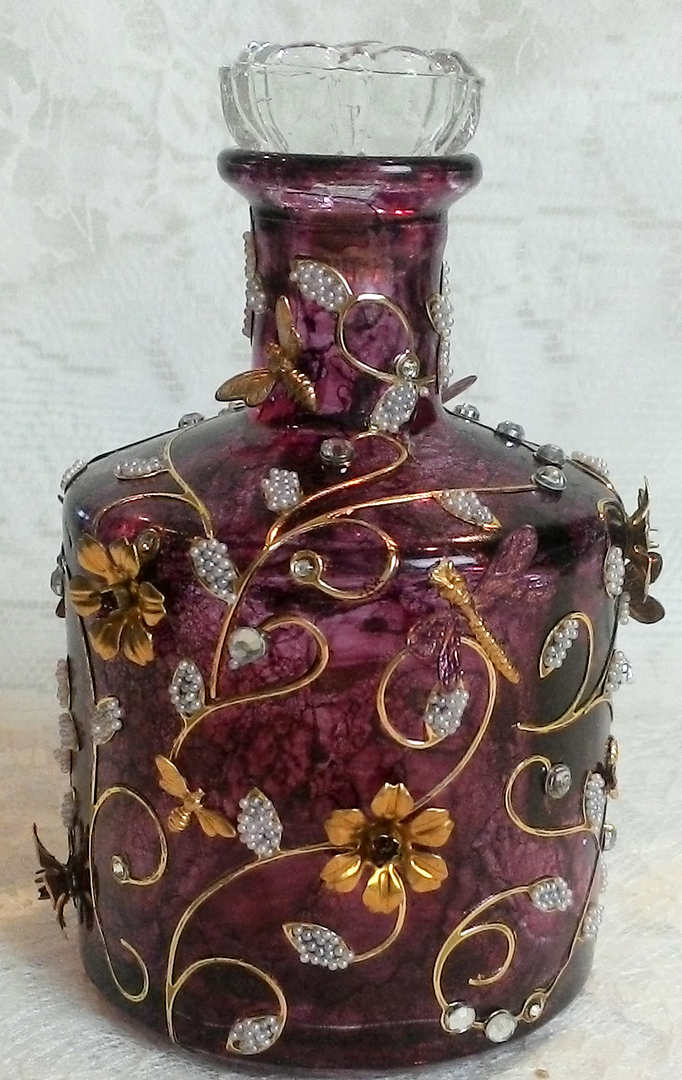
My work tables are currently covered in all kinds of bottles and bits and bobs to alter them.  If bottles are your thing, stay tuned for several future bottle posts (some with tutorials).
This particular bottle is colored with Alcohol Ink.  The gold stems and leaves are metallic stickers.  I filled the leaves with microbeads and added rhinestones to the round areas.  The final touches are the brass dragonflies, bees and flowers.   The stopper is a crystal drawer pull.

Tuesday, April 29, 2014

Travel Themed ATCs by Various Artists

ATC by April Dudko
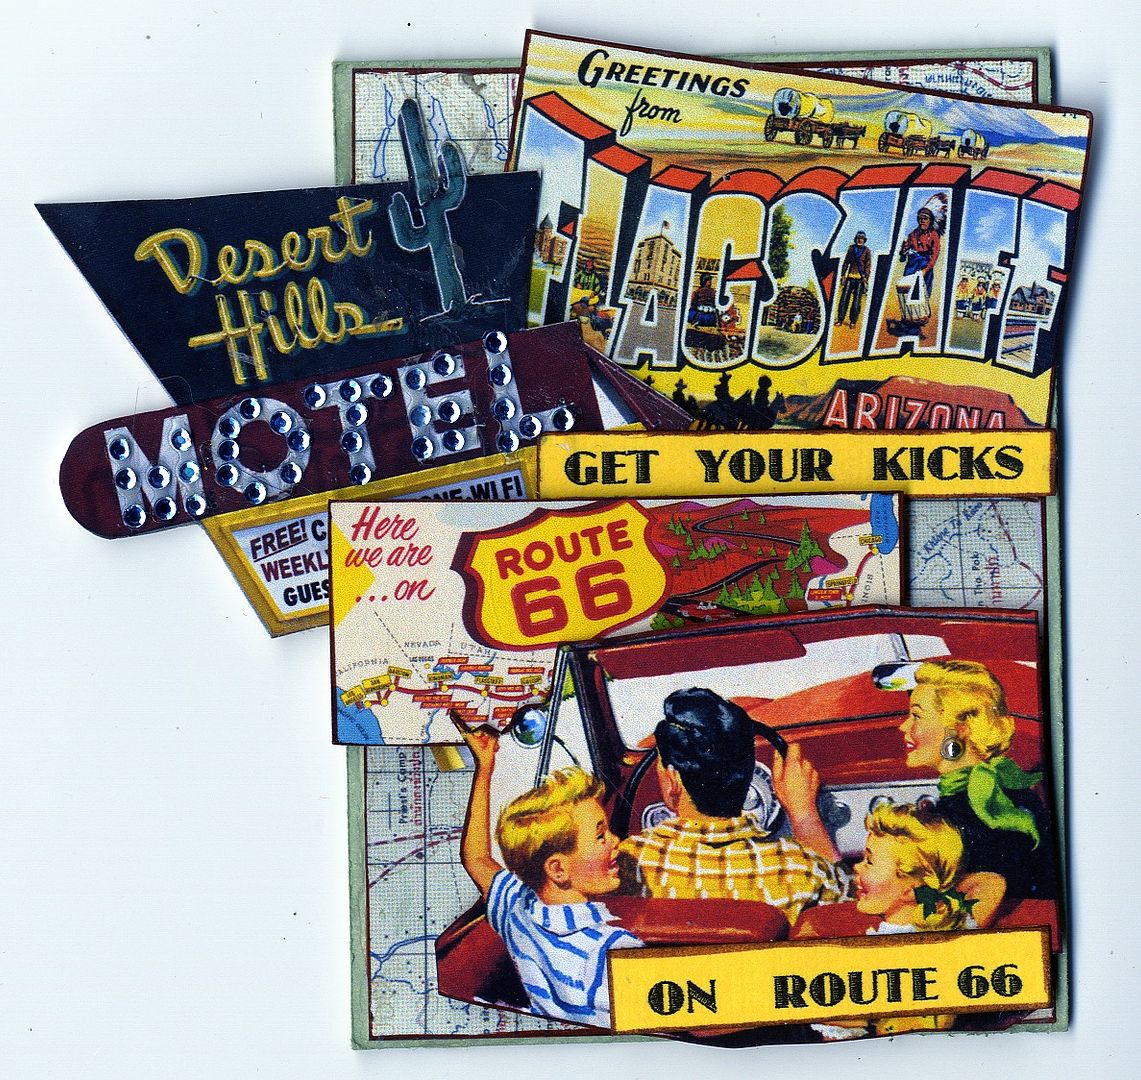
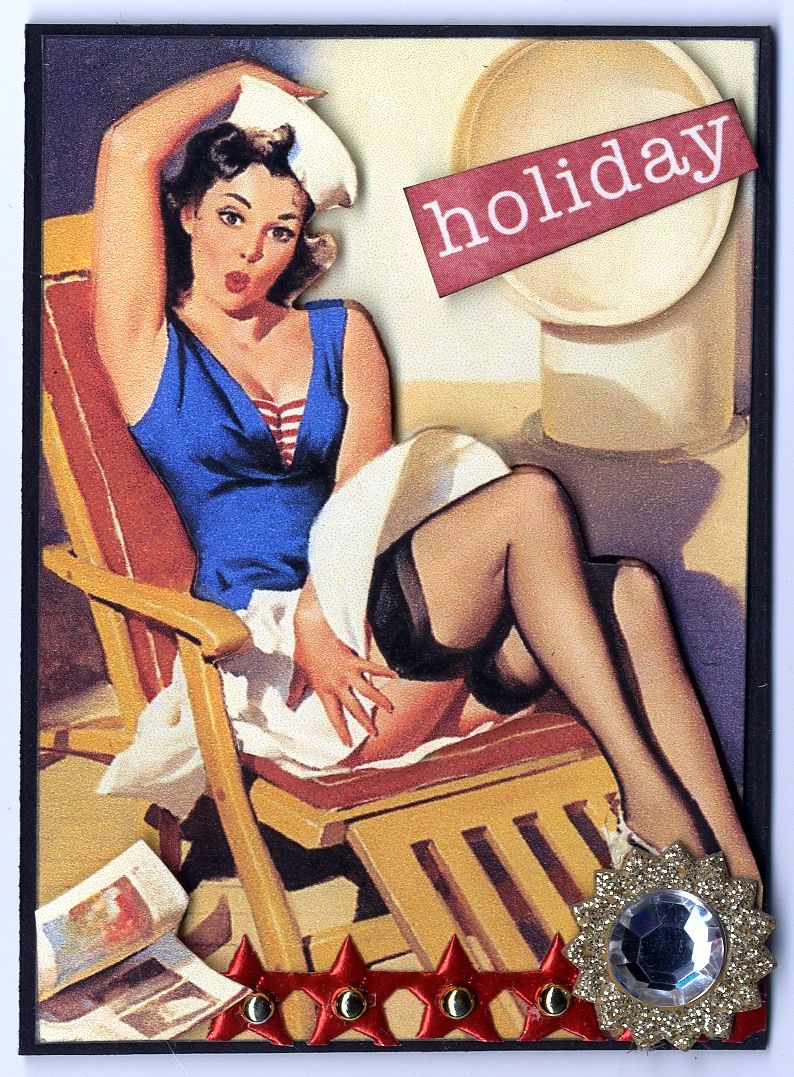
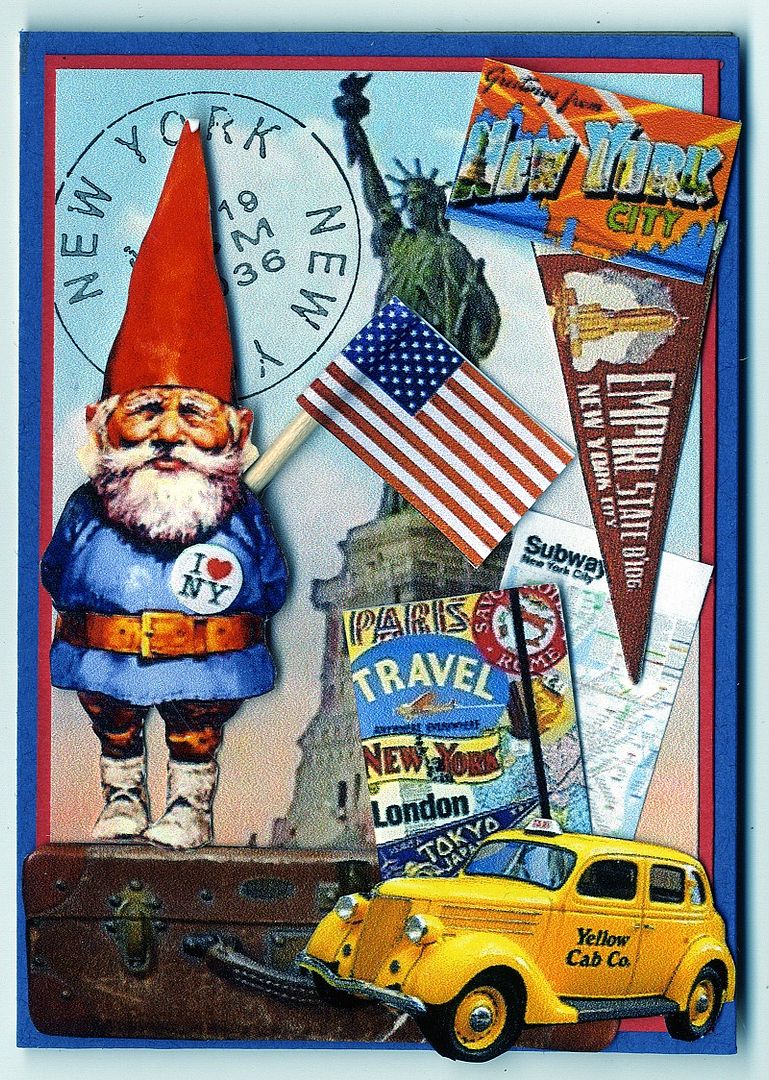
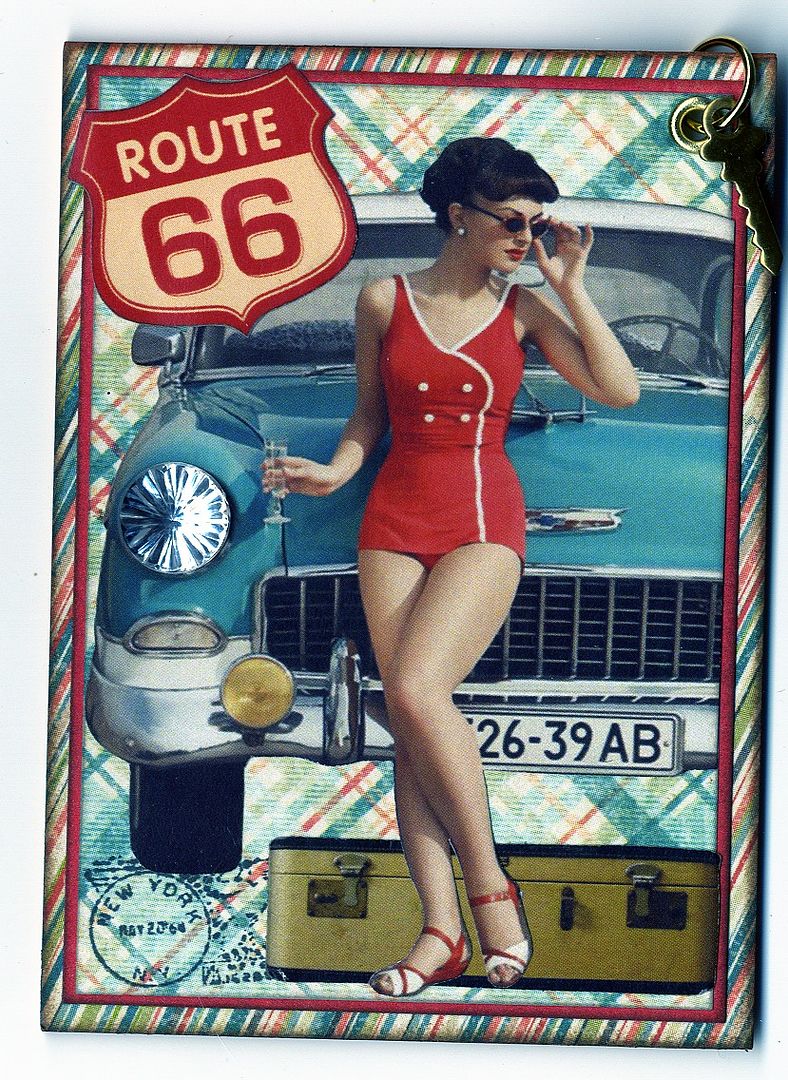
I'm sure some of you are already planning your summer vacation so for inspiration here are a few fun vacation themed ATCs that I received in a swap.
ATCs by Kris Dickinson
ATC by Wendy Robinson
ATC by Jan Larson
ATC by Liz DeWitt

Wednesday, April 23, 2014

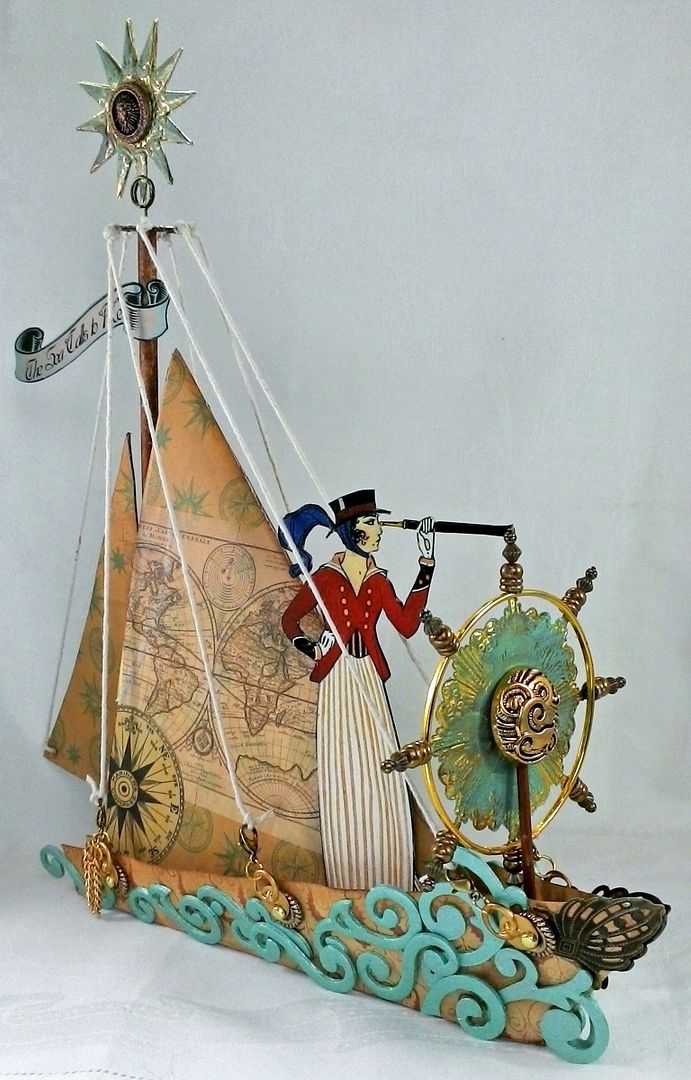
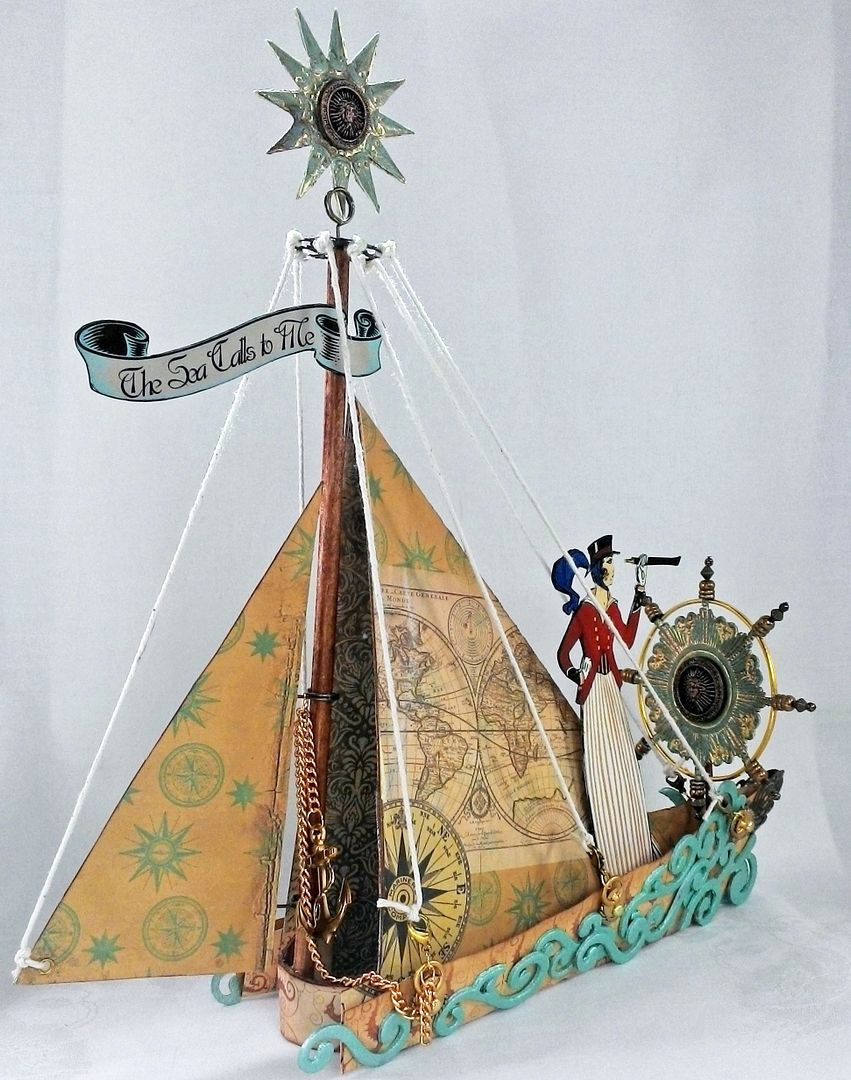
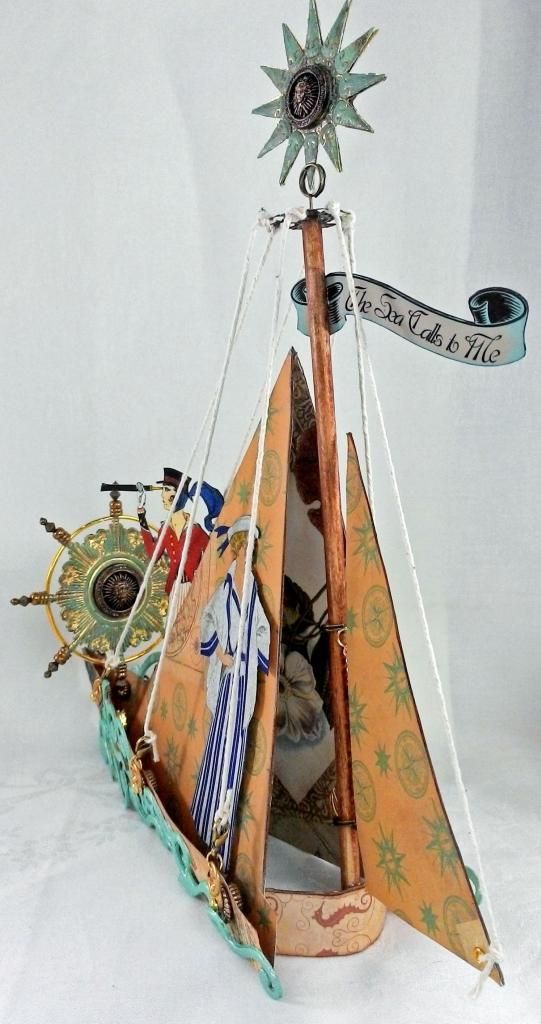
The Sea Calls to Me – Paper Sailboat Tutorial

Come with me and sail the seas,
On a dream boat of paper and string.
Adventures abound and wondrous things found,
Where mermaids ride waves and sing!
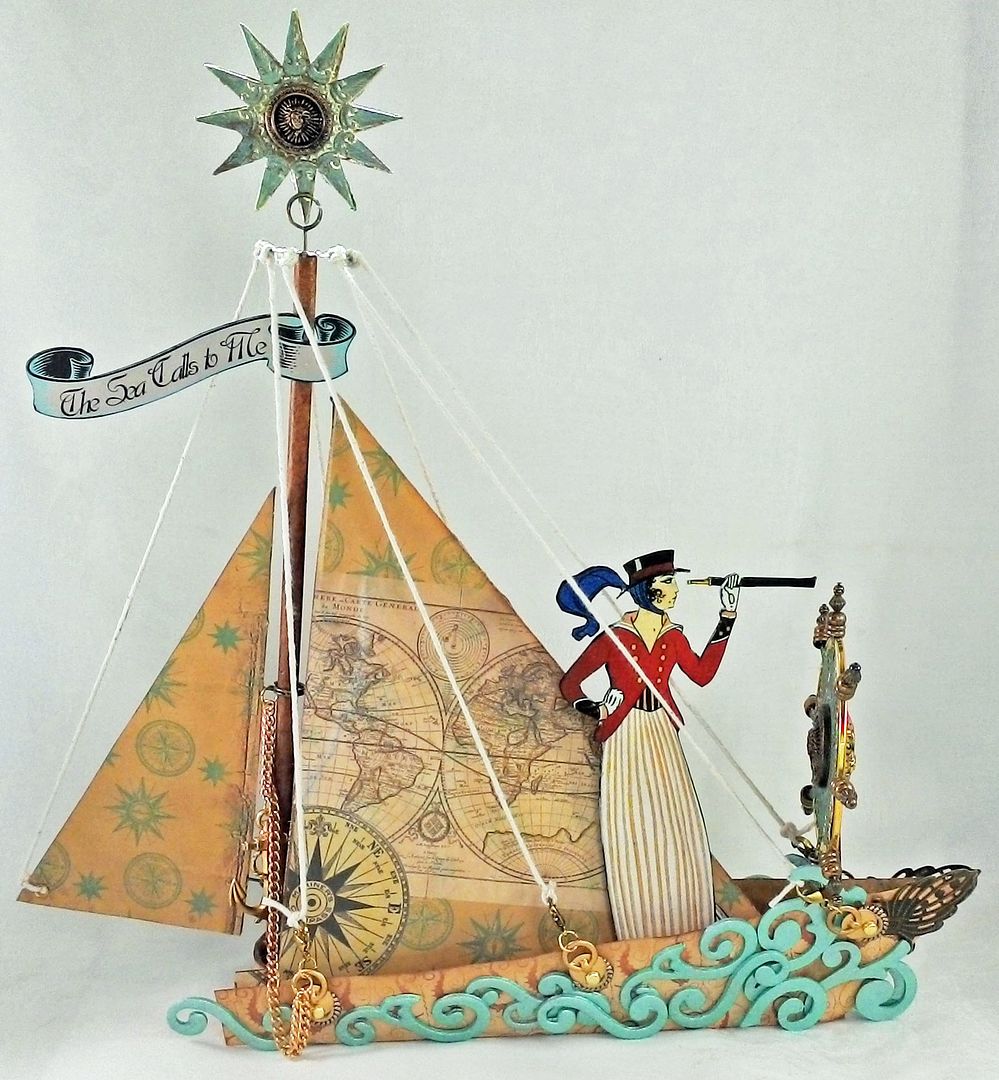
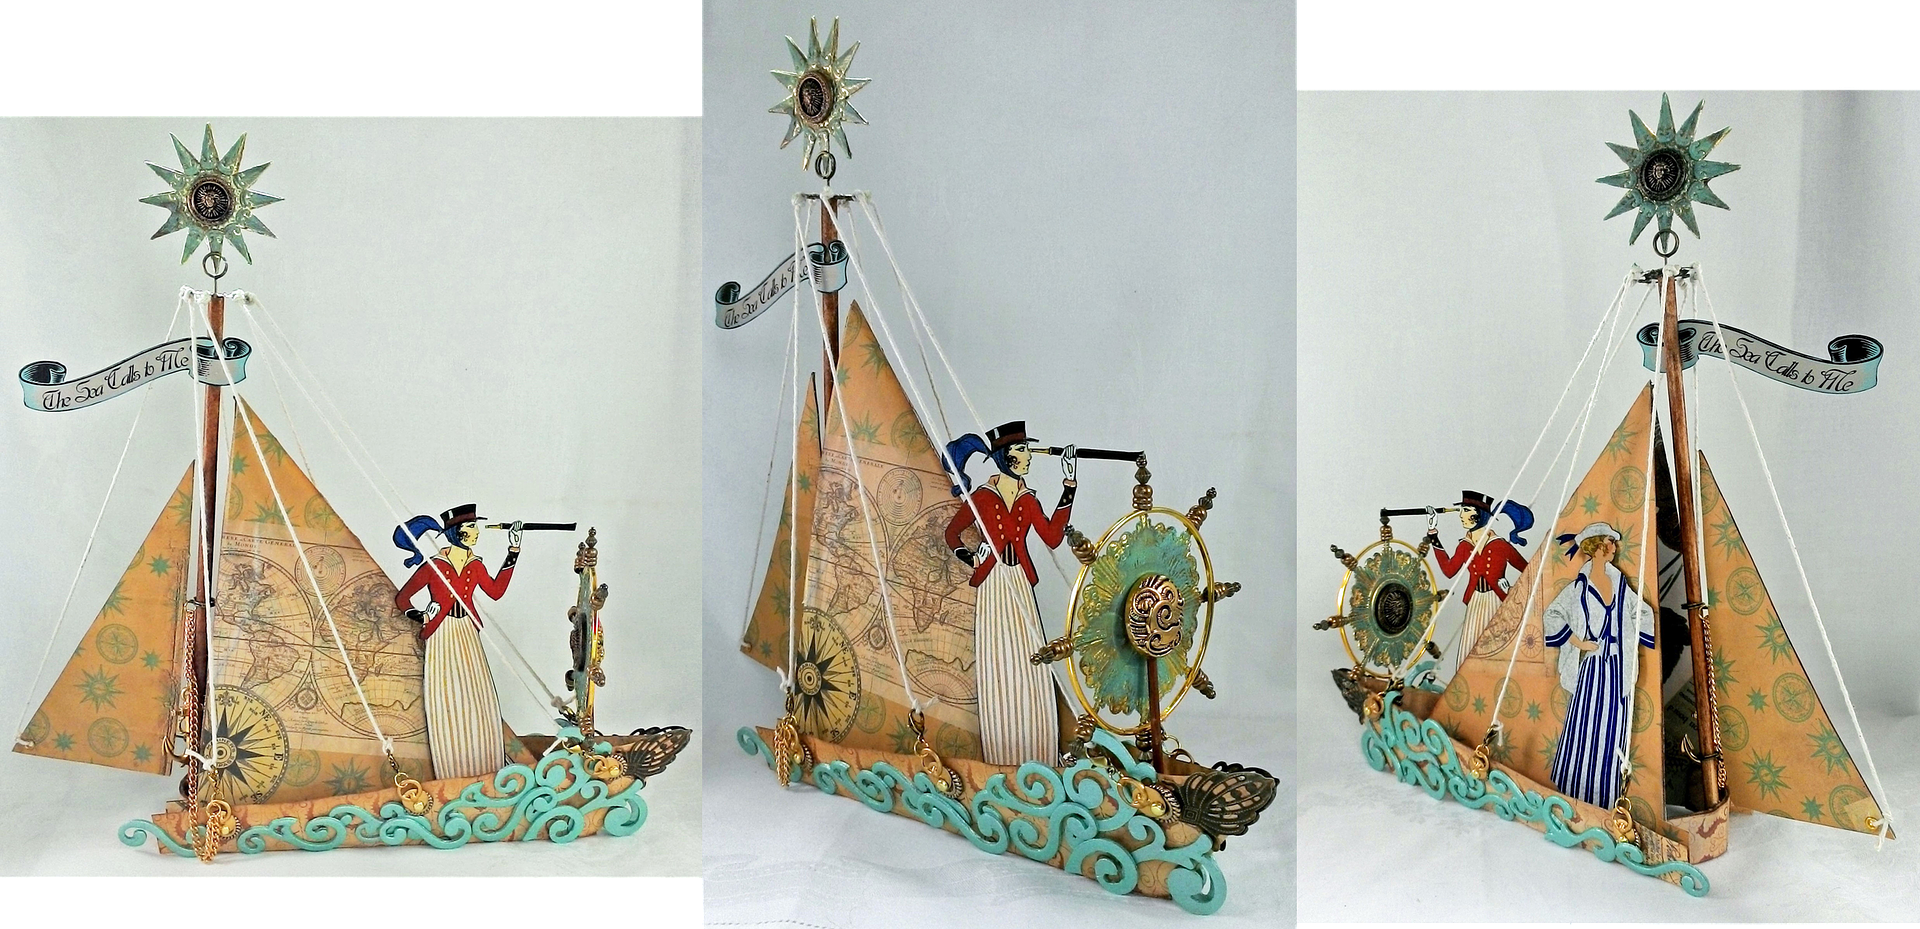
The overall size of the piece is 11½”x 11½”.
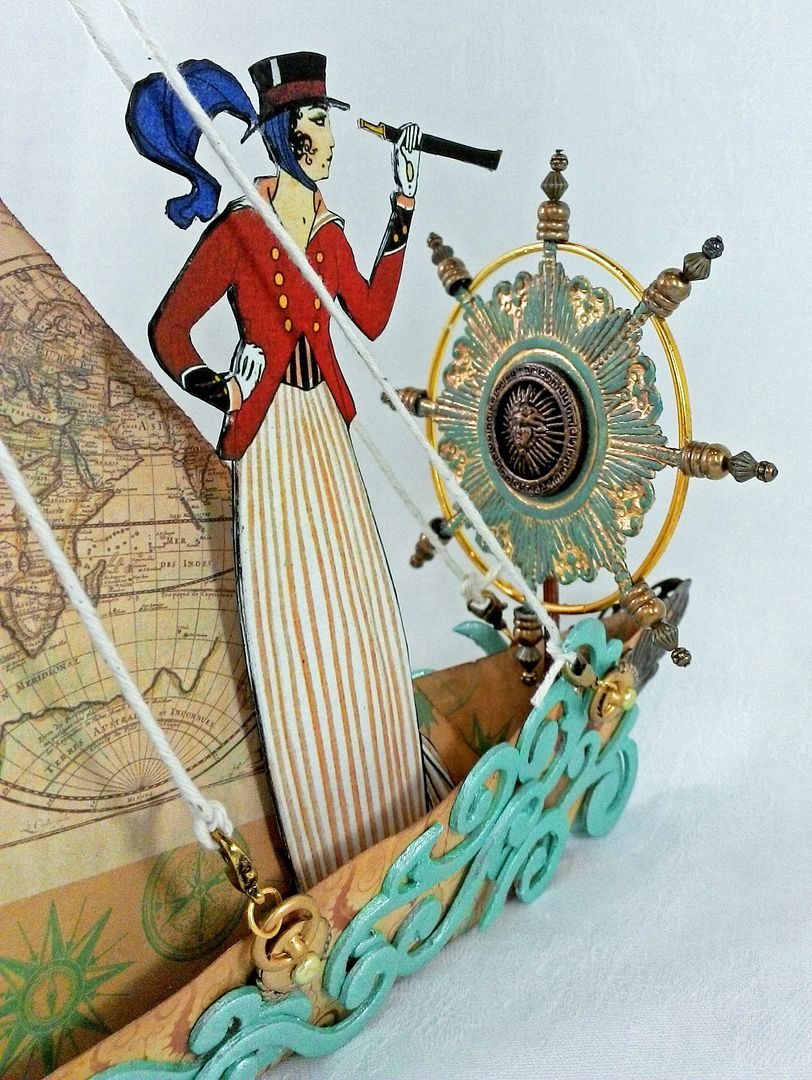
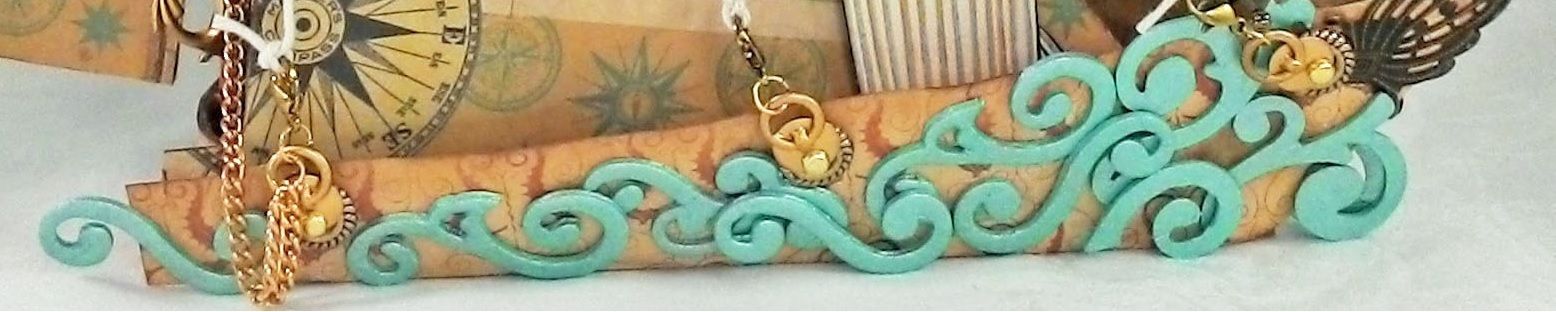
The teal swirls along the sides of the boat represent the boat slicing through the waves.
The adventurous ladies on the boat are from my “TheSea Calls to Me” collage sheet.
TUTORIAL
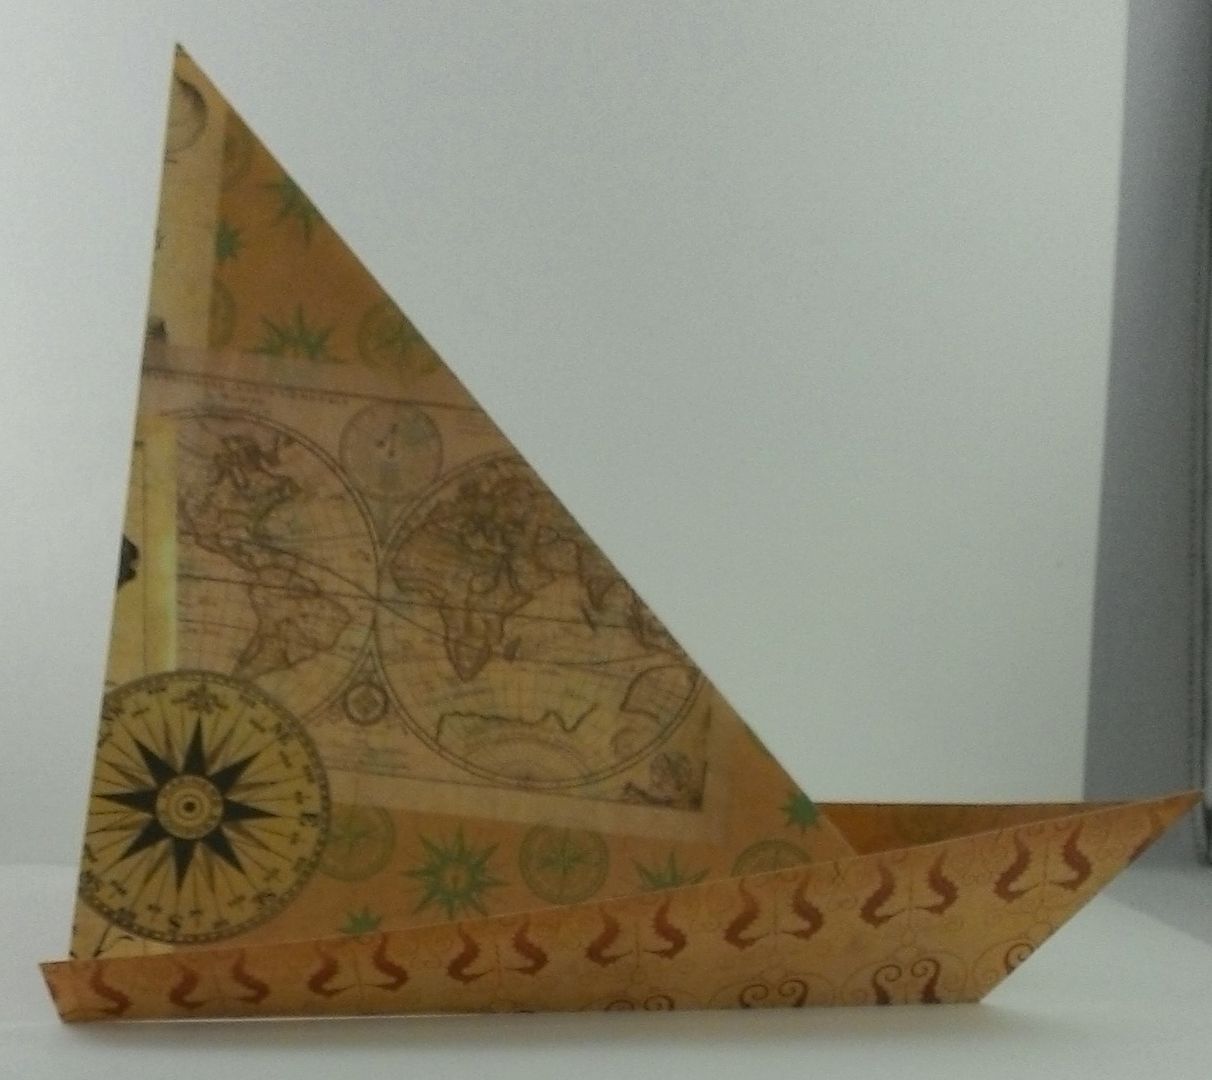
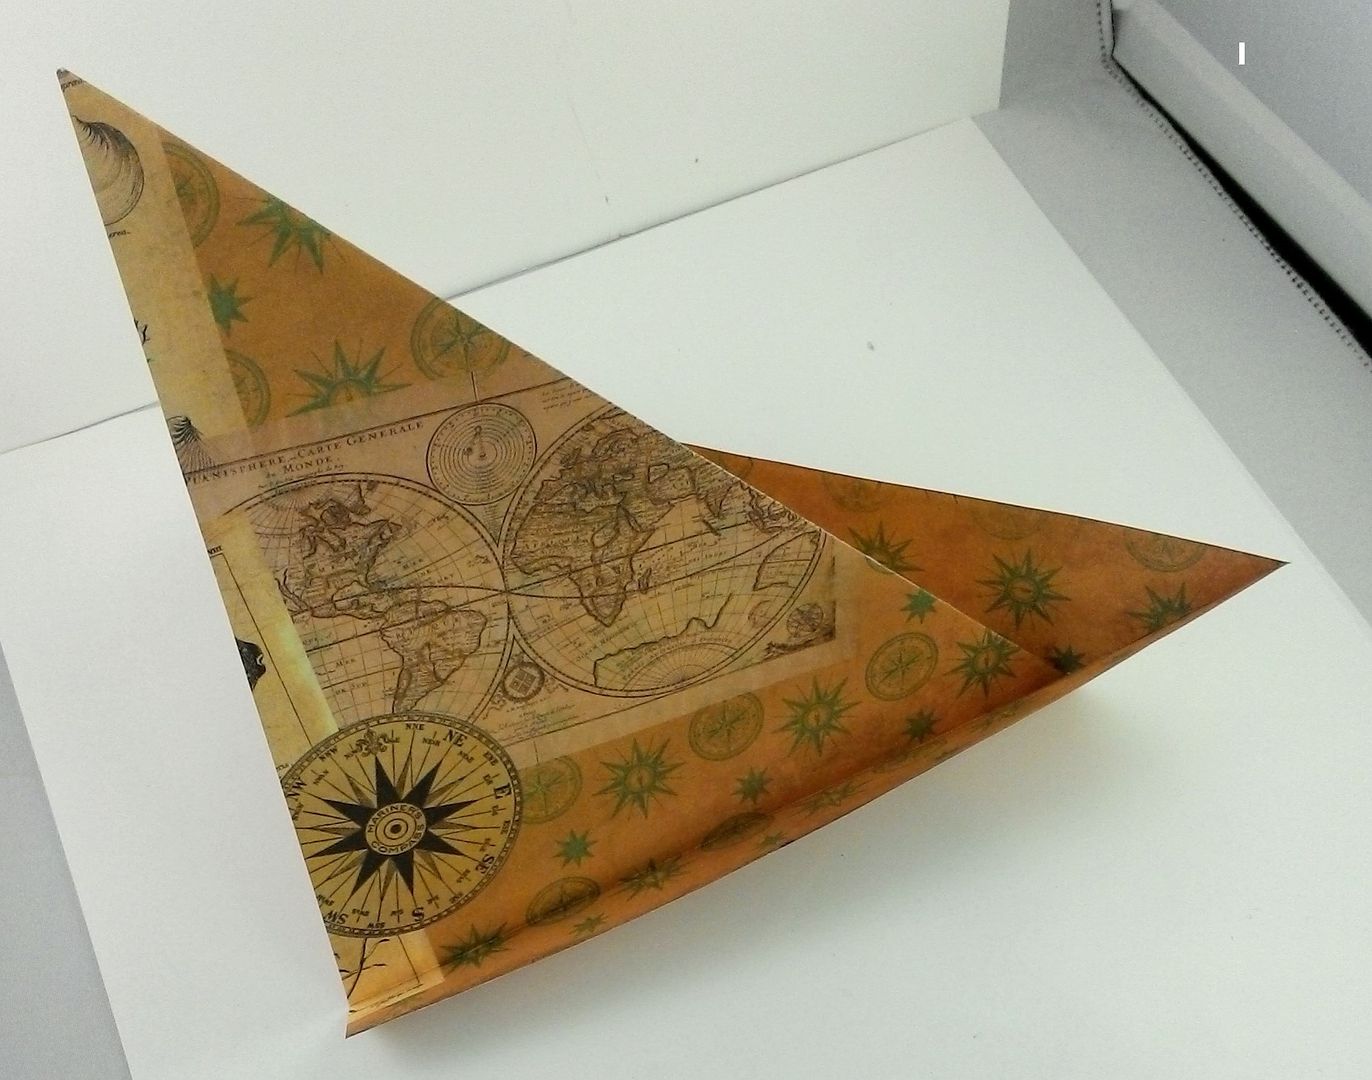
The base of the boat is a paper sailboat which is super simple to make.  I viewed several how-to videos on YouTube looking for just the right sailboat.  I wanted something that was not complicated and that had a tall sail.  The video below by Tavin fit the bill.  With 3 folds you can create this boat.  After watching the video continue through the tutorial where I will cover the rest of the steps.
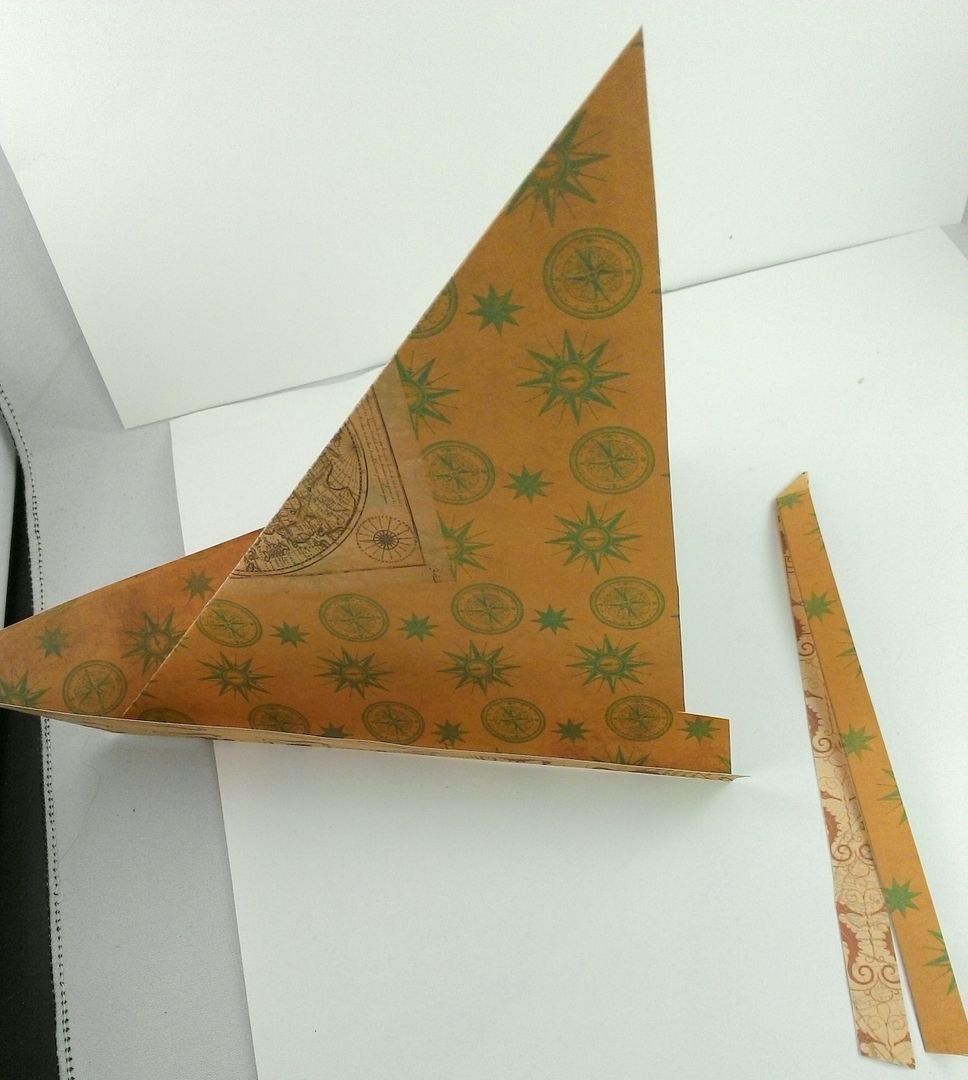
For my boat, I used 12” x 12” double-sided patterned paper cut to 10” x 10”.
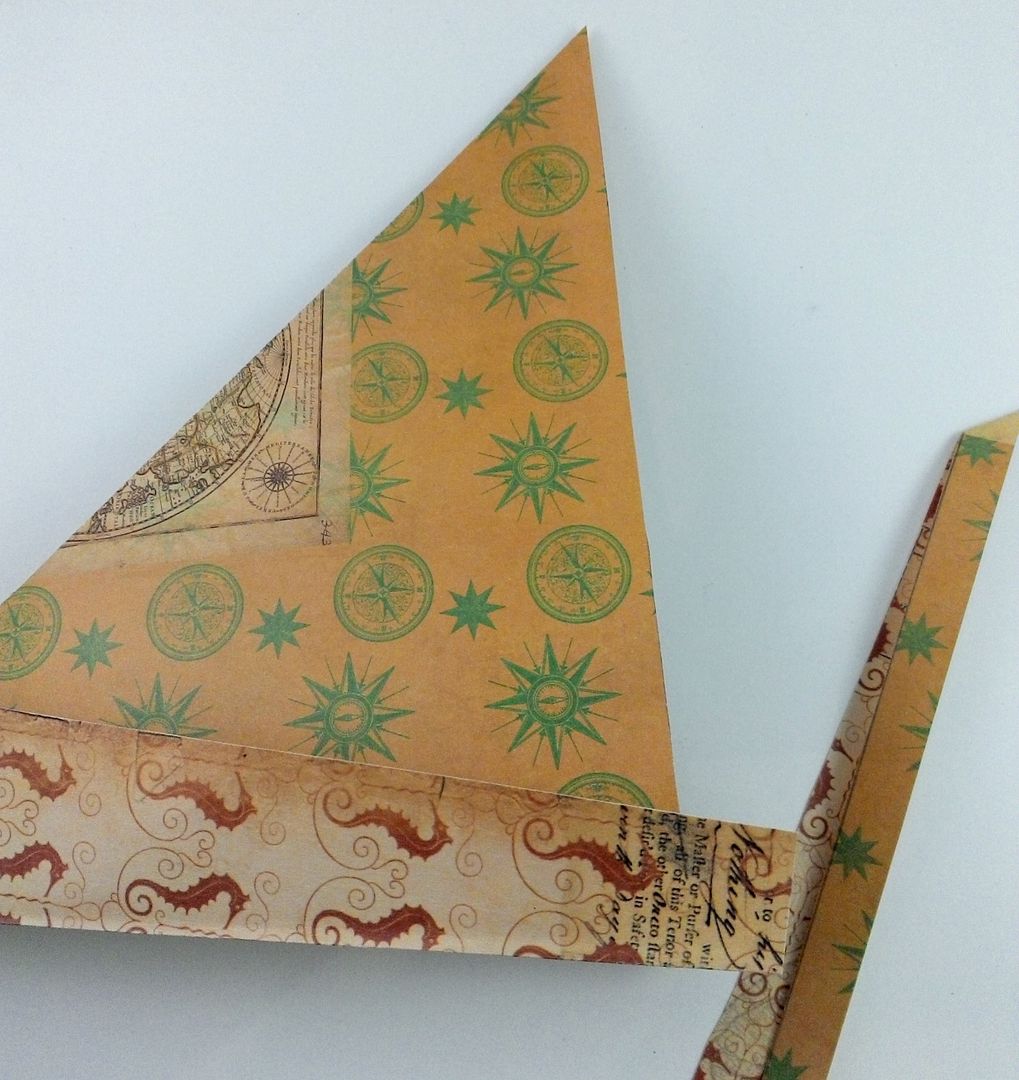
Once the boat was folded I removed some of the paper from the back of the sail.  I did this to accommodate an additional sail on the back and the mast.
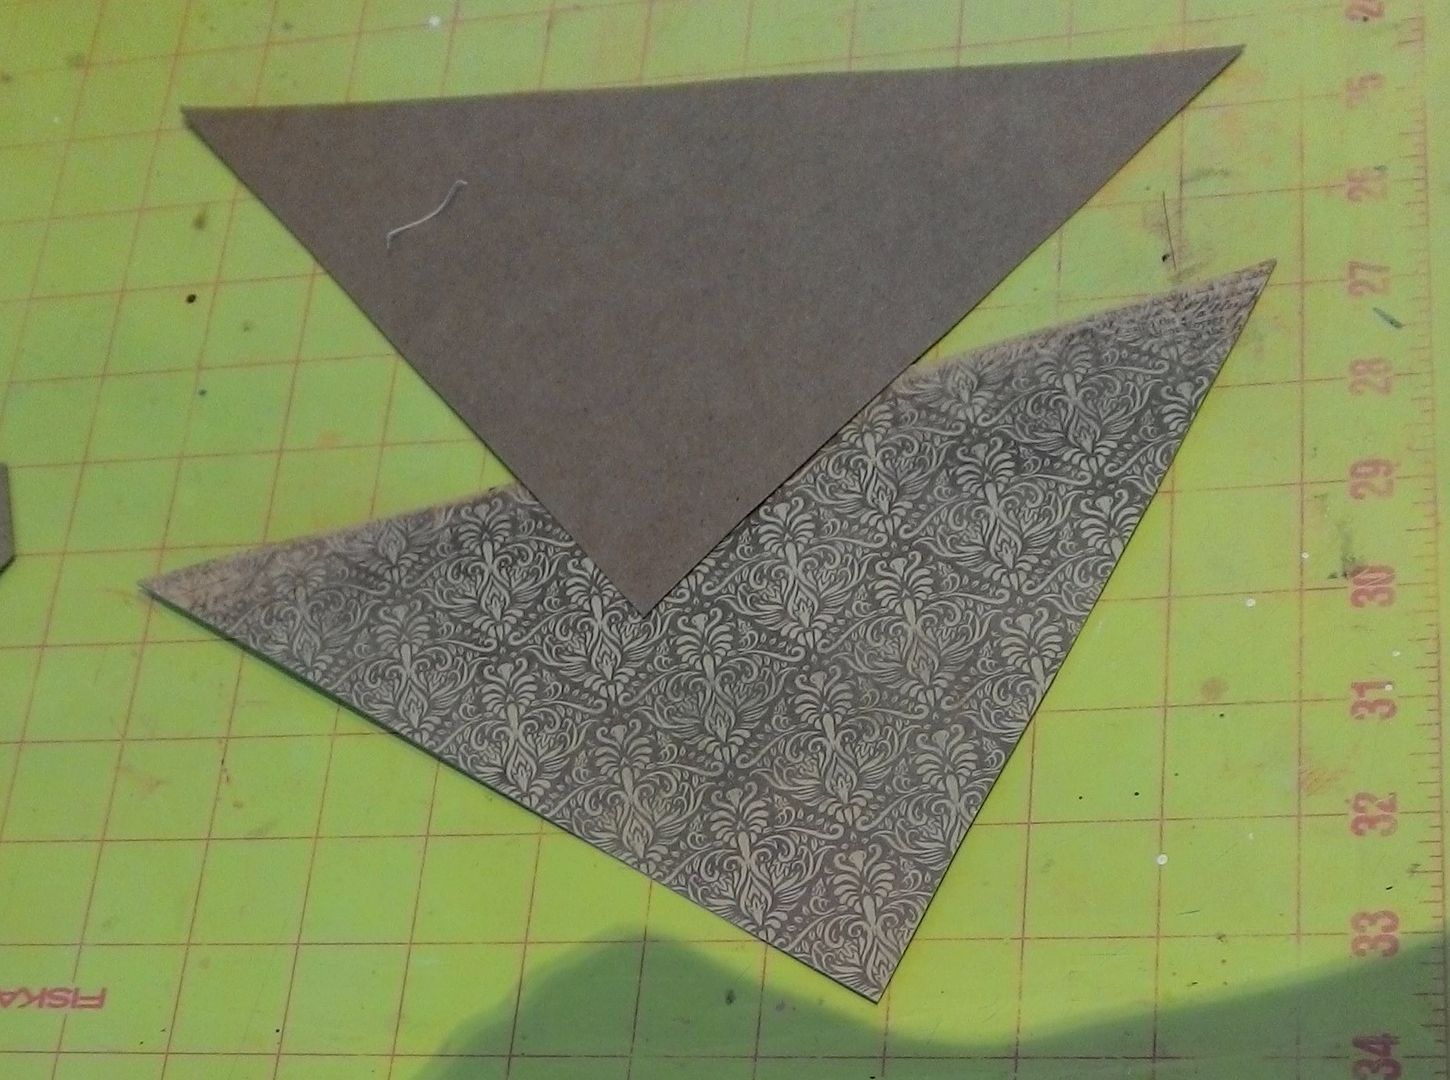
To make the boat sturdier, I added pieces of thin chipboard to the insides of the sail.  On one side of the chipboard, I added decorative paper.  I used the sail as the pattern and cut the chipboard slightly smaller so that it would fit snugly inside the sail.
Below you can see how I flattened the boat out and glued the chipboard in place.
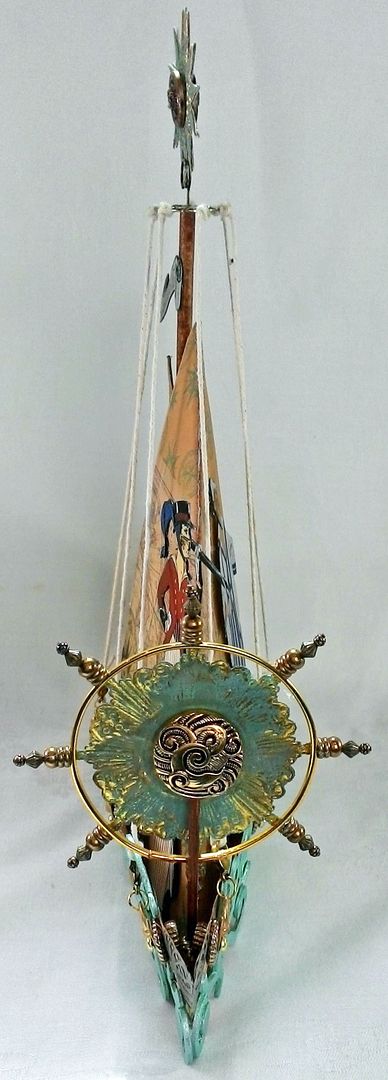
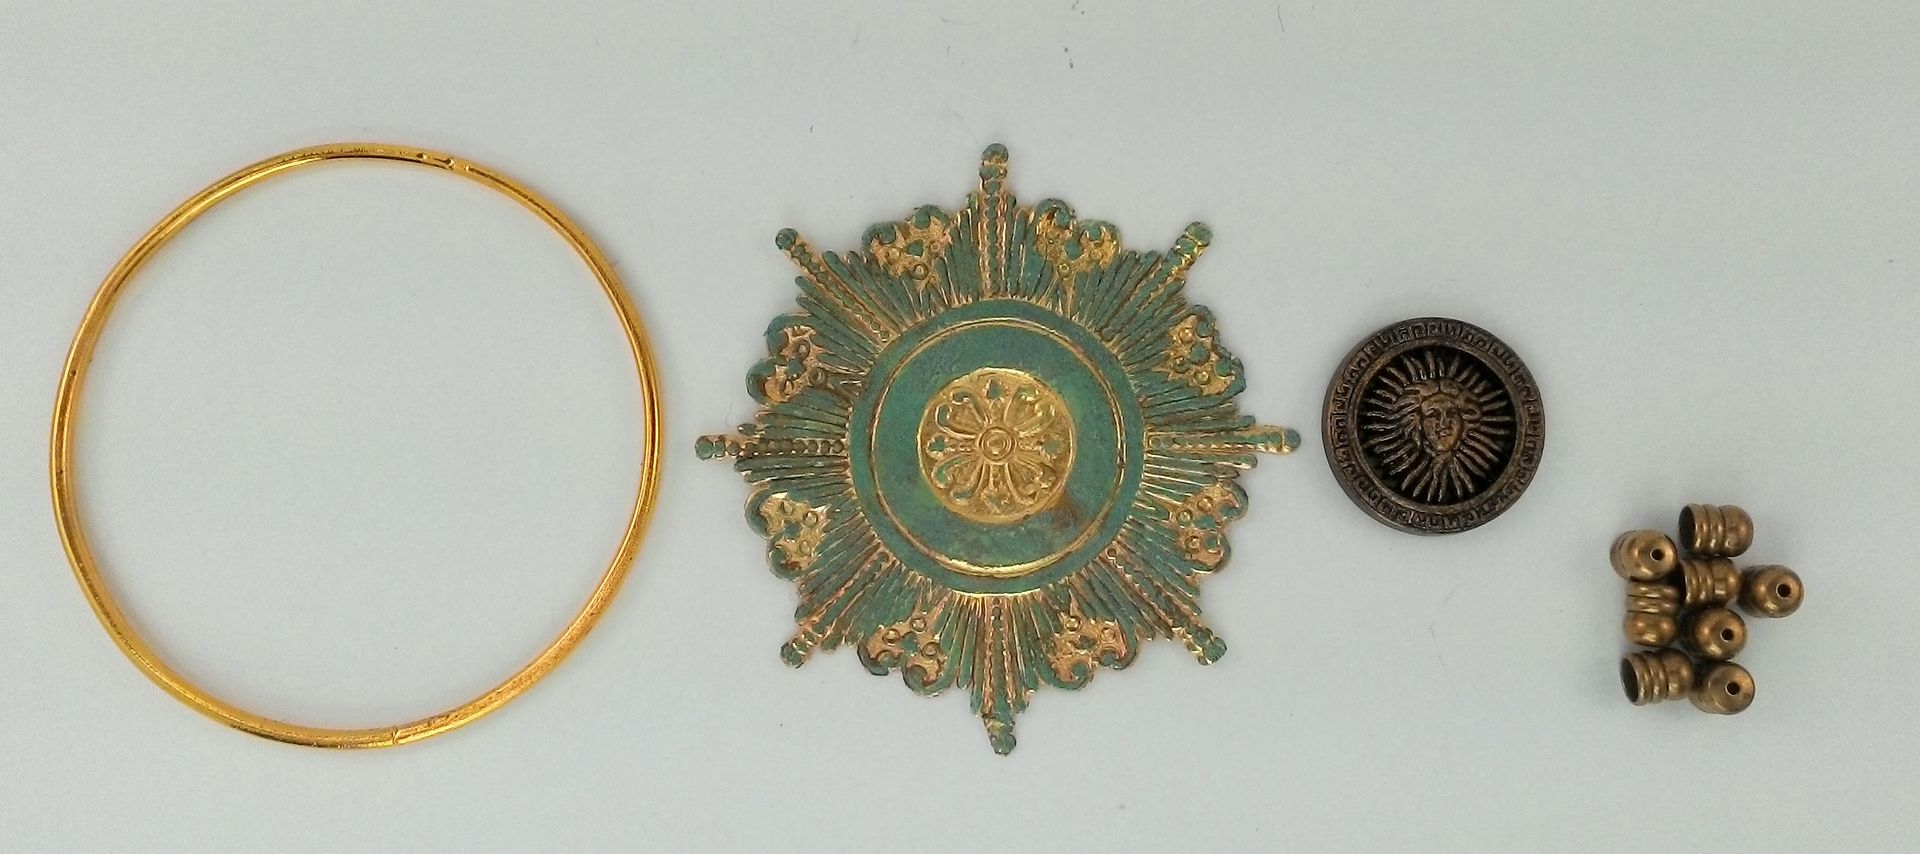
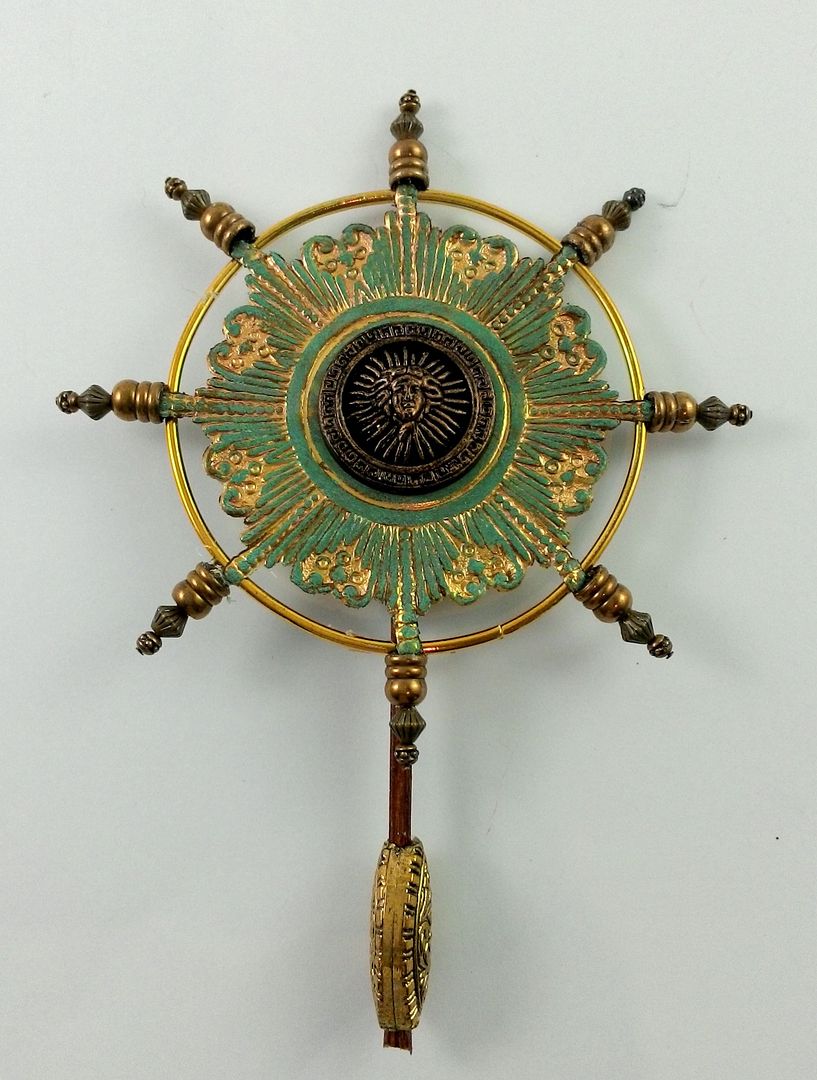
To create the ship's wheel, I used a combination of a gold bangle, a gold Dresden Medallion, buttons, and other brass bits.  There is a complete list of the items I used at the bottom of the post.  The medallion is colored with Patina Gilder’s Paste.  The button is painted black and then colored with Inca Gold Gilders paste( to make the design pop).
I attached the ship's wheel to a wooden skewer and then added a bead to the bottom.  The bead gives me a larger surface area to glue the ship's wheel in place.
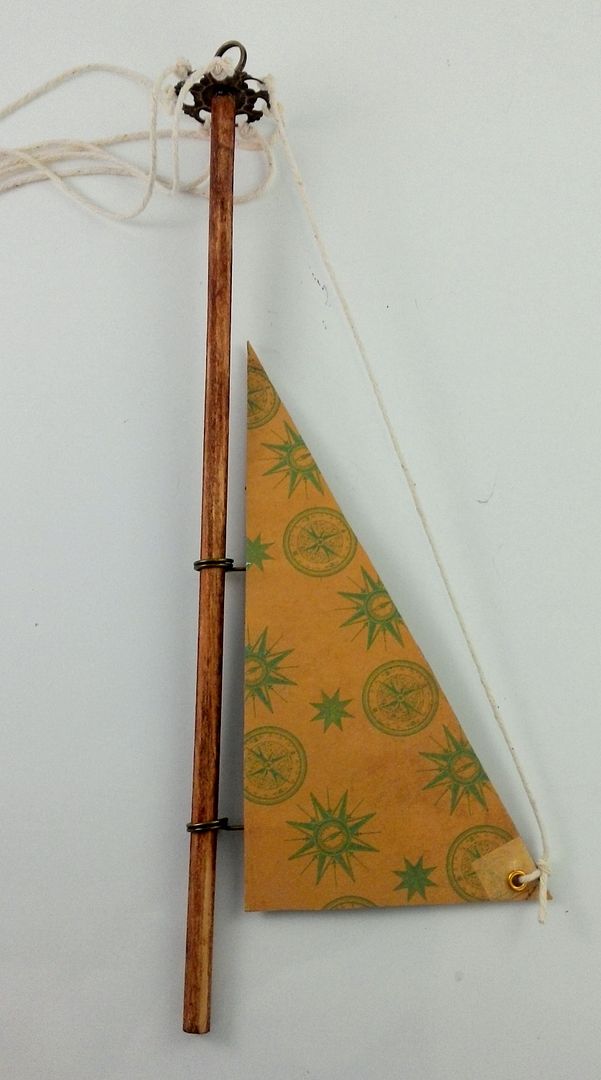
Next, I made a mast with a second sail.
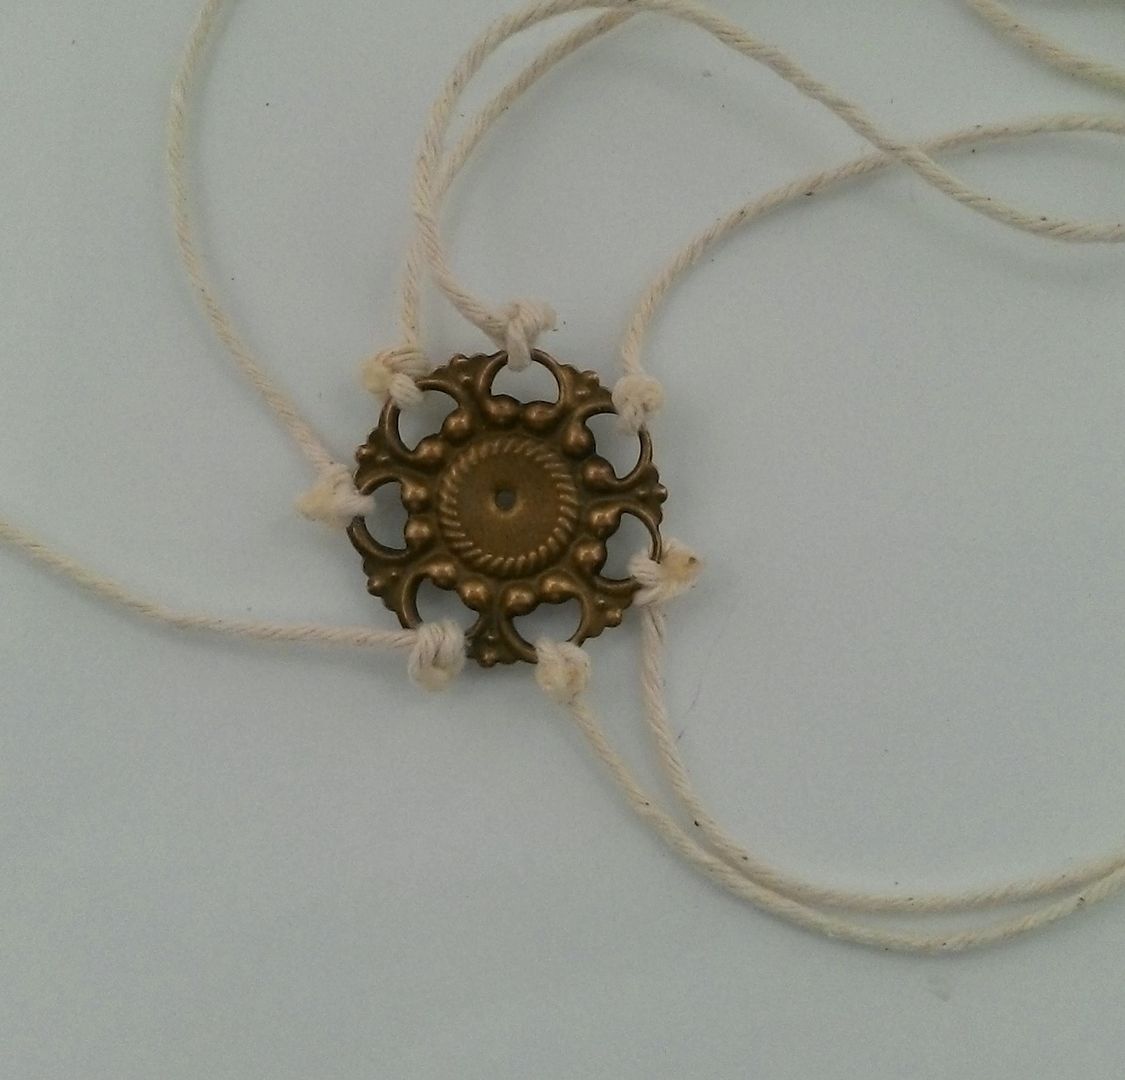
To accommodate the string, I used a piece of brass with holes.  I tied 7 strings to the brass; 6 that attach to the main boat and one that holds the small sail in place.  I poked a hole in the center of the brass piece.
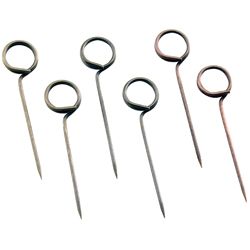
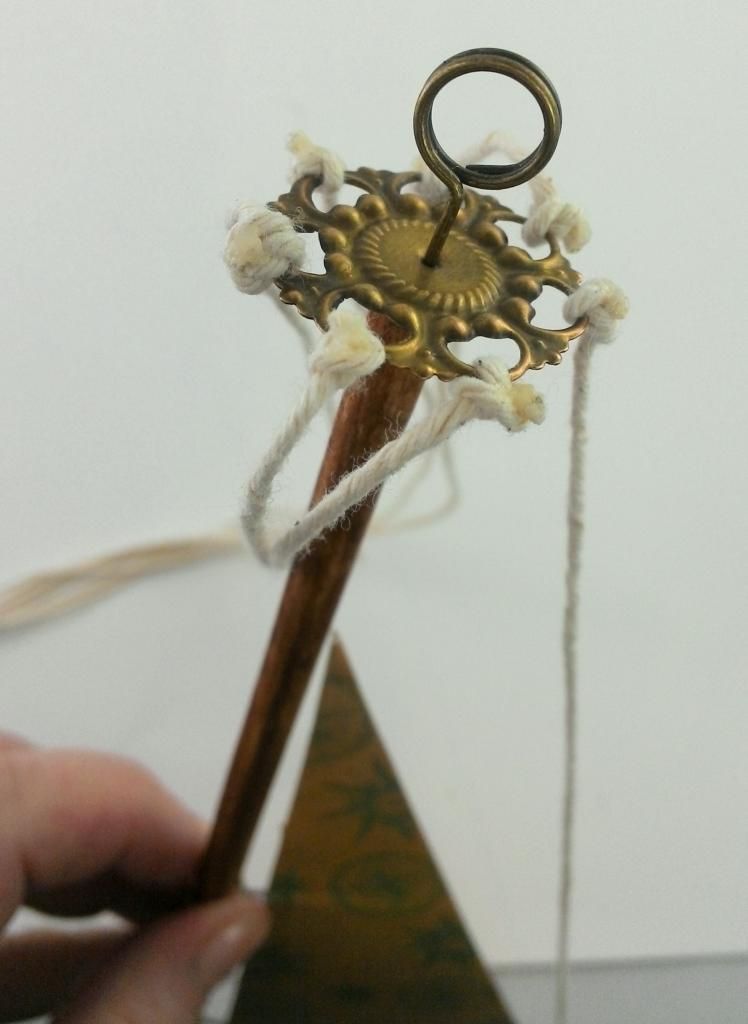
I used a memo pin and glue (E6000) to attach the brass piece to the top of a wooden dowel.  I cut my dowel to 9”.  I pre-poked a hole in the dowel before inserting the pin.  The dowel is stained with Vintage Photo Distress Ink.
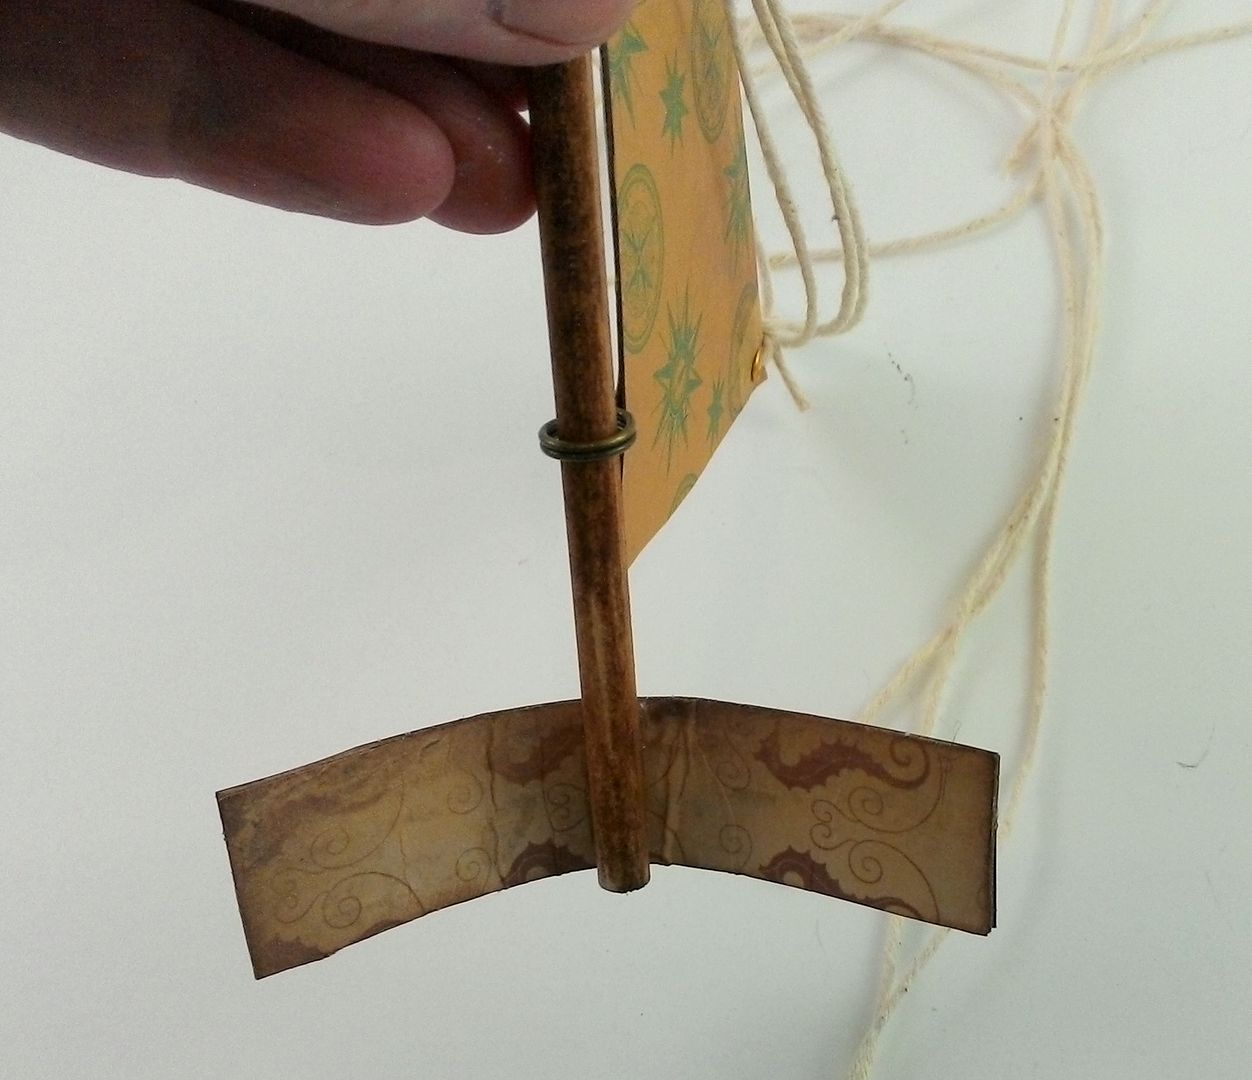
The sail is made from two pieces of decorative paper glued together with two memo pins glued between them.  The loop of the memo pin slides onto the dowel.  I punched a hole in the sail and added an eyelet.  One of the strings from the top is inserted through the eyelet.  The string keeps the sail in place and the sail is free to move from side to side. 
 
To the bottom of the wooden dowel I glued a piece of light chipboard covered with decorative paper.
The piece of chipboard is used to attach the mast to the boat and to keep the back of the boat from opening too far.  Make the height of the chipboard small enough that you won’t see it from the side of the boat.  The width depends on how wide you want the back of your boat to be.  In the picture, you can see that I curved the chipboard and glued it in place just inside each side of the mainsail.
One of the great things about memo pins are that they gave me a way to attach the Dresden Star to the top of the mast.  I glued two stars together and colored them with the Patina Gilders paste.  Glued in the center of the stars is a button colored in the same manner as I colored the buttons on the ship's wheel.  The double-sided banner is glued to the mast.
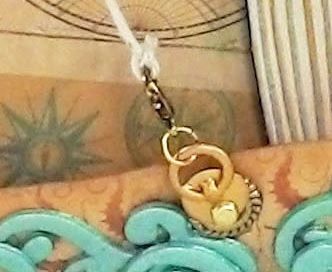
To accommodate the other six strings which make up the mainsail rigging, I punched 3 holes on each side of the boat.  I glued a rondelle on top of each hole.  Using a brad, I attached ring handles.  Doing it this way means that the ring handles are free to turn making it easier to attach the string and to get the string taut.  I attached lobster claw clasps to the ring handles using a jump ring and then tied each string to the lobster claw.  The string not only visually looks like rigging but also functions like rigging to keep the mast and small sail in place and straight.
Along the bottom of the boat I used chipboard swirls (you’ve seen me use these on lots of projects) to add the sense of the boat slicing through waves.  I used filigree pieces to dress up the front of the boat..
Below is the banner I cooked up for this project.  There are two so that they can be glued together to make a double-sided banner.  Feel free to use them in your art.

COLLAGE SHEET