Step right up and checkout these two fun circus-themed
projects. The first is a spinning
carousel made from a Masonite kit which makes building a carousel easy.

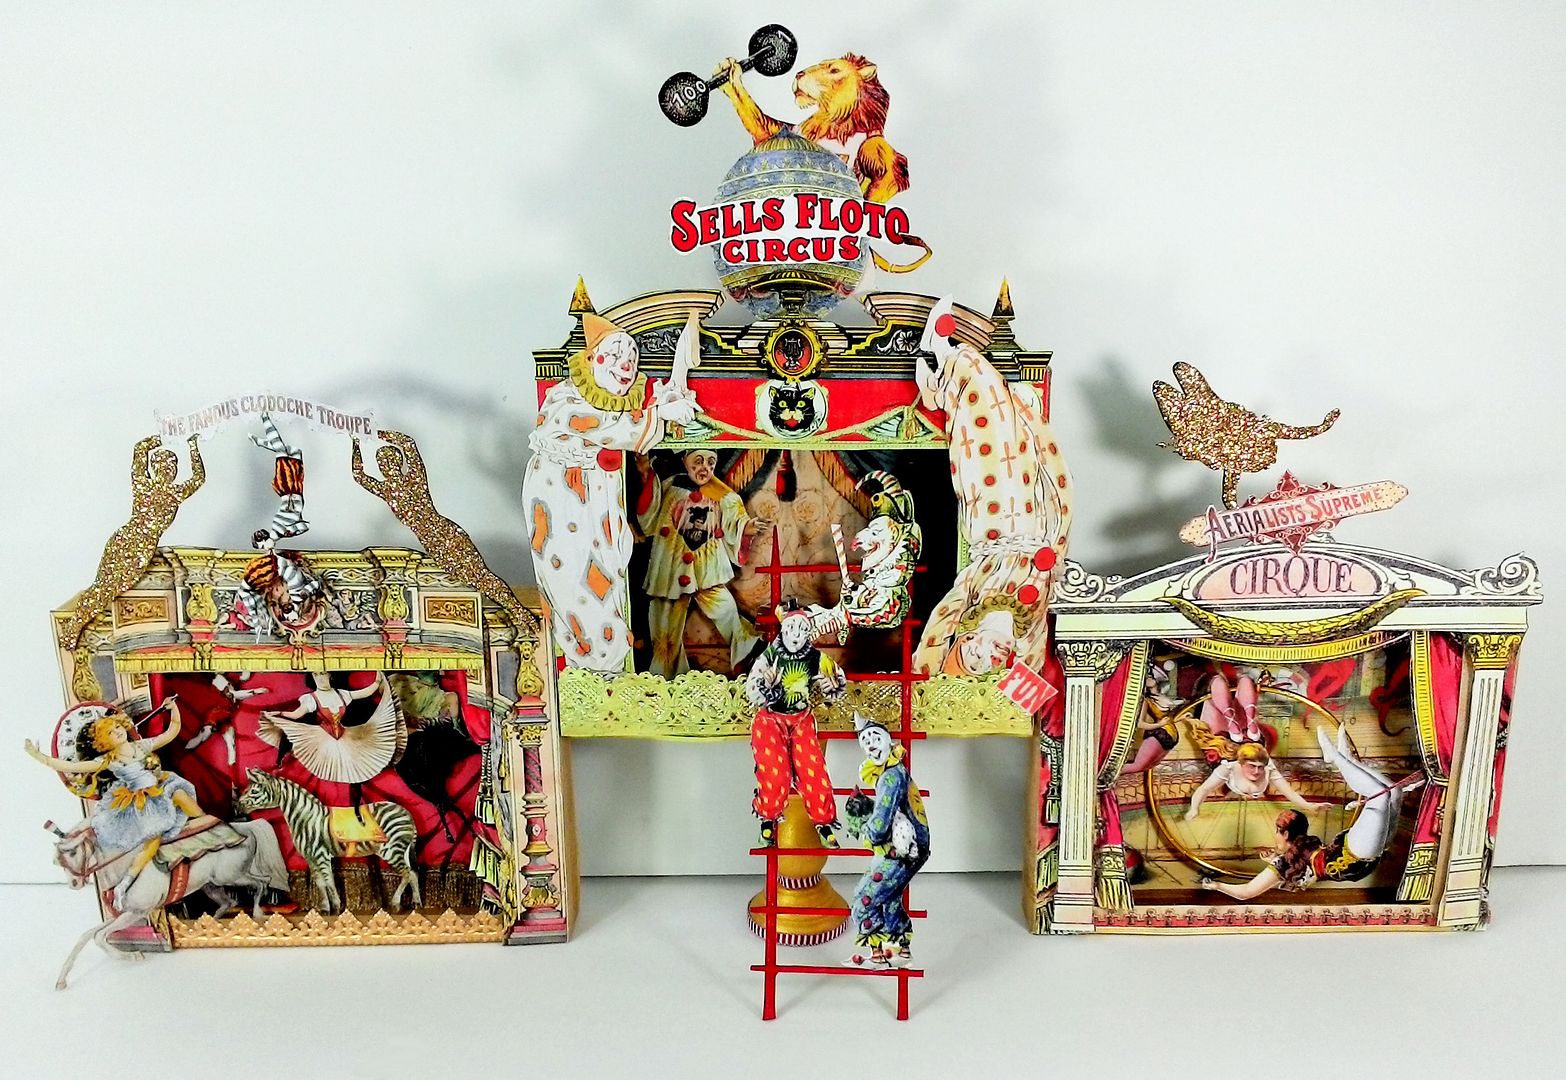
The second is Sells Flotos Circus made from chipboard theater boxes and lots of collage sheet images.
CIRCUS
CAROUSEL TUTORIAL

The carousel kit comes with all of the pieces you need to
construct the carousel as well as assembly instructions. Depending on how you want to decorate your
carousel, you may need to make adjustments to the assembly order.
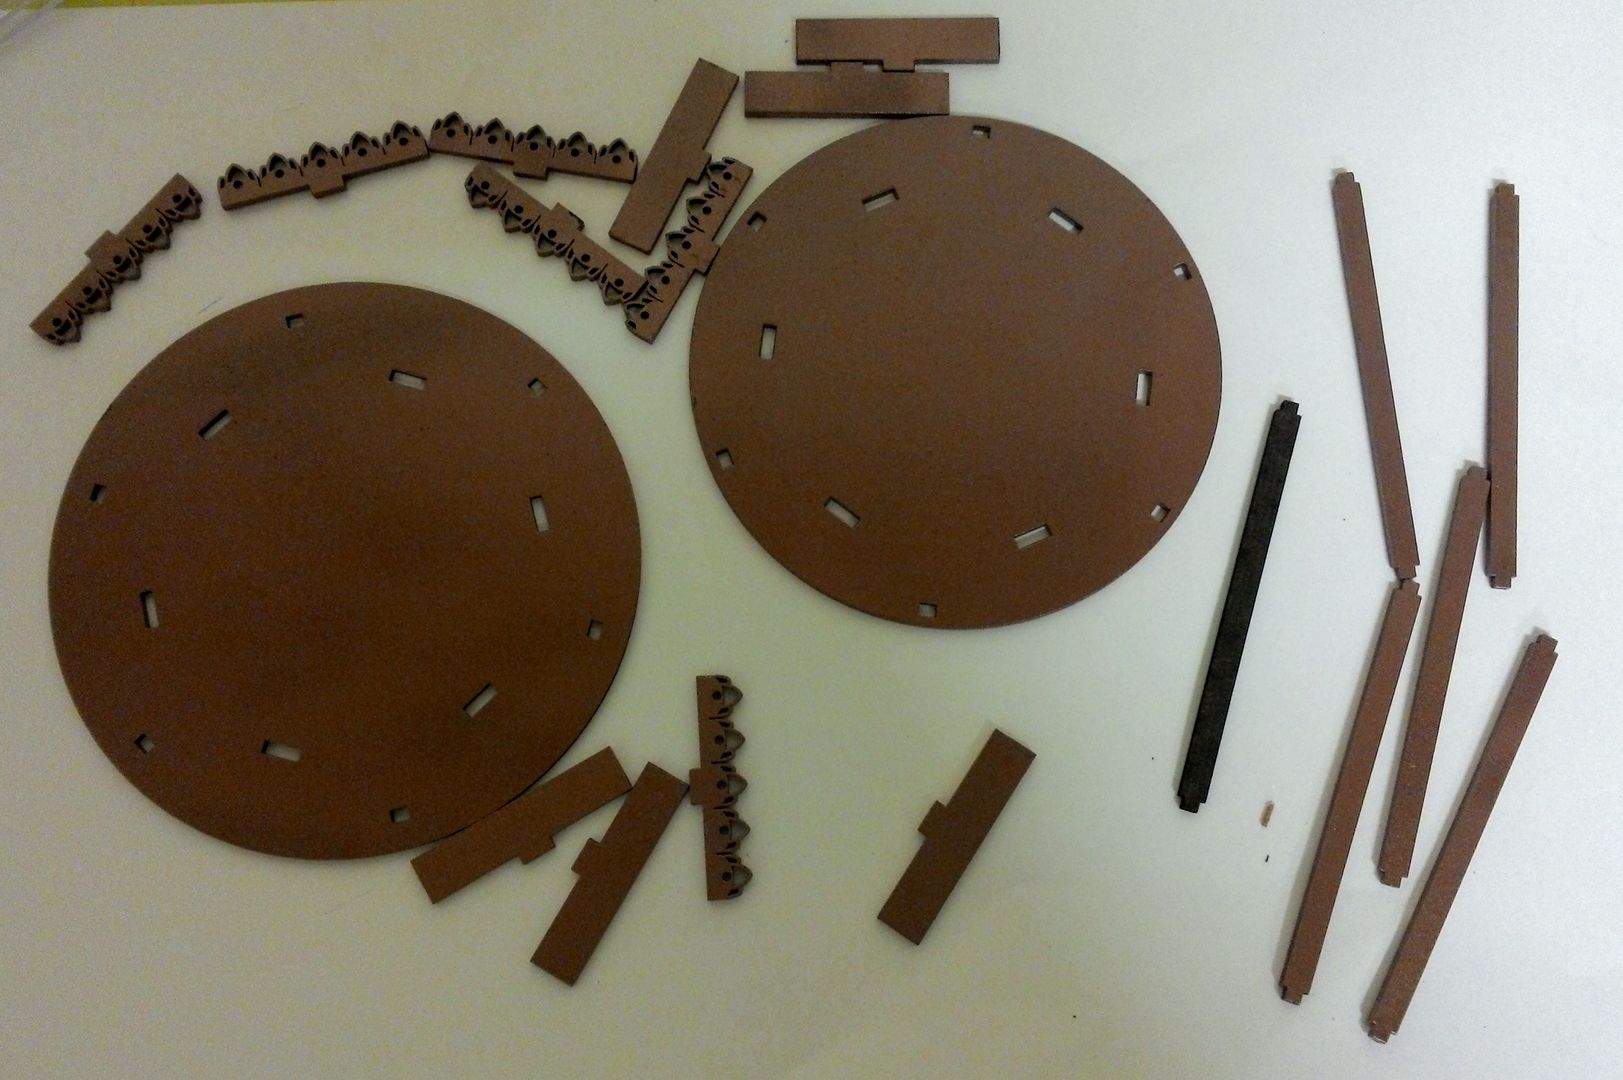
I started by spray painting the piece's gold. Using spray paint made the job quick and
easy. In the picture below, you can see
that I left one of the poll pieces unsprayed to show you the change in color.
Next, I covered the top of the base piece with wedges of paper
from the Anthem
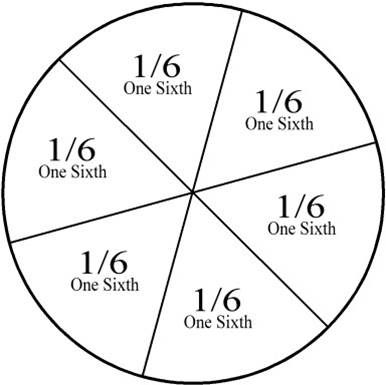
6x6 paper pad. I used a template
that divides the circle into 6 wedges (for each of the 6 horses). I cut out the wedges and glued them to 6
different pieces of patterned paper.
Lastly, I cut out the paper wedges and glued them to the base using the
pole holes as a guide.

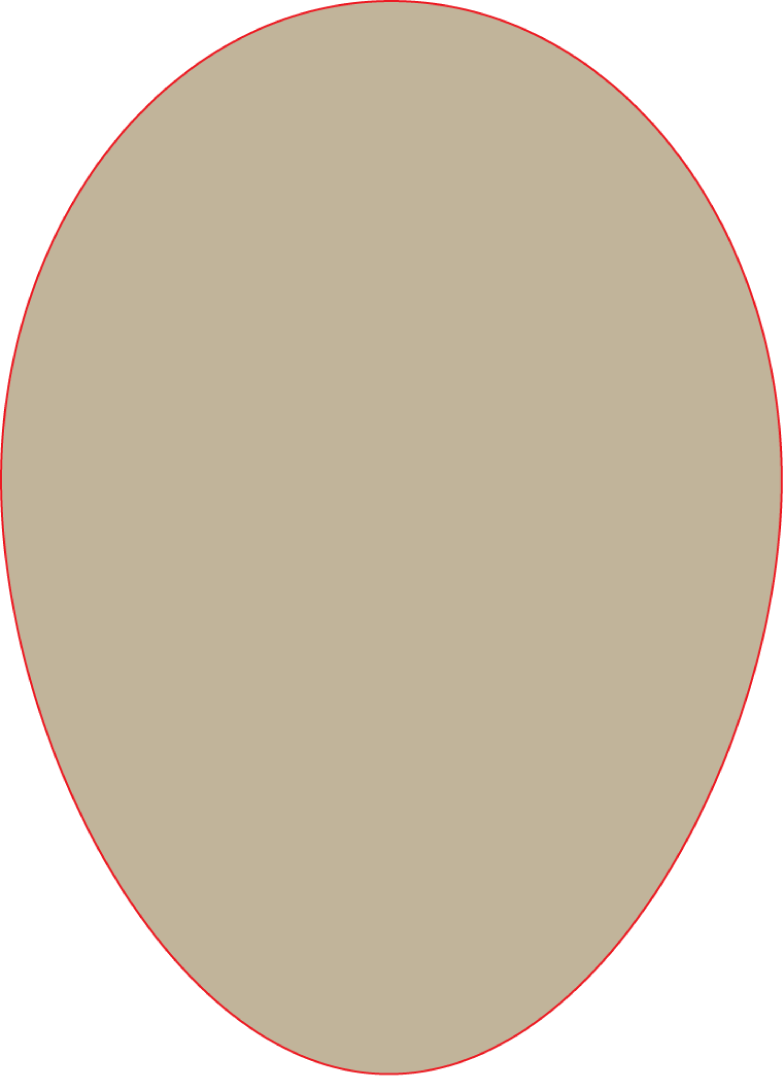
Below you’ll find the template sized to fit the base piece. The base is slightly larger than the top
piece so you need a different template for each. Further down in the tutorial is the template
for the top piece. To download the
template, click on the image to expand it, right-click and select Save As.
Next, I reopened the holes for the posts using filing tools. The tools are from Basic Grey’s Precision
File Set which you can find online at Amazon and other stores.


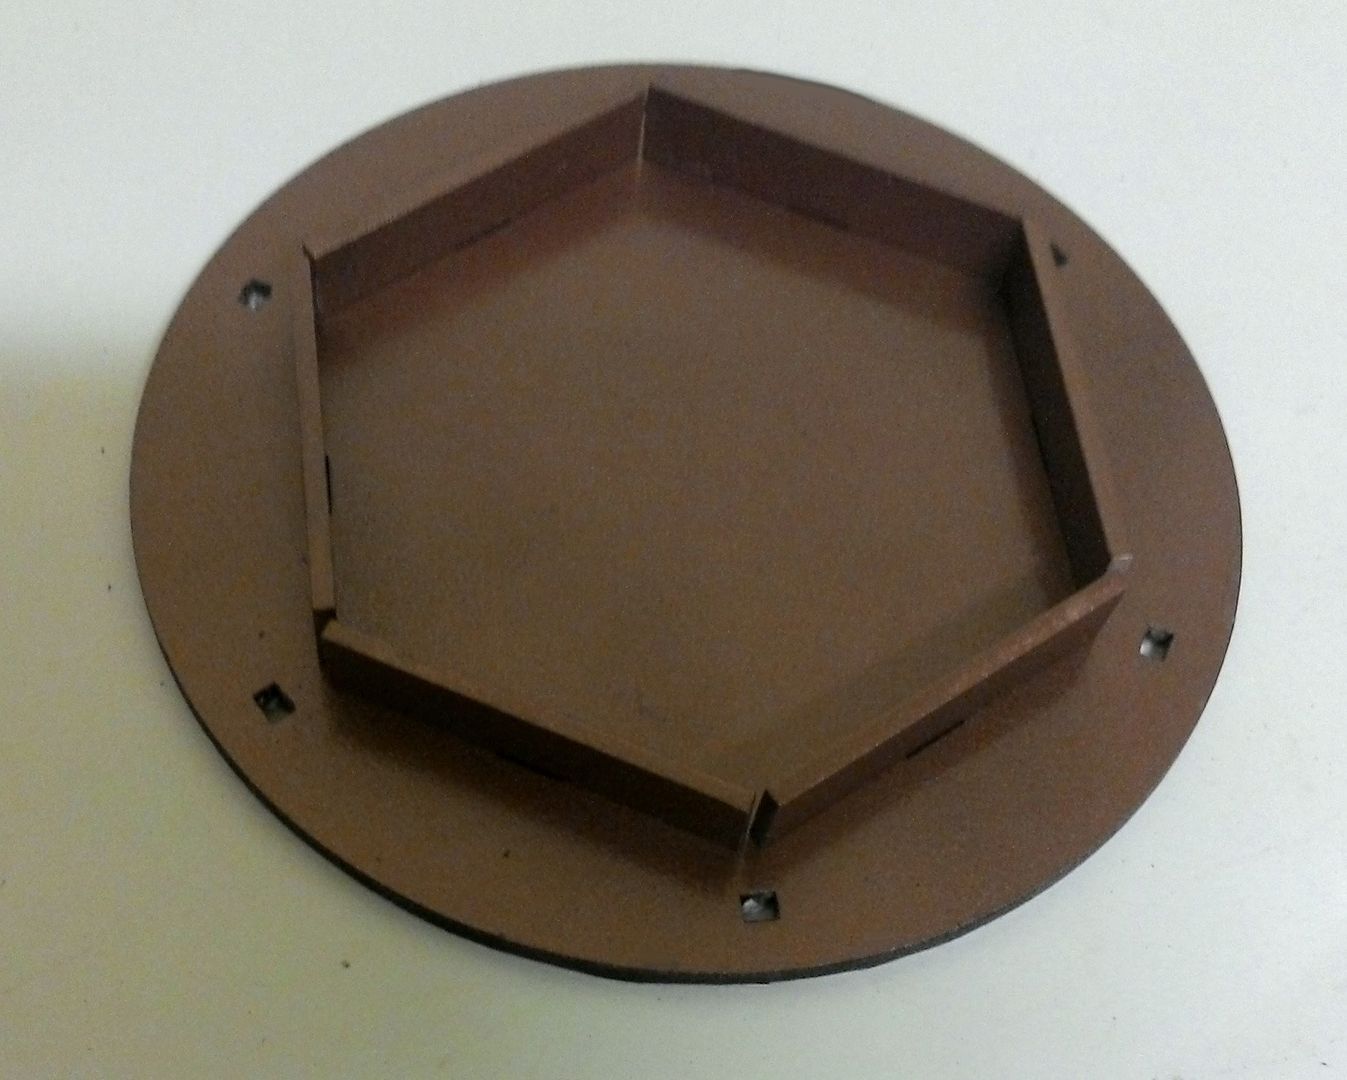
I flipped the bottom over and glued the base panels in place. These panels lift the base off of the
surface.
In order to make my carousel spin, I added Lazy Susan hardware. The hardware is inexpensive and can be found
at hardware stores and online. The one I
used measures 3 inches square.
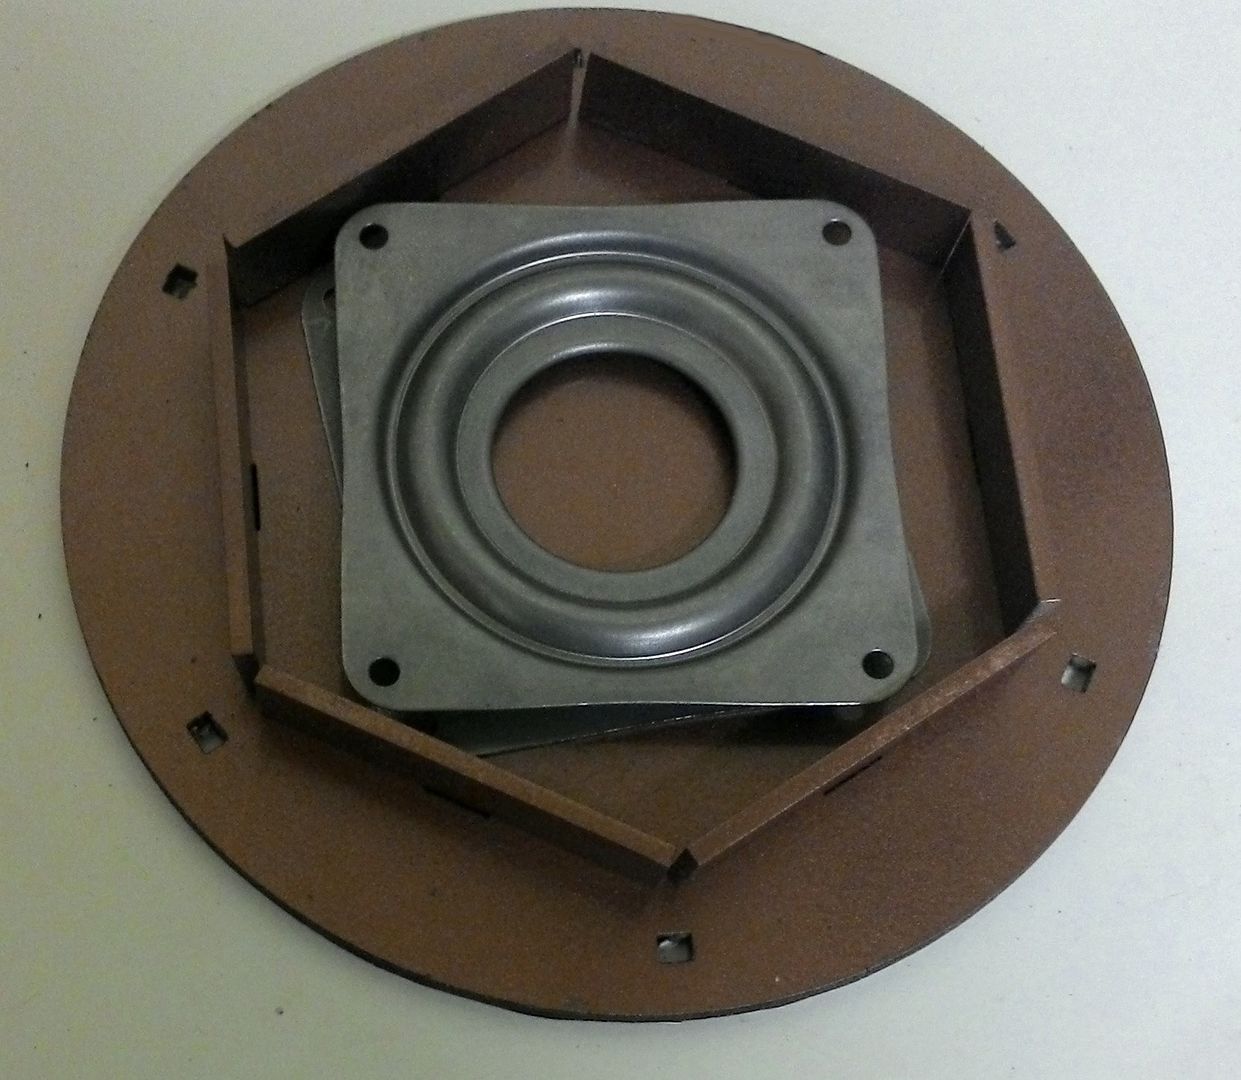
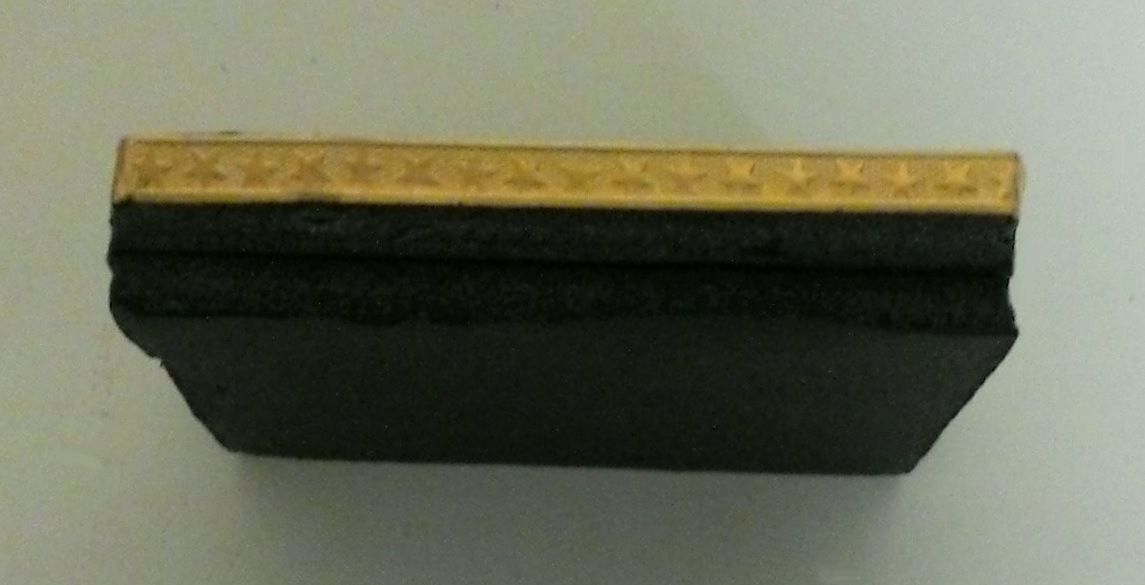
I added layers of foam core to the base to raise the Lazy Susan
above the panels, so it would spin.
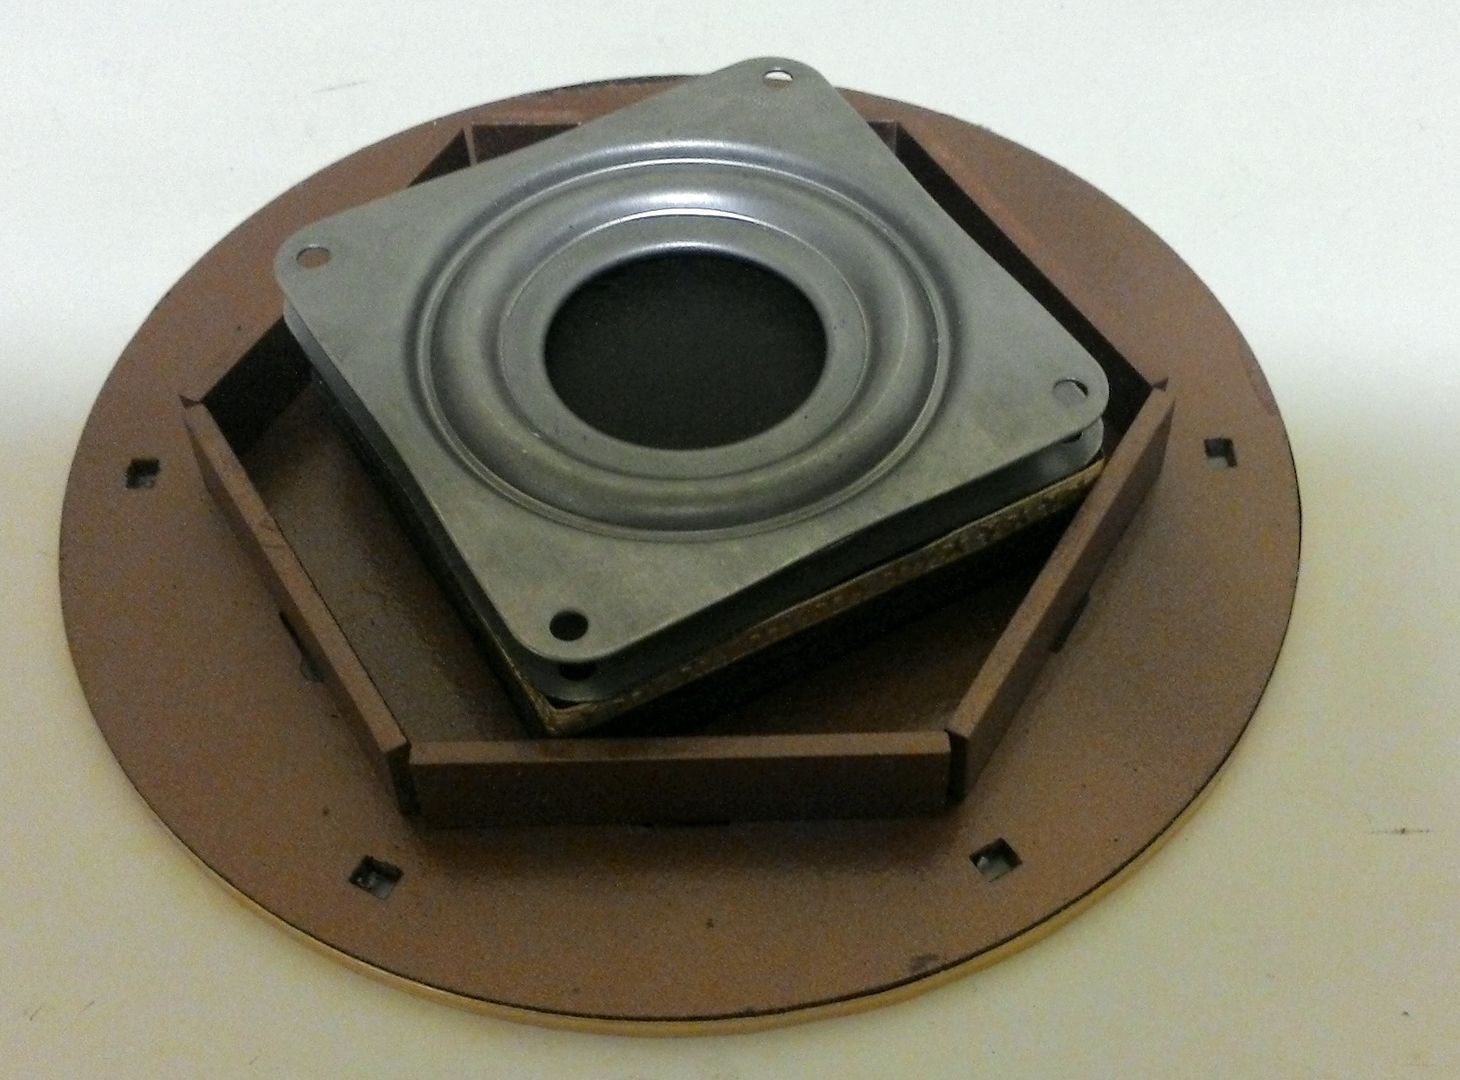
Next, I cut a piece of paper tubing for a center column and
covered it with paper.
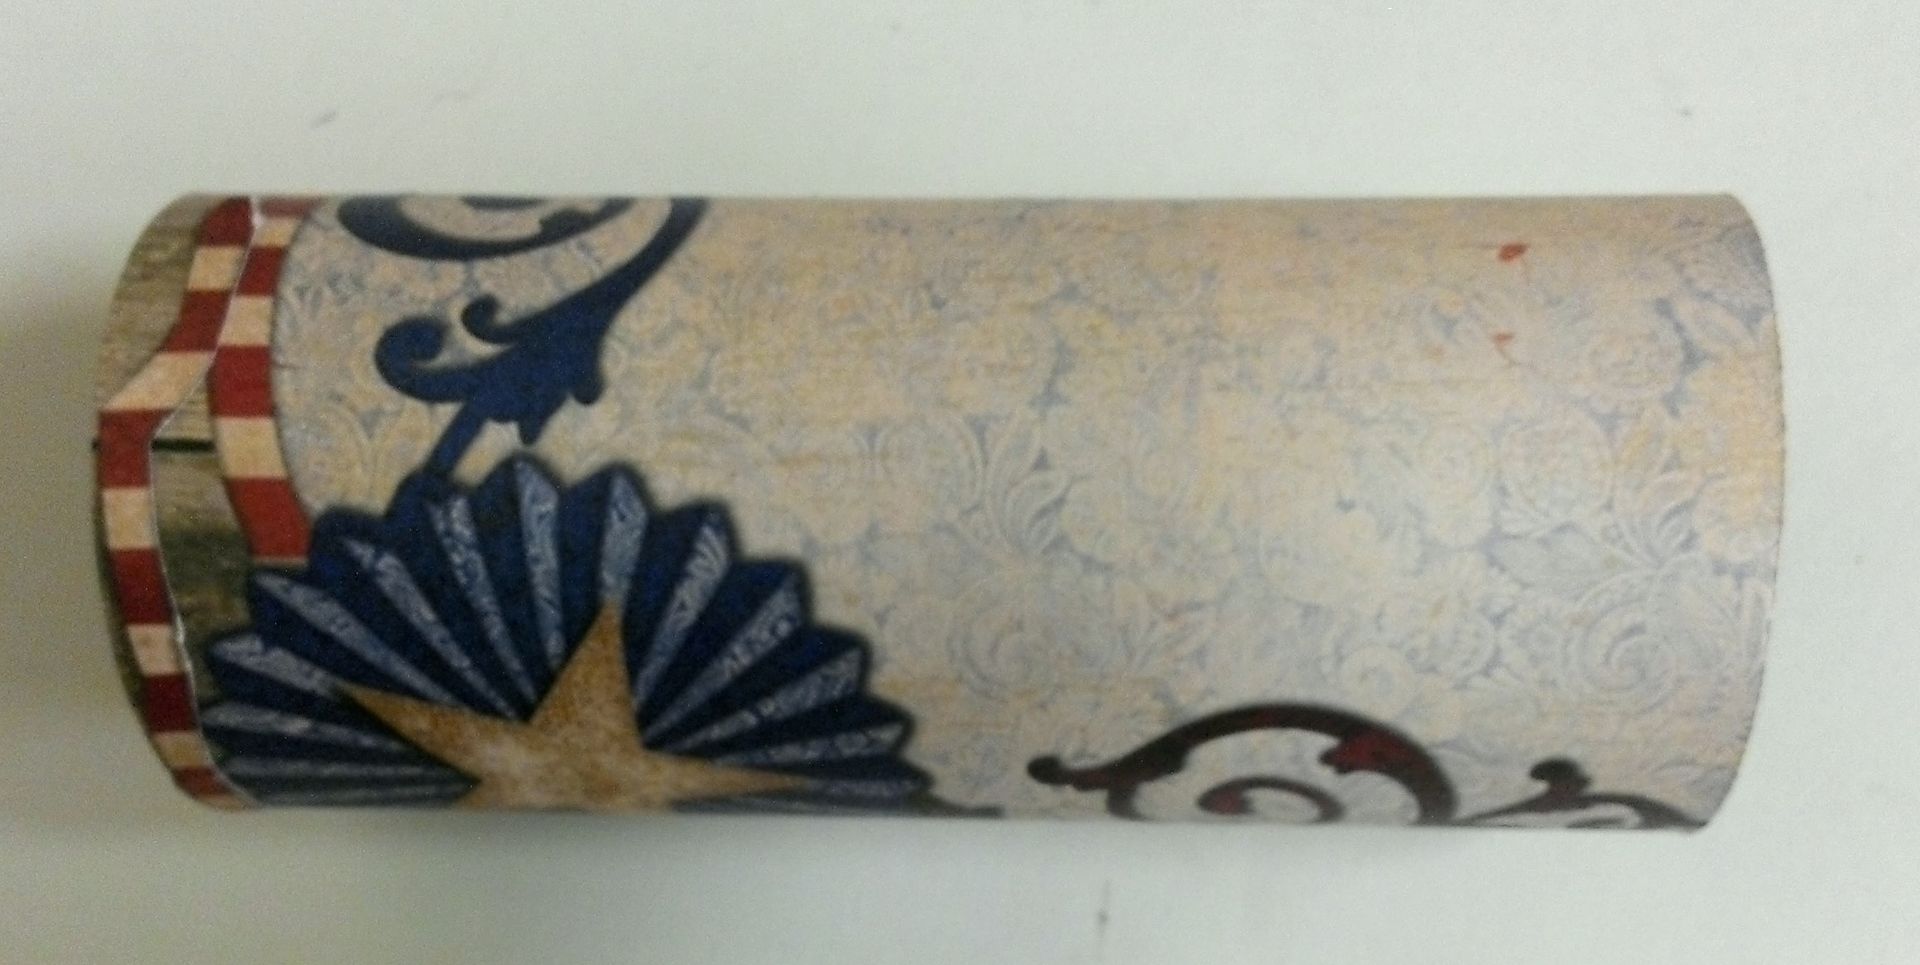
I glued the tubing to the base.
Note, I also added Dresden in between each of the paper wedges.

I cover the posts with Dresden and wrapped them in red star
tinsel. Next, I glued the horses to the
posts at different heights so that it would look like they were going up and
down. Horses – the kit comes with 6
horse images that I glued to one side of the Masonite horses. So that the horses would look the same on
both sides, I scanned the image, flipped it and printed it 6 times. I cut out the images and glued them to the
other side of the horses. An alternative
is to paint or paper on the other side.

I covered the top of the top piece with paper wedges and Dresden just
as I did with the bottom piece. I reopened
holes for the decorative panels and glued them in place.
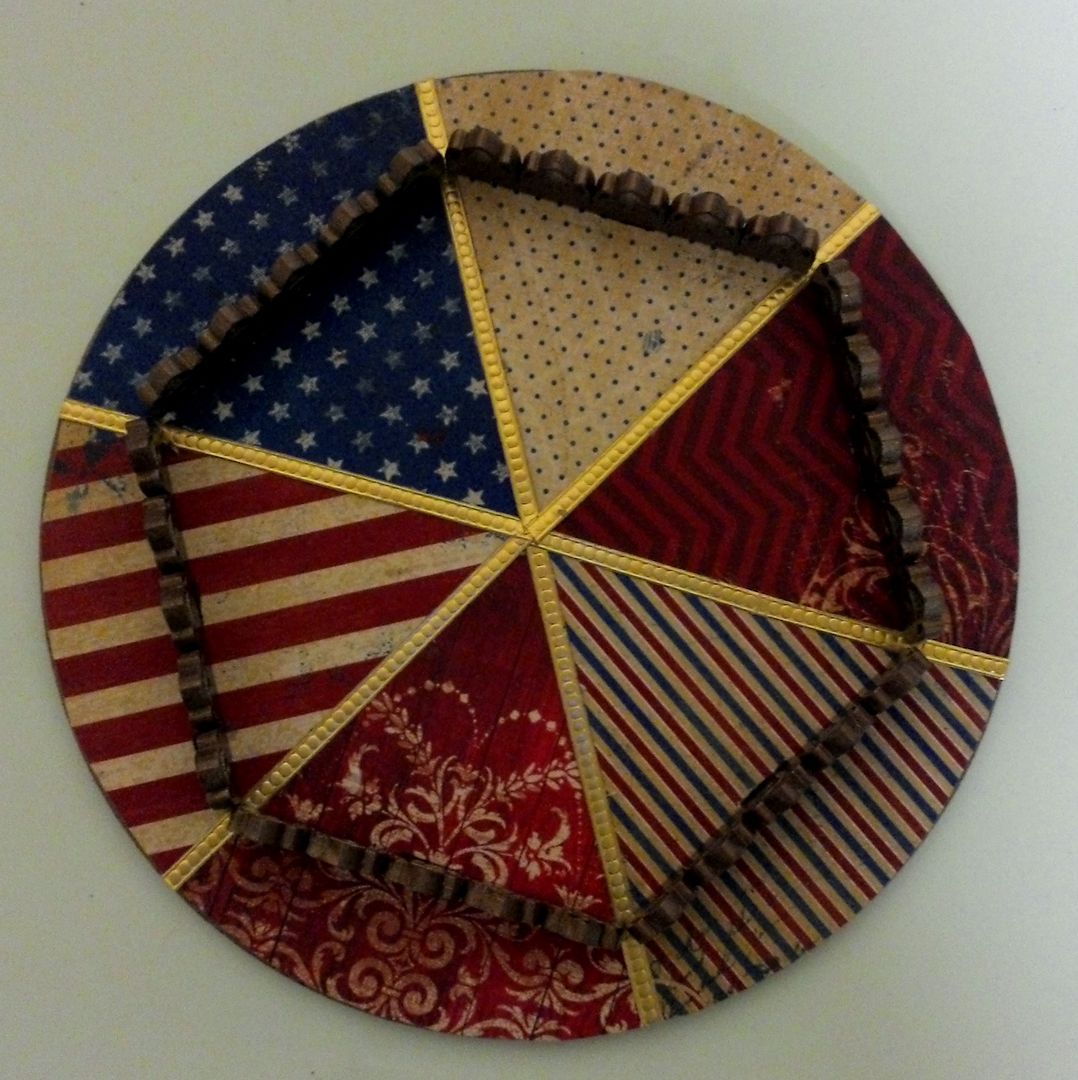
Below you’ll find the template sized to fit the top piece. The top is slightly smaller than the bottom so
you need a different template for each. To
download the template, click on the image to expand it, right-click and select
Save As.

On the top, I added a ping pong ball spray painted with the same
gold paint I used for the other pieces.
It is attached to the top with a small wooden box foot. The woman is from a set of mat
board cut-out acrobats. The set
includes two of each piece. I coated the
pieces with glitter and glued them to each side of a flat toothpick. I poked a hole in the ball with a pin and then
glued the toothpick in the hole. Lastly, I wrapped the wooden piece and ball with a piece of gold star tinsel.
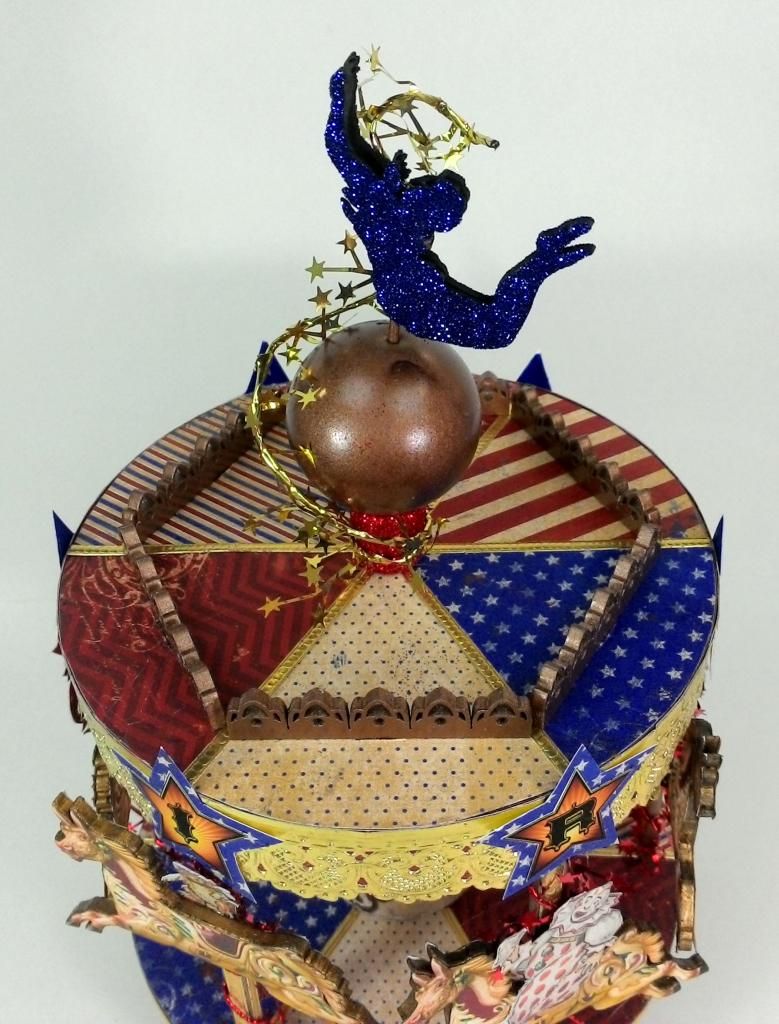
Around the edge of the top, I added Dresden and stars that spell
Circus. To each of the horses, I added
clowns, cats, and a ballerina.

SELLS
FLOTO CIRCUS
This circus is made from chipboard theater boxes. They come in a set of 3 boxes so I thought I
would create a scene in each box and then combine the boxes.
Unlike most of my projects, this one includes very few
embellishments. The circus is created
almost entirely with collage sheet images.

I first assembled the box leaving one side open. I glued the scene in place (in the back) then
glued the tab of the open side to the back of the box rather than inside the
box. I finished by covering the sides,
top, bottom and backs with paper. I did
not color or paper the inside except for the background scene or curtains you
see in the back of the boxes. Once you have the facade in place you can't see the inside except for the back.
To create more dimension, I glued the paper curtains to the inside
front of the box. On the outside front of the boxes, I glued various paper theater
facades.
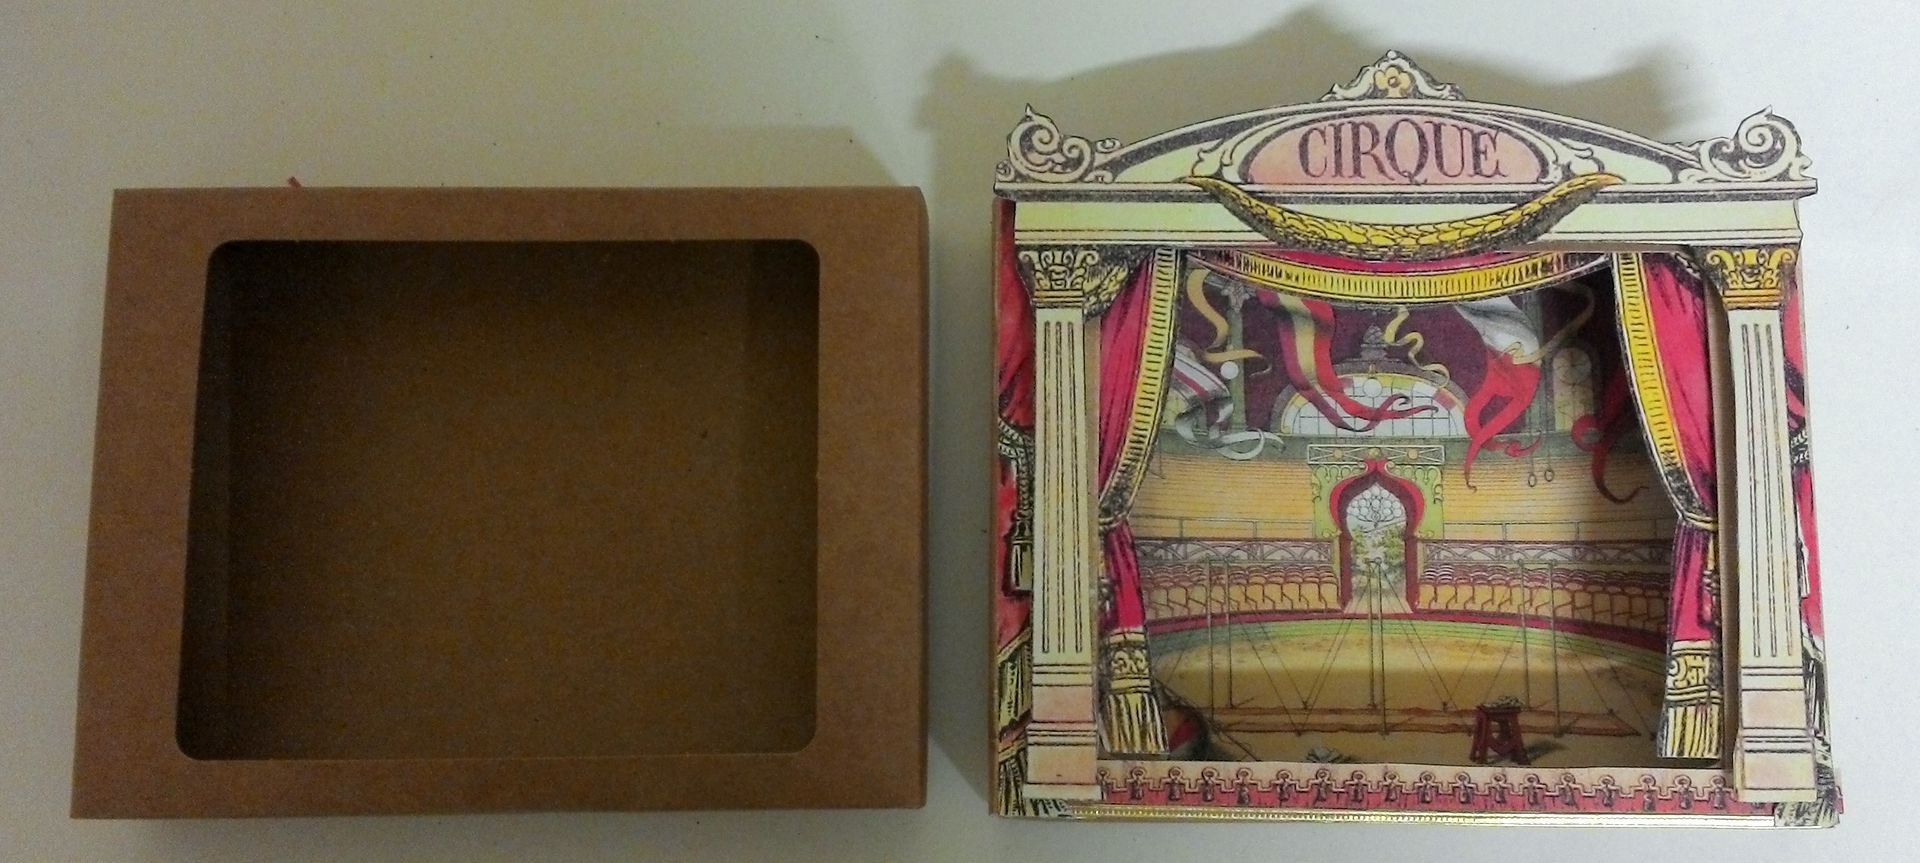
In addition to the paper theater facades, I added gold Dresden. The characters in the boxes
are attached with double-stick foam tape at various distances from the back, making them appear 3-D.
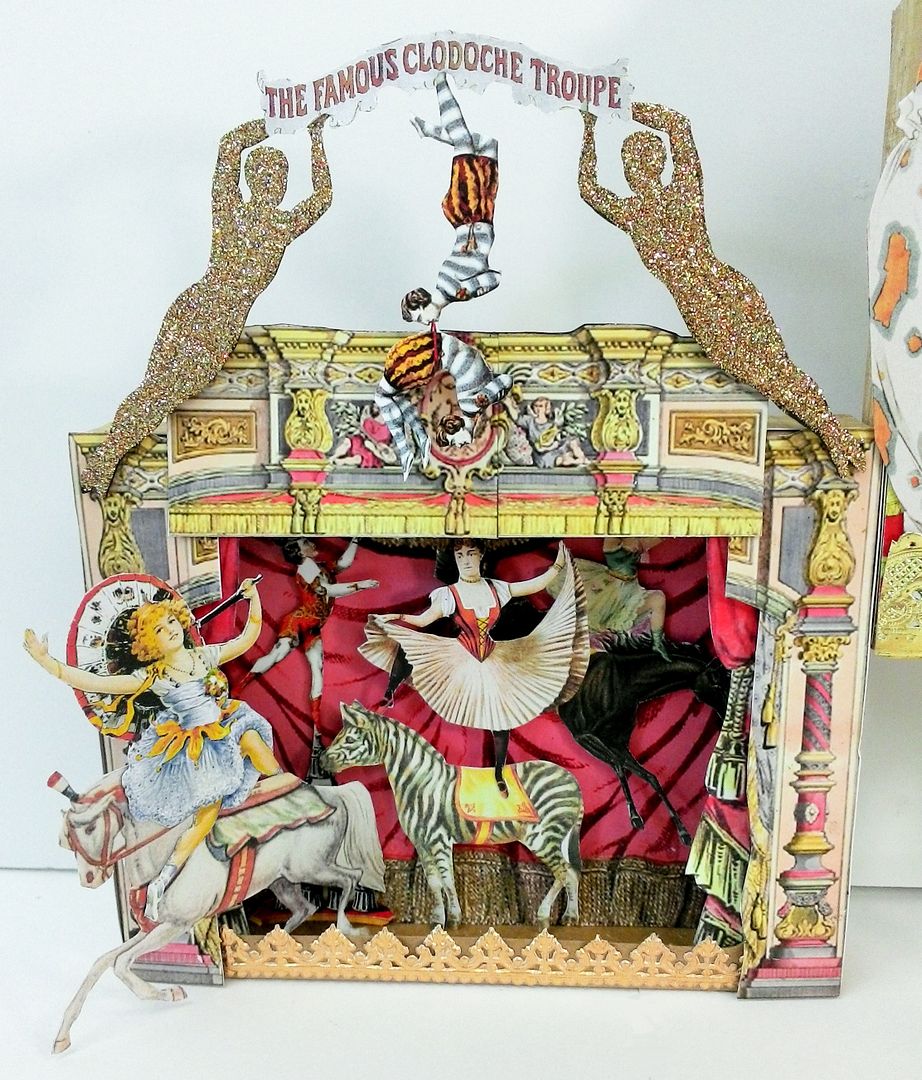
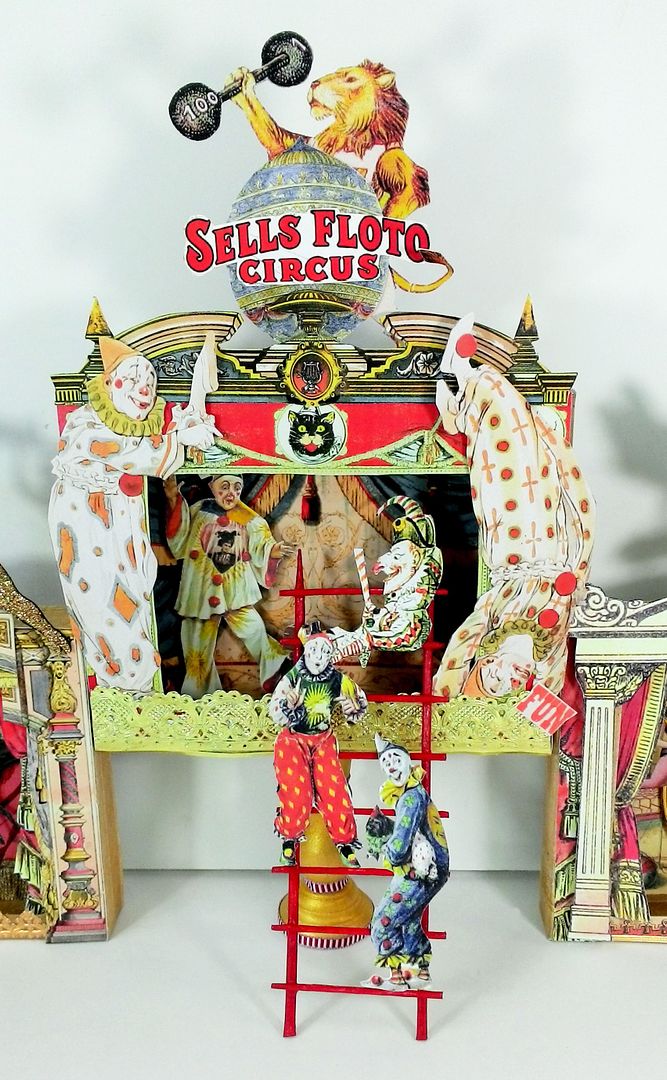
The latter on the front of the center box is made from 2 wooden
skewers and toothpicks.
Notice the clown at the top of the latter; he has a stick and I
think he is trouble.

All of the images are backed with paper adding stiffness and providing more support.
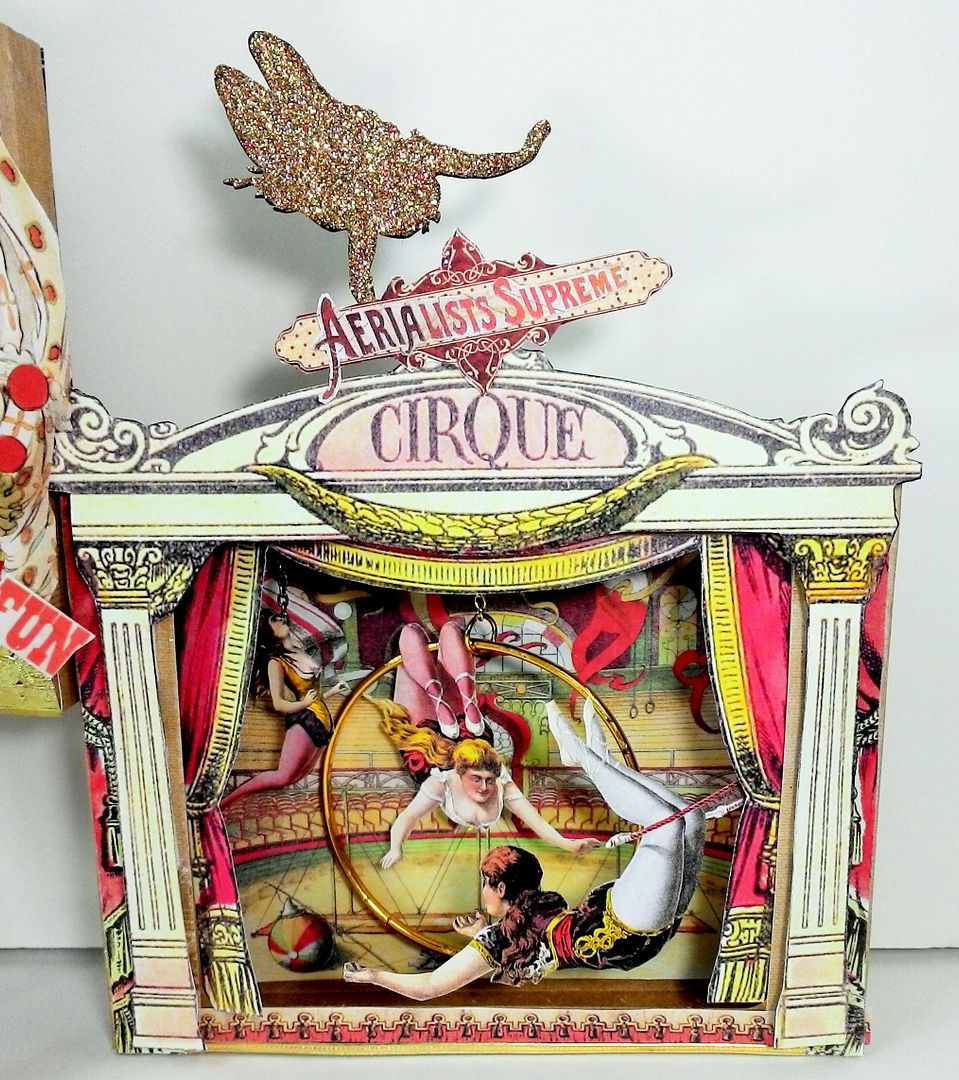
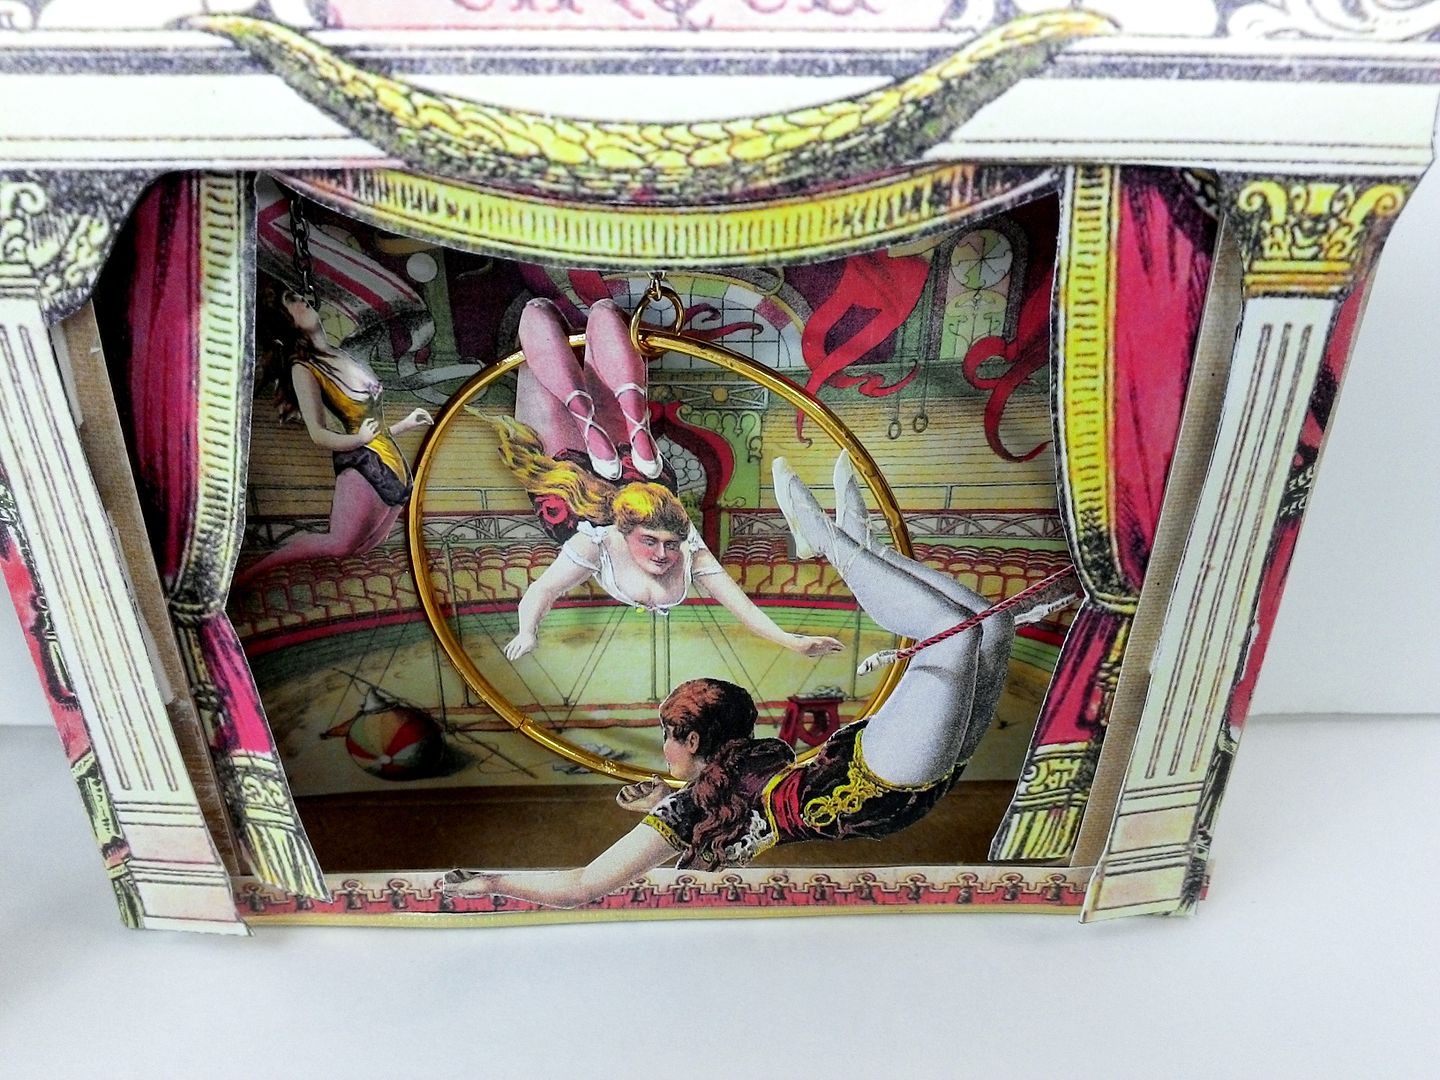
The gold bangle is attached to a chain which I inserted into a
hole on the top of the box and is held in place with a jump ring which is
bigger than the hole. The woman on the
left is also attached with a chain going through the top of the box.
Notice how the one acrobat is extending outside of the box. The same is true for the woman on the horse
in the first box. Having some of the
characters coming out of the box added to the 3-D appearance.