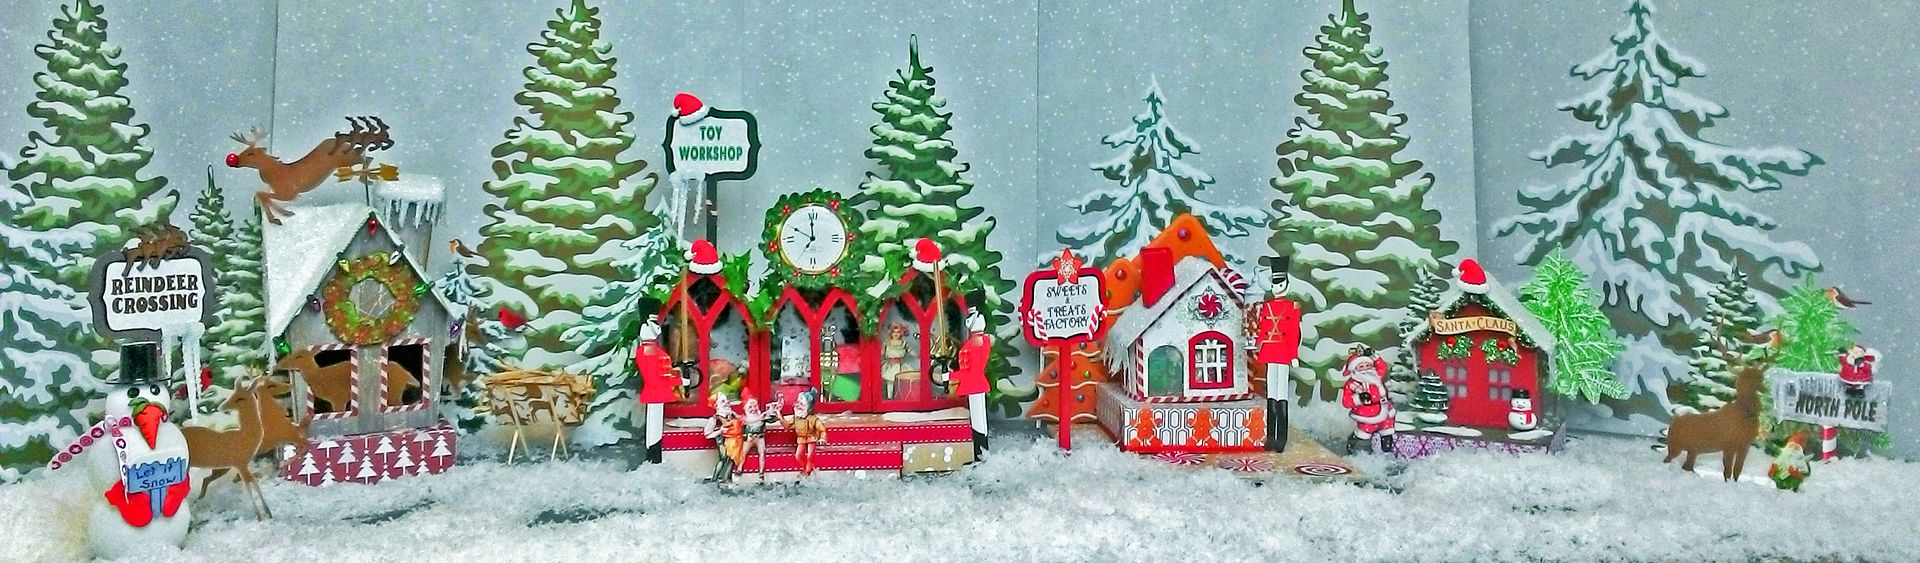
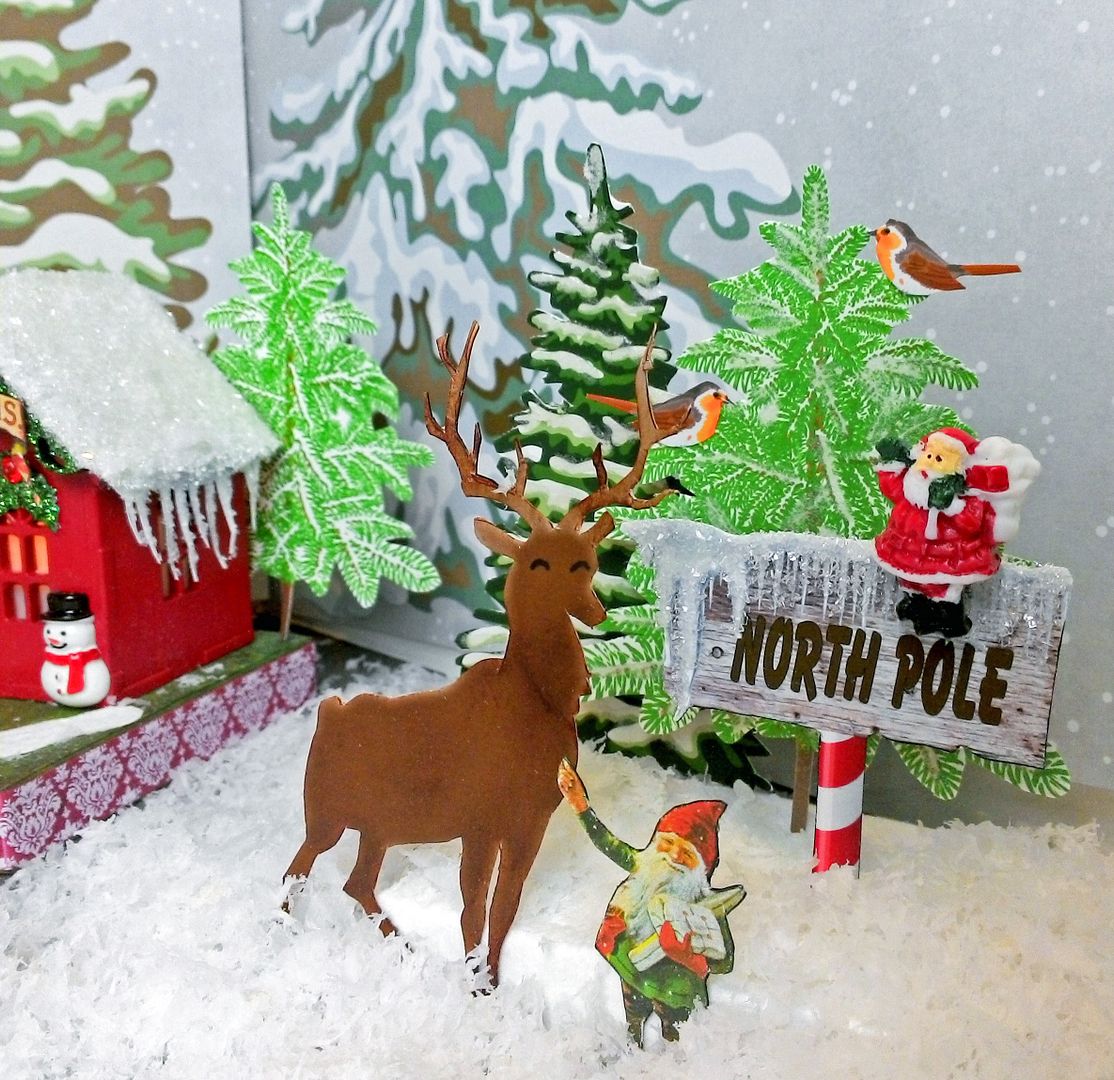
Ho! Ho! Ho! it’s off to the ice and
snow of the North Pole where Santa’s Village awaits. I love presenting projects that have lots of
options; you can start by making just one piece, or make them all. And this is the kind of project you can add
to overtime, perhaps making one special piece each year. I’ve started mine off with a Toy Workshop,
Santa’s House, Reindeer Barn, and Sweets & Treats Factory. I’ve also added a few other small things like
a snowman made from ping pong balls and a North Pole sign.
I used all kinds of things for bases
and houses (a paper pattern, a Masonite kit, a chipboard kit, and paper mache
boxes). I’ve also created new collage
sheets and digital image sets that fit with the project. I’ll walk you through the details of how I
made each piece and include a supply list that corresponds to the piece. At the very end of the post is a master
supply list with everything I used for the project.
NEW COLLAGE SHEETS
& DIGITAL IMAGE SETS
You can find all of my collage sheets
and digital image sets at Alpha Stamps.
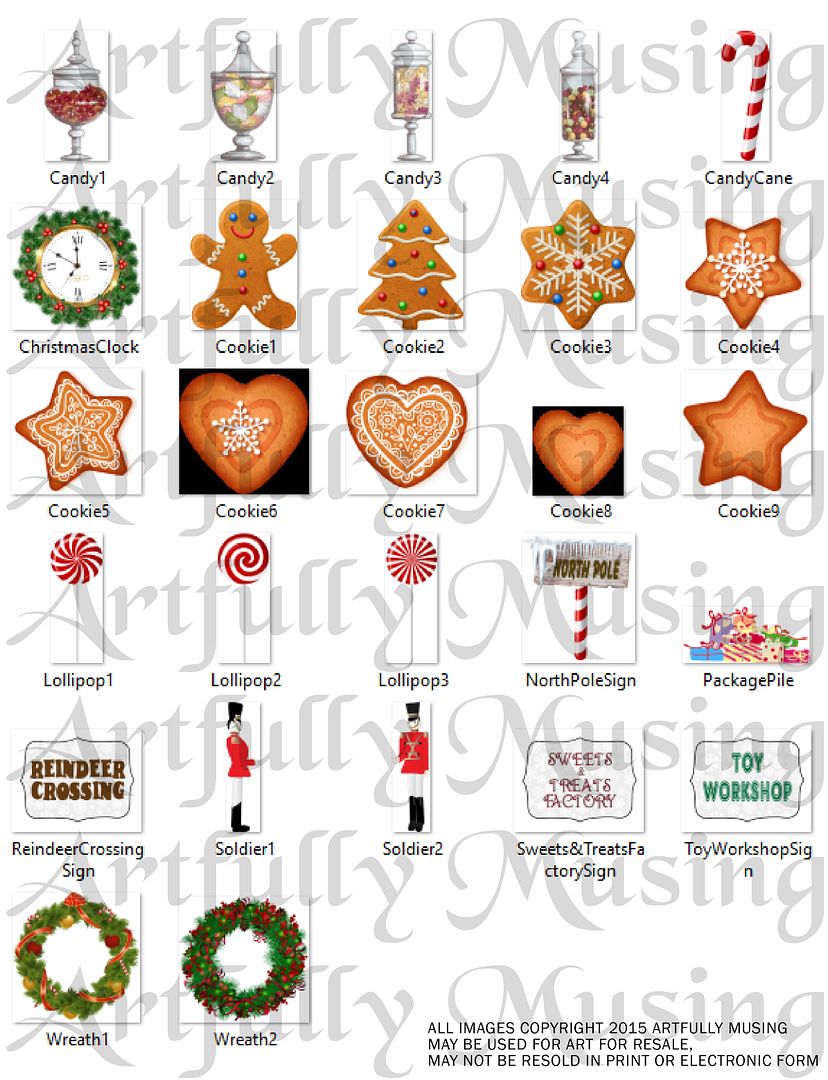
The Santa’s Village collage sheet
contains all kinds of goodies like toy soldiers, signs, candy, wreaths, cookies
and more. Click on the image to purchase.
The Santa’s Village digital image set
contains all the same images as the collage sheet plus a large candy cane. Click on the image below to purchase.
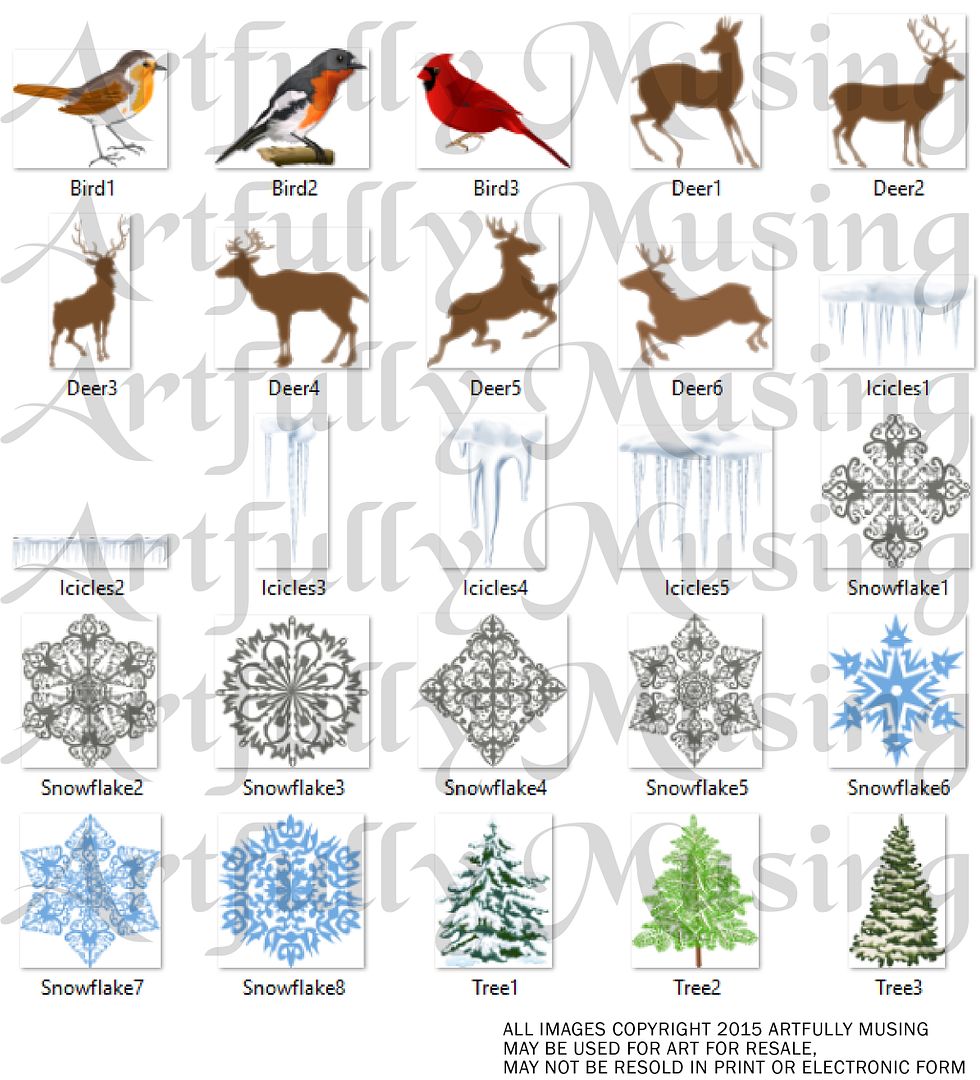
The Winter Wonderland collage sheet
is filled with deer, trees, birds, icicles, and snowflakes. Click on the image below to purchase.
The Winter Wonderland digital image
set contains all of the images in the collage sheet (except the bird feeder) plus
an additional deer and tree. Click on the image to purchase.
SNOWMAN
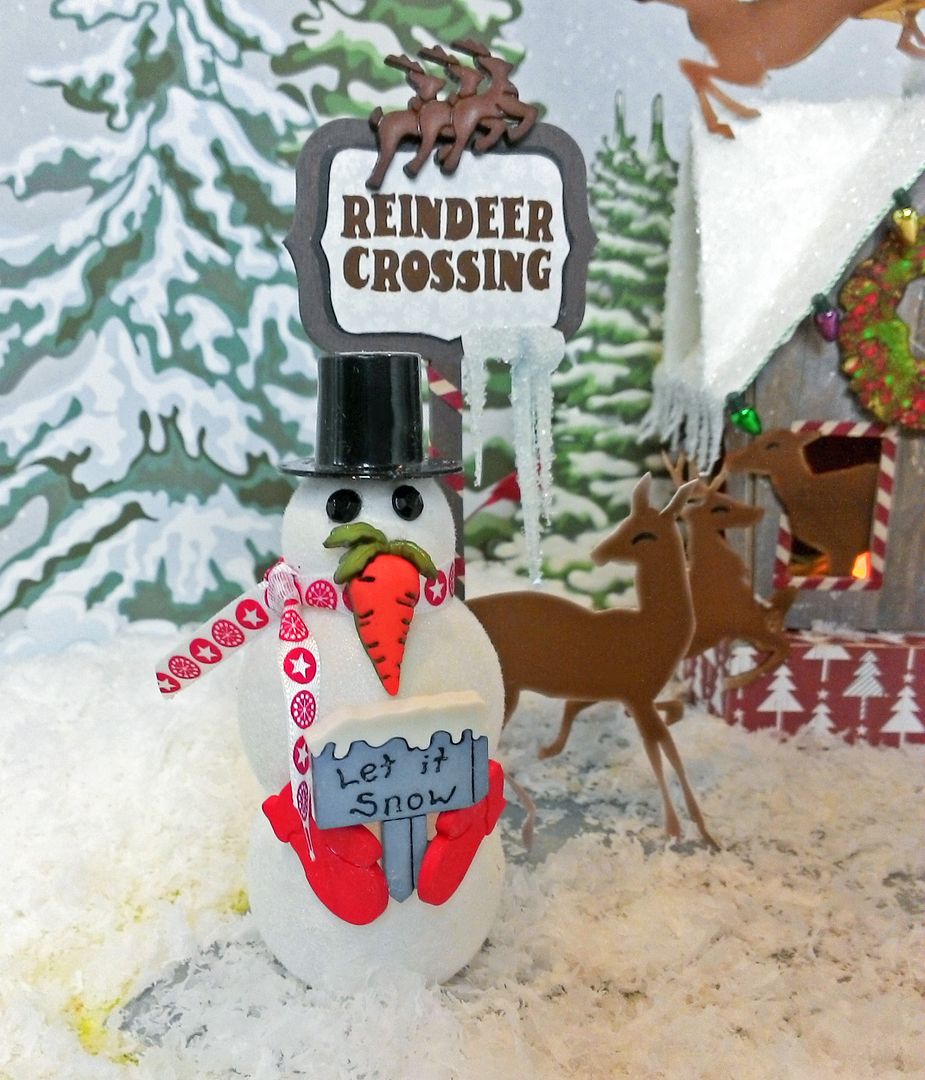
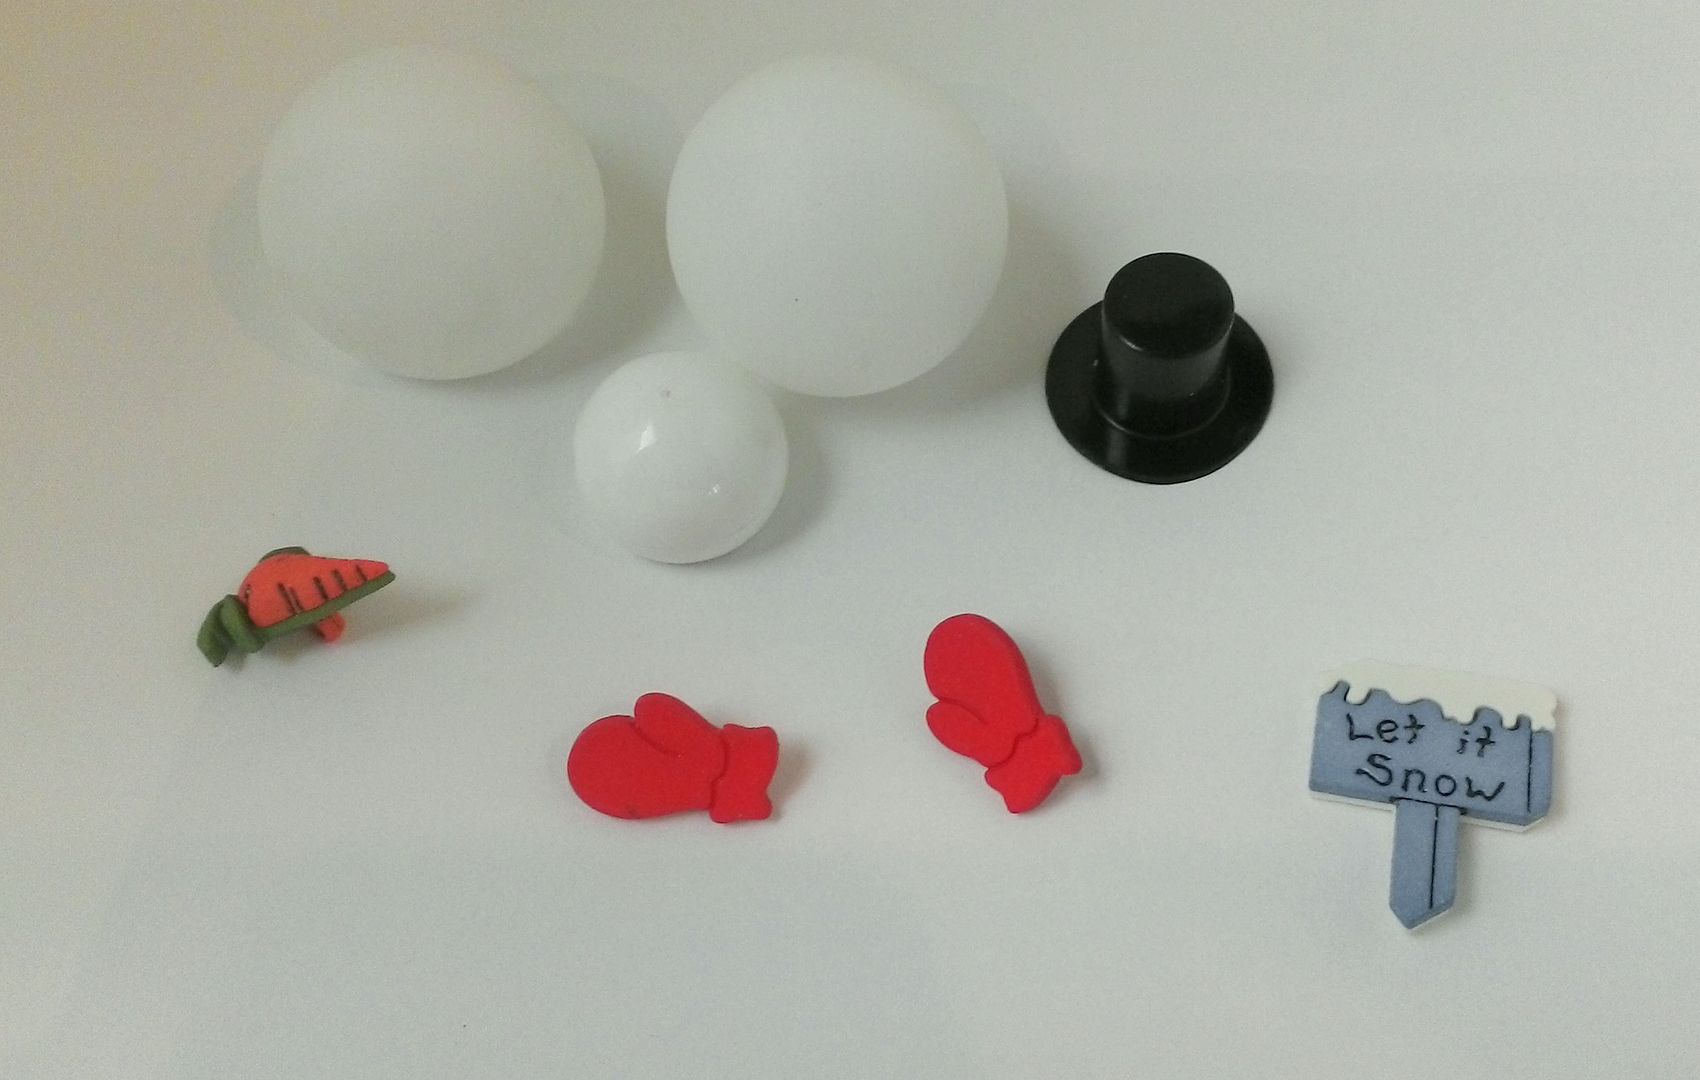
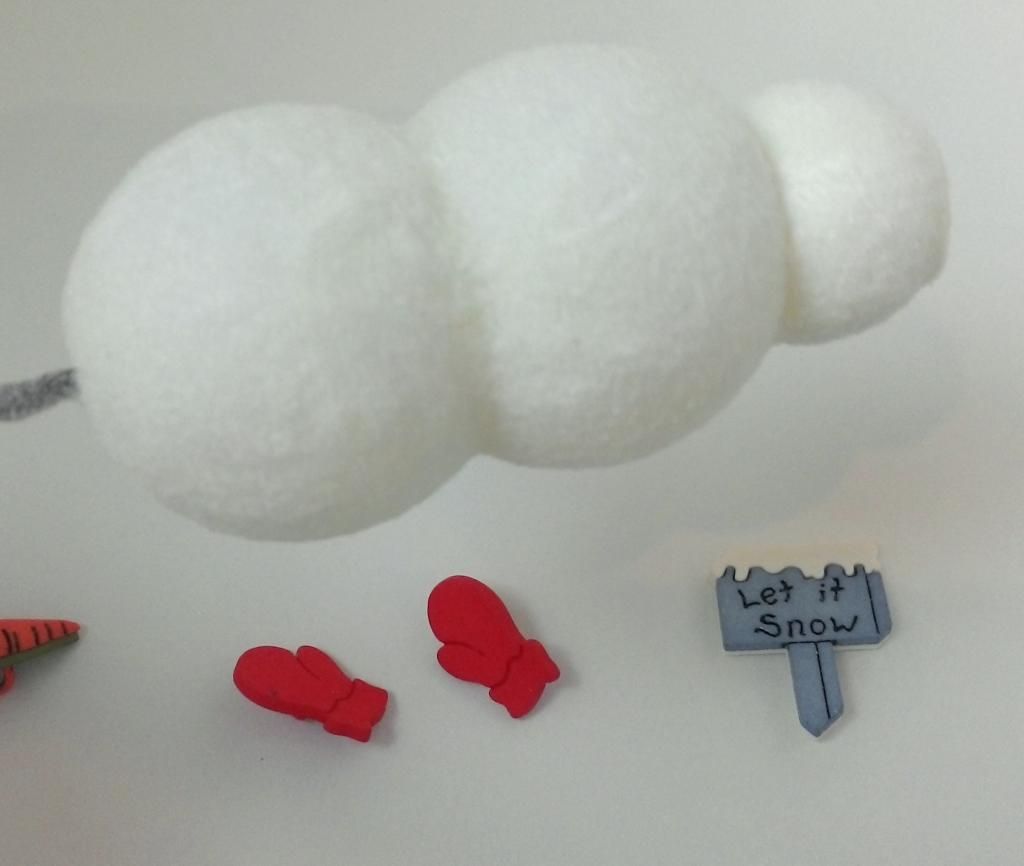
This cute little fella is made from
ping pong balls and a cap from a bottle.
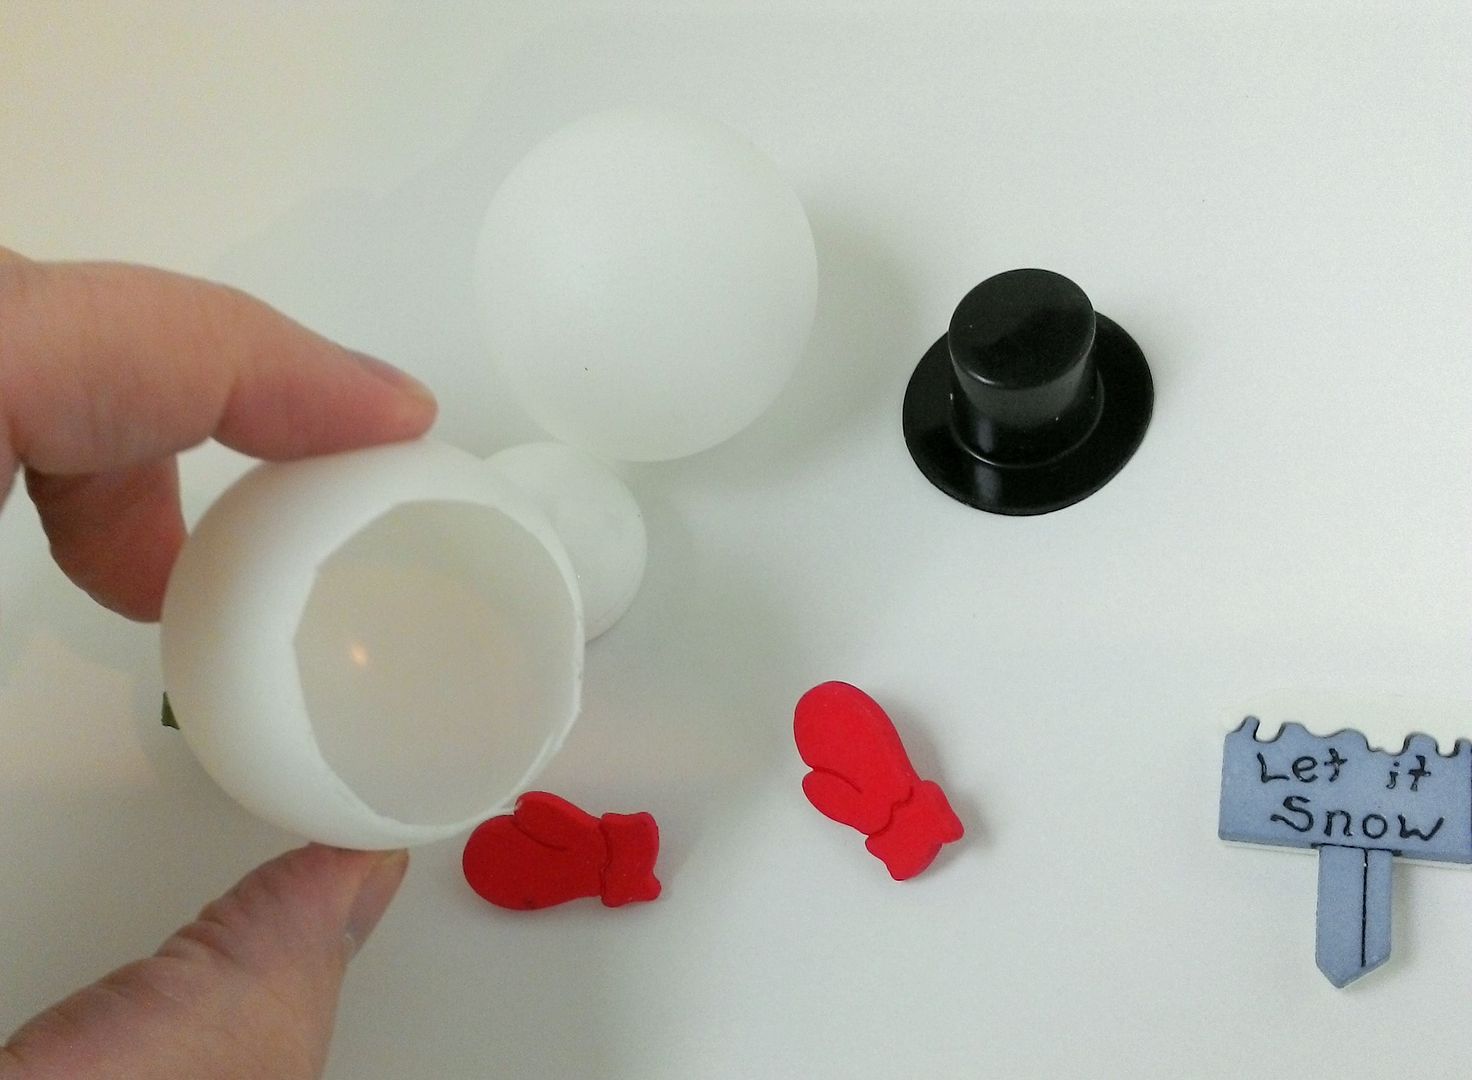
I cut away the bottom of one of the
ping pong balls so that that it would sit on the other ball.
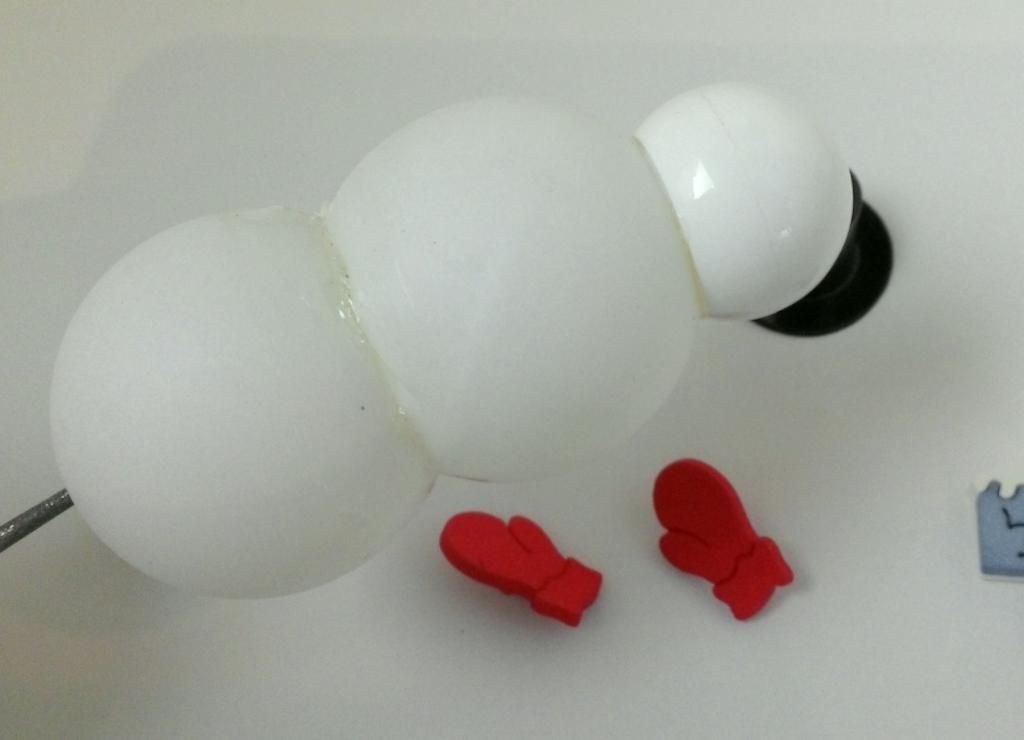
Next, I glued together all of the
pieces. It doesn’t need to look pretty
as it will be covered with flocking.
If the objects you use are not white, paint them white before
applying flocking as the color will show through the flocking.
Next, I painted the snowman with Glossy Accents. Notice how I poked an
awl through the bottom of the snowman to make it easy to hold the snowman while applying the glue and
flocking without touching the snowman. I
then sprinkled the flocking on the snowman and allowed it plenty of time to
dry.
Once the glue is dried, I attached the
gloves with a sign, hat, carrot, beads for eyes and tied a piece of ribbon around
his neck for a scarf.
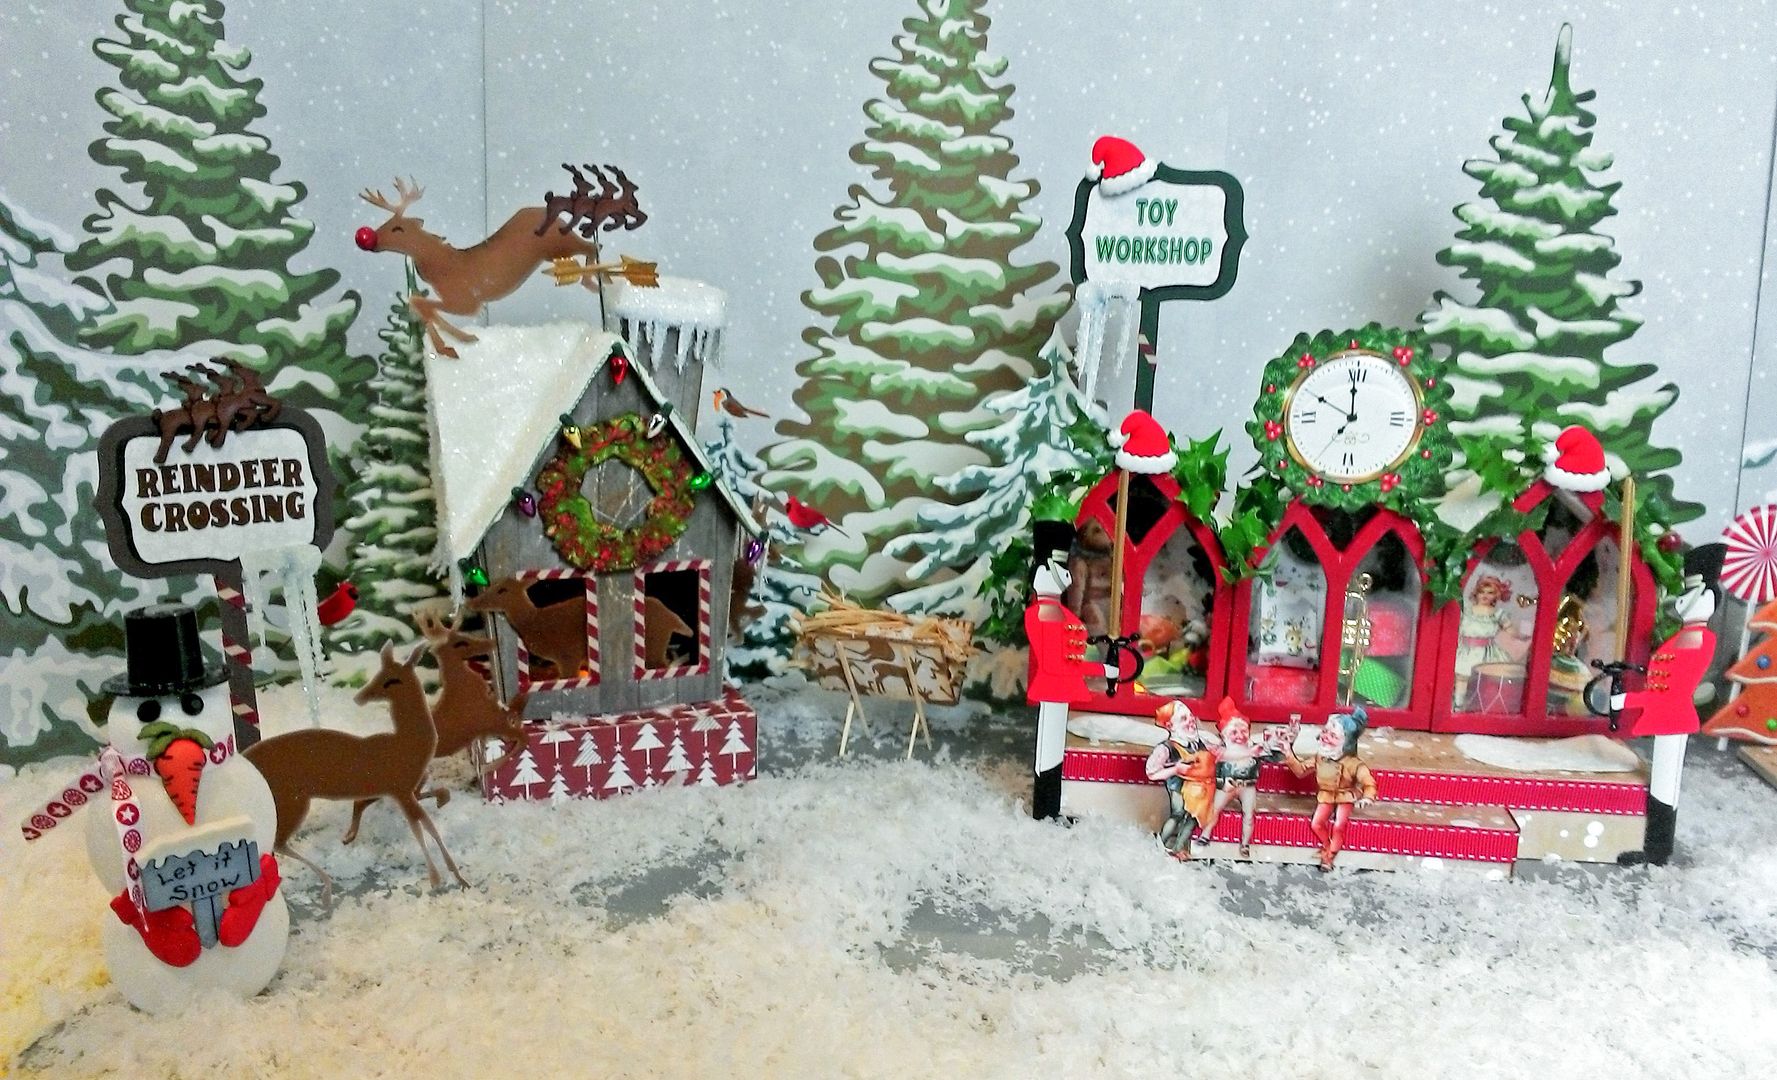
TOY WORKSHOP
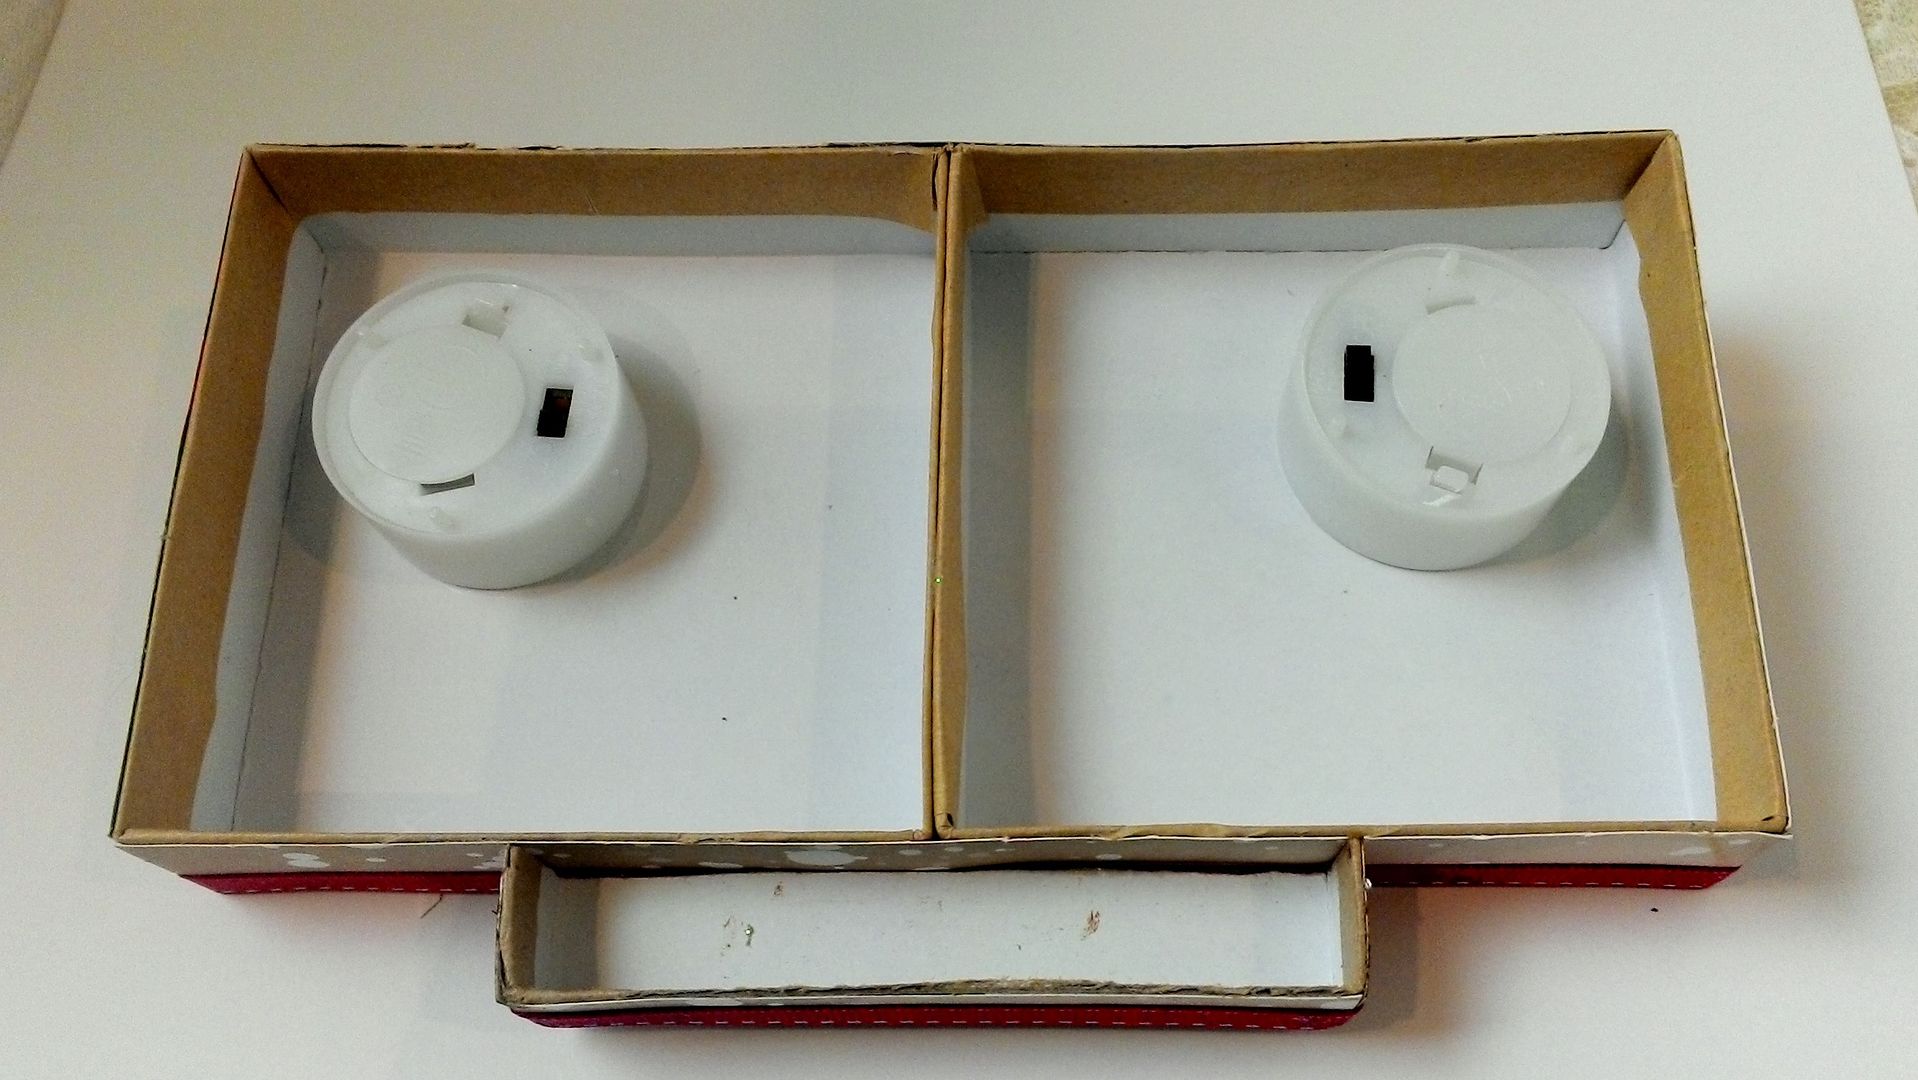
I started by gluing together two
bases from kraft boxes, covered them with paper and trimmed them with ribbon. I cut a piece from one end of a kraft box lid
to make the step. Nex,t I poked holes in
the boxes to accommodate the LED tea lights and glued them in place.
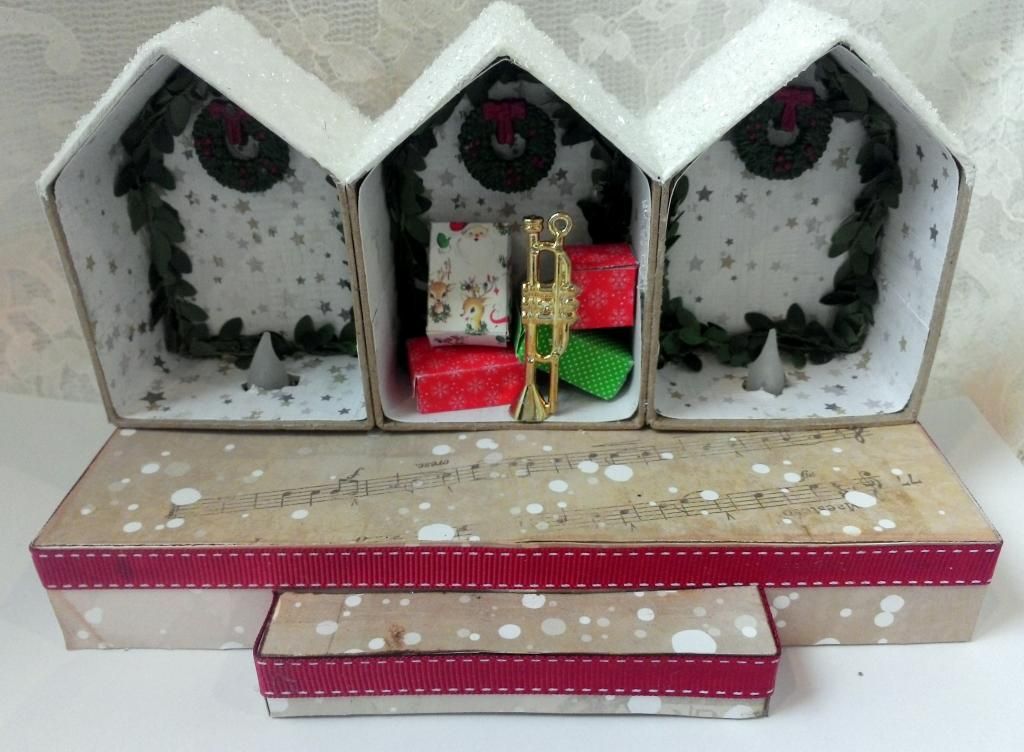
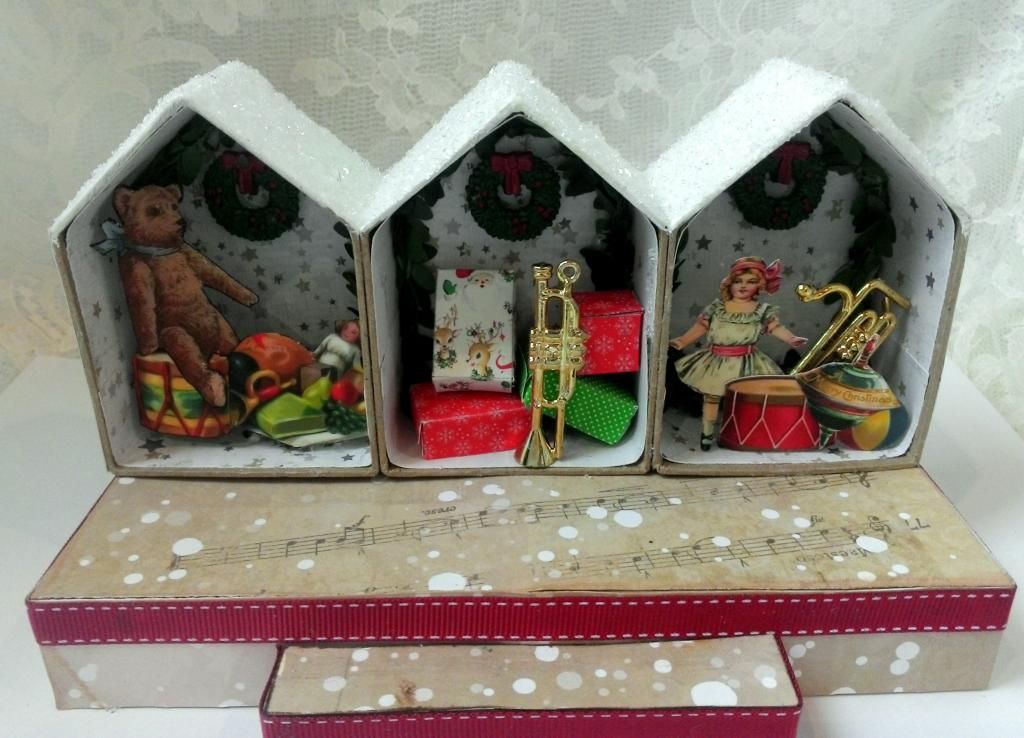
For the windows, I used the base of 3
paper mache houses. These were leftover
from the Christmas
Ornament House project where I used just the lids. I papered the inside and out.
I painted the tops white, added glue
and sprinkled them with Diamond dust. Inside, I added holly berry garland and wreaths from my stash.
Since the center window did not have
a light, I when ahead and filled it with presents and a horn.
Lastly, I glued all of the houses together. After lining them up with the base I marked and punched holes for the LED tea lights.
The hole does not have to be pretty as it will be blocked by the images
in the window. I then glued the boxes in place.
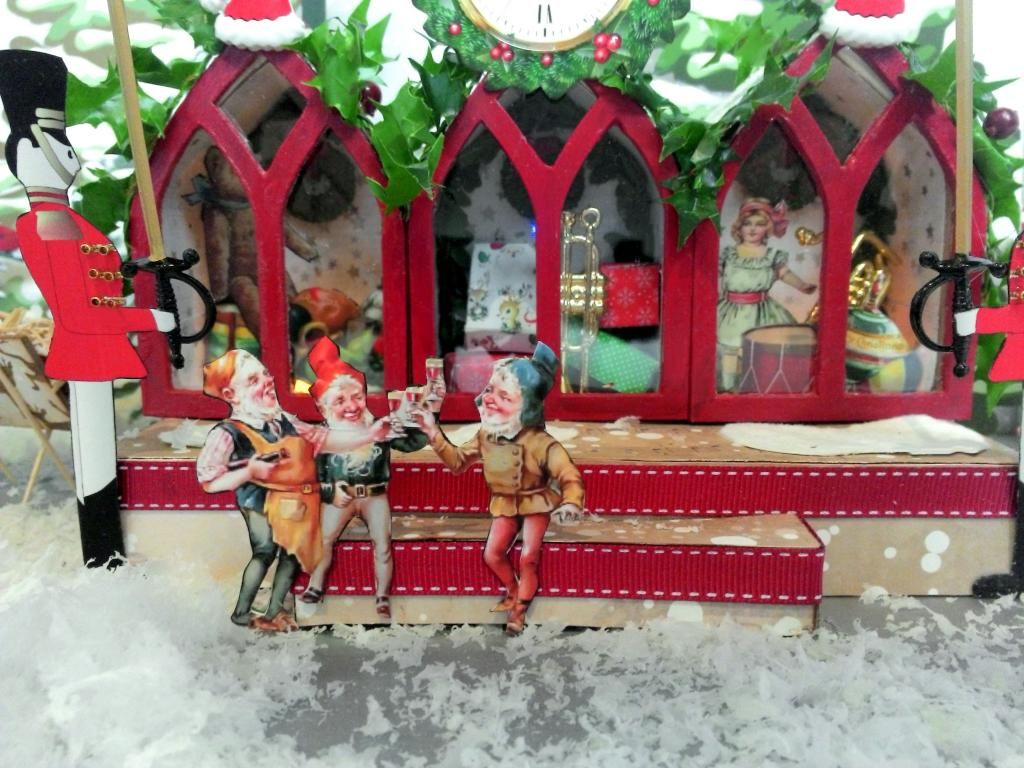
Finally, I added the toy images to
the windows that have lights.
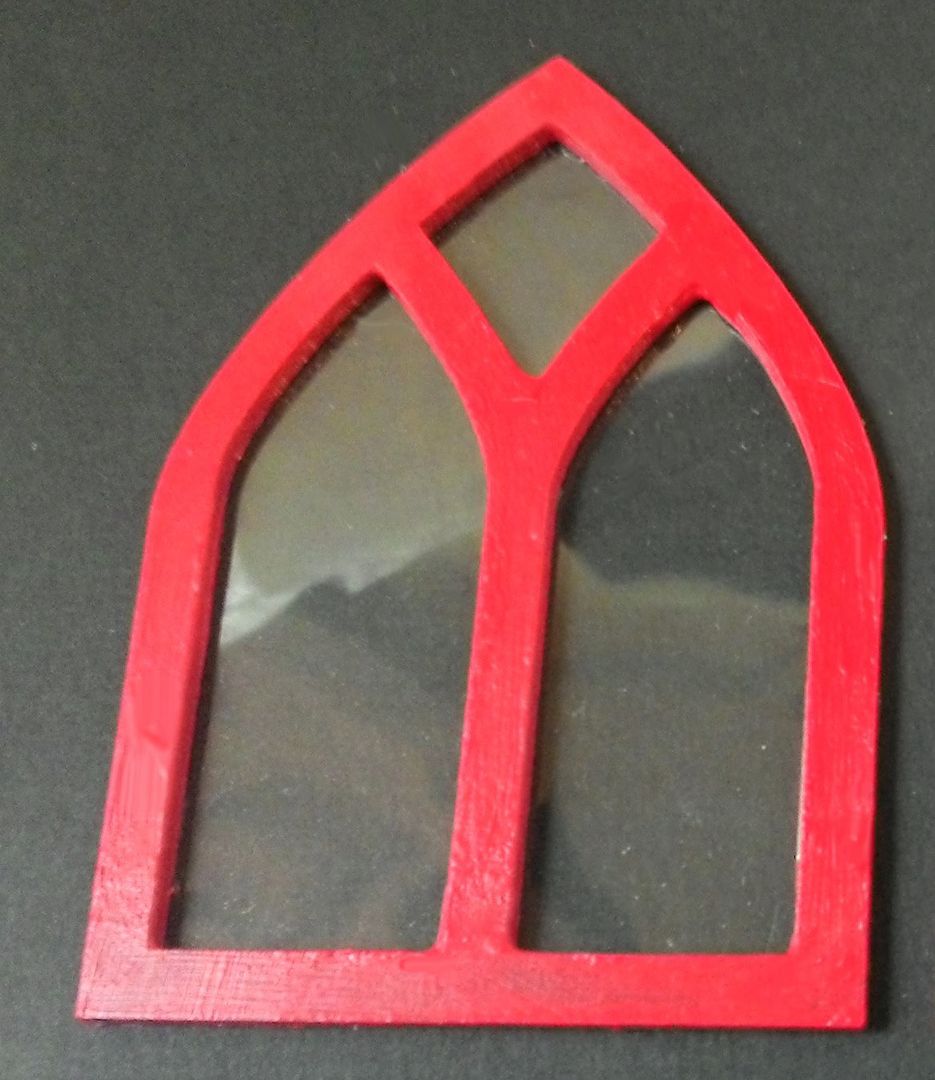
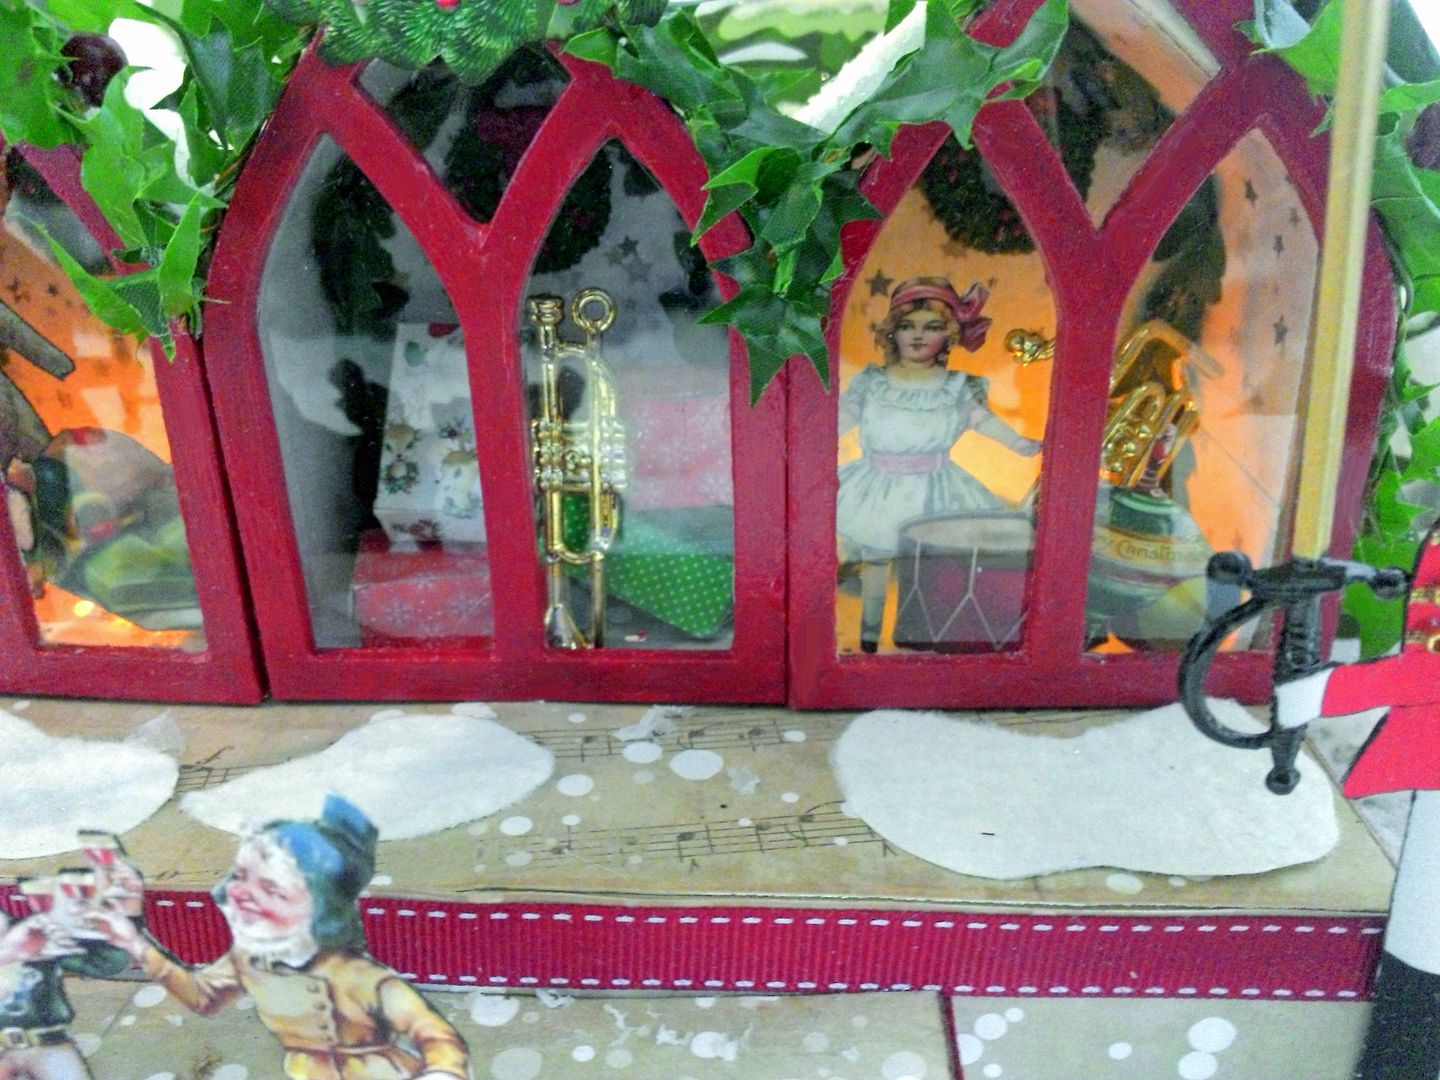
The windows are made from Masonite gothic
arches that are painted red. For glass, I used transparency film.
I glued the windows in place starting
with the center window. The end windows
will hang a little off of the ends of boxes.
Next, I covered the tops of the windows with garland to cover the gaps
between the windows and to add color.
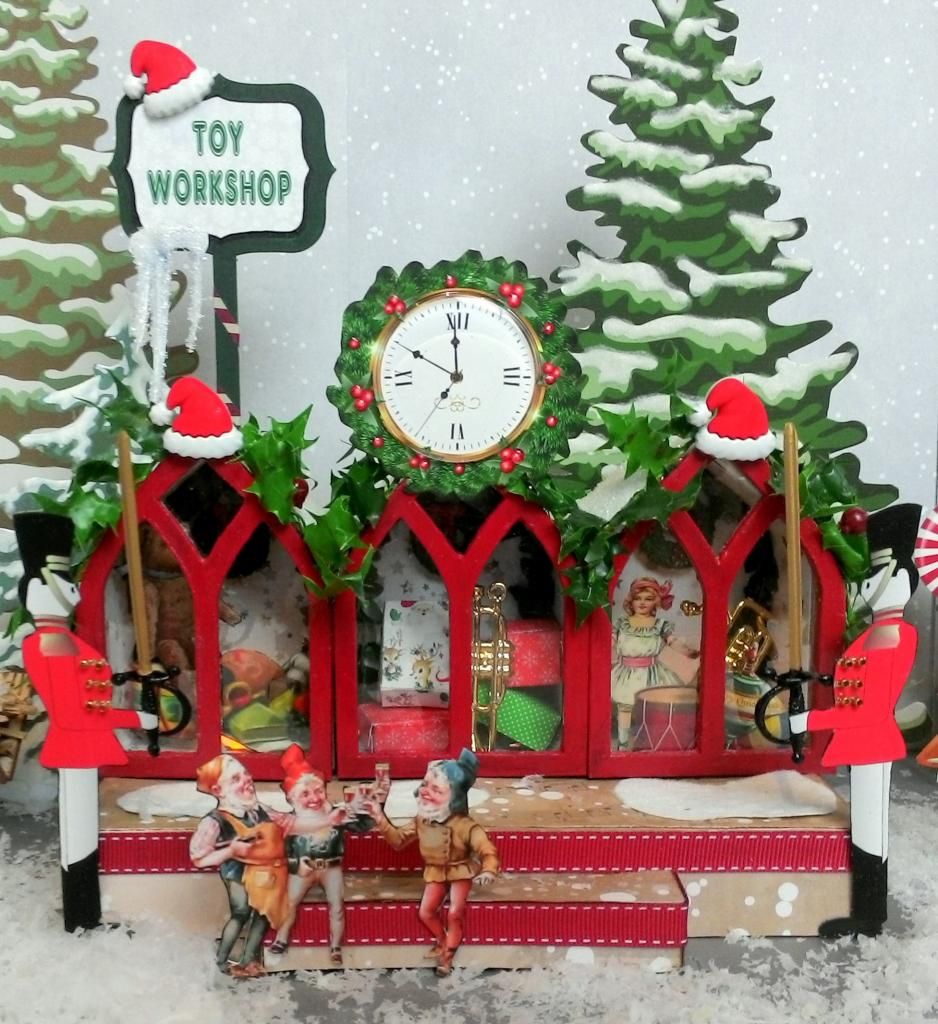
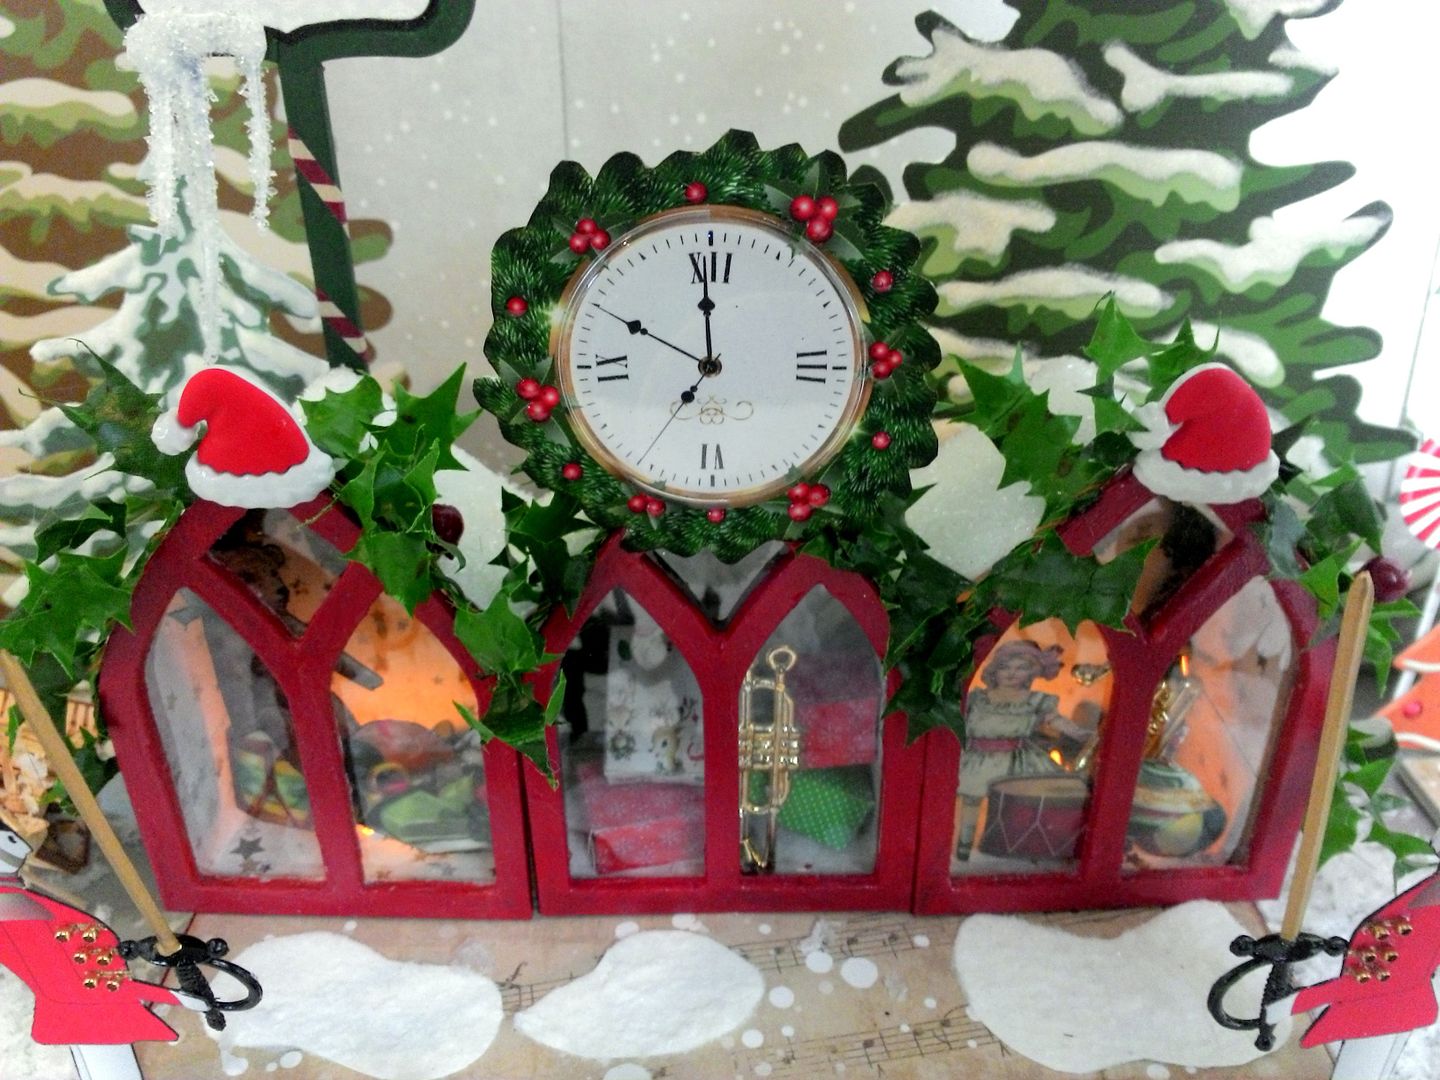
The final touch is the clock in the center from the collage sheet and the Santa Hat buttons.
In front are a couple of elves congratulating
themselves for a successful year of toy making.
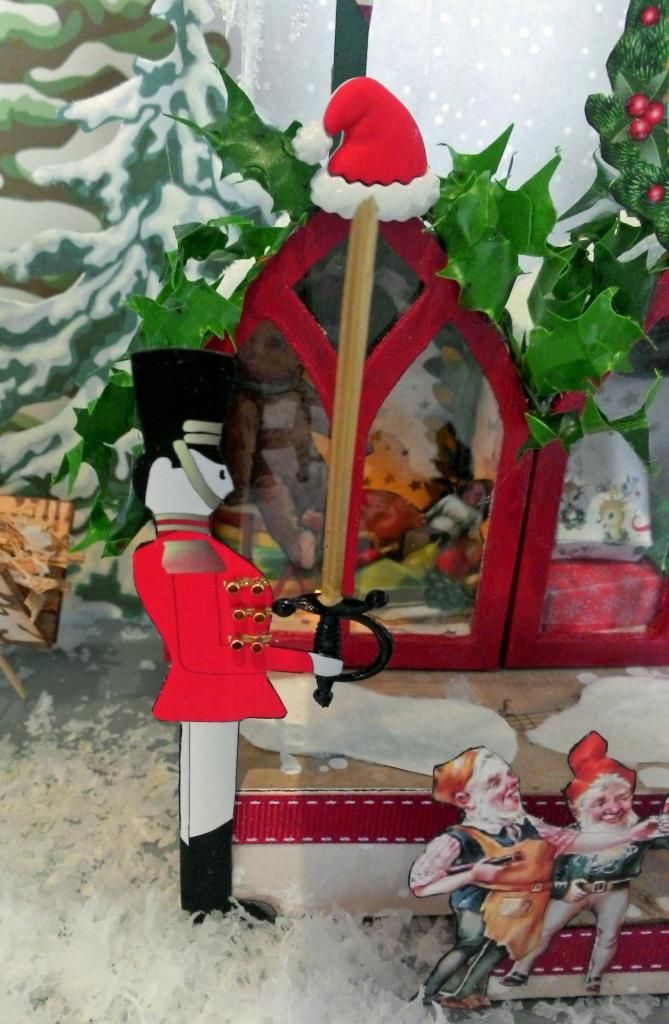
Flanking each side of the workshop
are toy soldiers holding swords that are really plastic cocktail picks painted
black and gold.
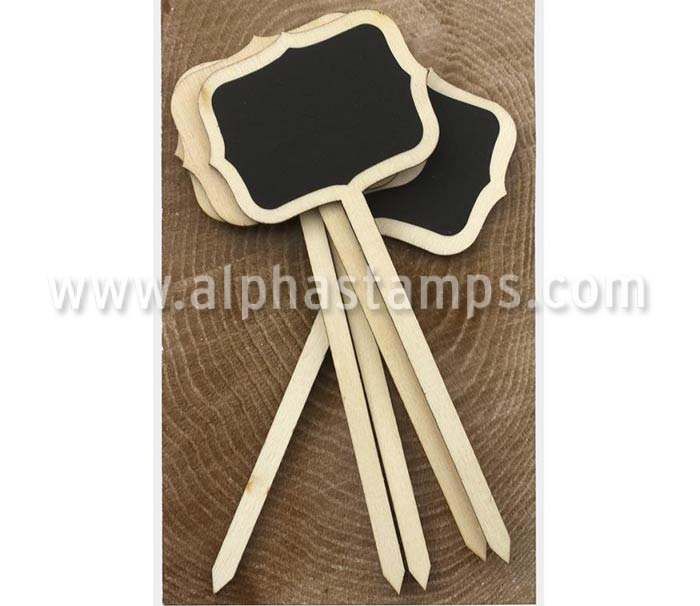
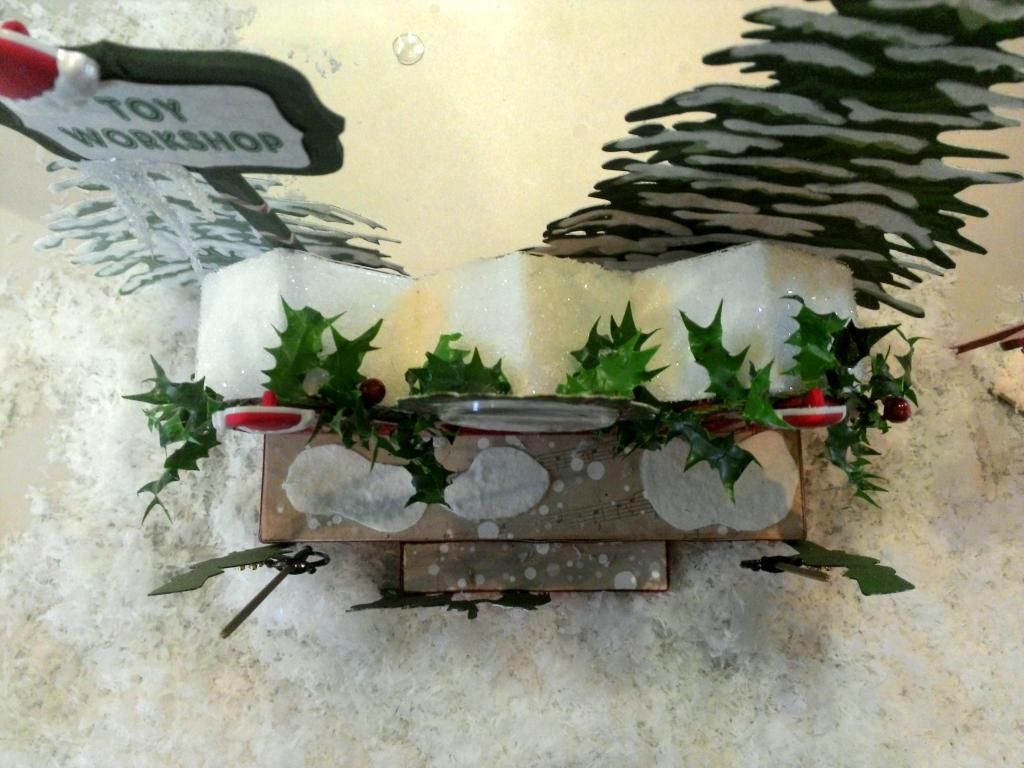
The sign attached to the back is made
from chalkboard signposts. You can use
chalk to write on them or as I did, use one of the signs from the Santa’s
Village collage sheet (they are sized to fit these signposts).
In addition to attaching the signpost to the back, I also attached trees from the Winter Wonderland collage sheet and applied the white flocking to the white parts of the trees.
In these pictures, you can see how the
workshop looks lighted. To turn on the
lights, just lift up the Workshop and flip the switch.
REINDEER BARN
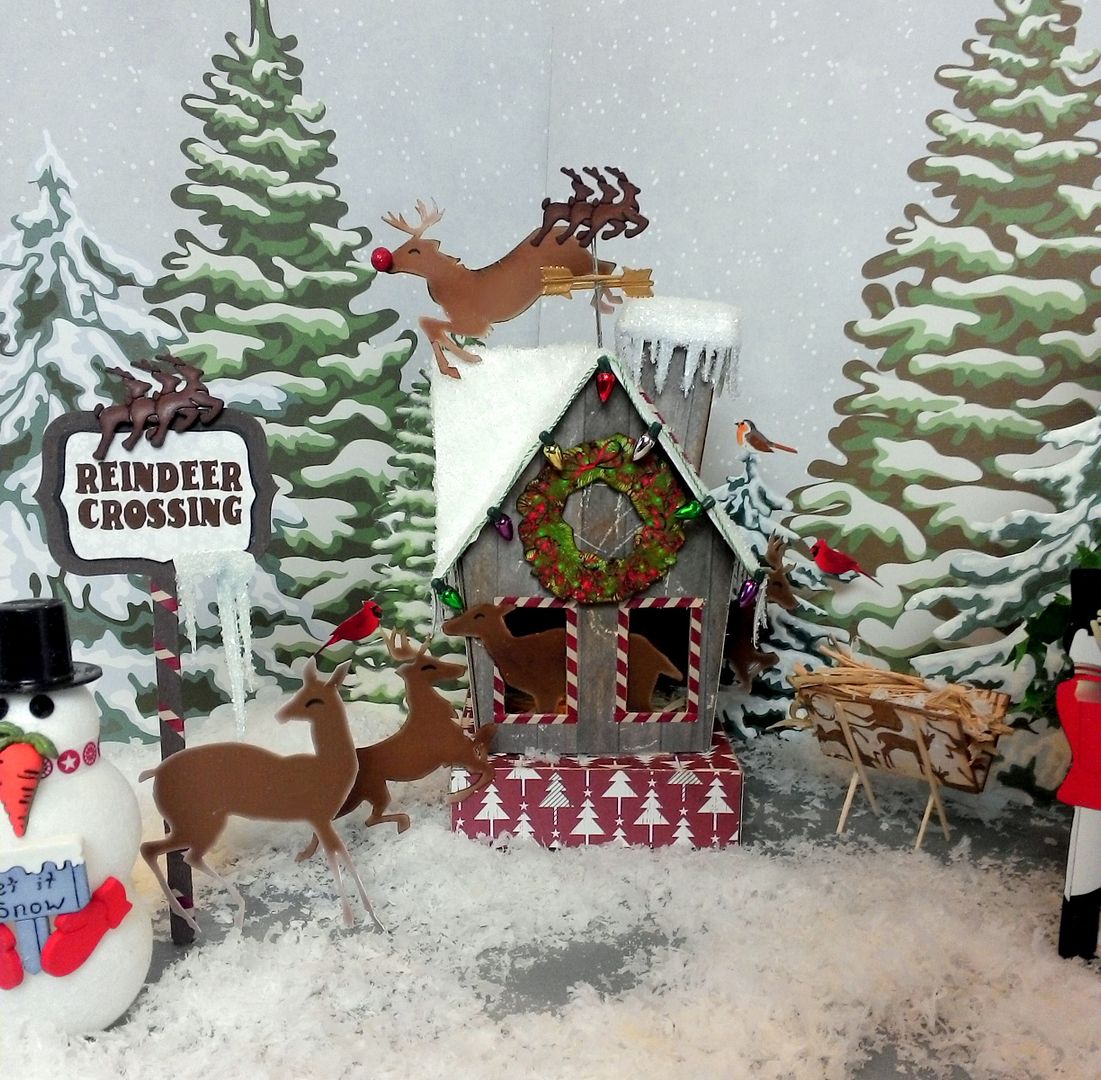
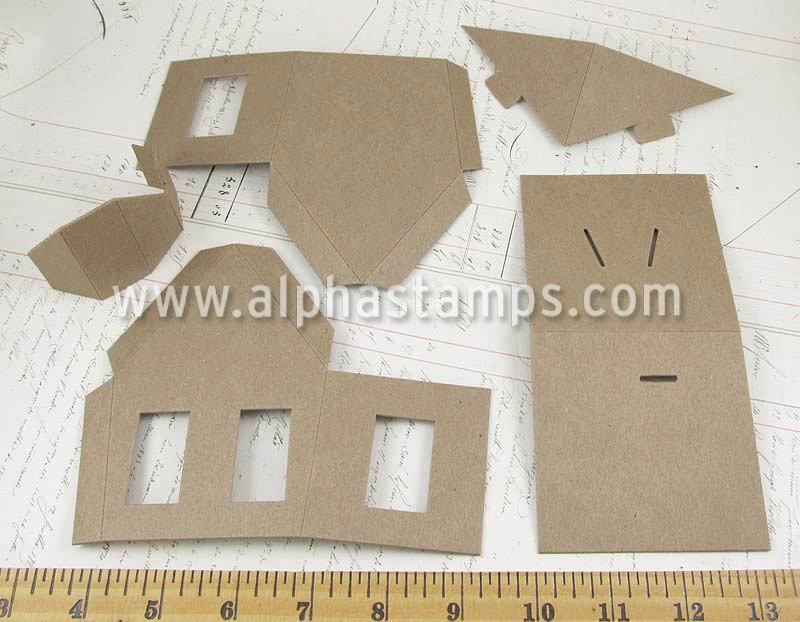
For the Reindeer Barn, I stared with a
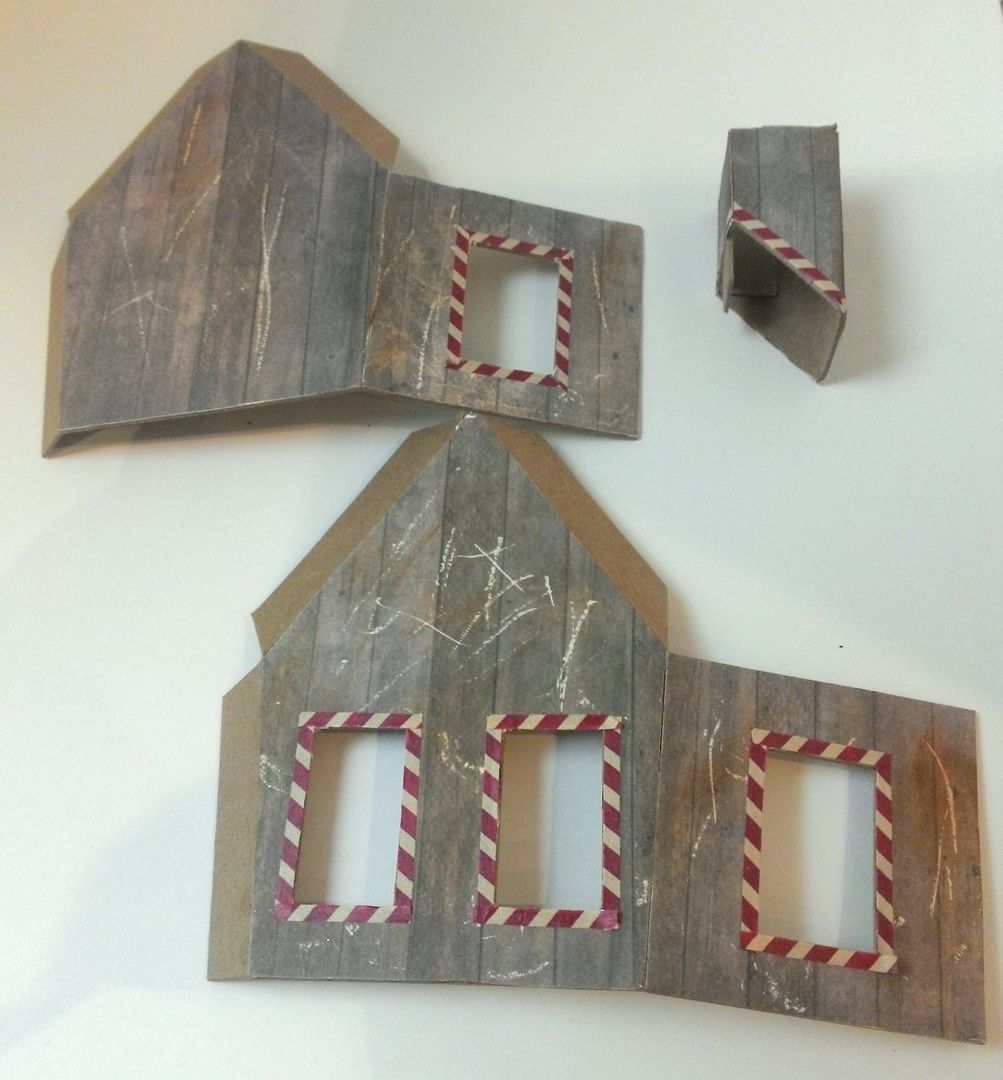
chipboard house kit (very simple to assemble). I covered the
outside with paper which I inked and scratched.
I figured the reindeer would be using the wood as a scratching post for
their antlers like cats with claws. I trimmed out the windows with paper
tape.
Next, I glued the sides of the house
together using the tabs. Below you can
see the house put together without the paper.
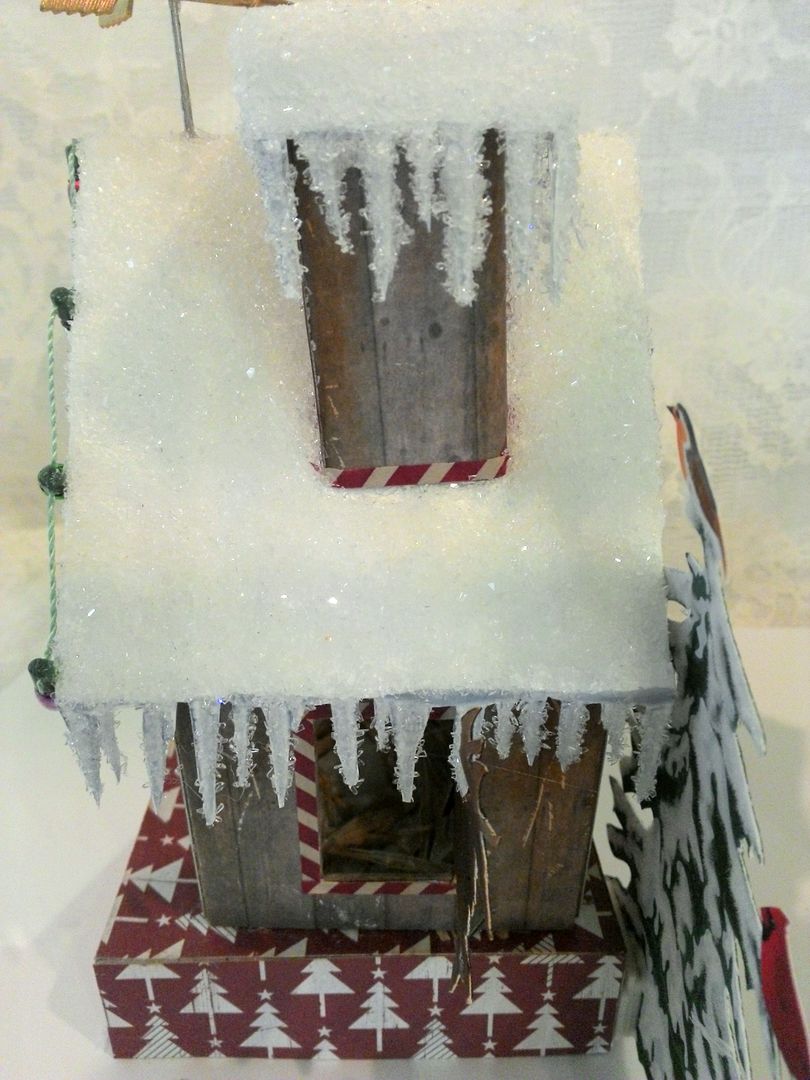
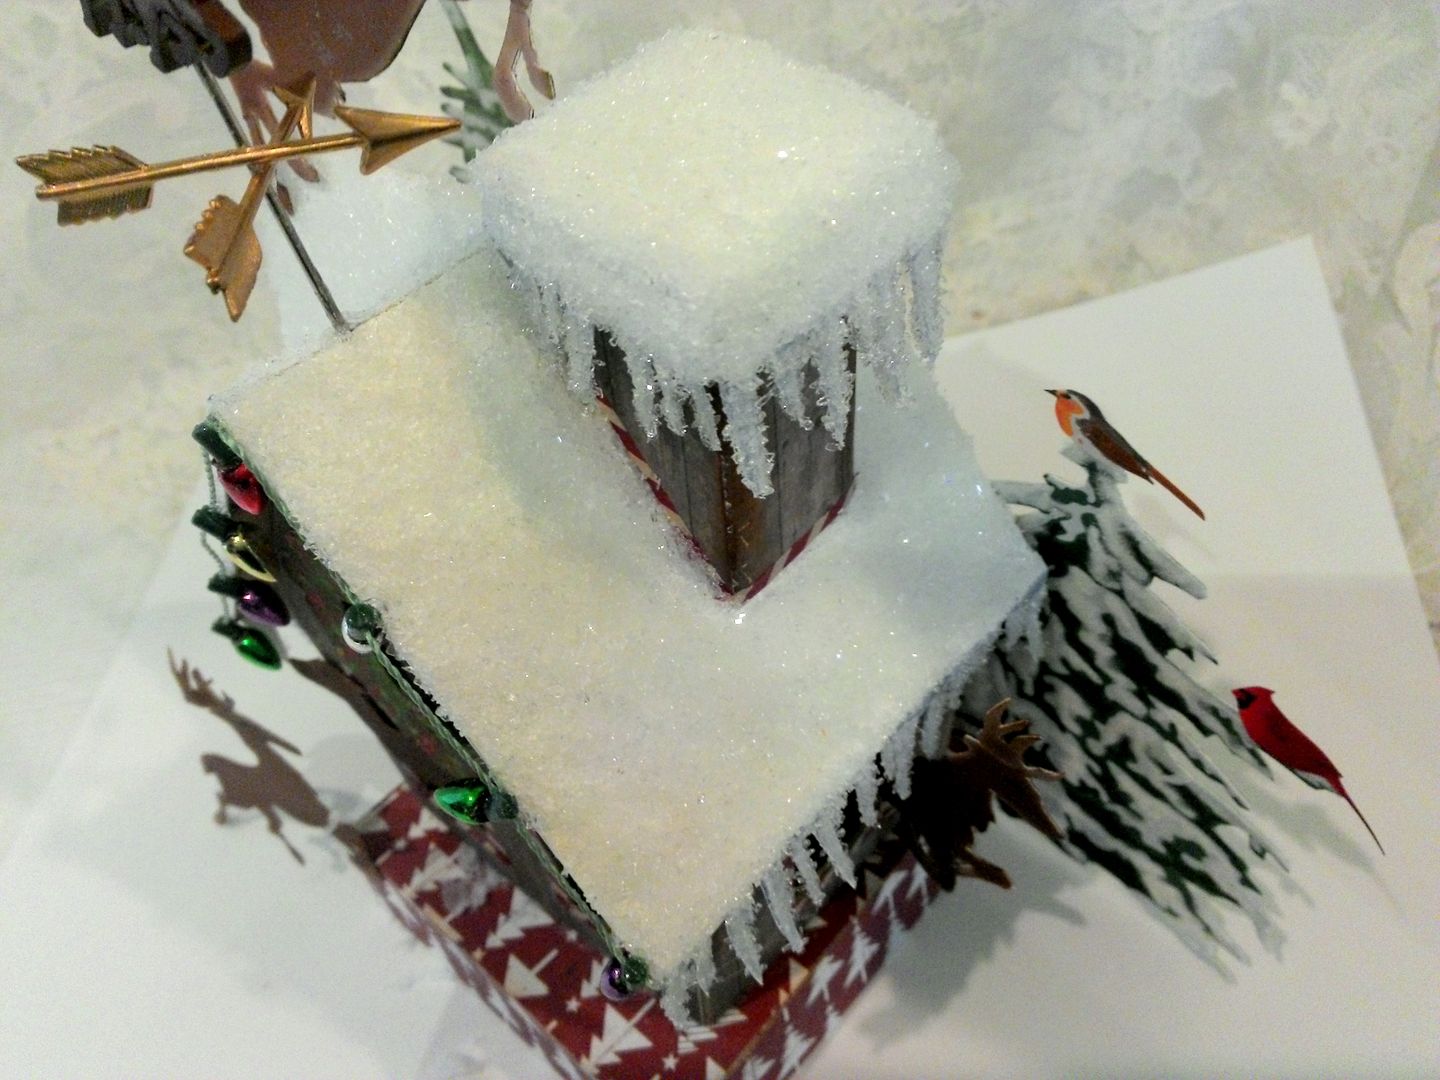
Roof
I assembled all the pieces of the
roof. I glued icicles from the collage
sheet to the sides of the roof. I
painted the chipboard parts of the roof white (except the chimney). I covered the chimney with the same paper as
the sides. I applied glue to the roof
and the icicles and then sprinkled them with Diamond Dust. Once the glue was dry I attached the roof to
the house.
Chimney
I assembled the chimney cap, glued
icicles from the collage sheet to the sides of the cap and painted the
chipboard parts of the chap white. Next,
I added glue the cap and sprinkled it with diamond dust. Once dry, I glued the chimney cap to the chimney
and then the chimney to the house.
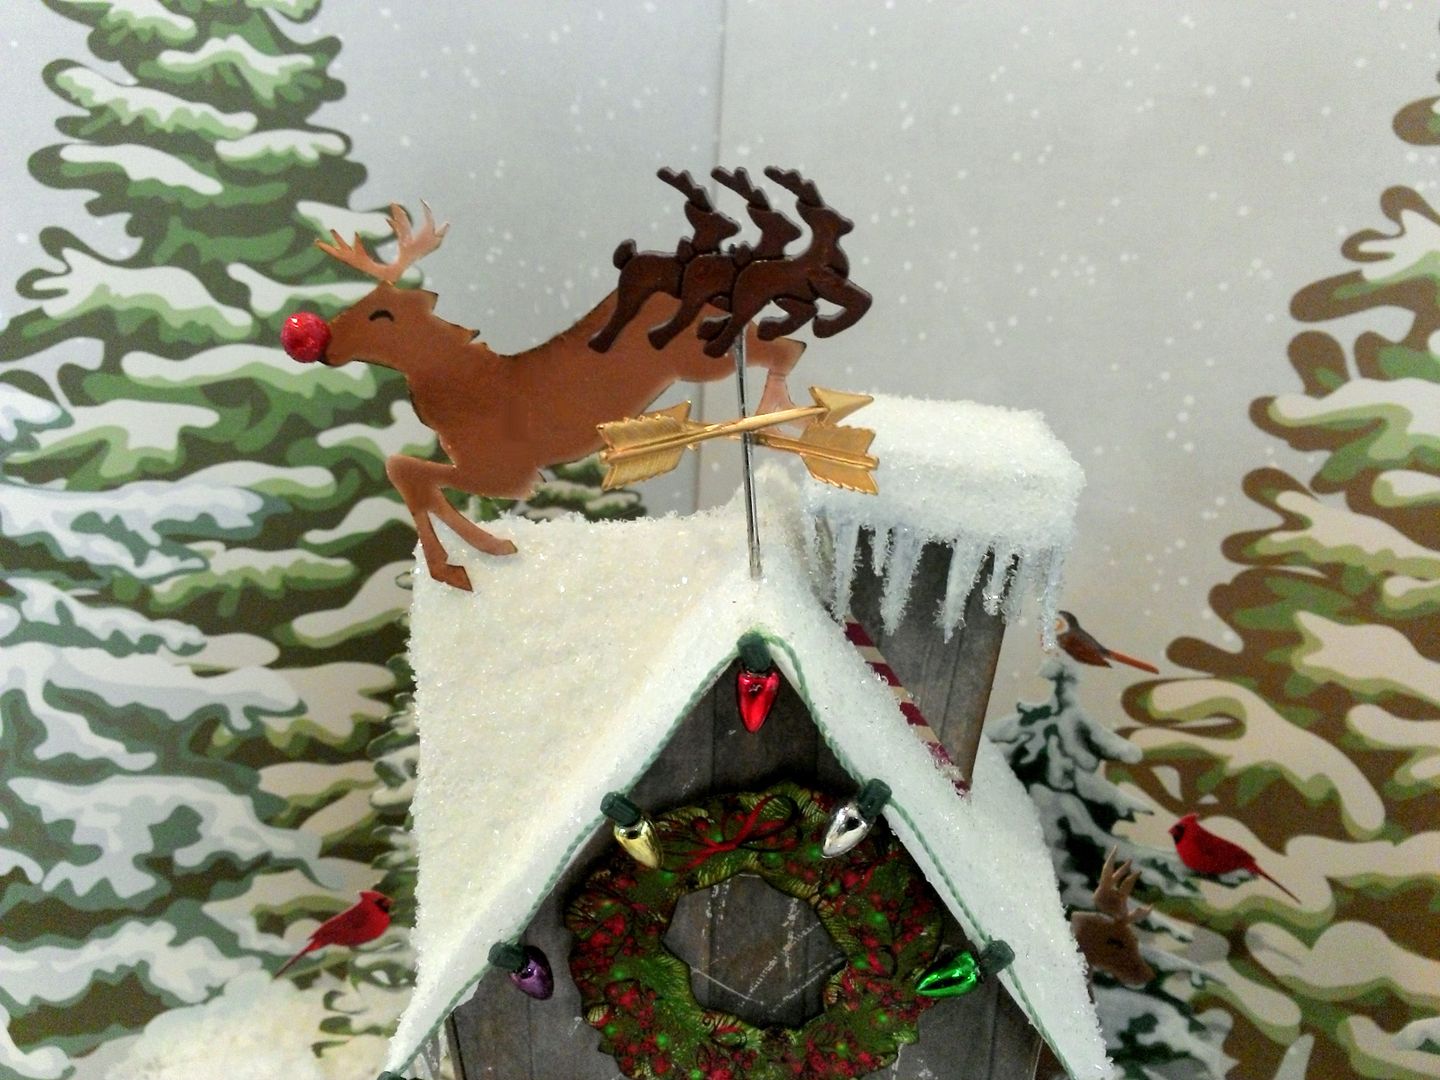
Weathervane
The weathervane is made using a
needle, two arrows, and a reindeer button.
I used E6000 glue to combine the pieces.
I poked the sharp end of the needle through the roof and glued it in
place.
I also added Rudolf to the roof where
he is practicing his takeoffs.
The hay trough is made from two pieces of chipboard papered and glued in a “v” shape. The legs are flat toothpicks. I filled the trough with a piece of raffia.
Just like with the Toy Workshop, the
base is made from a kraft box with an LED tea light underneath. To turn on the light, lift up the
barn to get to the switch.
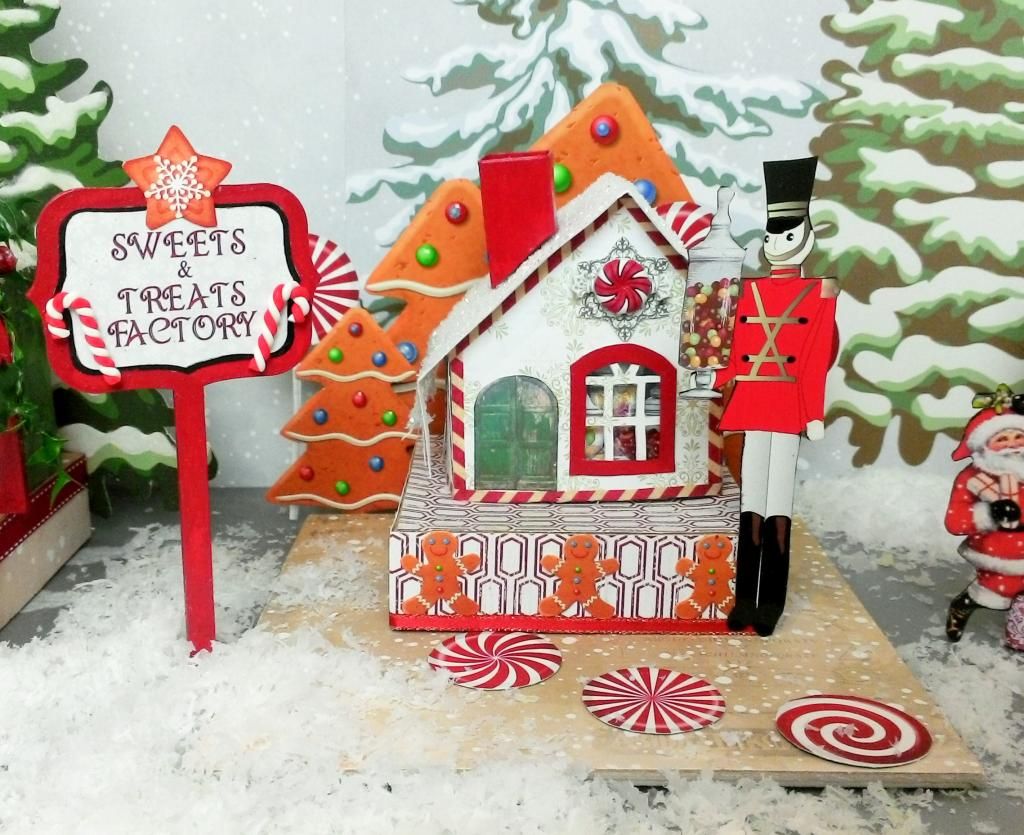
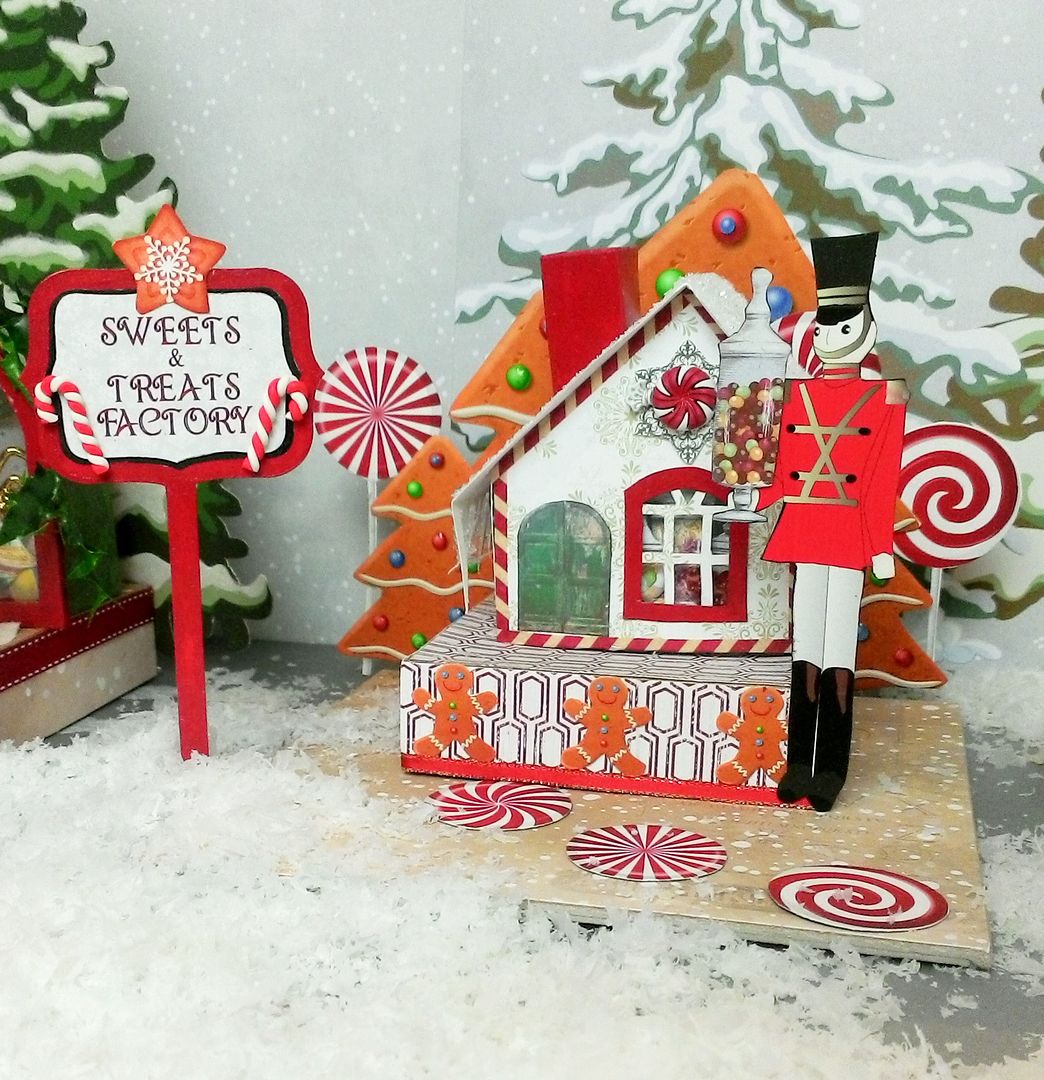
SWEETS & TREATS FACTORY
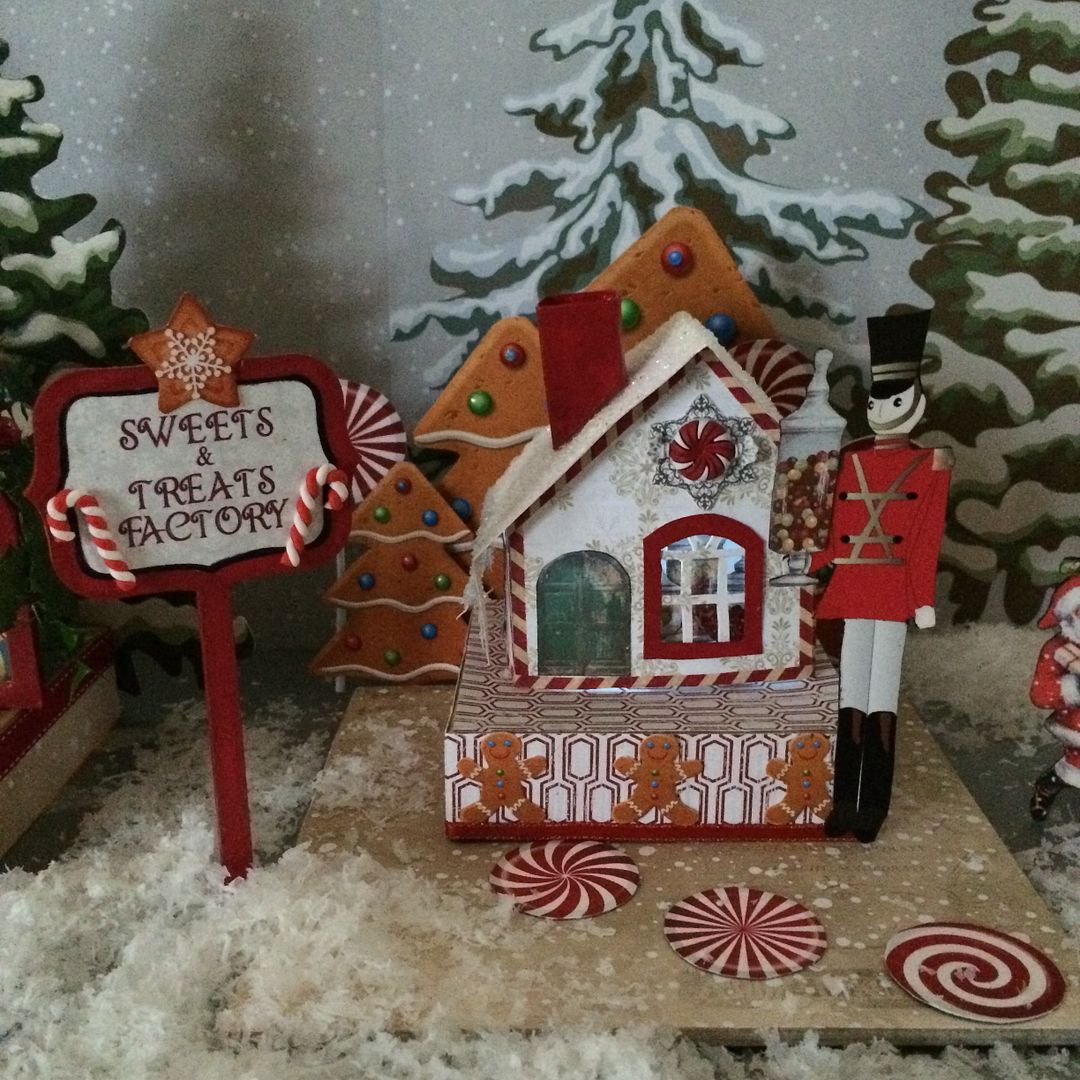
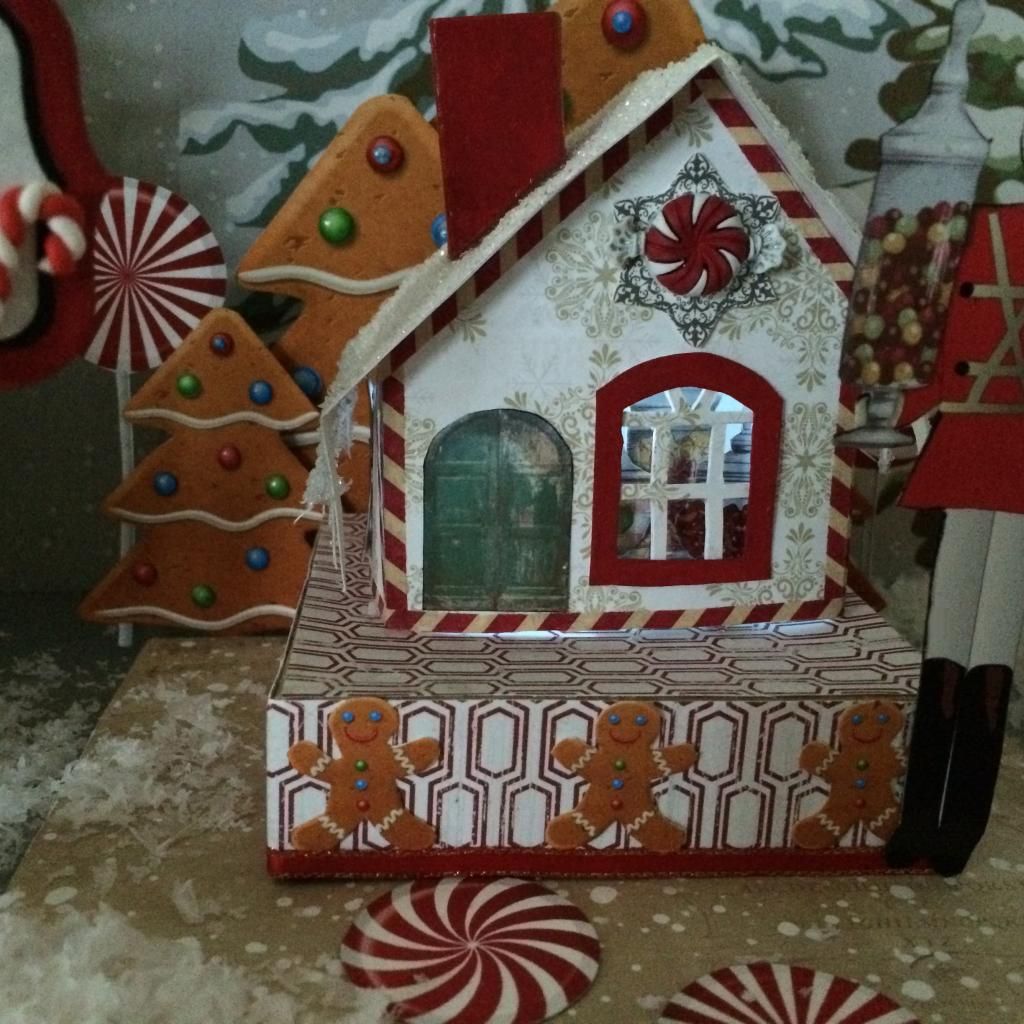
For the Sweets & Treats factory, I
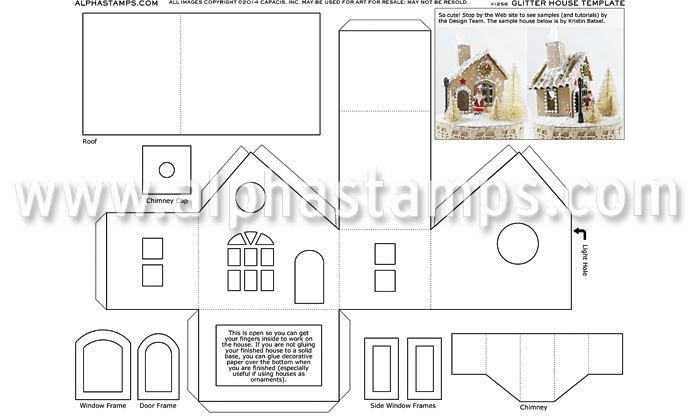
started with the Glitter House Template Collage Sheet.
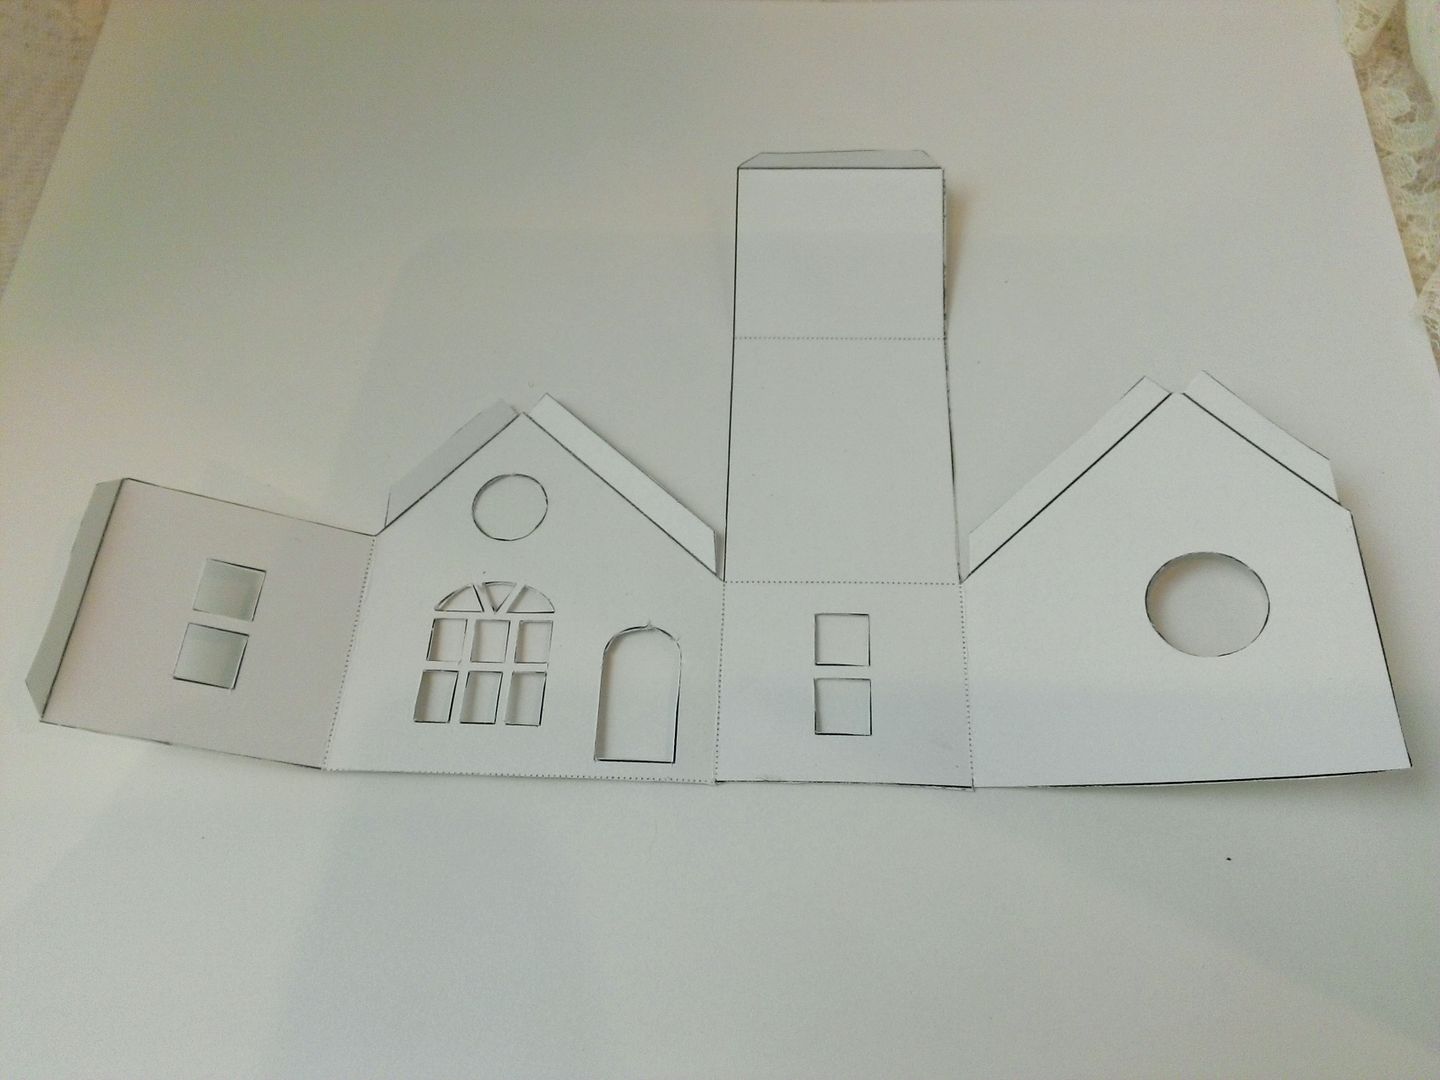
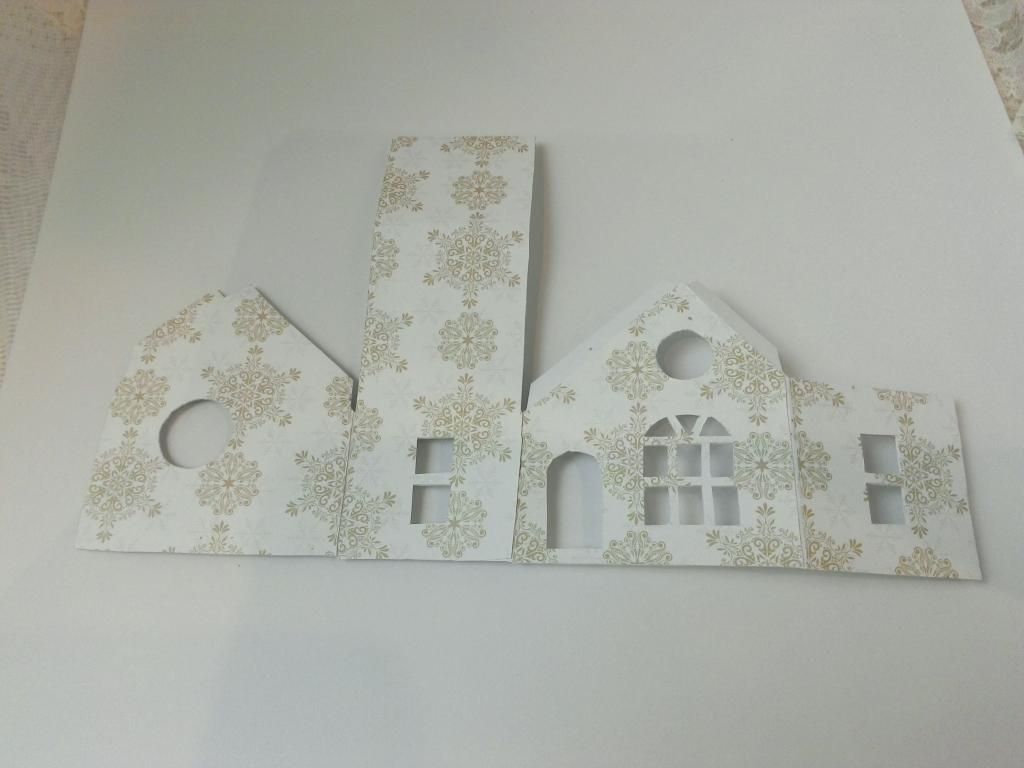
I cut out the house and papered one
side (the side without markings). This
made it easier to see where to score, fold and cut. Next, I assembled the main part of the house using the tabs.
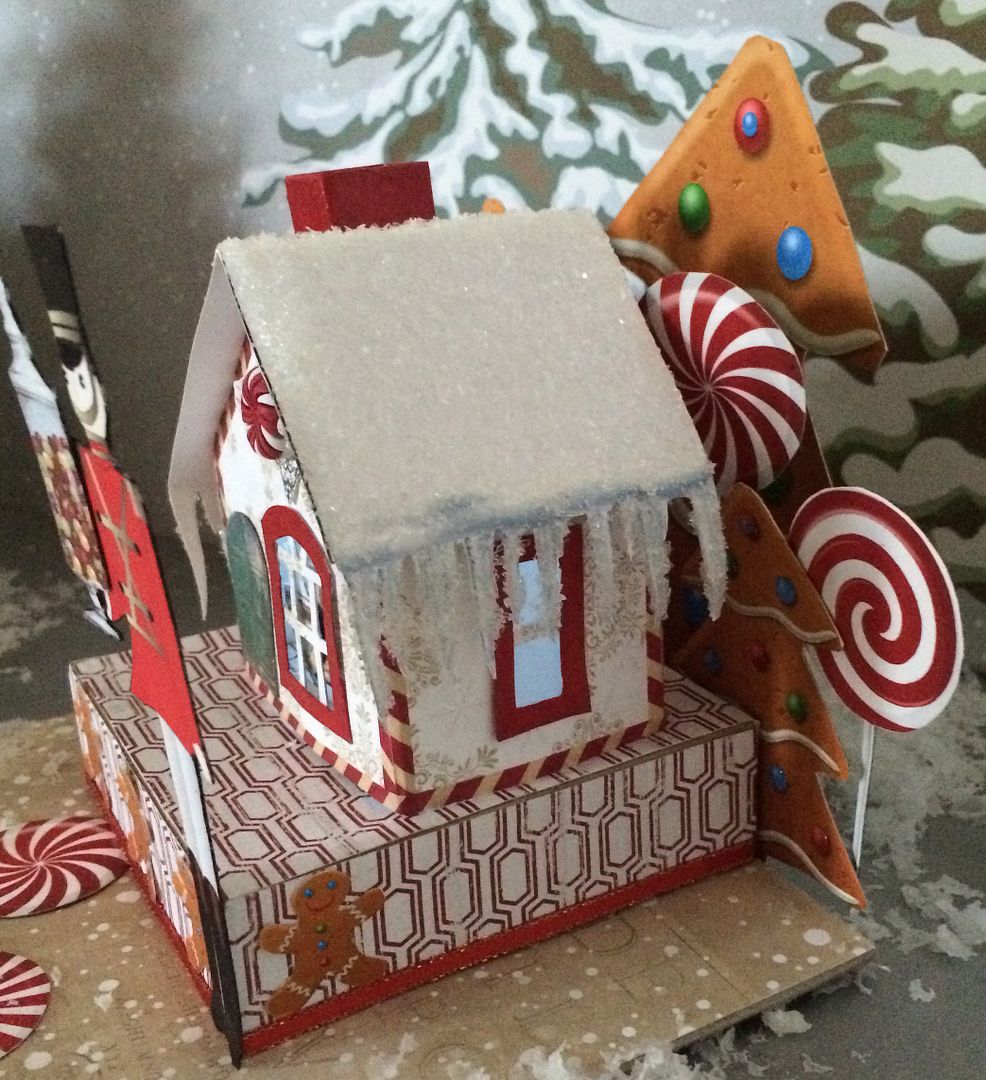
Just as with the other pieces I used
the icicles and Diamond dust on the roof.
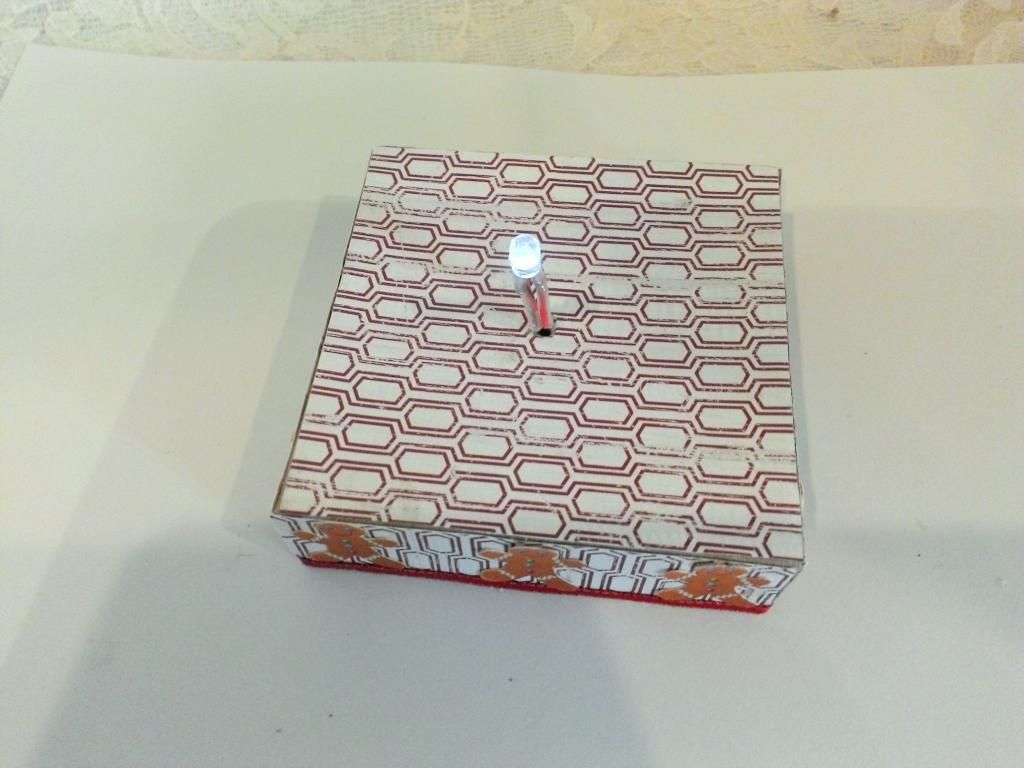
The base is a kraft box bottom but
this time I installed a mini LED light with a switch instead of the LED tea
light. The light pokes through a hole in
the base and the wires and battery are taped under the base. To turn on the light, just lift the factory
and flip the switch.
The house is glued to the base. In the back, I attached gingerbread and peppermint
trees to make a candy forest.
SANTA’S HOUSE
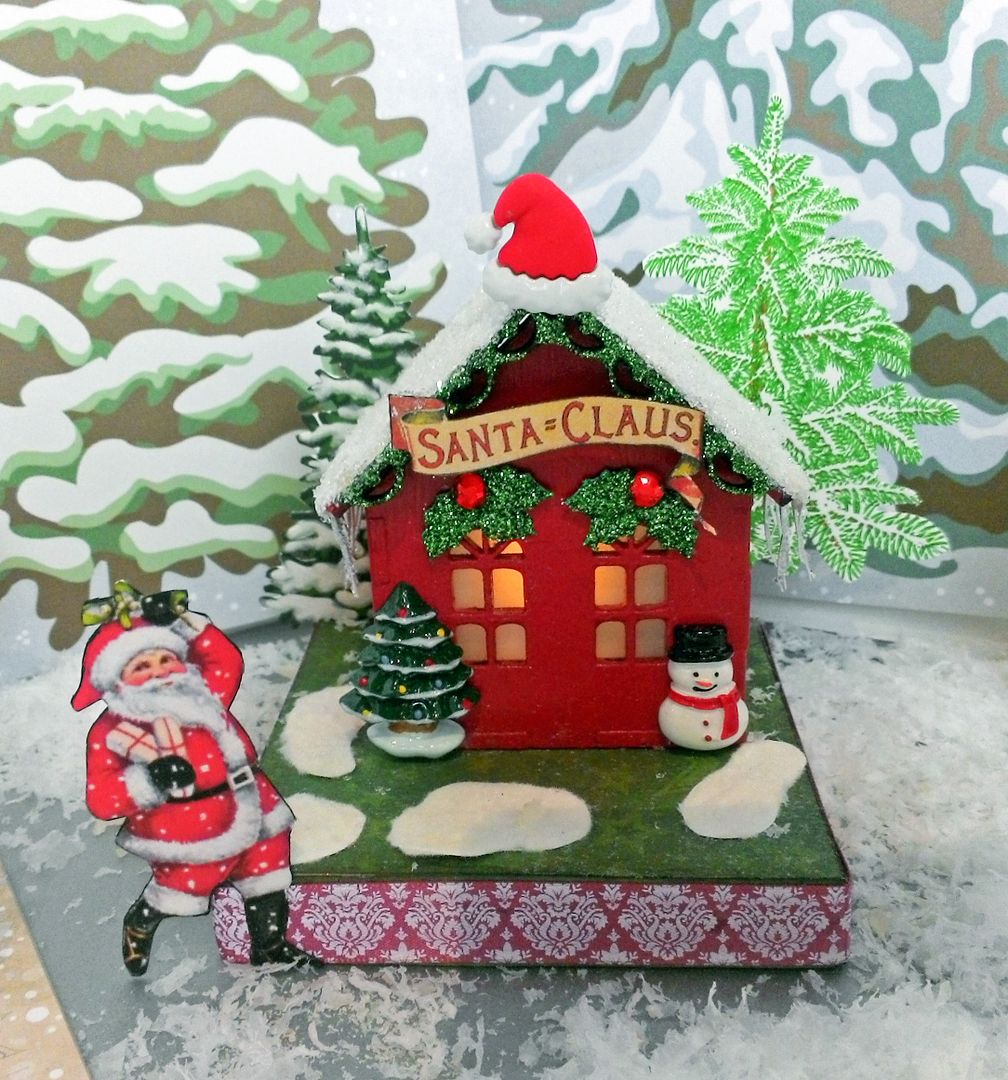
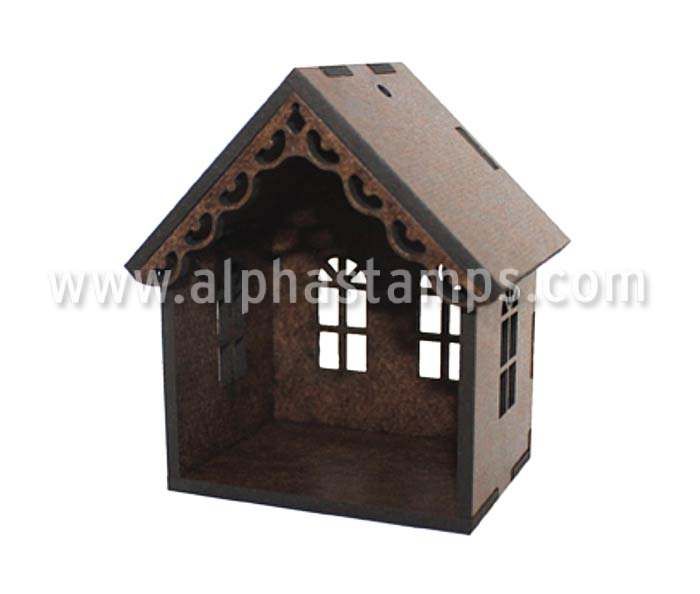
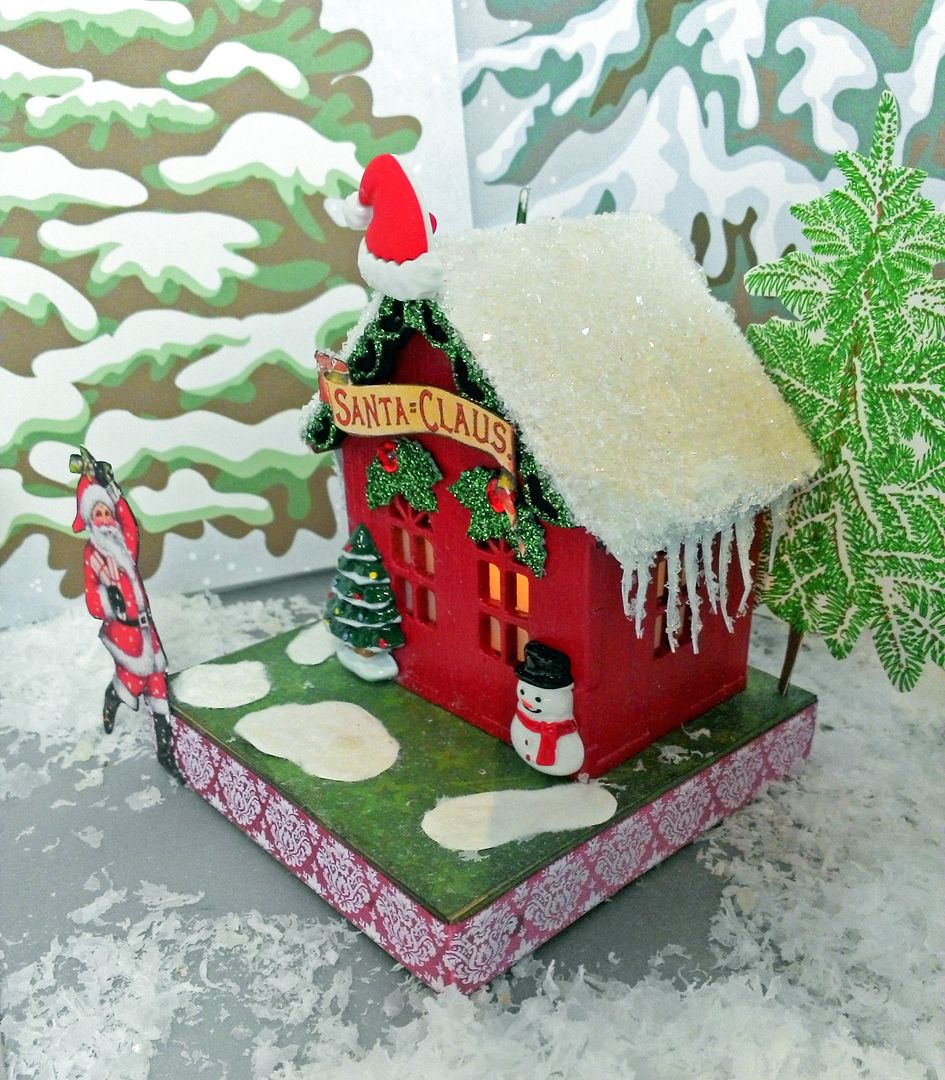
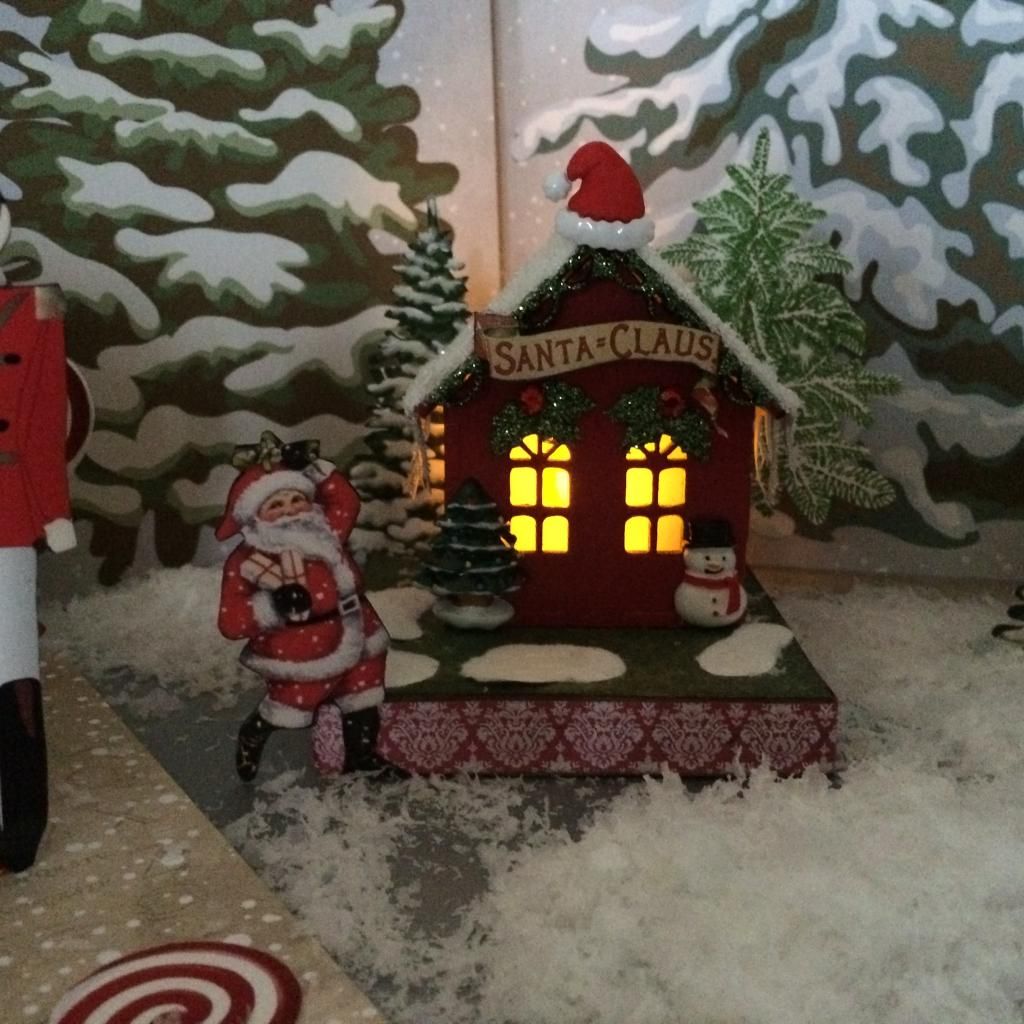
Santa’s House started with a mini
votive house shrine kit. Notice how the
back is open.
I painted the walls red and the roof
white. The roof got the same Diamond
Dust and icicle treatment as the other pieces.
Patches of Snow ono Areas of Colored Paper
To add patches of snow to this piece
and others, I cut out pieces of white paper to which I glued flocking. Then, I glued the paper to the bases.
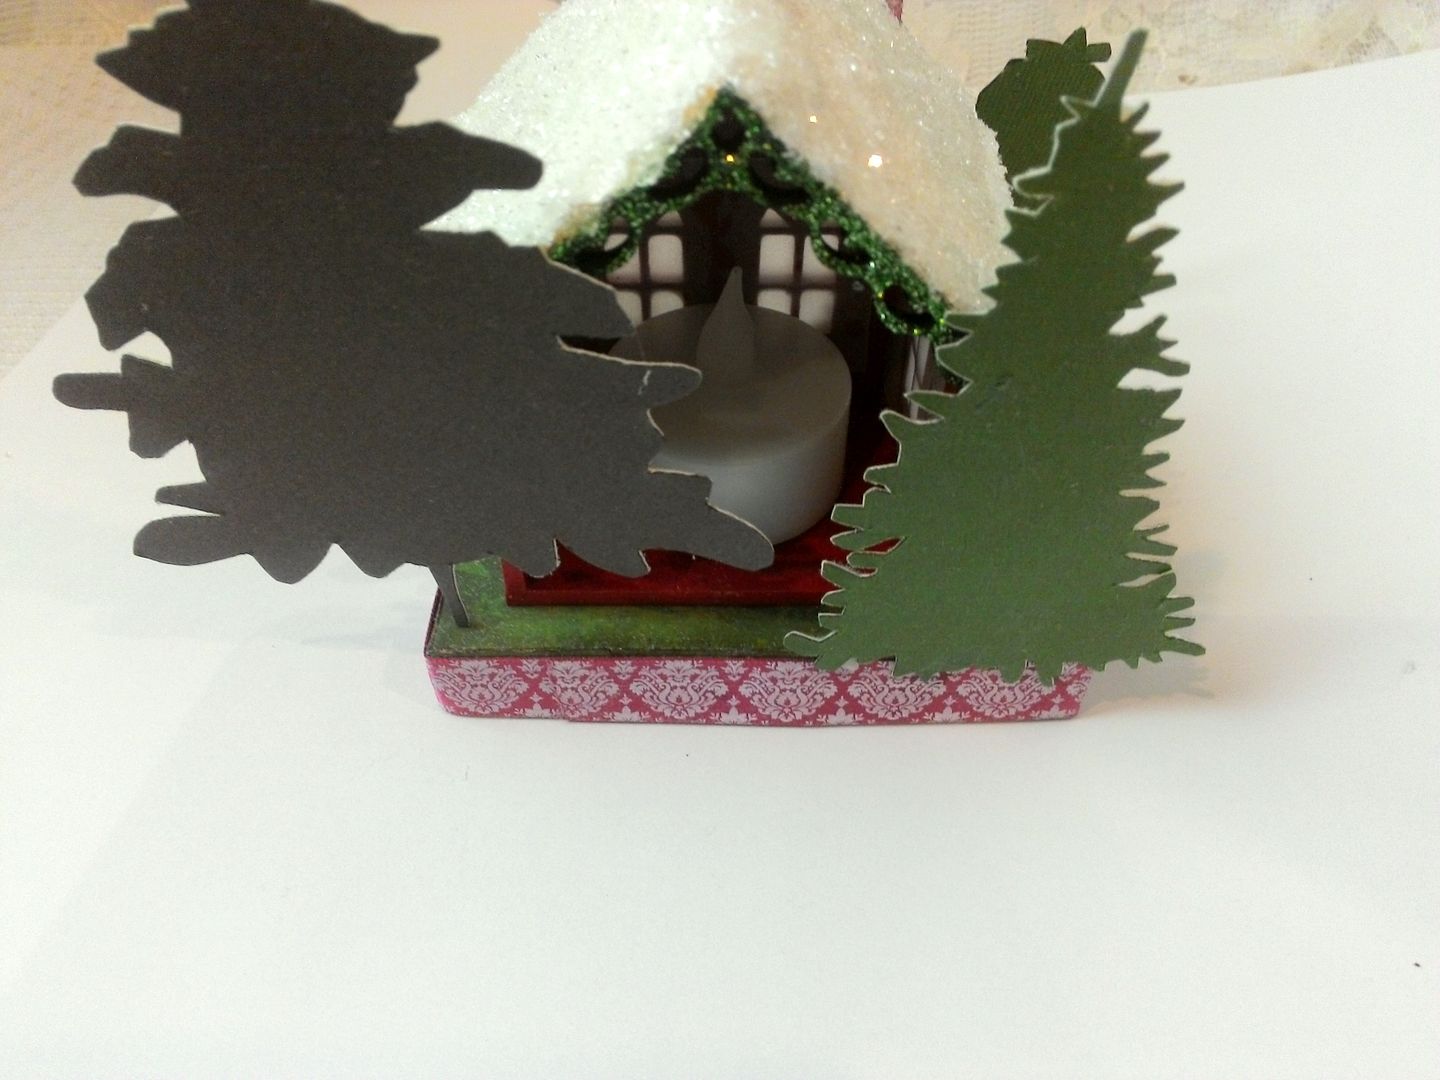
The base is a kraft box and since the
back is open the LED tea light is accessible from the back of the house. As you can see, I added trees to the back but
made sure there was enough room to insert my fingers to turn on the
light switch.
NORTH POLE
For the North Pole, I painted the lid
of a box white, applied glue and then sprinkled on flocking. I attached flocked trees with birds to the back of the box, and the reindeer and elf to the front. I
added the icicles to the sign and glued on Diamond Dust. The finishing touch is the Santa Clause cabochon.