-->

Welcome

I love answering your questions. If you ask them in the comment section, I have no way to answer you (if you haven't heard from me, that is why). If you use the "EMAIL ME" in the left column of this page, I will be able to respond to you. You can also use it if you want to be added to my newsletter. Laura

Saturday, July 2, 2016

CAN'T VISIT THE BEACH THIS SUMMER - THEN COME TO MY MINI COTTAGES BY THE SEA

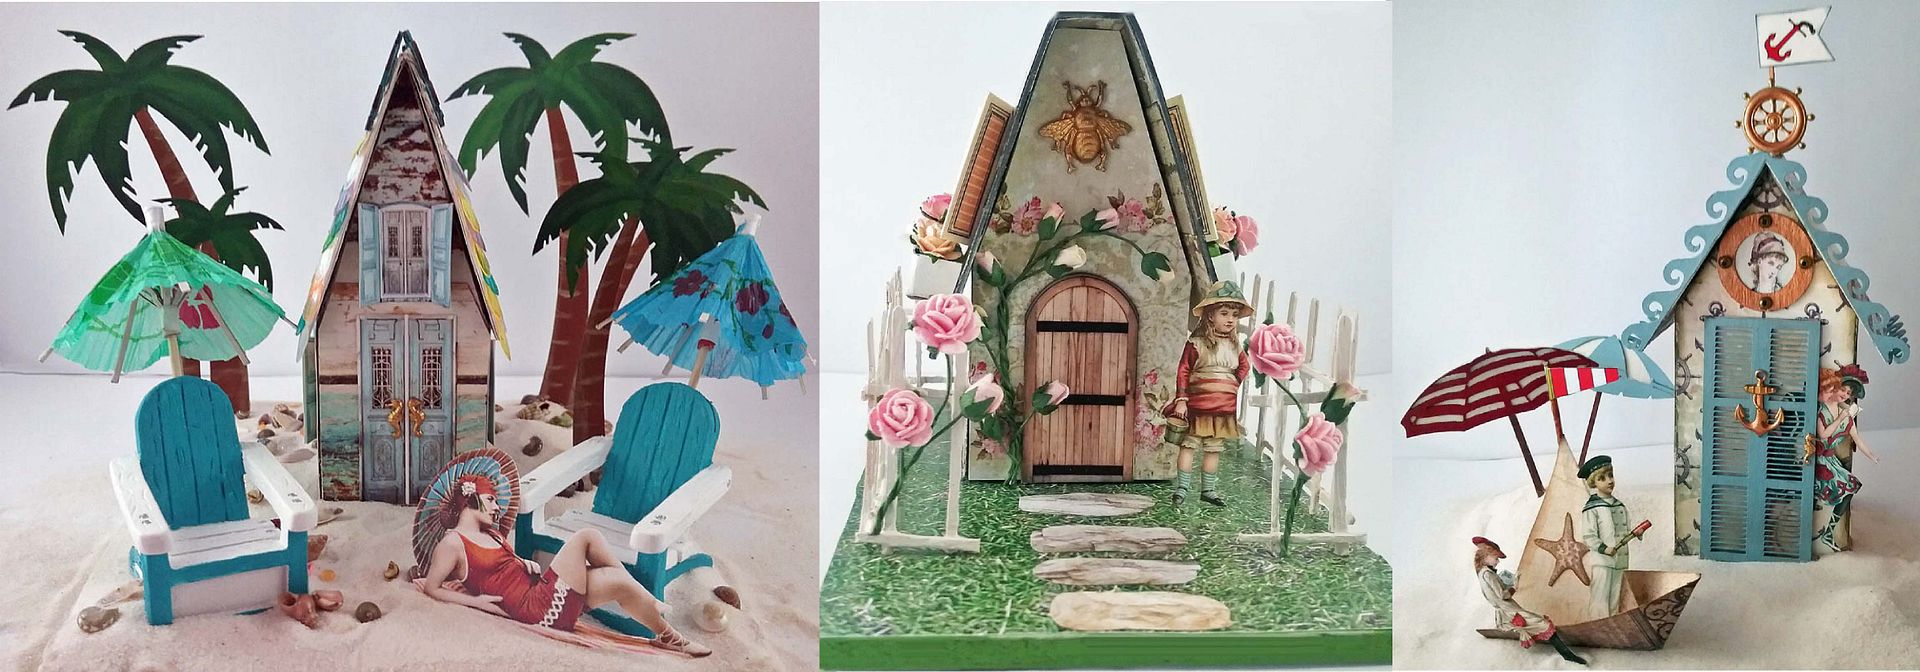
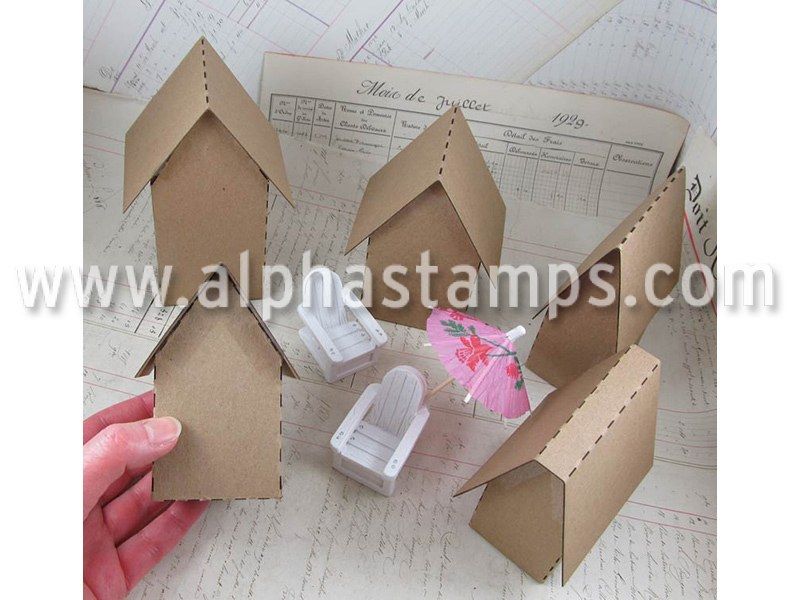
For this month’s theme at AlphaStamps, which is Vintage Beach Cabanas, I’ve used the new Cabana Row House Set to create 3 mini cottages by the sea.  I came up with names for each of the cottages, and that drove their unique designs.
Shell Cottage
Using House C from the Cabana Row House Set
Shell cottage is the beachiest of all of the cottages, surrounded by sand, seashells, and palm trees.
The palm trees are die-cut chipboard.  I painted the trees using various acrylic paints.  The base of this cottage is a foam core.  I cut slits in the foam core, inserted the trees, and glued them in place.
For all of the cottages, I first assembled the house (minus the roof), and then in the case of Shell Cottage, I papered the house and roof using an 8 x 8 paper pad titled French Riviera. 
The doors and windows are from the Window Frames & Shutters collage sheet.  I used a tiny double-sided seahorse charm for door handles.  If you snip away the loop at the top, the seahorse comes apart into two pieces.
For the roof, I started by painting the chipboard white using acrylic paint.  I then glued the seashell sequins in place using E6000 glue.  I added some of the French Riviera paper to the top of the roof and trimmed the peak with the Under the Sea chipboard border painted with acrylic paint.
In the front of the cottage are two white beach chairs painted with turquoise acrylic paint.  The chairs have a slit at the top, where I inserted the cocktail umbrellas.  In front of one of the chairs lies a beach babe, which you can find on the Bathing Beauties #2 collage sheet.

Shell Cottage Supplies from Alpha Stamps
  • Cabana Row House Set – House C
  • Window Frames & Shutters Collage Sheet – Door and windows
  • Bathing Beauties #2 Collage Sheet – Girl lying on a towel with an umbrella
  • French Riviera 8x8 Paper Pad
  • Palm Tree Silhouettes
  • Seashell Sequin Mix – Roof tile
  • Under the Sea Chipboard Border – Roof trim
  • Tiny Double-Sided Seahorse Charms – Door handles
  • Miniature White Beach Chairs
  • Cocktail Umbrellas
  • Seashells in Plastic Tins – In sand
Sailors Cove
Using House D from the Cabana Row House Set
For this house, I again used the French Riviera paper. 
The door and windows are from the die-cut chipboard set, Seaside Doors & Windows.  I dressed the door up with a brass anchor and seahorse charm.  Around the window, in the front, I used corrugated saucer beads.  The ladies coming out of the door can be found on the Vintage Beach Babes collage sheet.  The lady in the window is on The Fourth of July collage sheet.
At the top of the roof are a ship's wheel and a nautical flag glued to a toothpick inserted into the roof.
The trim on the roof comes from the Seaside Décor & Beach Umbrellas chipboard set.
Below you can see the two umbrellas from the chipboard set.  In front of the cottage is a paper sailboat with two children which you can find on the Seaside Victorian Children collage sheet.  You'll find all of the nautical flags I used on the Sea Calls to Me collage sheet.
On the sides are more windows from the Seaside Doors & Windows chipboard set.

Sailors Cove Supplies from Alpha Stamps
  • Cabana Row House Set – House D
  • Vintage Beach Babes Collage Sheet – Women coming out of the door
  • Seaside Victorian Children Collage Sheet– Little sailor boy and girl in the boat
  • The Fourth of July Collage Sheet – Woman in window
  • The Sea Calls to Me Collage Sheet – Ship flags
  • French Riviera 8x8 Paper Pad
  • Seaside Doors & Windows Set – Front door and windows
  • Seaside Décor & Beach Umbrellas – Roof wave trim & beach umbrellas behind the boat
  • Tiny Double-Sided Seahorse Charms – Door handle
  • Brass Ship Wheel
  • Corrugated Saucer Beads – Around the front window
  • Large Anchor Charm - Bronze
Rose Cottage
Using House B from the Cabana Row House Set
The Rose Cottage is papered with House of Rose on the Porch, scrapbook paper on the house part, and French Riviera paper on the roof.
The base is foam core which is covered with Natural Grass scrapbook paper.  I cut out cobblestones from the Provincial Cobblestone scrapbook paper to create a path.
The front door is from the Mini Old Windows & Doors collage sheet.  Around the door are pink, and cream mini rose buds.  Above the door is a brass bee.
The fence is made from flat matchsticks painted white with acrylic paint.  I poked holes into the foam core and inserted the matchsticks into the holes.
The windows on the sides are from the Window Frames & Shutters collage sheet.  On the fence at the front are pink roses.
The flower boxes are made from the ends of matchbox drawers.

Rose Cottage Supplies From Alpha Stamps
  • Cabana Row House Set – House B
  • Window Frames & Shutters Collage Sheet – Windows
  • Mini Old Windows & Doors – Collage Sheet - Door
  • Seaside Victorian Children Collage Sheet– Little girl
  • French Riviera 8x8 Paper Pad - Roof
  • House of Roses on the Porch Scrapbook Paper – Front, back & sides
  • Natural Grass Scrapbook Paper
  • Provincial Cobblestone Scrapbook Paper – Stepping stones
  • Giant Brass Bee
  • Mini Rose Buds - Ivory
  • Mini Rose Buds – Pink Cream Variegated
  • Tiny Paper Roses – Pink Cream Variegated
  • Tiny Paper Roses – Medium Pink

MASTER SUPPLY LIST
This list has the supplies used for all three houses.
  • Cabana Row House Set
  • Under the Sea Chipboard Border
  • Palm Tree Silhouettes
  • Seaside Doors & Windows Set
  • Seaside Décor & Beach Umbrellas
  • Seaside Victorian Children Collage Sheet
  • Vintage Beach Babes Collage Sheet
  • Bathing Beauties #2 Collage Sheet
  • Window Frames & Shutters Collage Sheet
  • Mini Old Windows & Doors – Collage Sheet - Door
  • The Fourth of July Collage Sheet – Woman in window
  • The Sea Calls to Me Collage Sheet – Ship flags
  • French Riviera 8x8 Paper Pad
  • House of Roses on the Porch Scrapbook Paper
  • Natural Grass Scrapbook Paper
  • Provincial Cobblestone Scrapbook Paper
  • Mini Rose Buds - Ivory
  • Mini Rose Buds – Pink Cream Variegated
  • Tiny Paper Roses – Pink Cream Variegated
  • Tiny Paper Roses – Medium Pink
  • Giant Brass Bee
  • Brass Ship Wheel
  • Tiny Double-Sided Seahorse Charms
  • Large Anchor Charm - Bronze
  • Corrugated Saucer Beads
  • Seashell Sequin Mix – Roof tile
  • Seashells in Plastic Tins – In sand
  • Miniature White Beach Chairs
  • Cocktail Umbrellas

Saturday, June 11, 2016

Alice in Wonderland "Down the Rabbit Hole" & Four Alice Themed Domino Books Plus a New Collage Sheet & Digital Image Set

 
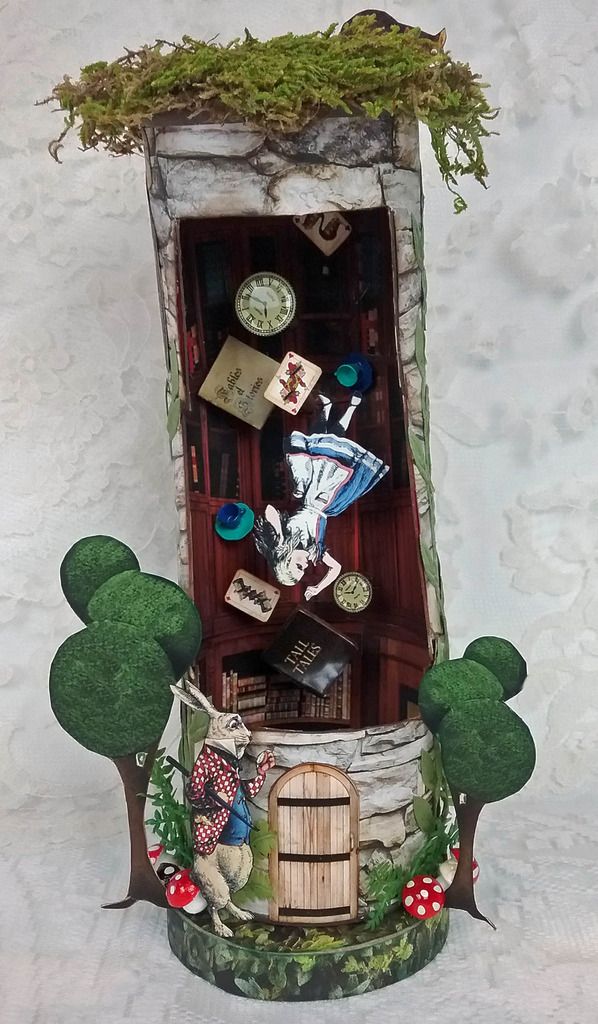
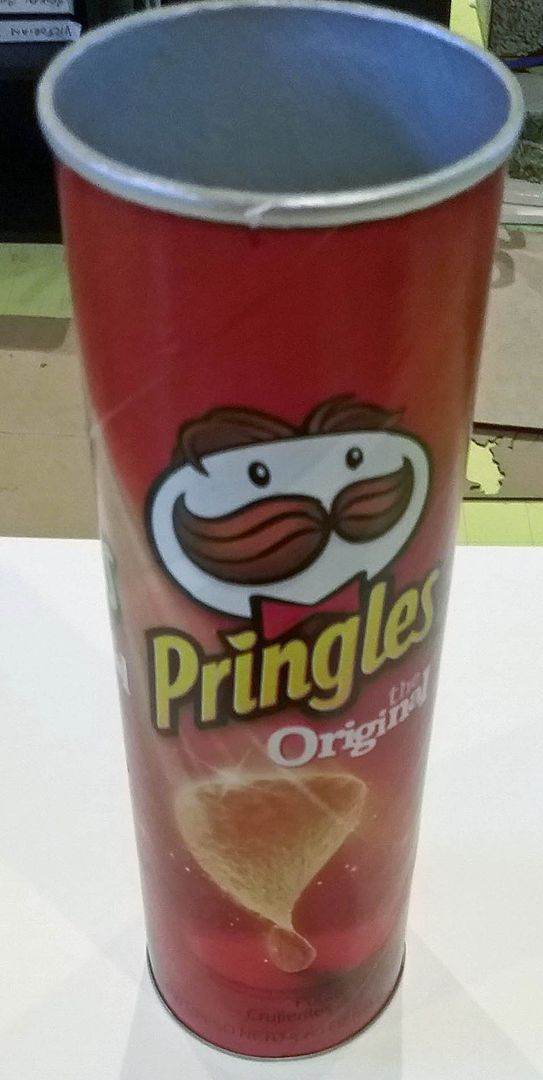
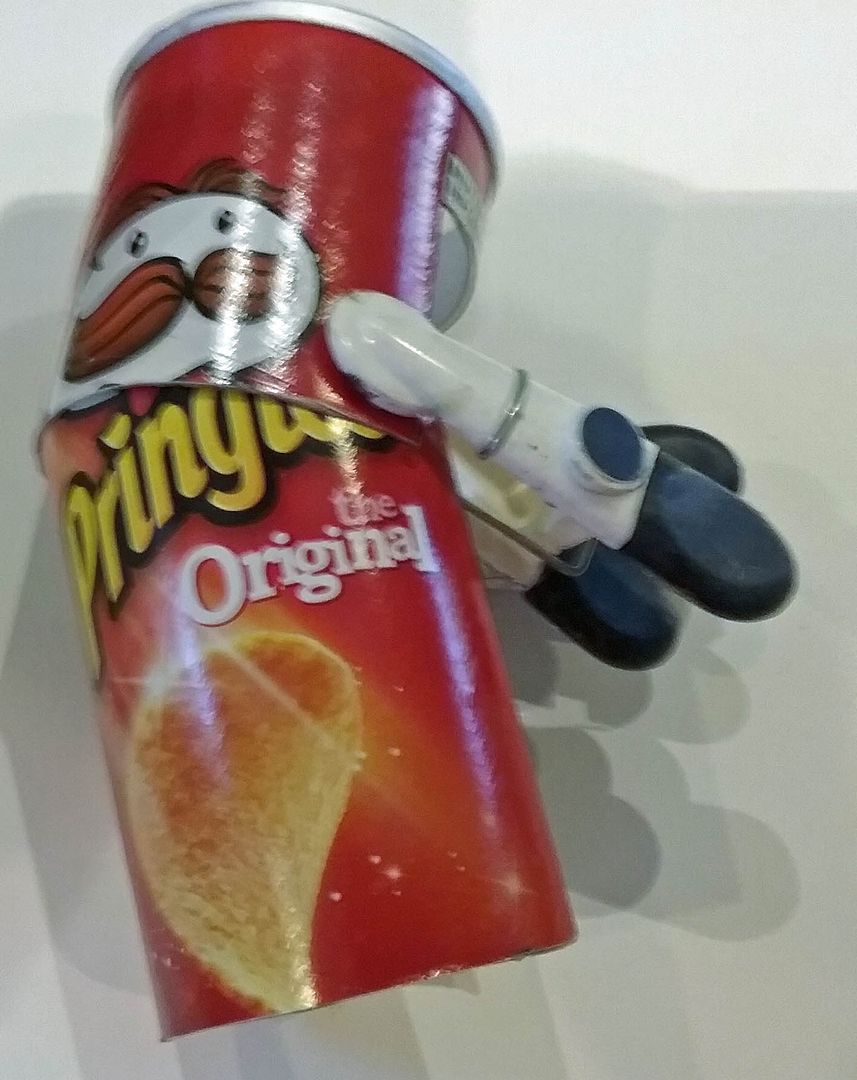
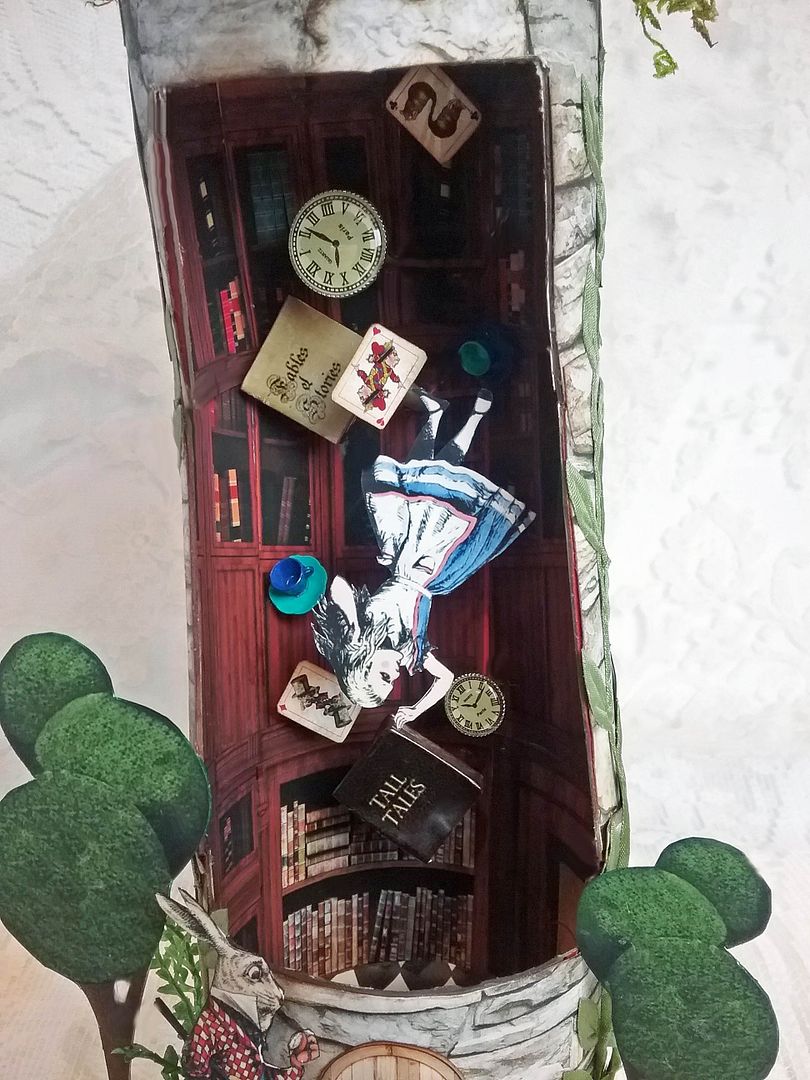
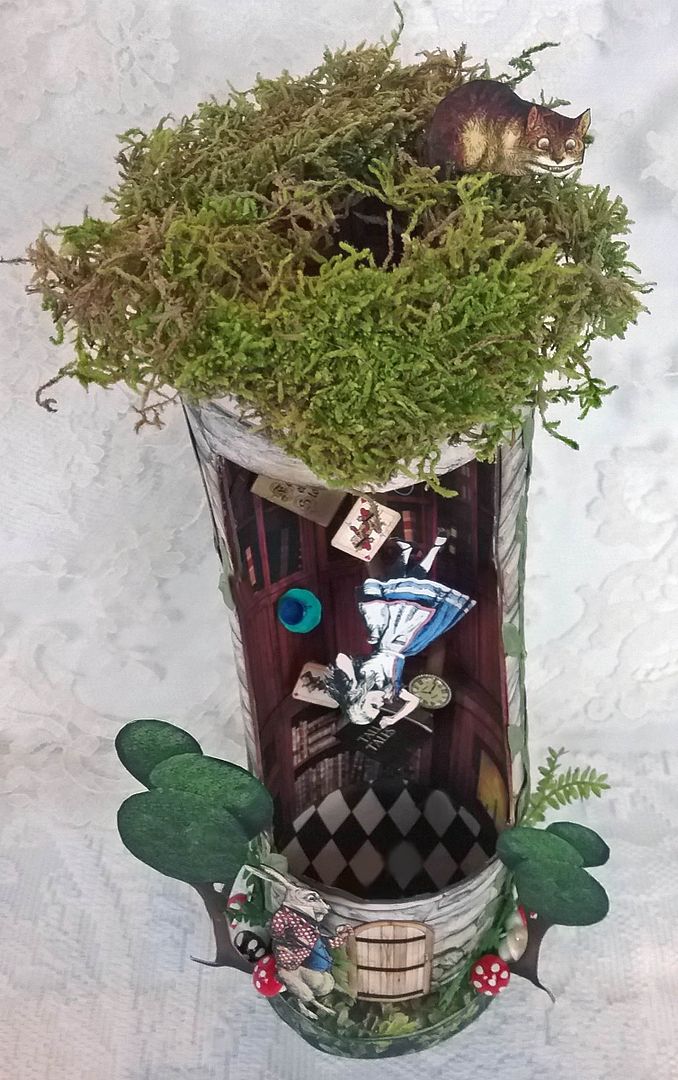
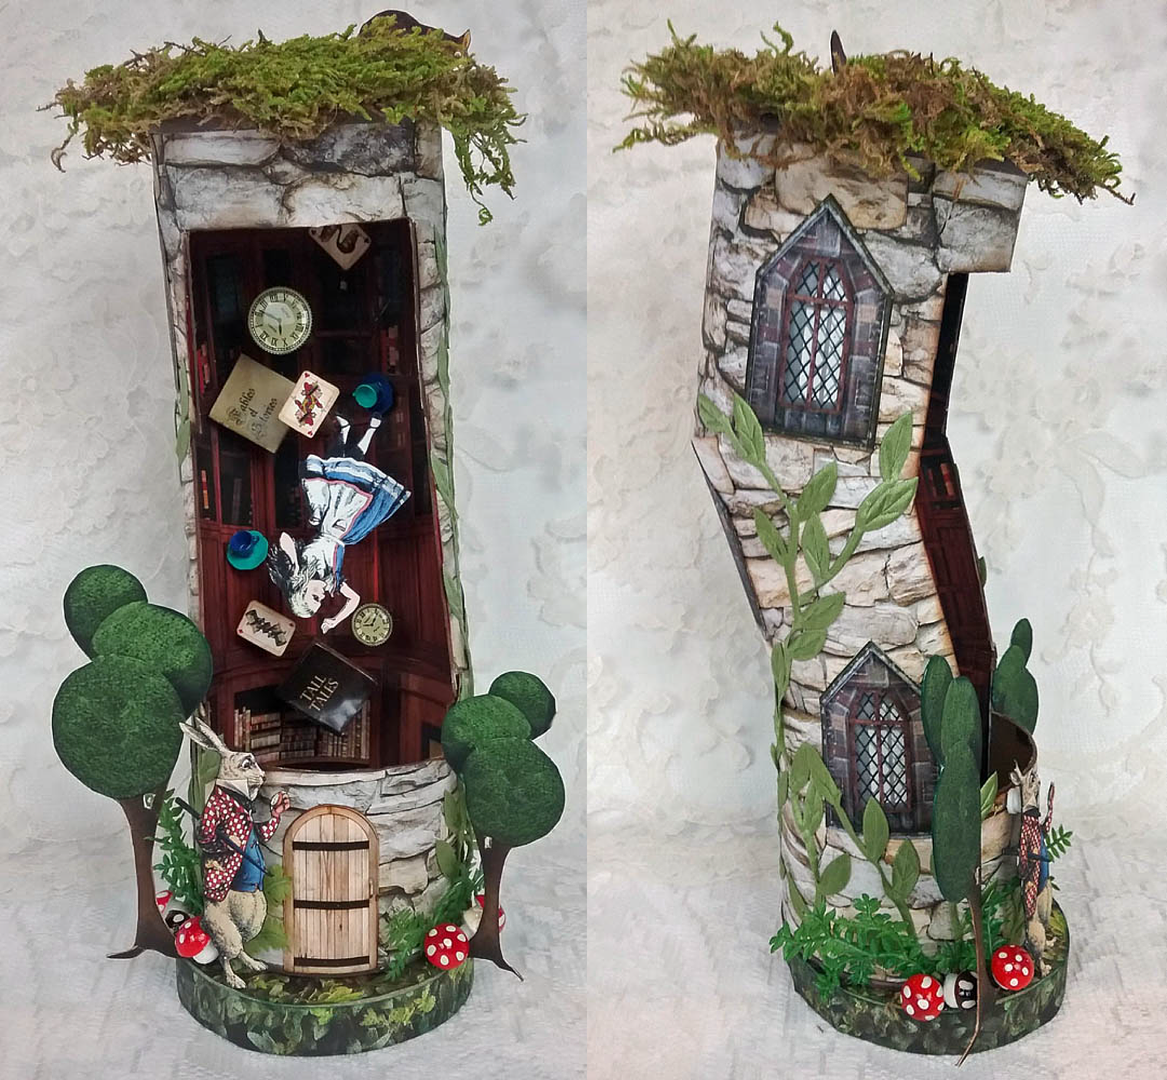
Cut up a Pringles Potato Chip can glue it back together cattywampus, and you get Alice falling down the rabbit hole.  To create the effect of Alice and other objects free-falling down the hole, I used wooden dowels and double-stick tape to suspend and anchor the images and items to the back wall.
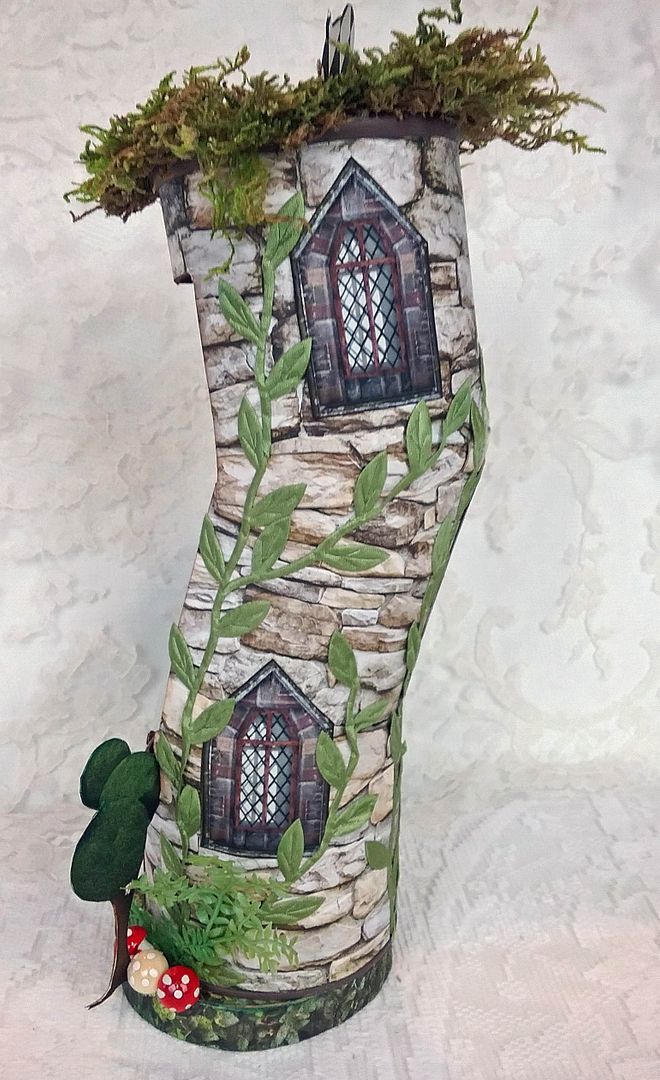
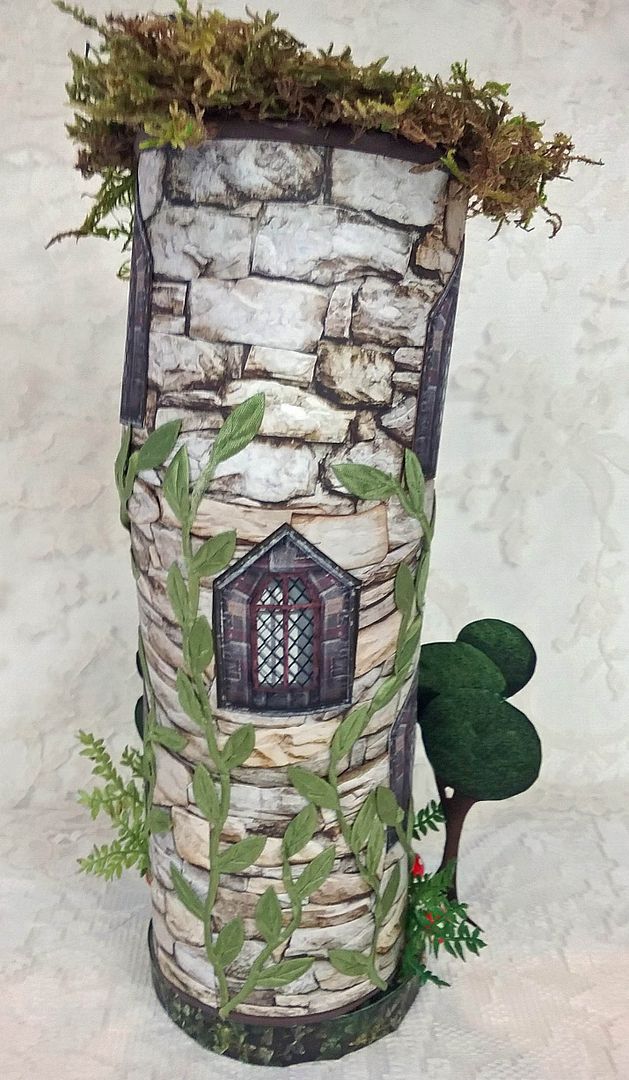
Cobblestone paper, window and door images, leaf ribbons, ferns, and mushrooms decorate the outside.
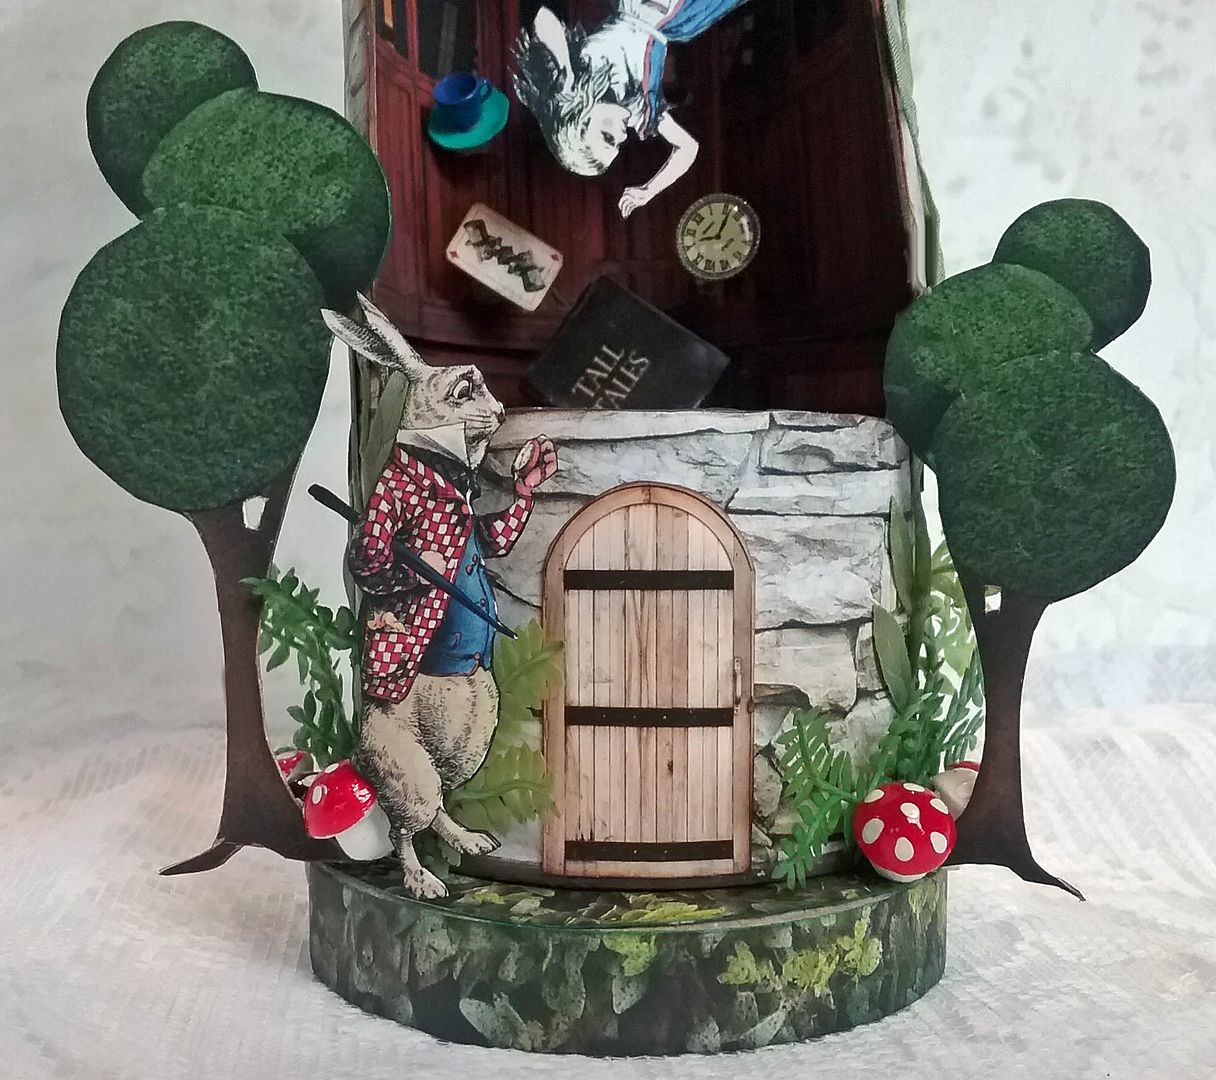
In the front at the bottom, you’ll see the White Rabbit waiting impatiently for Alice at the door.

ALICE DOMINO BOOKS
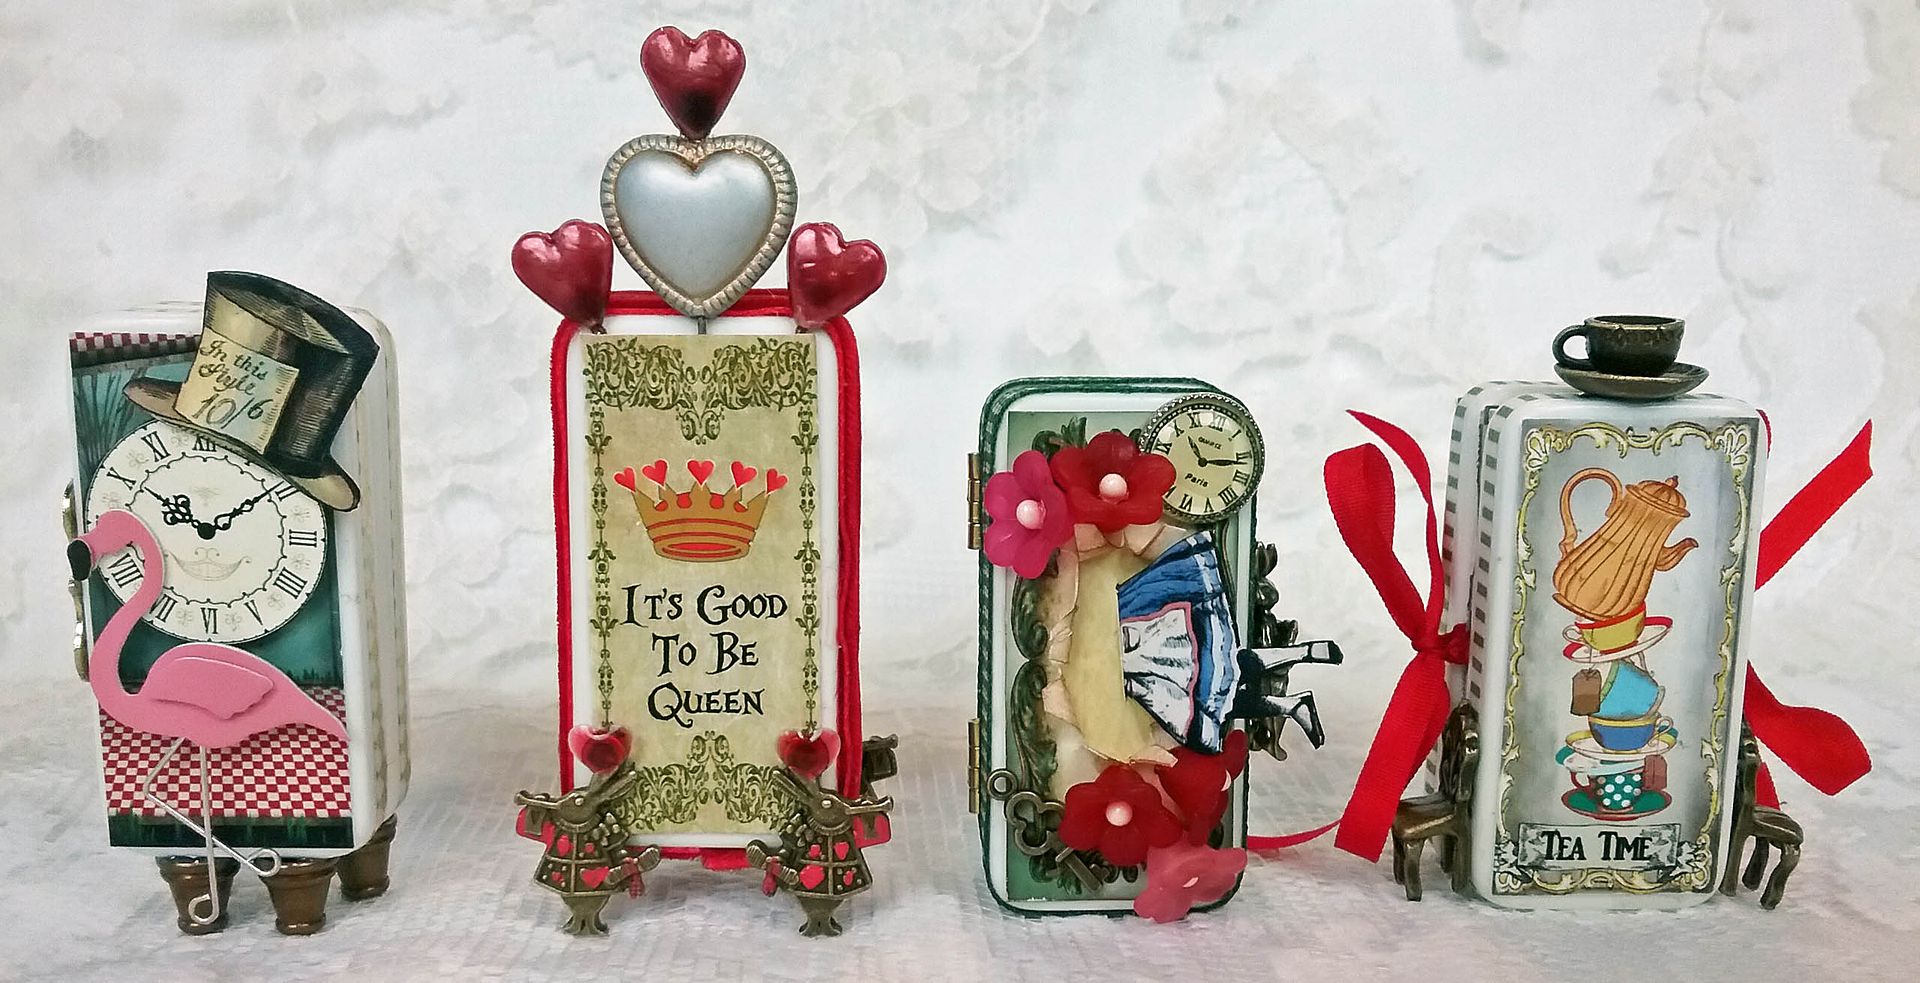
If you are looking for a smaller-scale project, you might want to create an Alice-themed domino book.  Domino books are so easy to quickly put together.  I’ve created a new Alice-themed collage sheet filled with domino panels that are sized for standard 1” x 2” dominoes.  In addition, there is an Alice domino digital image set. I also have 4 sample books to give you some ideas.

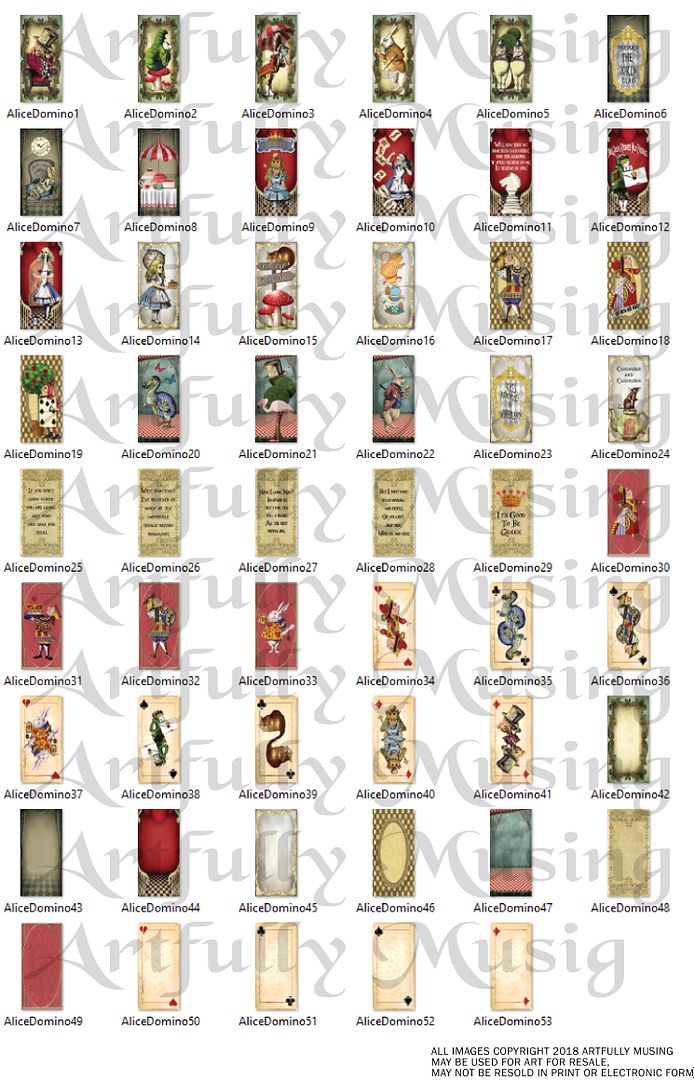
This sheet contains 40 Alice in Wonderland-themed panels that are sized to fit a standard 1” x 2” domino.  These panels work great for domino jewelry and books.

This set contains all of the images in the Alice in Wonderland Domino Books Collage Sheet, plus an additional 13 images for a total of 53.  All of the images in this set can be re-sized for your project as they are high-resolution (300dpi) PNG formatted images. 

I chose to keep the dominoes the original white color for all of the domino books.  I thought white worked well with the images; leaving them white was less work (great if you want a fast project).  I used ribbon and paper tape to add color to the dominoes' sides.
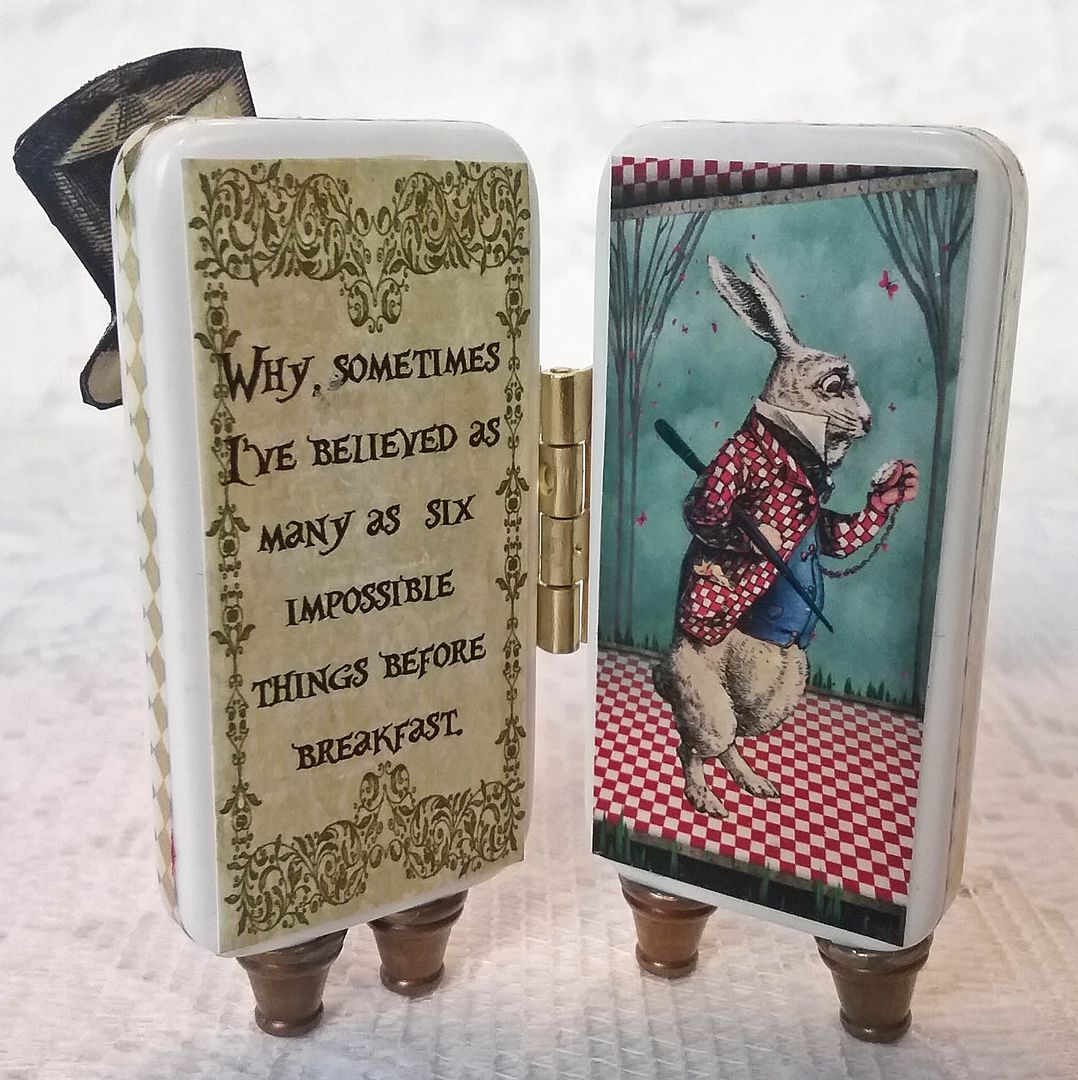
6 Impossible Things Domino Book
On the front of this book, I used one of the panels from the collage sheet, a couple of images from the Tea Party Alice Collage Sheet, or you will find the same images in the Tea Party Alice digital image set, plus a layered mini pink flamingo sticker.  I can’t look a pink flamingo and not smile.  Also, notice the raw brass box feet attached to the bottom of the dominoes.
Inside the book, you’ll see two of the panels from the new collage sheet.
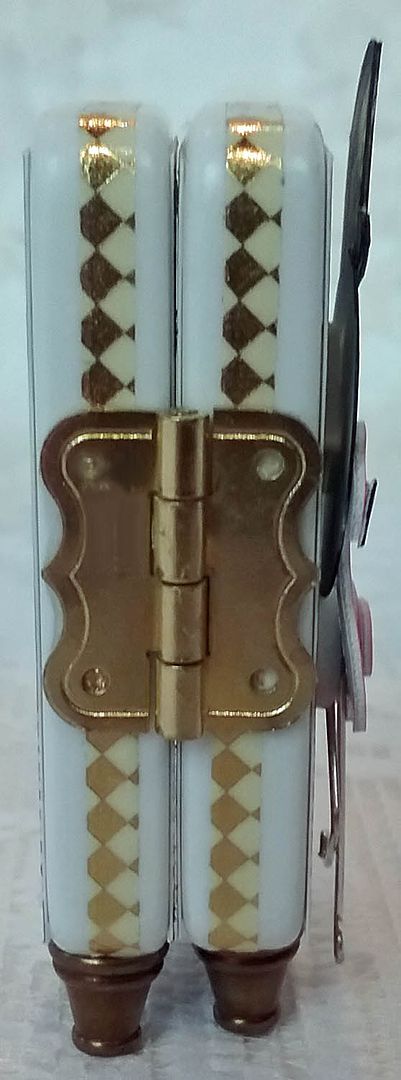
Below is a side view of the book.  I’ve dressed up the sides with diamond paper tape and attached the hinge to the outside of the dominoes.
On the backside is another panel from the new collage sheet.

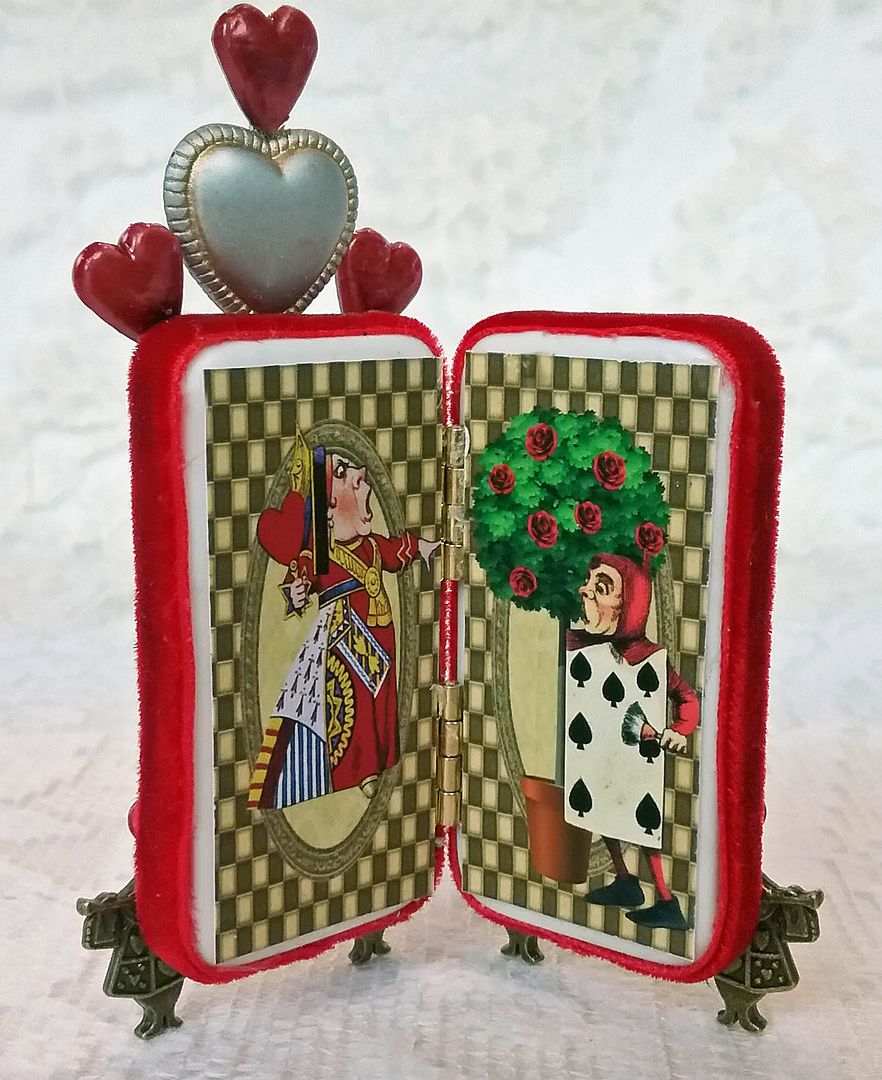
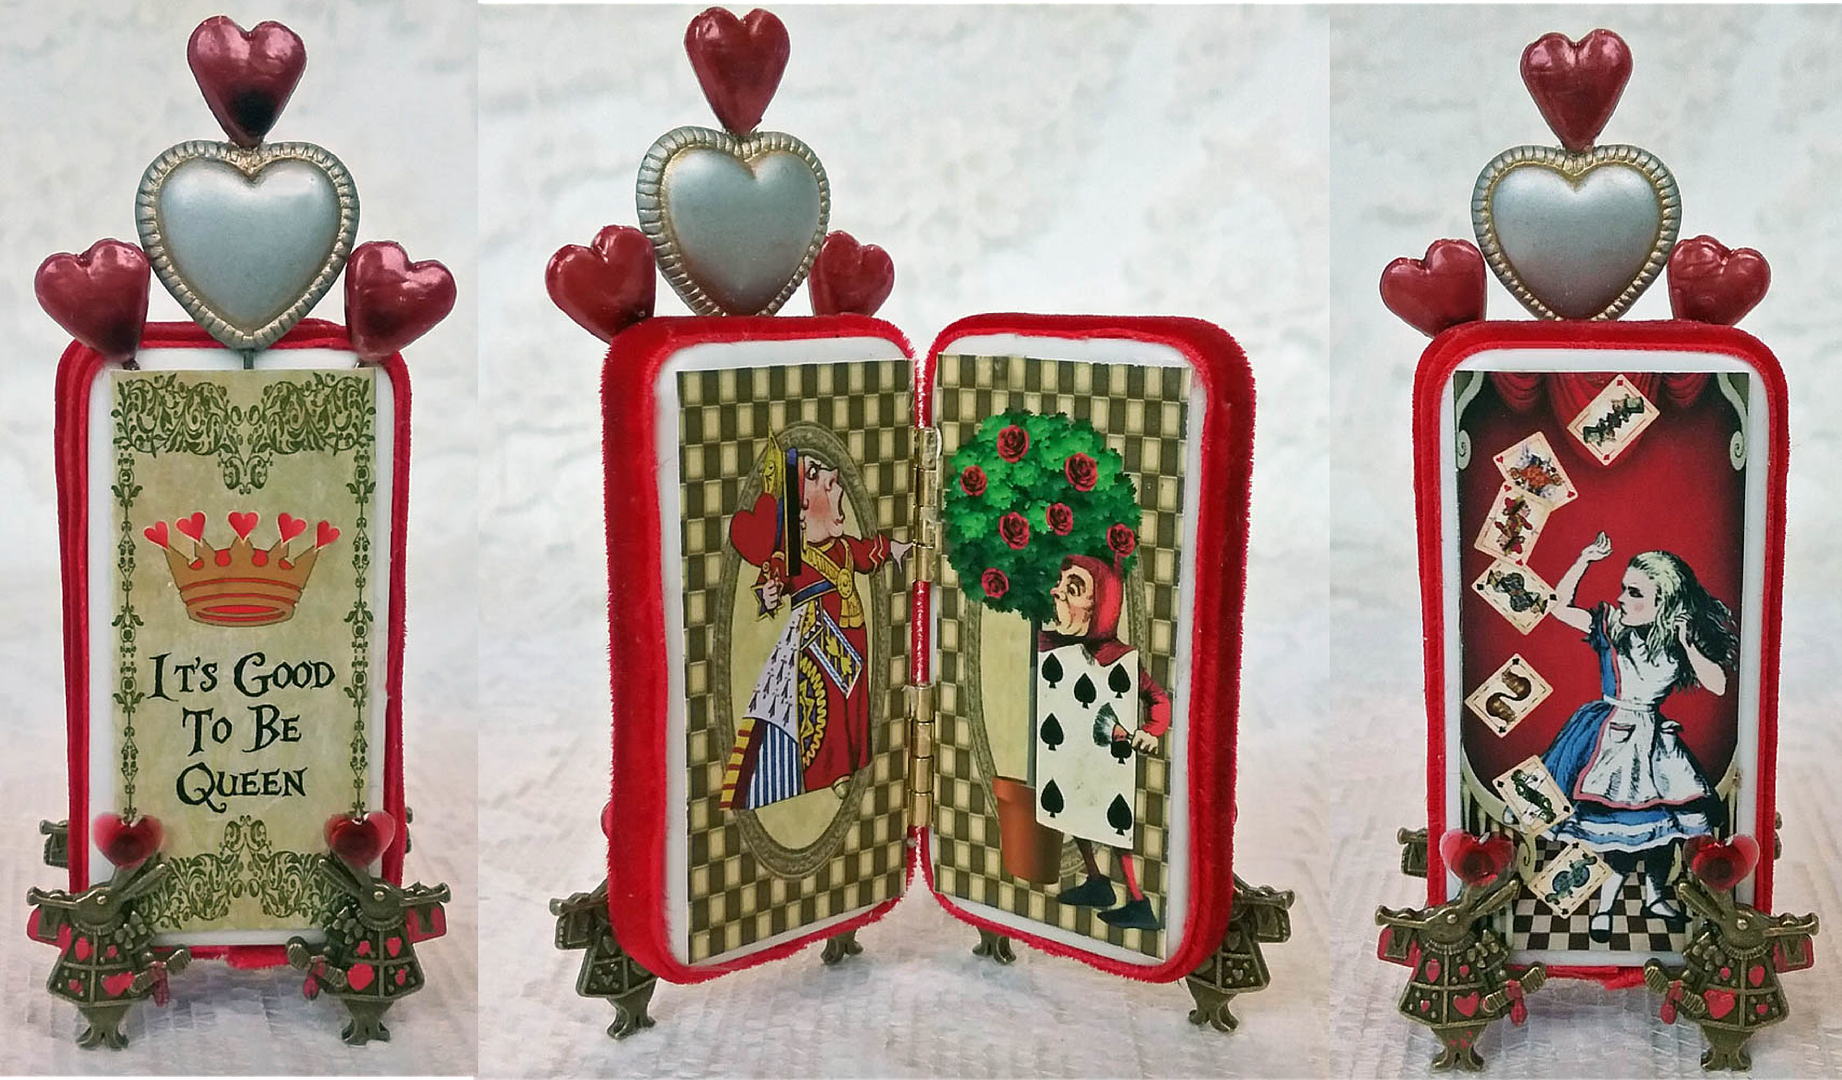
It’s Good to Be Queen Domino Book
I think this one is my favorite of the bunch.  Dominoes may be small, but many surfaces add dimensional elements.  Before attaching a panel from the collage sheet, I glued place heart stick pins.  One of the stick pins is threaded through a puffy heart bead.  On the bottom, I’ve used bronze White Rabbit charms as legs.  
Inside the book are two images from the collage sheet.
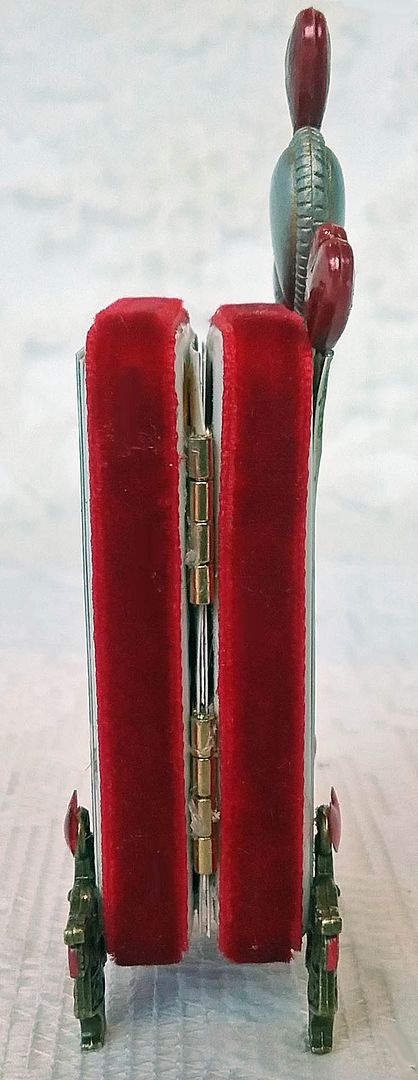
On the sides, I used a red velvet ribbon.  I ran it through my Xyron machine to attach the ribbon, which applies dry adhesive that won’t bleed through the ribbon.  You’ll also notice that the hinges are hidden and can only be seen from the side view.
On the back of the book is a panel from the collage sheet.

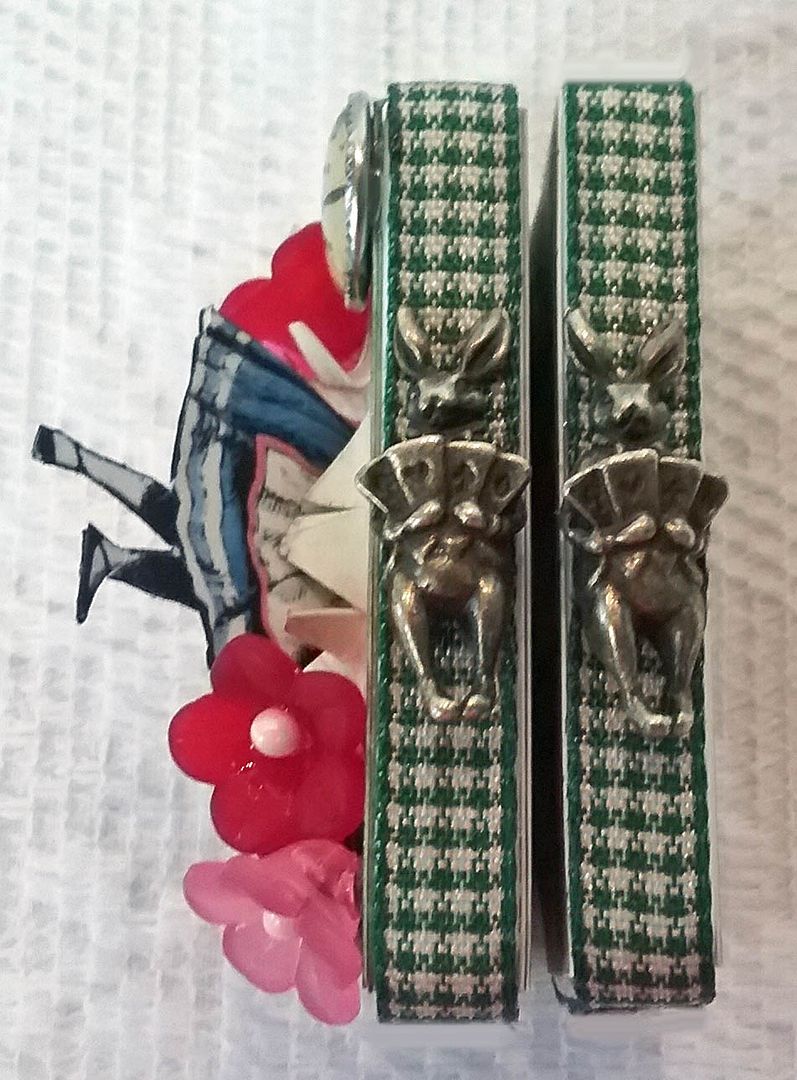
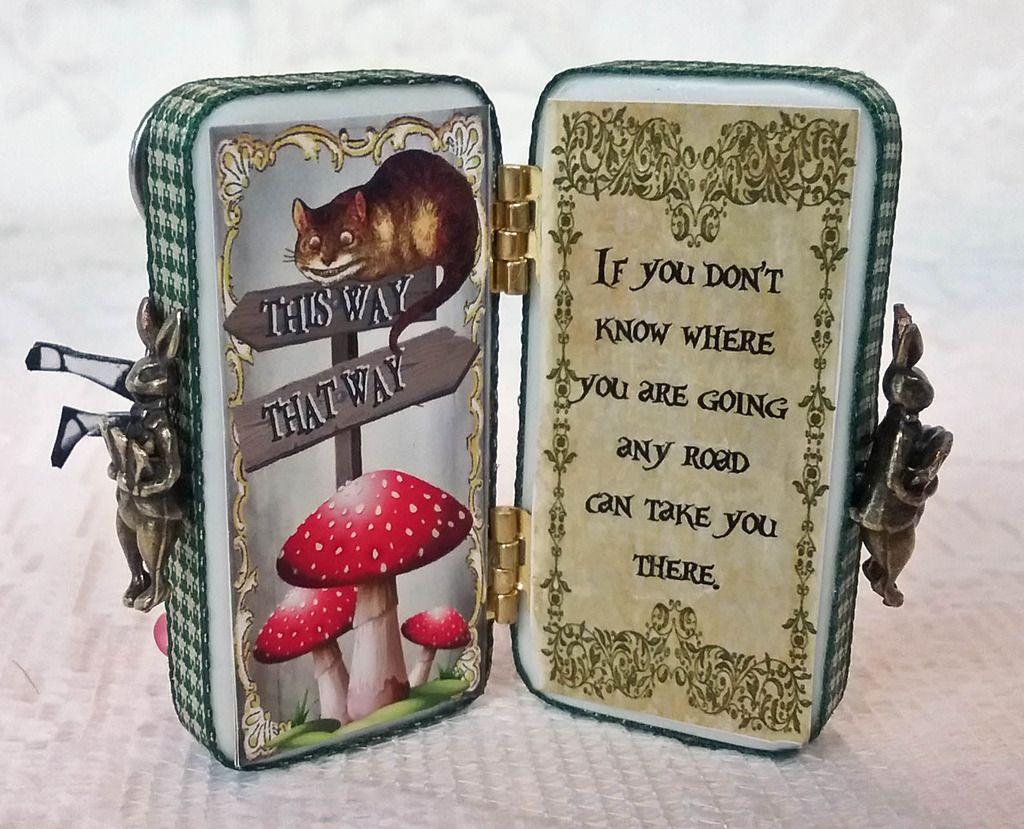
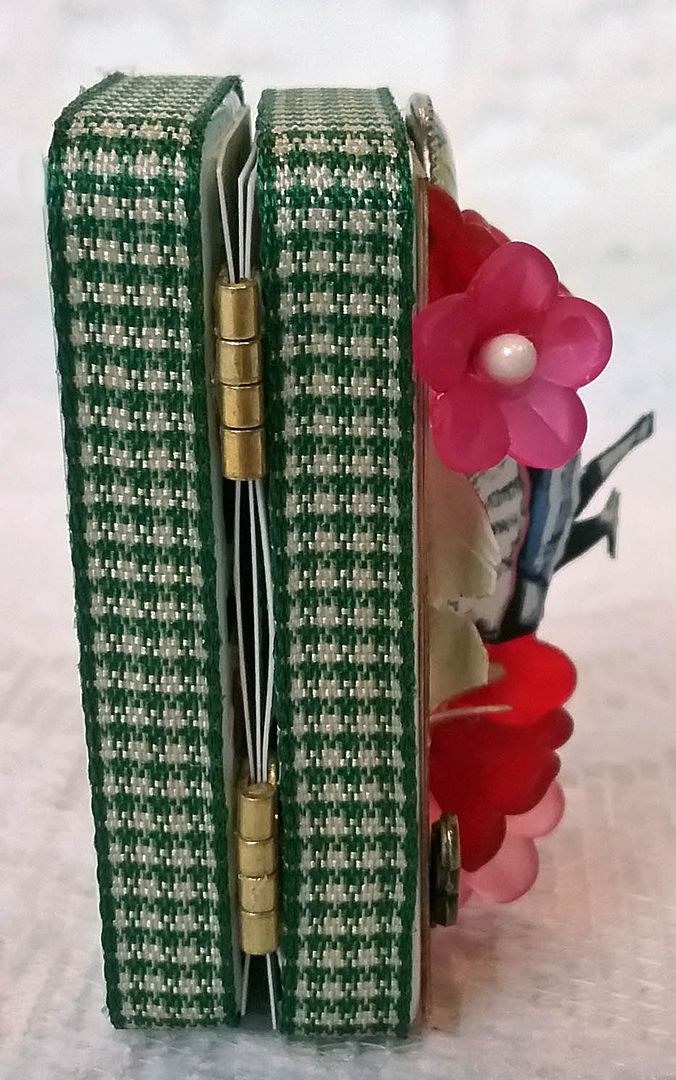
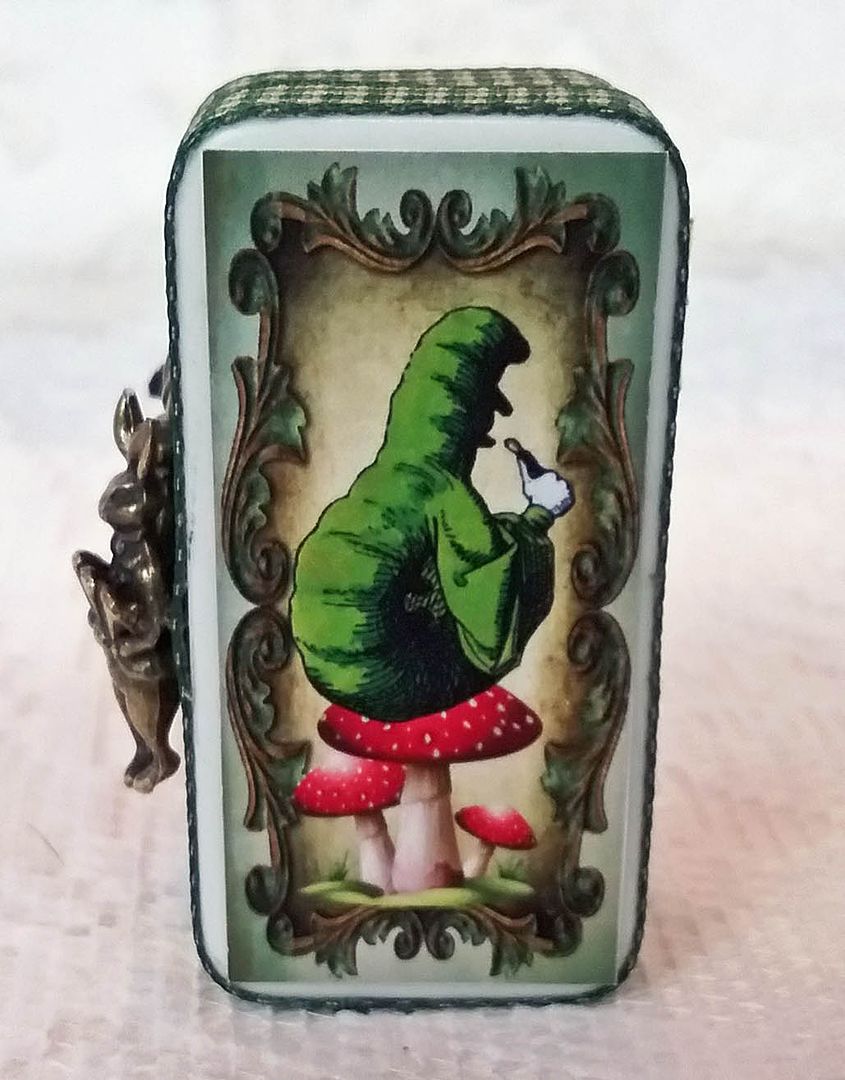
Down the Rabbit Hole Domino Book
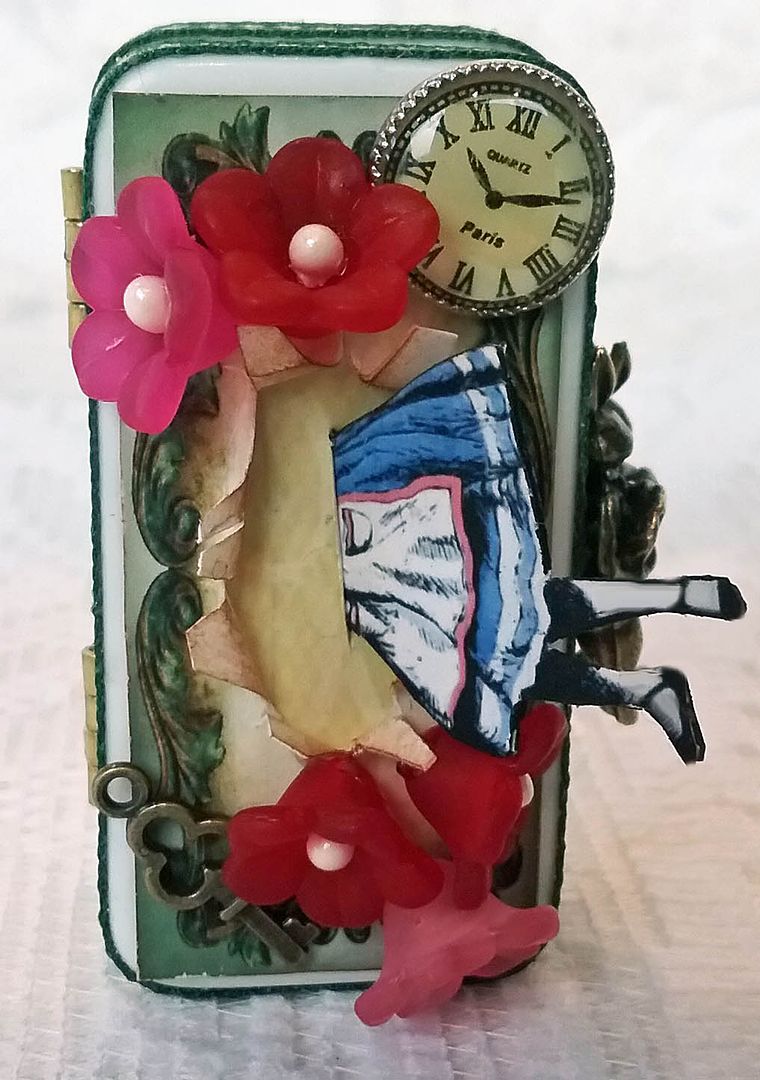
On the front of this book are acrylic flowers, a key, and a clock that surround a hole that Alice is falling into.  The flowers and key are from the Alice in an Altoids Tin Kit from Alpha Stamps, which is full of Alice-themed embellishments.
Below you get a better view of how the front is put together.  I used one of the background panels from the new digital image set.  I cut a hole in the panel and peeled back the edges of the hole.  Next, I glued the panel to a piece of decorative paper and cut a slit in the hole, which is where I inserted the partial image of Alice.
I used ribbon for this book to decorate the edges and attached two bronze 3D White Rabbit charms.
Inside are two panels from the collage sheet.
The hinges are hidden just as with the “It’s Good to Be Queen” domino book.
To hide the hinges, glue them to the inside of the dominoes before adding the panels.
On the back is another image from the collage sheet.

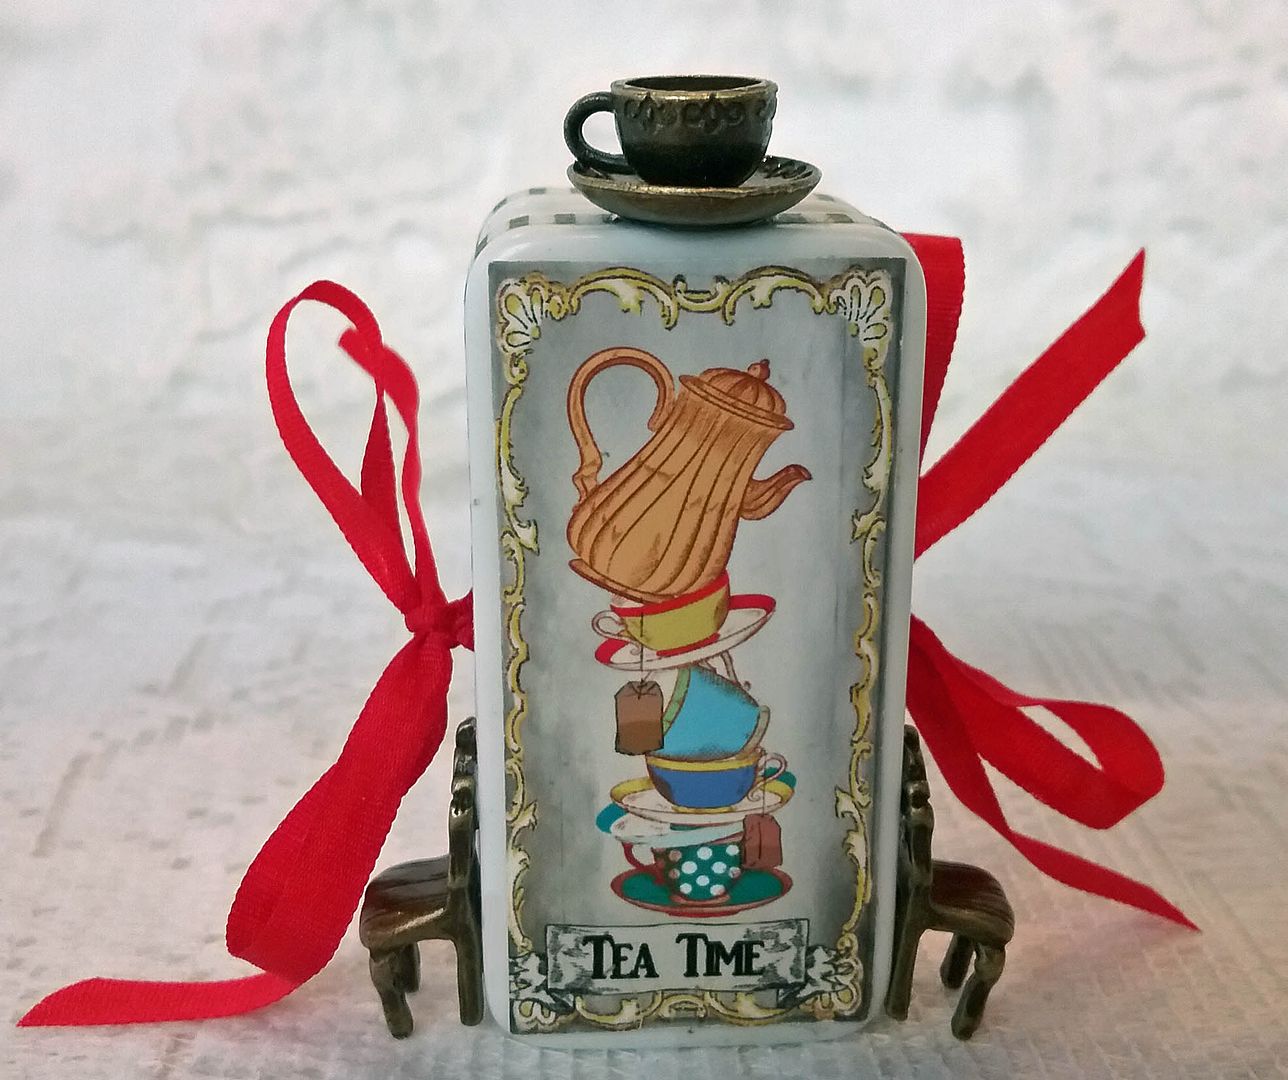
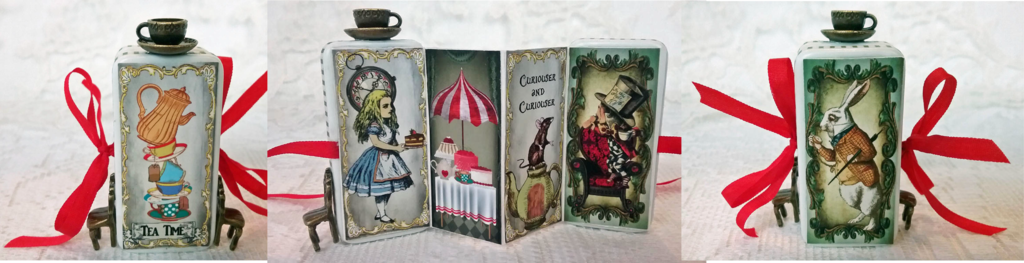
Tea Time Domino Book
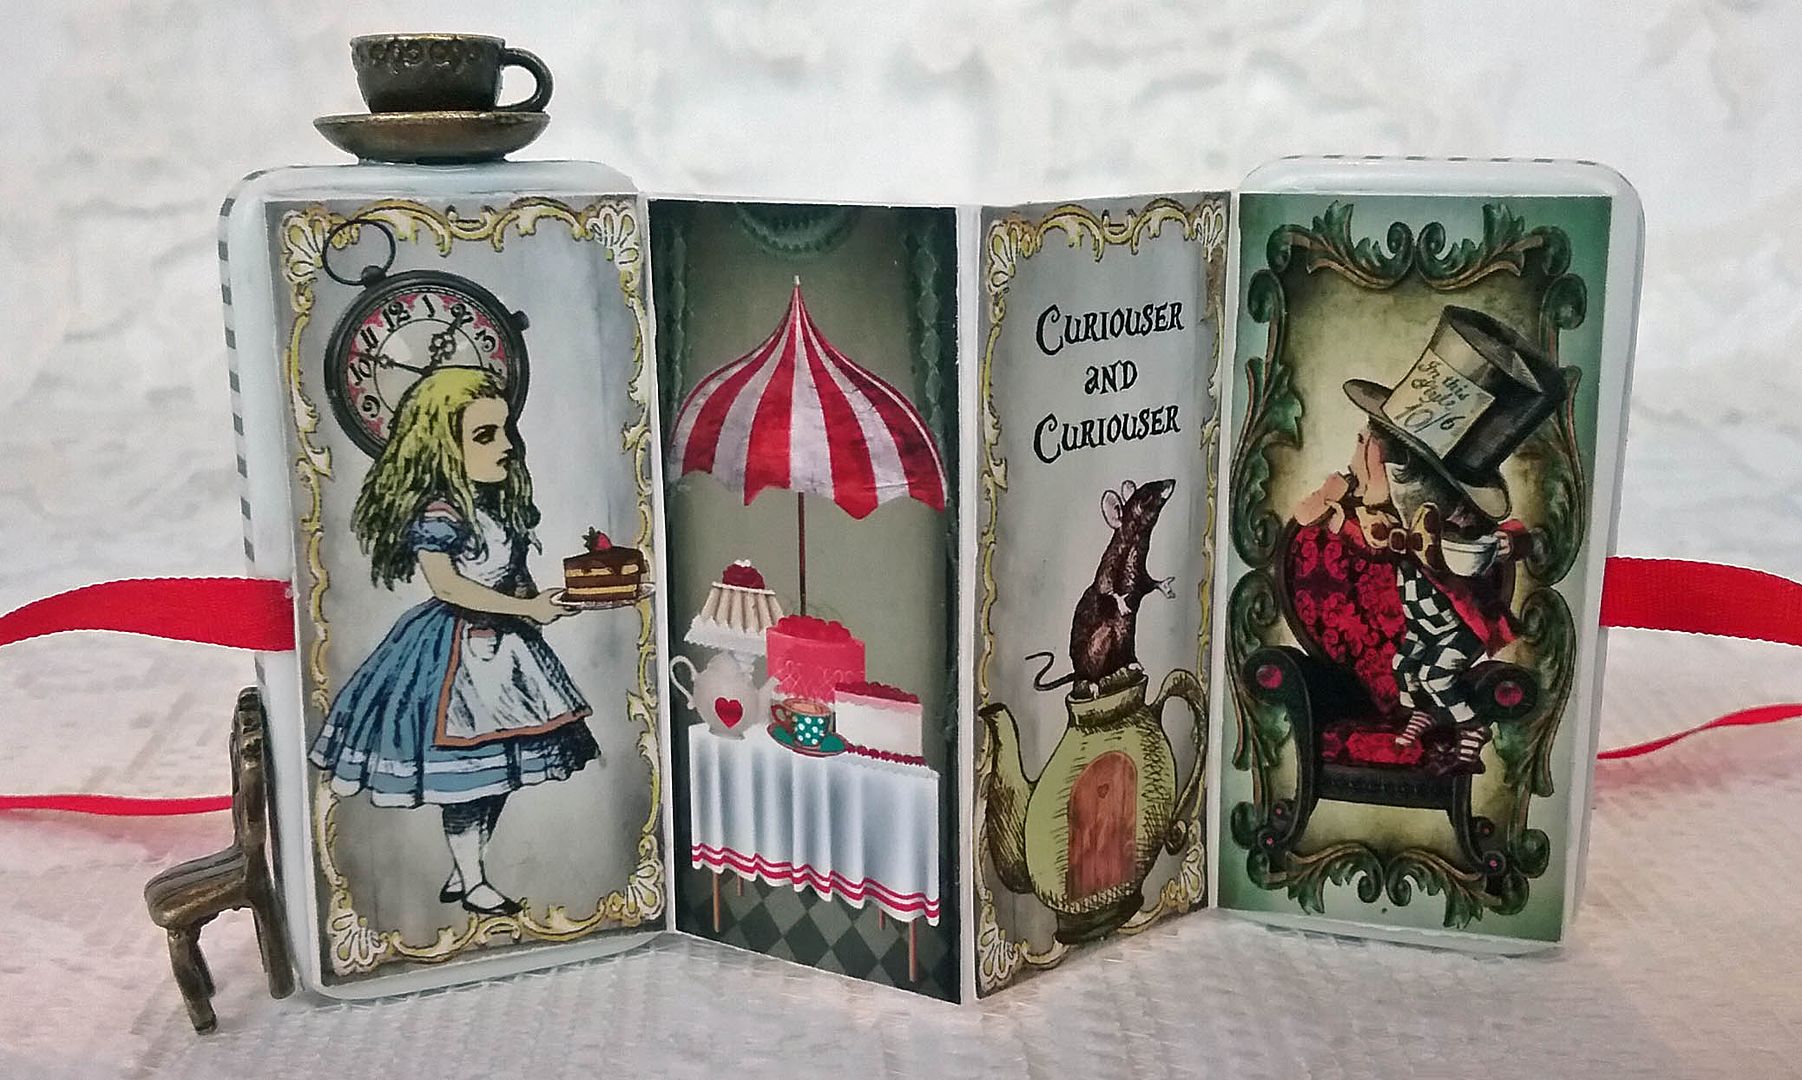
This book is different from the others in that it has a ribbon on each that acts as the closure, and inside are accordion folded pages.
Notice the metal chair pendants attached to each side of the front domino and the teacup and saucer on the top.  Inside are a series of panels from the collage sheet.  You can have as many panels as you like as long as it is an even number.
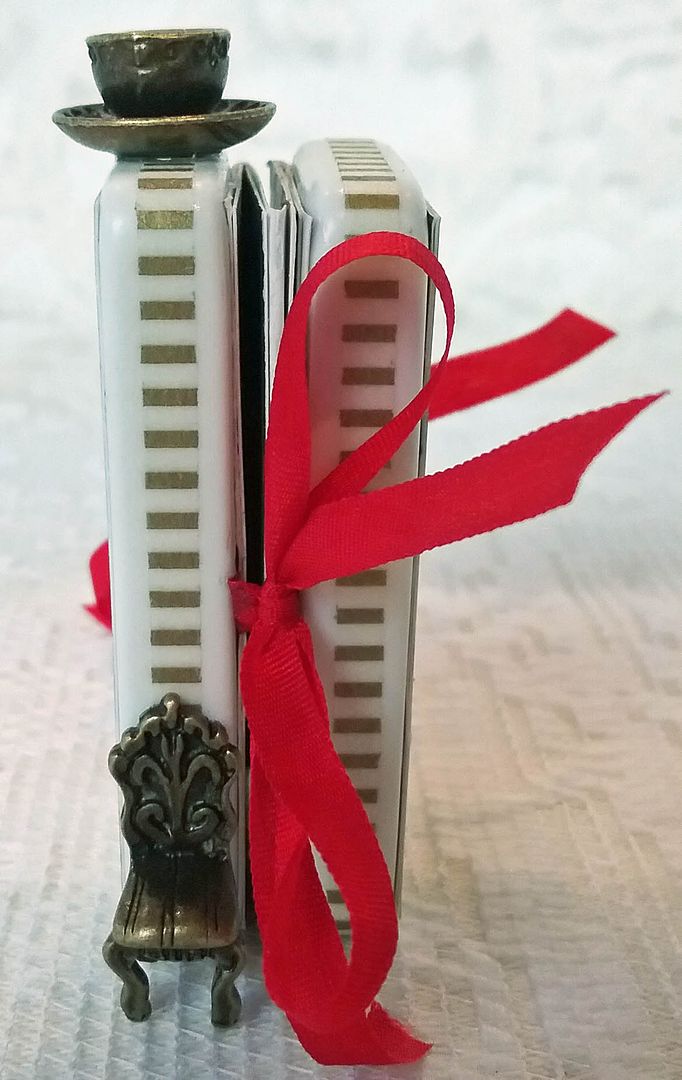
Below is a side view of the cup and chair.  You can also see that I used gold-striped paper tape to decorate the sides.
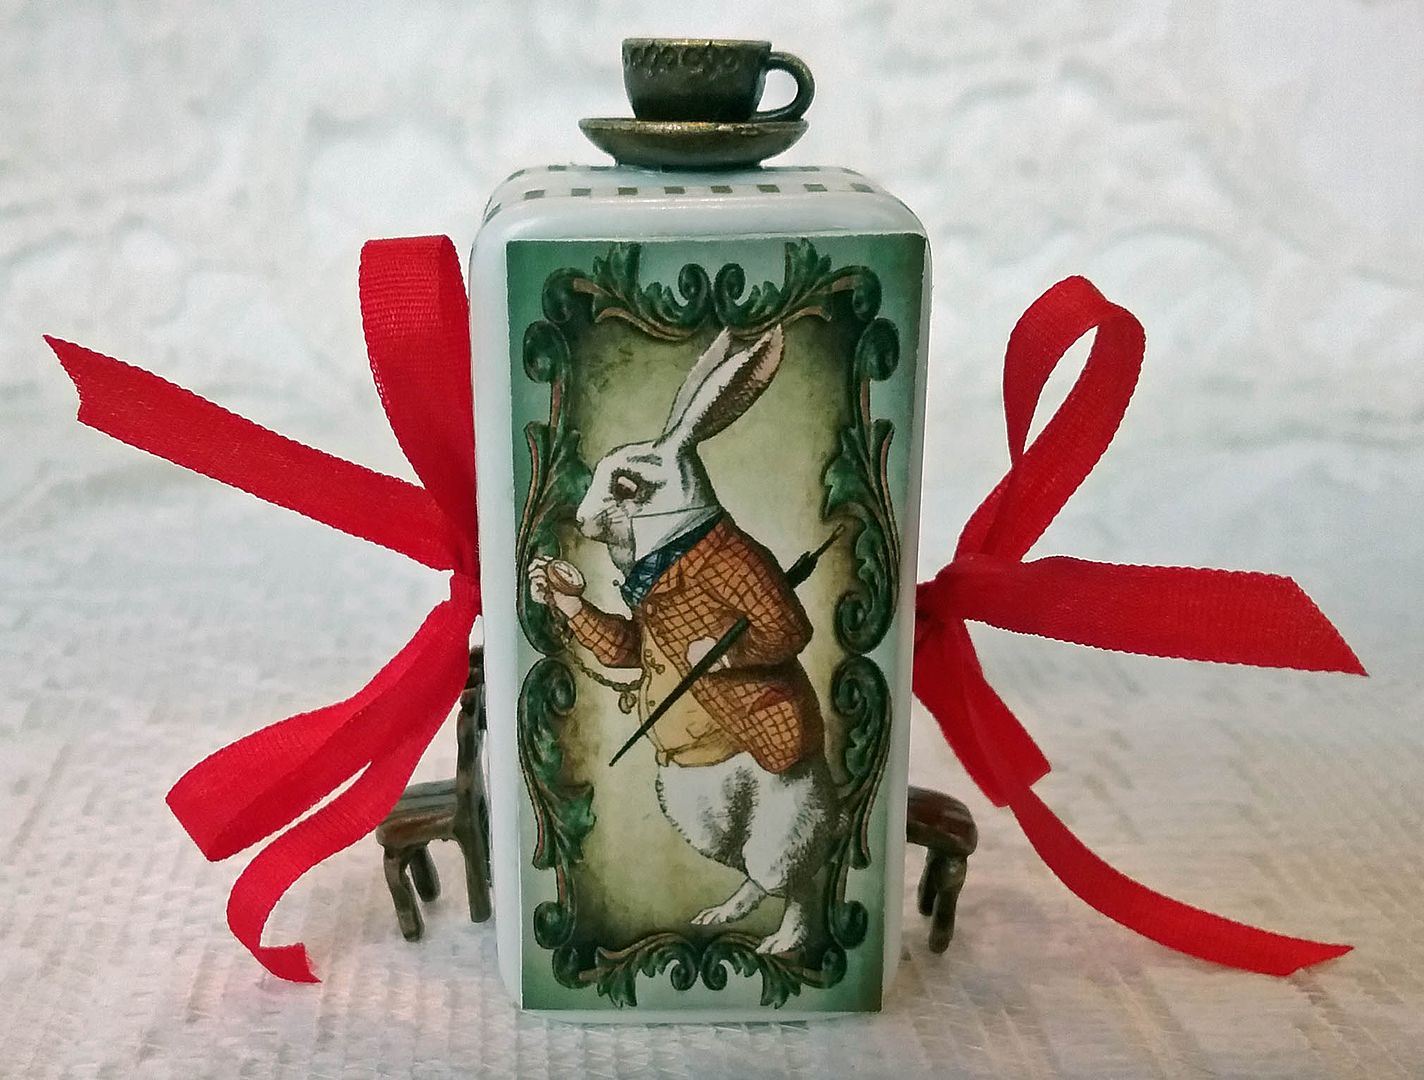
On the back is a White Rabbit panel from the collage sheet.

DOWN THE RABBIT HOLE (altered Pringles can) TUTORIAL

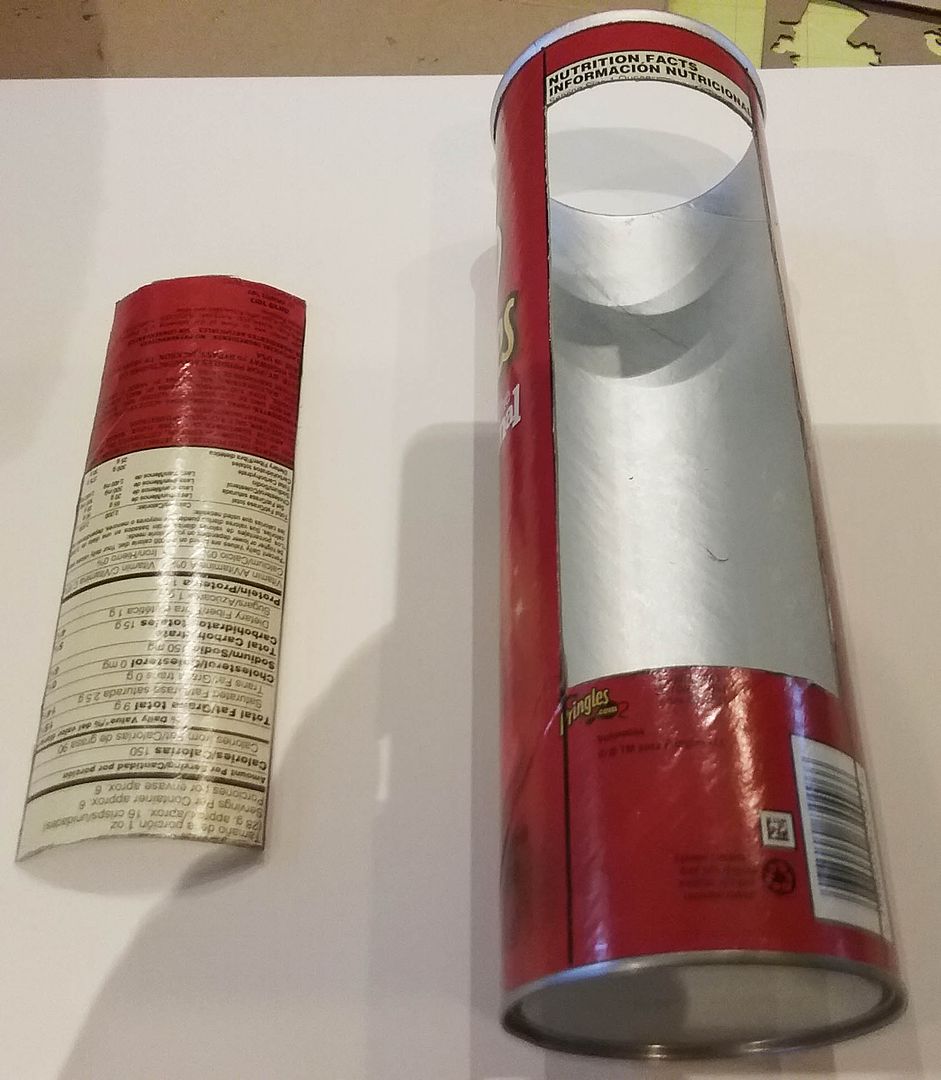
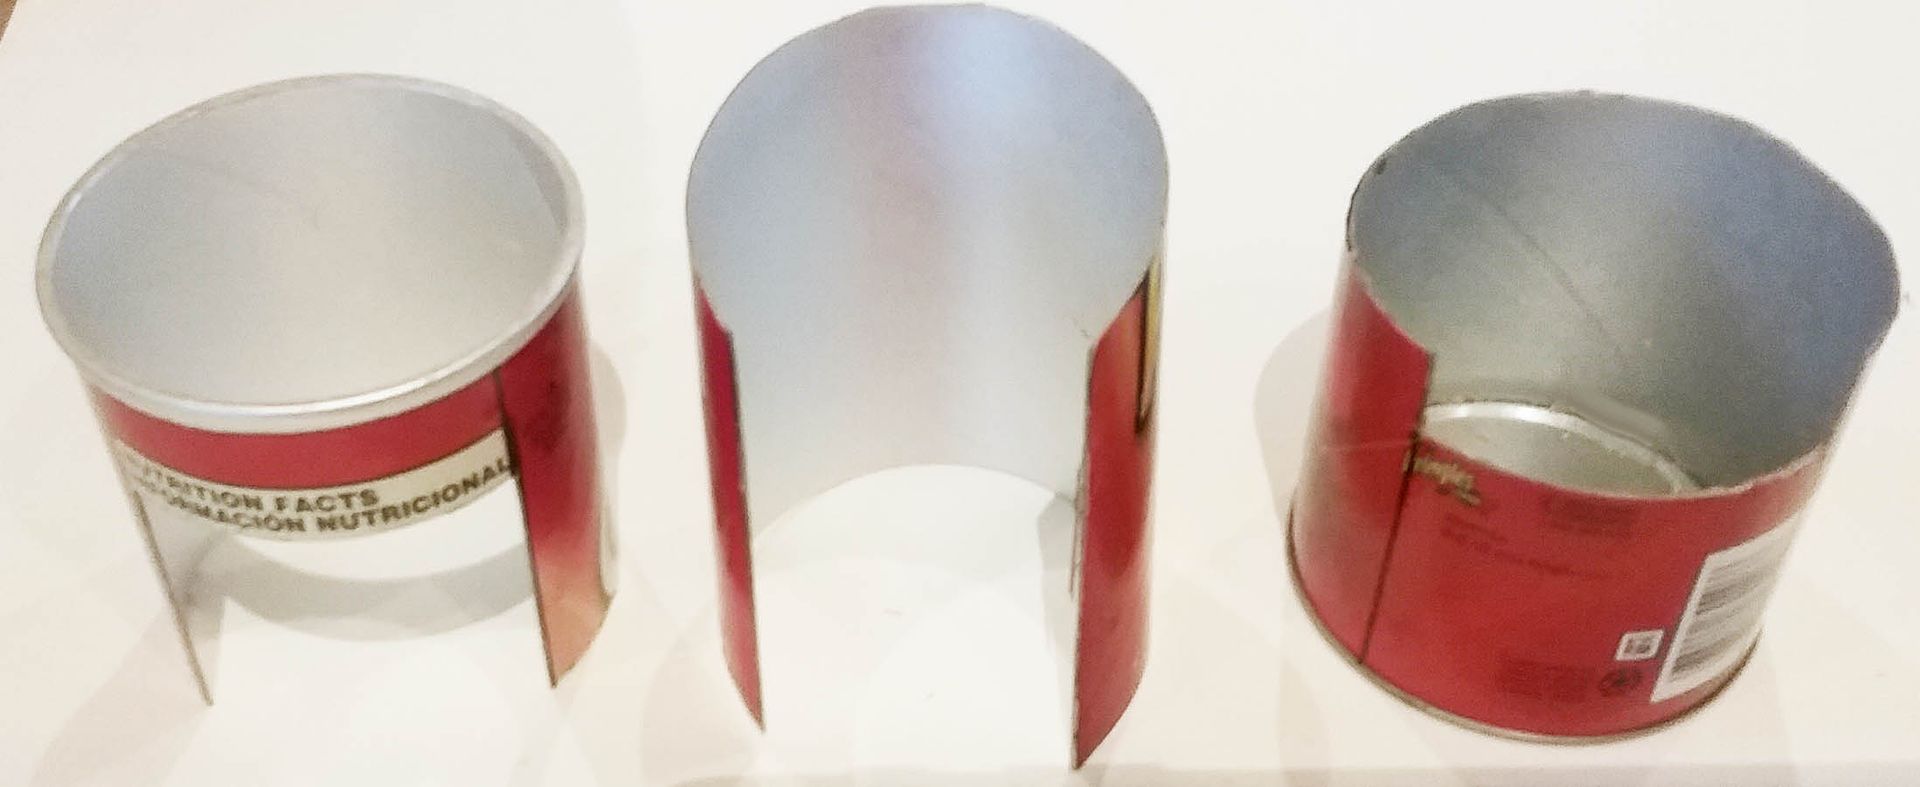
Start by cutting a long rectangular hole on one side.  I found that the nutrition label edges were a good guide for the long sides of the hole.  Leave approximately 1 inch on the top and 2 1/4 inches on the bottom.

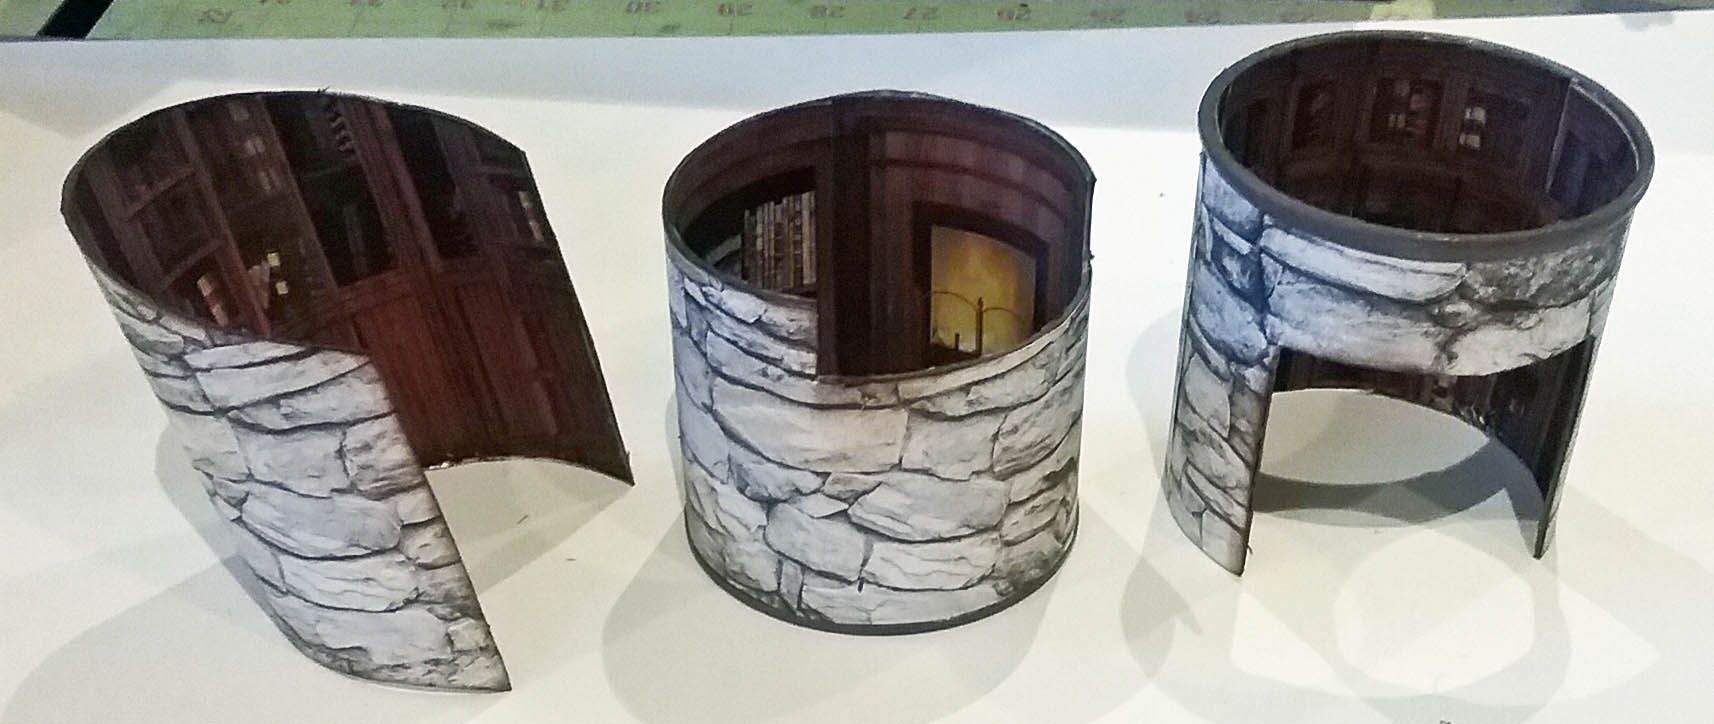
Next, you are going to cut the can into 3 pieces.  The top piece should be approximately 3 inches tall, and the bottom piece should be approximately 2 3/4 inches tall.
To make the can cattywampus, you need to cut the middle piece at angles on each end.  First, insert the middle piece at an angle into the top piece using the top piece and the middle piece.
 
Mark a cut line on the middle piece using the edge of the top piece as a guide.  Note how I have used a clip to keep the pieces in place so that I can mark the cut line.
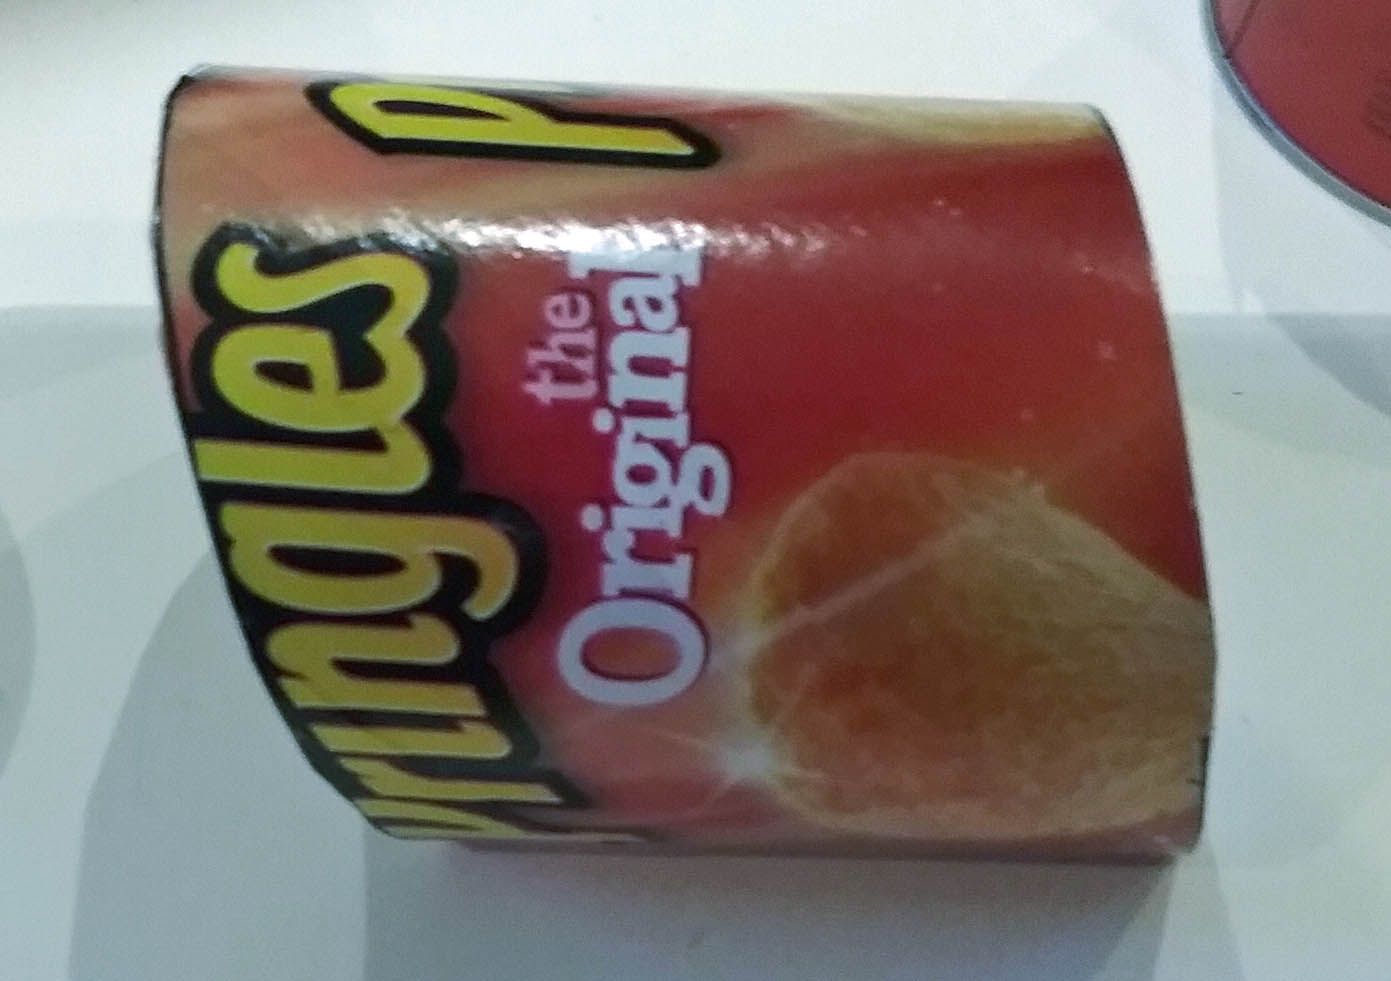
Next, repeat the same process with the middle and bottom pieces.  You should have two angled cut lines on the middle piece.  Cut away the marked sections on the middle piece.  NOTE:  I made the angle on the top more severe than the angle on the bottom.
Below you can see the three pieces.  The bottom and top pieces are cut straight, and the middle piece is cut at an angle on the top and bottom.
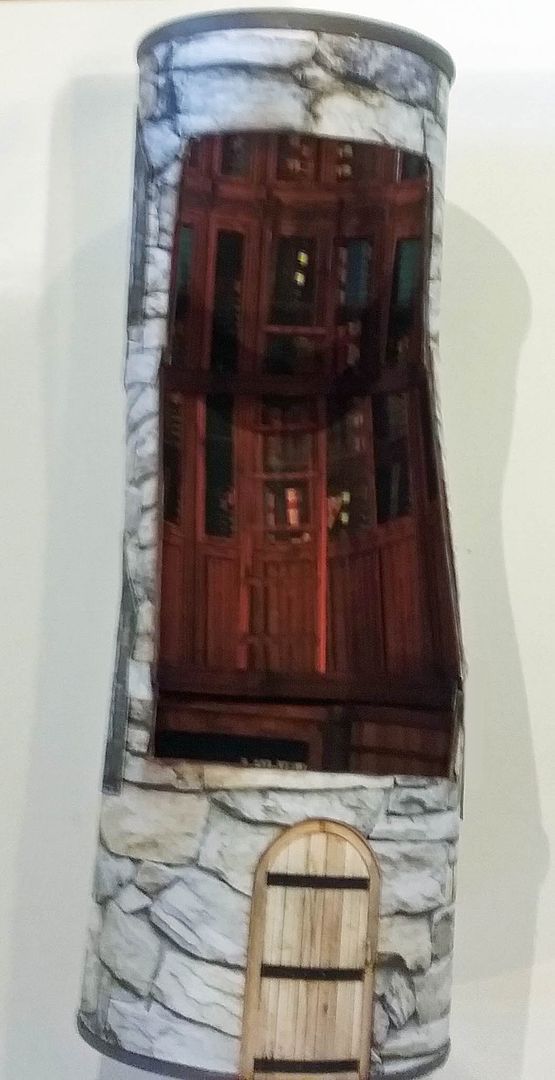
Next, paper the outside and the inside of each piece.  I used cobblestone scrapbook paper on the outside and an image of a library from the Steampunk Time Machine digital image set.  Notice that I painted the top and bottom metal rims brown.
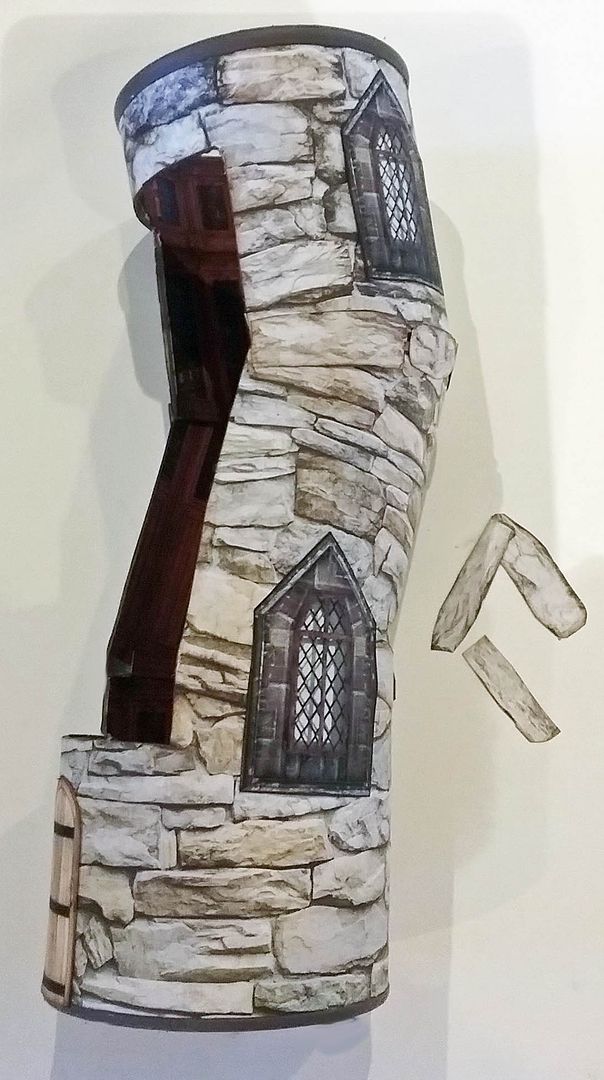
Glue the pieces together, matching the edges.  To hide and blend the seams where the pieces are connected, I cut out stones from the paper and glued them on the seams.  Notice how I added windows to the outside, which can be found on the More Old Windows Collage sheet.
On the inside, I cut strips from the library image and used them to hide the seams on the inside.
To attach the images and object inside and to give them the appearance of floating, I used wooden dowels and double stick tape to pop them out from the walls and to secure them in place.  I cut the dowels at various lengths.  When you attach them to the wall, think about the angle you will be looking at as you view the piece.  Use this to determine where to attach the image or item so that you will not see the dowel when you look in the opening.  For smaller items like the card and teacups, I used double-stick tape. 
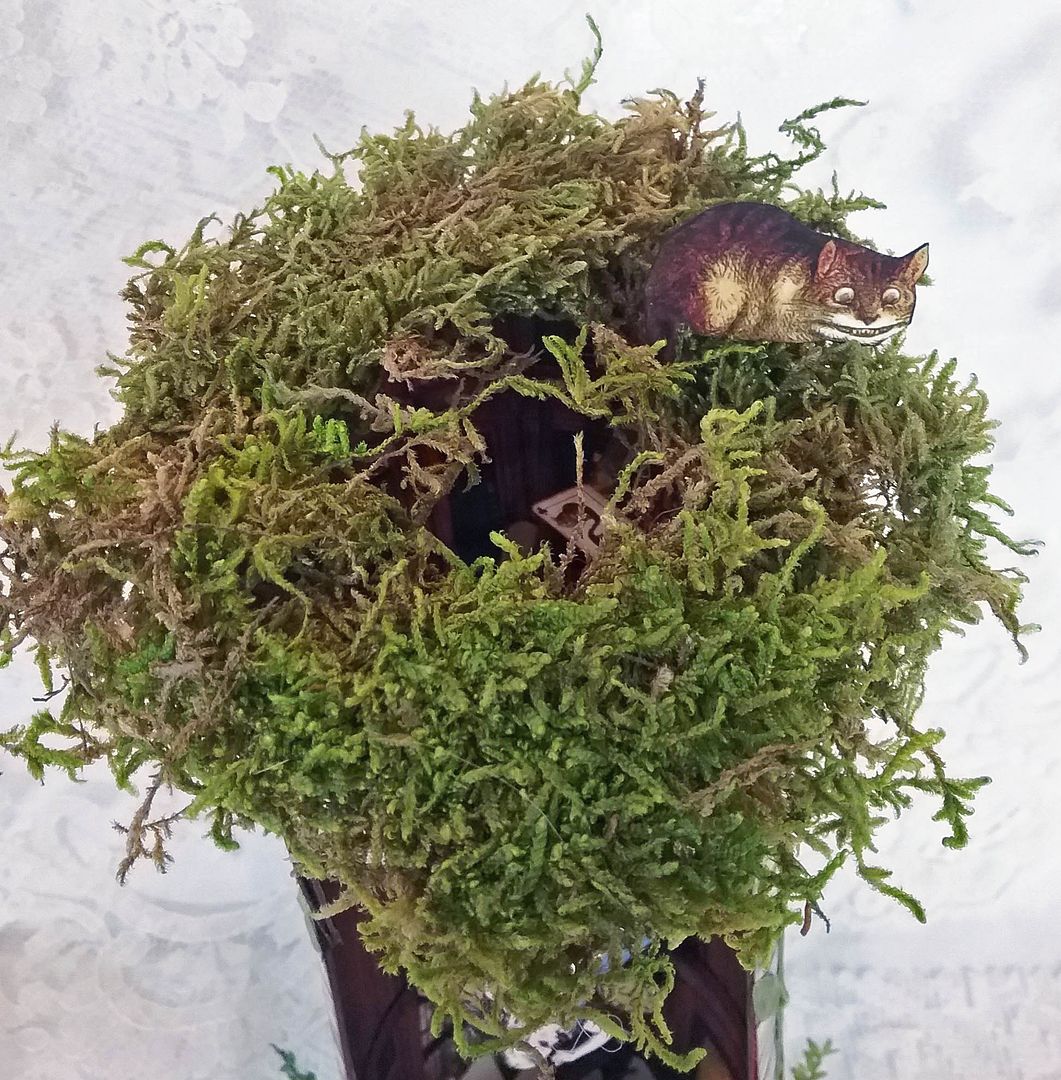
At the top, I used sheet moss, leaving a small hole for Alice to fall through.  Notice the Cheshire Cat sitting in the moss.
At the bottom, I’ve added a door from the Mini Old Windows and Doors collage sheet, the White Rabbit, and trees from the We Are All Mad Here collage sheet.  I also used mushrooms and ferns.  The base is a round box lid from my stash covered with hedge scrapbook paper.
Climbing up the can is stitched leaf ribbon that I ran through my Xyron machine, which applies dry glue that will not bleed through the ribbon.
COLLAGE SHEETS - Down the Rabbit Hole
Mini Old Windows & Doors Collage Sheet – Door Image
Time Machine Digital Image Set – Library Image
More Old Windows Collage Sheet
or
Old Windows & Doors Digital Image Set - Window Images