-->

Welcome

I love answering your questions. If you ask them in the comment section, I have no way to answer you (if you haven't heard from me, that is why). If you use the "EMAIL ME" in the left column of this page, I will be able to respond to you. You can also use it if you want to be added to my newsletter. Laura

Friday, May 27, 2011

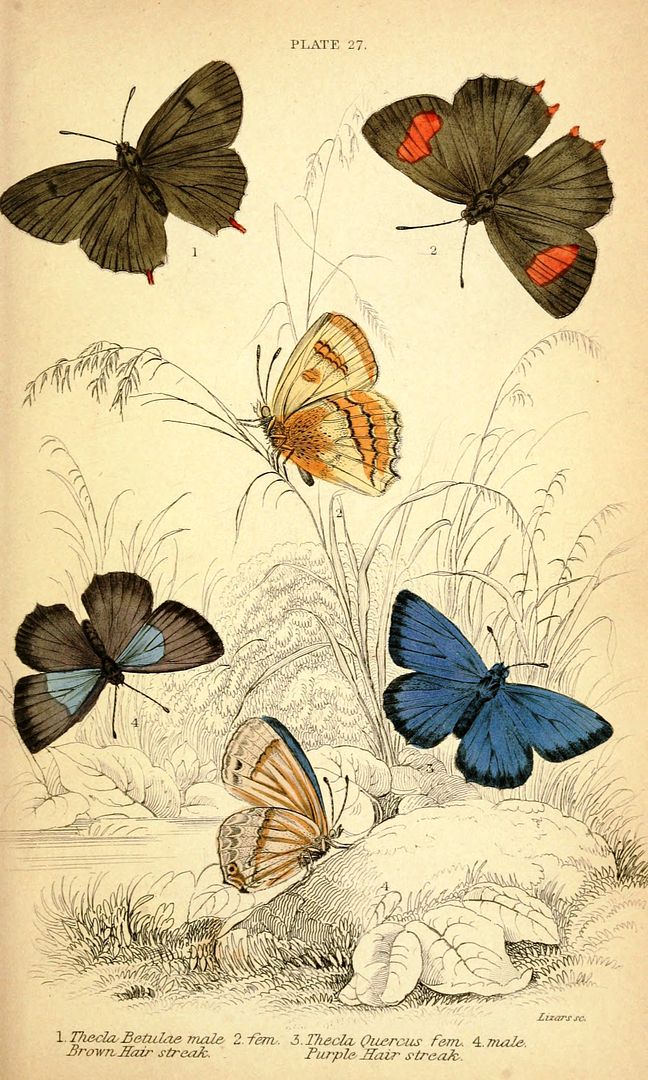
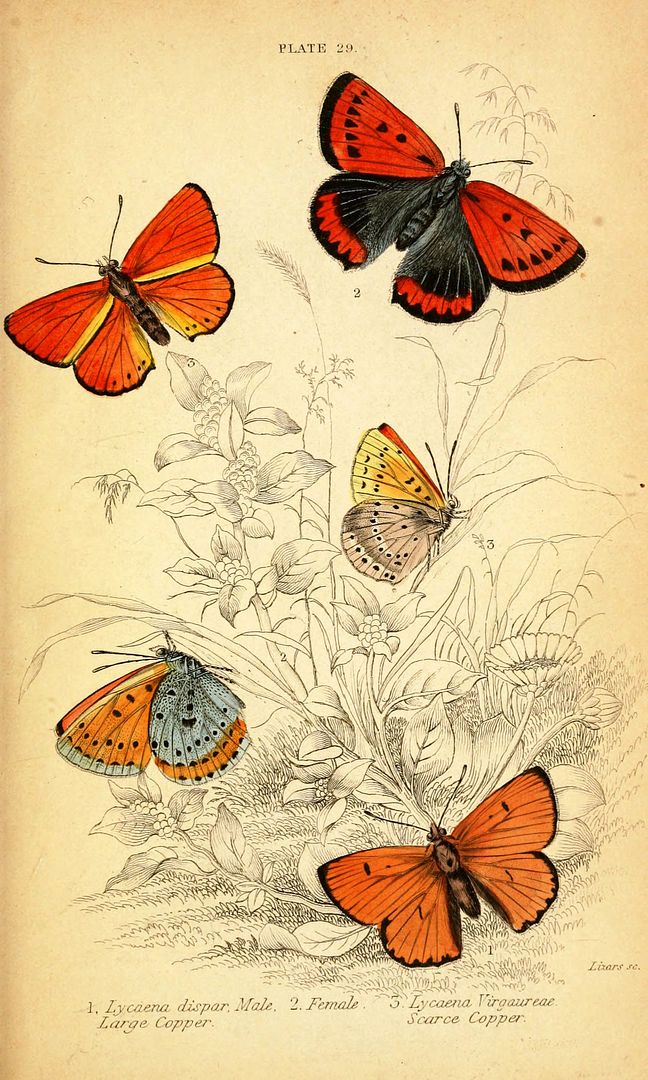
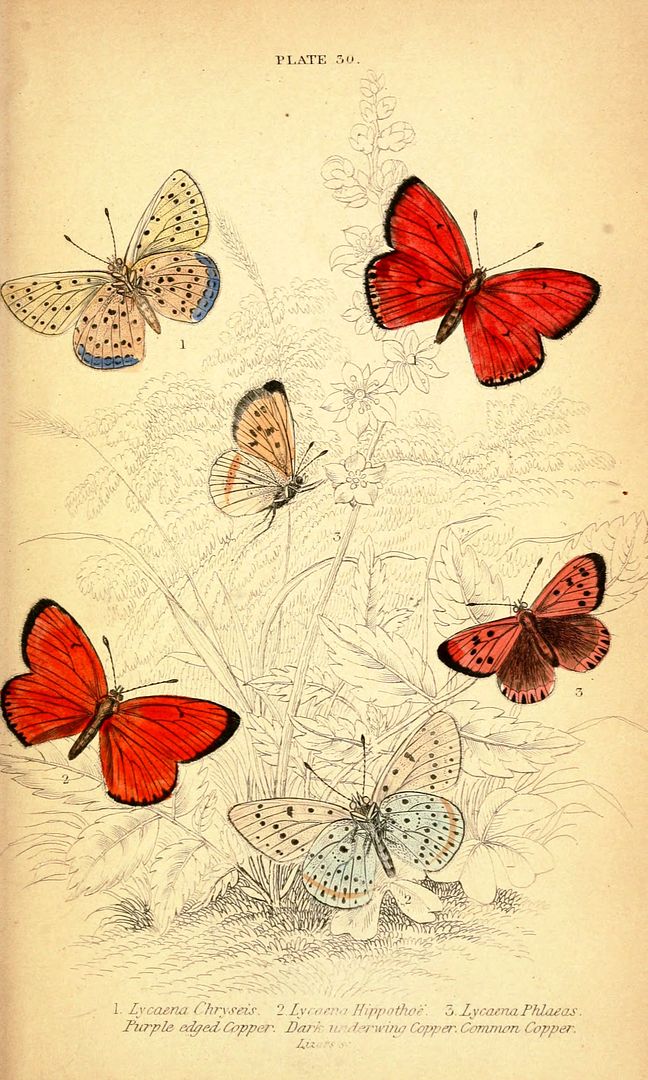
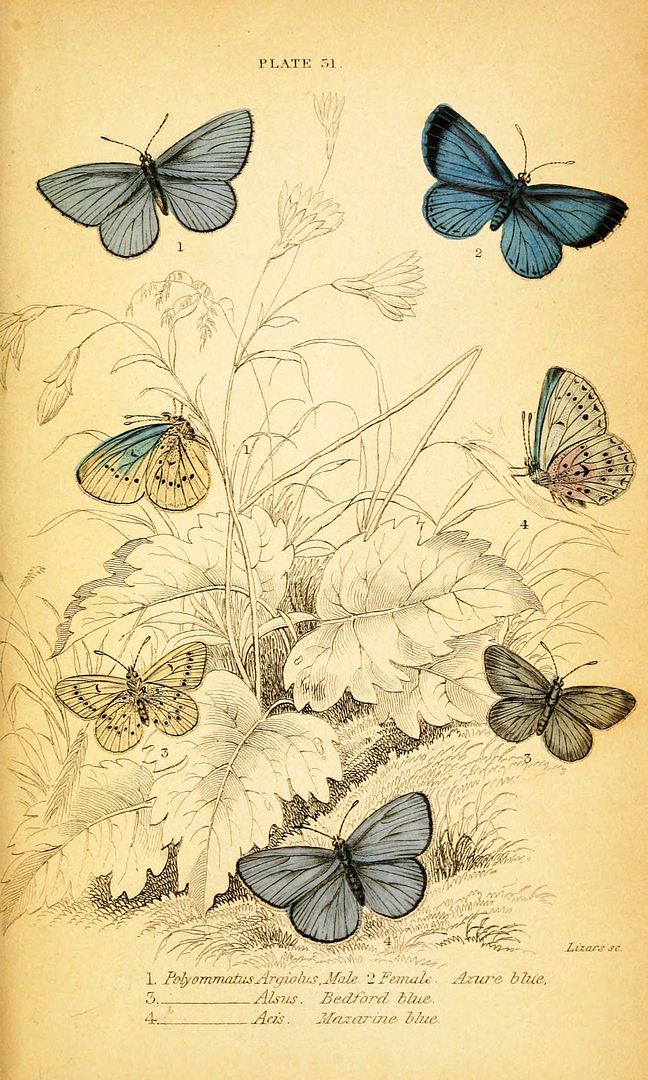
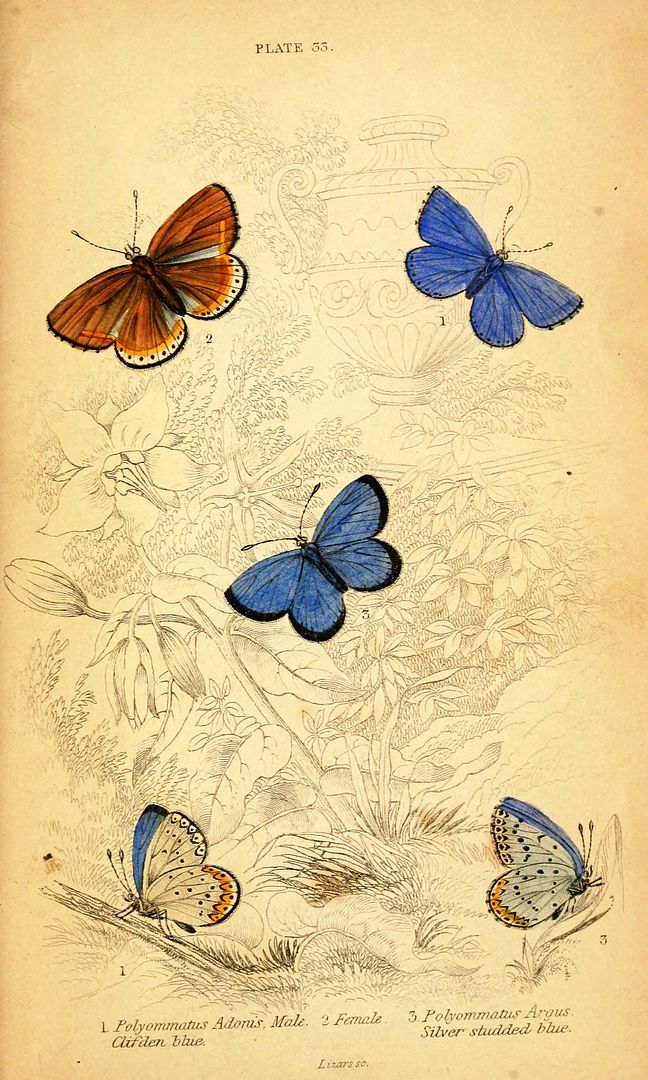
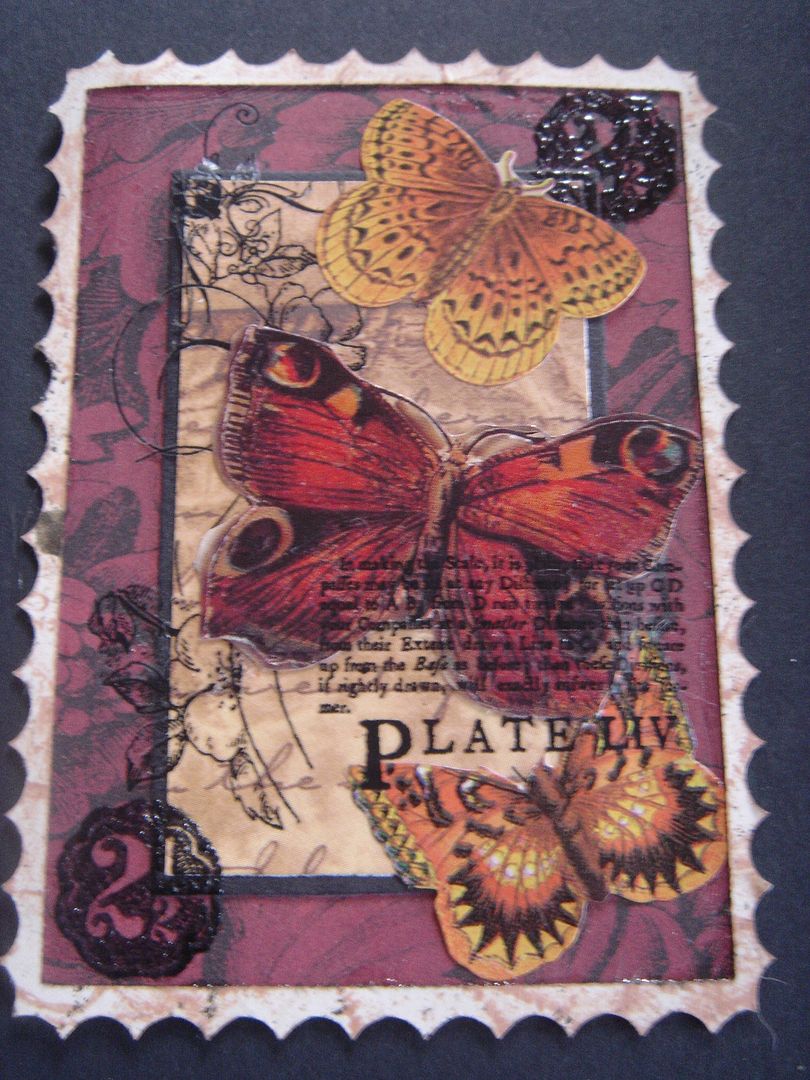
Butterfly Images for Your Art – First Set

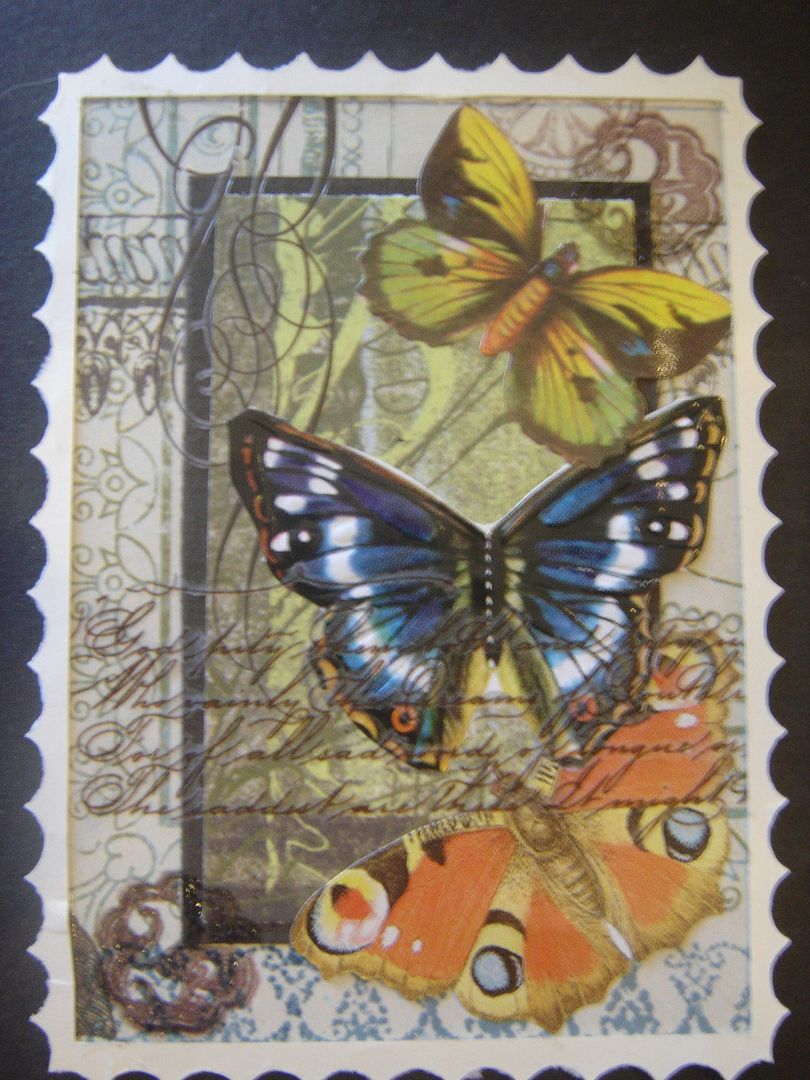
Below are a series of vintage butterfly plates.  You are free to use these in your art.   To download an image, click on the image to expand it, right-click and select Save As.

Wednesday, May 25, 2011

Tuesday, May 24, 2011

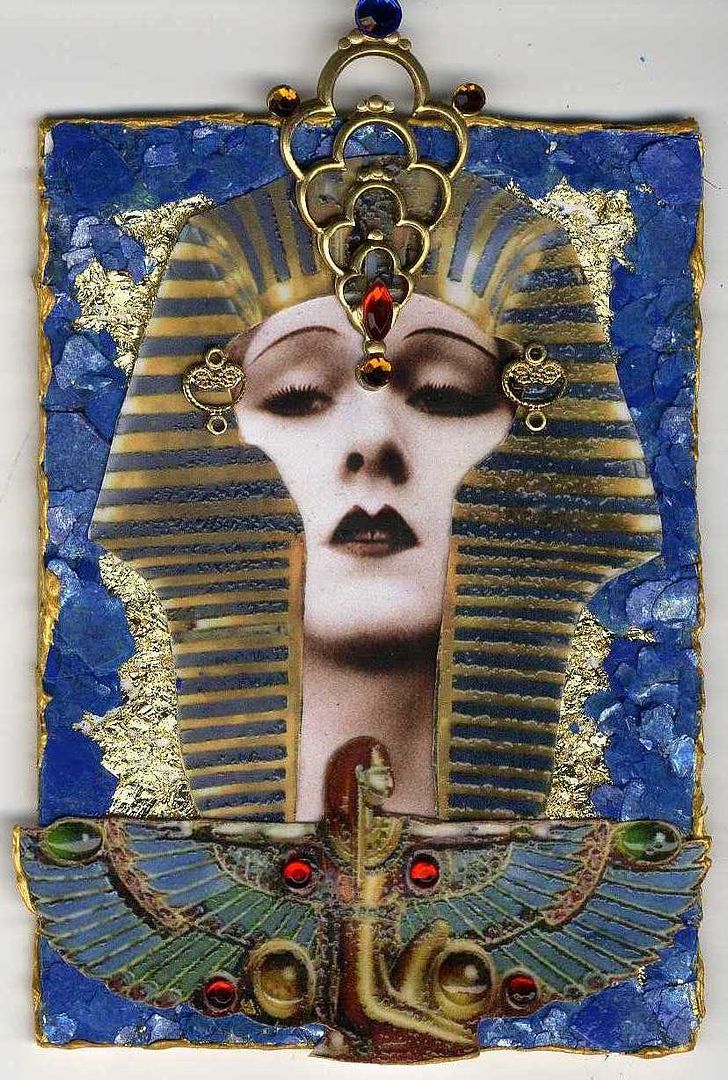
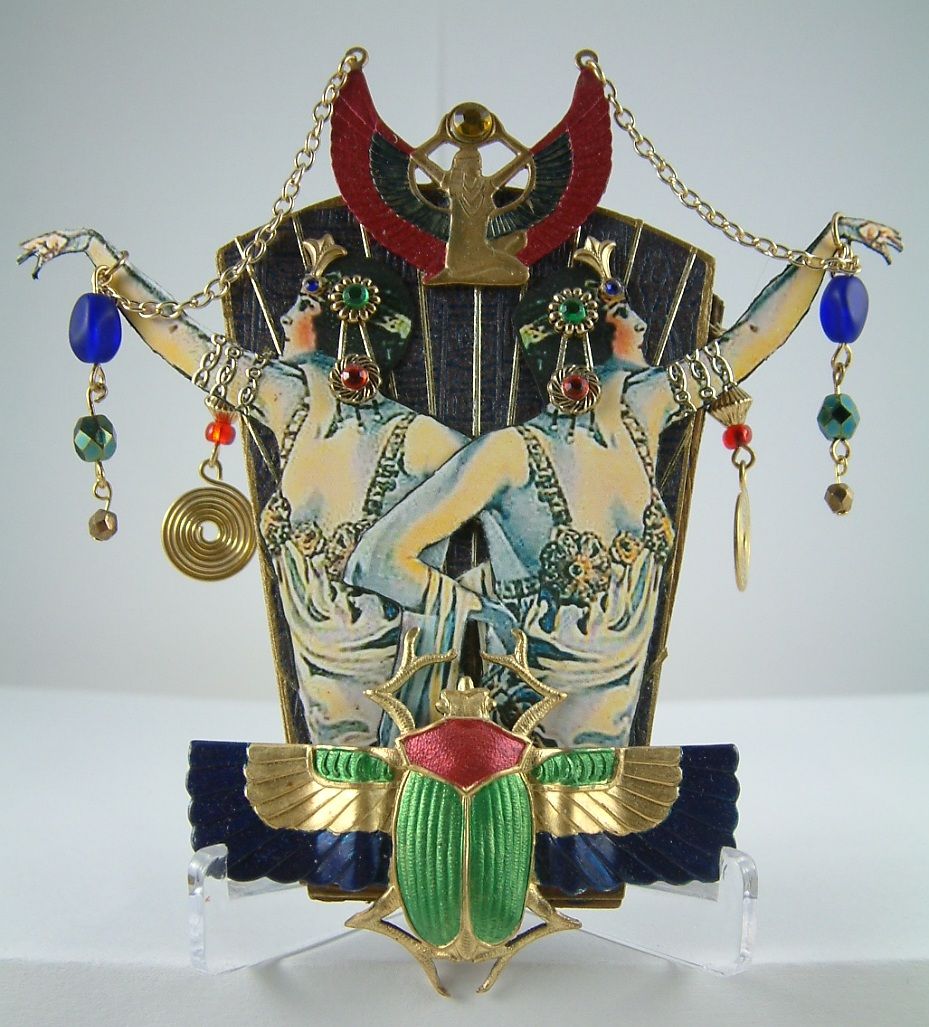
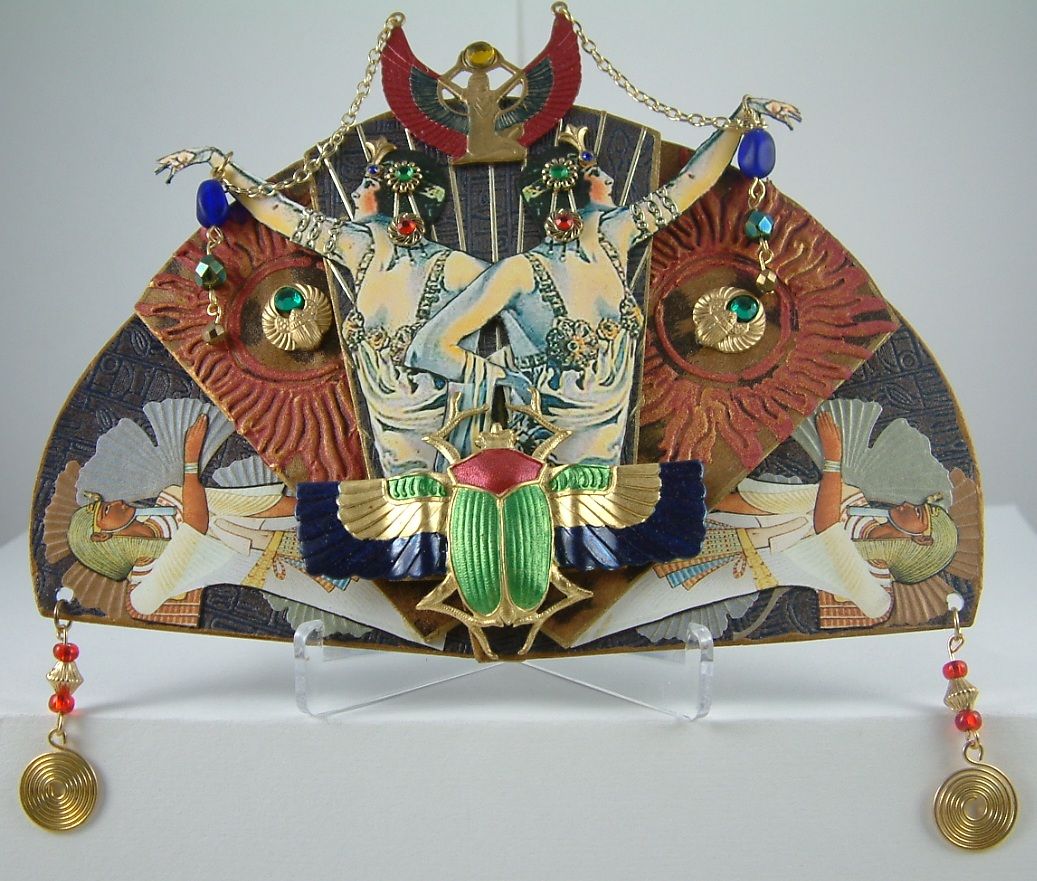
ISIS


It's Isis in all her glory.  The background is made from faux gold metal flakes and blue mica flakes.

Sunday, May 15, 2011

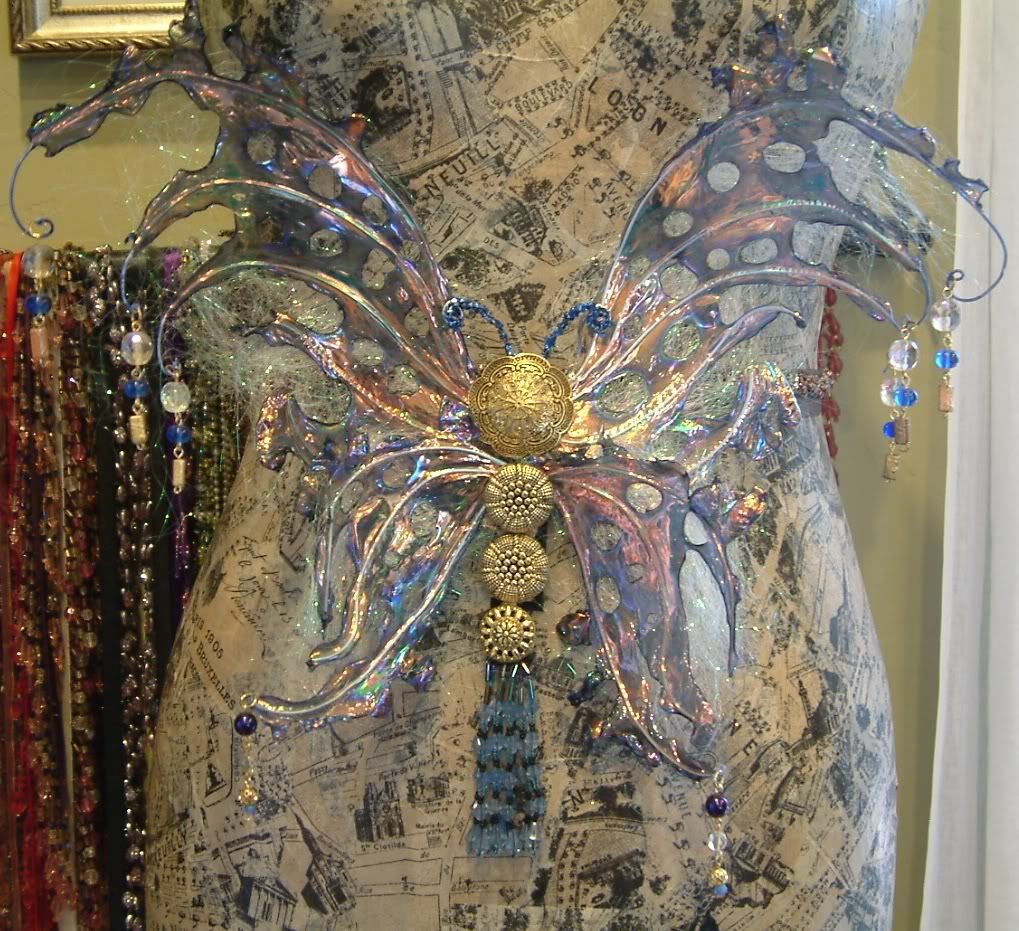
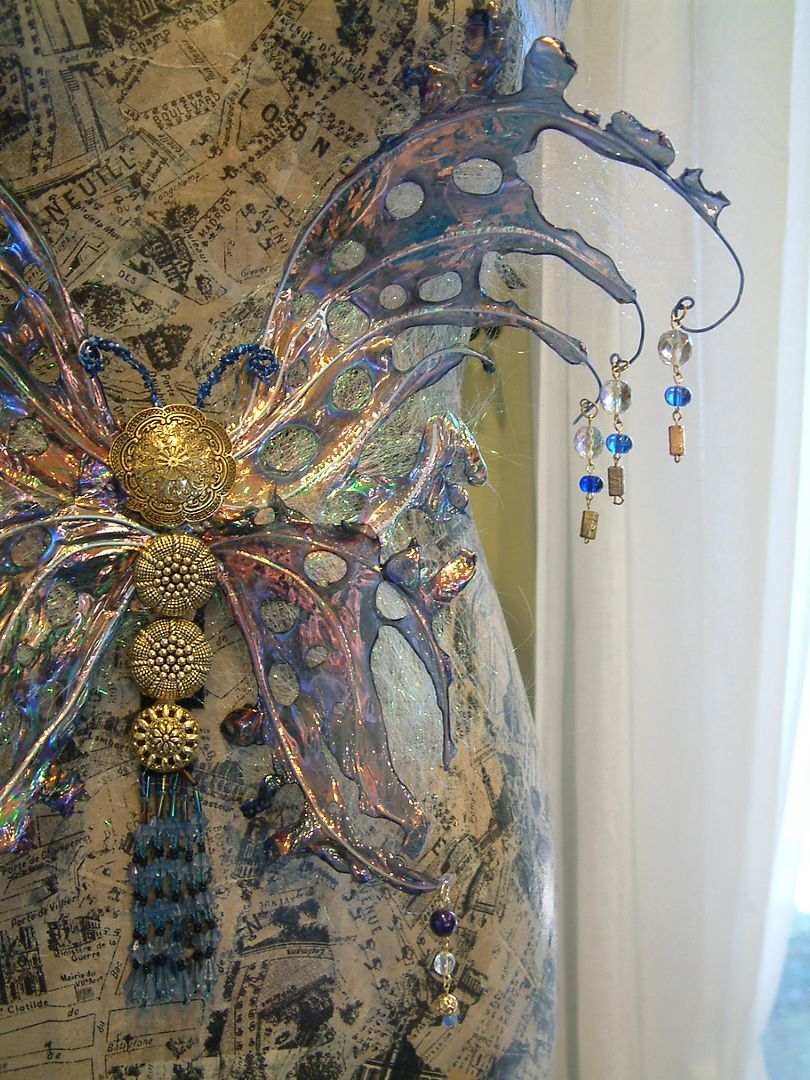
Fantasy Film Butterfly

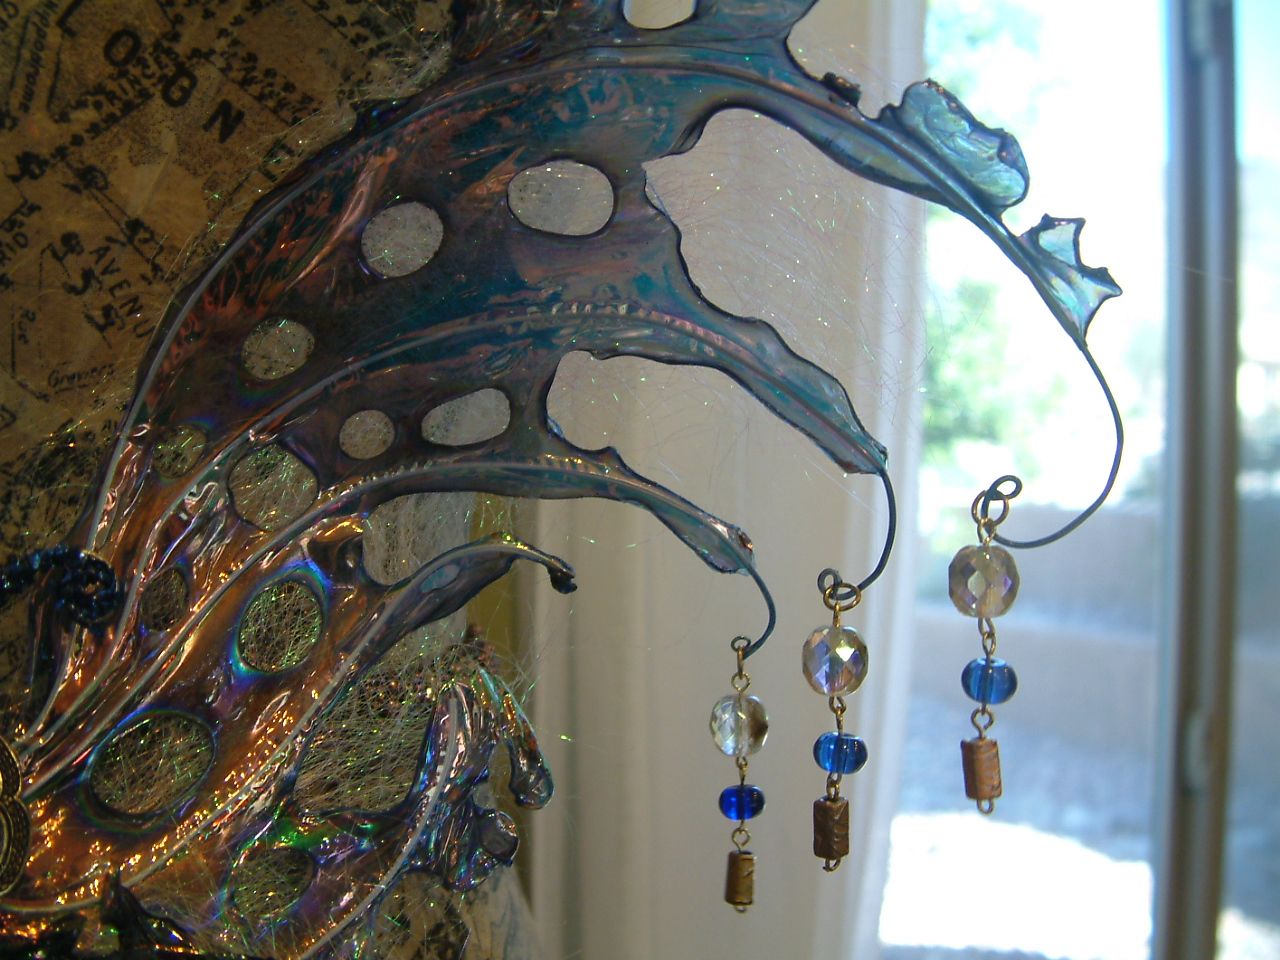
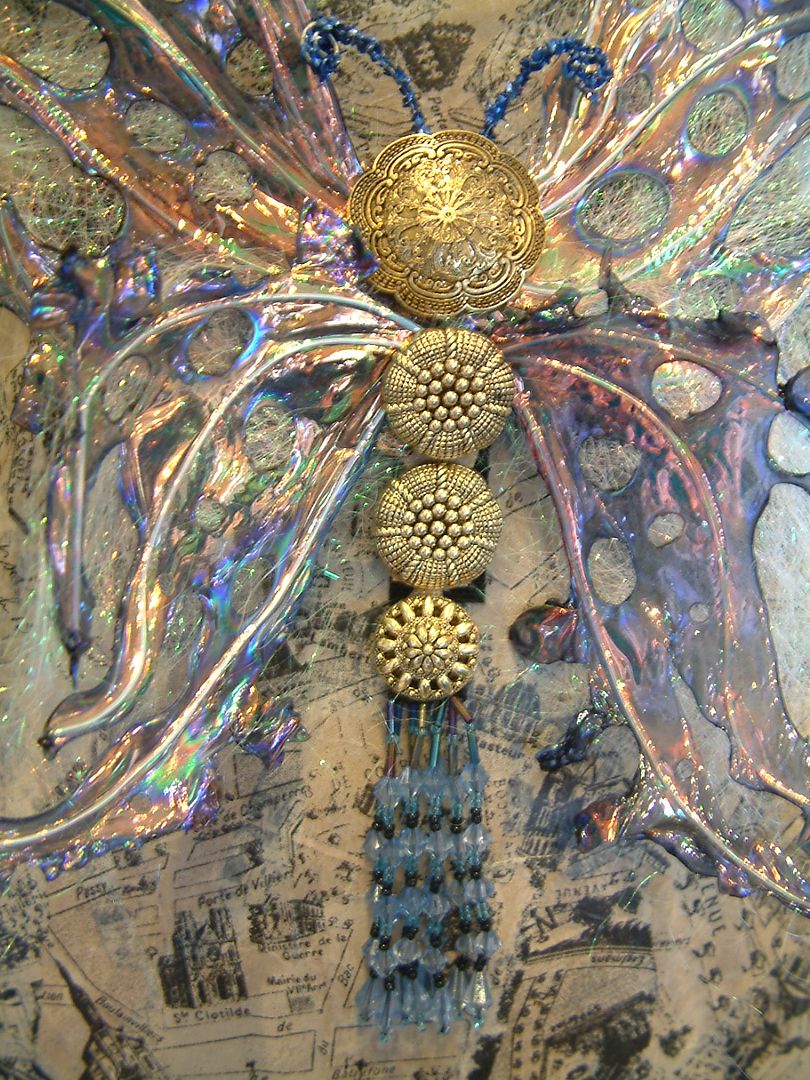
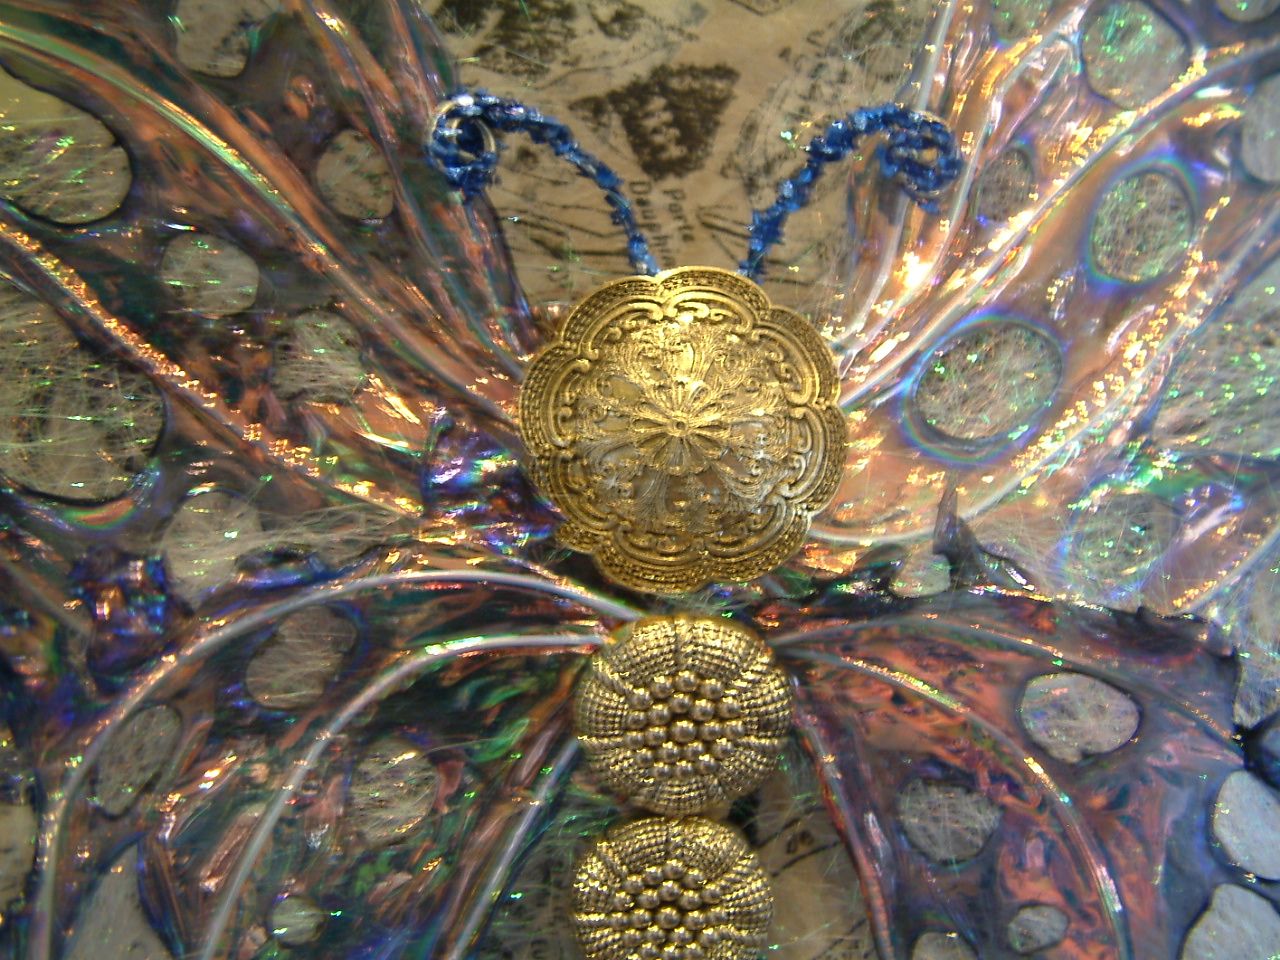
A few months ago I took a class at the Glitter Art Institute in Cottonwood Arizona.  In the class I learned how to make a butterfly using wire and Fantasy Film.  

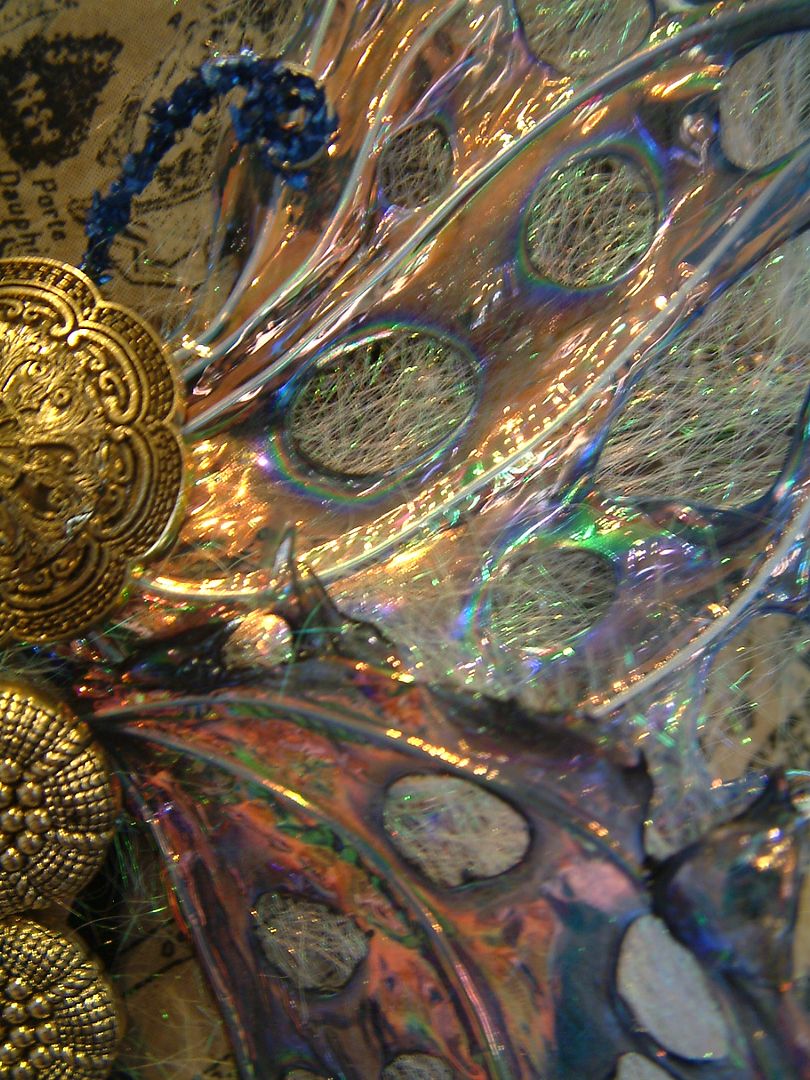
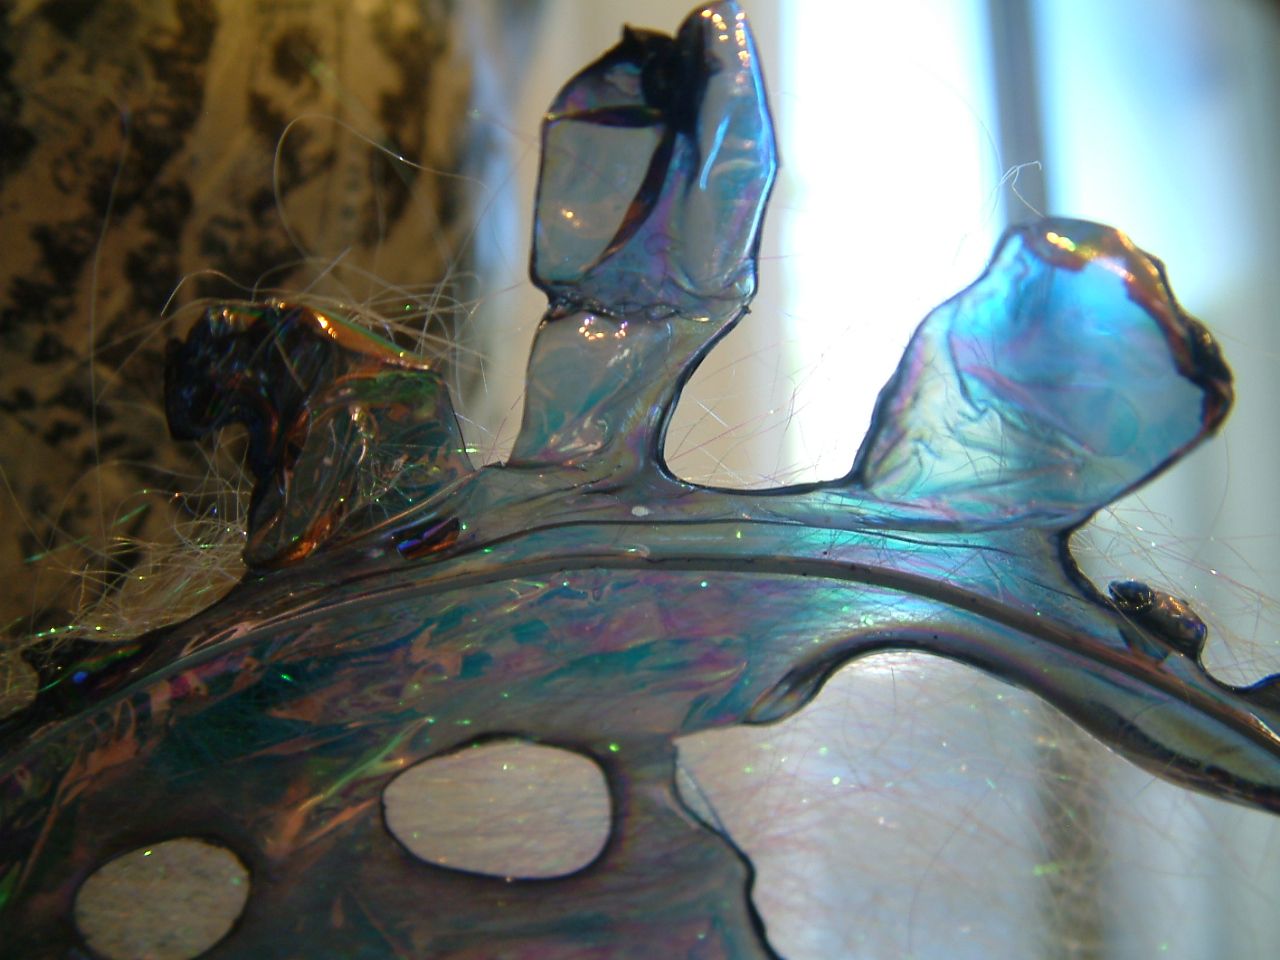
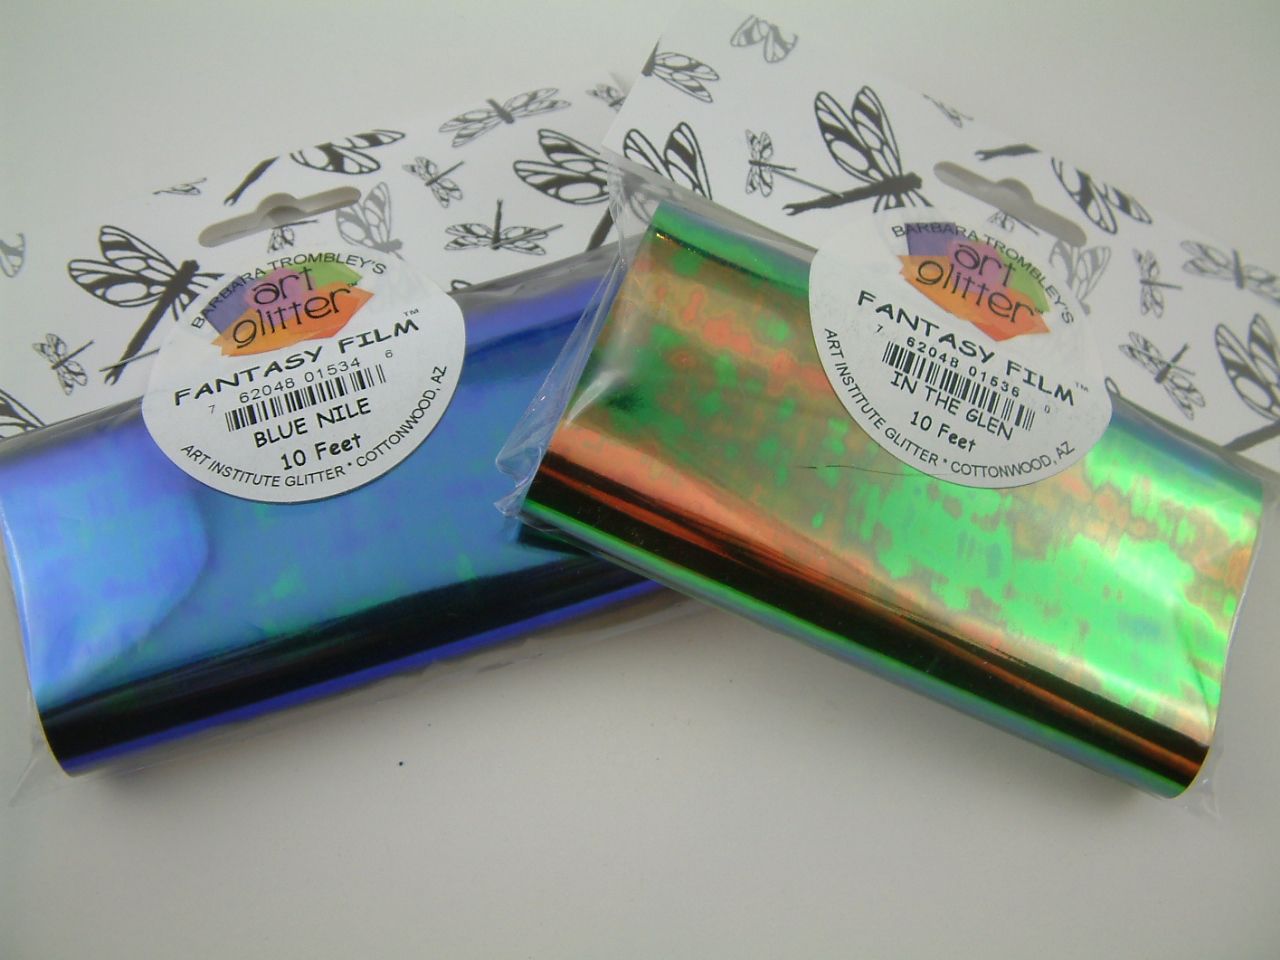
Fantasy Film is a translucent iridescent film that comes in several colors.  The technique involves creating a frame with wire and ironing layers of the film onto the frame.
The holes and irregular edges are made by burning the film with a candle.  The wispy white stuff is Fantasy Fiber which is shredded film.
The body is made of buttons and the antenna is made from fun wire.  I added beading to the wings and base of the body.
You can purchase Fantasy Film, glitter and other products on-line from the Glitter Art Institute.  The site also has on-line tutorials showcasing their glitter techniques.
 I have lots of ideas of how to use this technique so stay tuned.

Sunday, May 8, 2011

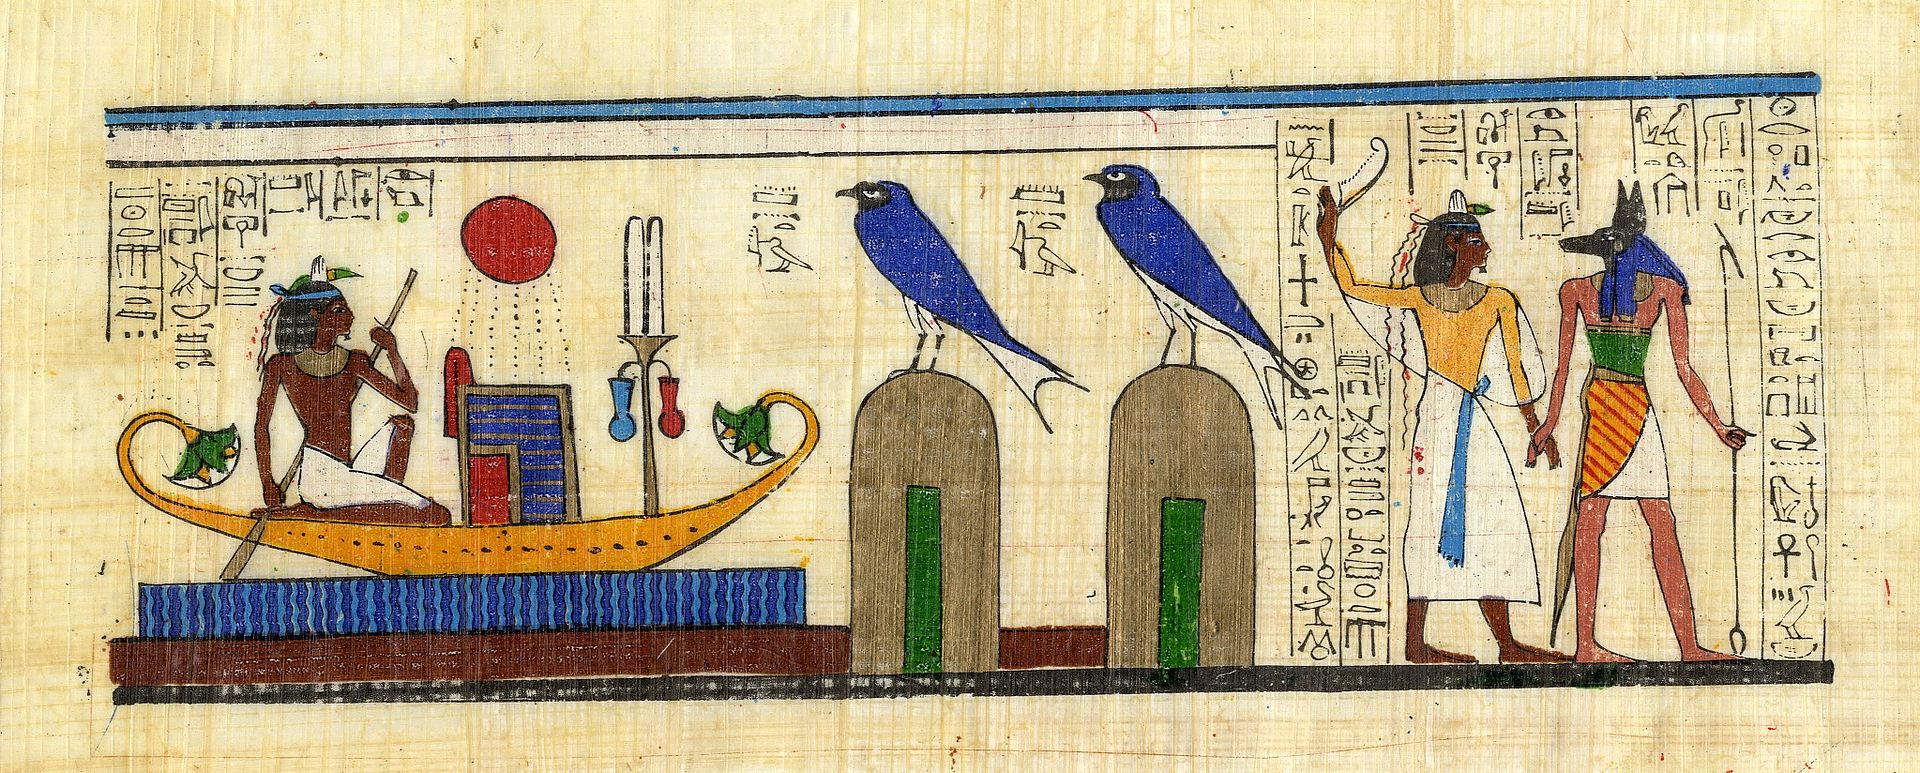
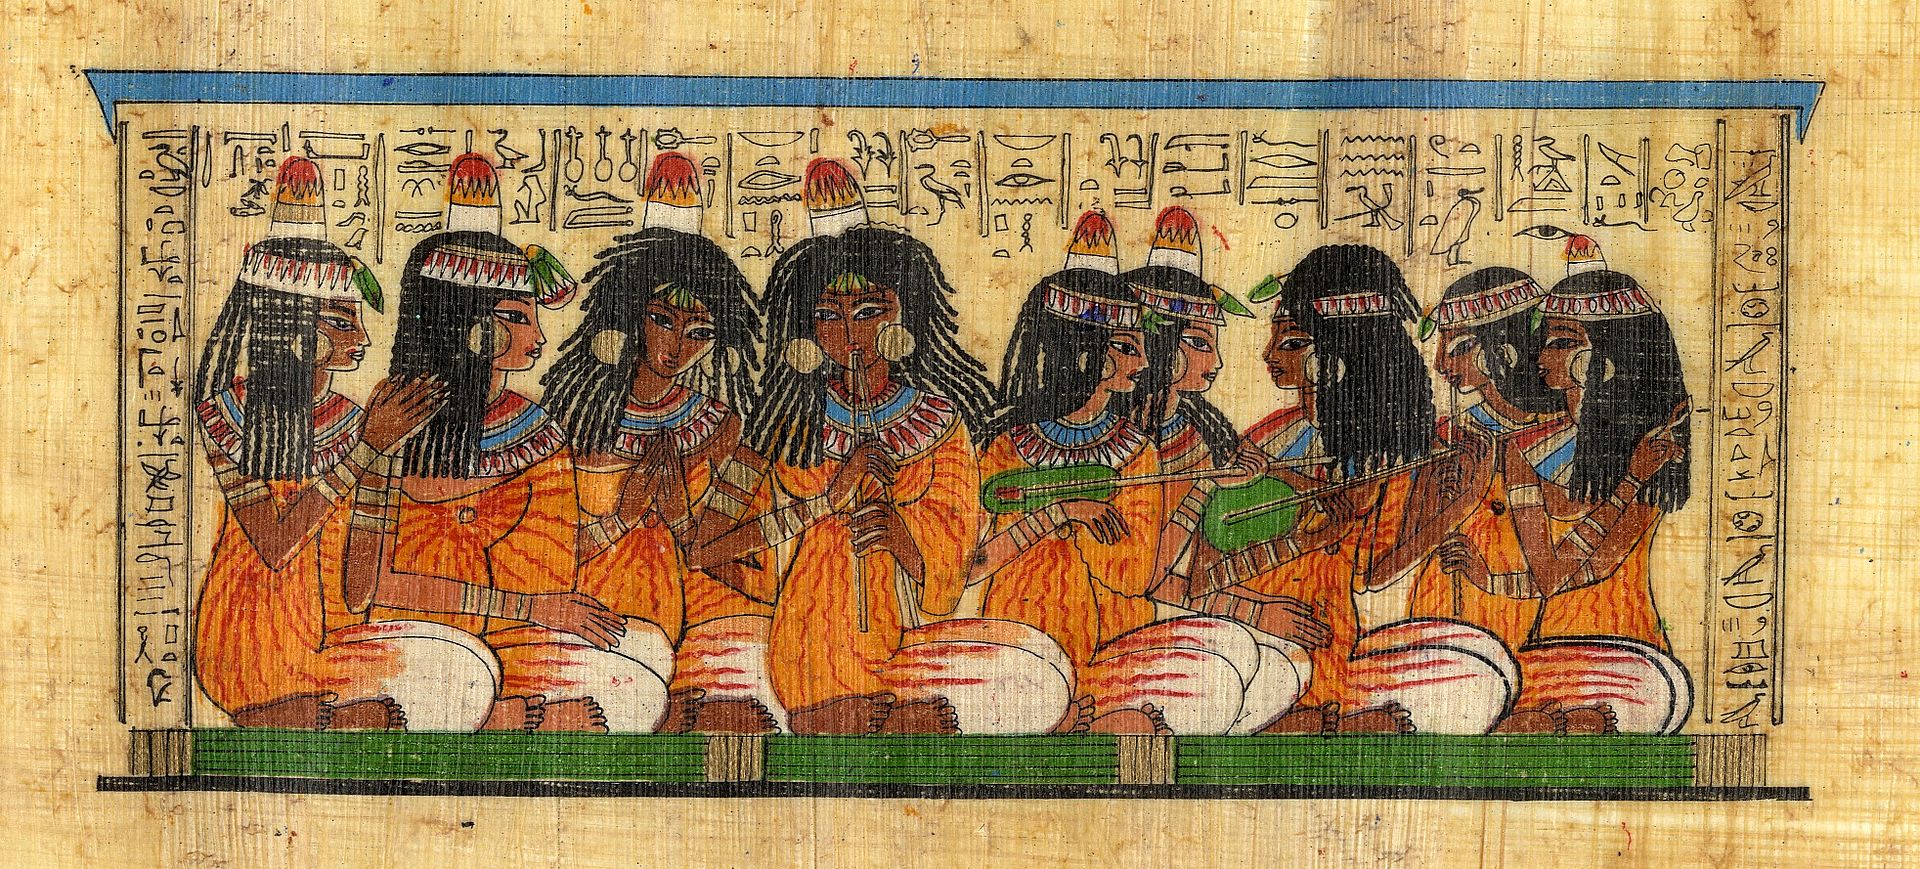
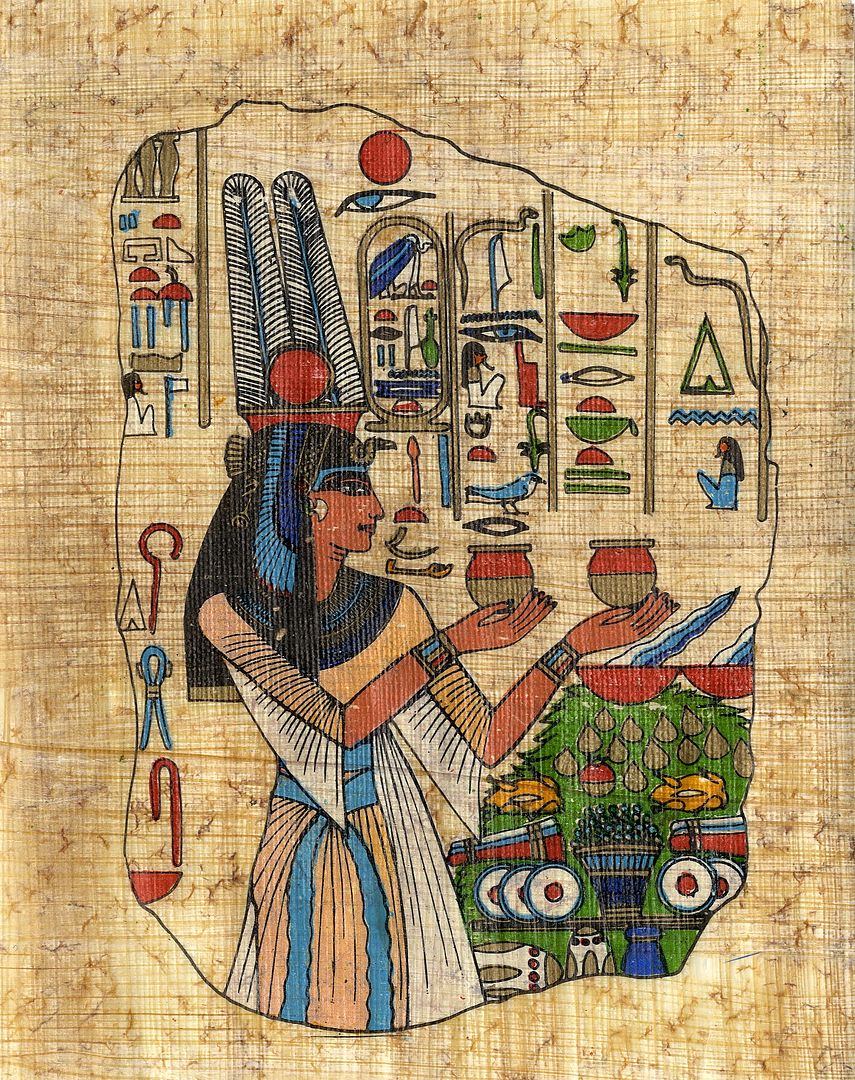
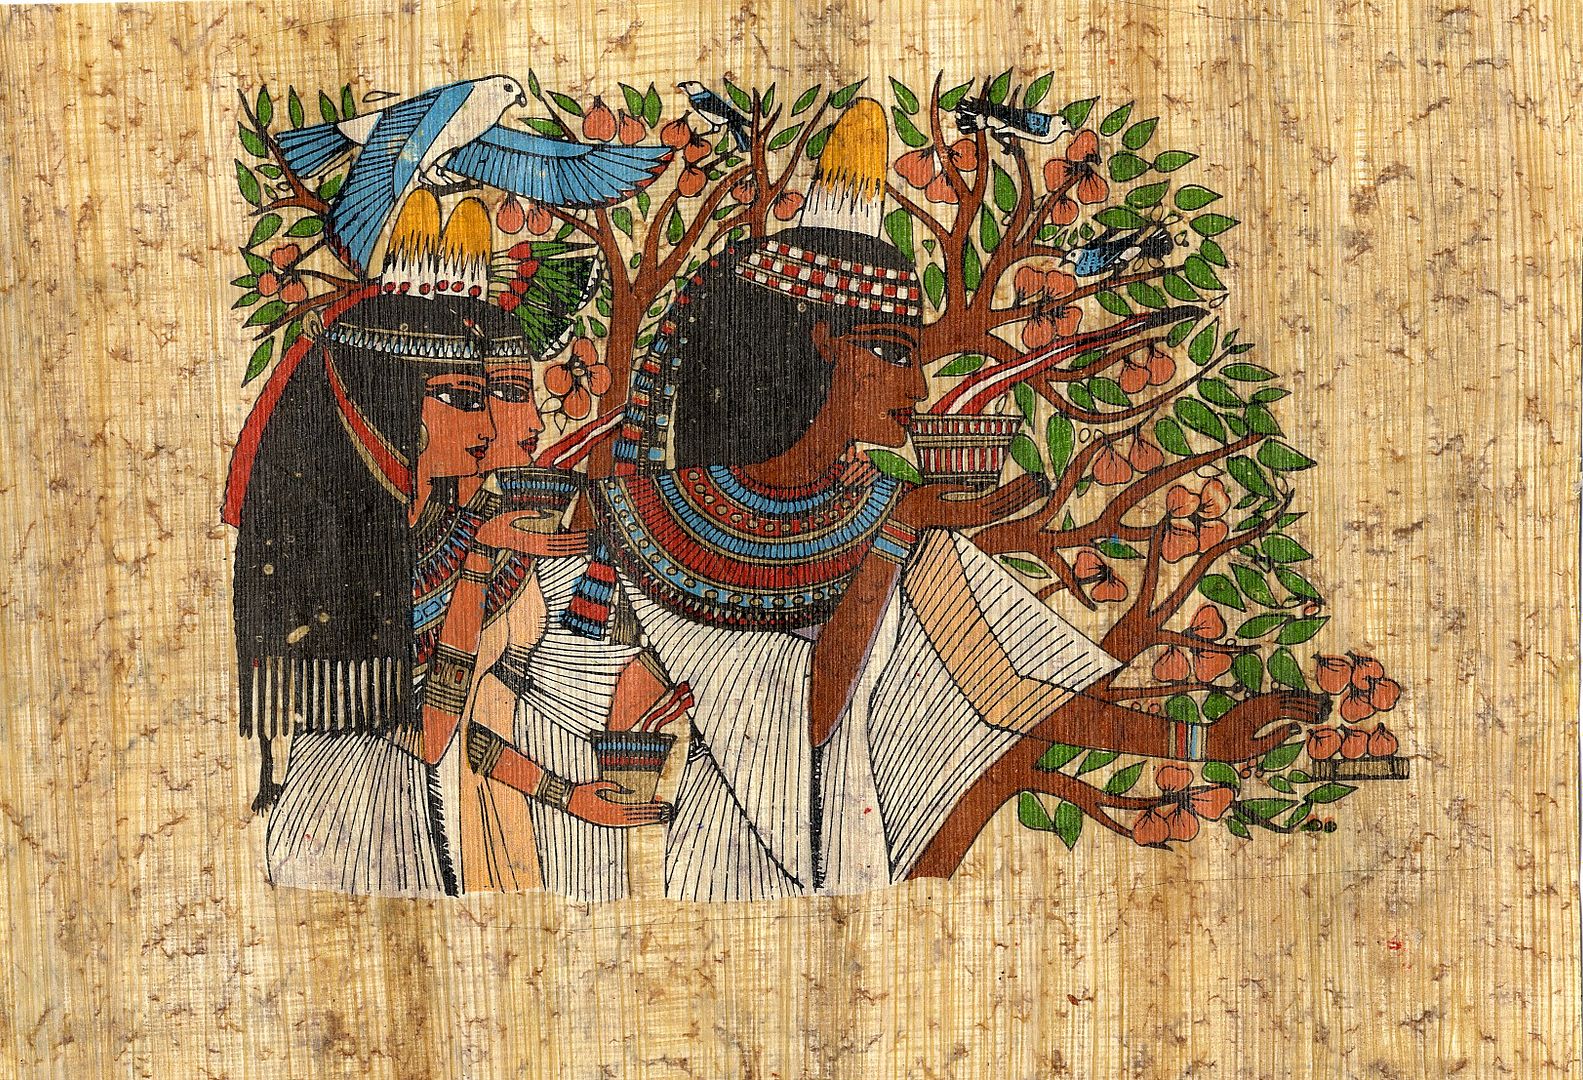
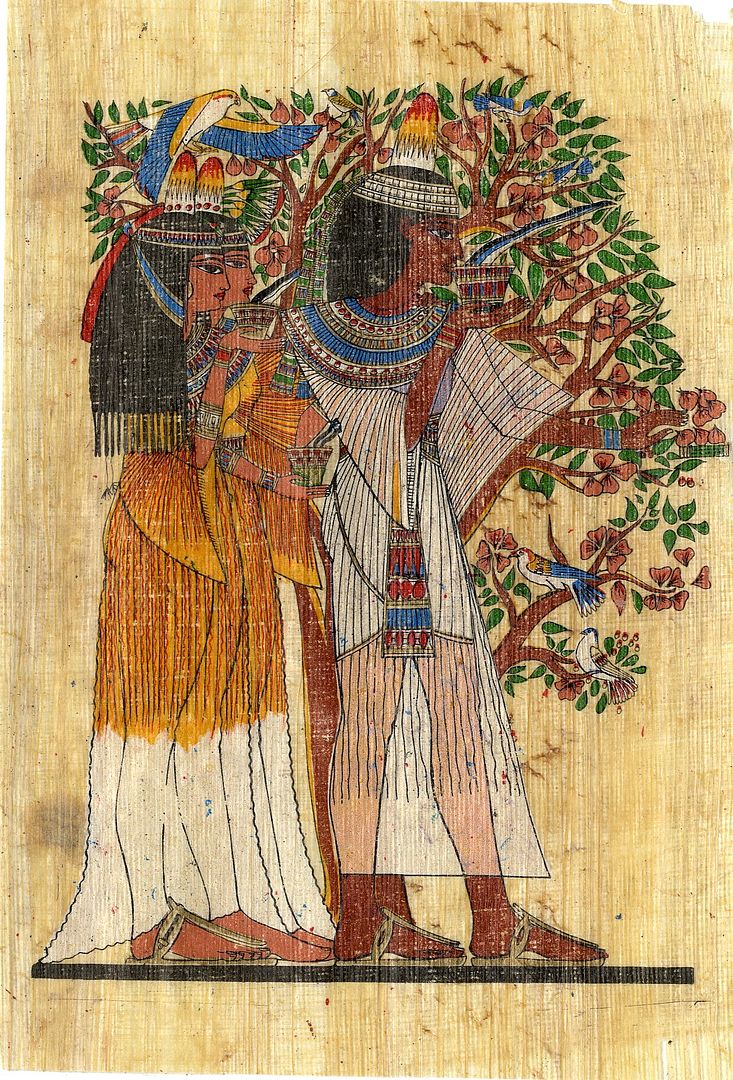
Egyptian Papyrus for Your Art

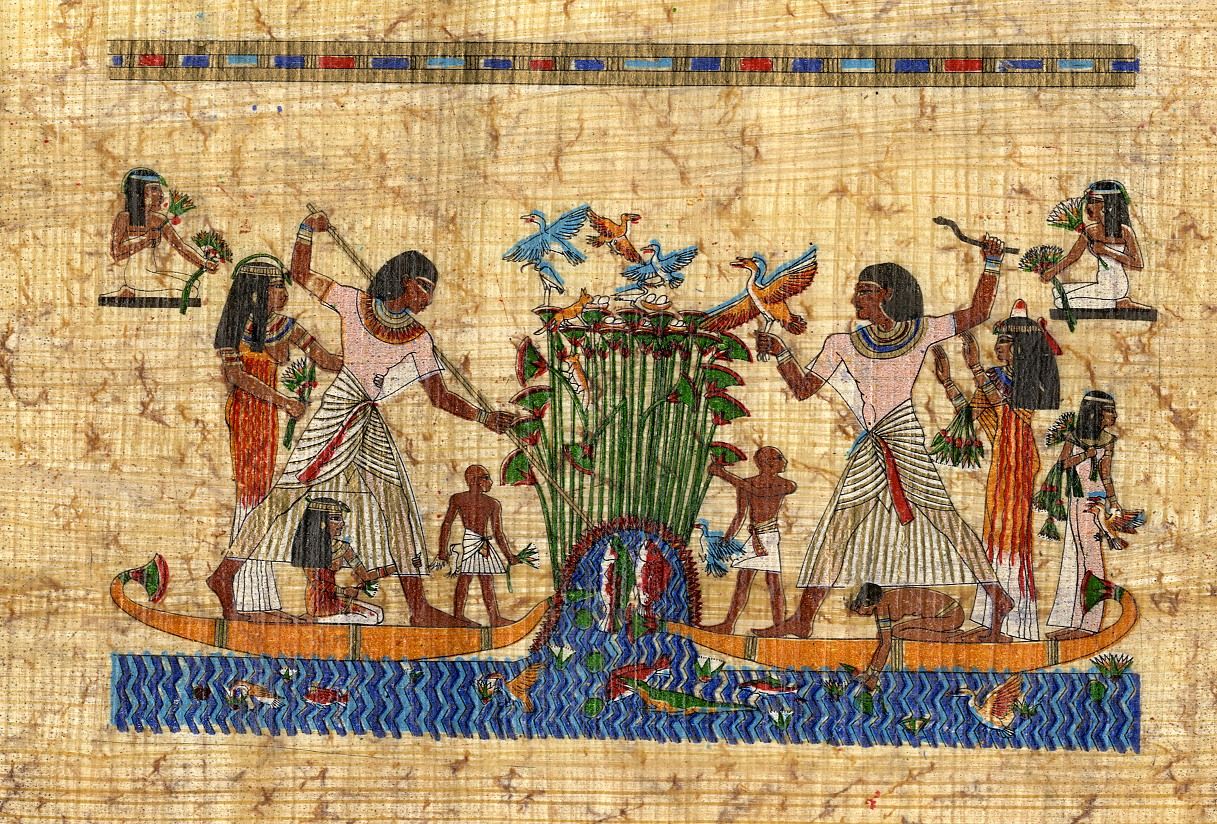
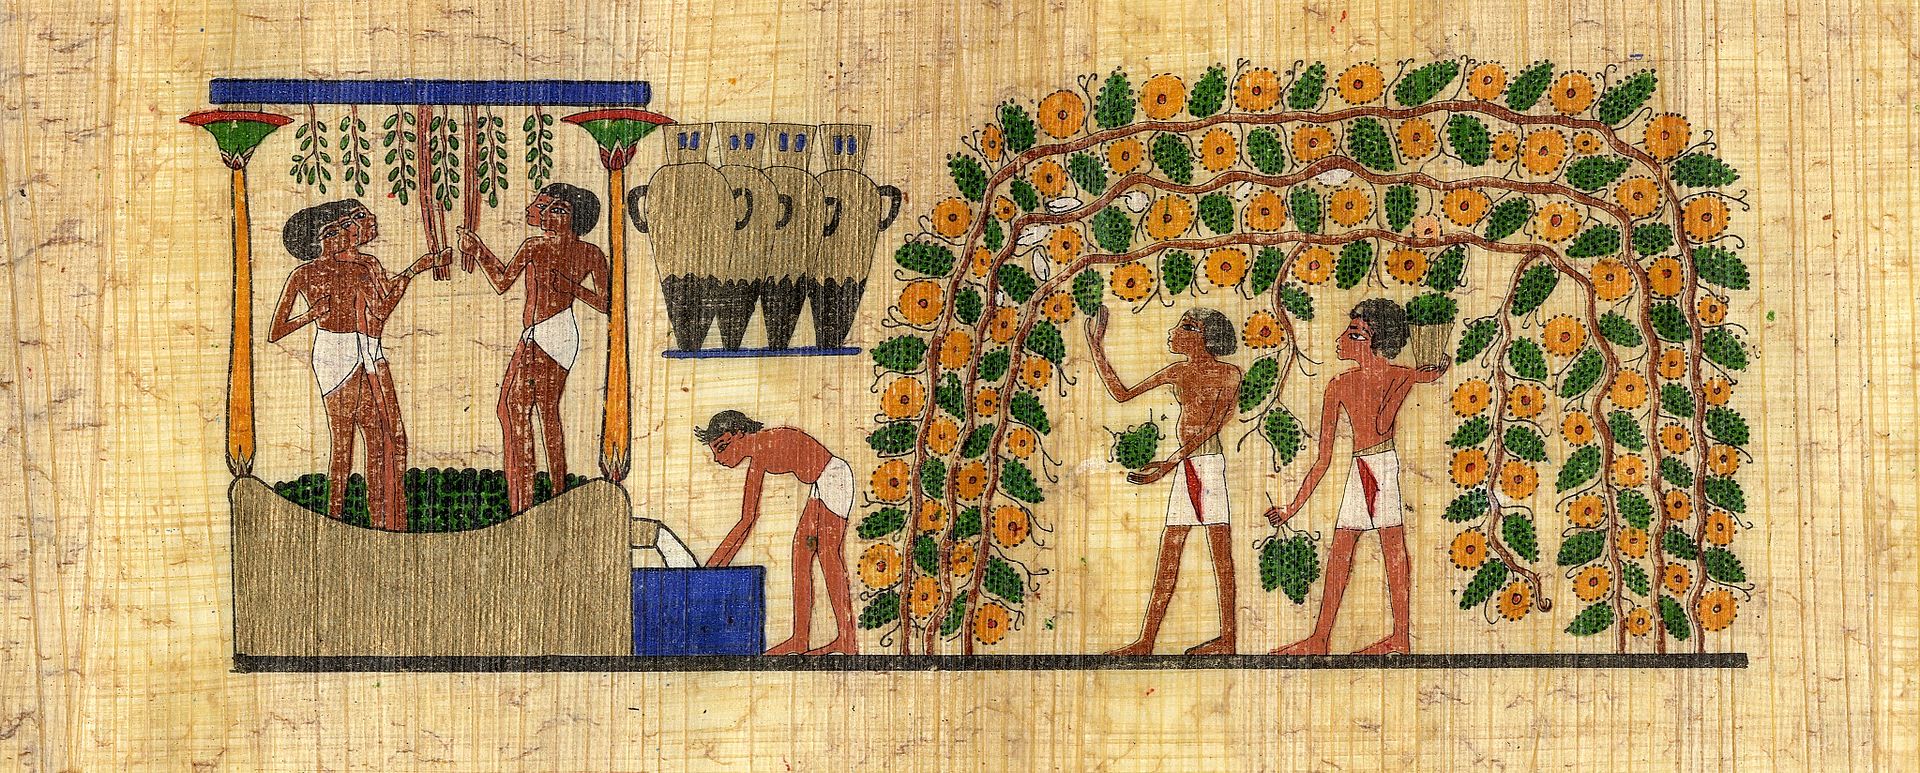
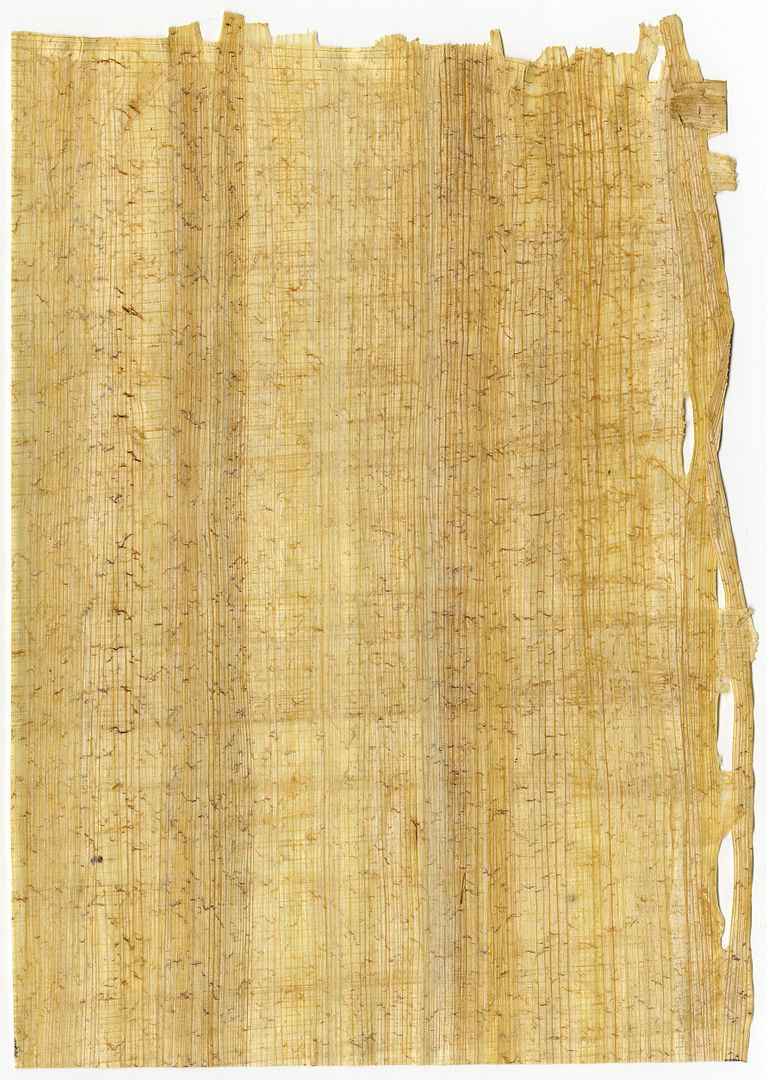
In 2000 I went on a trip to Egypt with my husband and parents.  I purchased the images below which are printed on papyrus.  You are free to use these in your art.   To download an image, click on the image to expand it, right-click and select Save As.

Below is a blank piece of papyrus which has a great texture.

Thursday, May 5, 2011

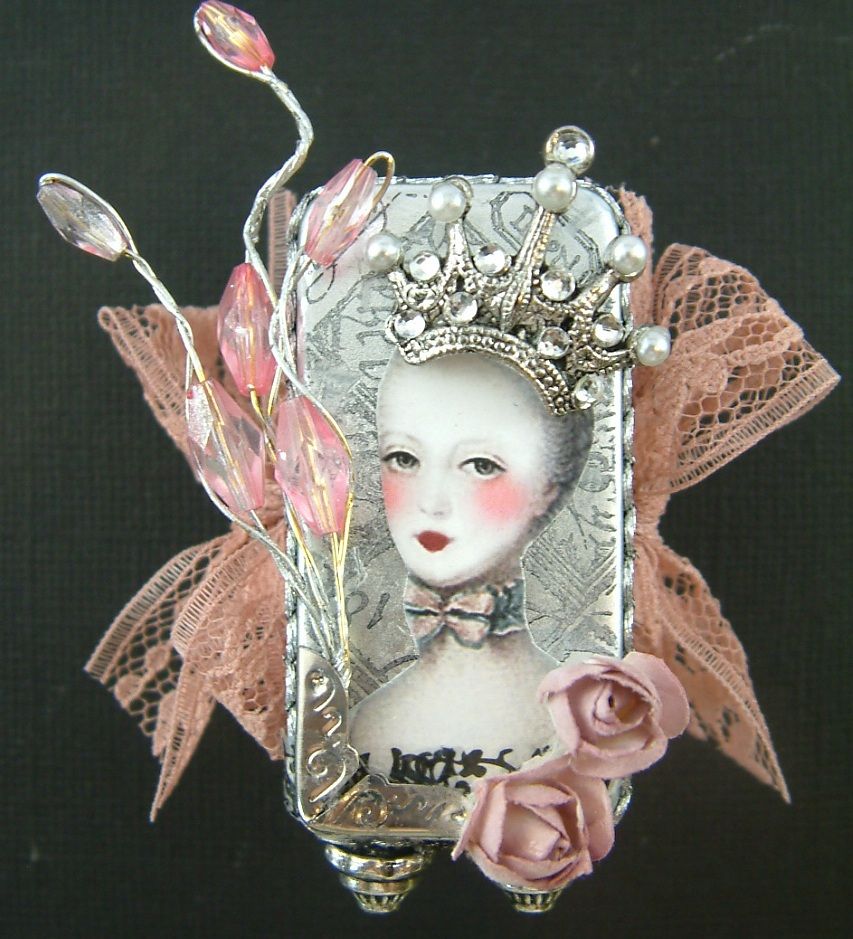
Marie Antoinette Domino Book

For the longest time I’ve wanted to do something with dominos.  Holly in the Marie Antoinette group is hosting a domino book swap so I thought here is my chance.  To help us, she provided a great tutorial and a couple of examples.  It’s a one for one swap so I make one and receive one in return.  I just loved making this book and it will not be my last (I actually made two so I could have on to keep).

Front Domino – I painted the domino with silver alcohol ink then stamped the front domino using black Staz-On ink. I added rub-ons and embellishments.
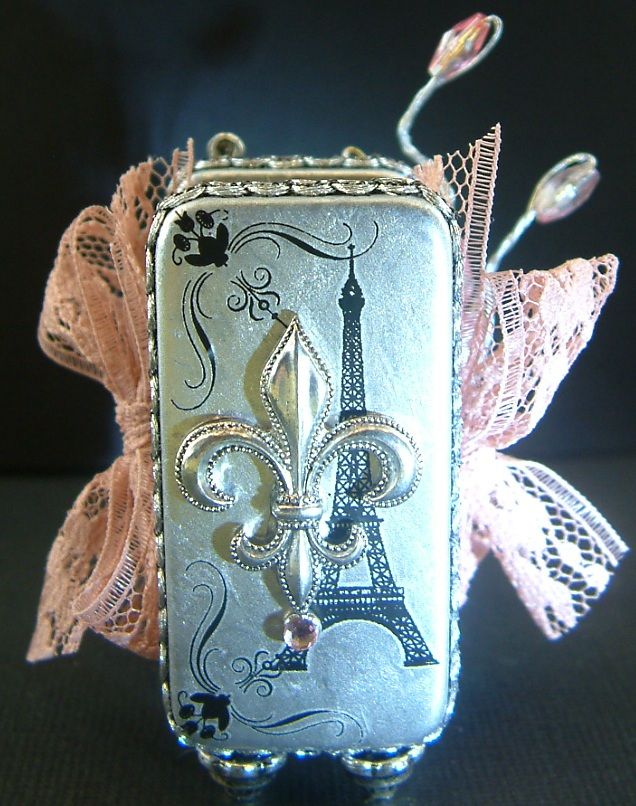
Back Domino – I painted the domino with silver alcohol ink and added rub-ons and the silver fleur-de-lis.
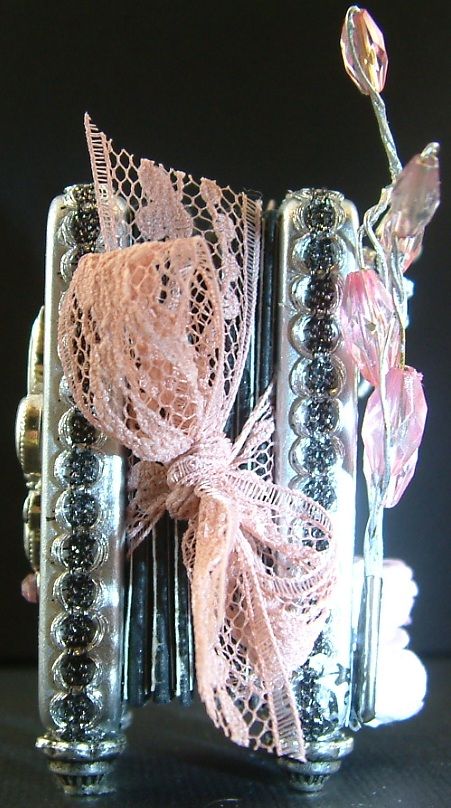
Side - I edged each of the dominos with silver and black trim.  The book is tied together with lace ribbon.  I added feet to the bottom of each domino.
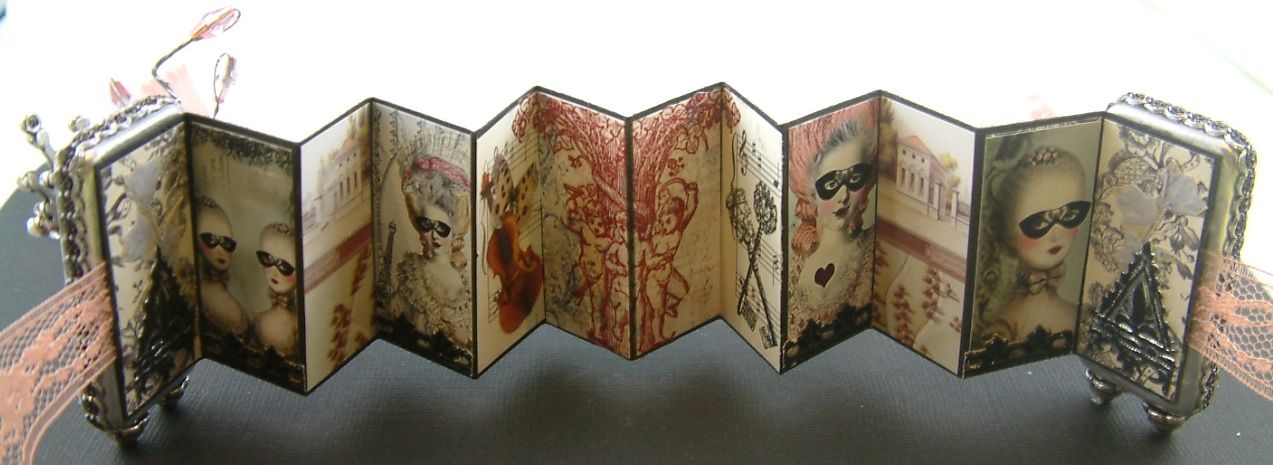
Inside – The inside is made of accordion folded cardstock that I decorated with various papers, images and rub-ons.  This was the biggest challenge for me because you can’t use bulky embellishments.

Tuesday, May 3, 2011

Love Shack

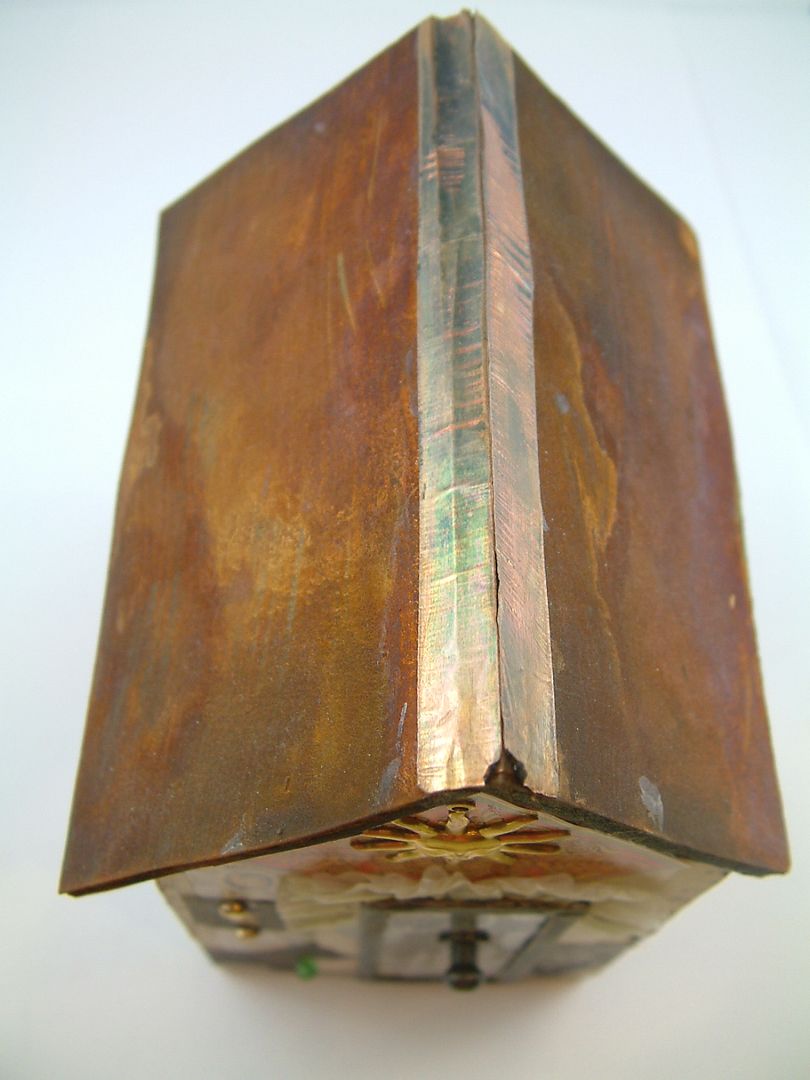
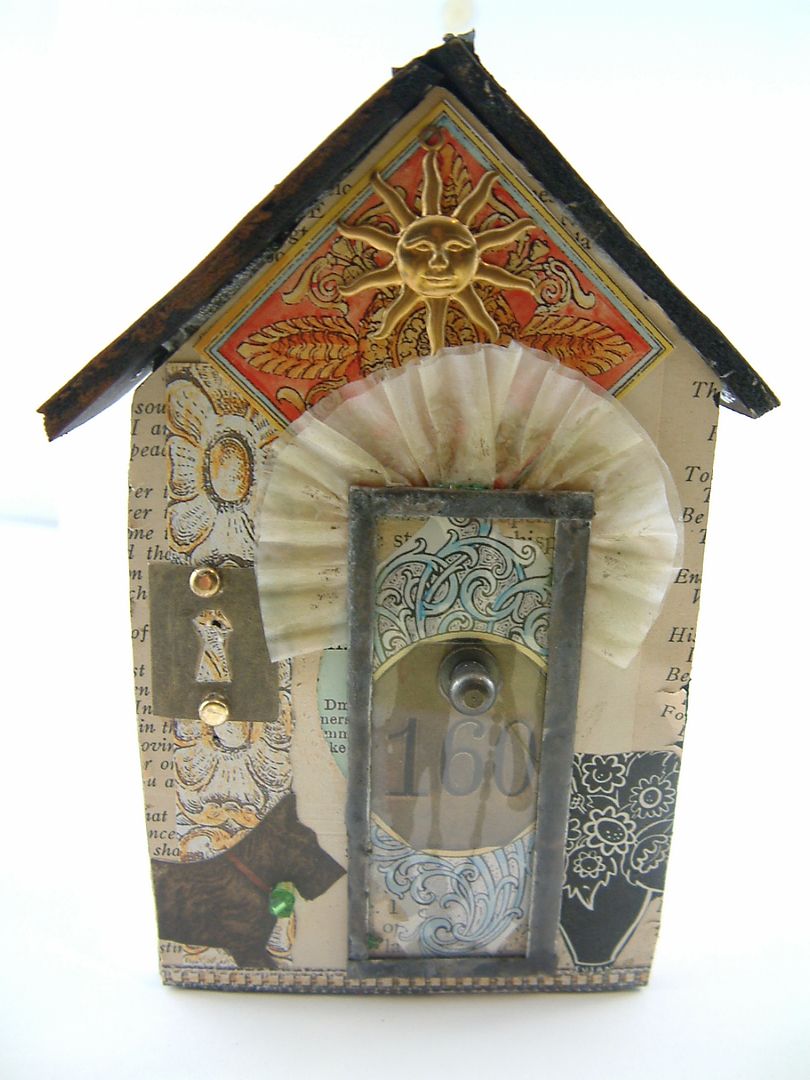
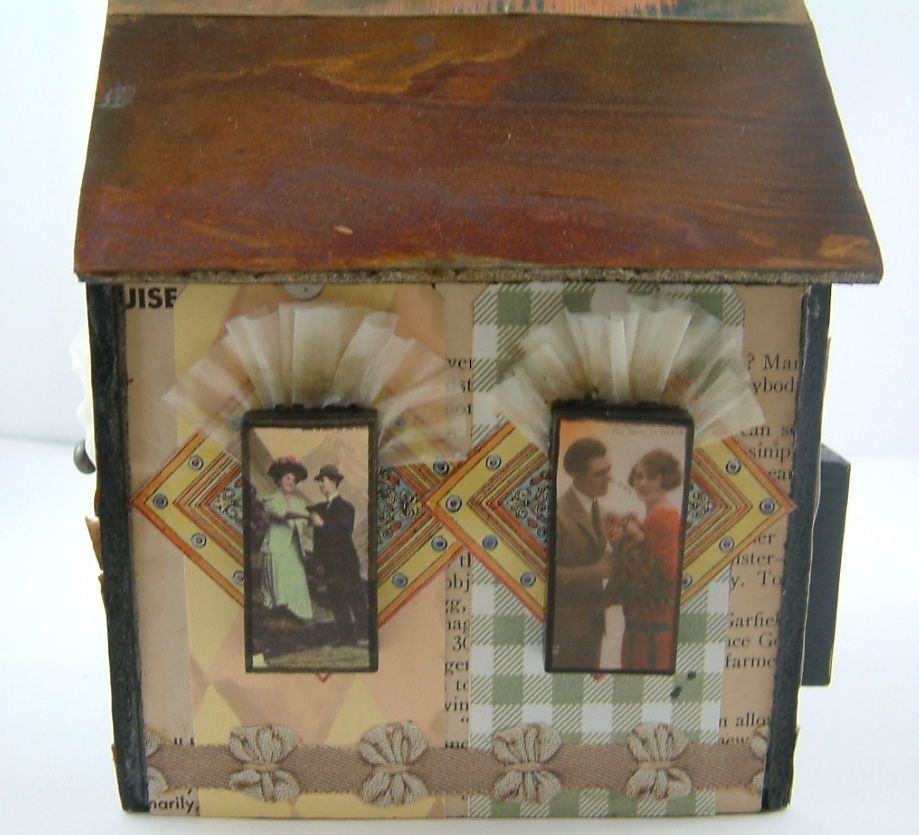
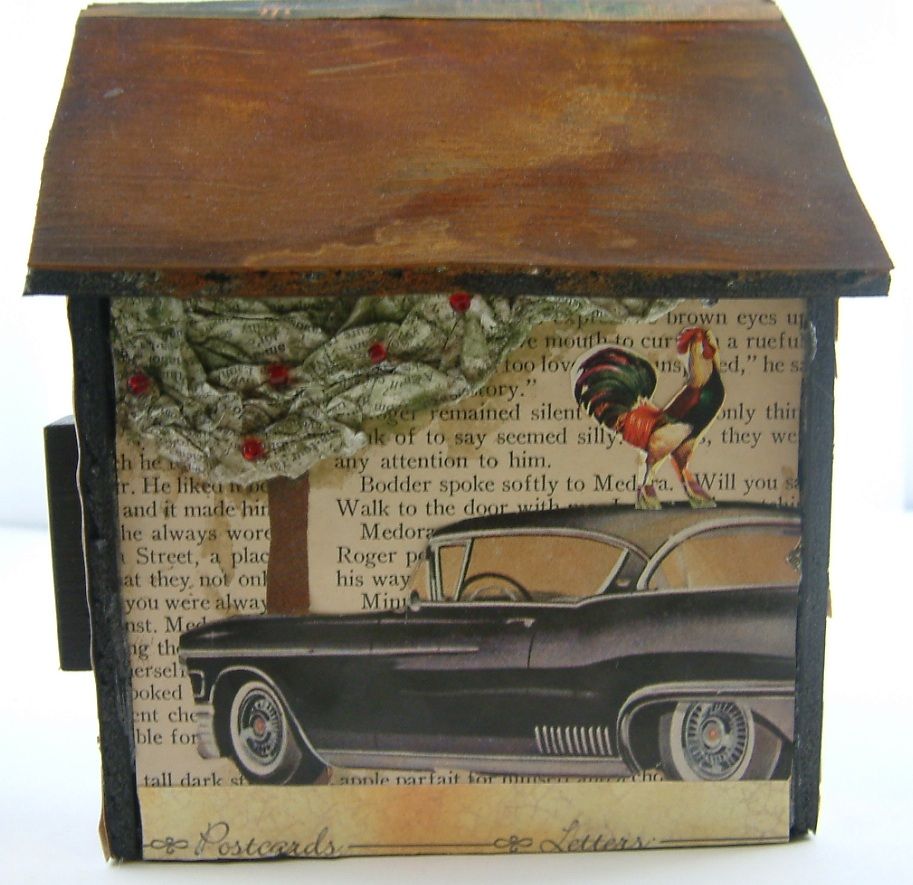
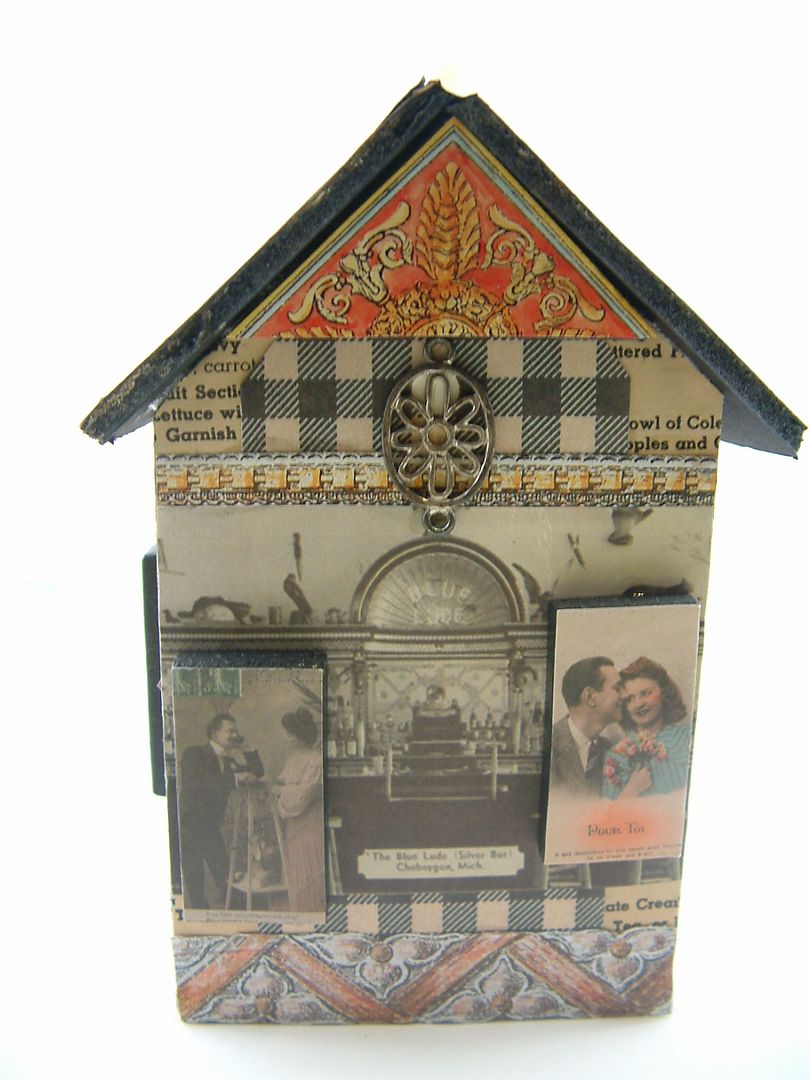
I call this house “Love Shack” because it makes me think of the B-52’s song.  Particularly the line “Tin Roof…Rusted”.  This house is made of foam core board and the roof really is rusted.  It’s not a paint treatment but real rust.  I thought I’d post this as a prelude to my tutorial on rusting (as I’m running a little behind finishing it).  The house is an end result of a class that I and the Creative Team ladies attended at Paper, Metal, Scrap in Payson AZ.  The best part of the class for me was learning the rusting technique.  I loved it so much I rusted an entire wall.  To decorate our houses we were given vintage magazines for images and boxes of odds and ends for dimensional embellishment.

The door on the front of the house is a glass slide that has been edged in copper tape and soldered.  The paper above the door is cupcake liner paper.

On the right side the windows are made from dominos with images of couples.  The paper above the windows is more of the cupcake liner paper.

The tree on the left side of the house is made by crumpling very thin paper, applying glue then shaping.  I decided to shape an apple tree.
The back of the house is again dominos with images of couples.
I’ll be posting more houses made by the Creative Team in future months (they went crazy making whole villages).

Friday, April 29, 2011

Ideas for Storing and Displaying Oversized ATCs and Other Larger Pieces of Art

When it comes to storing and displaying standard sized ATCs I use 7 Gypsies ATC carousels but for larger pieces I use two different storage/display systems.  One I purchased and one I made. 

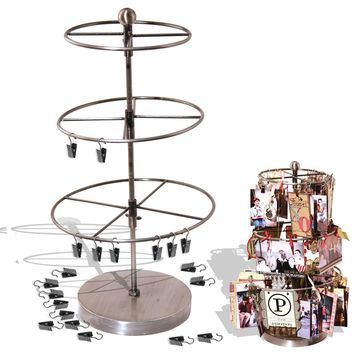
The one I purchased is a carousel system from Clip It Up.  You can purchase the system with one or two tiers.  The bottom tier is taller than the top tier.  I use the top tier to store my lace and the bottom tier to hang altered cabinet cards, altered postcards and oversized ATCs.  The clips that come with the product make it easy to add and remove pieces of art.  Here is a picture of my Clip It Up carousel. The top tier gives you 9 ½” hanging room (height) and the bottom tier gives you 15” hanging room (height). 

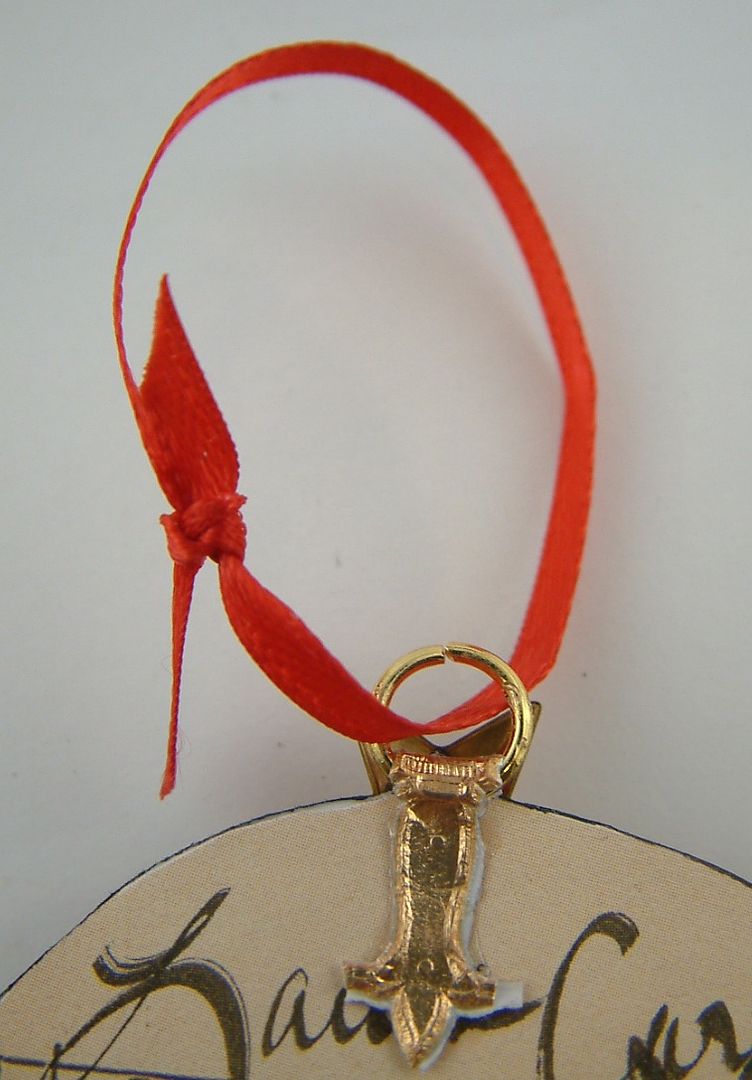
If you don’t want to use the clips that come with the system or there isn’t a good place to attach the clip, then add a small jump ring to the back of the piece and use ribbon to tie the piece to the carousel. 
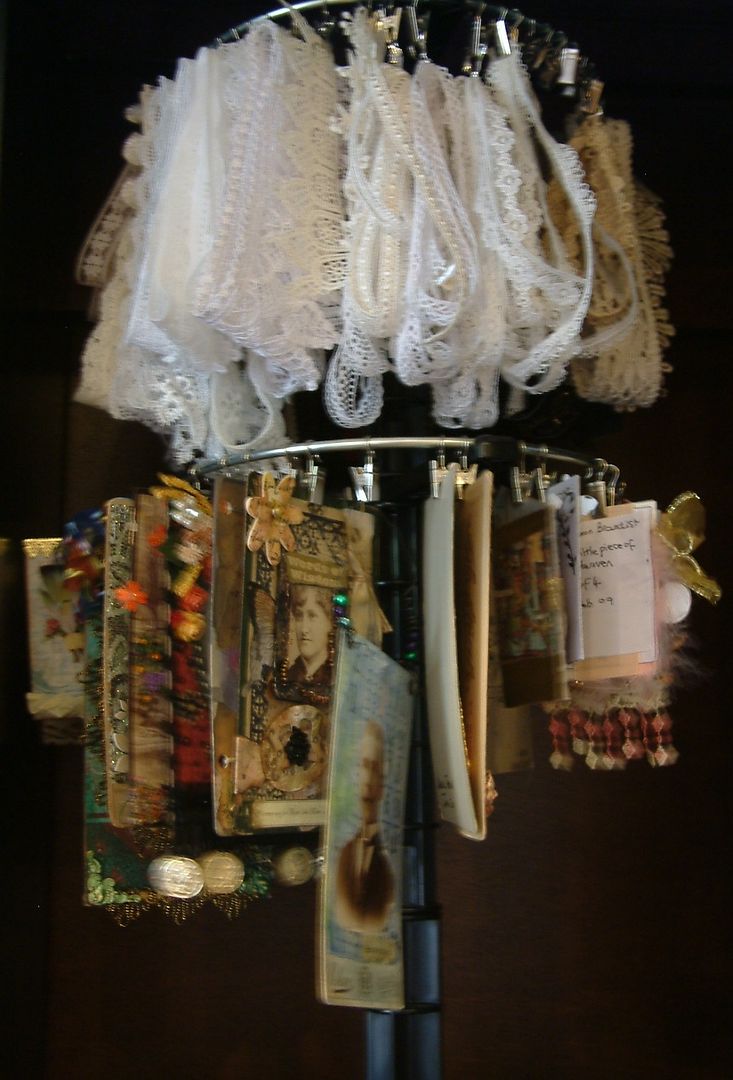
Tip from Sheree Rose - I also use the Clip it Up carousel for my Altered Cabinet Cards but didn't want to have the clips damage the art work. I found packs of plastic bags at Michaels which I use to store the Cab cards and the clip only goes on the plastic.
 
You can find the Clip It Up system in scrapbook stores, online stores or buy directly from the manufacturer at http://www.clipitup.com/store/.  In addition to the carousel they sell other storage and display systems.


7 Gypsies also makes a large carousel system for ATCs and photos.   I don’t have this system so I can’t tell you how much hanging room is on each tier but I don’t think it is as much as the Clip It Up system.  If you have large and or long items the 7 Gypsies system might not work for you.   You can purchase the system from scrapbook stores, online stores or buy directly from the manufacturer at http://www.shopatron.com/products/category/ATC+%26amp%3B+Photo+Display/533.0.1.1.62667.99719.0.0.0
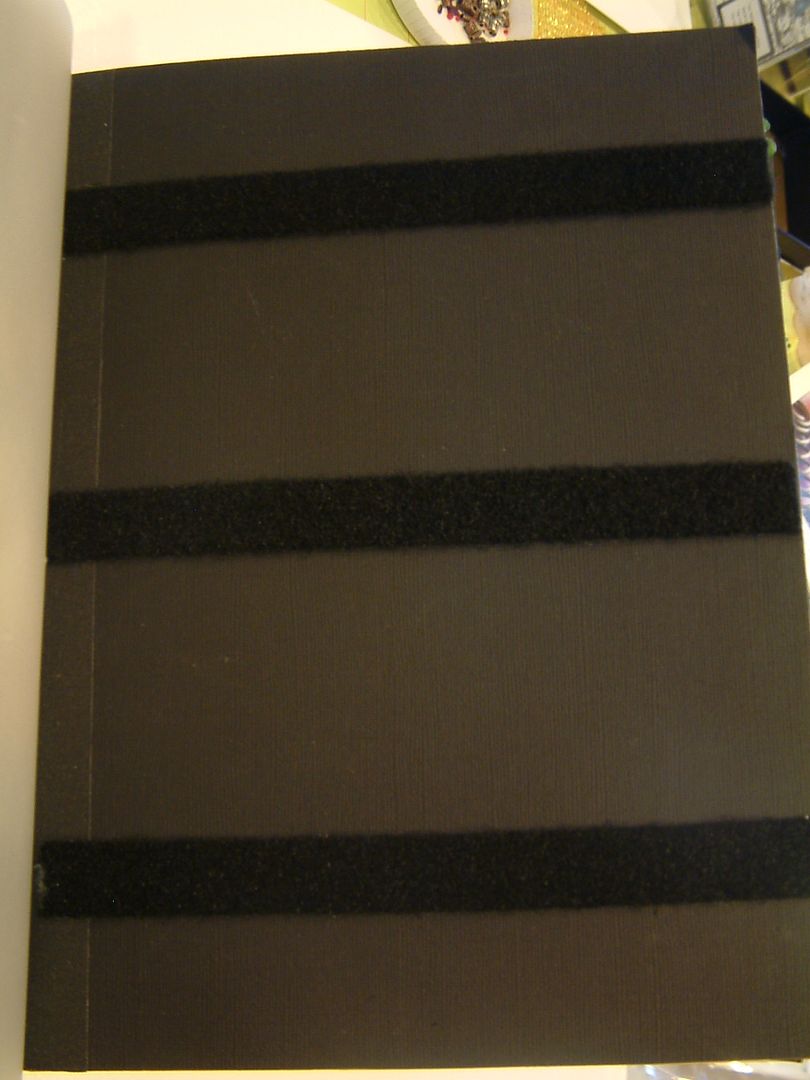
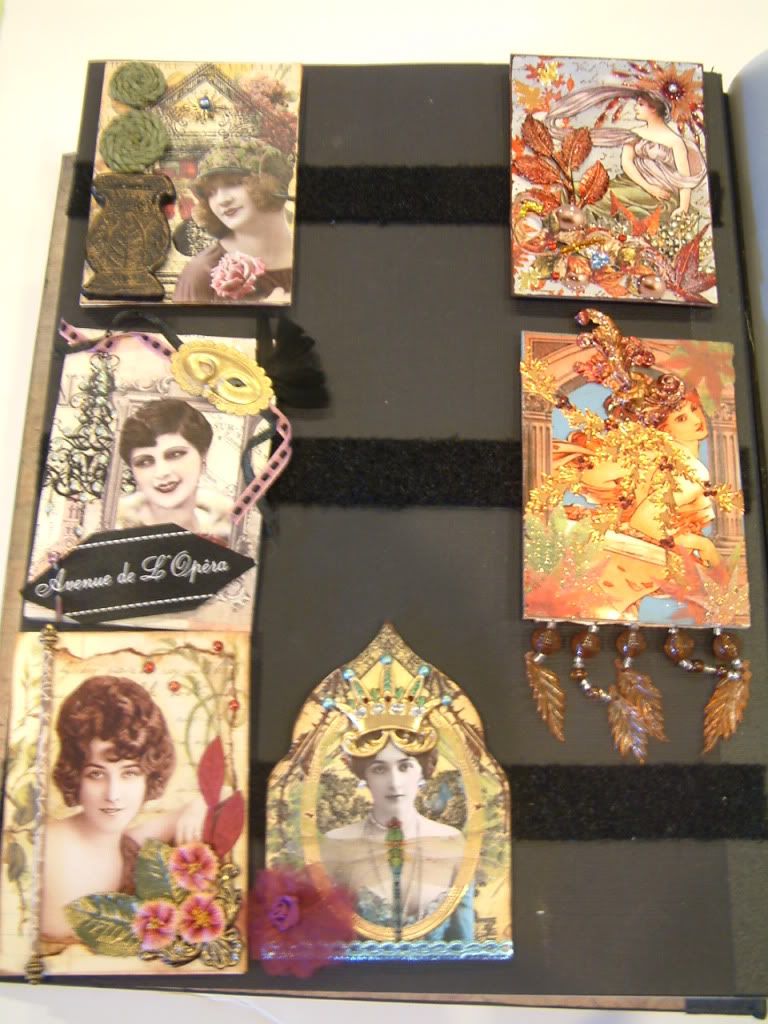
The second method I use for storage and display is Velcro.  First I made a post bound album.  For pages, I covered pieces of light weight chipboard with cardstock then attached strips of Velcro (the loop side) to each page (back and front).  The purpose of using chipboard is to create a stiff and sturdy page that will support the weight of the cards.  I punched holes in the pages to match the spacing of my album.
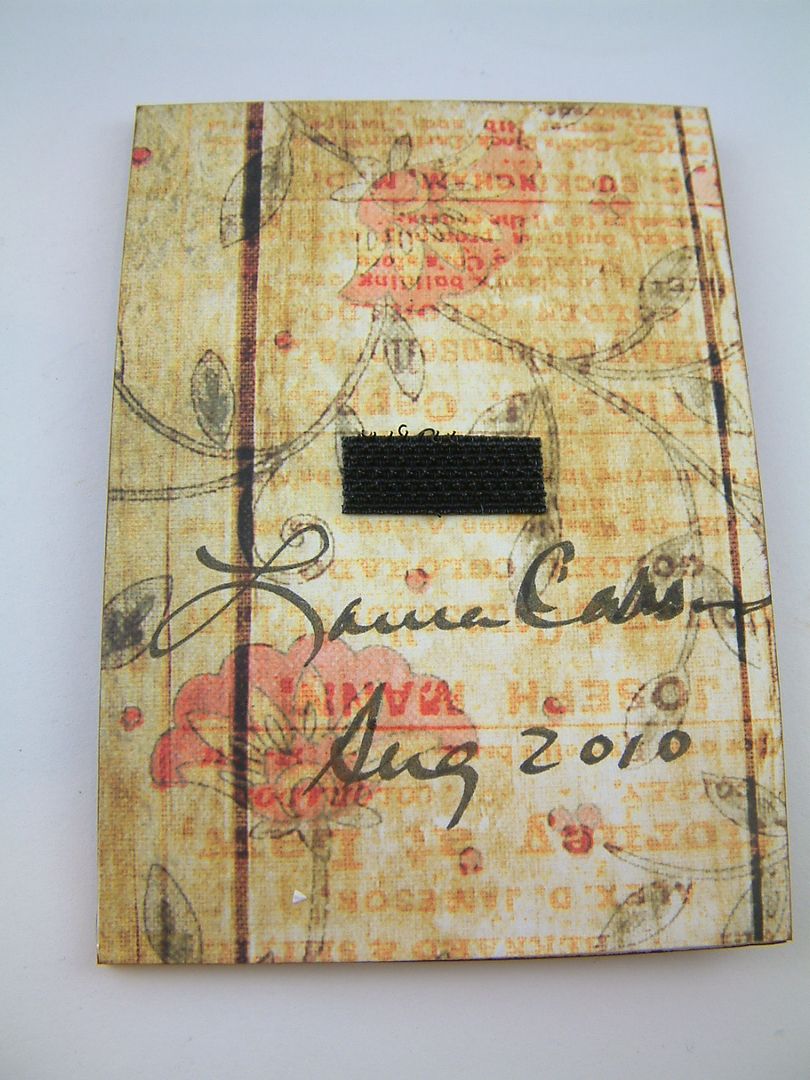
To mount cards to the page I attach a tiny piece of Velcro (the hook side) to the back of the card.  Now I can mount the card on the page. 
Using Velcro makes it easy to add, remove or reposition the art.
To keep the art on opposing sheets from rubbing together I added a sheet of vellum between each set of pages.
You don’t need to make your own album.  You could use a scrapbook album or a three ring binder.   I actually like storing even regular sized ATCs this way as you can see and touch the art without the plastic getting in the way. 
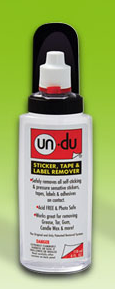
If at some point you want to remove the piece of Velcro from the back of the art you can use Un-Du which dissolves glue without harming paper, photos, embellishments etc. 
You can find Un-Du at many craft stores, scrapbooking stores and hardware stores.  You can also buy it directly from the manufacturer at https://un-du.com/index.php?option=com_wrapper&view=wrapper&Itemid=53.  They don’t ship out of the US but I’m betting other countries carry a similar product.

Sunday, April 24, 2011

Living a Boy’s Adventure Tale

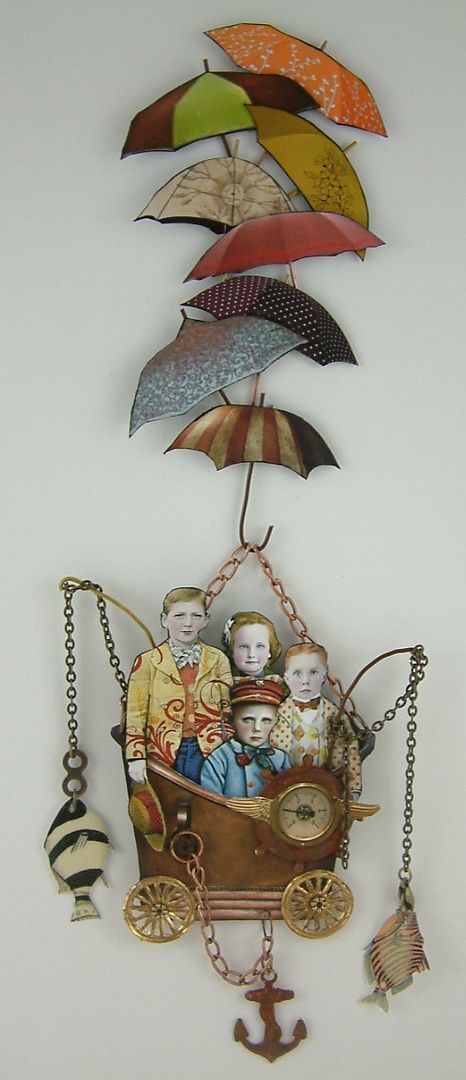
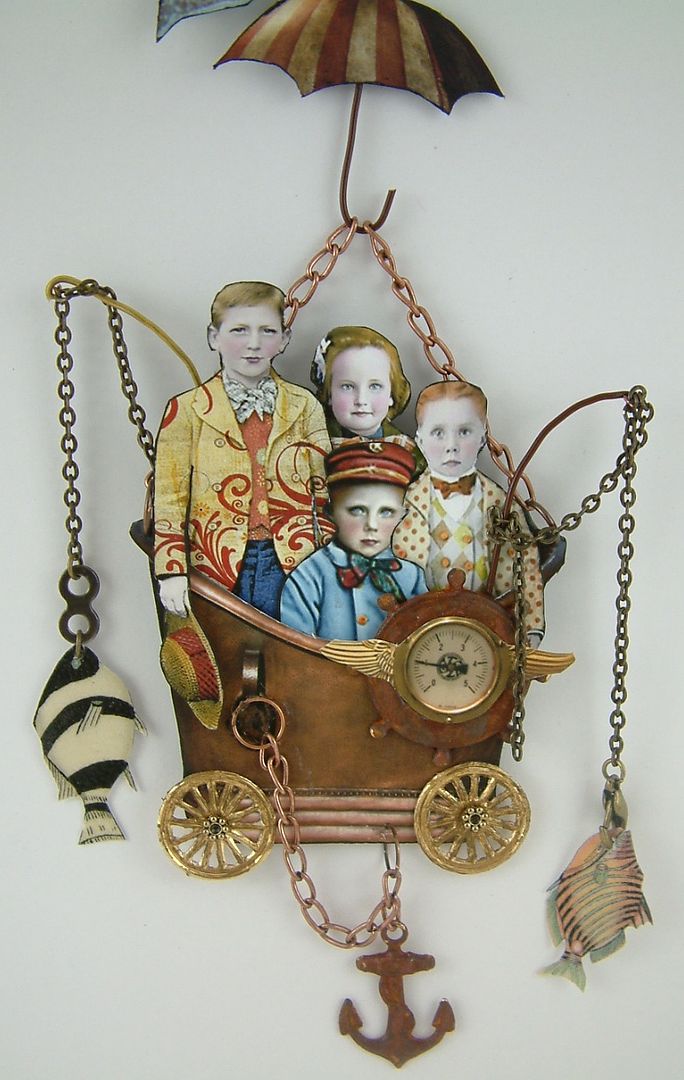
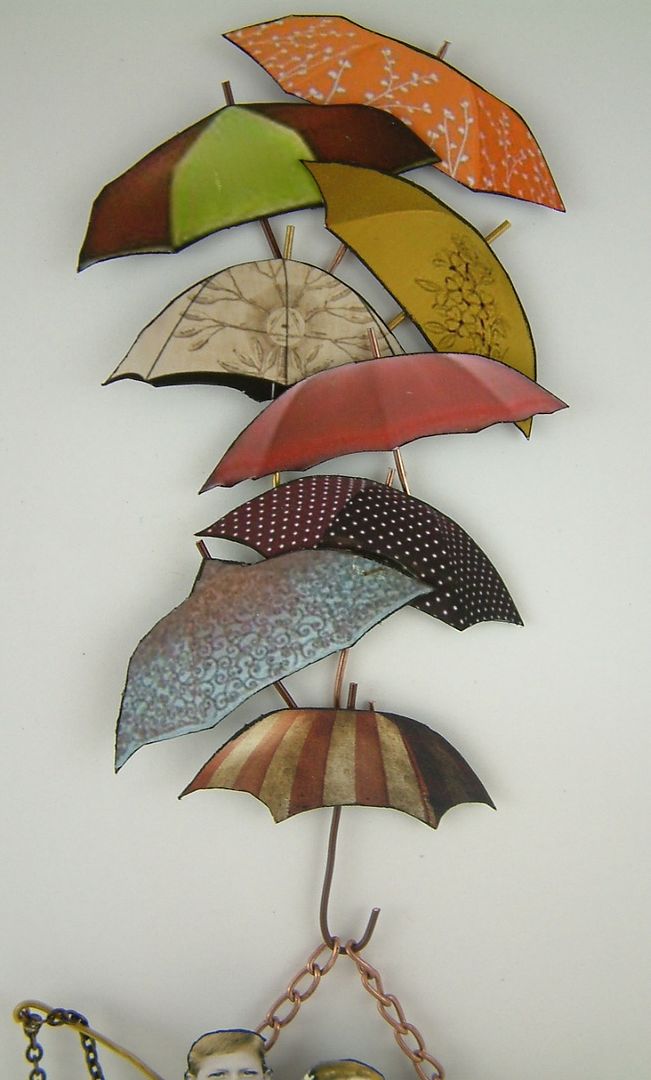
The name of this piece is inspired by the A-ha song  “Living a Boy’s Adventure Tale” (I’m a big fan).  It is also my “nod” to the Land of Nod Studios blog.  The images of the boys are ones where Deborah colorized black and white photos and offered them as part of her Free Photo Fridays.  The boys have created a flying machine from a copper bathtub and umbrellas.  I rusted the brass ships wheel and anchor.  Later this week I’ll be posting a tutorial on rusting.

Sunday, April 17, 2011

Steampunk Owl ATC

 
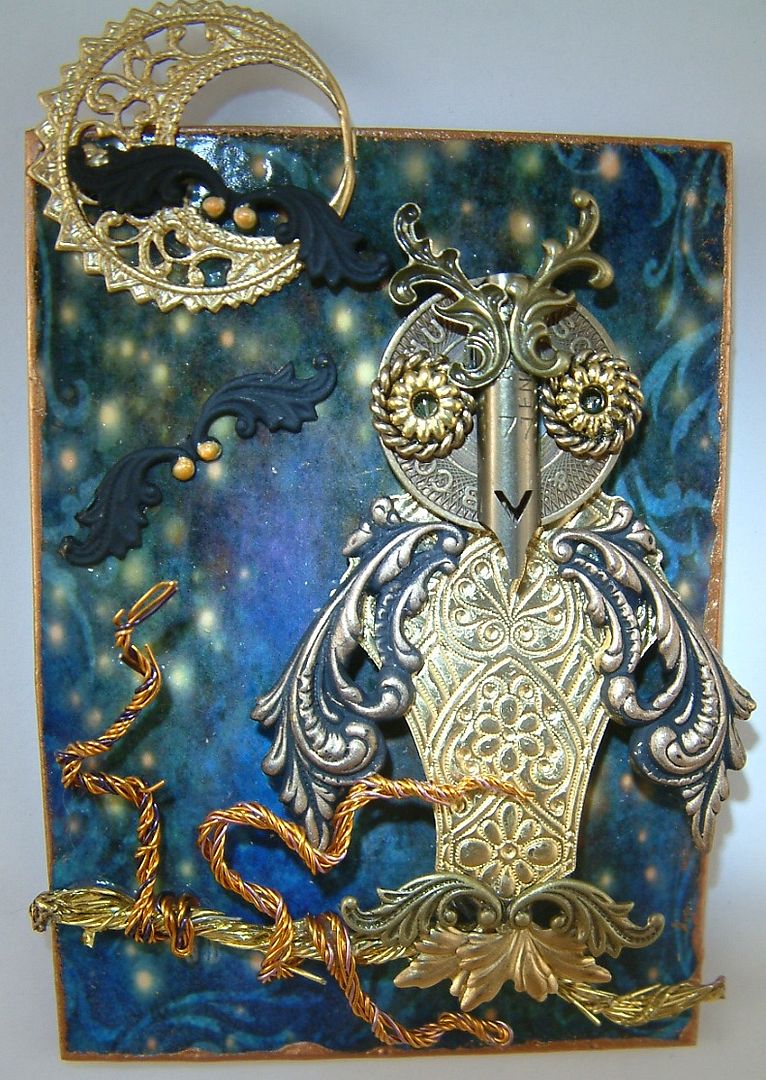
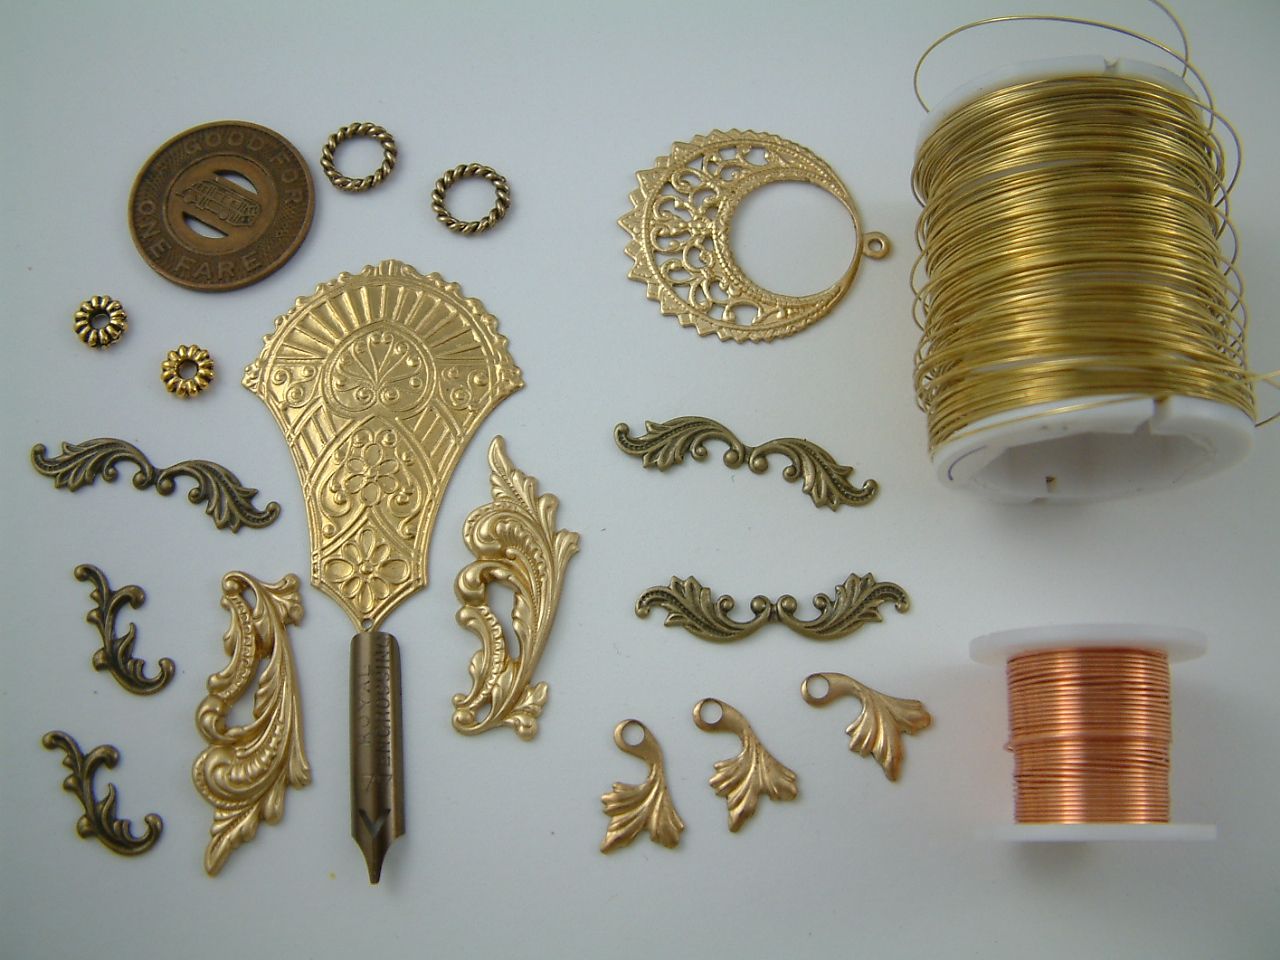
This card is for a swap in the Creative Souls Group.  Everything on the card (owl, moon, bats) except the background is metal.  The branches are made of twisted wire, the head is an old subway token and the beak is a pen nib.  Below is a picture of all the bits and pieces I used.
I made extra so I will probably offer one of these cards in next months (May’s) drawing.

Thursday, April 14, 2011

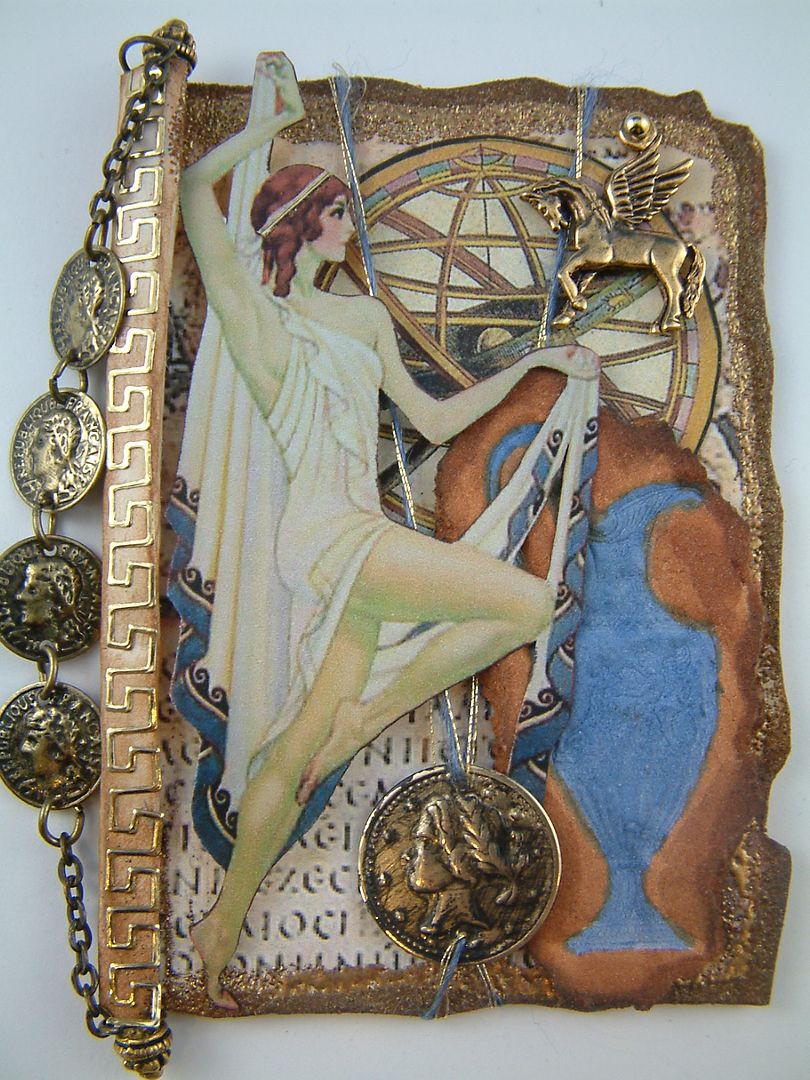
Polyhymnia Greek Goddess of Dance

The pot is paper clay that has been stamped, painted and inked.  Click here to see a tutorial on stamping paper clay.

Sunday, April 10, 2011

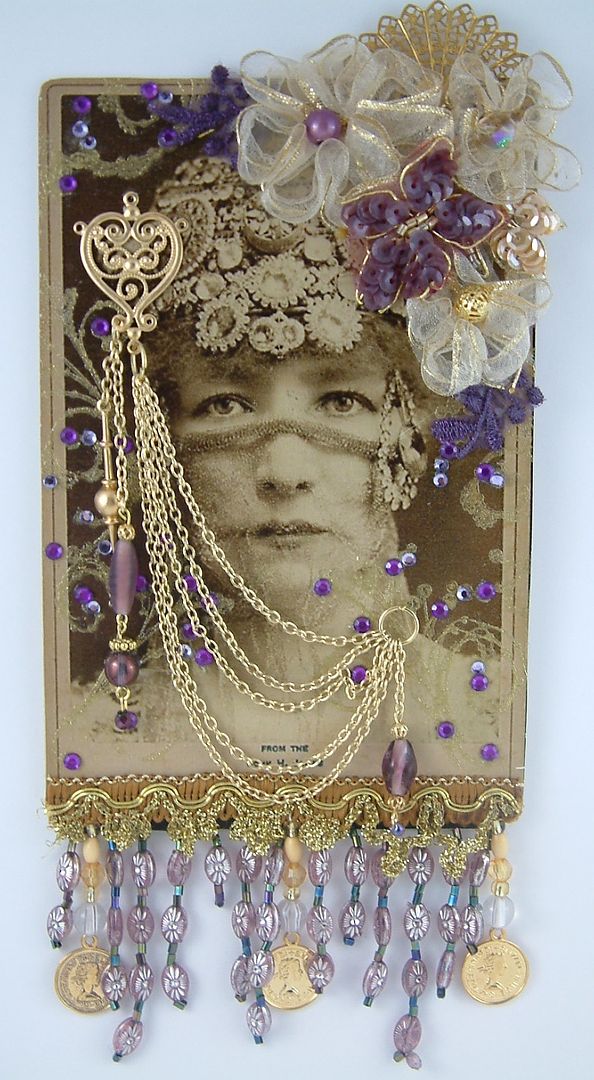
Hidden Beauty - Altered Cabinet Card

This is a altered cabinet card that I made for one of the creative team members (Julia Craighead).  As a group we've been doing a couple of rounds of trading altered cards.