Welcome
I love answering your questions. If you ask them in the comment section, I have no way to answer you (if you haven't heard from me, that is why). If you use the "EMAIL ME" in the left column of this page, I will be able to respond to you. You can also use it if you want to be added to my newsletter. Laura
Saturday, December 3, 2011
Sunday, November 27, 2011
Peace on Earth - Designed for Alpha Stamps
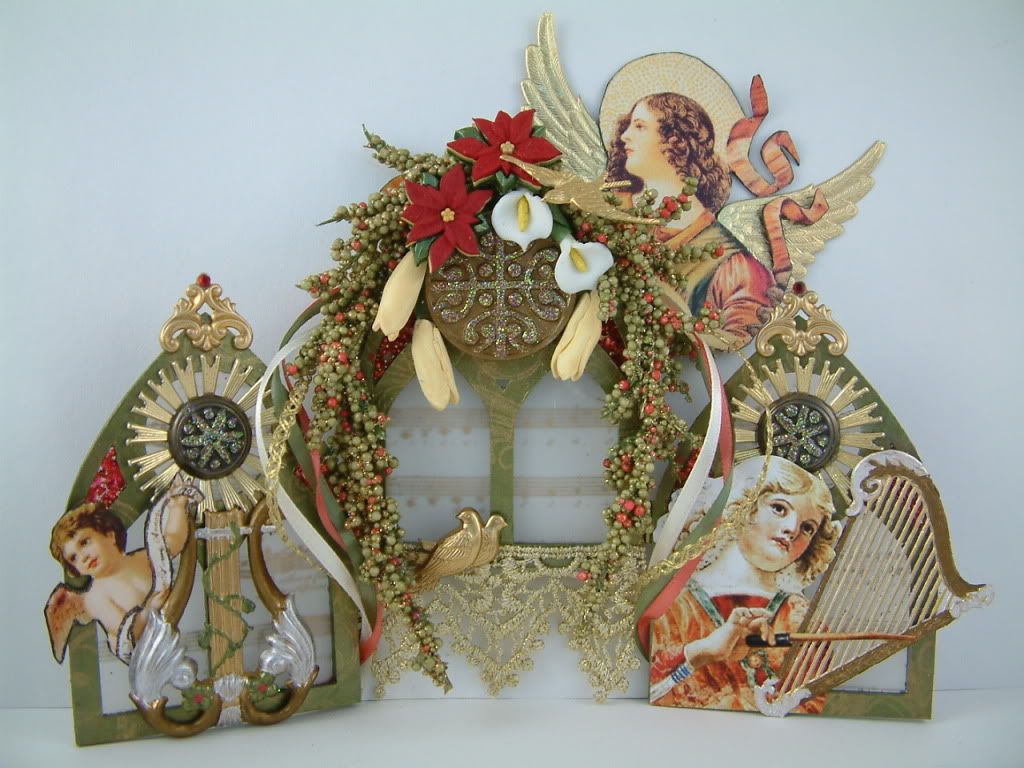
This is the last of the Christmas themed pieces I designed for Alpha Stamps. To create the base I used small metal hinges to hinge together 3 ATC sized Masonite gothic arches. The music paper in the background is stamped vellum. I raised up the center ATC and added lace to the bottom.
Alpha Stamps products used in this piece:
Monday, November 21, 2011
Saturday, November 19, 2011
Thursday, November 17, 2011
Tuesday, November 15, 2011
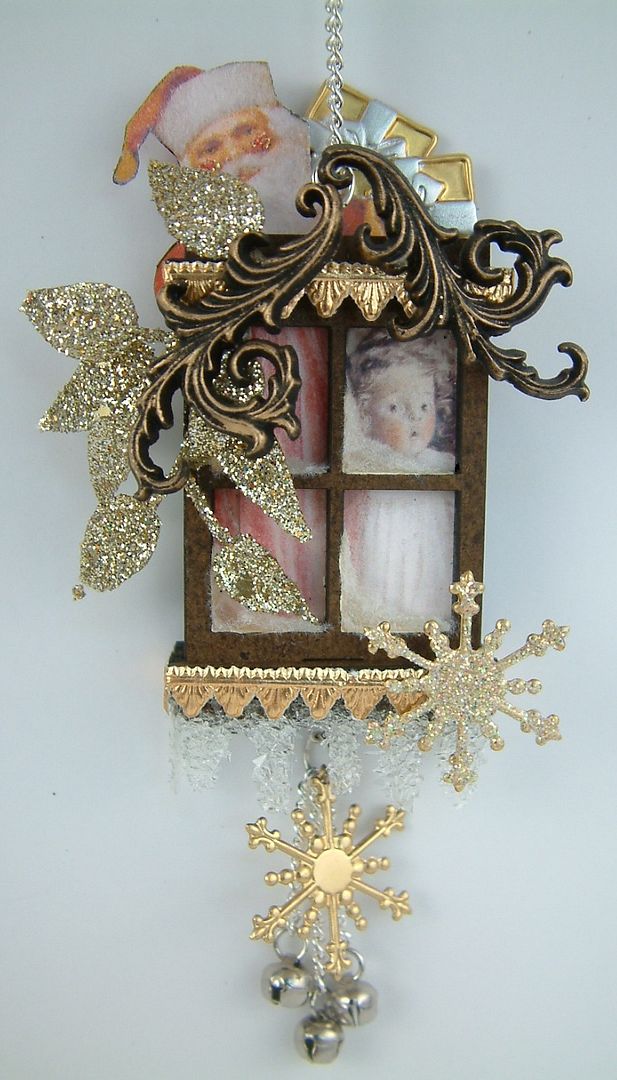
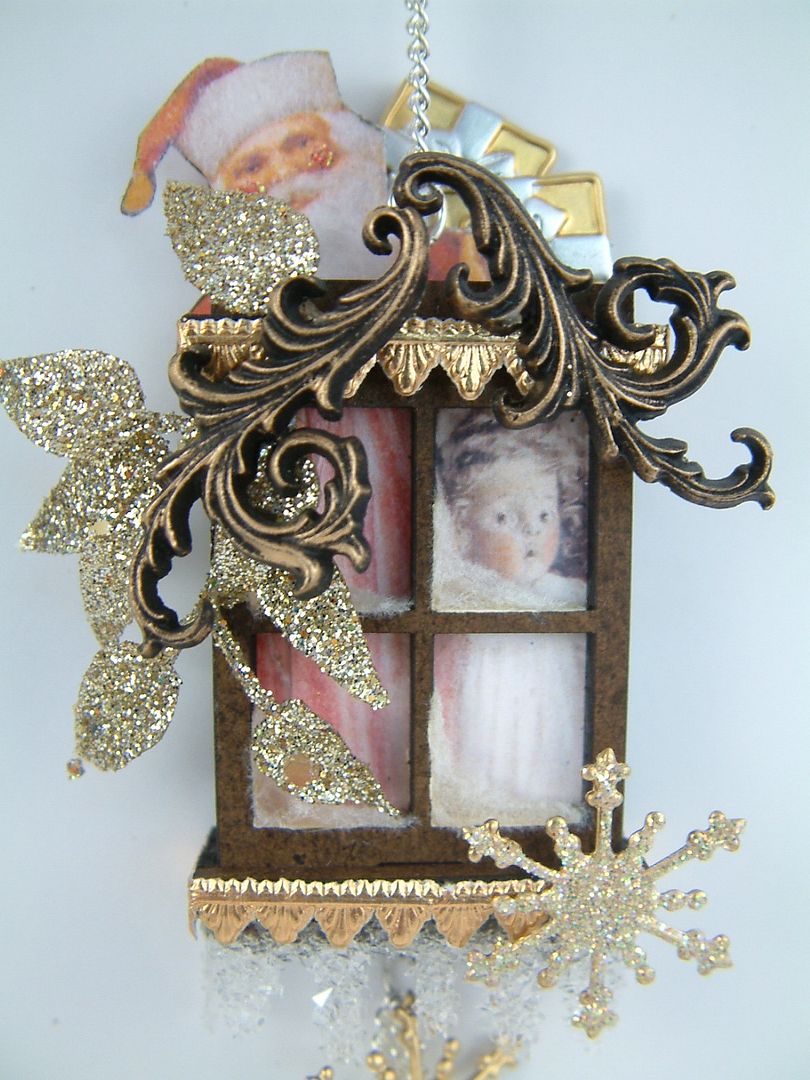
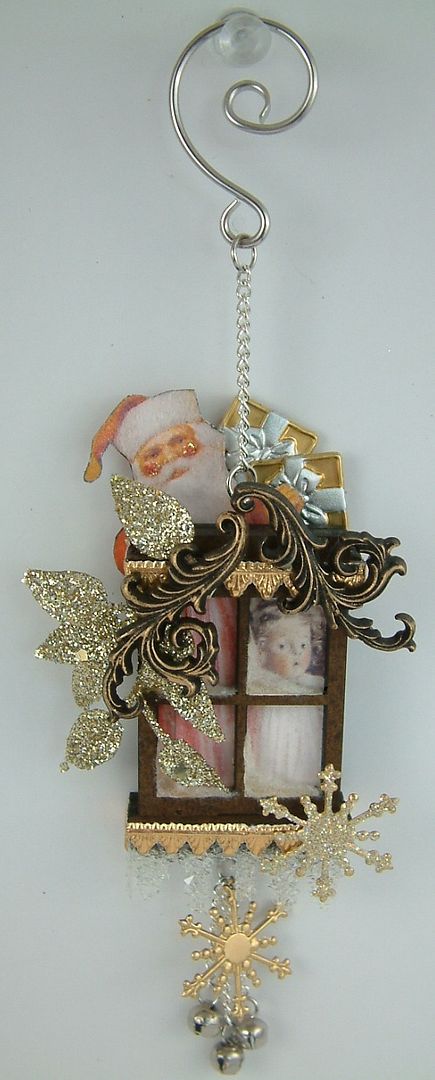
I Do Believe - Window Trinket Ornament Designed for Alpha Stamps
This ornament is another piece that I designed for Alpha Stamps.
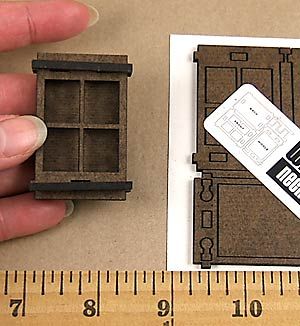
The base is made from a masonite Window Necklace Trinket. The masonite is 1/8" think and is easy to assemble with just a bit of glue. The middle piece has two notches to hook the connectors from ball chain into (to turn the trinket into a pendant). There is a little space between the front of the window and the back to accommodate dimensional objects. The overall dimensions of the windows are 2” x 1 ¼”.
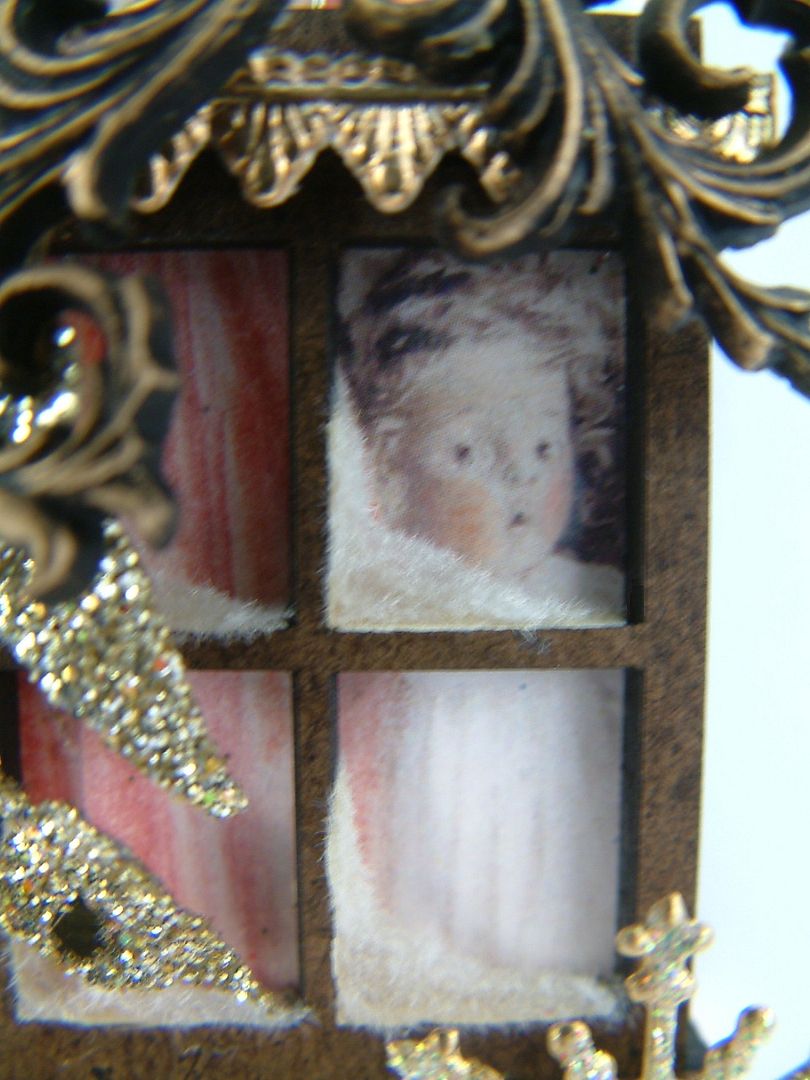
The image in the window was black and white so I used watercolor pencils to add color.
To give the window a touch of winter, I added snow and icicles. Click here to see the tutorial on how it is done.
Below is the list of Alpha Stamps products I used in this piece.
Saturday, November 12, 2011
Thursday, November 10, 2011
Mail Art
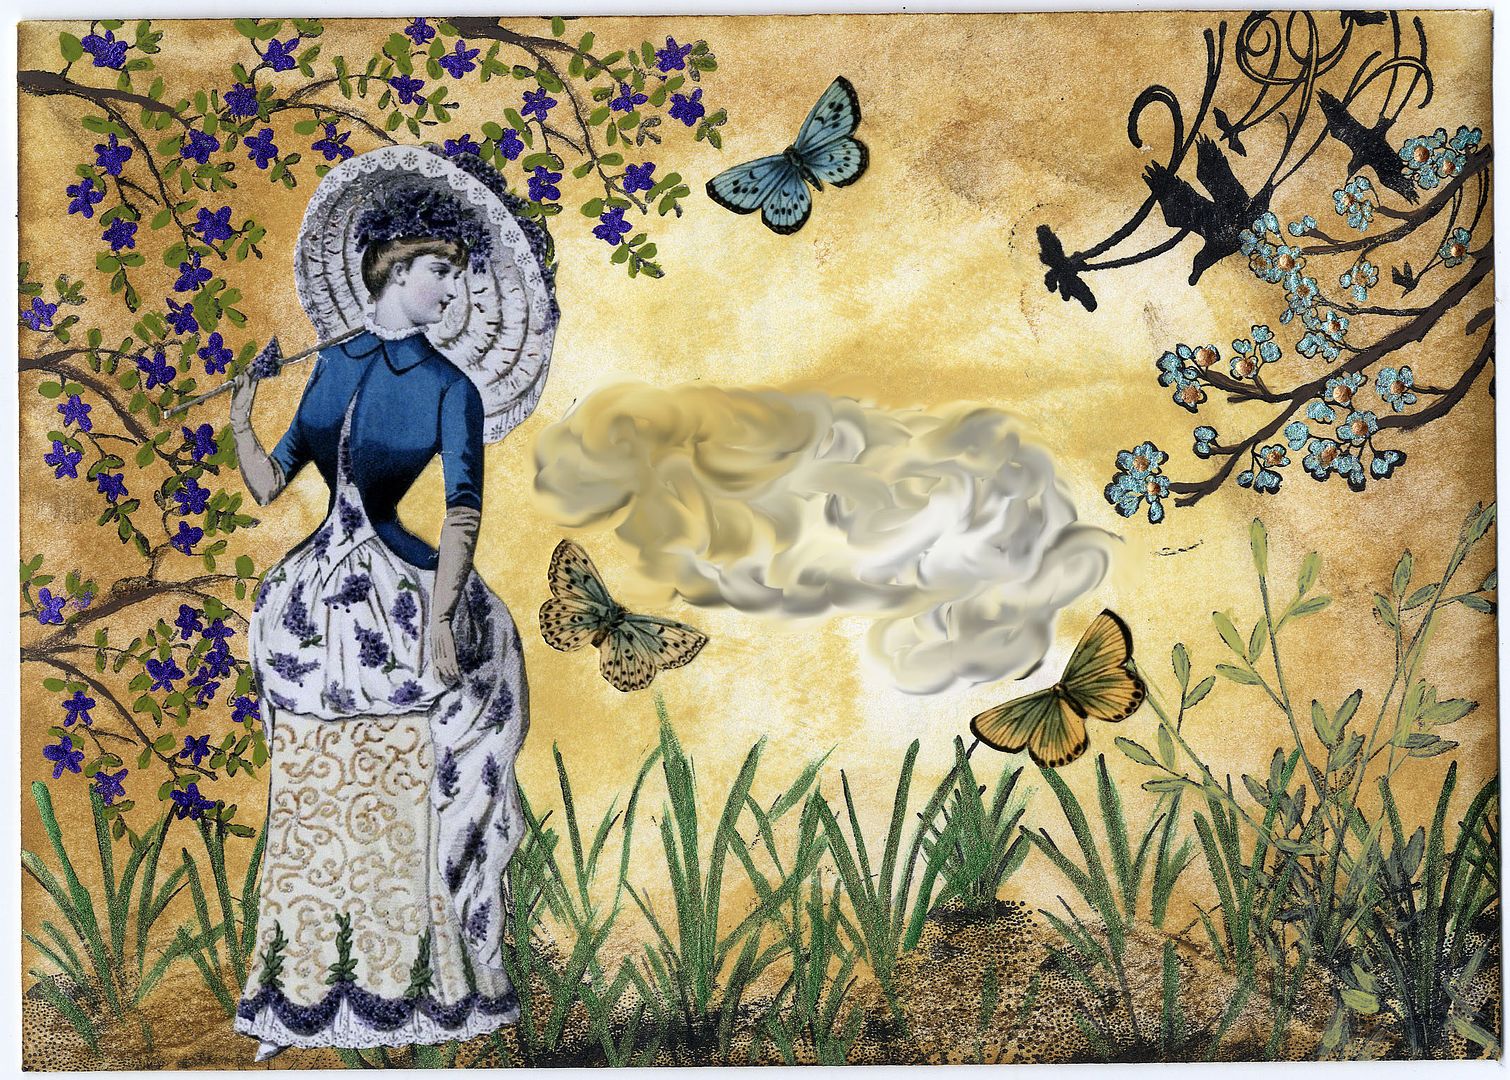
I made one of these envelopes for each of the girls in the Creative Team. I started by adding shades of yellows and browns to the blank envelope using Ranger Distress Inks. Next, I stamped branches, grasses and birds. I used metallic paints to add flowers, leaves and to color the grass. Lastly I glued on the image of the woman and the butterflies. The swirl in the center is just where I digitally blurred the address.
Wednesday, November 9, 2011
Sunday, November 6, 2011
Blogaversary
Today is the day of my first blogaversary!!
It was one year ago today when I launched Artfully Musing and now 517 posts later; whew what a year it has been. I am so grateful to all of you who follow me, be it through Blogger, Email (Feedburner), Pinterest, Facebook etc. Your comments and support inspire me and my hope is always to inspire you. Thank you. I would also like to thank the Creative Team members (Connie, Fran, Julia, Karol, Marilyn, and Naomi) who contribute their art to the blog. These ladies are also my close friends, art buddies and were instrumental in pushing me to do more with my art. I’m looking forward to another fabulous year of art and sharing. I hope you are excited to go with me.
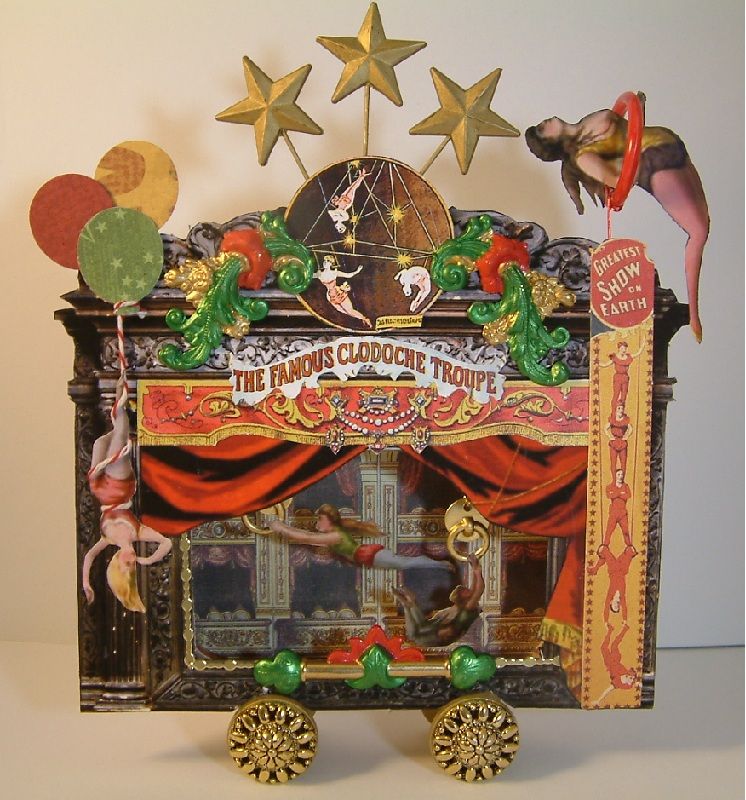
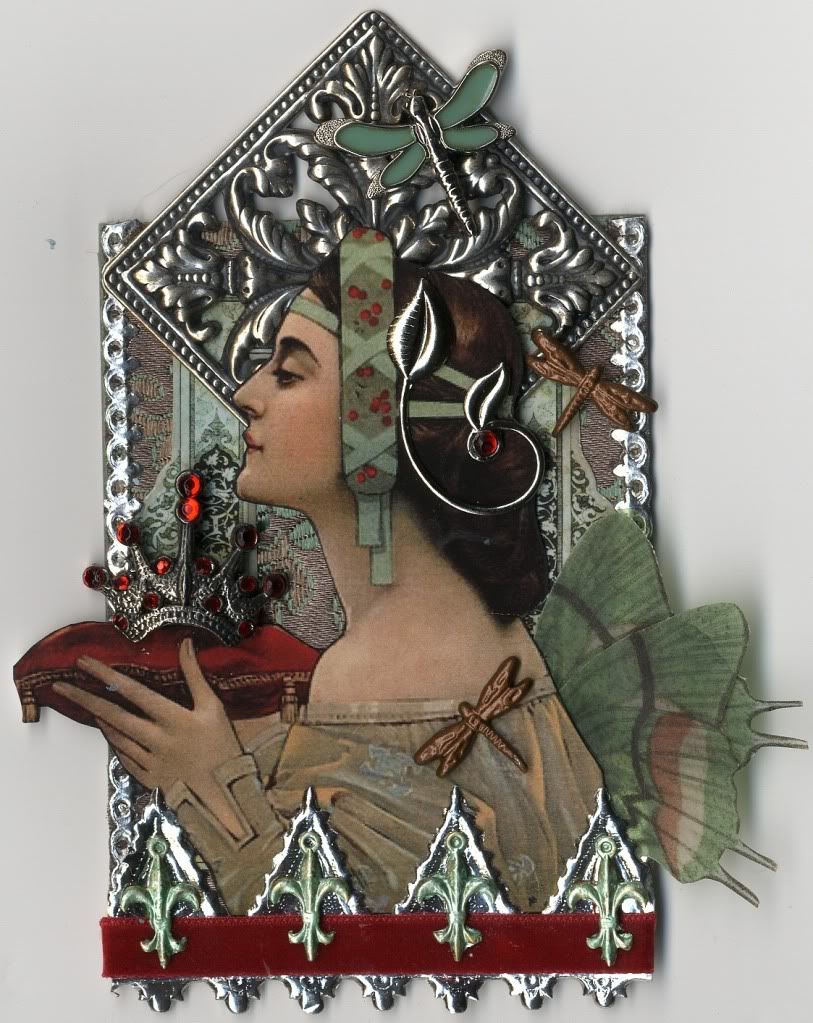
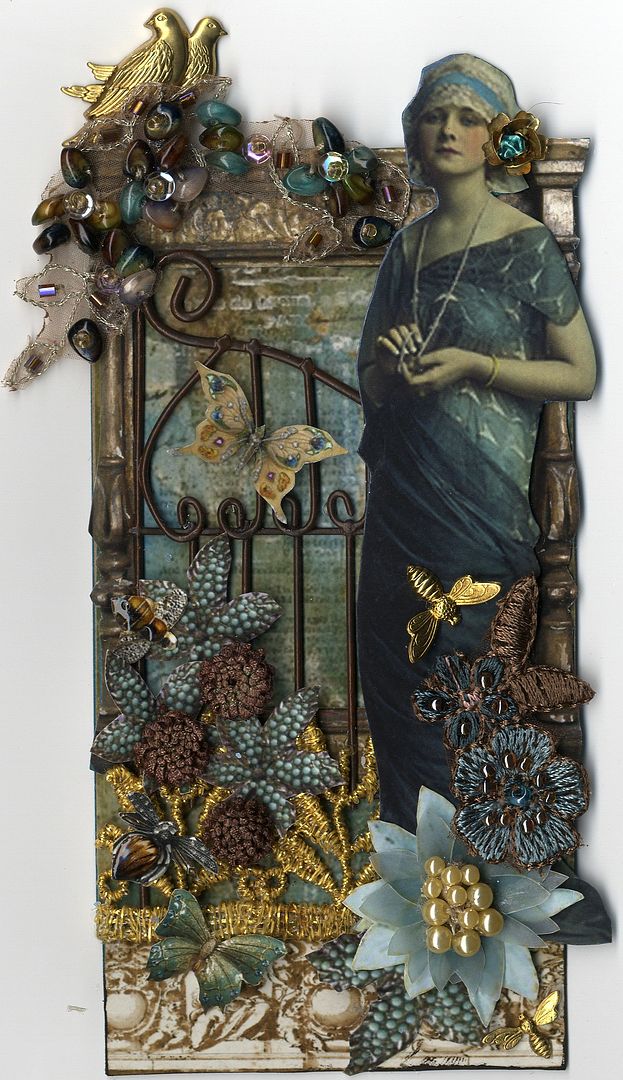
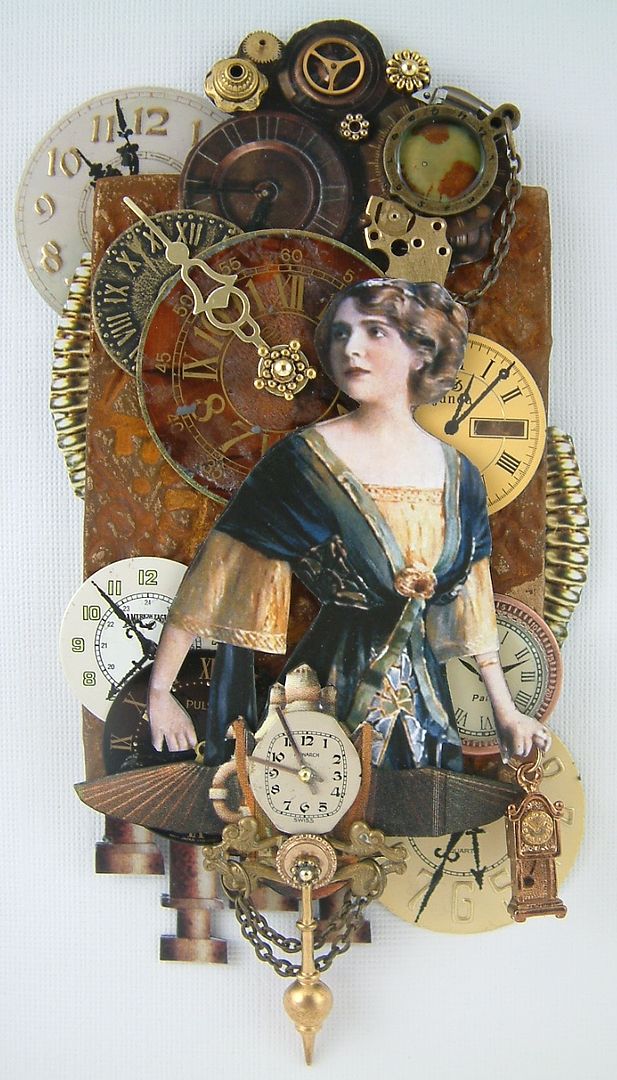
For today’s post I thought I would take a walk down memory lane and post some of my favorite art pieces from the past year. For me, looking at these pieces I can see an evolution in my art. I can see where I decided to try new things (steampunk), abandoned the idea that the art had to be a certain size and just went with the size that worked the best and where I tried new techniques and products. Who knows what will be next.
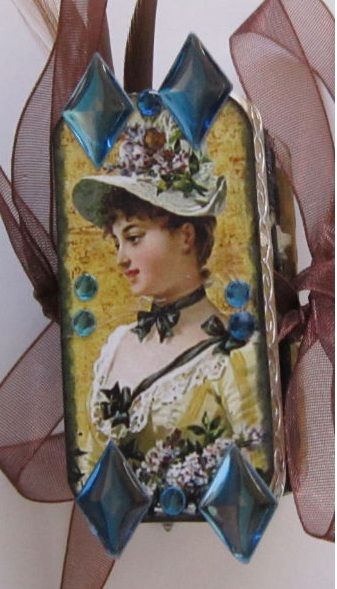
Art Nouveau - Glass Art
Le Courtesan – Altered Cabinet Card
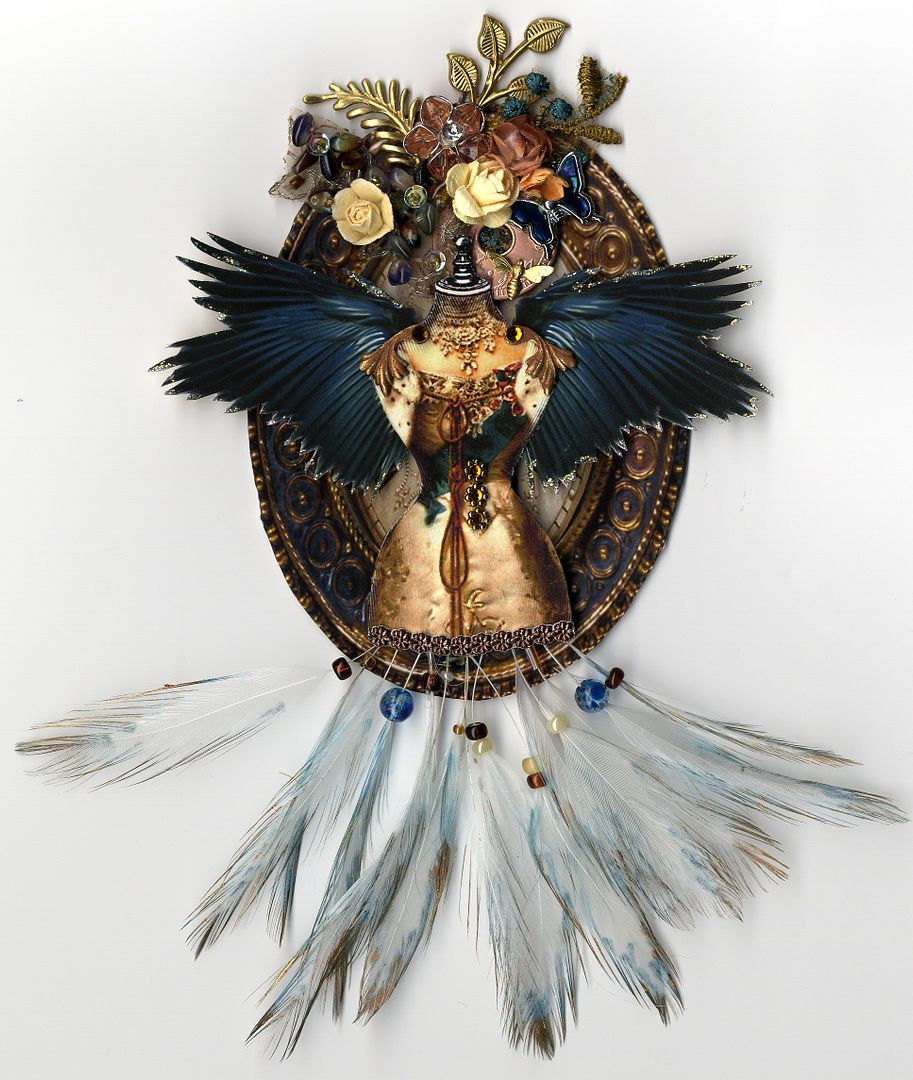
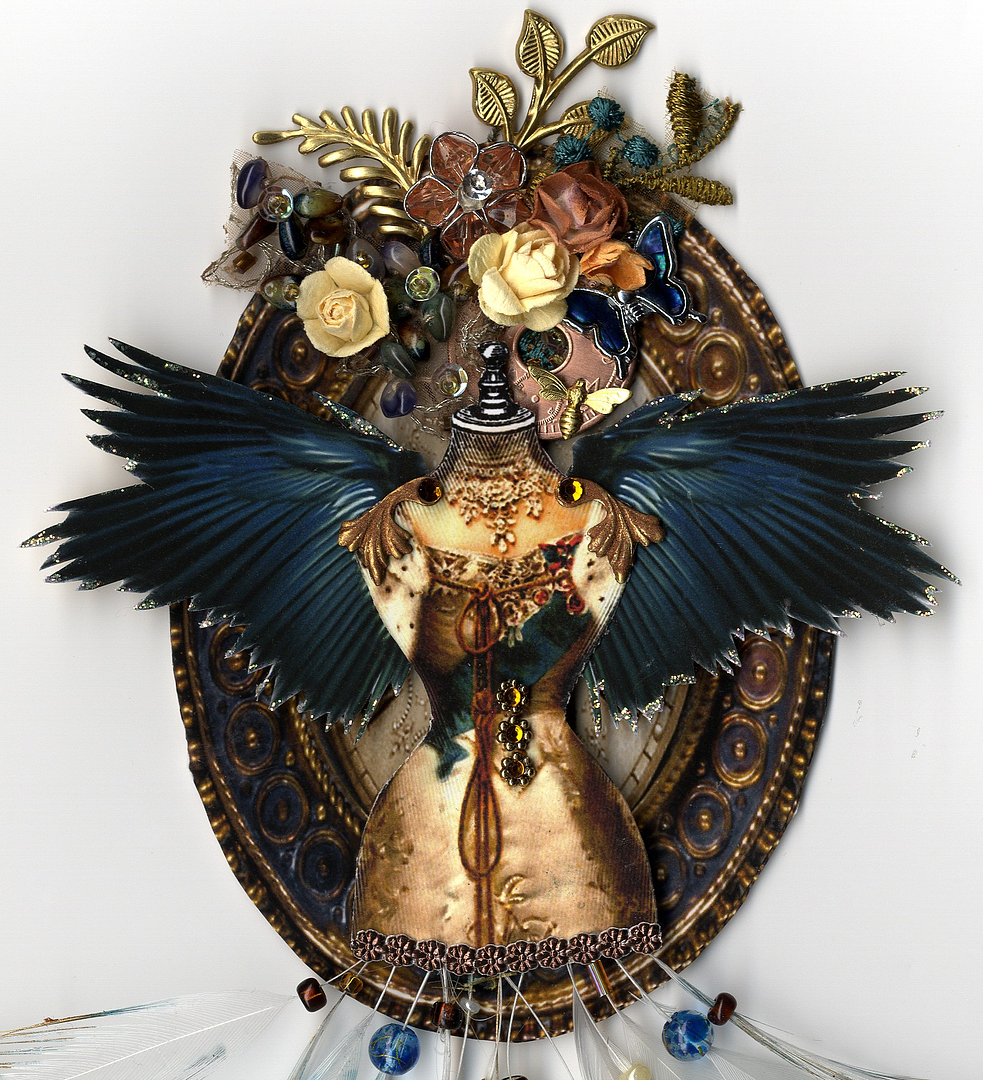
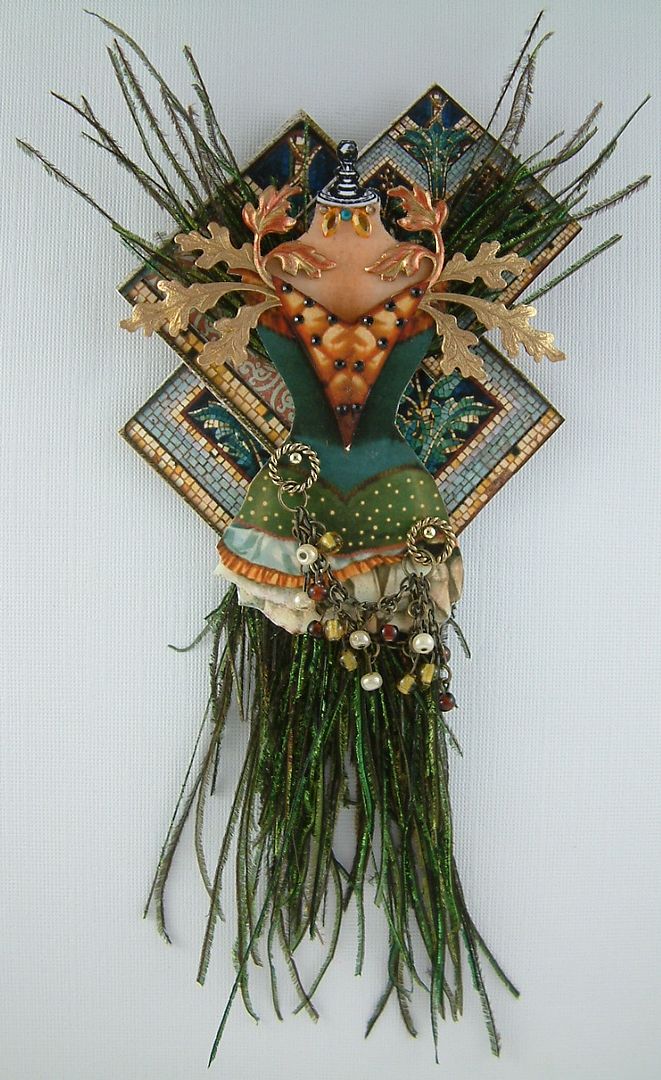
Dress Form
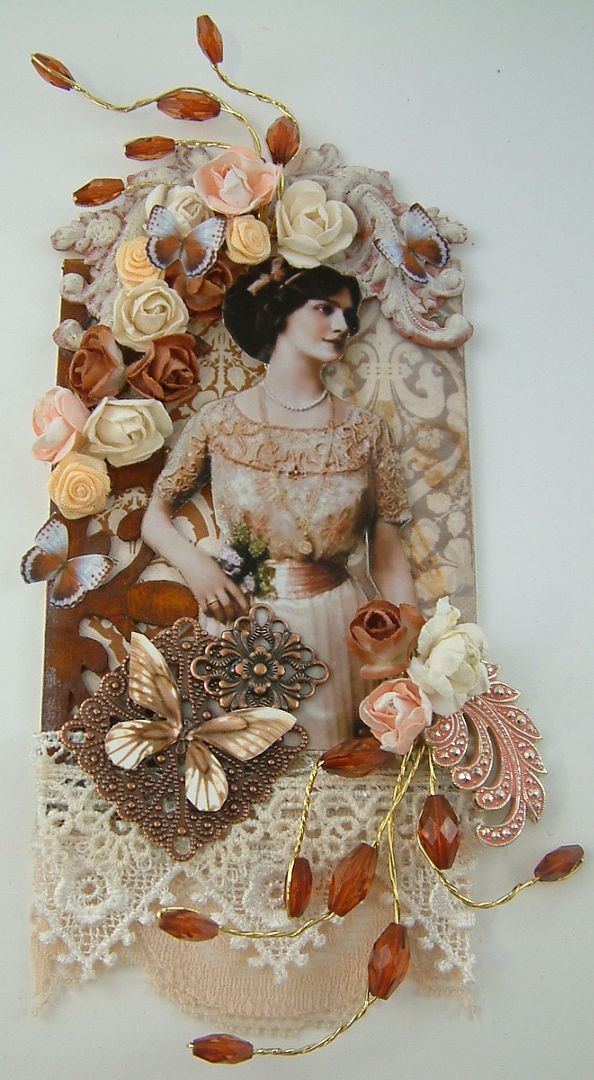
Butterflies Follow Her Everywhere
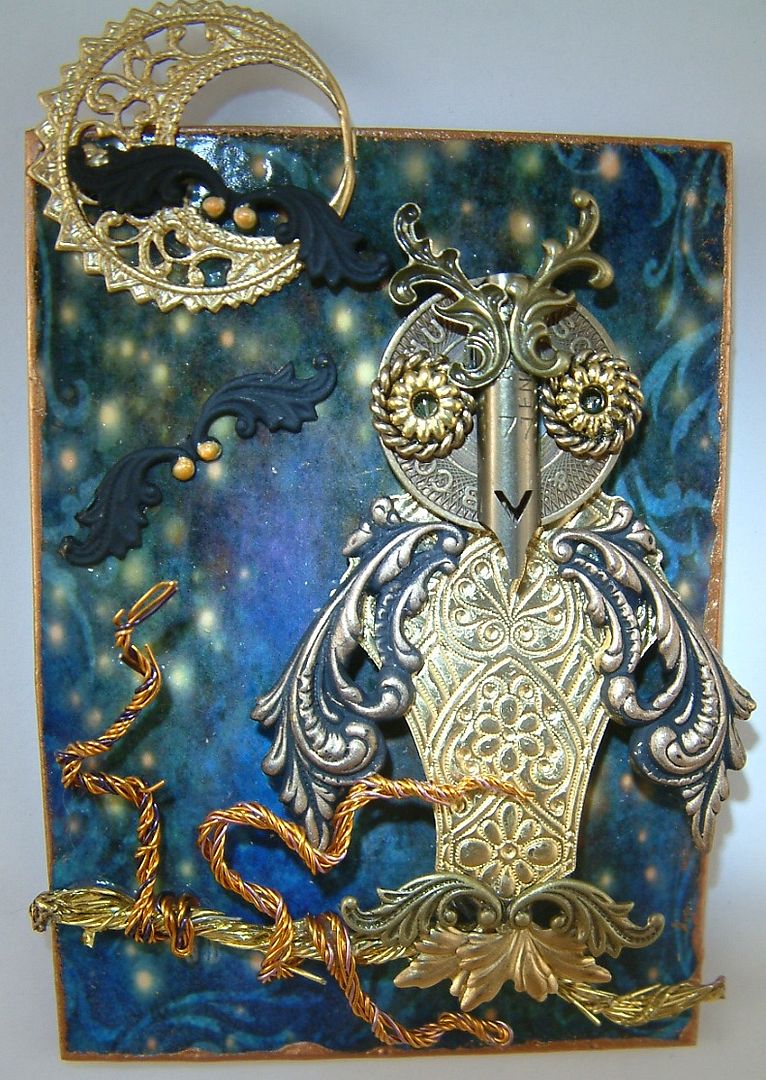
Steampunk Owl
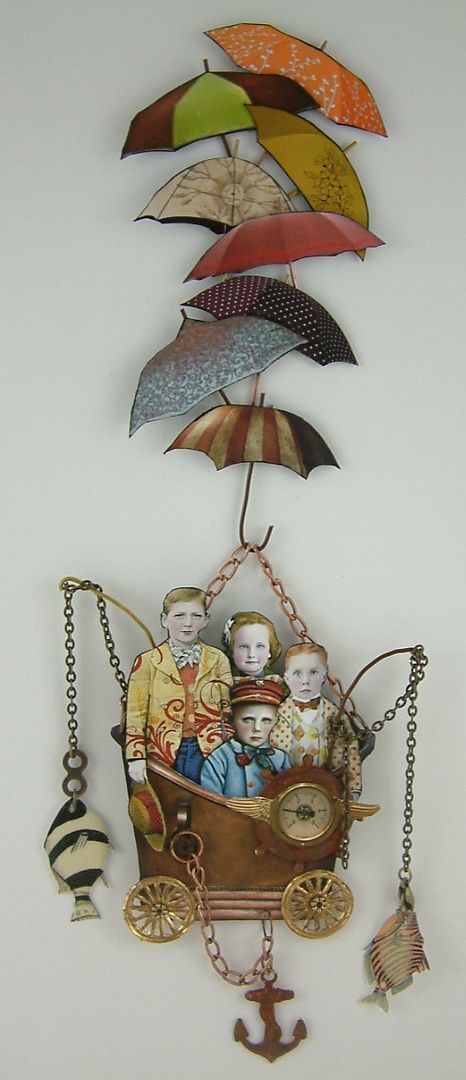
Living a Boy’s Adventure Tale
Mermaid Garden
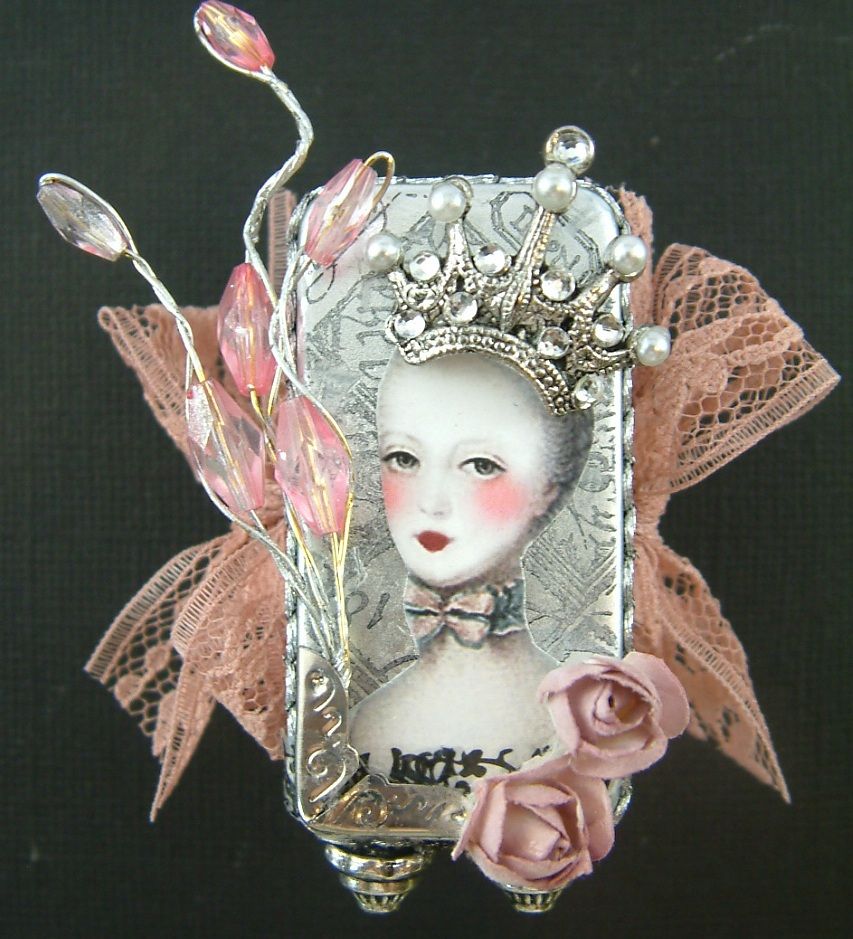
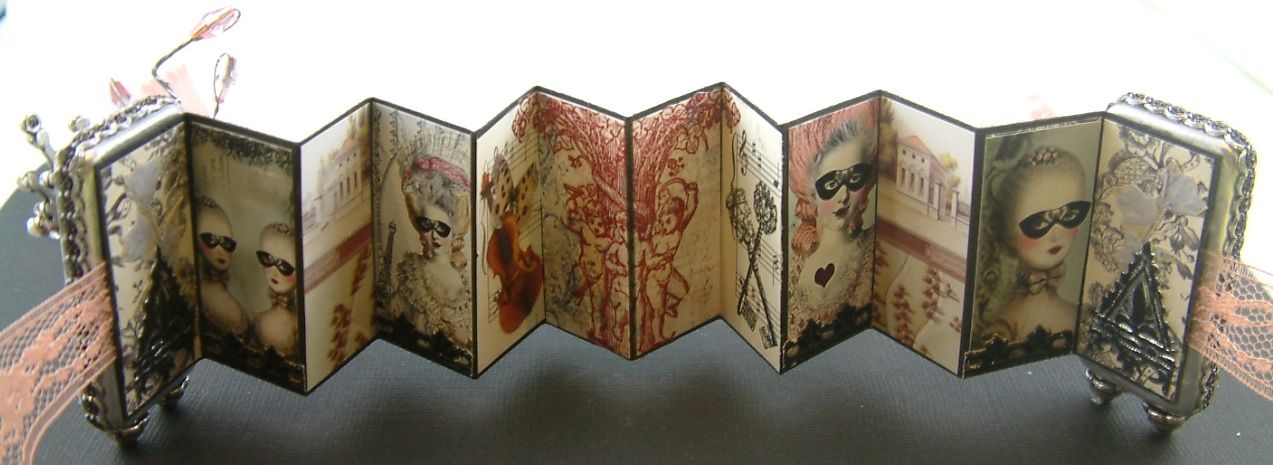
Marie Antoinette Domino Book
Behind the Garden Wall
Lost in Time
Ship Ahoy
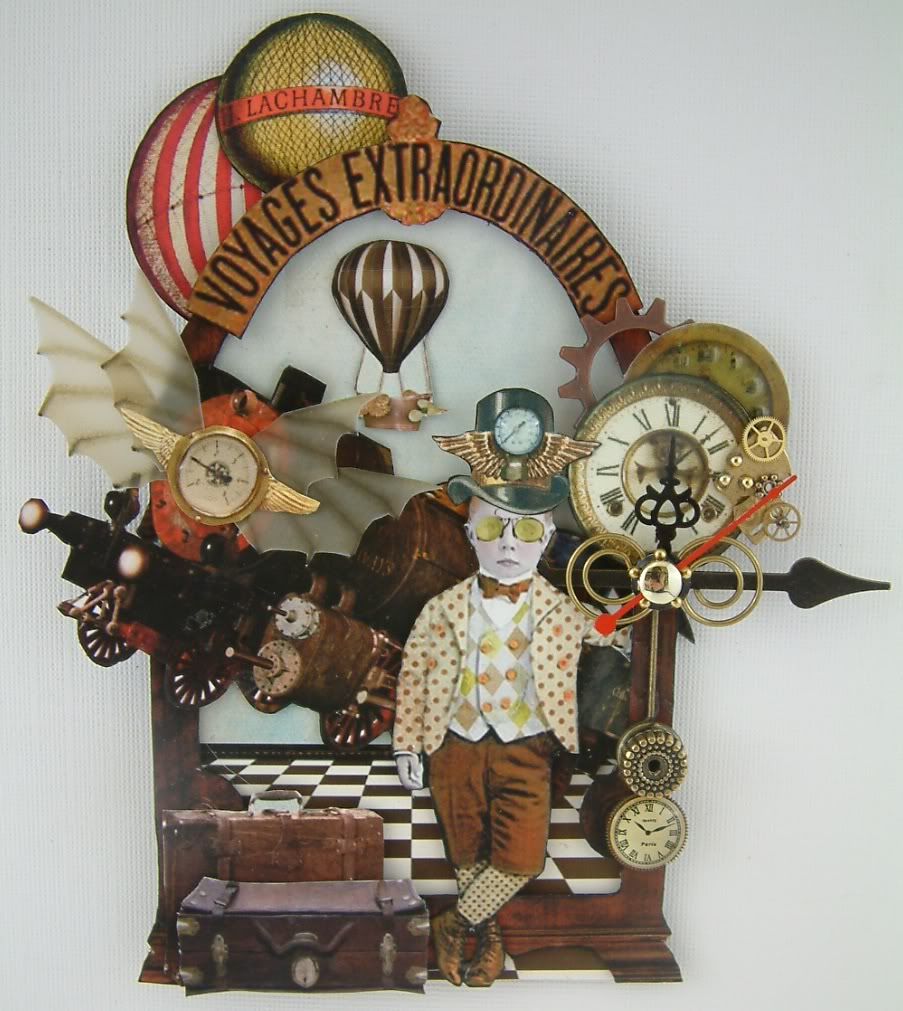
Voyages Extraordinaires
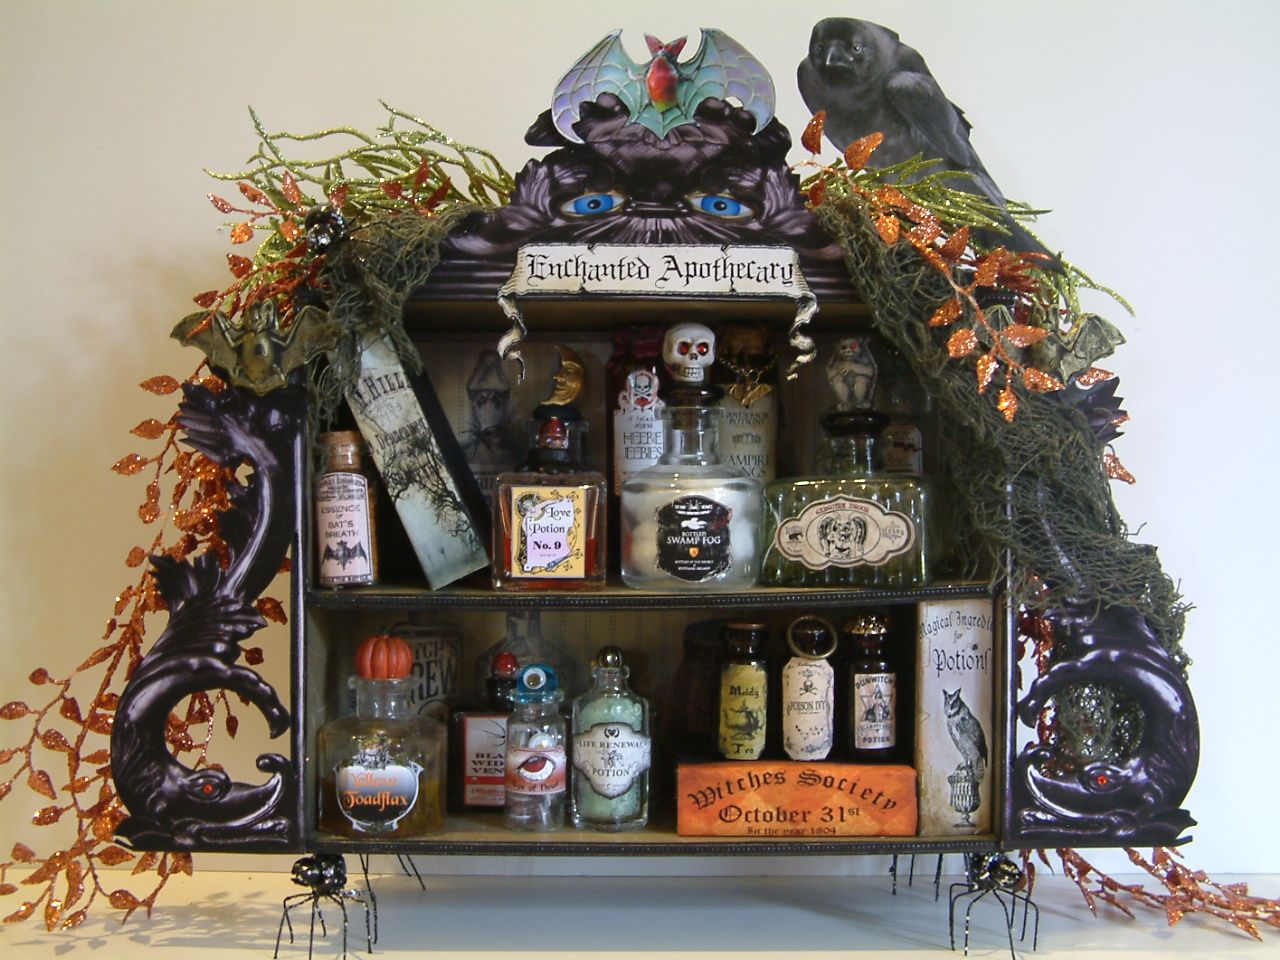
Witches Apothecary
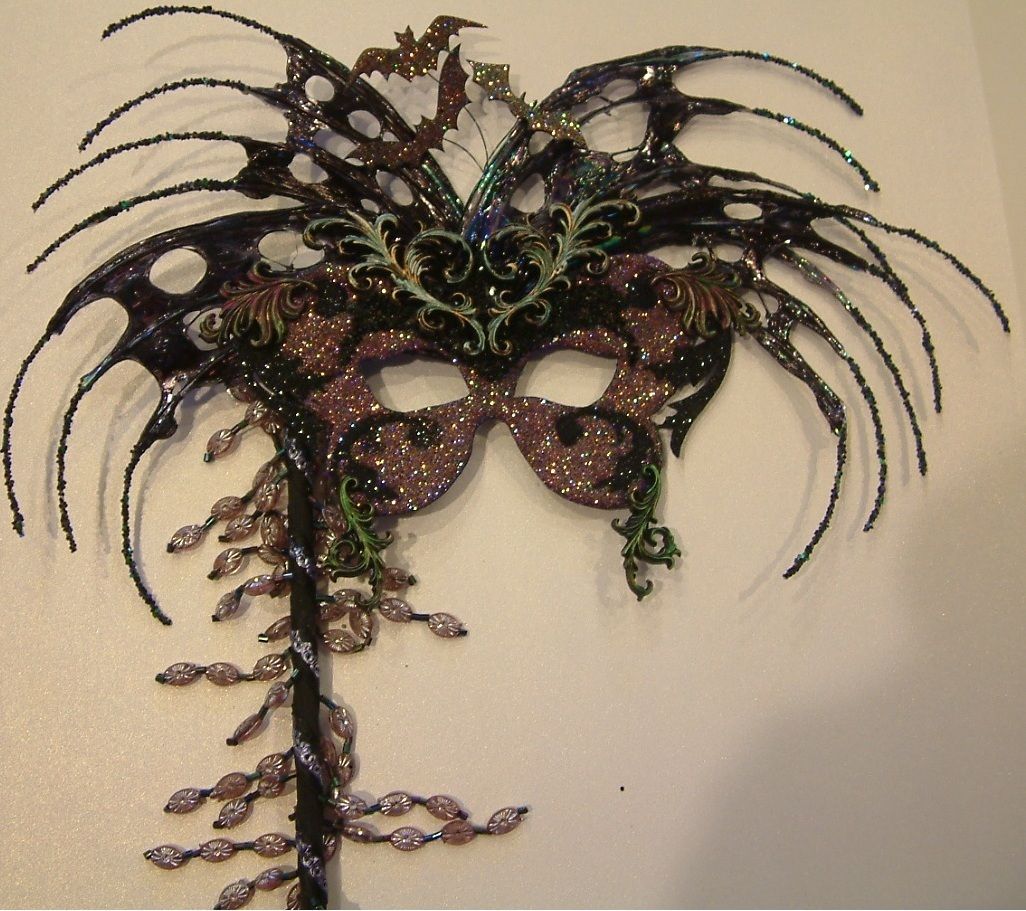
Witches Mask
Saturday, November 5, 2011
Mini House Ornaments Designed for Alpha Stamps
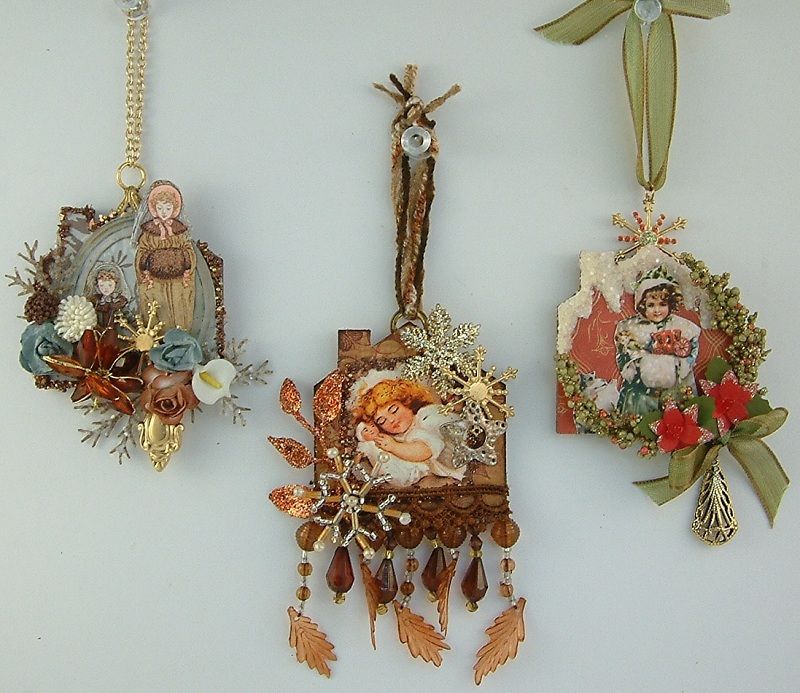
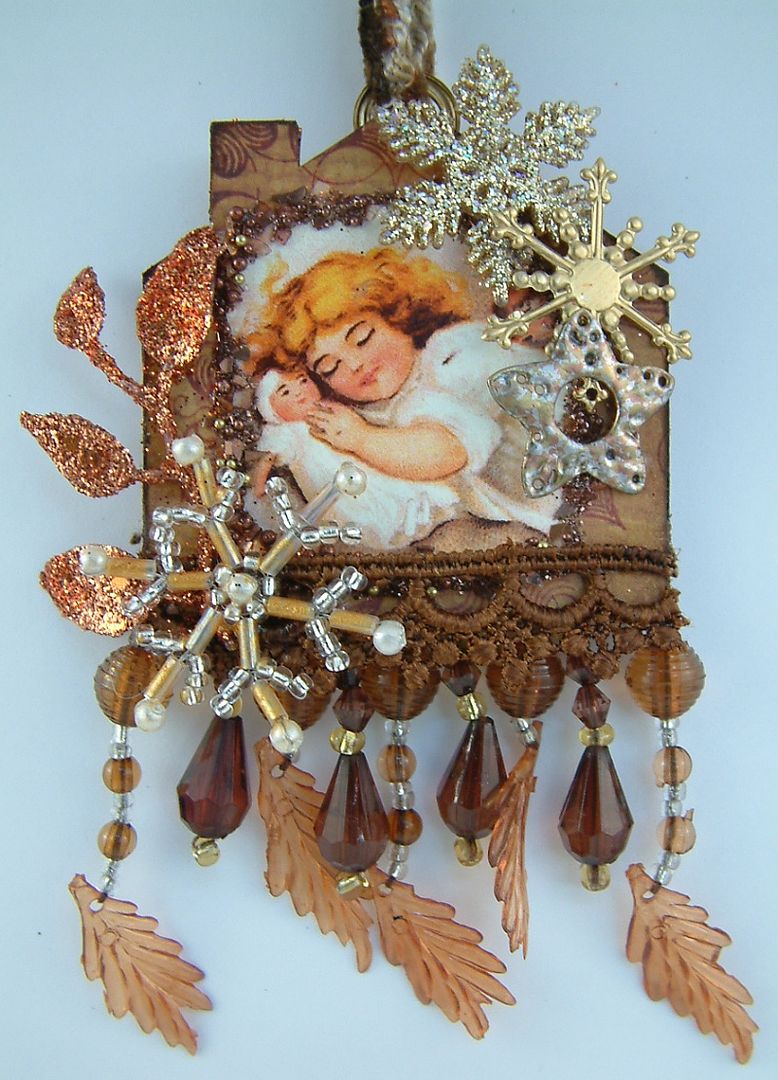
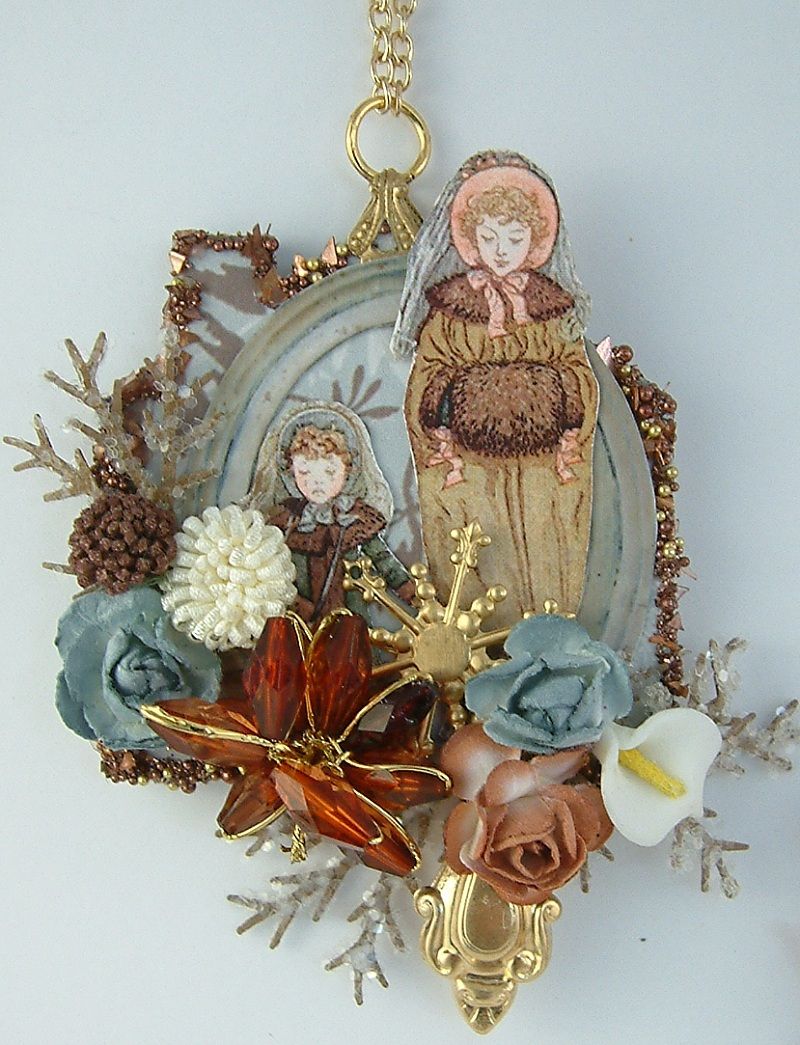
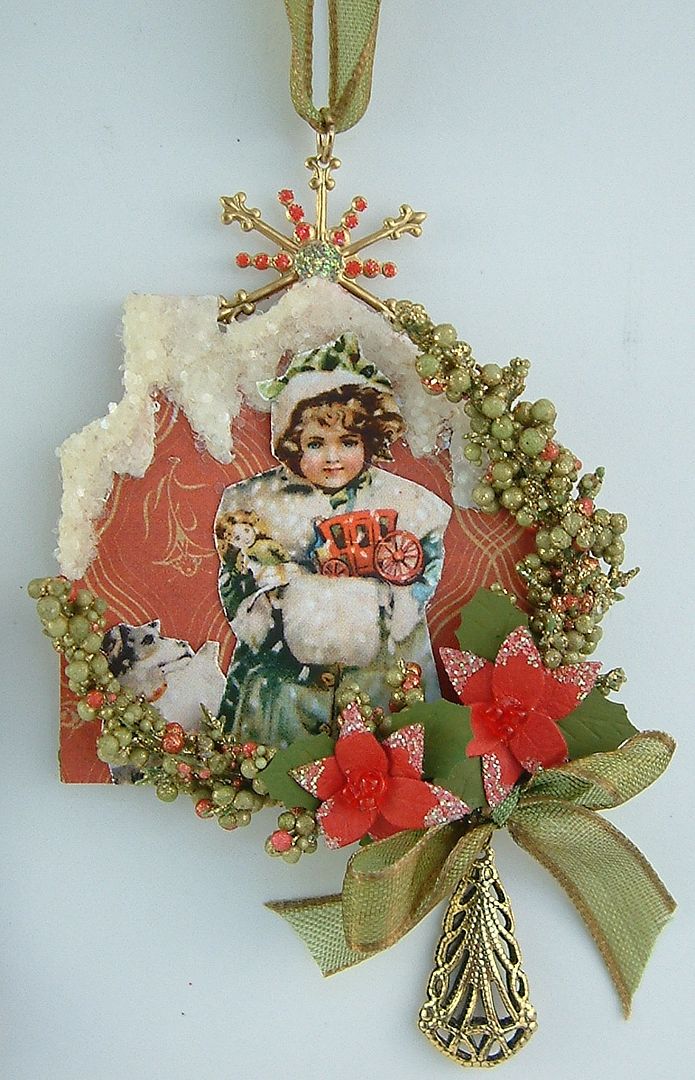
This is a series of mini house ornaments I designed for Alpha Stamps.
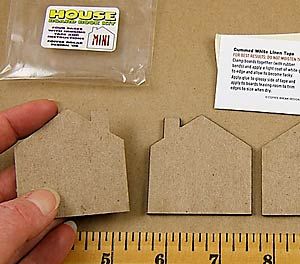
The base is made from Masonite shaped houses. Their overall dimensions are 2” x 2”. The package comes with four houses that you can decorate individually or hinge them together with metal hinges or a paper to create a book. One of the Design Team members (Rhonda Secrist) attached them vertically on a ribbon. I think they are the cutes things and I can see decorating them for other seasons and holidays.
All Snug in Their Beds
Alpha Stamps Products I Used:
A Winters Day
Alpha Stamps Products I UsedChristmas is Coming
Alpha Stamps Products I Used
It’s not too late to signup (deadline is Nov 6) for the Alpha Stamps “Home for the Holidays” swap where you make and exchange three of these house ornaments. I’m part of the swap so I’ll be swapping the three ornaments you see above.
Thursday, November 3, 2011
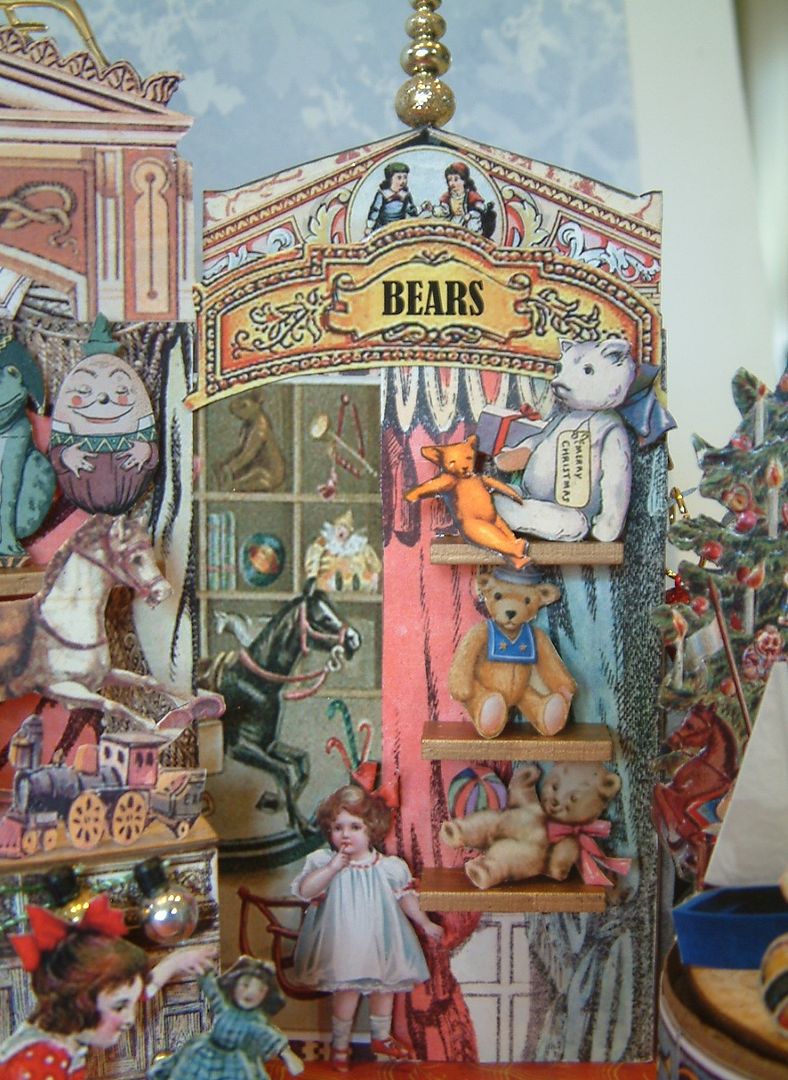
Victorian Christmas Toy Shop – Designed for Alpha Stamps
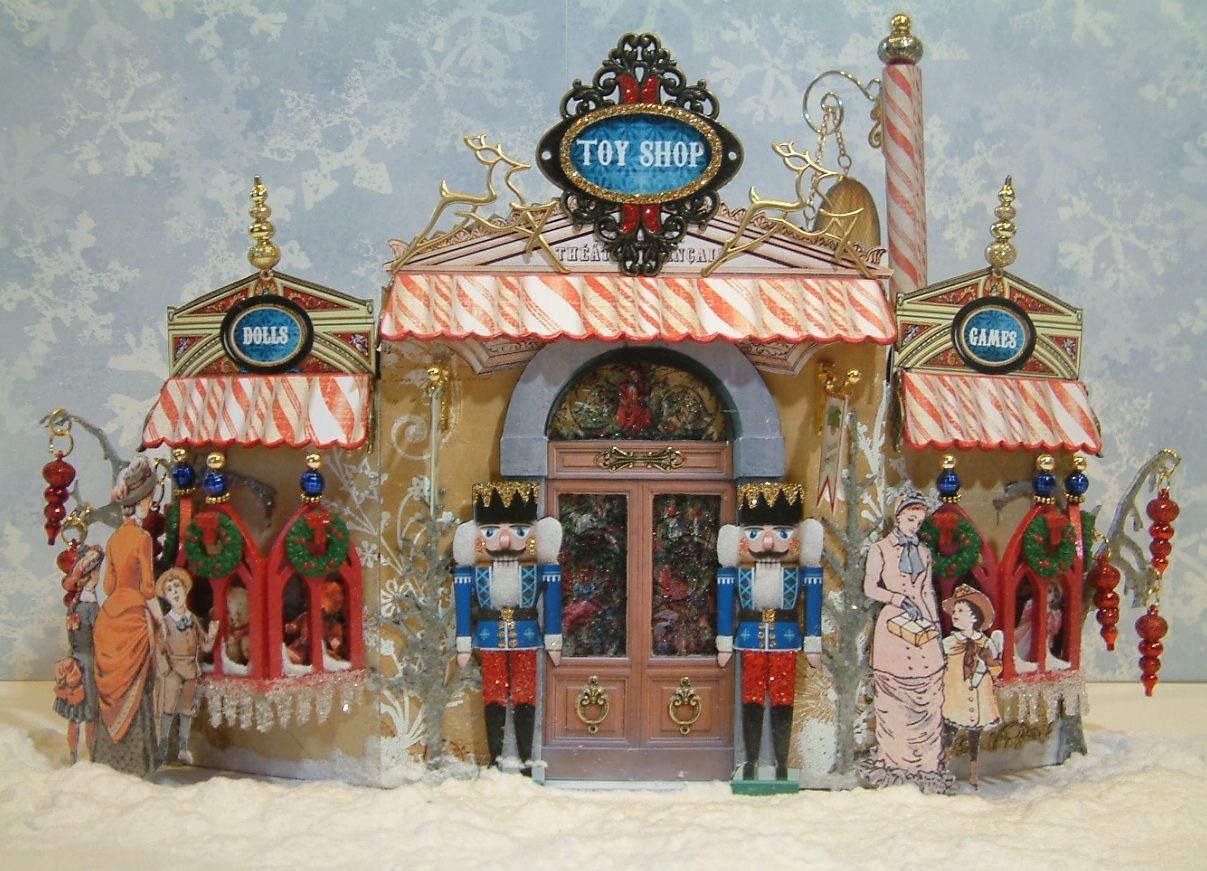
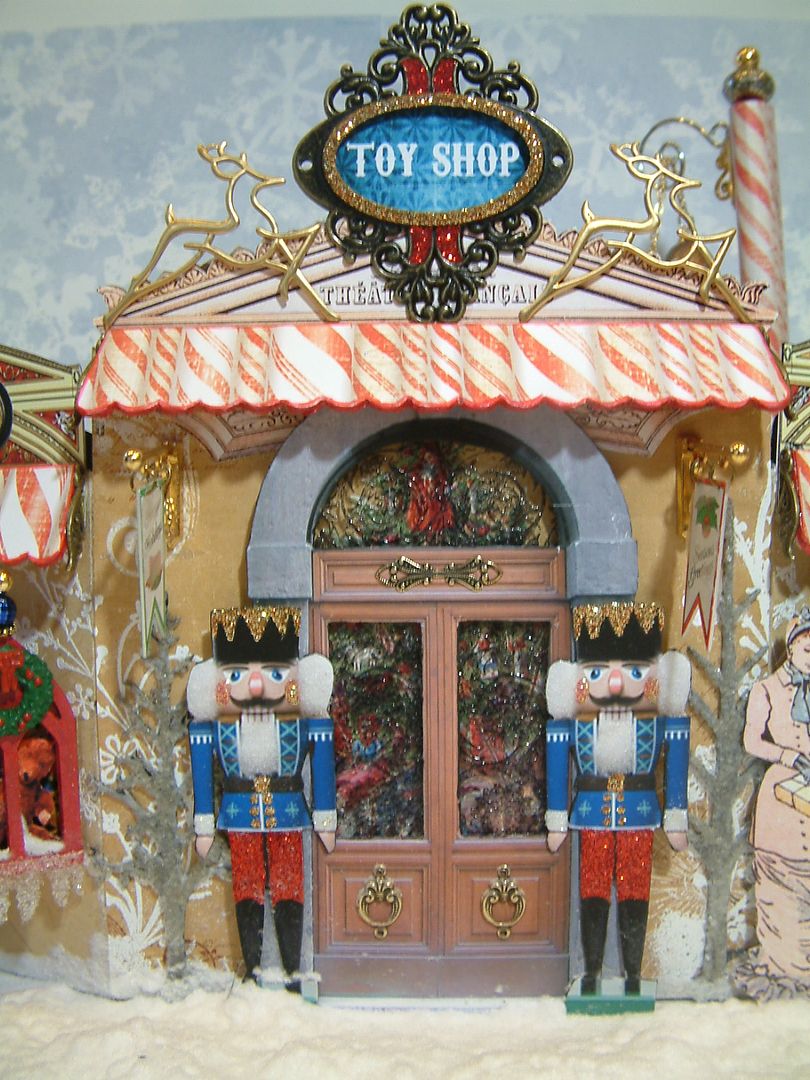
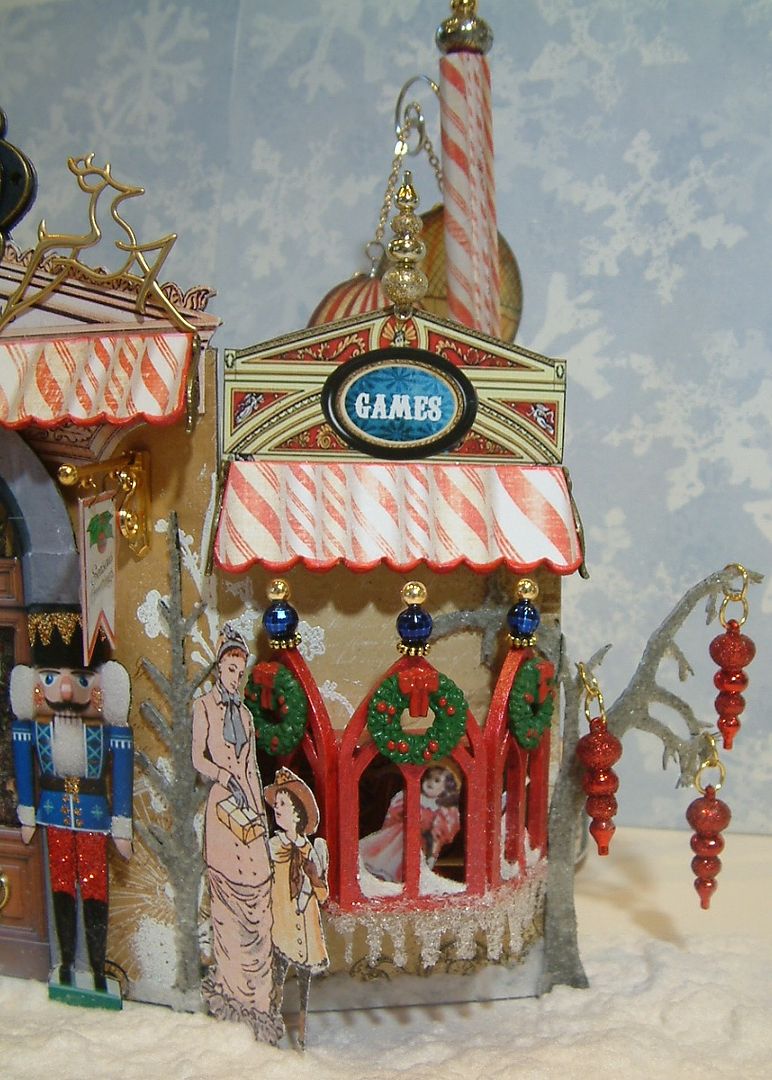
This Christmas Toy Shop is one of the pieces I recently designed for Alpha Stamps. In the picture above you see the outside of the shop.
INSIDE - CENTER
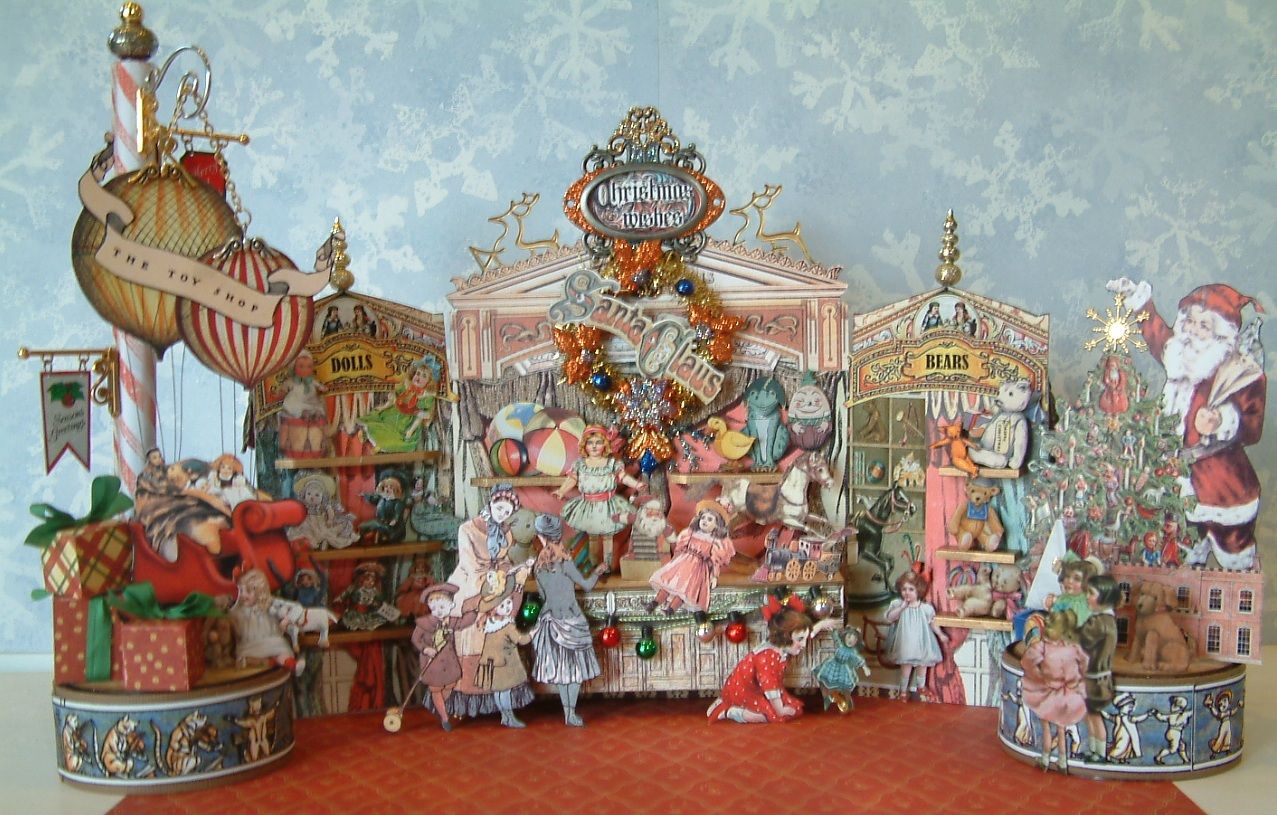
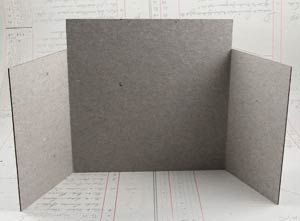
The picture above is of the inside of the shop. The base of the toy shop is made from a chipboard square shrine that you can find at Alpha Stamps.
FRONT – CENTER
The background made from decorative paper that I stamped and embossed with snow patterns. I added white flocking powder to the base to simulate snow.
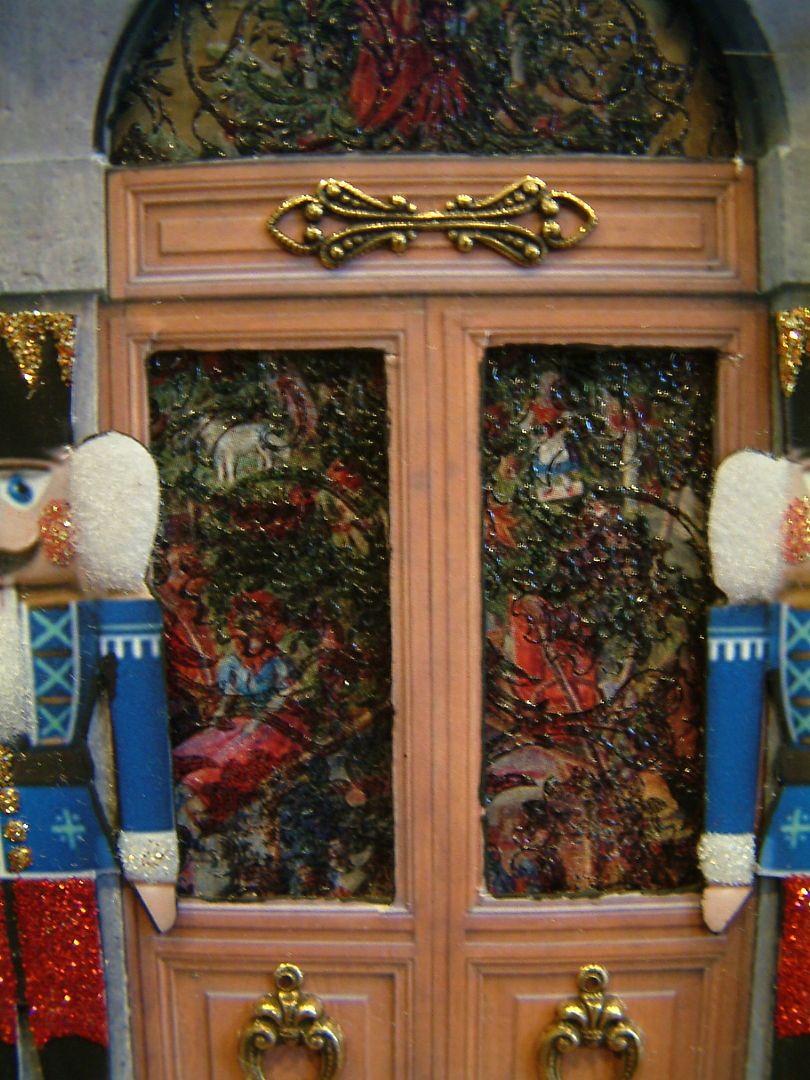
The inserts in the door are made of embossed glass slides. Click here to see a tutorial on how to emboss and paint glass. Behind the glass is a German Scrap Christmas Tree. The door is embellished with fold over bails and small fluer connectors.
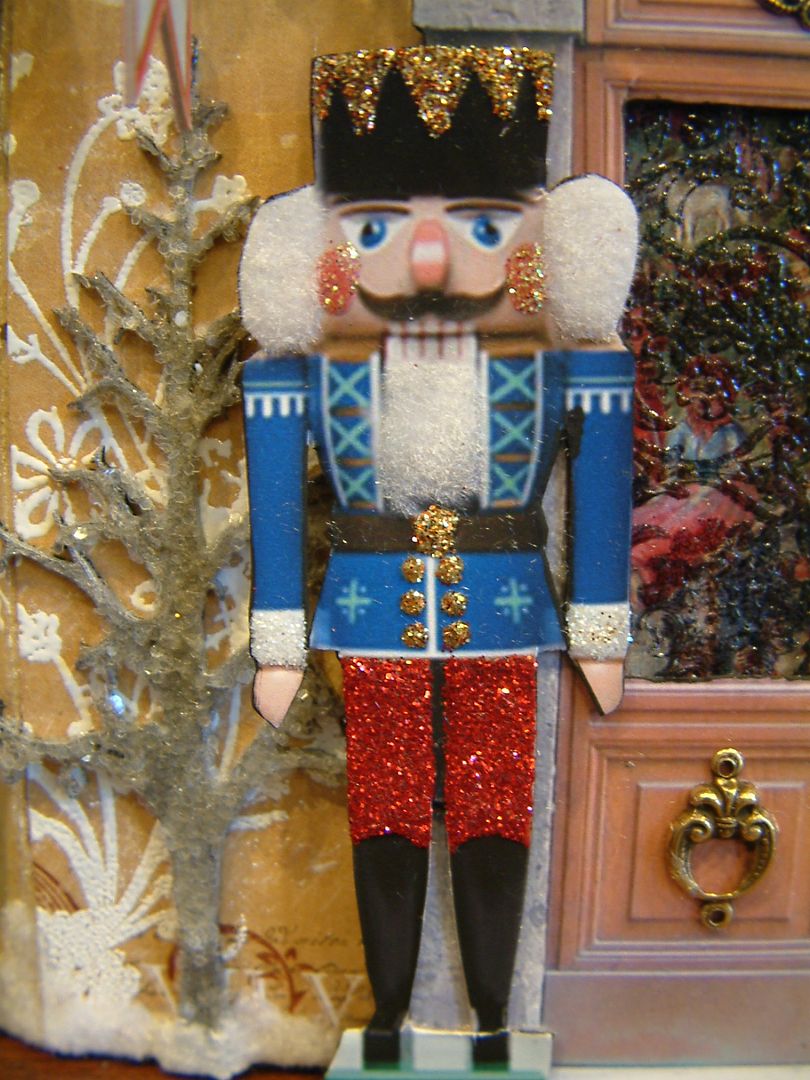
The nutcrackers are embellished with white flocking powder and glitter.
FRONT – LEFT SIDE
FRONT – RIGHT SIDE
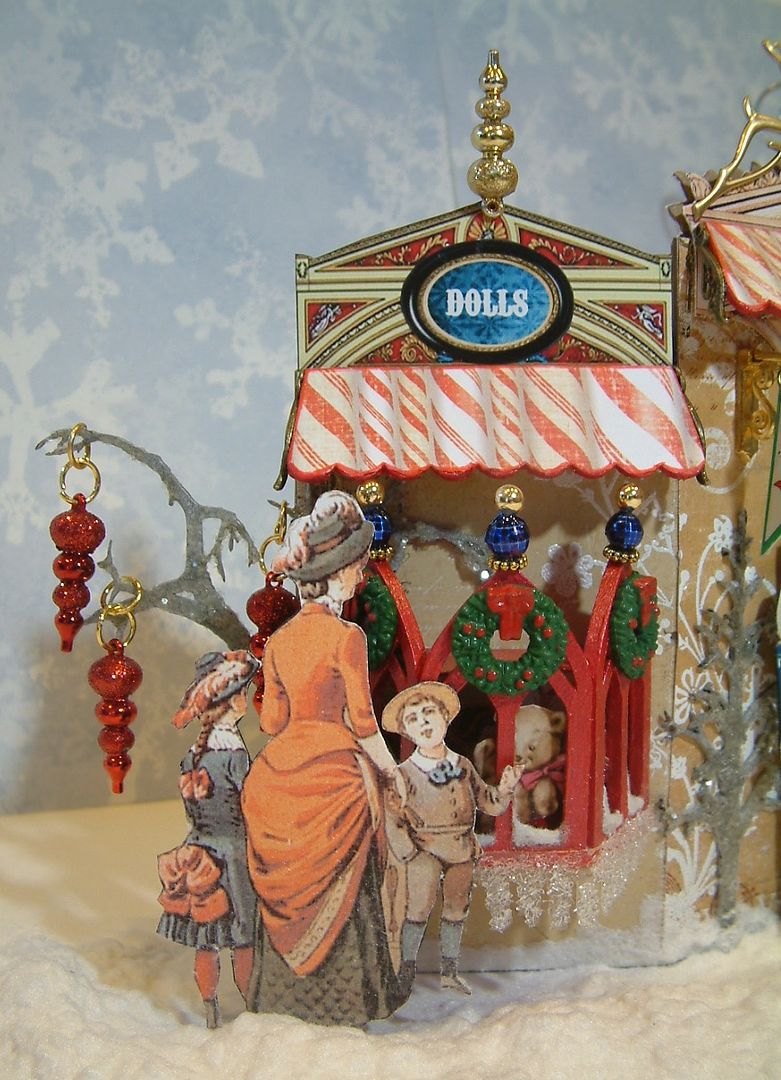
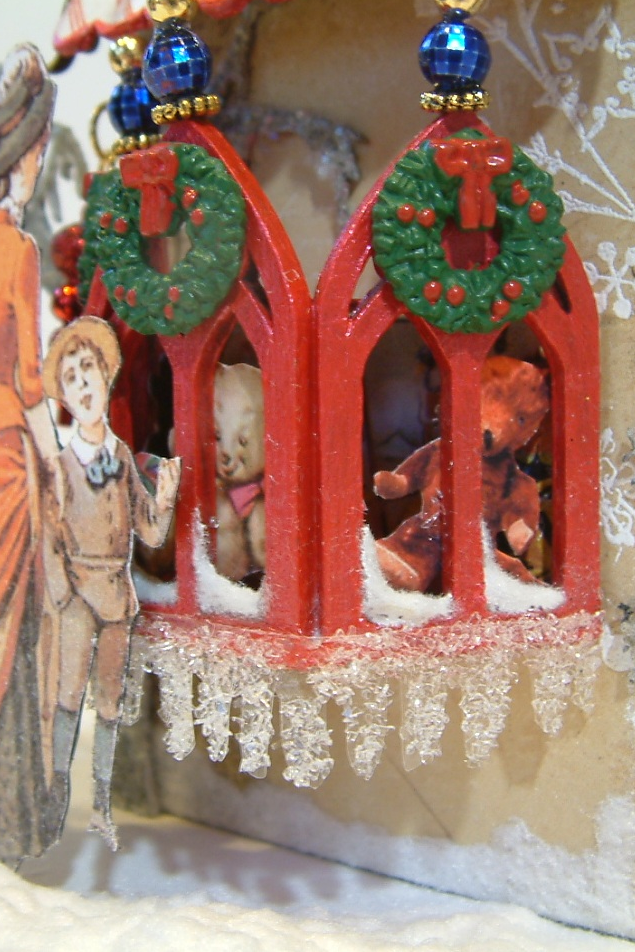
BAY WINDOWS
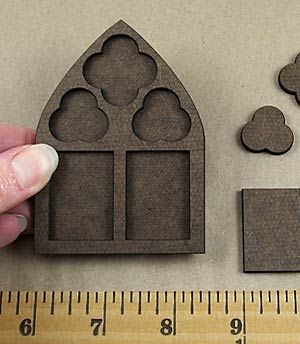
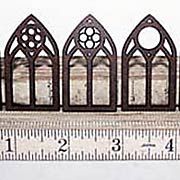
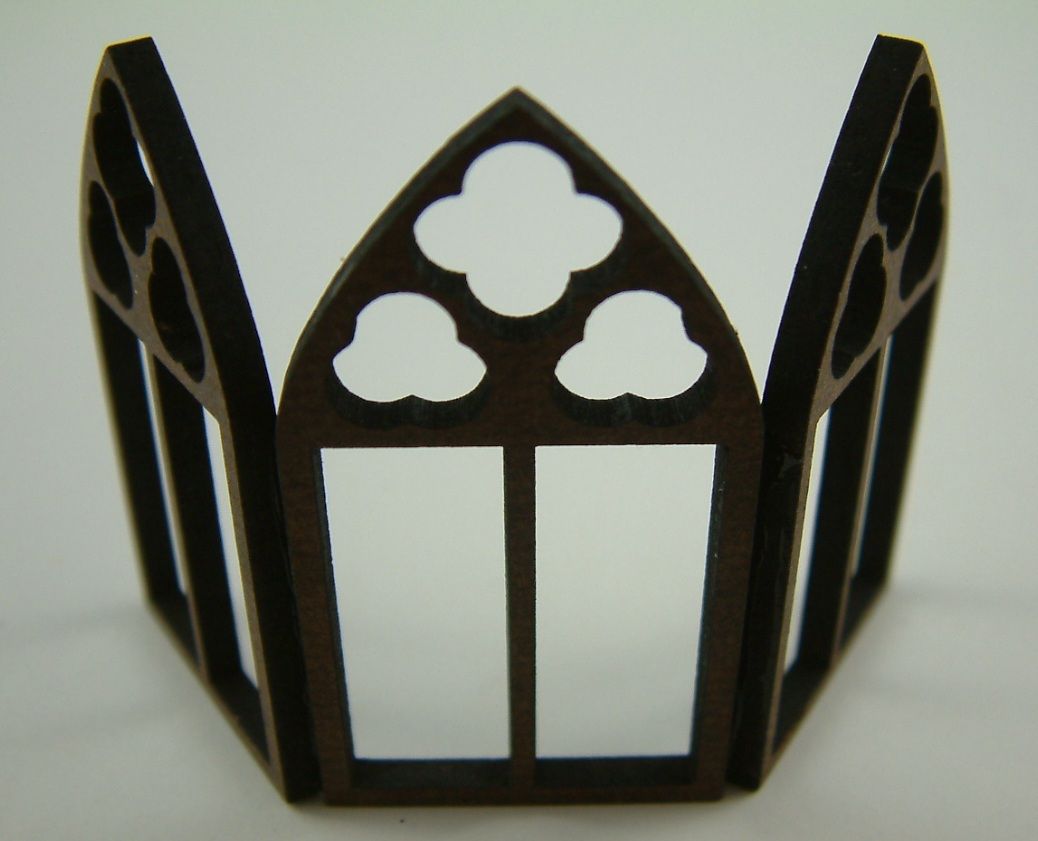
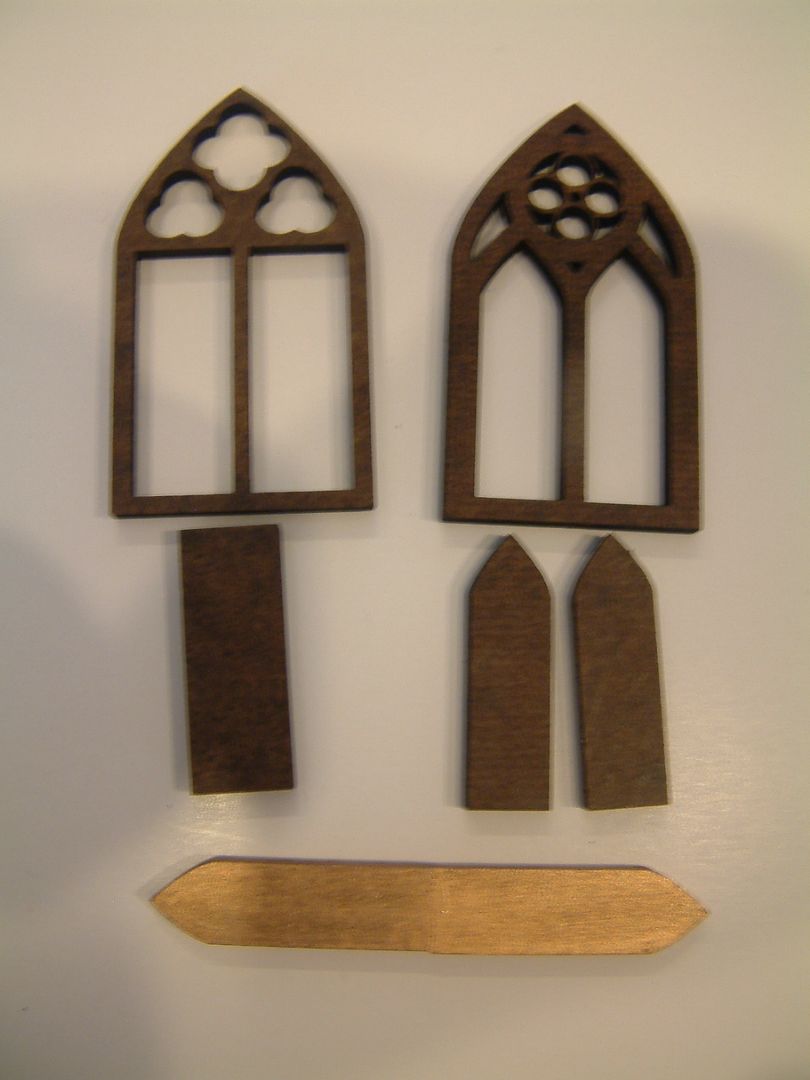
To create the bay windows I glued together three Masonite gothic windows. Alpha Stamps sells these and they come in a set of 12 windows with 3 different designs.
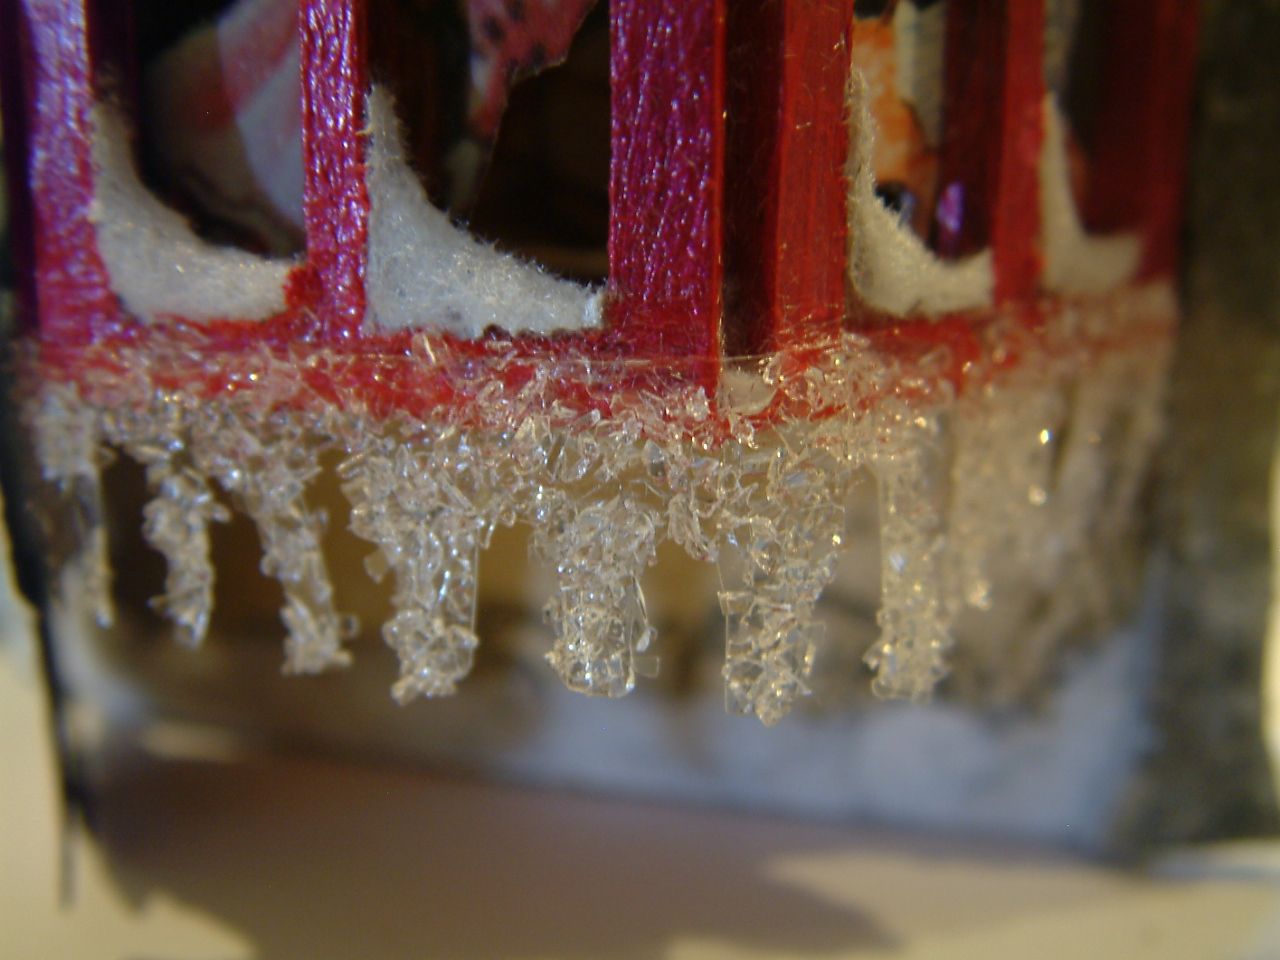
I added chipboard to the bottom and the top of the windows for support and to provide a surface for the toys inside the window. I used white flocking powder and Twinklets Diamond Dust to create the impression of snow and icicles.
AWNINGS
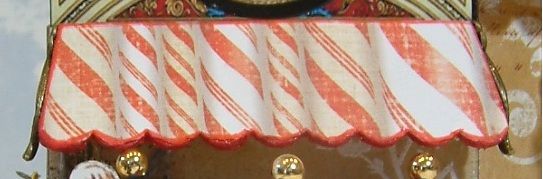
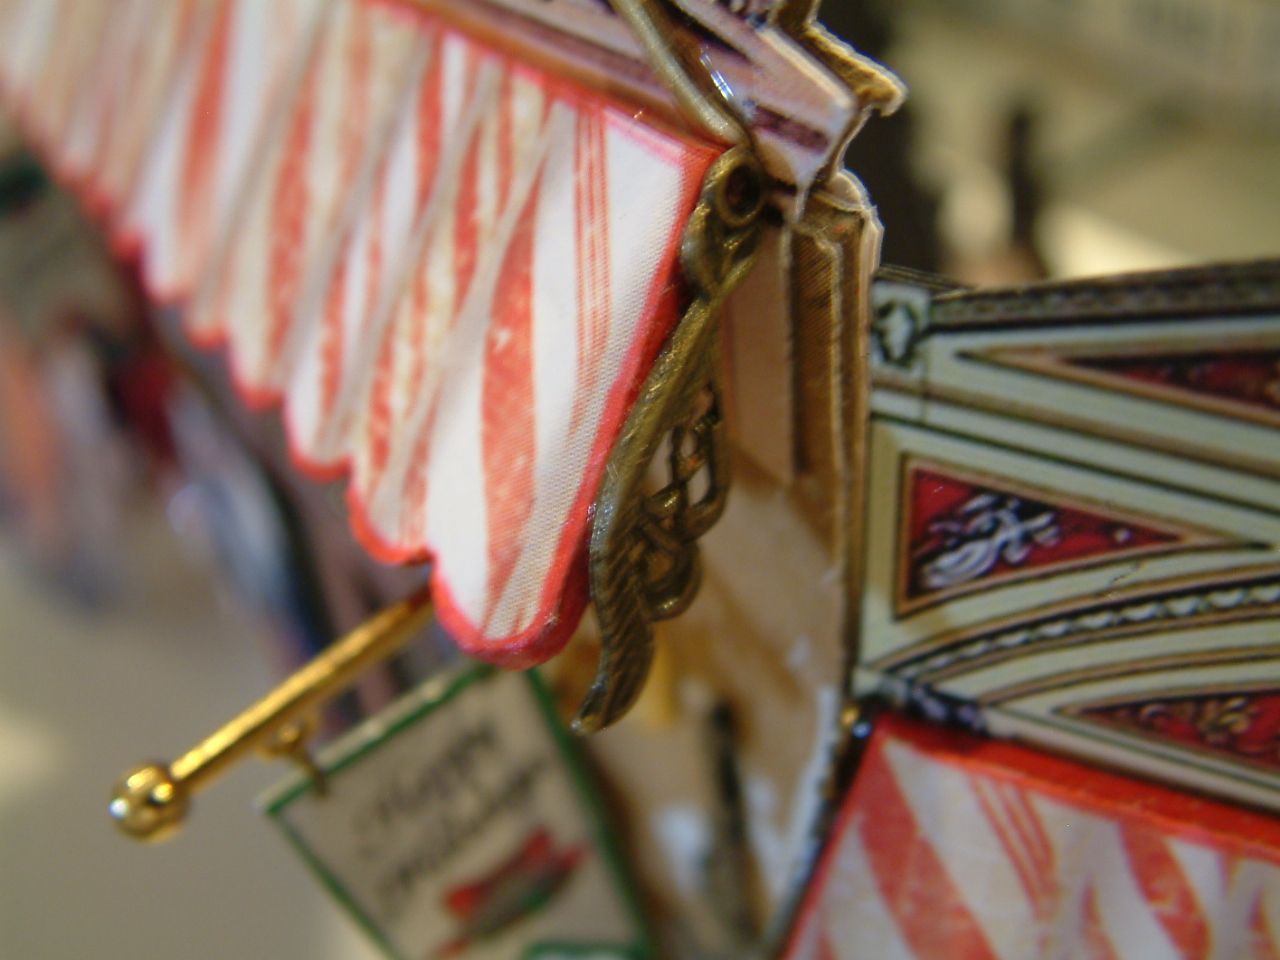
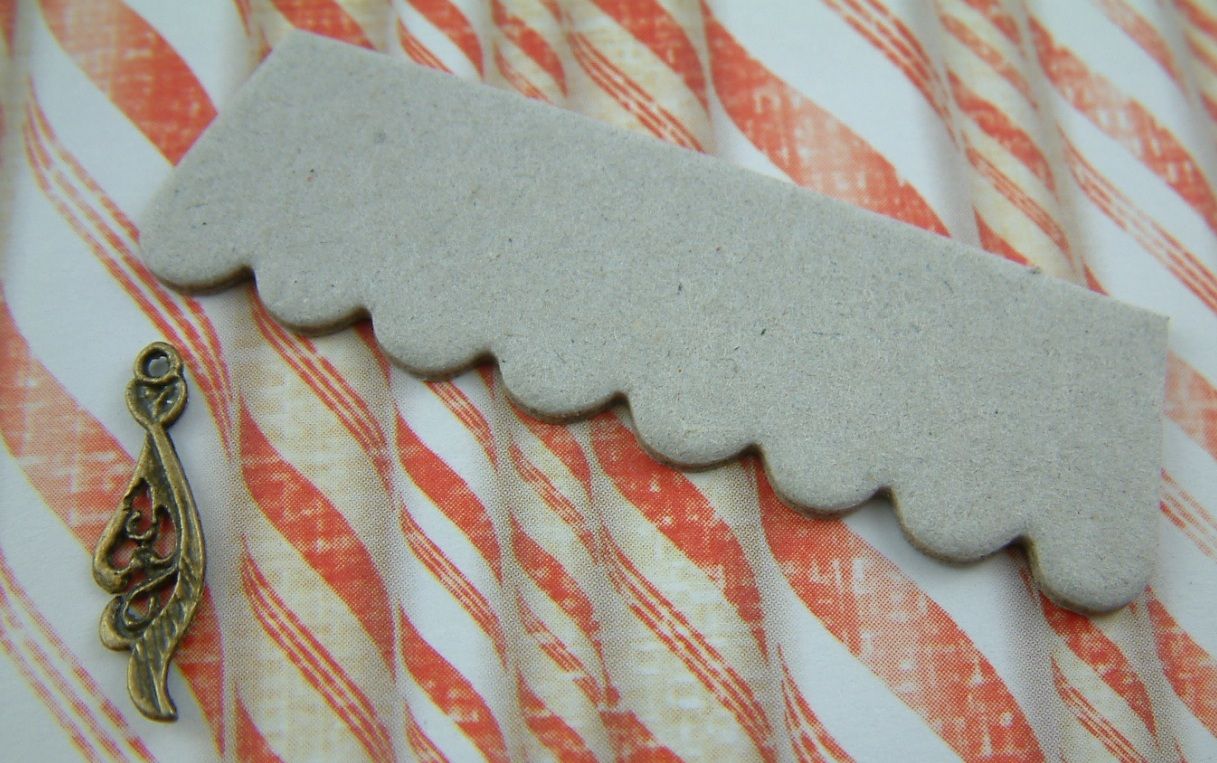
To create the awnings, I covered a piece of chipboard with candy cane paper then added antique brass leaves as hardware.
Alternative Idea for Awnings
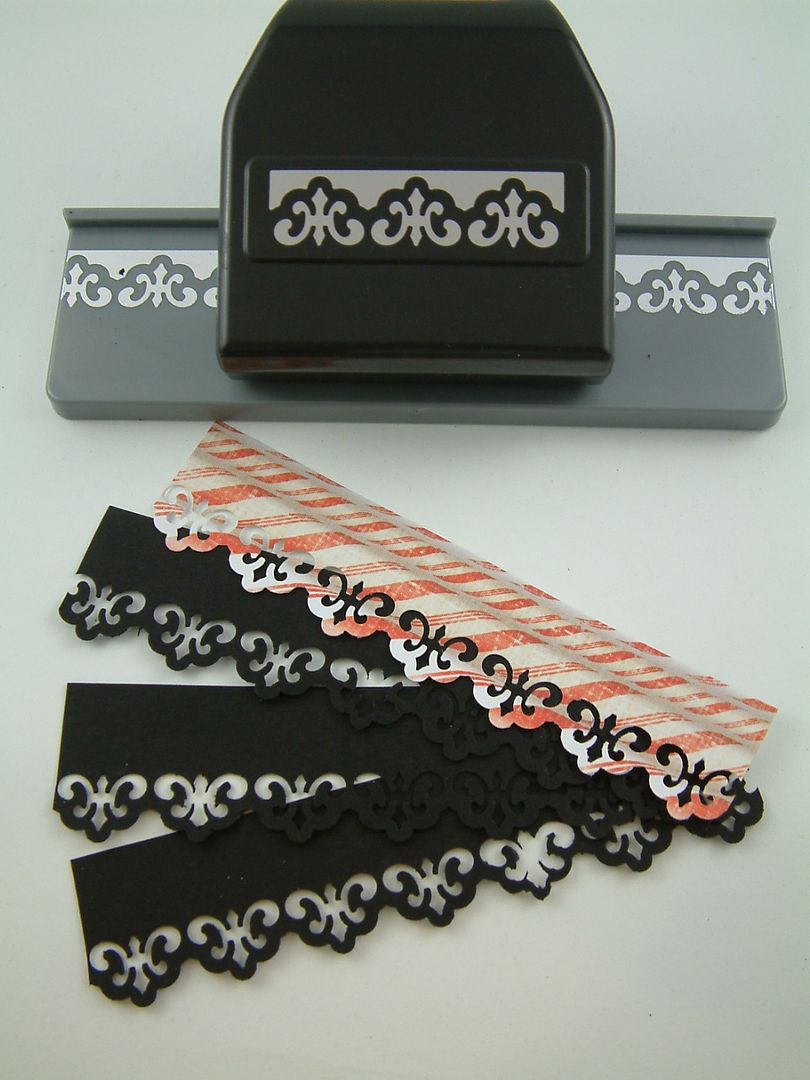
Another way you can create awnings is by using a decorative paper edge punch. First punch the patterned paper, then punch multiple pieces of cardstock. Glue all the pieces together to create a sturdy decorative awning.
TREES
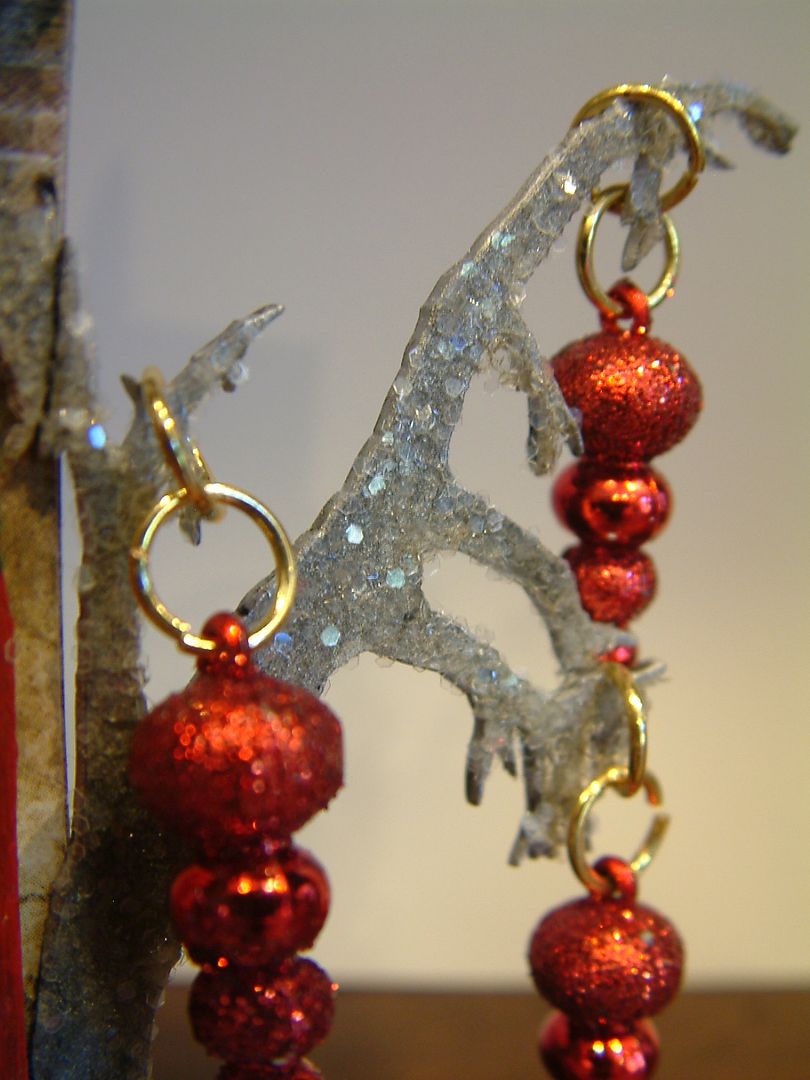
I used four mat board trees. I first painted them silver then coated them with Twinklets Diamond Dust.INSIDE THE TOY SHOP
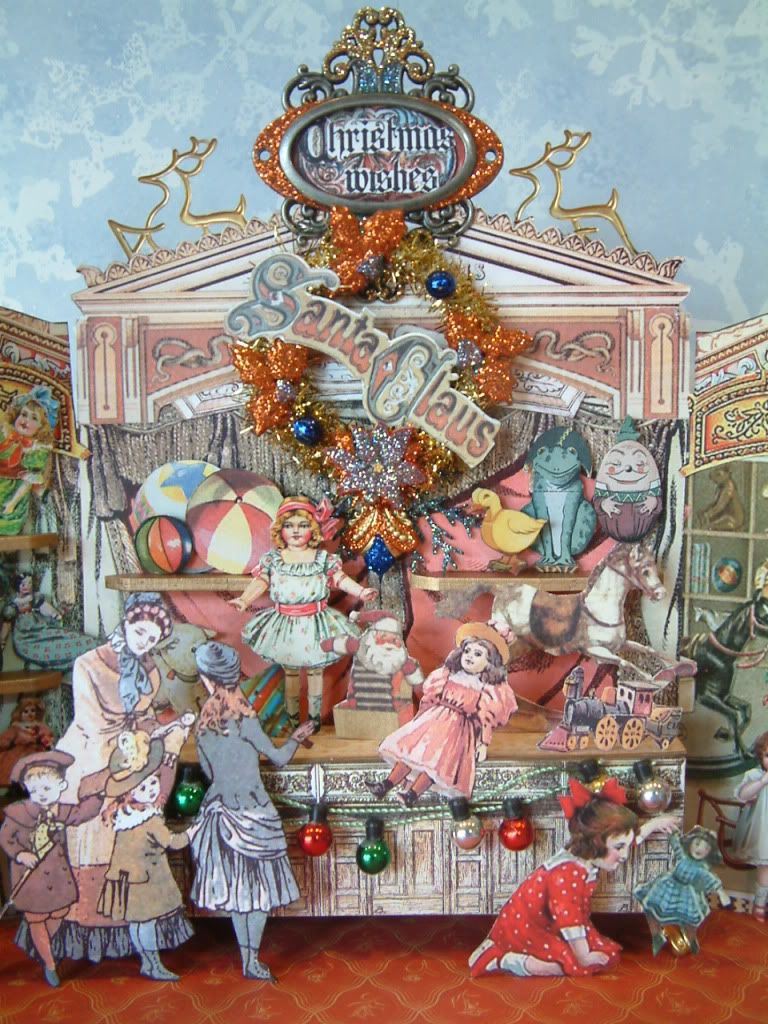
Alpha Stamps carries several paper theater collage sheets. The sheets have lots of curtains and pediments. I used the images on these sheets to build up the background inside of the Toy Shop and for pediments both inside and outside of the shop.
INSIDE - CENTER
To create the shelves that are holding the toys, I used the inserts that pop out of the gothic windows. I glued them together, painted them gold and glued them to the walls.
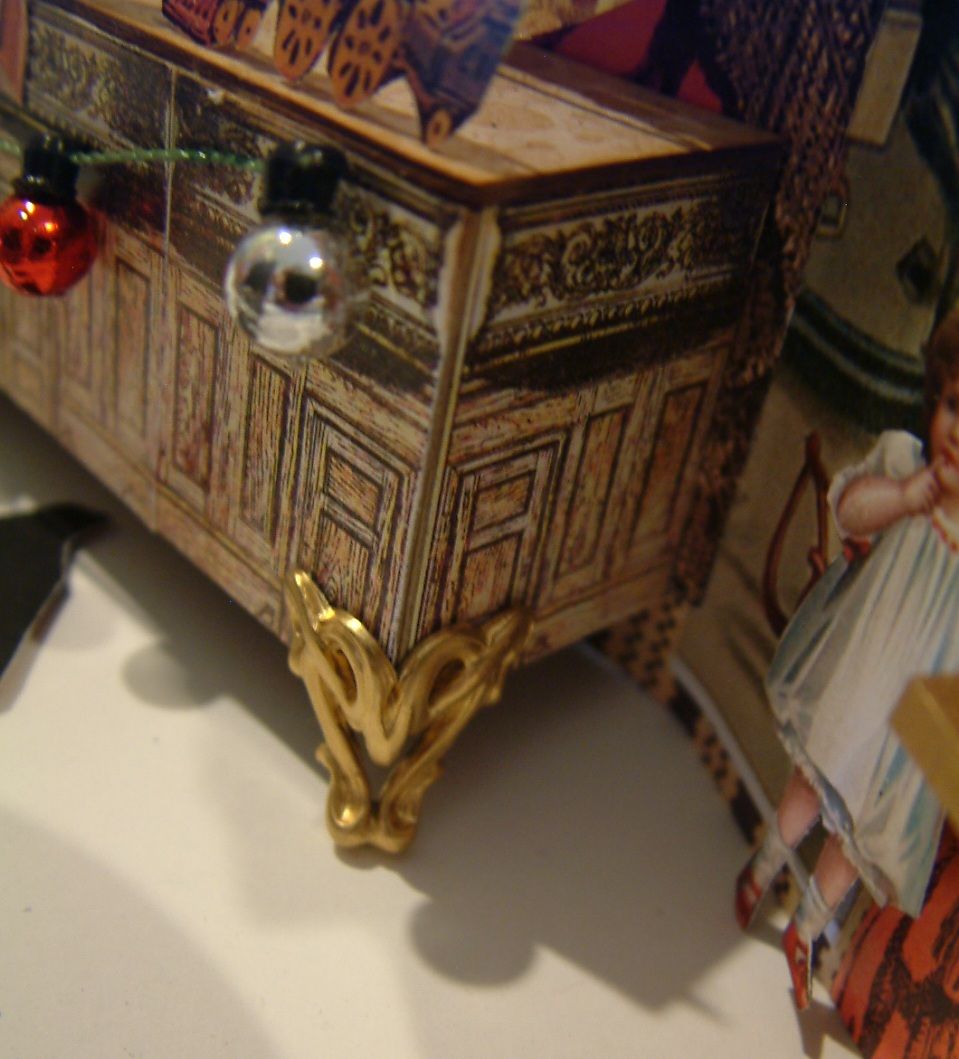
I constructed a table using chipboard and added brass feet to the front. The backside is glued to the wall. I used images from the Alpha Stamps Slide Mailer/Shrine Stages collage sheet to cover the table. I trimmed the front with Christmas bulb garland.
WREATH
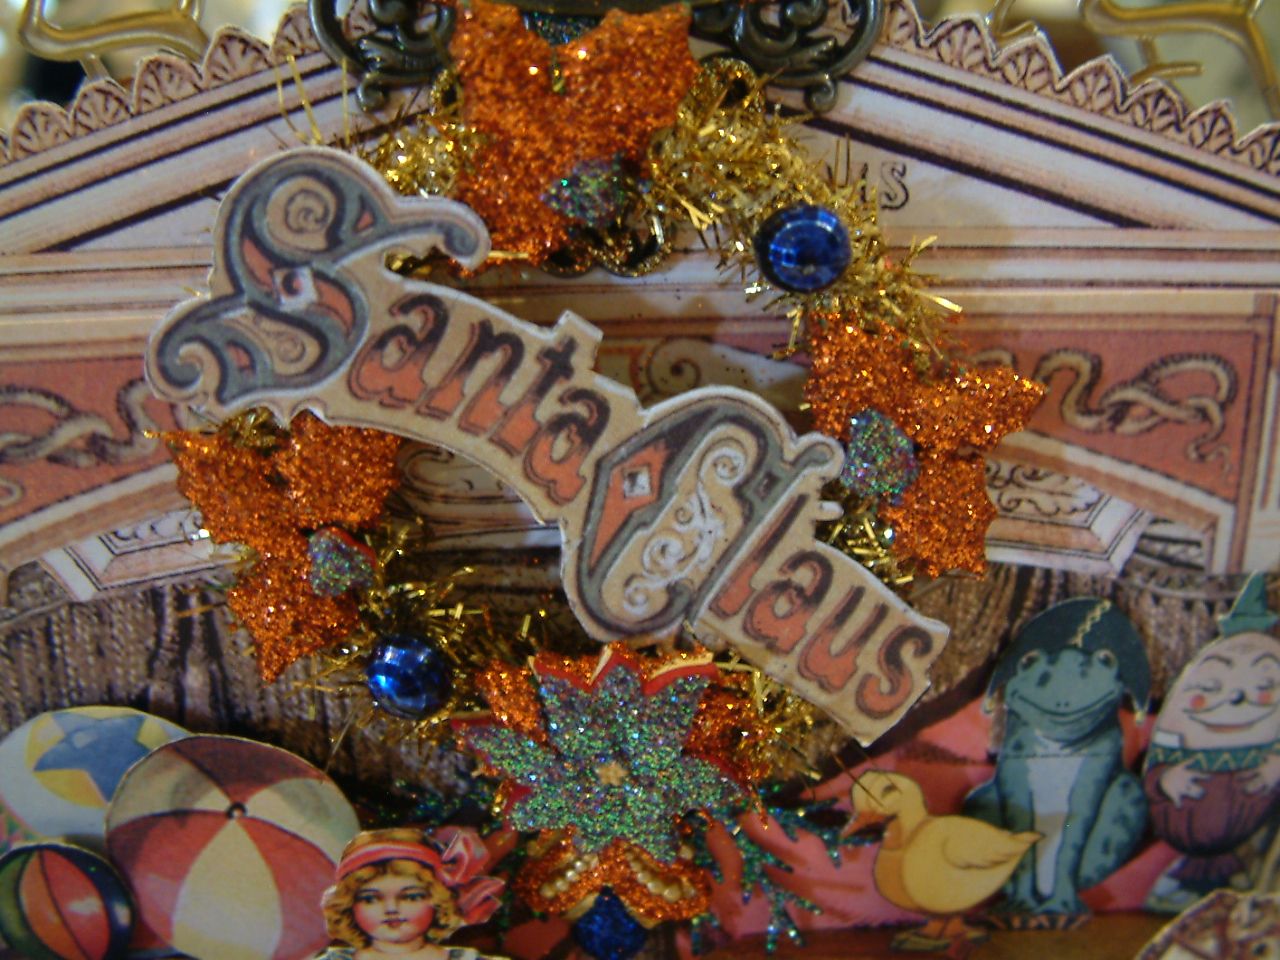
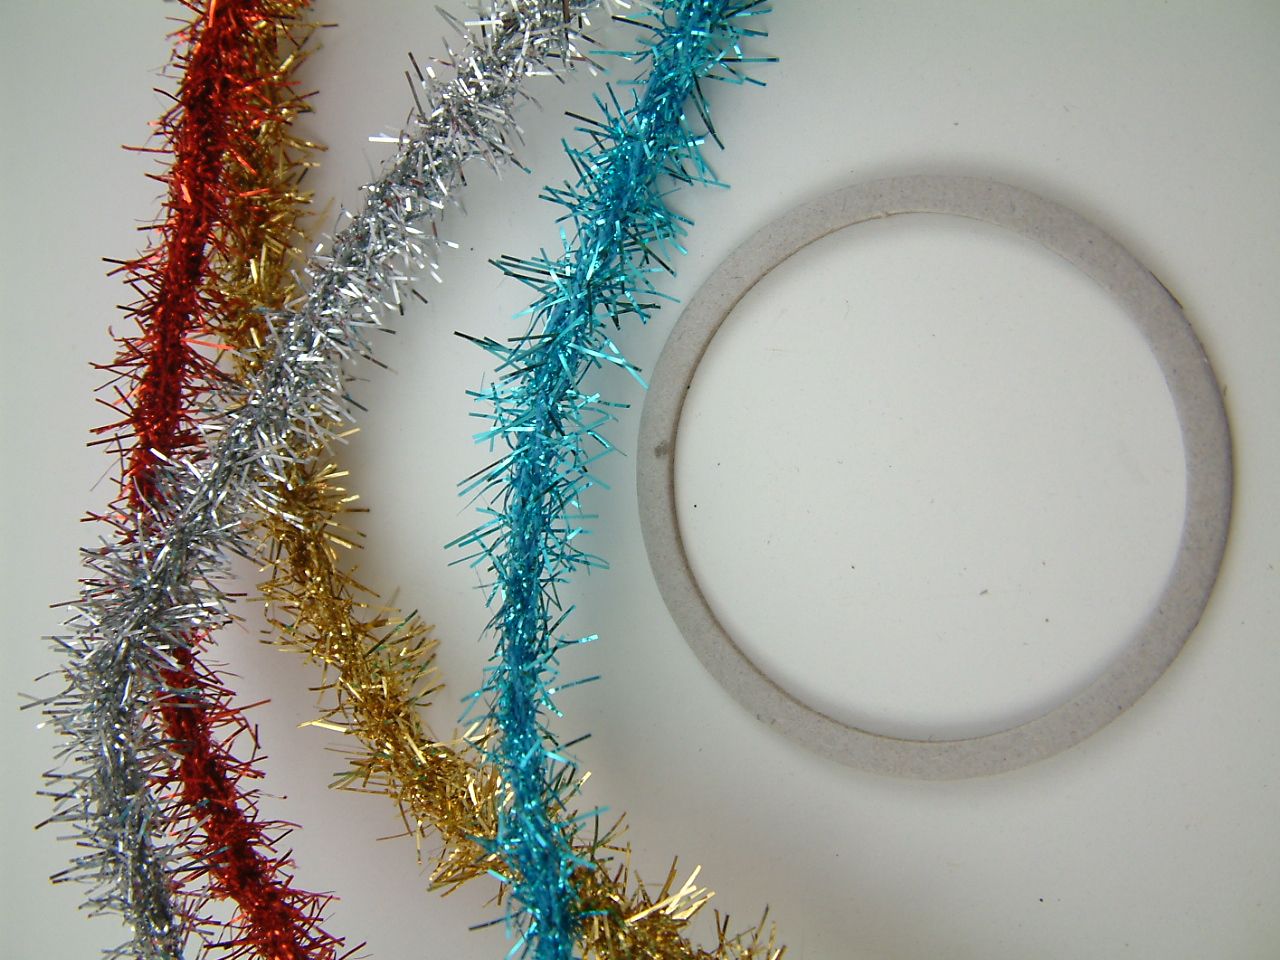
I made the base of the wreath by wrapping gold wired tinsel around a chipboard circle.
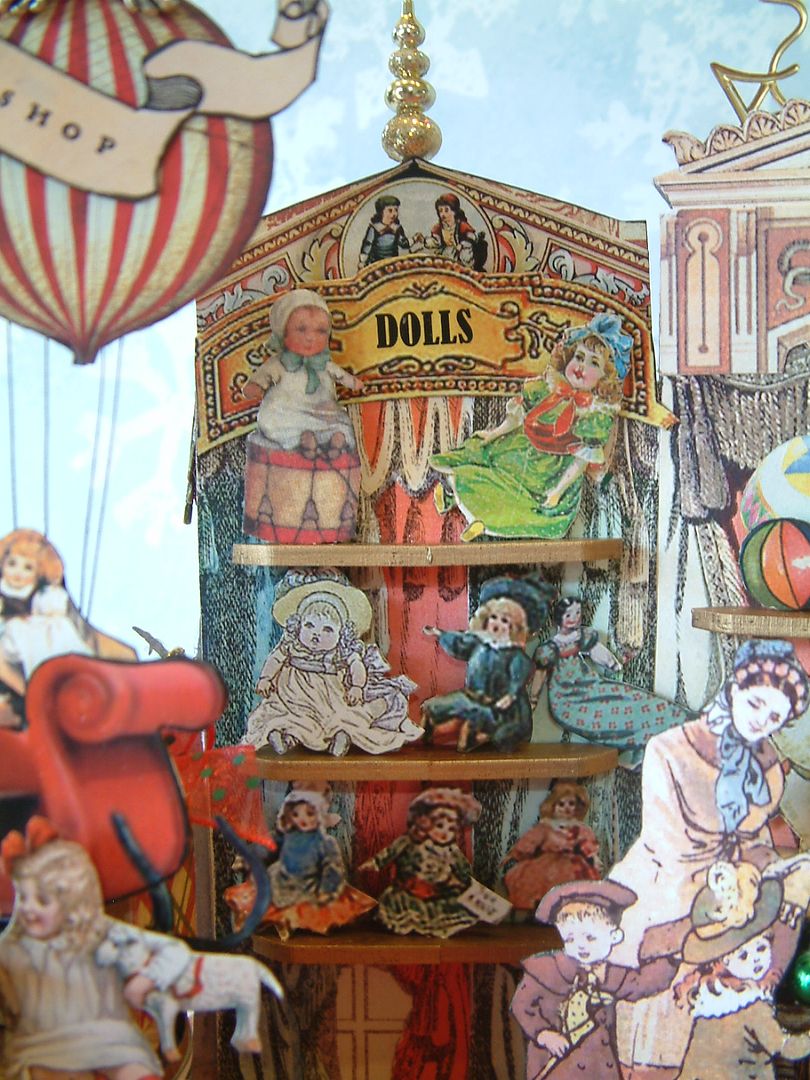
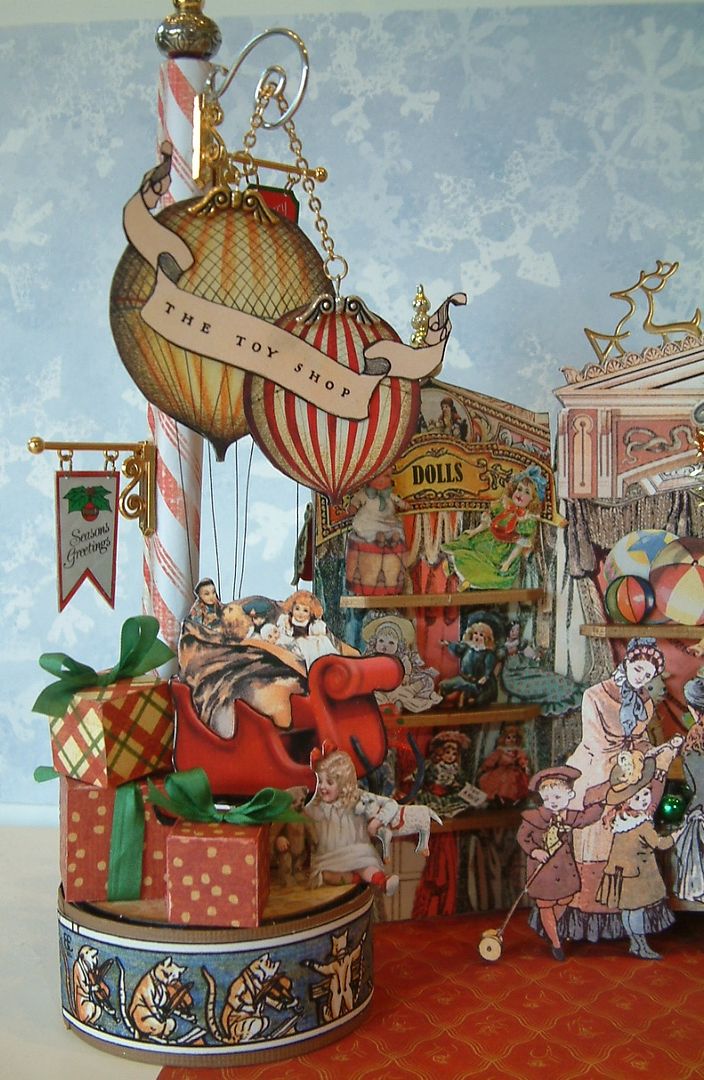
INSIDE SHOP – LEFT SIDE (Dolls)
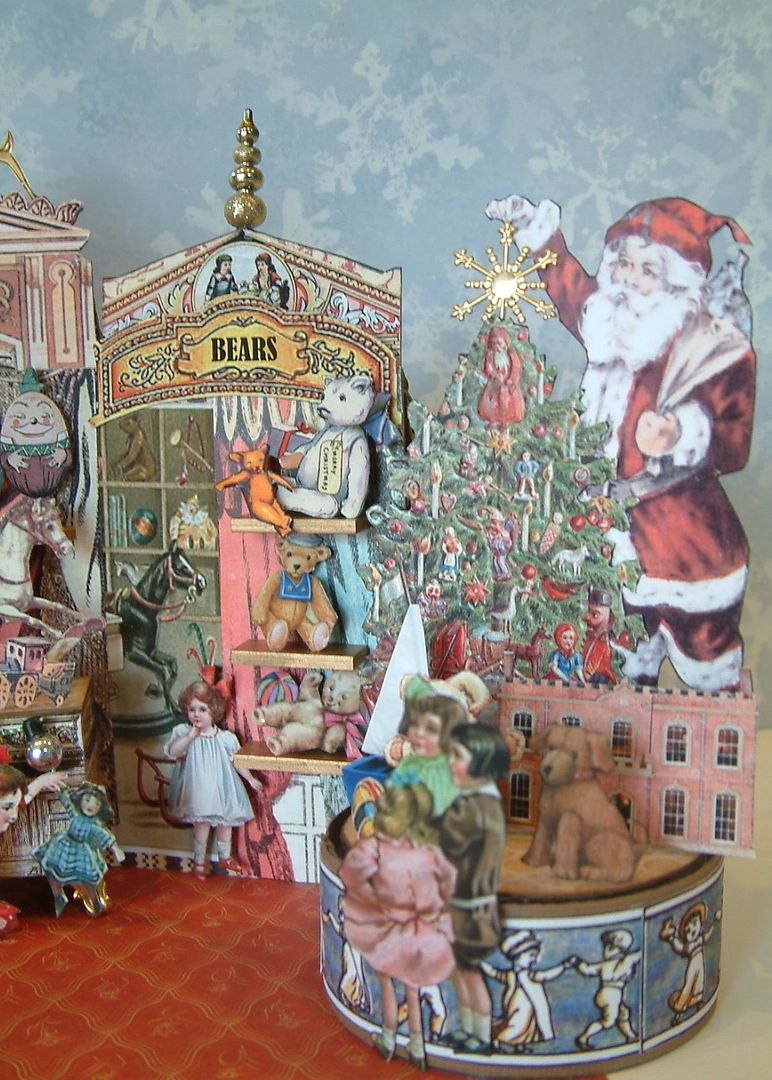
INSIDE SHOP – RIGHT SIDE (Bears)
All of the images of people, toys, balloons, Santa, the Christmas Tree, Nutcrackers, sleigh etc. are all backed with cardstock to make them sturdy. I run the images through a Xyron machine to apply a coating of adhesive. I then stick the images to cardstock. To add dimension, I used double stick foam core tape to attach all of the images to the walls, the shelves and to the kiosks.
KIOSKS
The kiosks came about because once I filled up the walls with images, I found there was more I wanted to add and I was out of room. I also wanted to give the shop even more dimension and make it feel like a real store. So I decided to add the kiosks. They are not attached to anything so they can be moved around or function as a standalone piece.
The packages are made of wooden blocks I purchased at the craft store and are covered in decorative paper. The post holding the balloons is a wooden dowel covered in the same candy cane paper as the awnings in the front of the shop.
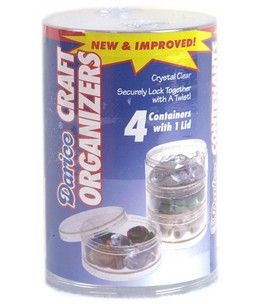
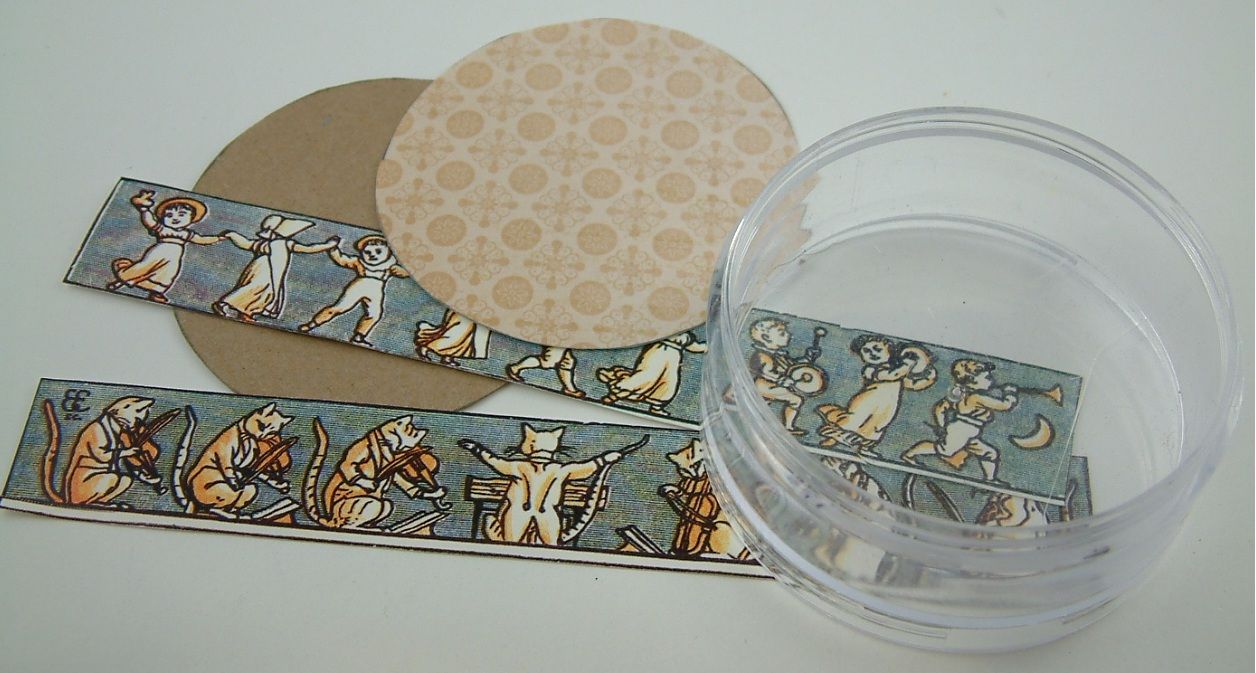
To create the bases of the kiosks, I used clear plastic craft containers. You can find them in craft stores and online. They come in a stack of four. There is no special reason why I chose these containers. I knew what I wanted to do and I just rummaged around my studio until I found something that would work.
I used one container (without the lid) for each kiosk. Around the base of the containers I glued strips of children and cats images that can be found on the Alpha Stamps Fairy Tale Curtains collage sheet. Next, I added a chipboard top covered in decorative paper. The reason I used my own top instead of the plastic top that comes with the container is that I needed to punch holes in the top to insert the dowel for the ballons.
I had a lot of fun making this and i hope you find some inspiration. You still have a few days to sign up for the Alpha Stamps Toy Shop Swap. You don’t need to make anything nearly as involved as my Toy Shop. Mine is more of an inspiration piece to give you ideas about what can be done.
Below is a list of Alpha Stamps products I used. Click product name and the hyperlink will take you to the product in the Alpha Stamps store.
Subscribe to:
Posts (Atom)