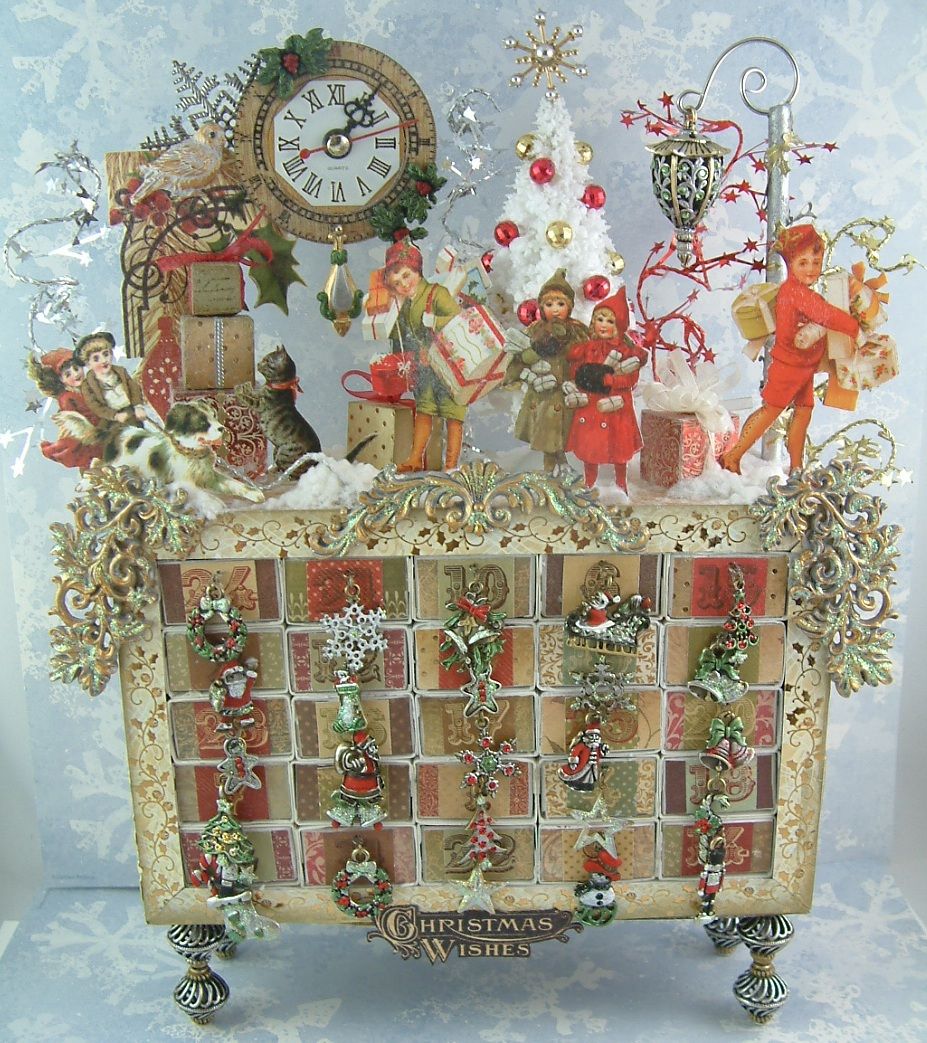
Just in time for Christmas is a fun
Matchbox Chest Advent Calendar project that can be enjoyed by your entire
family. I learned about advent calendars
when I lived in Germany as a child (my dad was in the military and was
stationed there). My mother would
purchase a calendar each Christmas and my sister and I would take turns opening
a door each day and eating the chocolate it contained. I thought my matchbox chest project would
make a great advent calendar project. If
you are not familiar with advent calendars they are calendars that count down
the days until Christmas; starting on December 1st and ending on
December 25th. Most have
doors that when opened; reveal a piece of chocolate or a Christmas themed
image.
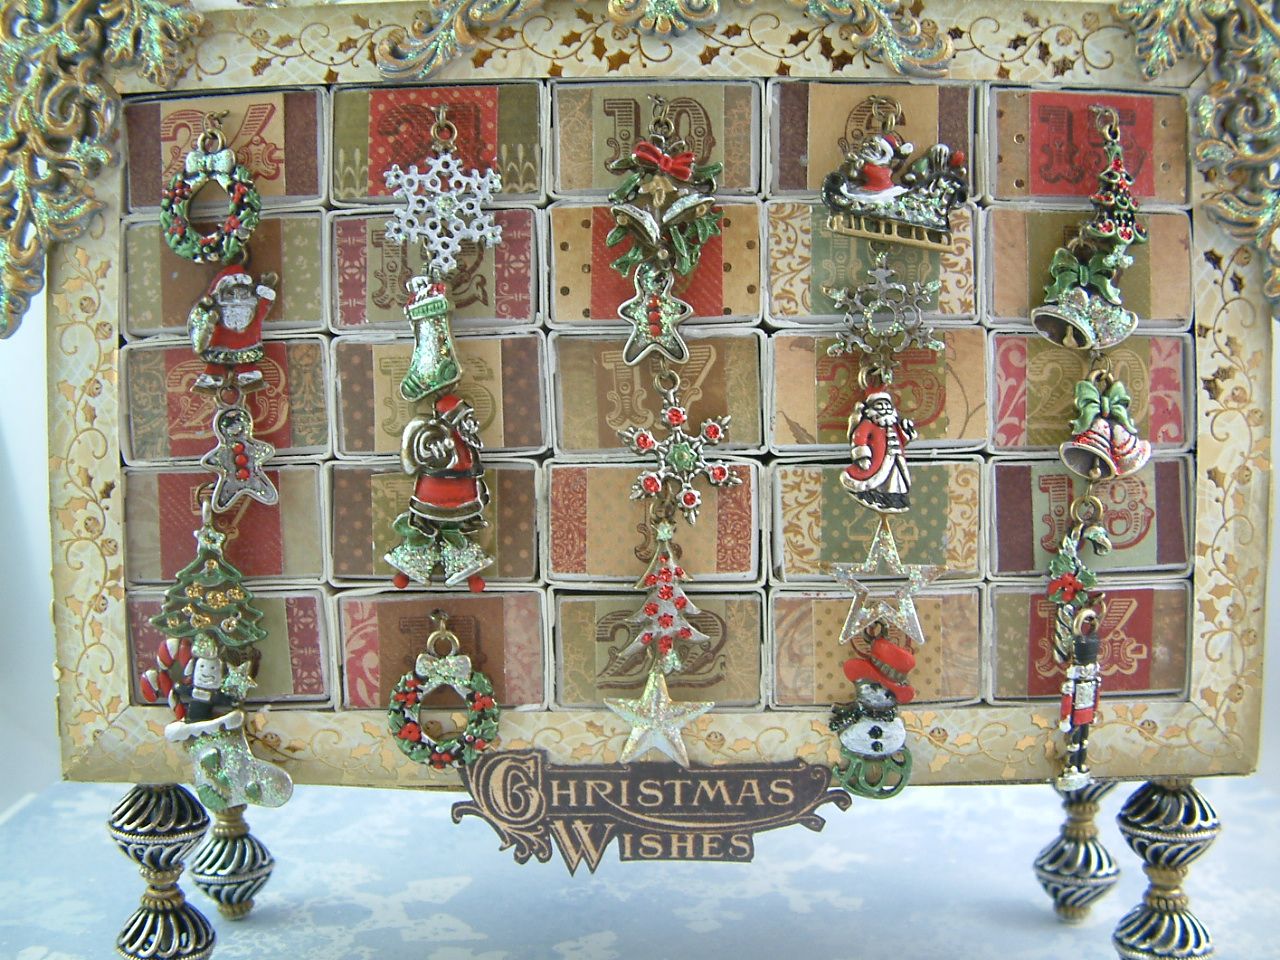
In this calendar each day is represented
by a matchbox drawer. There are 25
matchboxes in total (5 across and 5 high).
With having a drawer as opposed to a door you can have larger surprises. The overall dimensions of the cabinet are:
Entire
Piece: 11” High x 7 ½” Wide x 2 3/8” Deep
Drawers
with Foam Core Border: 4 ½ “ High x 7
¼” Wide x 2 ¼” Deep
Height
of Feet: 1 ¼” Tall
Stuff
on the Top of the Cabinet: 5” Tall
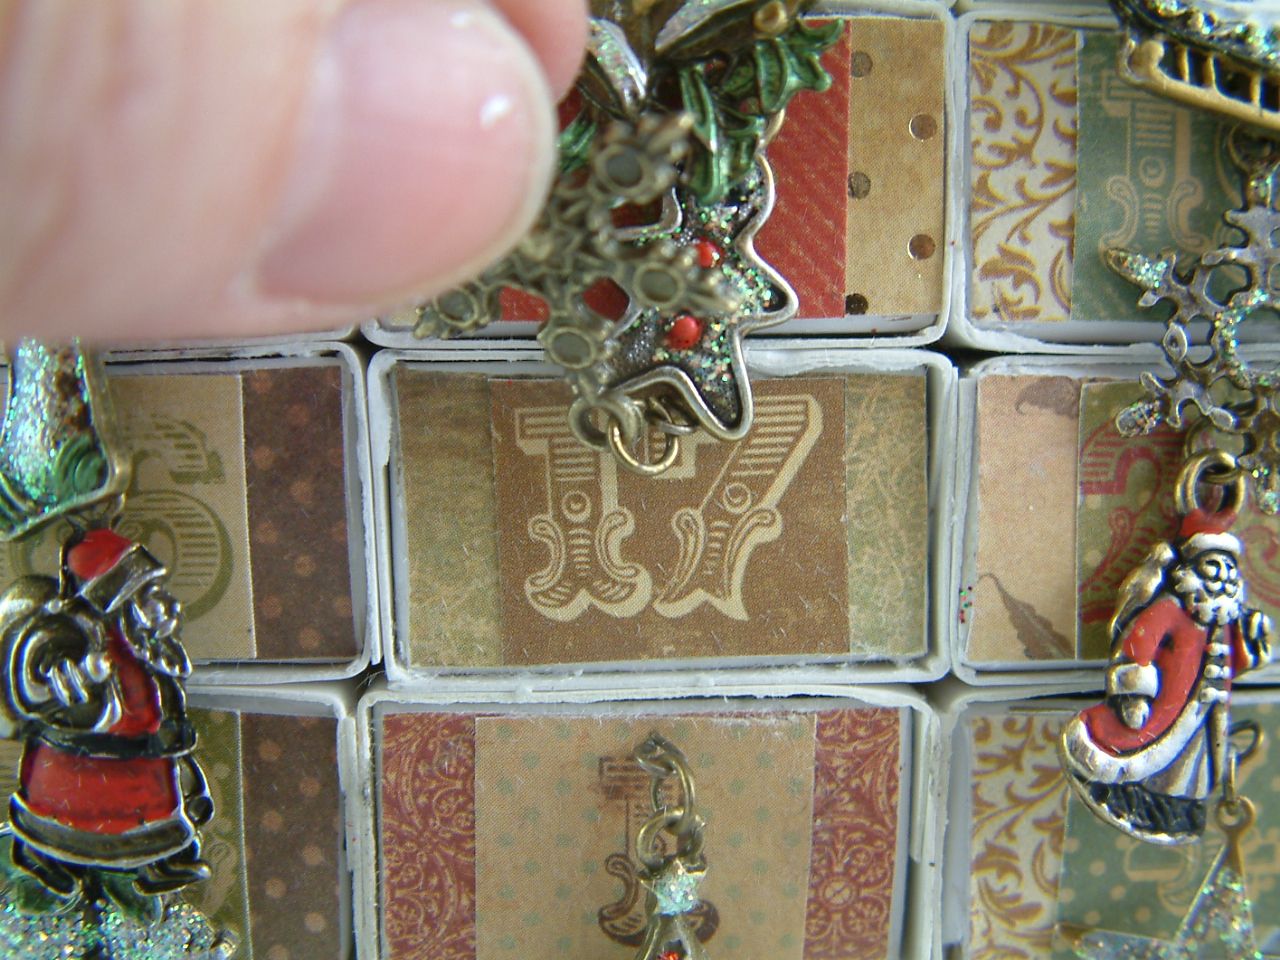
The charms are the drawer pulls. To see the number or date of the drawer you
just lift the charm. The numbers are not
in order as I think that is more fun.
In this post I’m going to cover the
differences between the matchbox chest I demonstrate in the video tutorial and
this Matchbox Advent Calendar Chest. For
general information on how to make a matchbox chest you can watch my video
tutorial.
At
the bottom of this post is a complete list of products I used for this project
that are carried by Alpha
Stamps.
MATCHBOXES I USED
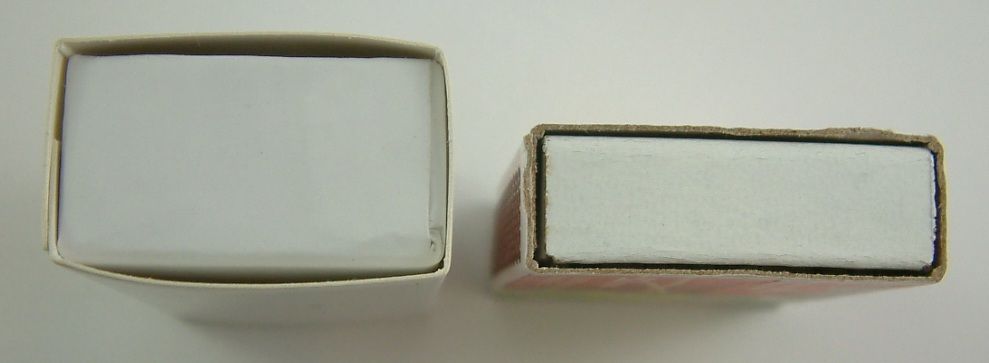
For this project I used a different matchbox
than the one I used for the matchbox chest tutorial. I needed a larger font to accommodate the day
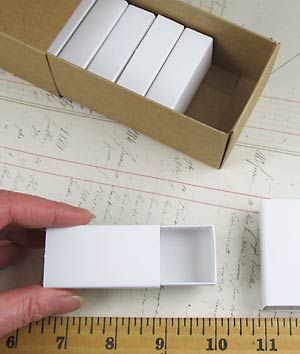
of the month and the Christmas charm that acts as a pull. You can see in the picture below the
difference in the matchboxes. The one on
the right is the one I used for the advent calendar and the one on the left is
the one I used for the matchbox chest.
The one I used for the calendar is 2 ¼”
long x ¾” tall by 1 ¼” wide. Alpha
Stamps is carrying them and they come in a box of 8. You’ll need 4 boxes to make this cabinet. The container that the individual matchboxes
come in, are also a large matchbox. Stay
tuned for another project using the larger matchbox container.
Using this matchbox had two other
advantages; I could insert larger objects in the box, and all of the surfaces
where white which worked well with the Christmas theme and required no inking
or papering (except the front of the drawer) which made the project faster.
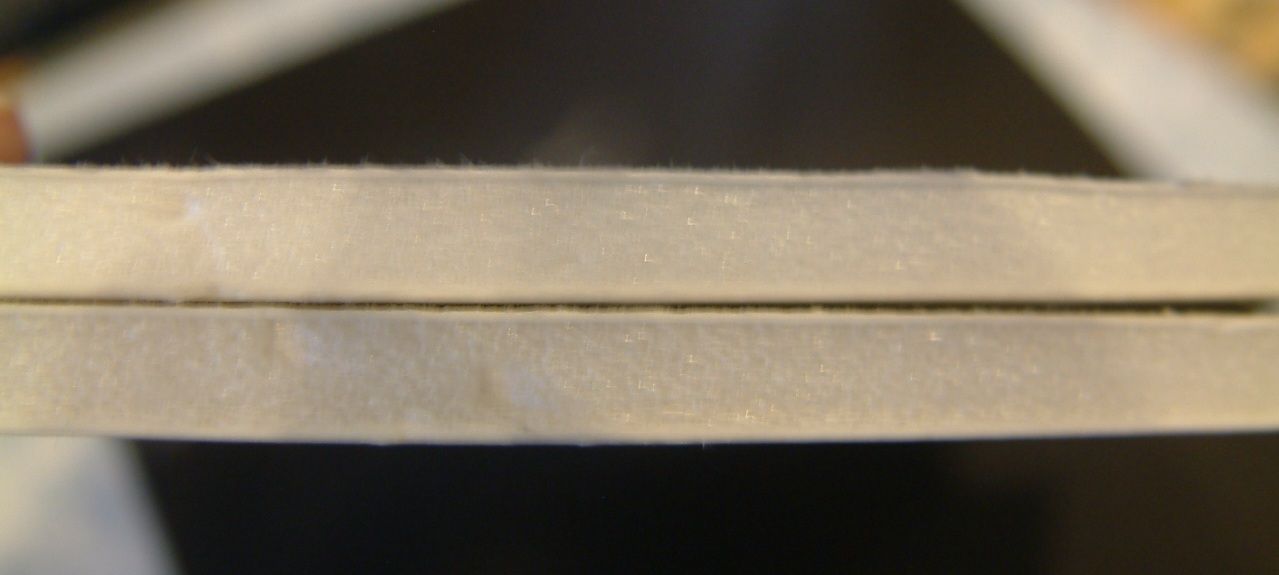
I did this for a couple of reasons. First, it gave me a nice deep frame around
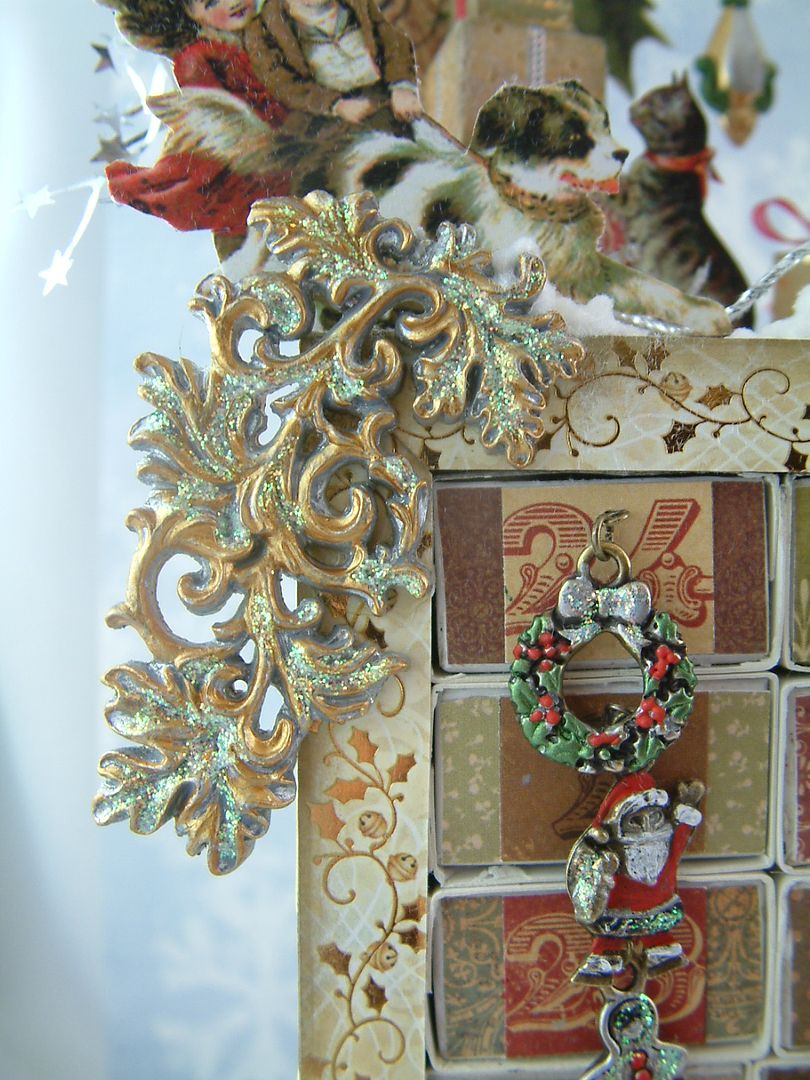
the front of the chest to accommodate the paper and embellishments. You can see in the picture below where I have
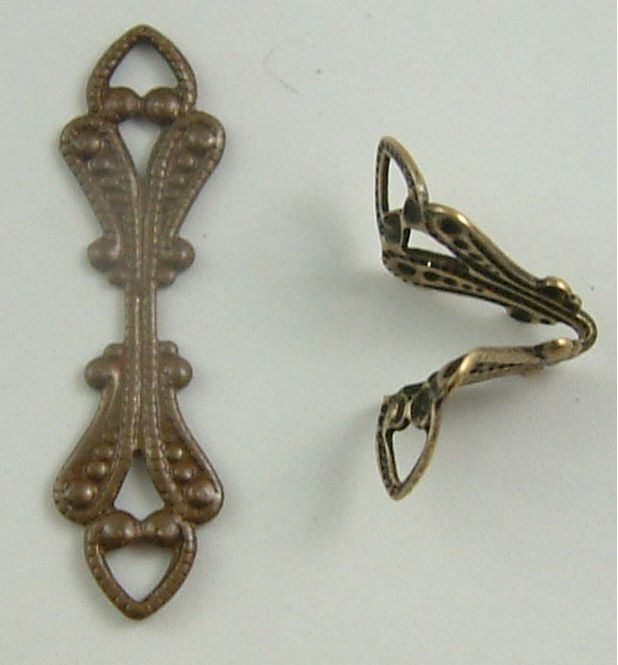
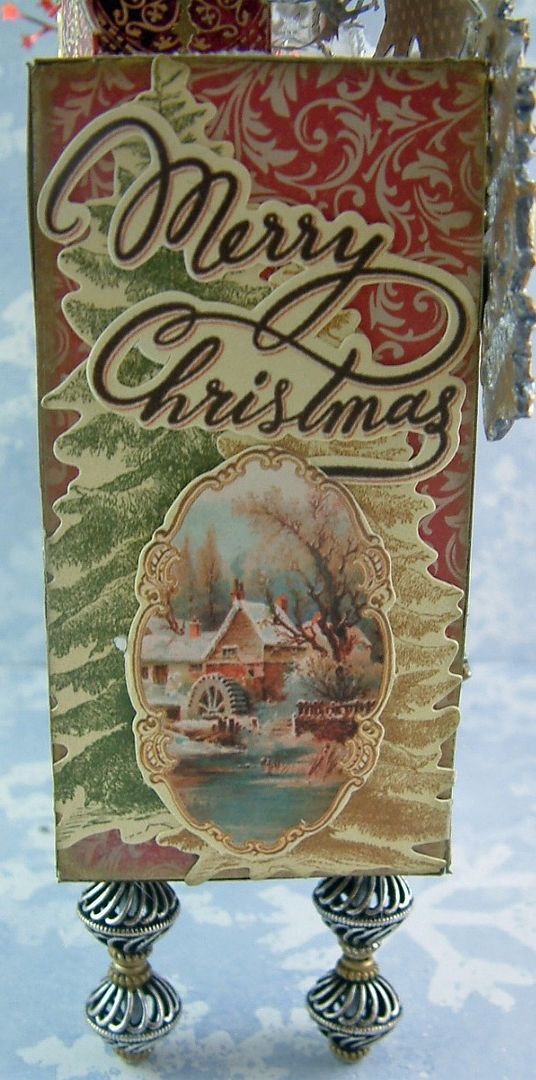
glued the Antique Silver Leaf Flourishes to the front of the cabinet. These were originally silver, I added some
gold and then Diamond Stickles in the grooves for sparkle.
Second, it gave me a surface that I could
easily poke with a pin to insert dimensional embellishments. One of the tricks I use to get paper images
to stand up by themselves is to insert a pin in between the image and the
backing of cardstock and or decorative paper.
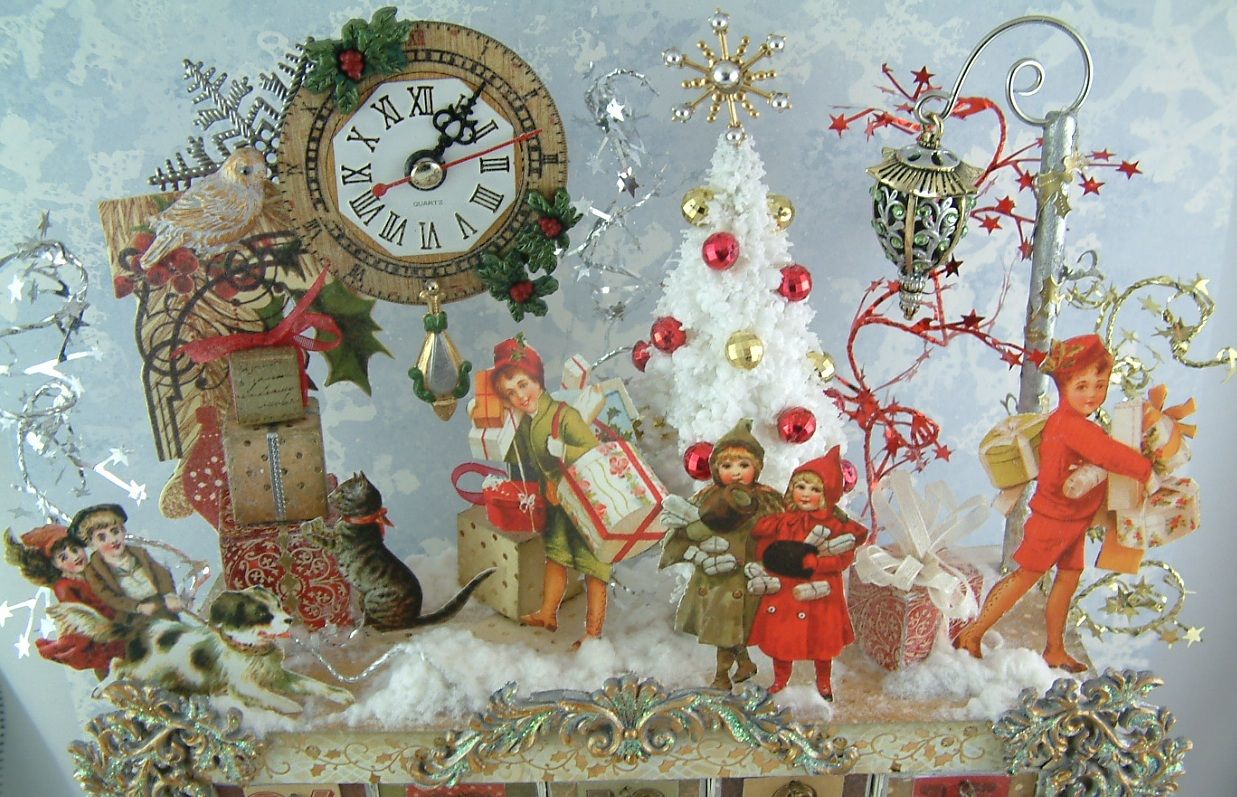
In the picture below I used this technique to attach the images to the
top of the cabinet. The Star Tinsel is
wired so you can strip off the coating and stick the wire into the foam core as
well.
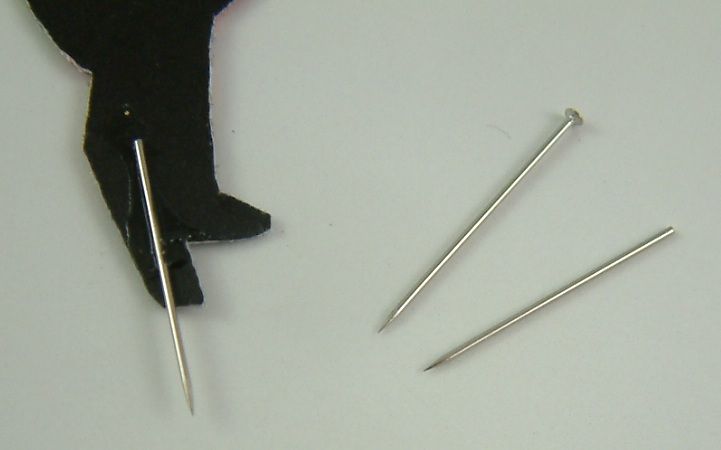
ADDING A STRAIGHT PIN TO THE IMAGES
- Snip the head off of a small straight pin.
- Glue your
image to a piece of light cardstock. You
want to use light cardstock because by the time you have all three layers
together it gets hard to cutout the image.
The light cardstock makes the image stiffer but not too hard to cut
out. Cutout the image.
- Glue the pin
to the cardstock at the point where you want to attach the image to the foam
core. I used Glossy Accents.
- Glue the
cardstock to decorative paper. This is
so that it will look pretty from the back side.
Another option is to print the image in reverse and back the original
image with a reverse of that image that way it looks the same from both
sides.
Now you are ready to add the image to
the chest. To attach the image to the
top of the chest I pre-poked a hole with a needle then inserted the image with
the pin into the hole. Voila! The image is standing by itself, it looks
good from both sides and you can’t see the pin.
ADDING FEET TO THE CABINET
You all know how I love adding feet to
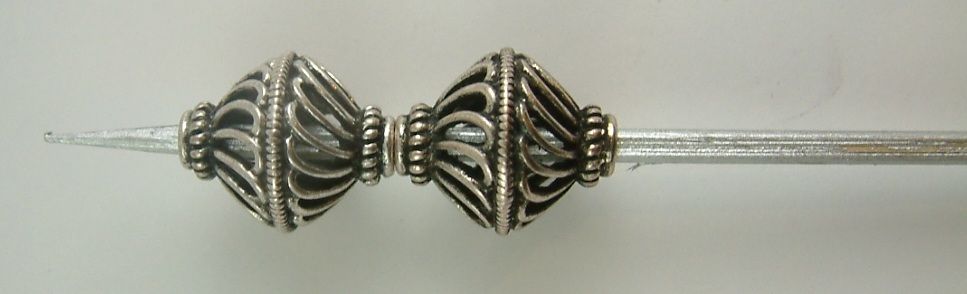
my projects. For the chest I used two
beads glued together. I thought the
beads looked like Christmas ornaments.
These beads have large holes so I inserted a wooden skewer (painted with
Silver
Alcohol Ink) to give them more stability. I added a little Glossy Accents to the dowel
before sliding it through the beads.
I sniped off both ends of the dowel so
that it was flush with the beads. I
painted parts of the beads with Gold
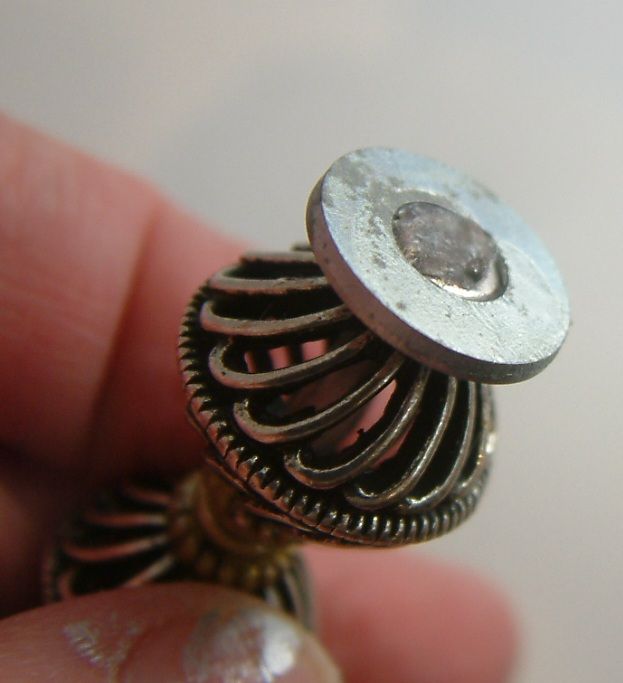
Alcohol Ink. Before attaching the
beads to the bottom of the cabinet I glued them to a silver washer. This was to give me more surface area to glue
the beads to the bottom of the cabinet.
Just gluing the tip of the bead to the cabinet did not provide enough
surface area to make the feet stable.
THE DRAWERS
The front of the drawers is the only thing
decorated on the matchboxes. The white
of the boxes matched my color scheme. I used the number stickers from the Turtle Dove line for the numbers on the
front of the drawers.
IDEAS FOR YOUR DRAWERS
You can fill your drawers with whatever
you like such as candy or small presents.
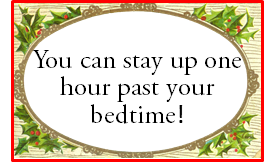
I also thought it would be fun to have other types of treats or prizes
such as getting special privileges like being the one to pass out the presents
(this was a big one in our house) or being allowed to open a present
early. Below are some of the ones I
could think of. Feel free to download
the images and use them as prizes in your calendar. I also included a blank one in case you want
to create your own. They are sized to
fit the matchbox drawers or you can roll them up and tie them with a ribbon
(prolonging the suspense).
Pulling
from a grab bag would be a great way to deal with items that are too big to fit
in the drawers.
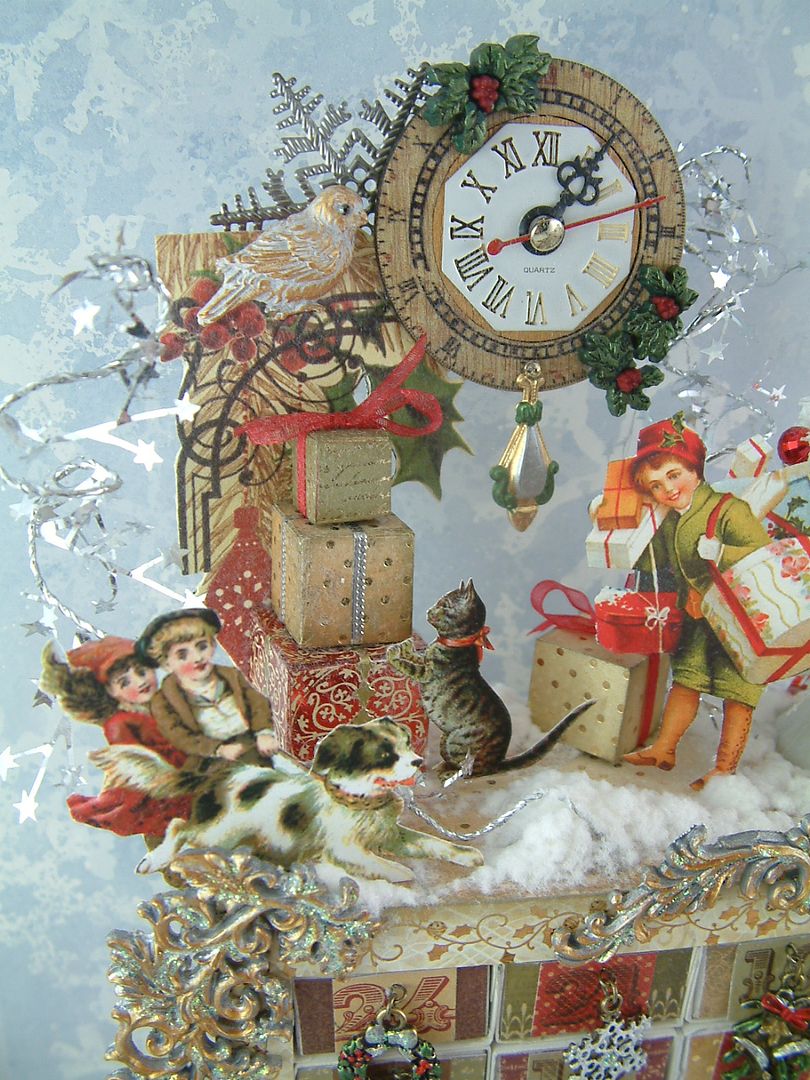
THE CABINET TOP
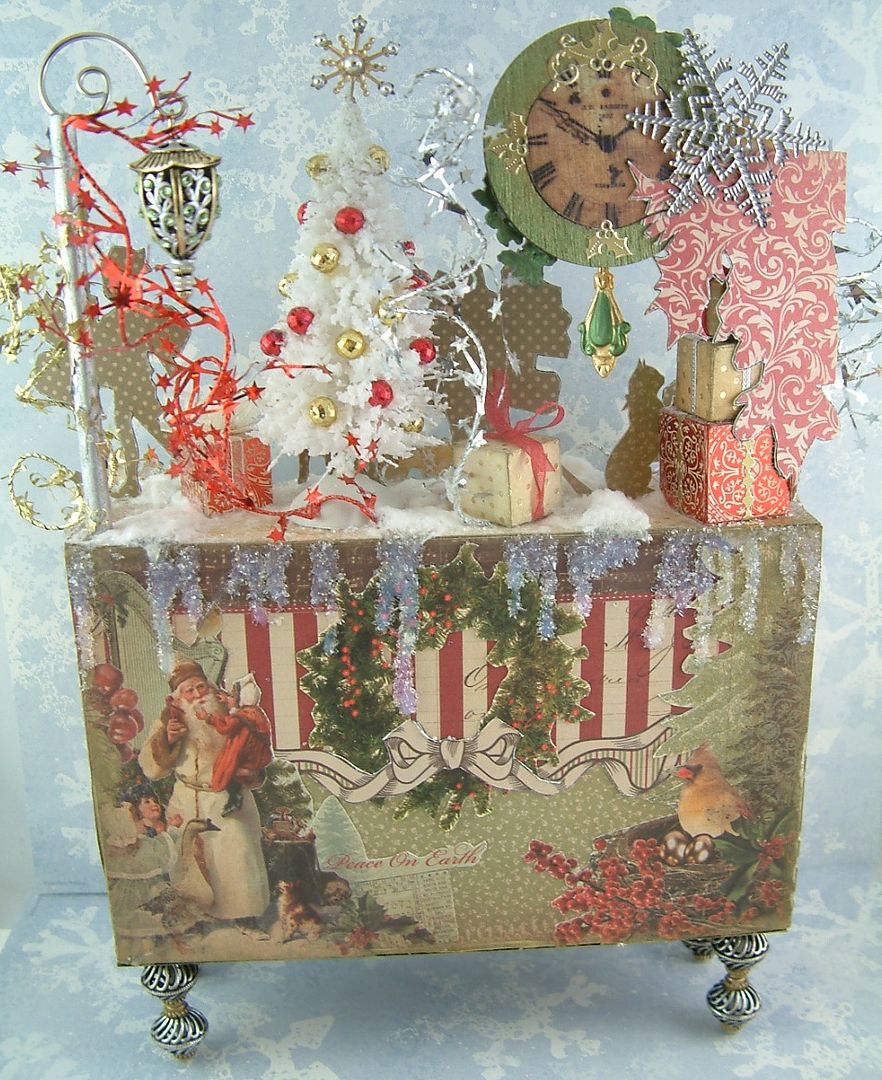
There is a lot of space at the top of
the cabinet to add whatever you desire.
I certainly had fun filling it up will all kinds of stuff. As I discussed previously, having a foam core
top made is so easy to attach elements like the images and the Star Tinsel.
The tree comes already flocked in
white. I cut up Mardi gras beads and
glued them on the tree with Glossy Accents.
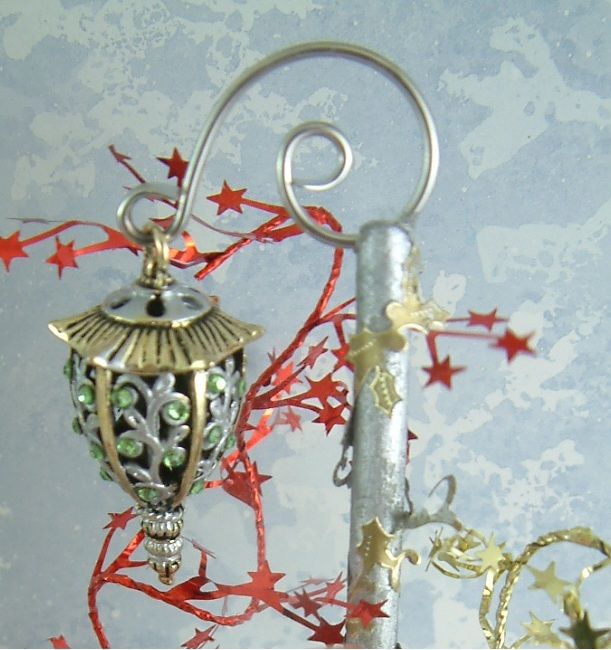
The lantern (oh the lantern)….I LOVE
this lantern and you are going to see it again and again in more of my projects. The pole is a wooden dowel. I cut a notch in the top of the dowel and
glued the ornament hook in the notch (using E6000 glue). The lantern was original all gold. I used Silver Alcohol ink to paint the scrolls
and then added green crystals. With the
top of the cabinet being foam core it was easy to punch a hole in the top and
insert and glue the dowel in place.

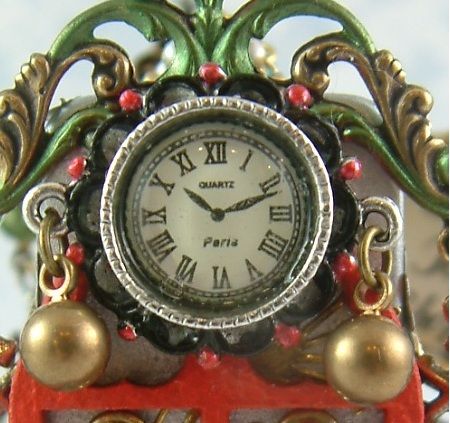
I decided to add the packages (which are
blocks of wood covered in the Turtle Dove paper) to give me a way of suspending
the clock. The paper die cut (from the
Turtle Dove line) is backed with light cardstock and decorative paper (to make
it stiff). The packages are glued to the
top of the cabinet, the die cut image is glued to the packages and the clock
and other embellishments are glued to the die cut image. My thought process started with me wanting a
clock and then I worked backwards to figure out how to hang it. The swirls in the die cut image made me think
of a decorative pole so I just needed a way to anchor it to the top of the
cabinet and that’s where the packages came in.
The whole assemblage was too heavy for my straight pin trick.
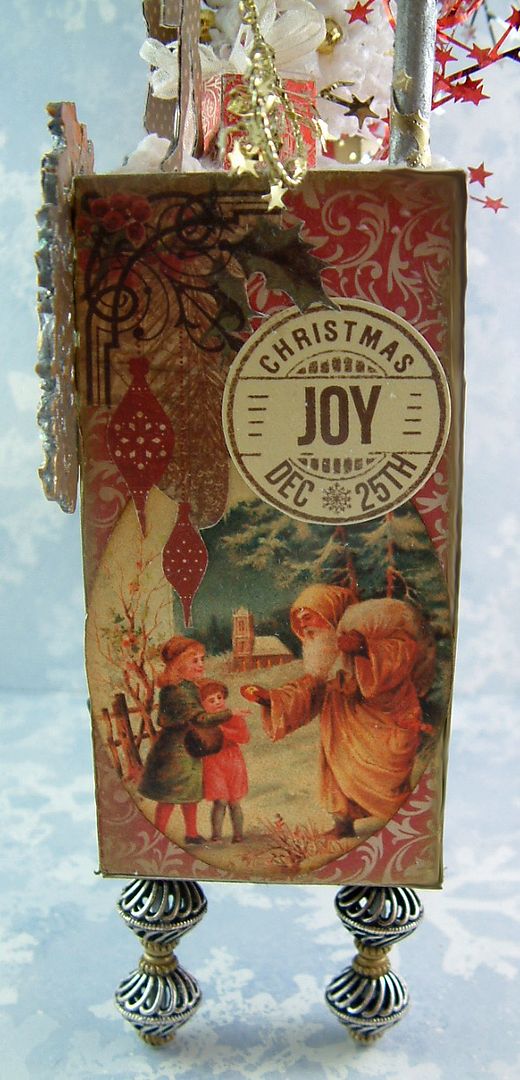
THE SIDES AND BACK OF THE CABINET
I used the decorative paper die cuts to
cover the sides of the cabinet. Because
the sides are foam core you could use the same trick to poke stuff in the sides
as in the top.
I added snow to the top of the cabinet
by drizzling Glossy Accents on the top and then sprinkling the glue with white
flocking. What I didn’t realize is that
some of the glue dripped down the back of the cabinet. Eeek!!! My solution was to add more glue to the back
and sprinkle it with Diamond Dust to create ice cycles. Problem solved!
I hope you have fun creating a cabinet for your family
and enjoying it for years to come.