-->

Welcome

I love answering your questions. If you ask them in the comment section, I have no way to answer you (if you haven't heard from me, that is why). If you use the "EMAIL ME" in the left column of this page, I will be able to respond to you. You can also use it if you want to be added to my newsletter. Laura

Saturday, August 24, 2019

Steampunk Tunnel Book - Video Tutorial - New Collage Sheets & Digital Image Sets

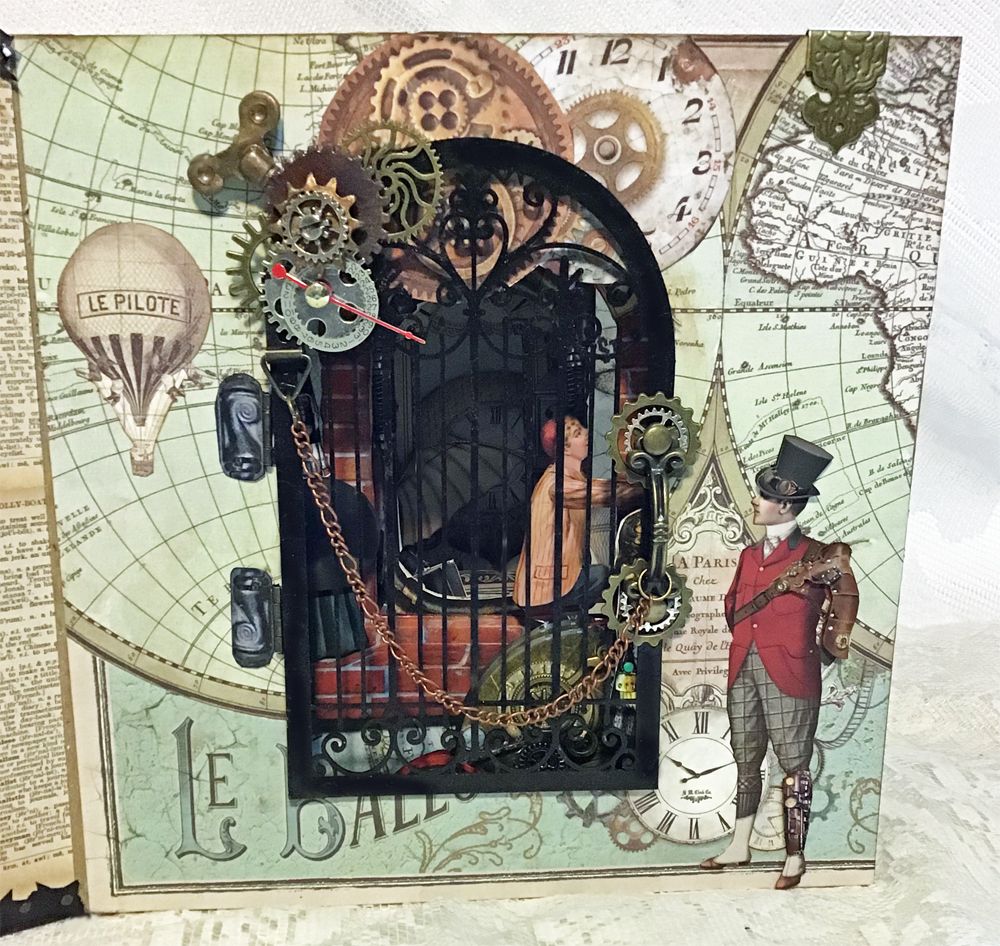
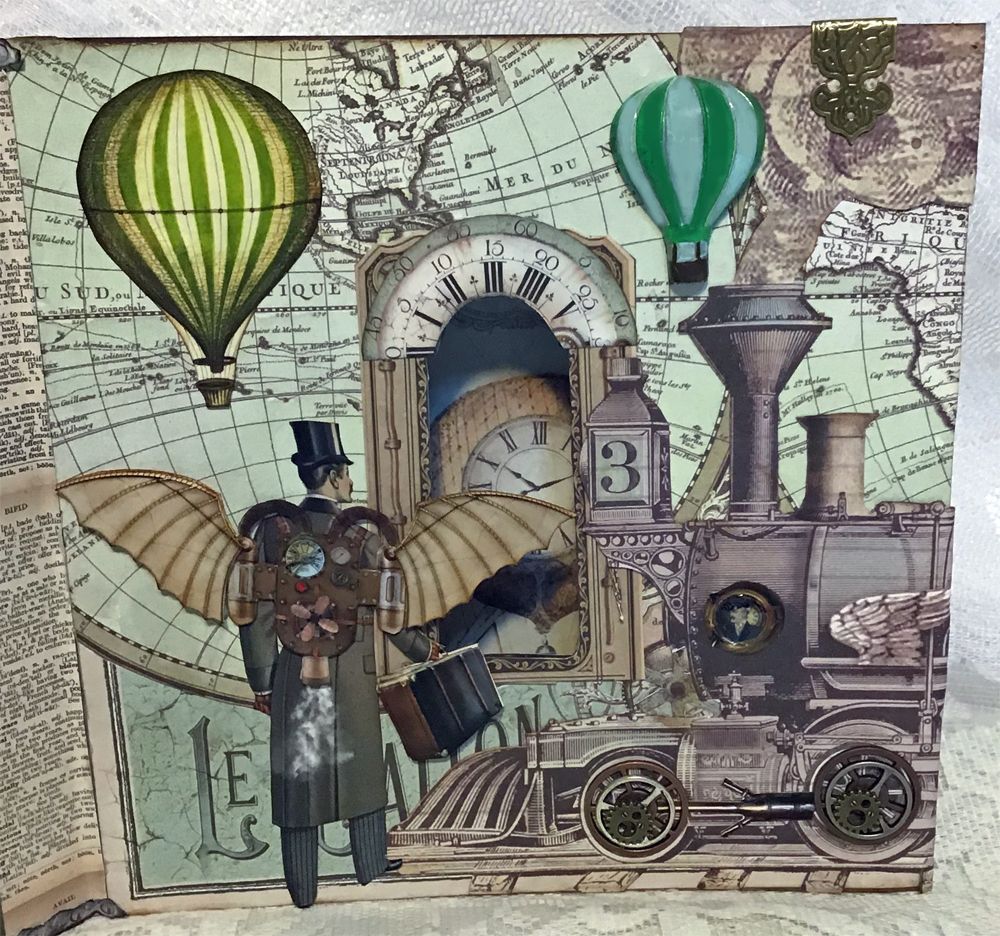
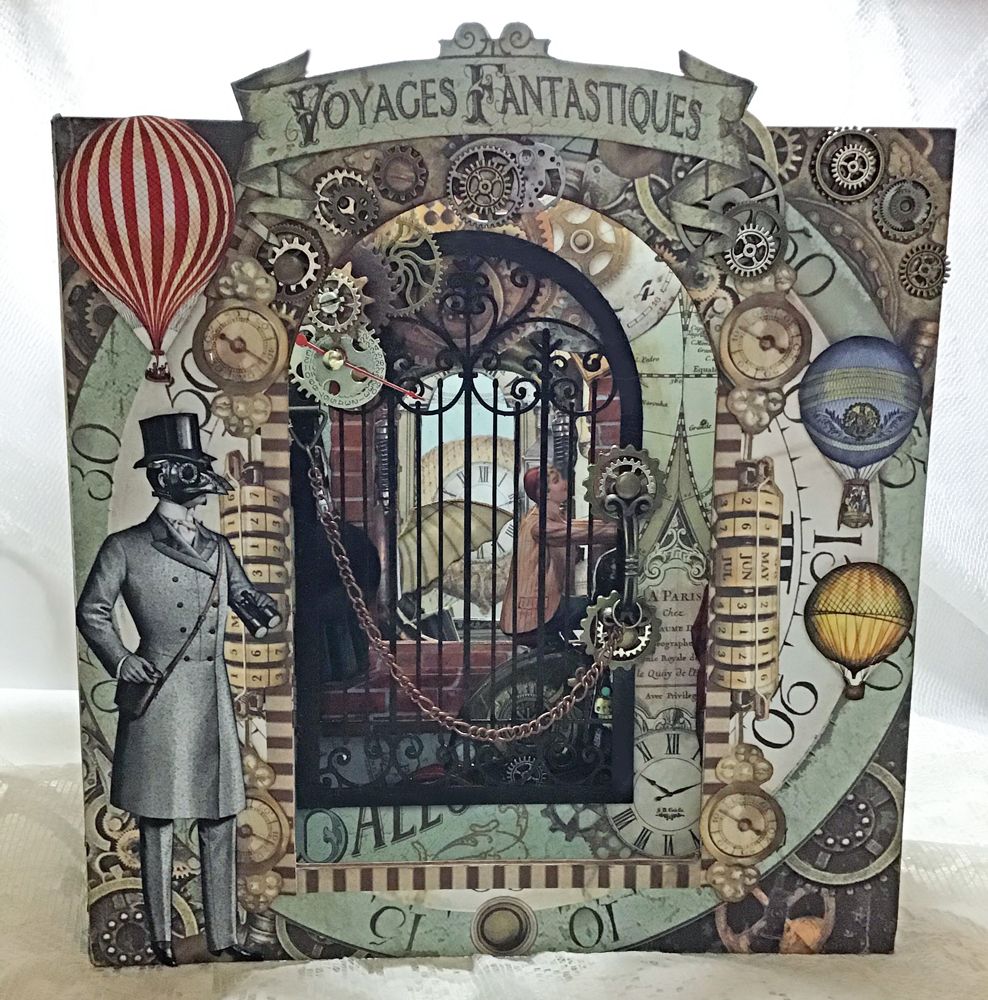
This is the first in a series of tunnel books, with this one being one of my favorite themes, which is Steampunk (video tutorial further down in the post).  If you aren't familiar with tunnel books, they are made by connecting a series of pages, with the first page having the largest hole and each subsequent page having a smaller hole than the one before, giving the book a tunnel effect.  Adding to the tunnel effect are the images on each page that slightly protrude into the openings.  The way I designed this book, the tunnel effect works no matter which direction you look (from the front to the back or from the back to the front).
I constructed the book using a new 8x8 Arch Tunnel Book that contains 6 pages which gave me a lot of surface area to embellish.
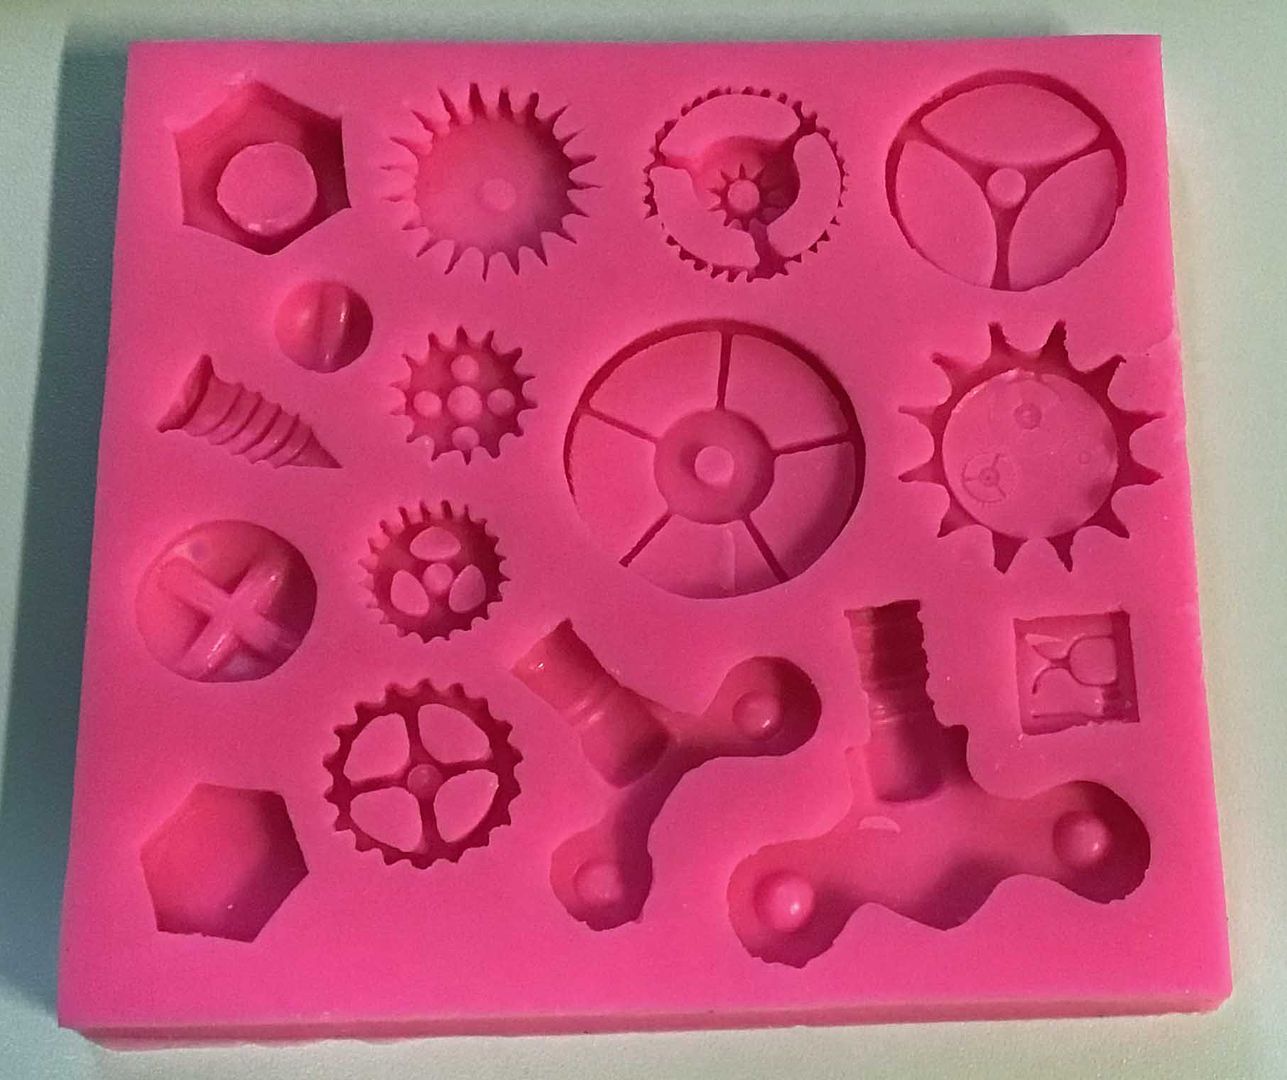
To accompany the tunnel book pages is a Wrought Iron Window Grate which is sized to fit the second window in the tunnel book, which I embellished with lots of metal gears, gears, and keys made from a mold, a chain, and a brass handle.  I used small hinges to attach the window to the book so that you could open and close the window.
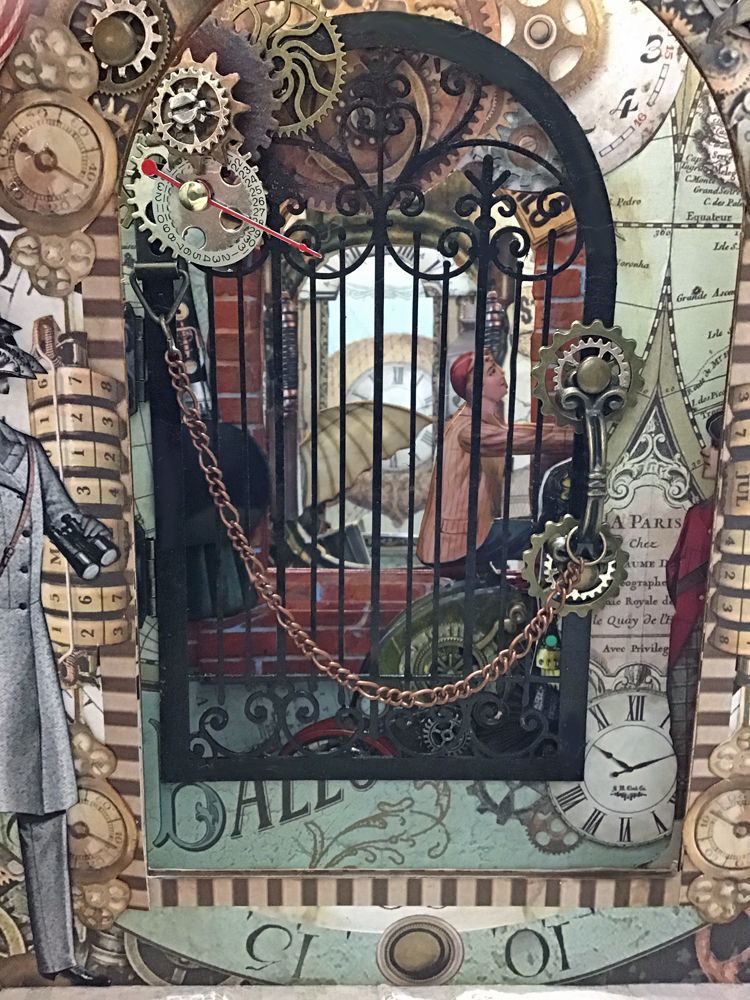
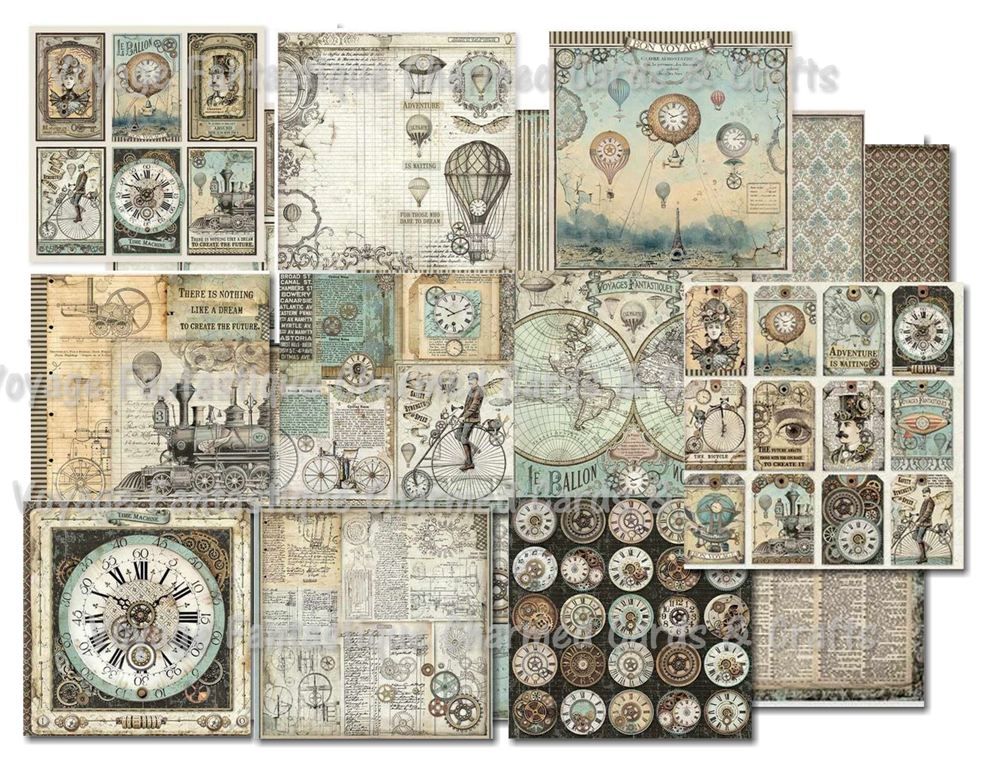
The inspiration for the project was the gorgeous steampunk-themed paper pack titled “Voyages Fantastique."  Not only are the designs on the double-sided papers beautiful, but many are loaded with images that I cut out and collaged onto the pages.
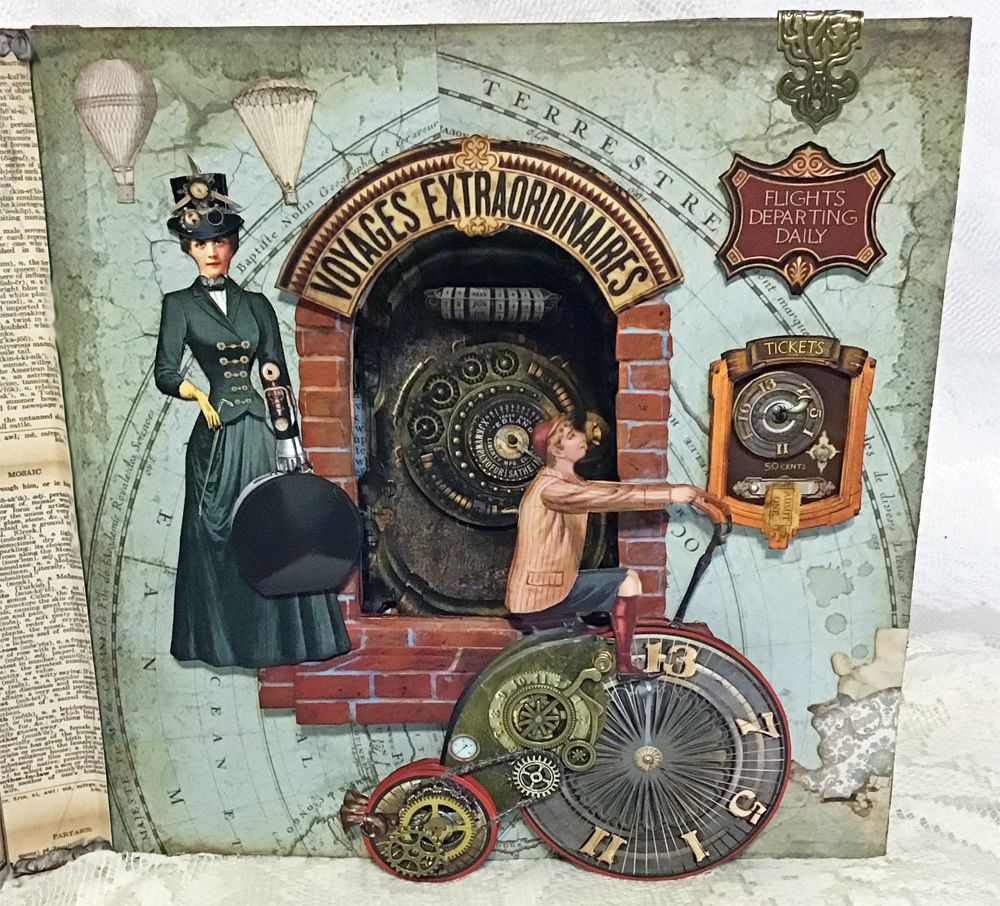
I addition to using the paper pad, I used images from some of my 6 new collage sheets and 2 new download sets (see the details further down in the post), plus some of my older steampunk-themed collage sheets.
In addition to paper balloon images from my collage sheet and the ones I cut out of the paper pad, I also used two balloon silicone molds.
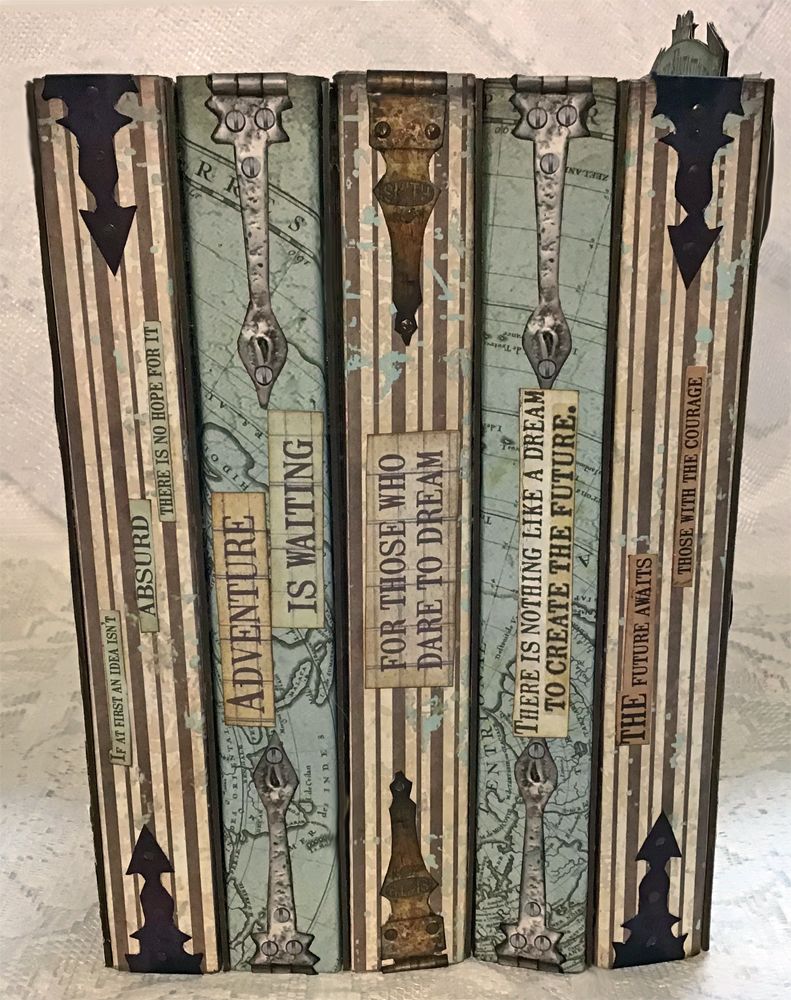


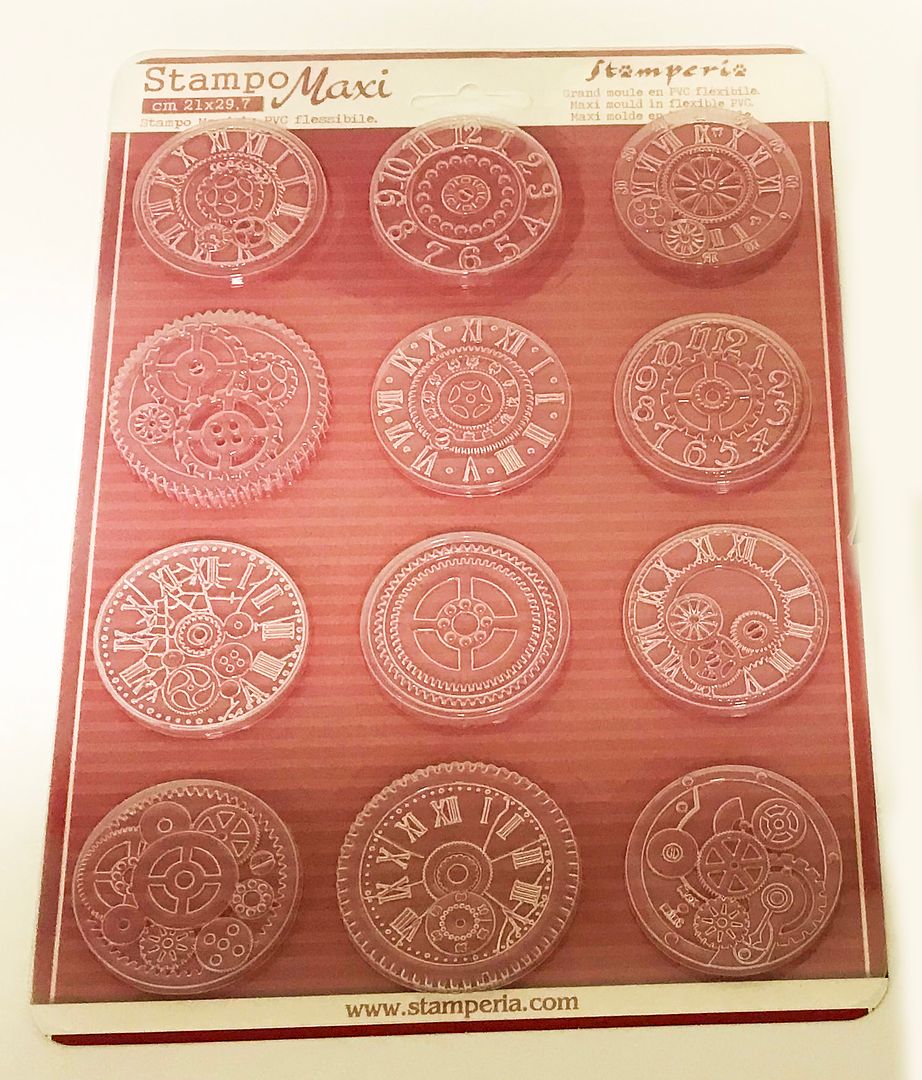
On the back of the book, I’ve used a steampunk-themed silicone mold packed with clocks and gears as the centerpiece.  In addition to paint, I dressed it up with metal gears and gears made from the previously mentioned silicone mold. 

NEW COLLAGE SHEETS & DIGI IMAGE SETS

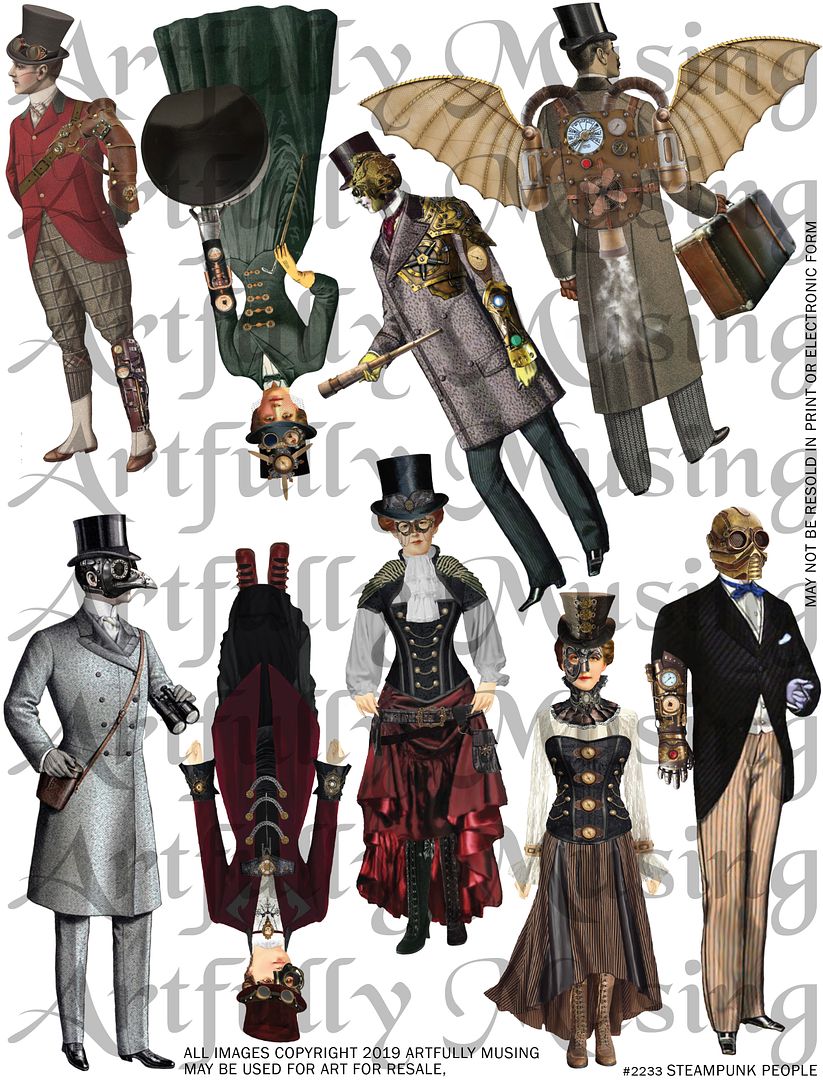
This sheet contains a combination of men and women dressed in steampunk fashions at a 1:12 scale.  This sheet works well with my other Steampunk collage sheets; Voyages Extraordinaire series, Time Machine, Steampunk Machines, and Steampunk Explorers Study.  To purchase this sheet, click on the image below.
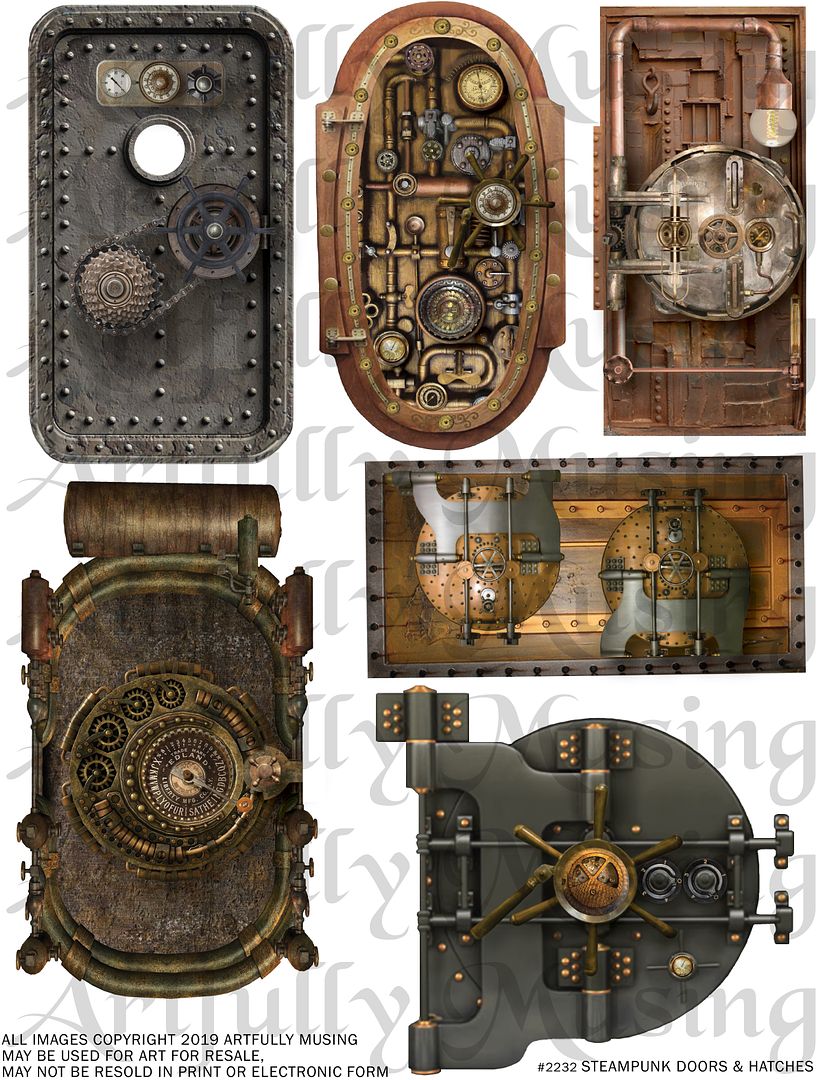
This sheet contains 6 steampunk doors and hatches, which work well with collage & altered projects, as well as 1:12 scale miniatures.  The images are scaled to work with the 8x8 chipboard tunnel book and work well with my other Steampunk collage sheets; Voyages Extraordinaire series, Time Machine, Steampunk Machines, and Steampunk Explorers Study.  To purchase this sheet, click on the image below.
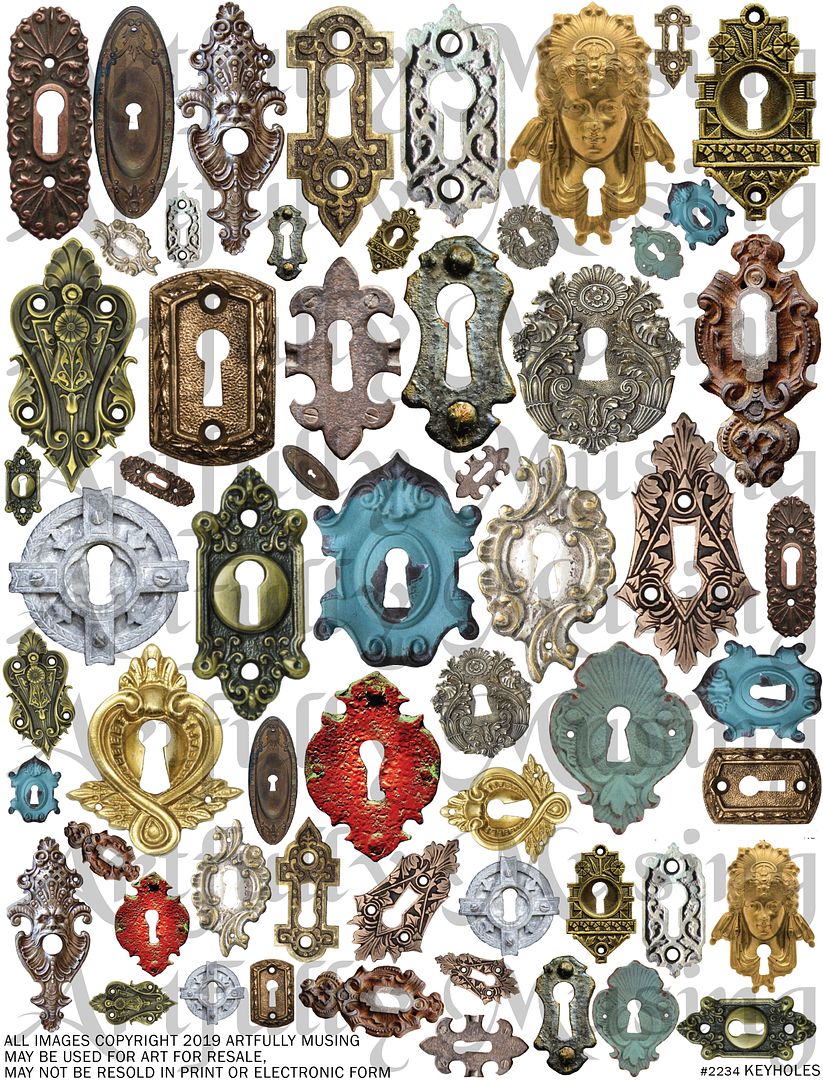
Keyhole Collage Sheet
This sheet contains 21 unique keyholes with 2 sizes of each keyhole and 3 sizes of some of the keyholes, which work well with larger projects.  To purchase this sheet, click on the image below.
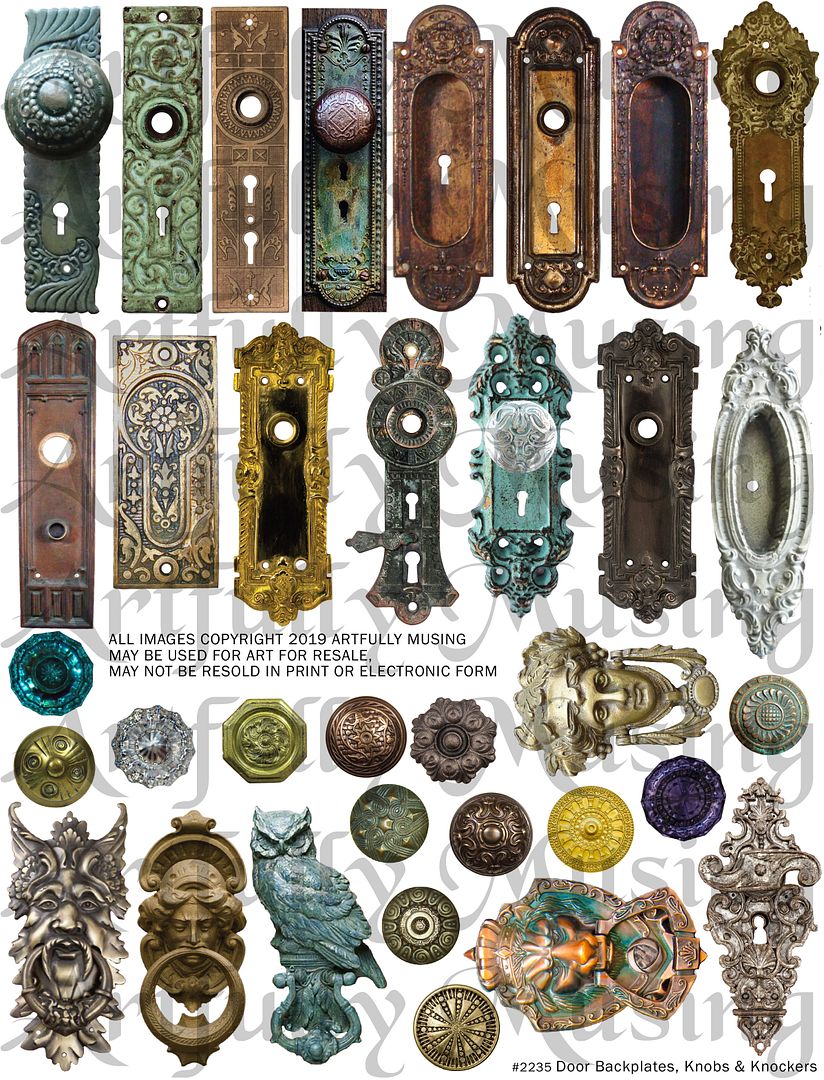
Door Backplates, Knobs & Knockers  Collage Sheet
This sheet contains 15 door backplates, 5 door knockers, and 13 knobs.  The knobs are sized to work with the door backplates, and all would work well with larger projects.  To purchase this sheet, click on the image below.
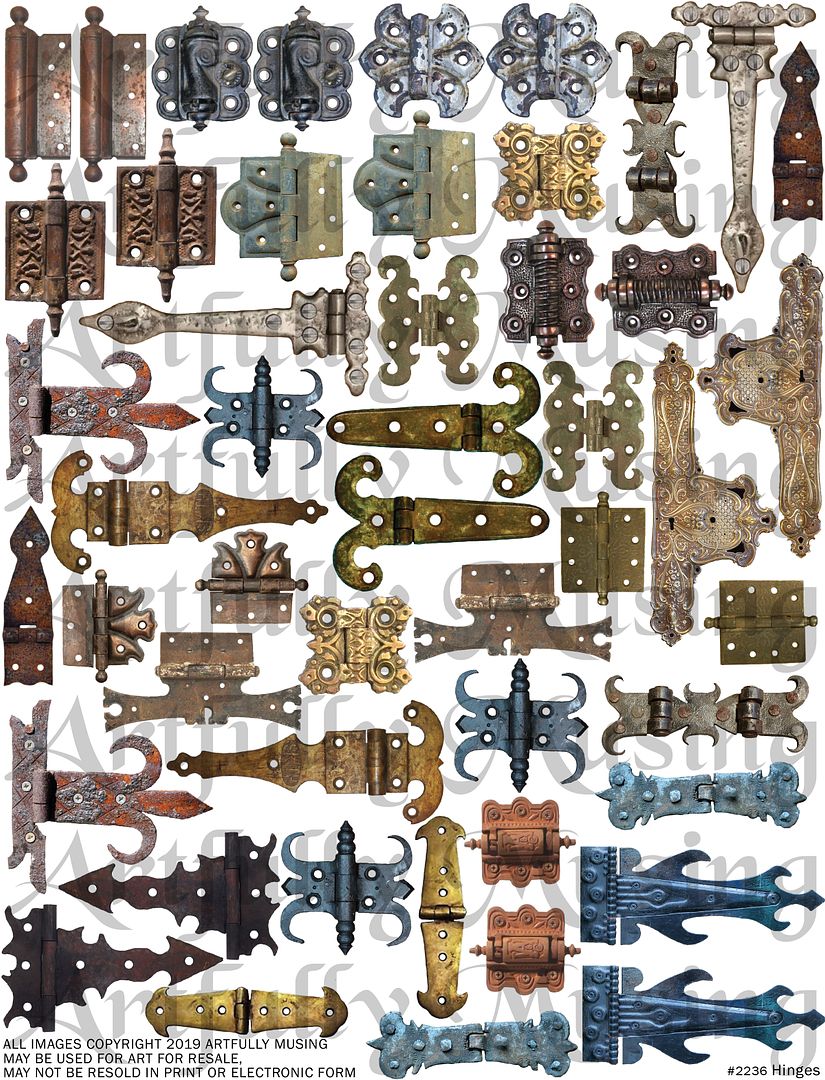
This sheet contains 24 unique hinges, with two of each hinge, which works well with larger projects.  To purchase this sheet, click on the image below..
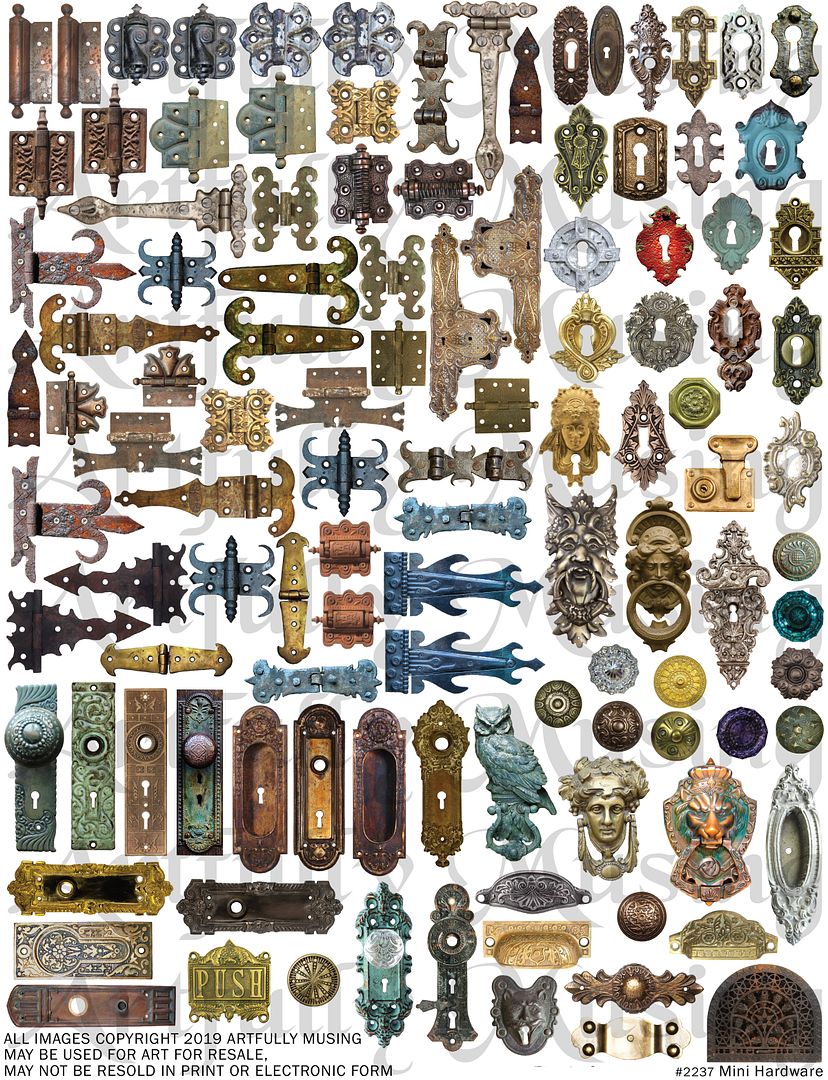
This sheet is packed with mini versions of hardware that would work well for 1:12 miniature projects as well as other projects.  These images are also found in the Keyhole, Hinges, Door Backplates, Knobs & Knockers, collage sheets, plus more.  To purchase this sheet, click on the image below.
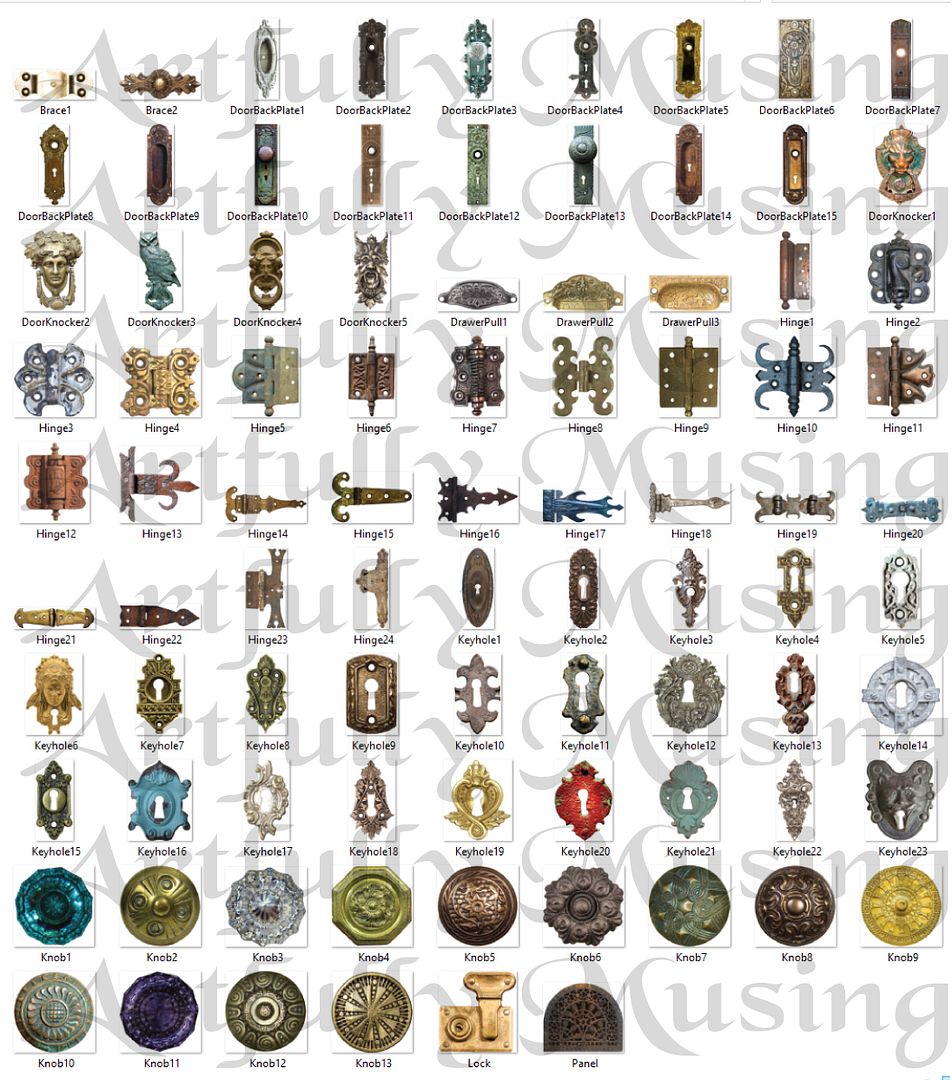
This set contains various types of hardware that are also found on the Keyhole, Hinges, Door Backplates, Knobs & Knockers, Collage Sheets plus more for a total of 87 images which includes:  15 Door Backplates, 5 Door Knockers, 24 Hinges, 13 Knobs, 23 Keyholes, 3 Drawer Pulls, 2 Braces, 1 Lock, 1 Grate Panel.  The images are scaled to work with 1:12 scale projects.   To purchase this image set, click on the image below.
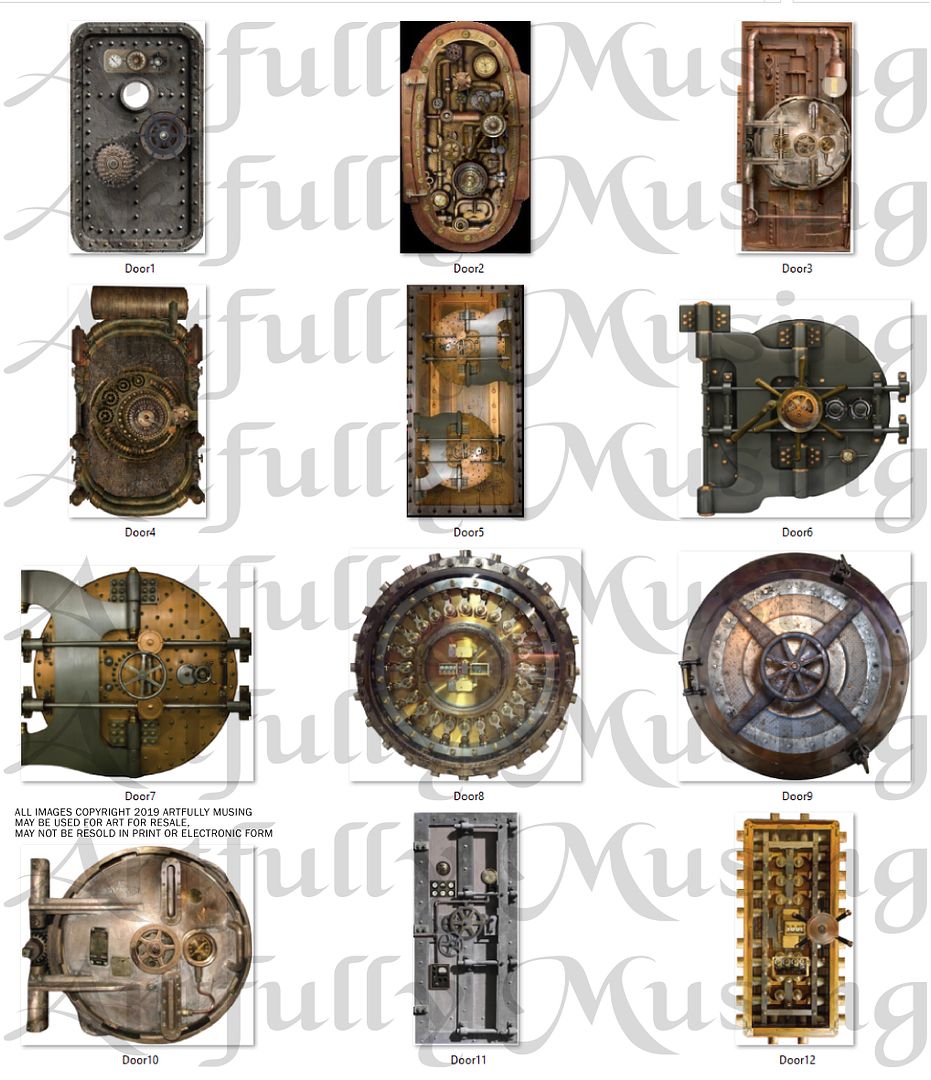
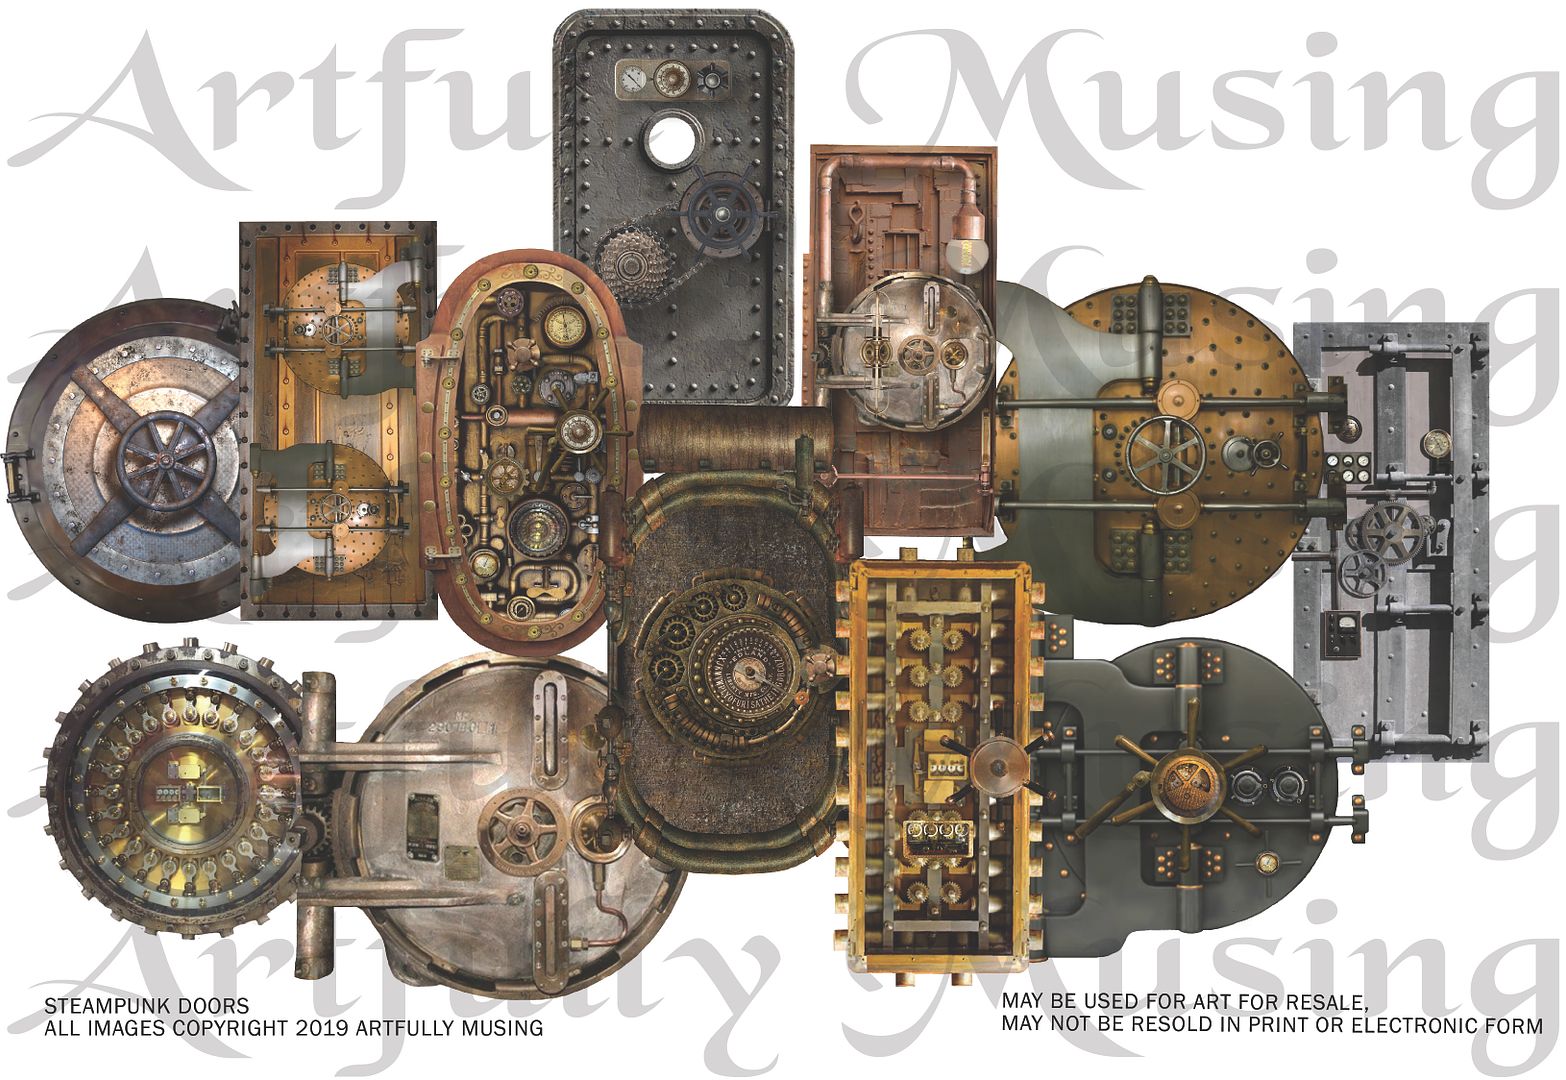
This image set contains the steampunk doors which are found on the Steampunk Doors collage sheet, as well as more for a total of 12 doors and hatches.   The images are scaled to work with the 8x8 chipboard tunnel book and work well with my other Steampunk collage sheets; Voyages Extraordinaire series, Time Machine, Steampunk Machines, and Steampunk Explorers Study.  To purchase this image set, click on the image below.
VIDEO TUTORIAL


OTHER TUNNEL BOOK VIDEO TUTORIALS

Saturday, July 6, 2019

Postcards from the Past - Faux Postcards with Holder – New Collage Sheet, Digital Download Sets and Gentleman’s Emporium Papers


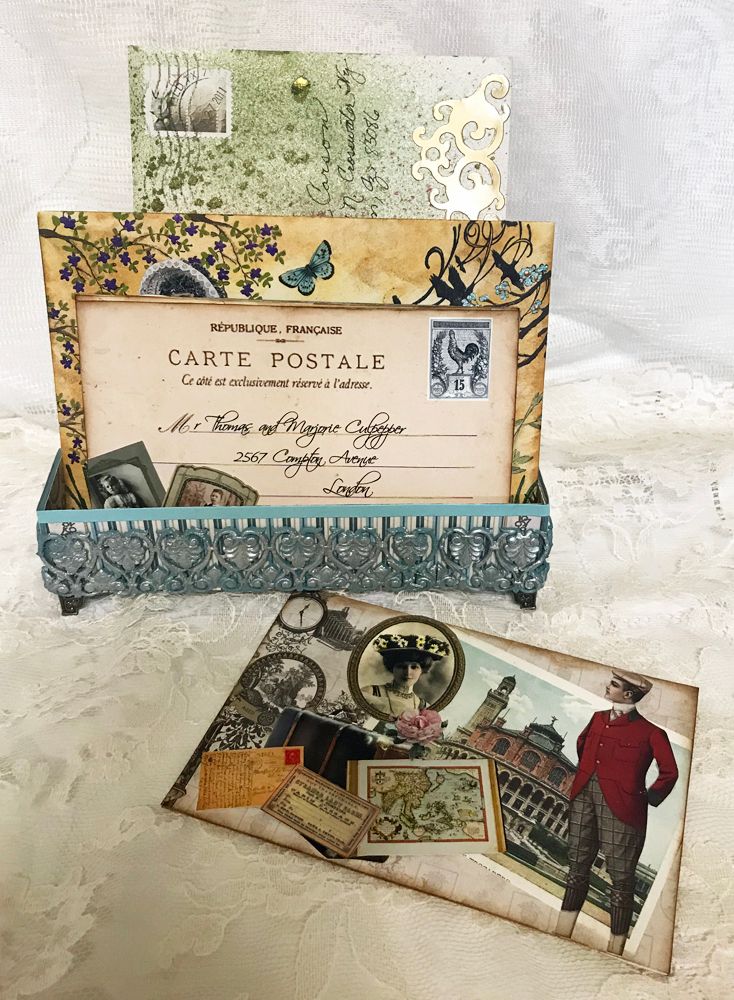
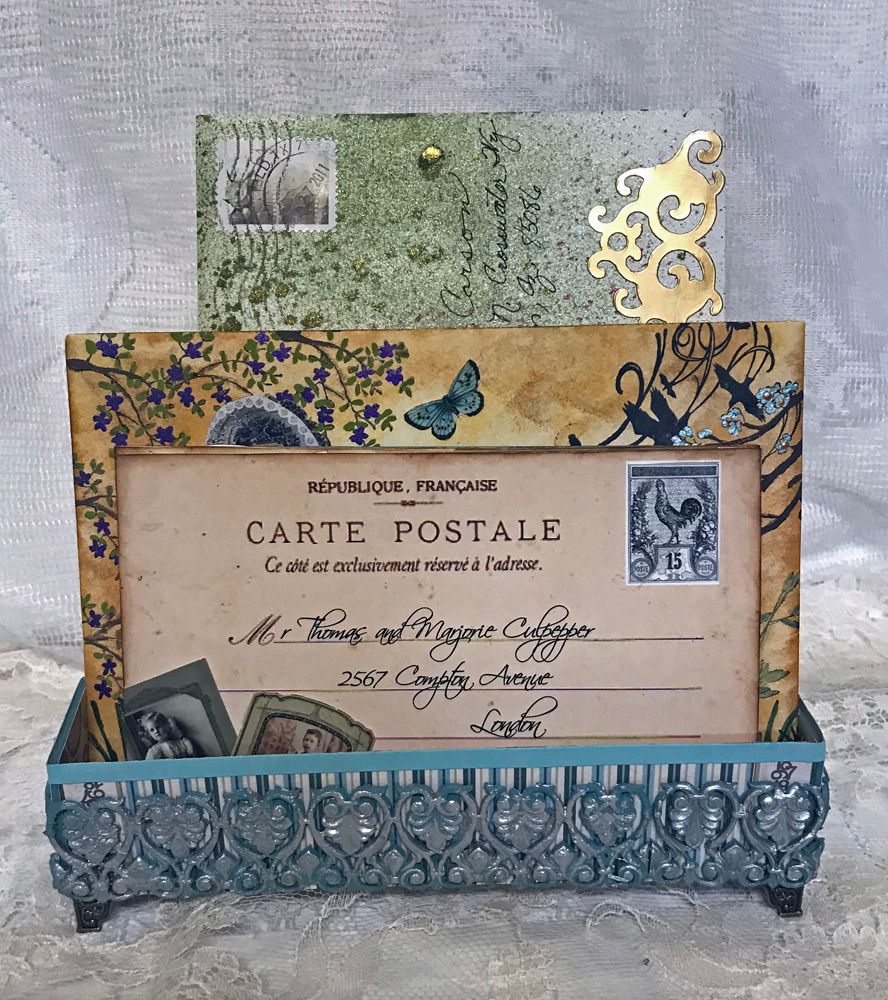
This project was inspired by the Gentleman’s Emporium 6x6 paper pad.  I haven’t done a collage project in a while, so I thought it would be fun to make some faux postcards and a simple holder (which I’ll show you how to make) with which to display them. I also displayed some of my altered envelopes behind the postcards.
In terms of a theme for the cards, I went vintage (of course), and then I thought I would have a little fun.
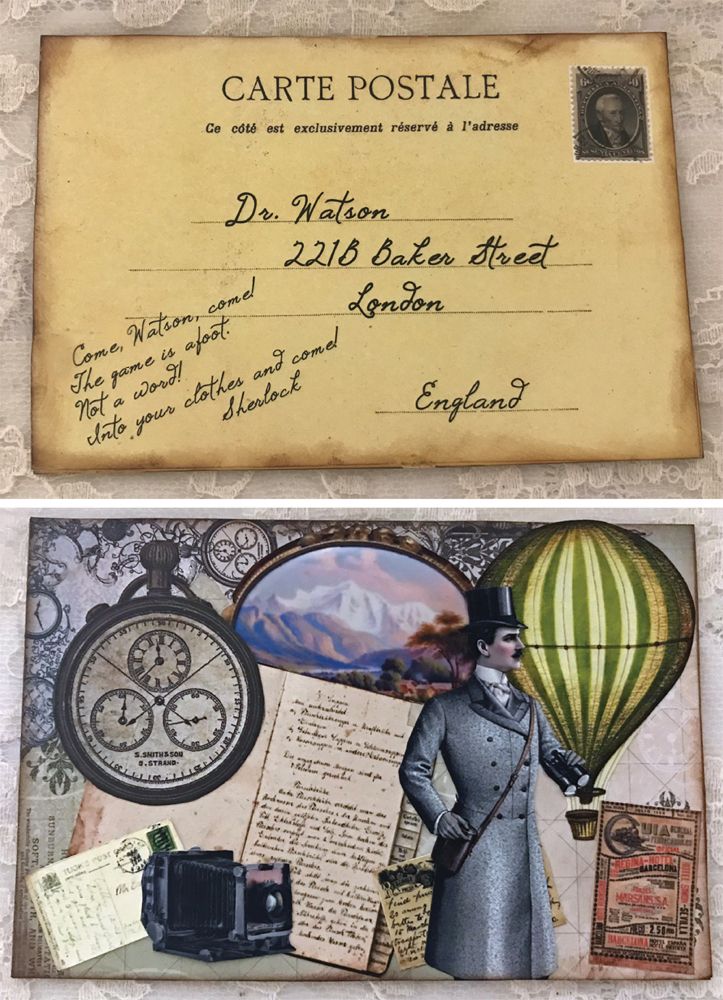
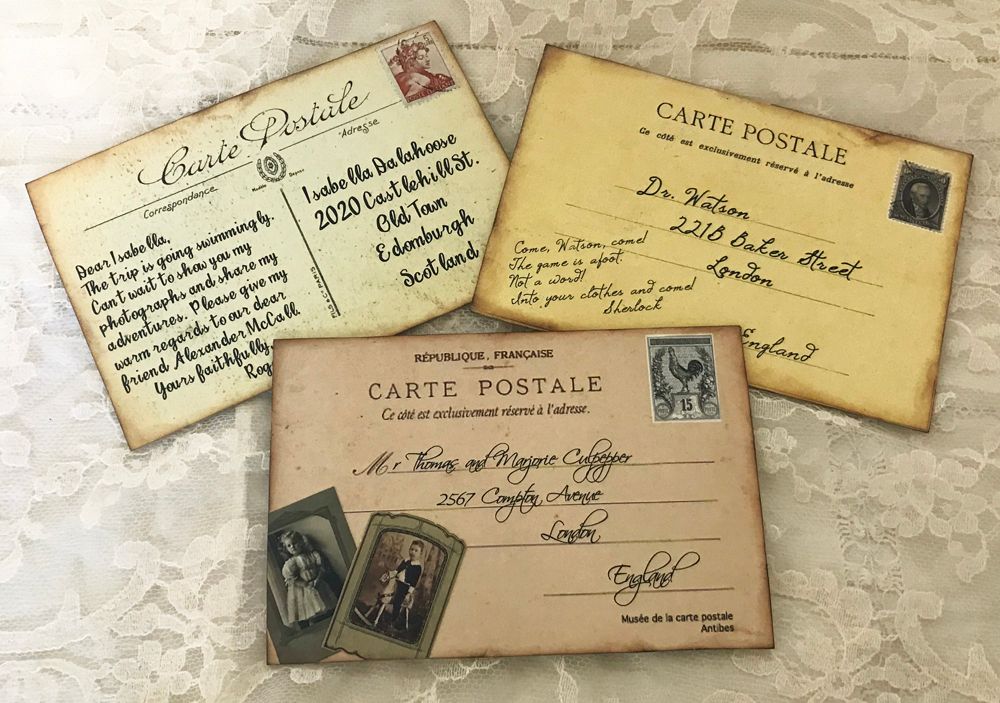
The first card is from Sherlock Holmes (who is in Argentina on the trail of his nemesis Professor Moriarty) to his sidekick Dr. Watson.
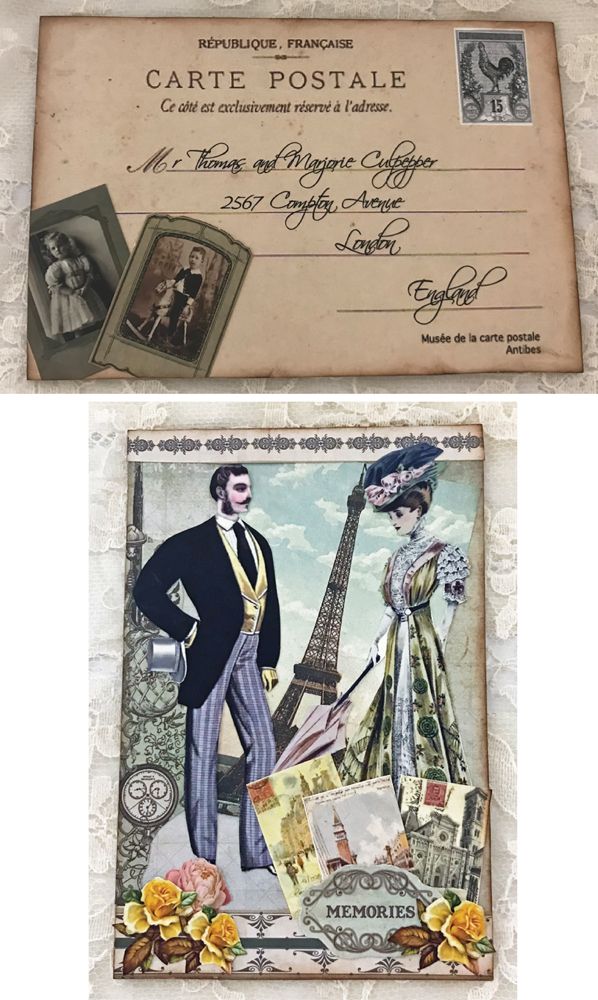
The second card is a couple vacationing in Paris, sending a postcard back to their children in London.
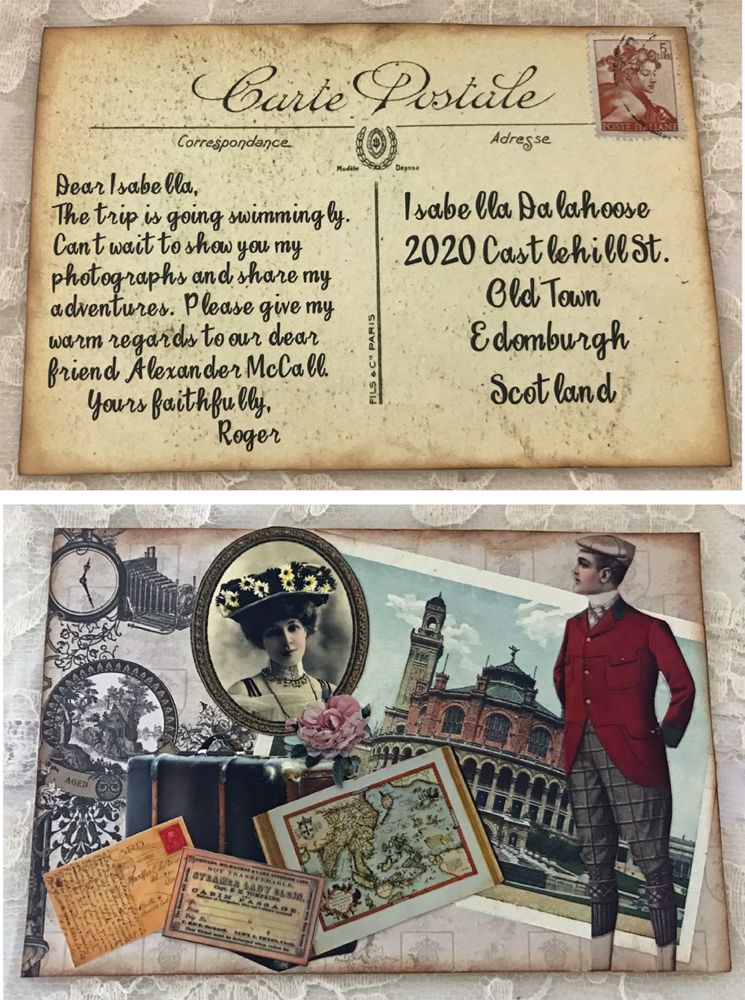
The third is a Scotsman on tour writing to his friend Isabella.  One of my favorite authors is Alexander McCall, who lives in Scotland, and one of my favorite series he writes is set in Edinburgh and revolves around Isabella Dalahoose.
The images I used to decorate the cards come from new collage sheets and image sets, as well as some older collage sheets (more info below and in the tutorial portion of the blog post).  You’ll also find a Free vintage postcard image further down in the post.
NEW COLLAGE SHEET & DIGI IMAGE SETS
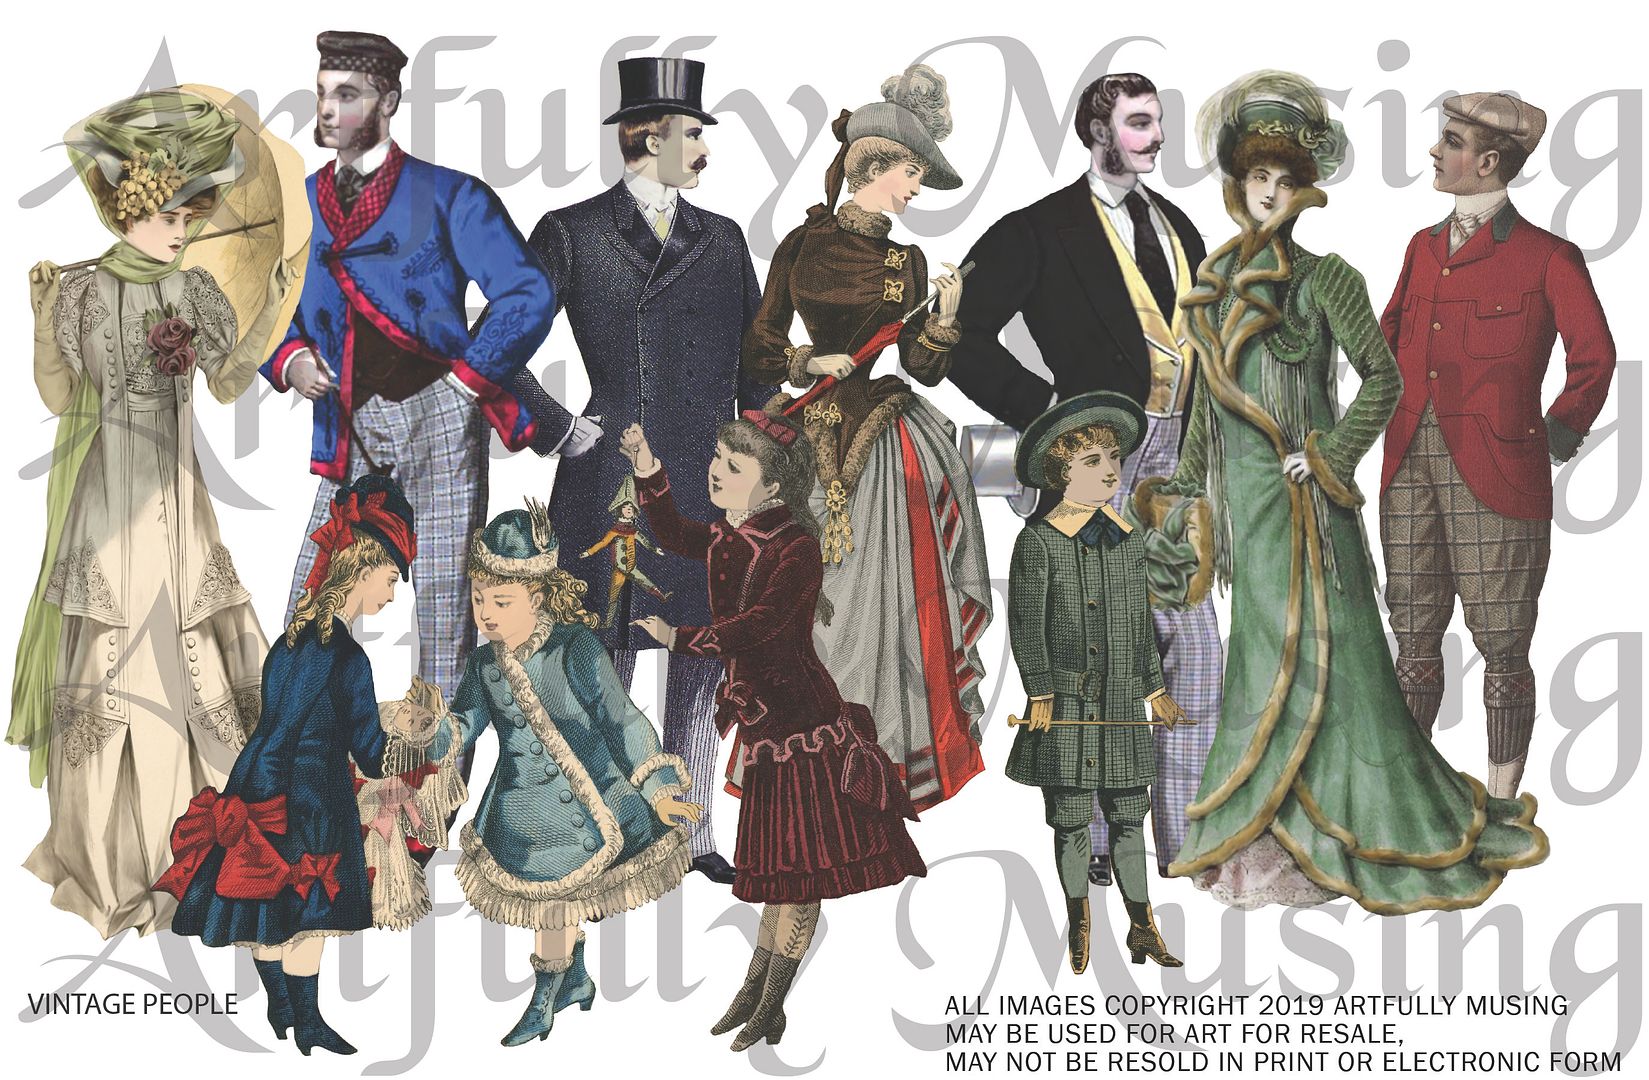
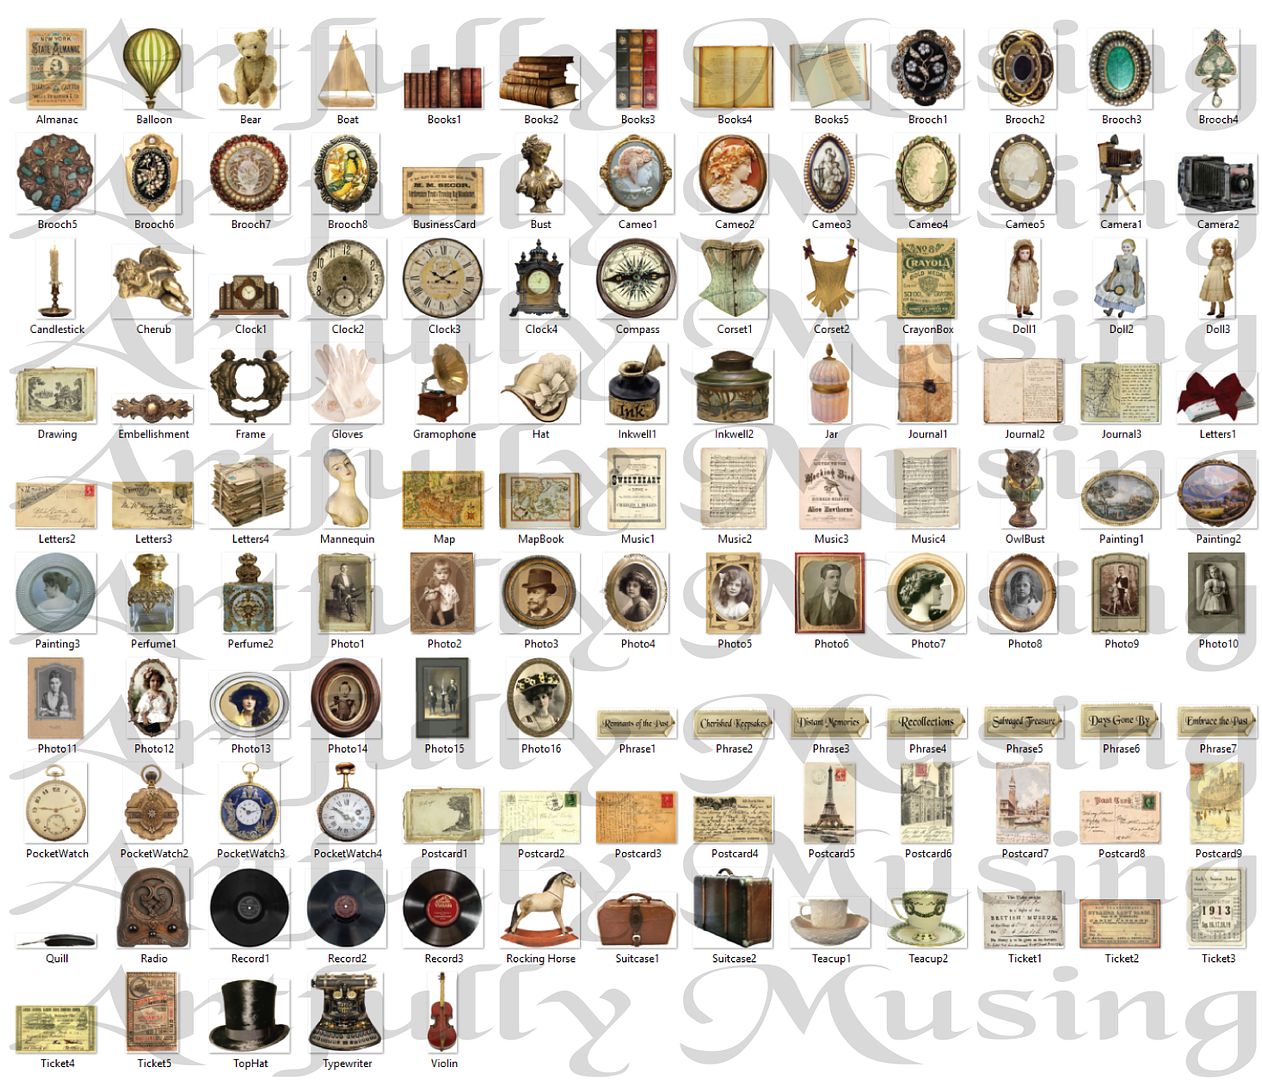
This sheet contains 11 smartly dressed men from the Victorian and Edwardian periods.  To purchase this sheet, click on the image below.
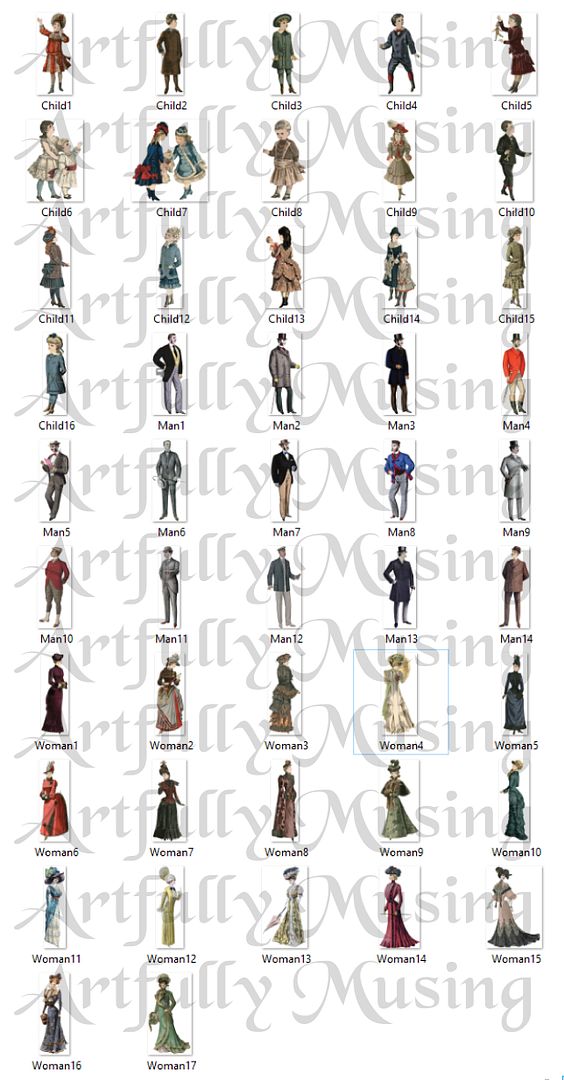
This set is packed with men, women, and children from the Victorian and Edwardian periods.  Included are all of the images from the Dapper Fellows Collage Sheet, the Victorian Women Collage Sheet, and the Victorian Children Collage Sheet, plus an additional 11 images for a total of 47 images.  To purchase the image set, click on the image below.
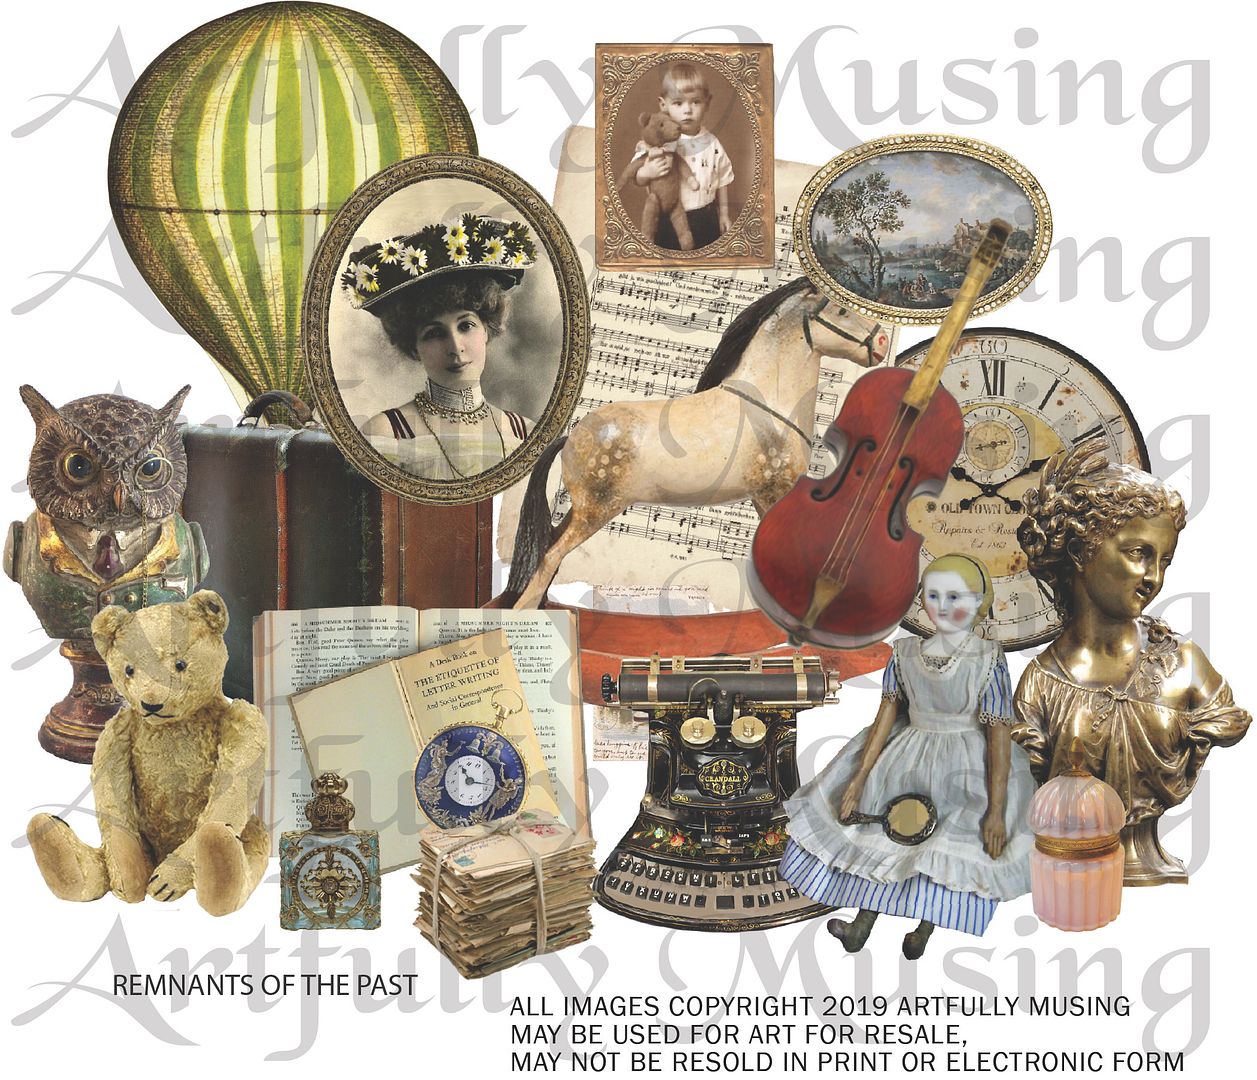
If you liked my Remnants of the Past #1 and #2 Collage Sheets, you will live the download set.   This set is packed with vintage ephemeral, all sized to work with smaller projects like altered tins and ATC’ although, with a download set, you can adjust the size of the image to fit your project.  It contains all of the images from the Remnants of the Past #1 & #2 Collage Sheets, plus 7 more for a total of 122 images.  To purchase the image set, click on the image below.

THE DETAILS
MAKING THE HOLDER
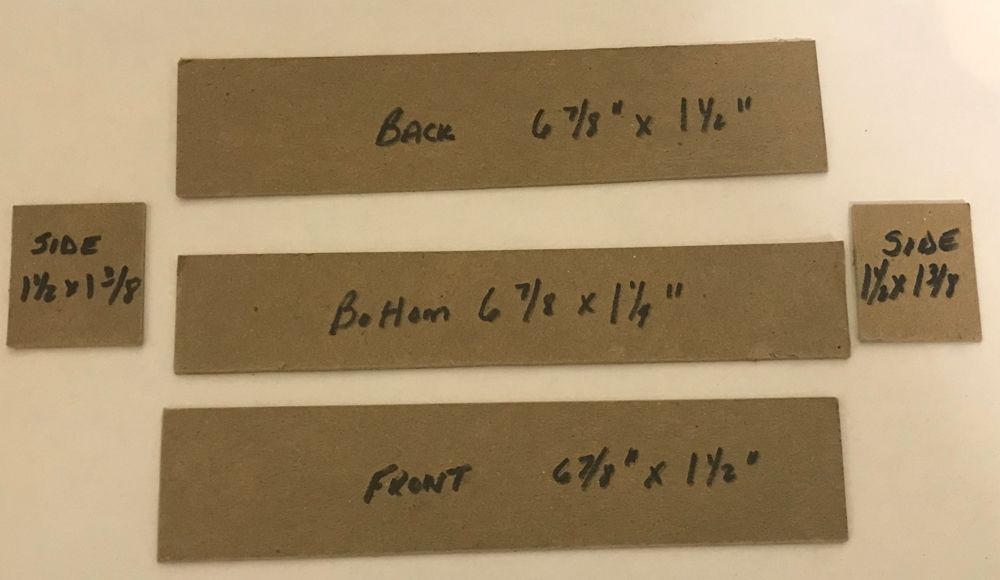
I started by cutting 5 pieces of thick chipboard (you could layer thinner chipboard).  To determine the measurements, I used a combination of the size of the postcards, the side of the clay trim, and the size of the feet.

Front and Back – These needed to be at least as long as the postcard but also long enough to work with the trim.  I used a silicone mold and polymer clay (you could use paper clay or Mold & Pour) to make the trim.  The trim has a repeat design, so I wanted to make sure the trim started and ended between the designs.  The measurement I used was 6 7/8” wide x 1 ½” high.  The height is arbitrary.   It needs to be high enough to hold the cards, and I wanted it low enough to see as many of the cards as possible.

Bottom – The bottom piece was cut the same width as the front and back (6 7/8”) and wide enough to hold however many cards you want to display and to accommodate the size of the feet (1/1/4”).

Sides – The height of the sides is the same measurement as the height of the back and front.  But the width needs to be a little wider than the width of the bottom.  The reason for the difference is based on how the pieces are glued together; you need to not only use the bottom width measurement but also include the depth (edge) of the back and front pieces.  In the case of my holder, that ended up being 1 3/8”, which I derived by the bottom width of 1 ¼” + the depth of my chipboard, which was 1/16” for the front and 1/16” for the back.
Assembly & Decoration
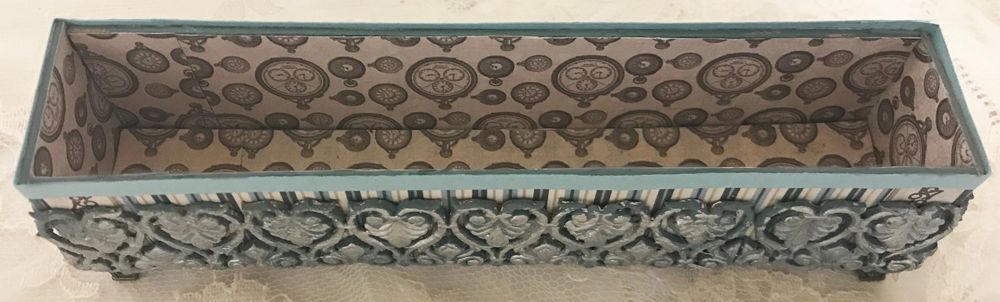
I first painted all of the chipboard edges with a color that would complement the decorative paper (sand the edges before painting if necessary). Next, I covered all of the chipboard (back and front) with paper.  It is much easier to paper before rather than after you assemble the pieces.
I glued the front and back pieces to the bottom piece.  Once dry, I attached the side pieces.  Attaching the side pieces last gives the holder the best support as they are glued to the edge of the front, back, and bottom pieces.  Because you are attaching the side pieces last, the width measurement needs to include both the width of the bottom and the depth of the front and back chipboard.

Making & Attaching the Border
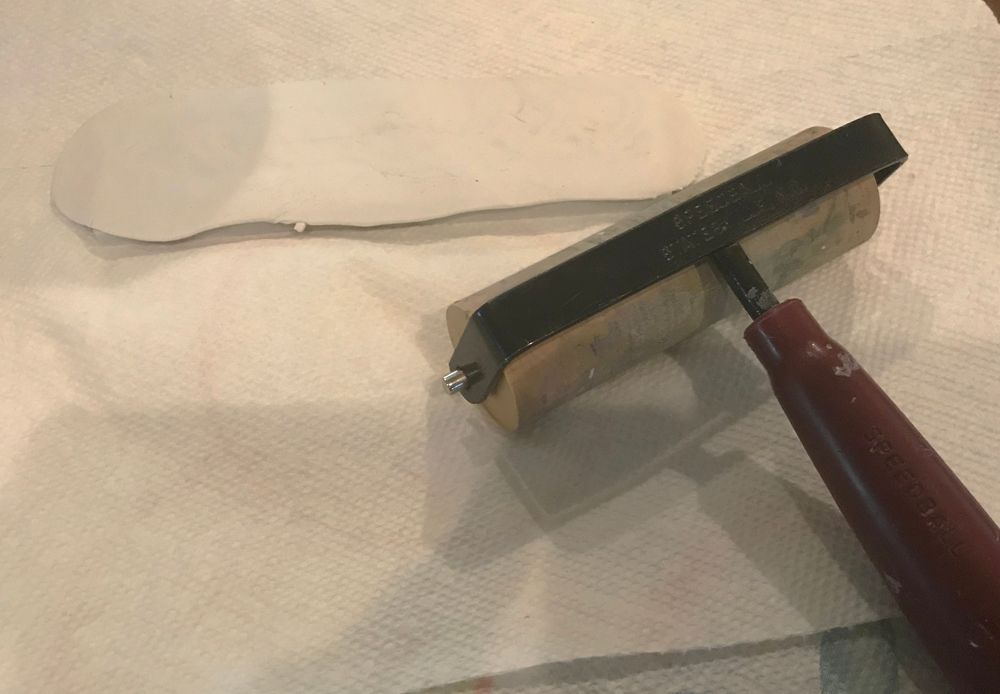
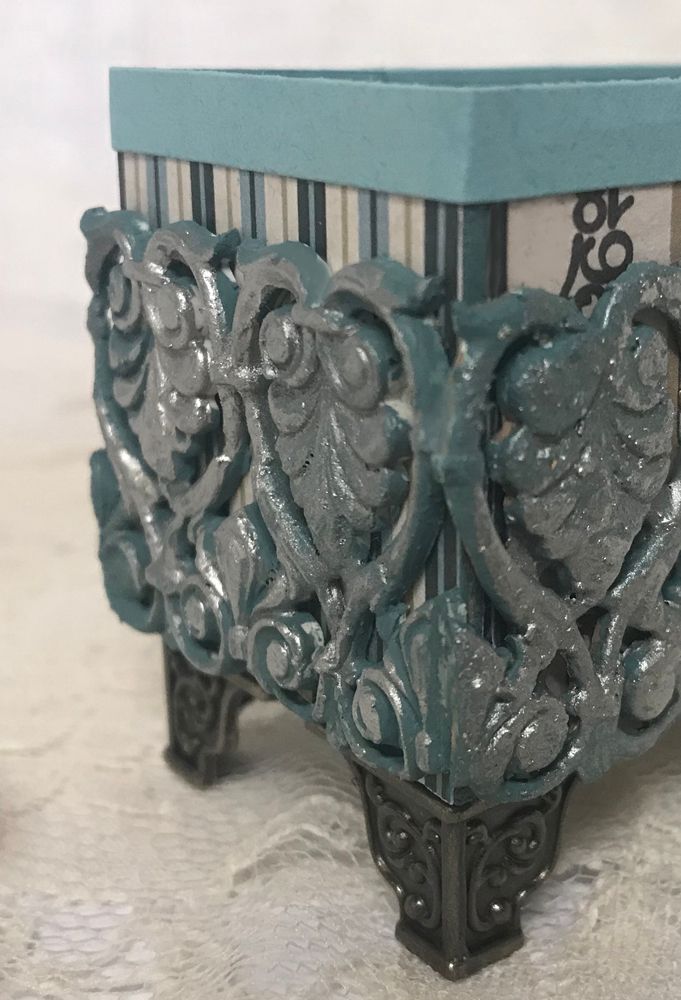
I used silicone mold and polymer clay to make a border to fit around the holder.  Because the mold is so detailed, I used a roller to press the clay into the mold.
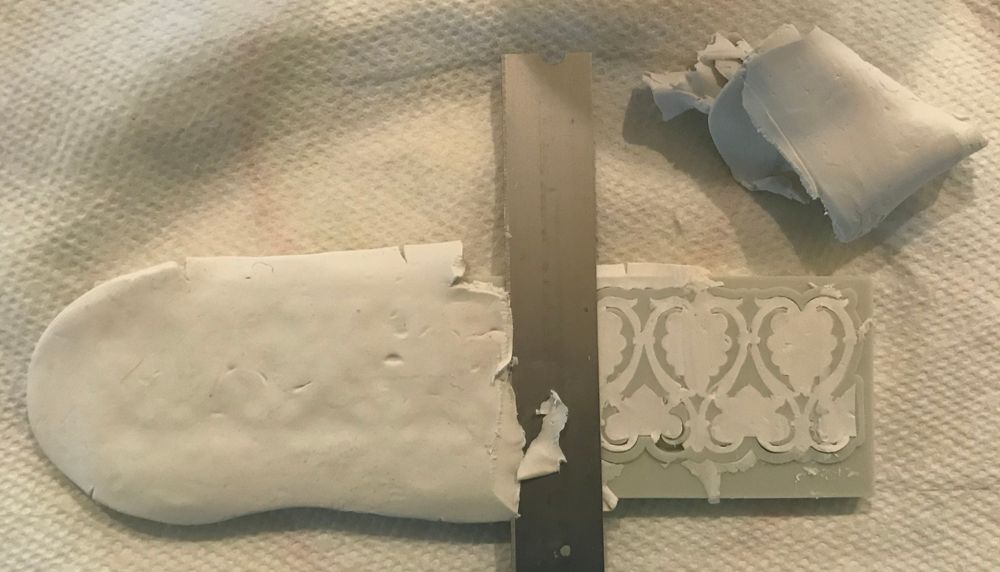
To remove the excess clay, I used a clay blade/cutter to carefully remove all of the layers of excess clay; alternatively, you could use a razor blade.
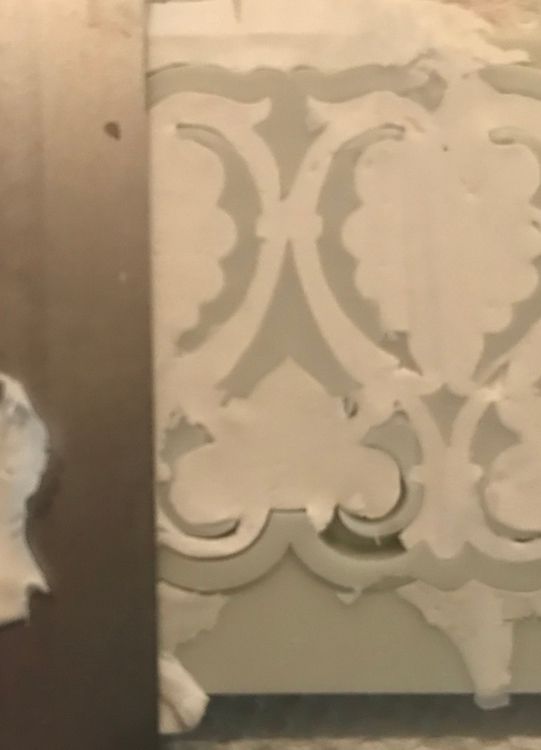
Once you remove the excess clay, you may find areas that aren’t entirely filled with clay, just press more clay into those areas and remove the excess with the blade.
Next, I baked the clay. When working on a delicate thin intricate piece like this, I bake the clay in the mold at a lower temperature than usual and for a shorter period of time.  It is better to underbake it and then put it back for a little longer than to burn the clay.

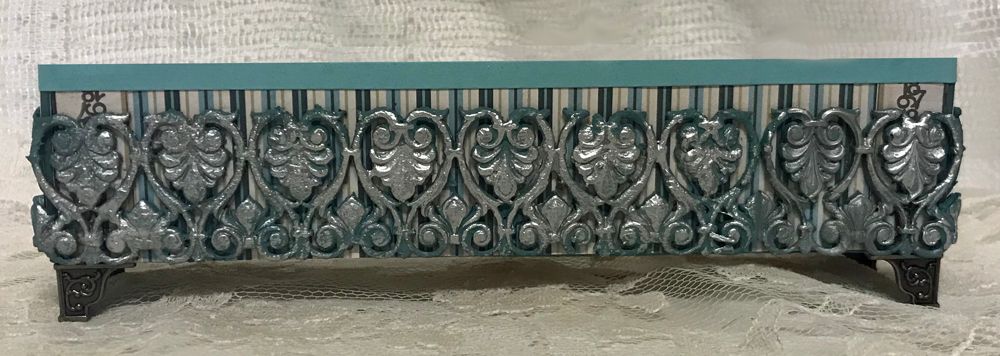
The border is shorter than the width of my holder.  Because of the pattern of the border, it is easy to use a full strip and then piece a few more sections of the pattern to cover the entire width.
I also made it just long enough to be slightly longer than the holder.  The reason is when I attach the border to the side pieces, they will butt up against the back of the front pieces to give me a nice edge.  Early I discussed using this consideration in determining the length of my front and back pieces.
Lastly, I added feet to the bottom of the holder and a strip of paper to the top as trim.
POSTCARDS
For the front, I used images of vintage postcards (you will find them further down in the post and can download them for your own use.)  Before I printed the postcard images, I added an address and message.   I mounted the images on a thin piece of chipboard to make them sturdier.
I covered the backside with paper from the Gentlemen’s Emporium 6x6 Paper Pad.
Next, I collaged images from the new collage sheet and image sets, plus two other collage sheets, Rose Garden and Paris Postcards.  I also cut out detailed images from the paper pad.
Lastly, I inked the edges of the cards with Vintage Photo Distressed Ink.

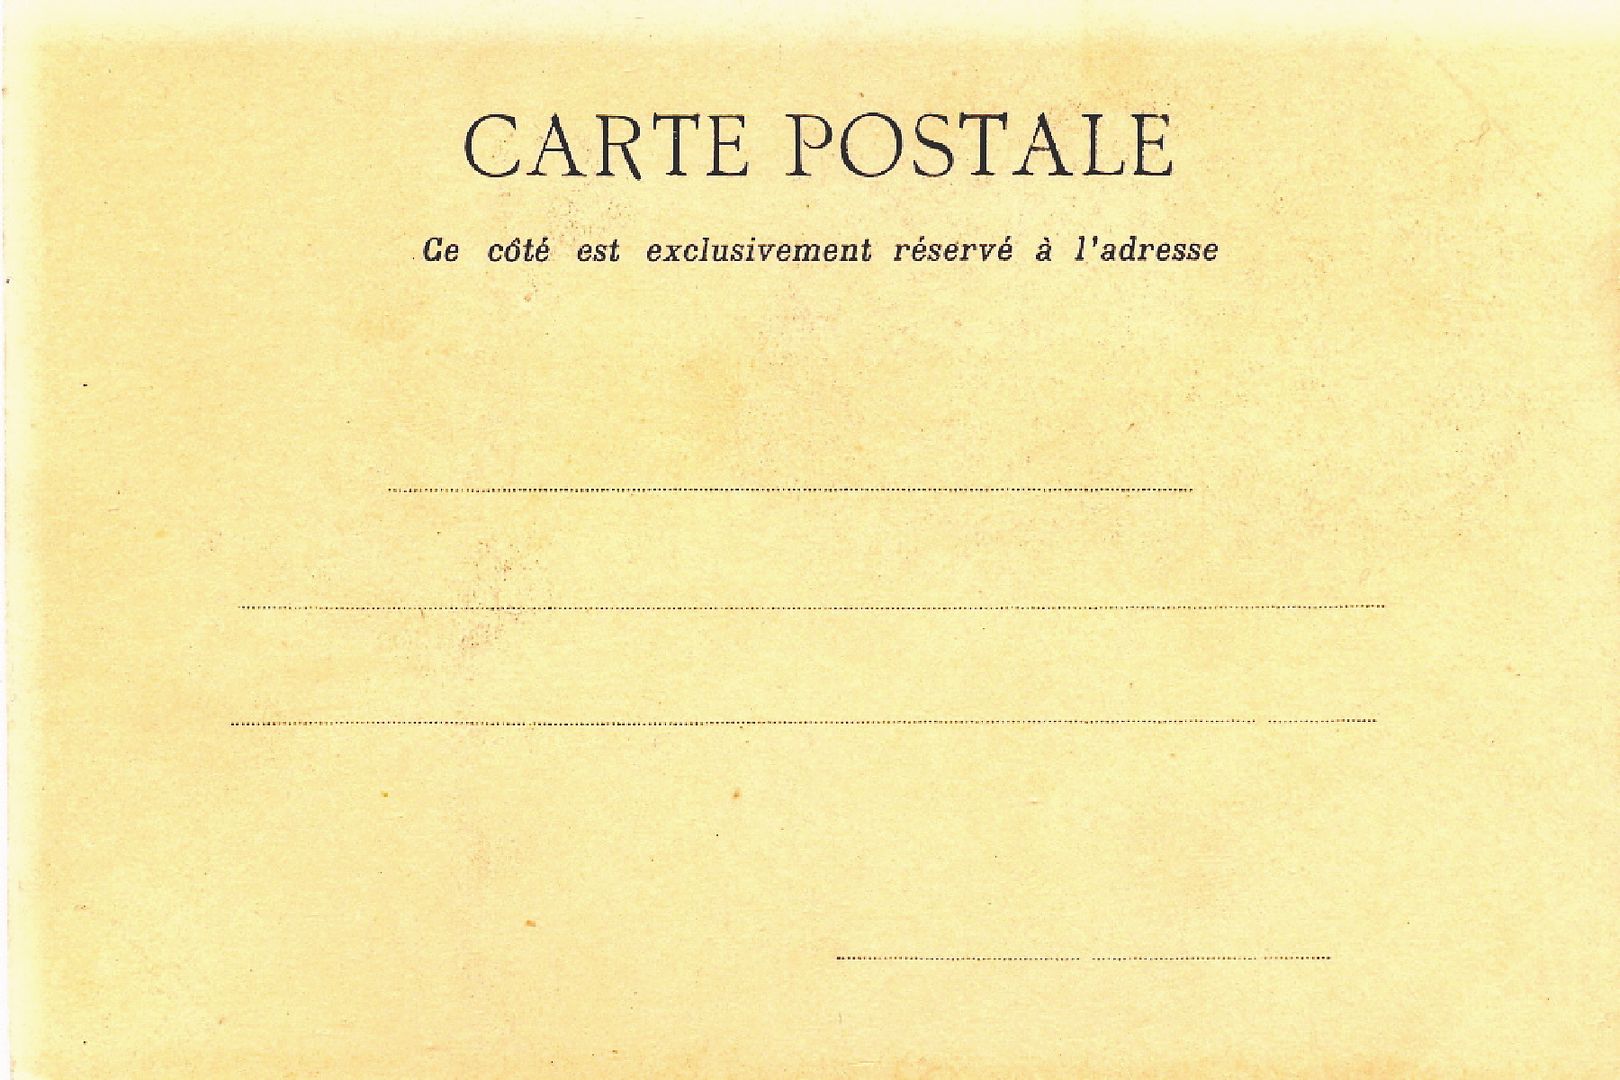
FREE POSTCARD IMAGES
Feel free to click on each image to download these images and use them in your art.  To download the images, right-click on the images and select "Save Image As" from the popup menu.

Wednesday, April 10, 2019

ALICE IN WONDERLAND TAROT CARDS TWO SIZES IN FAUX BOOK BOXES - NEW IMAGE SETS

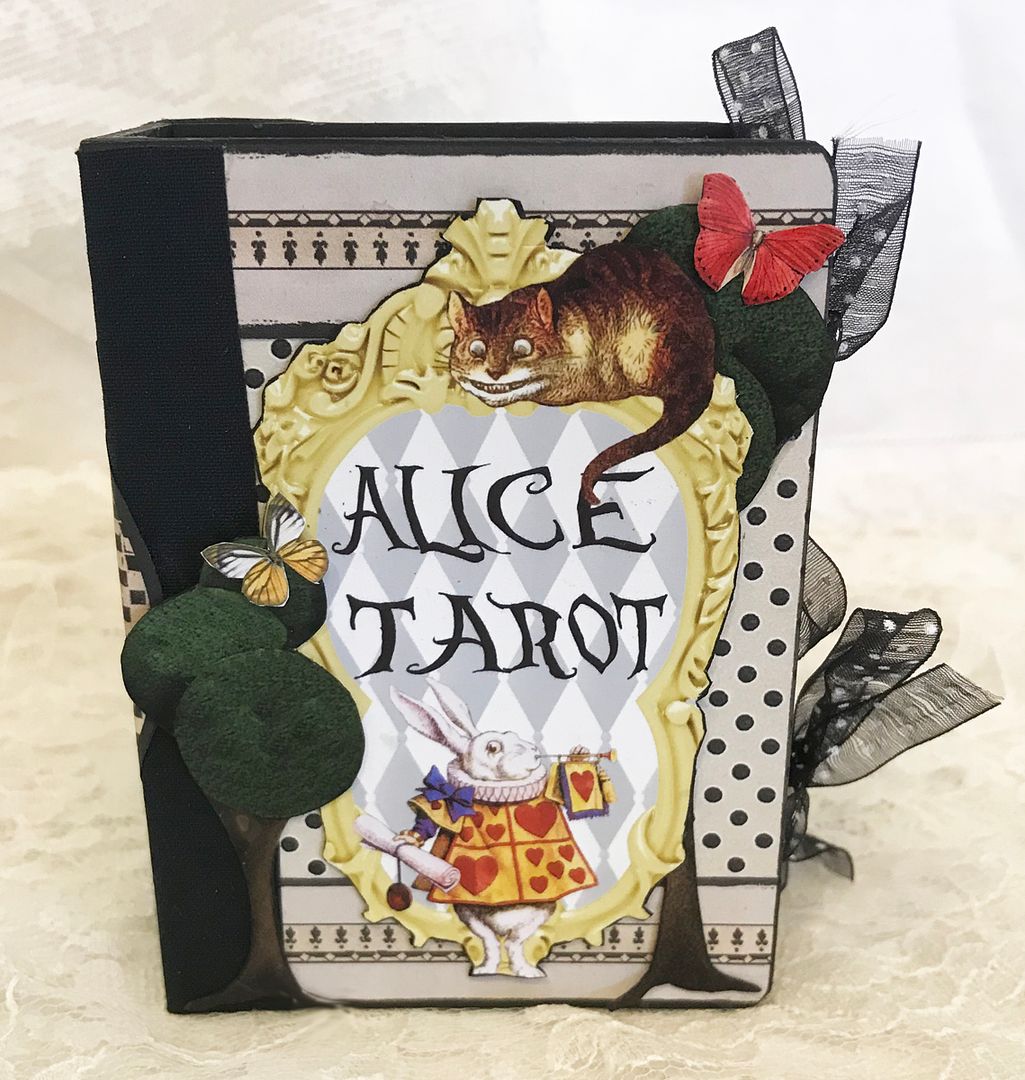
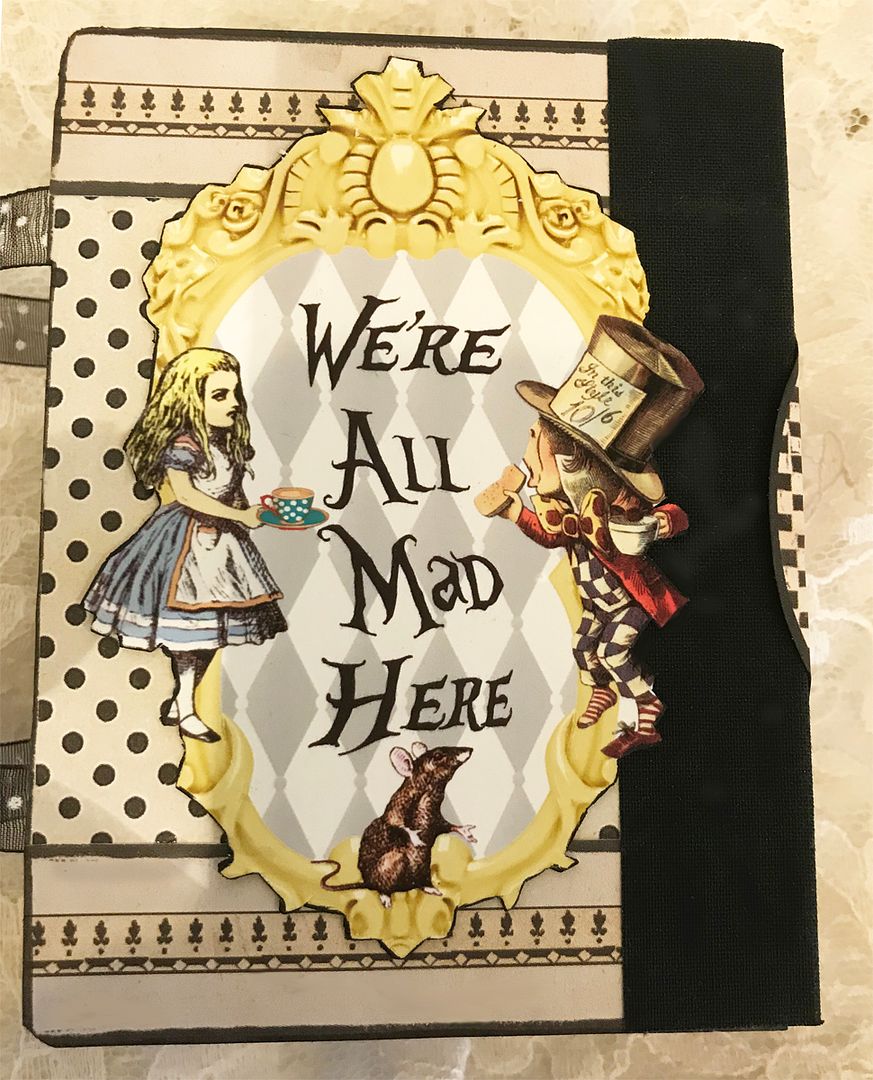
If you love Alice in Wonderland and tarot cards, you will love these projects.  One set of cards is the size of an ATC, and a mini version of cards that are 1 3/8" x 15/16".  To store the cards, I’ve used two different-sized Faux Book Boxes decorated with beautiful themed Alice paper and images from my new image sets.    
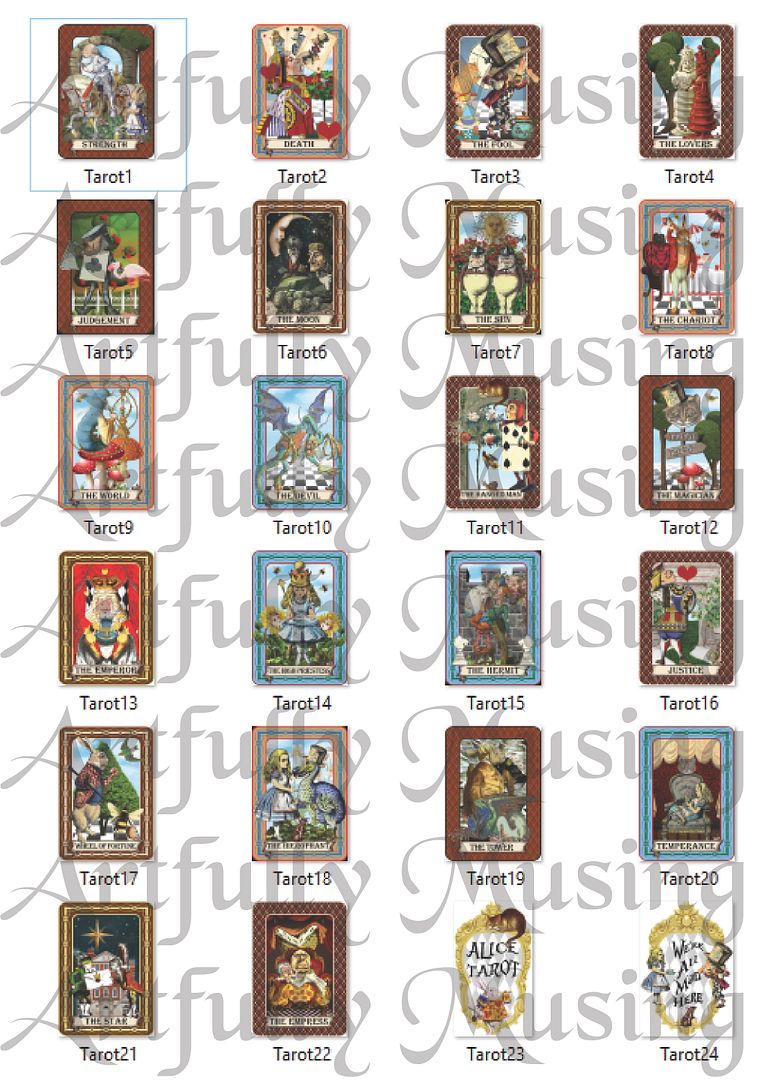
For this project, I have designed a 3 collage sheet Alice-themed Tarot card set of the 22 Major Arcana tarot cards, which are ready to be cut out, backed with decorative paper, and voila, you have a set of cards. The images are available as collage sheets or as digital image sets.
If you love miniature items, I created a half collage sheet mini version of the tarot cards.


NEW COLLAGE SHEETS & DIGI IMAGE SET

This 3 collage sheet set contains 22 ATC-sized Major Arcana tarot cards featuring characters from “Alice in Wonderland” and “Through the Looking Glass” books, plus some images to decorate a card box.  It is so easy to make your own set by merely cutting out the card images and attaching a decorated paper backing.  Click on the image below to purchase this set.
This sheet contains 18 characters from the “Alice in Wonderland” and “Through the Looking Glass” books.  Included are: Executioner, Duchess, Mock Turtle, White Knight, White King, Red Queen, Caterpillar, Humpty Dumpty, King of Hearts, March Hare, Gryphon, Cheshire Cat, Carpenter, Walrus, Unicorn, Lion, Jabberwock, and the Messenger.  This sheet works well with all of my other Alice-themed collage sheets and digital image sets.  Click on the image below to purchase this sheet.
This sheet is a mini version of 3 Alice Tarot Collage Sheet (22 Major Arcana tarot cards) set featuring characters from “Alice in Wonderland” and “Through the Looking Glass” books, plus some images to decorate a card box.  The cards measure 1 3/8" x 15/16".  Click on the image below to purchase this sheet.
This set contains all of the cards found on the Alice Tarot, 3 Collage Sheet set, which includes 22 ATC-sized Major Arcana tarot cards featuring characters from “Alice in Wonderland” and “Through the Looking Glass” books plus some images to decorate a card box for a total of 24 images.  Click on the image below to purchase this set.

THE DETAILS
ATC-SIZED CARDS & BOX
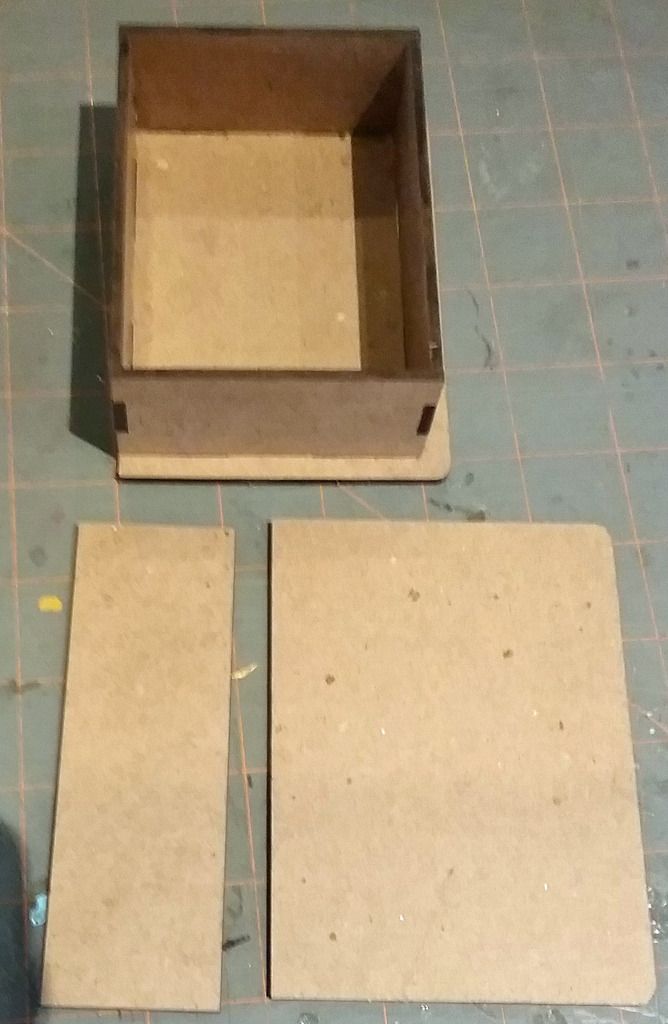
I started by assembling the box part of the book.  Next, I painted all of the edges that will be exposed after papering black.
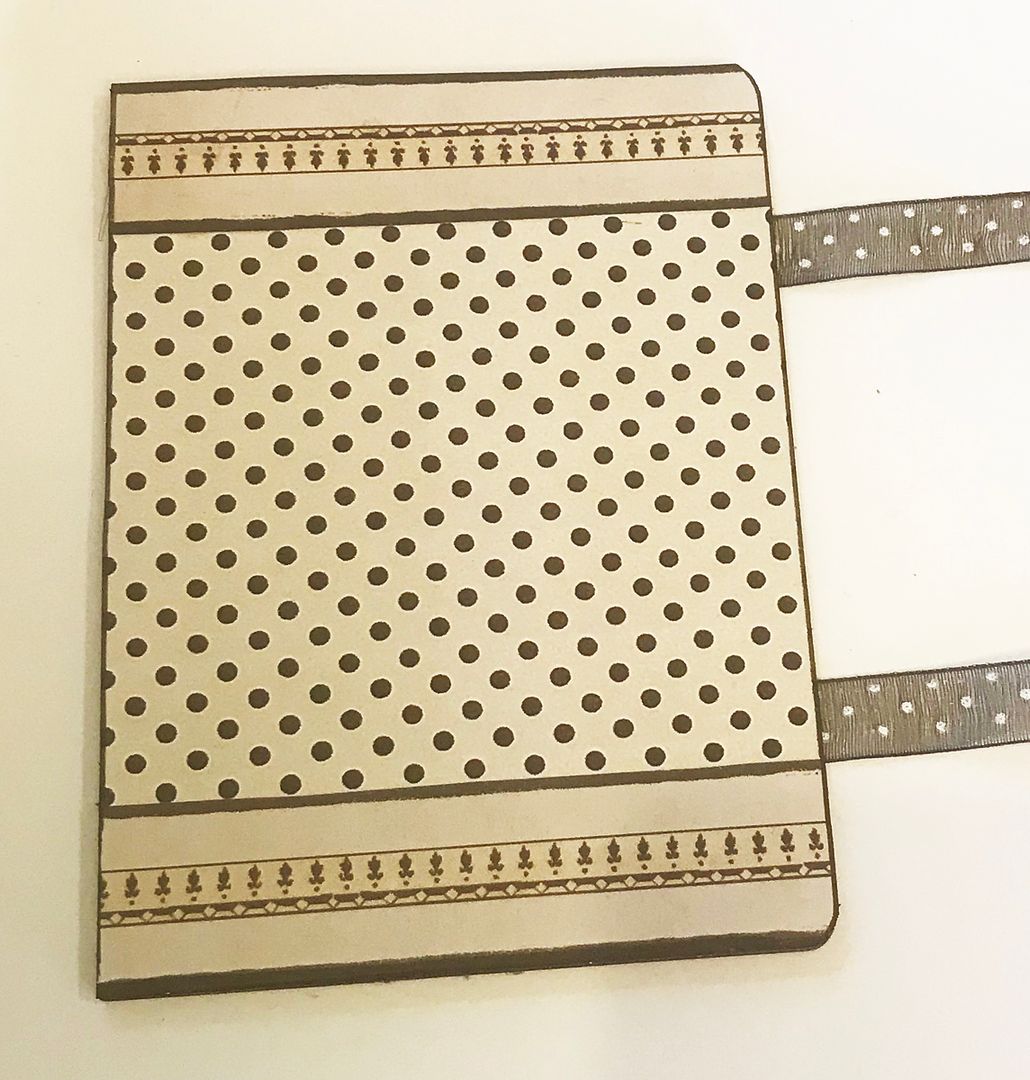
As a closure, I added ribbon to the inside of the lid and the back of the box (before papering).  You could alternately add the ribbon to the front of the cover as opposed to the back. 
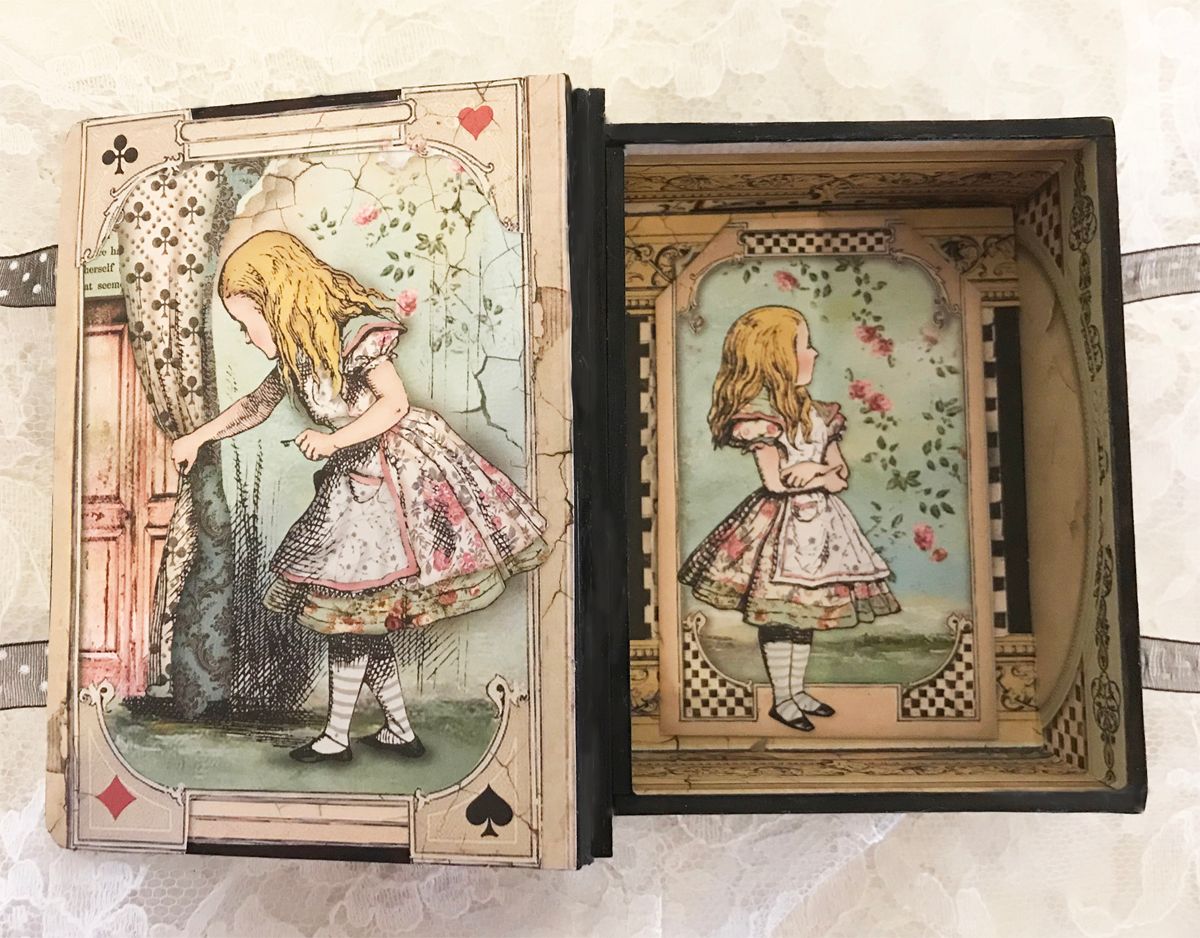
To all of the surfaces inside and out, I added paper from the Alice 12x12 paper pad, which is filled with beautiful designs and images; I had a tough time choosing which ones to use.   Notice how the paper covers the ribbon and helps to hold it in place.
For the spine, I used bookbinders tape or cloth tape.  It is fabric on one side with adhesive on the other.  Other options would be to use paper or to hinge the cover to the spine.  I cut the tape wider than the spine to facilitate attaching it to the lid and back of the box.

I attached the tape to the spine (first picture above) and then glued the spine to the side of the box.  I then folded the tape over the back of the box and then folded it over the lid of the box.
I used images from the Tarot Card collage sheet set, the Alice in Wonderland Characters collage sheet (March Hare on the spine), and my Wonderland digital image set (trees & cat on the front cover) to decorate the outside of the box.
I used three layers for the tarot cards to make them sturdy.
Top – tarot card image
Middle – cardstock (alternatively, you could use thin chipboard)
Back – Alice's decorative paper
After assembling the three layers, I painted them with Glossy Accents to give them a shiny finish.

MINI-SIZED CARDS & BOX
I assembled the mini cards and box in the same manner as the larger box and cards with a few minor differences.
For the small box, I used only one ribbon as a closure.
For the mini cards, I backed the images with the Alice decorative paper but did not use the cardstock in the middle as the cards would have been too thick to fit in the box.