-->

Welcome

I love answering your questions. If you ask them in the comment section, I have no way to answer you (if you haven't heard from me, that is why). If you use the "EMAIL ME" in the left column of this page, I will be able to respond to you. You can also use it if you want to be added to my newsletter. Laura

Saturday, December 12, 2015

Holiday Sleigh with an Alice in Wonderland Twist – NEW TEA PARTY ALICE Collage Sheet & Digital Image Set

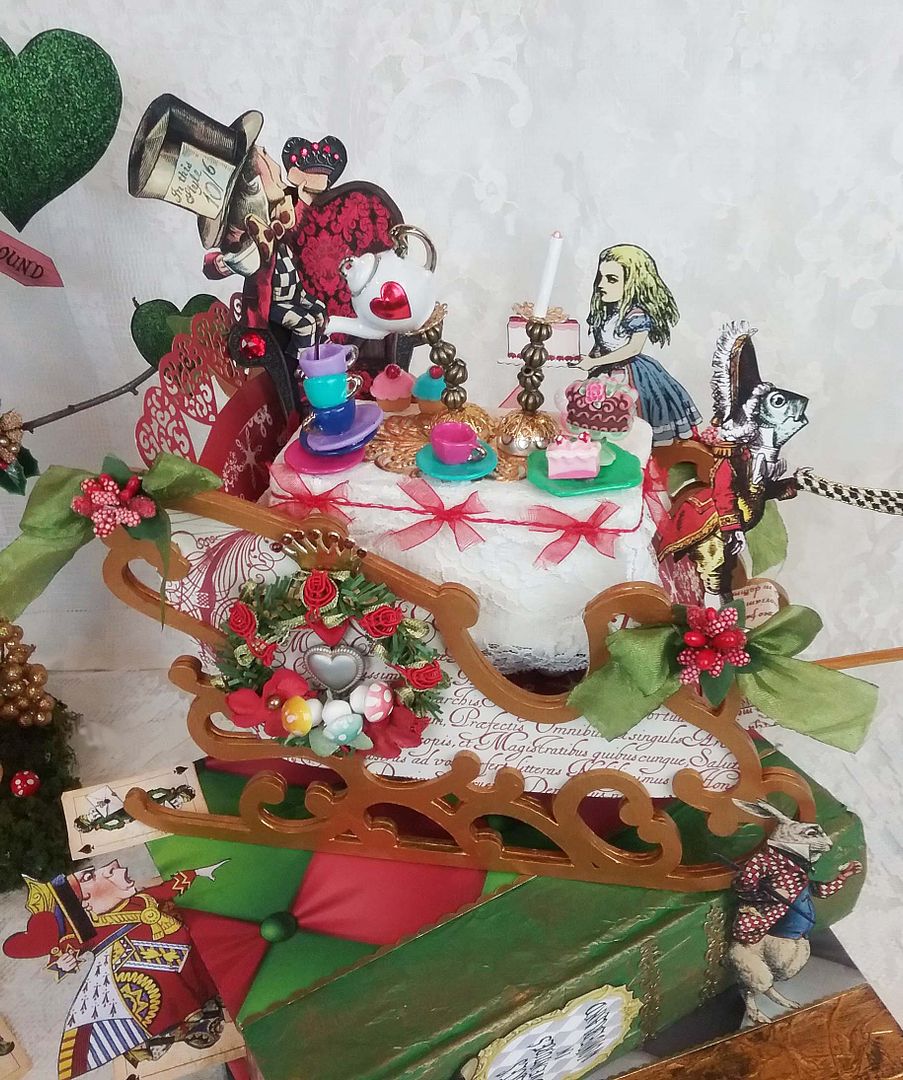
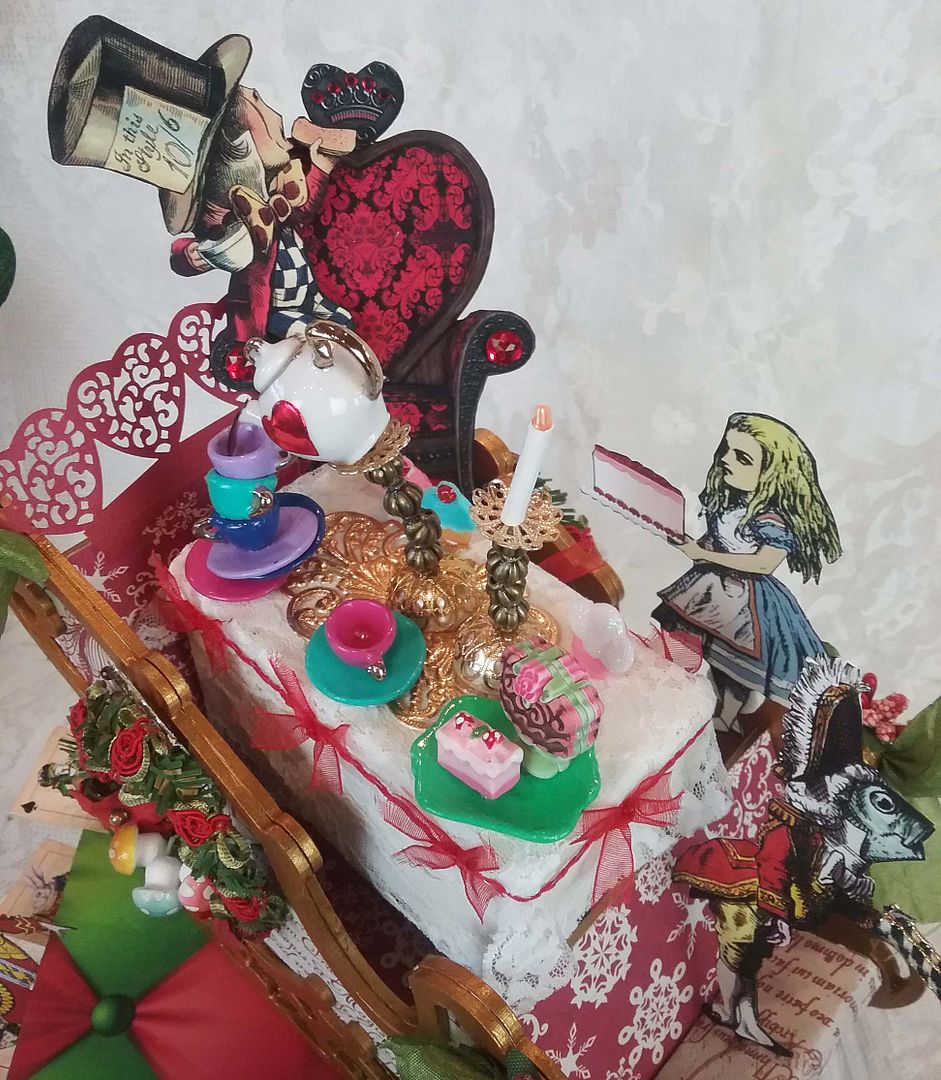
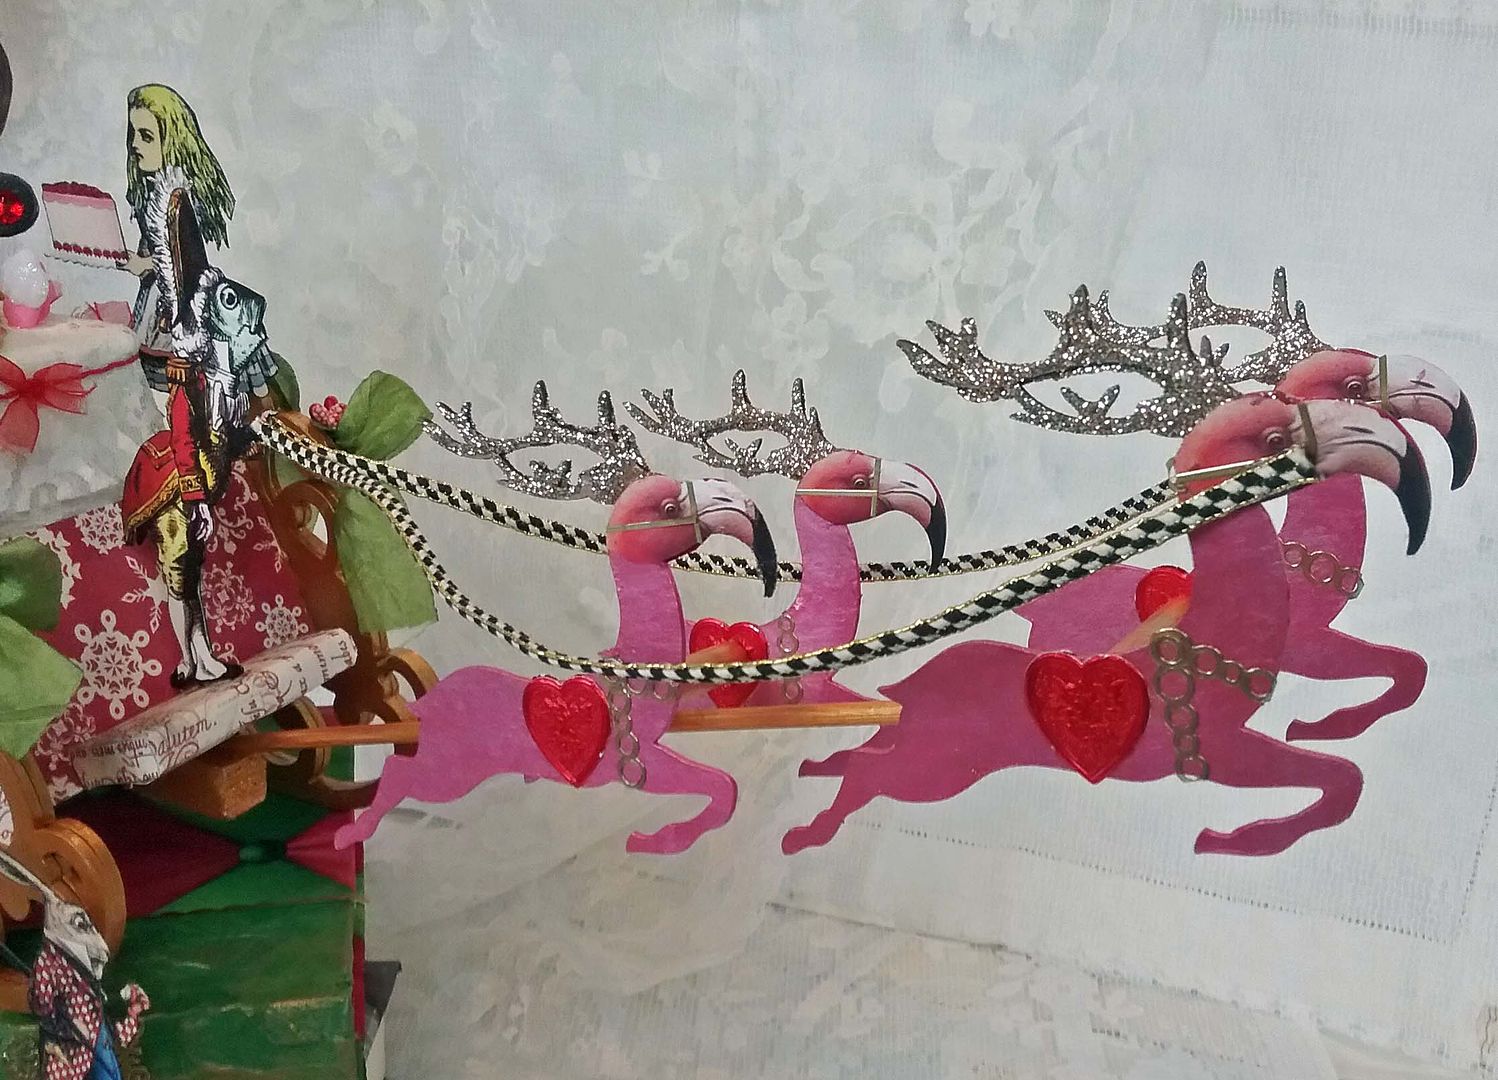
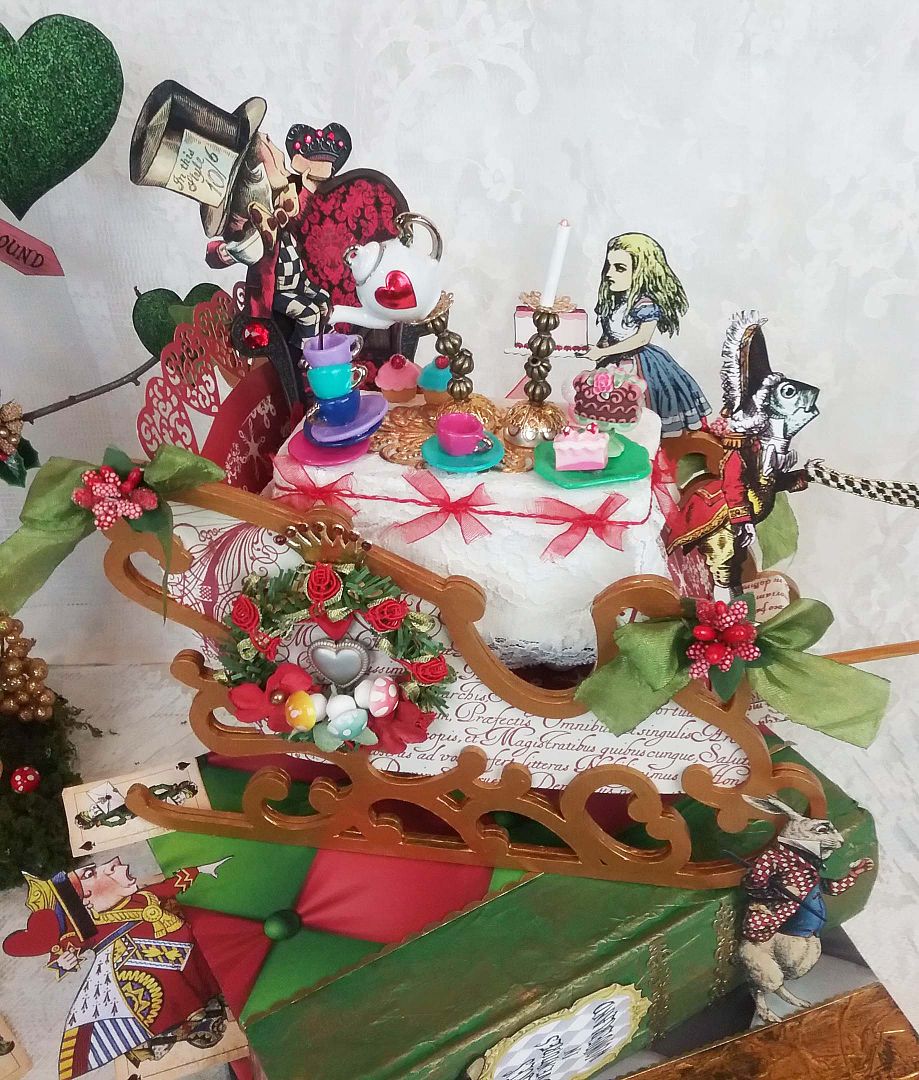
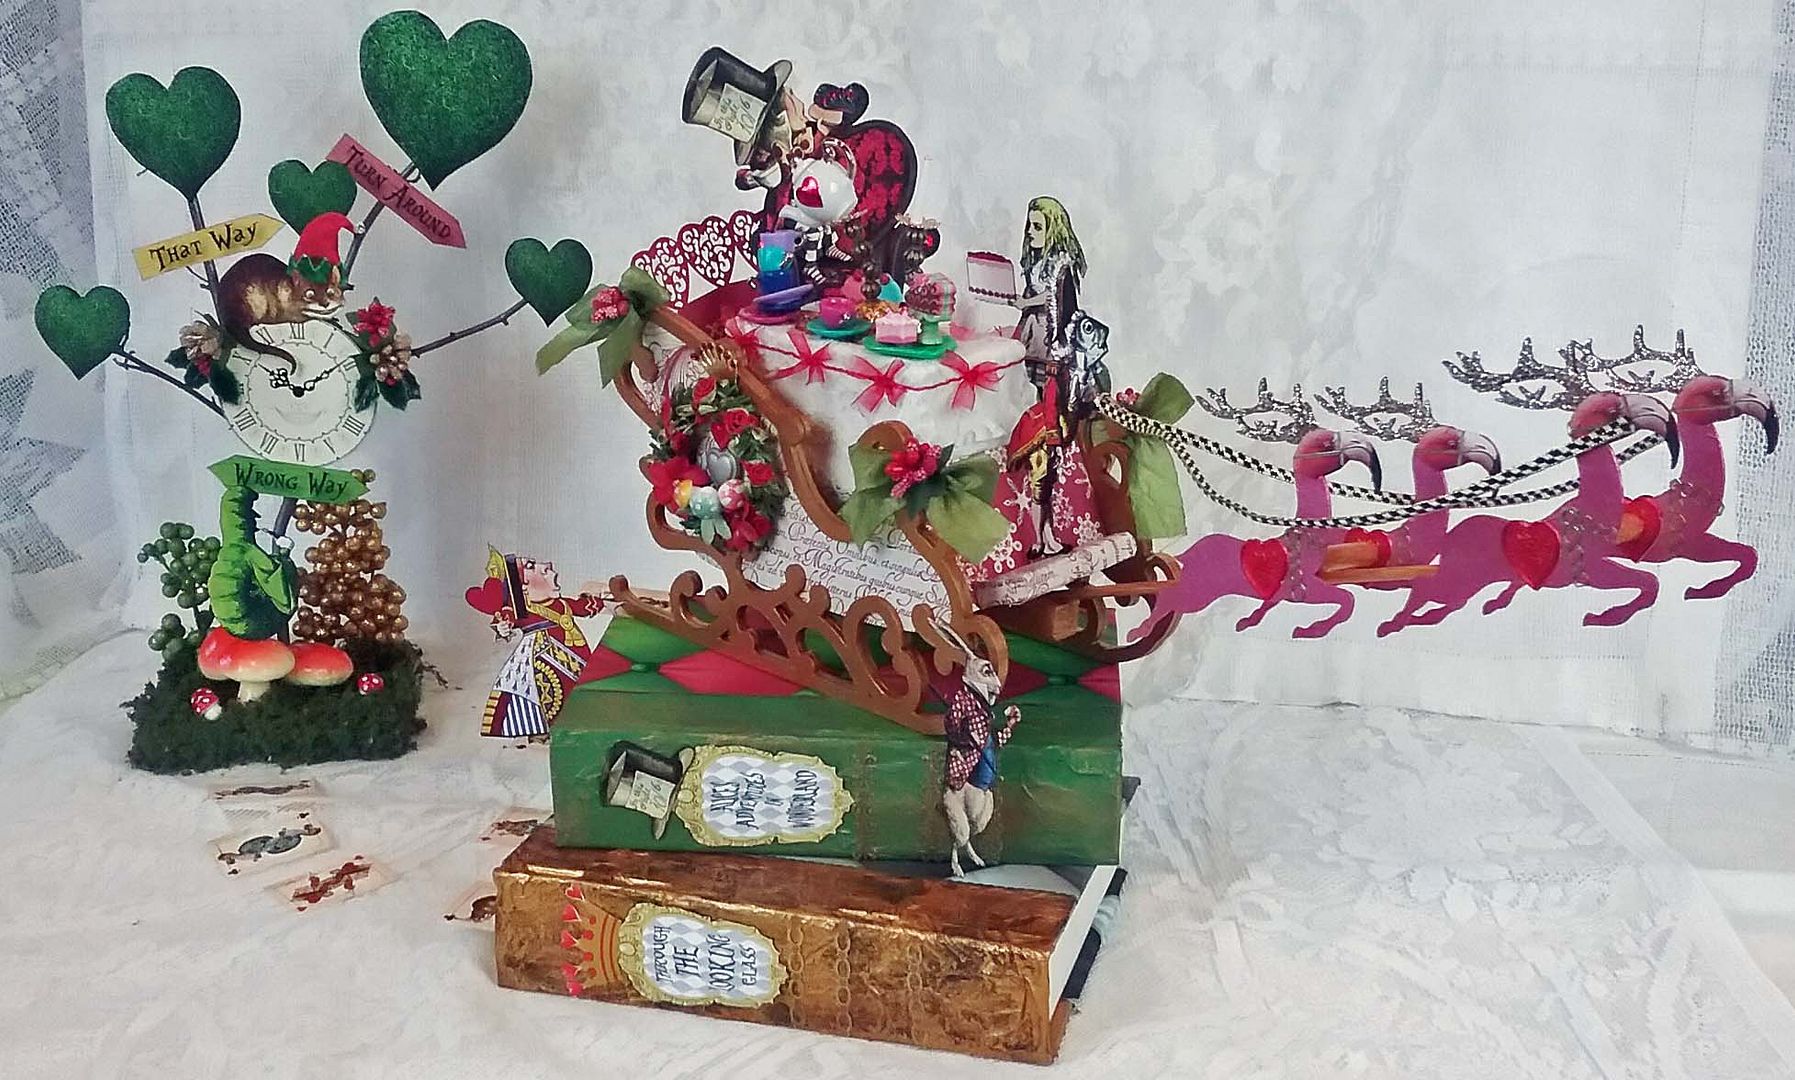
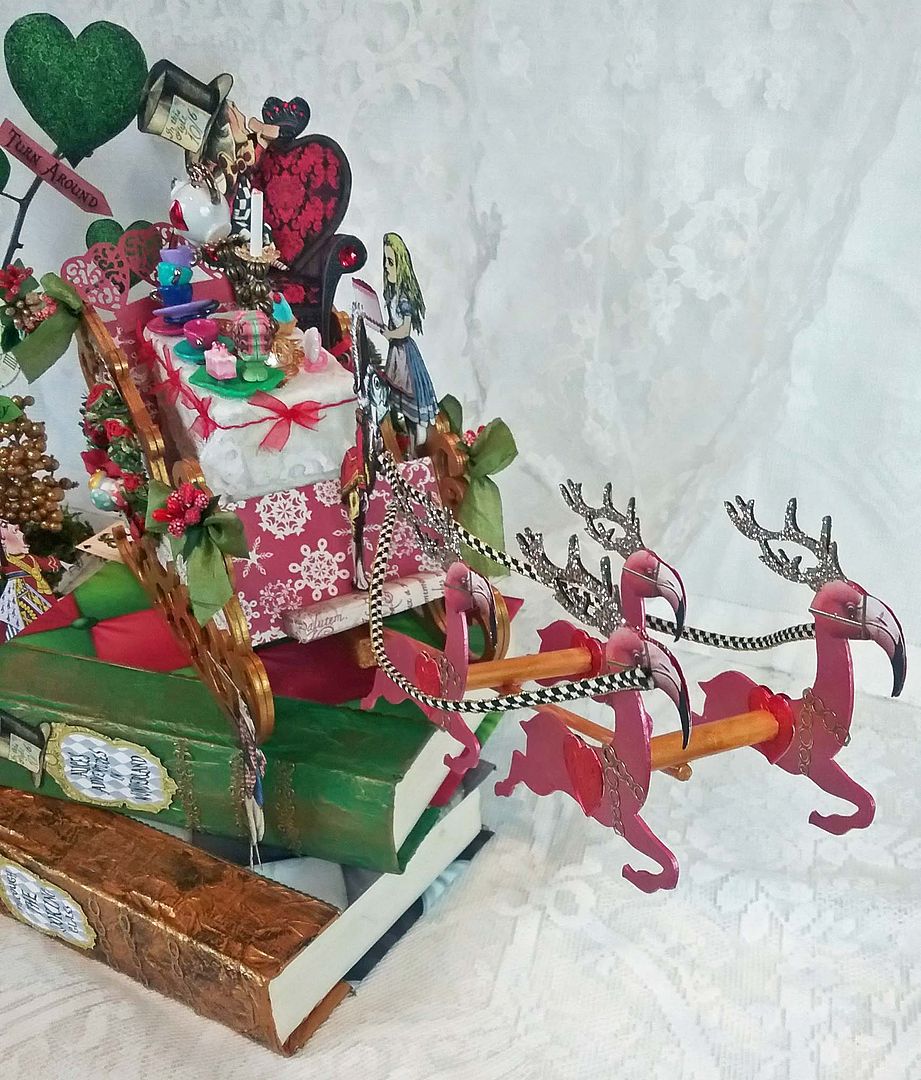
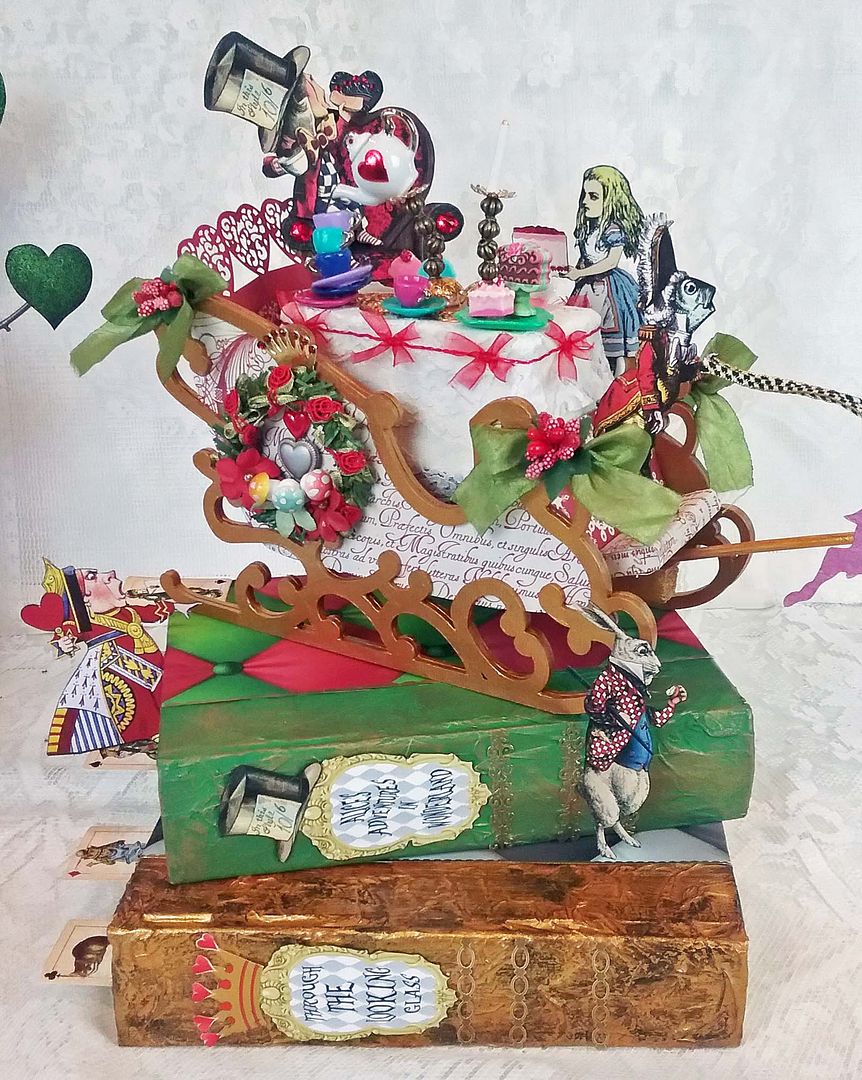
Oh no, it looks like Hatter has stolen the Queen’s sleigh, and she doesn’t look happy about it.  Of course, she’s never happy about anything.  Isn’t it a beautiful sleigh all decked out for the holidays pulled by 4 flamingo reindeer.  Flamingo reindeer make more sense to me because at least flamingos fly!
The fish driver better watch out as the Queen is apt to make him supper.
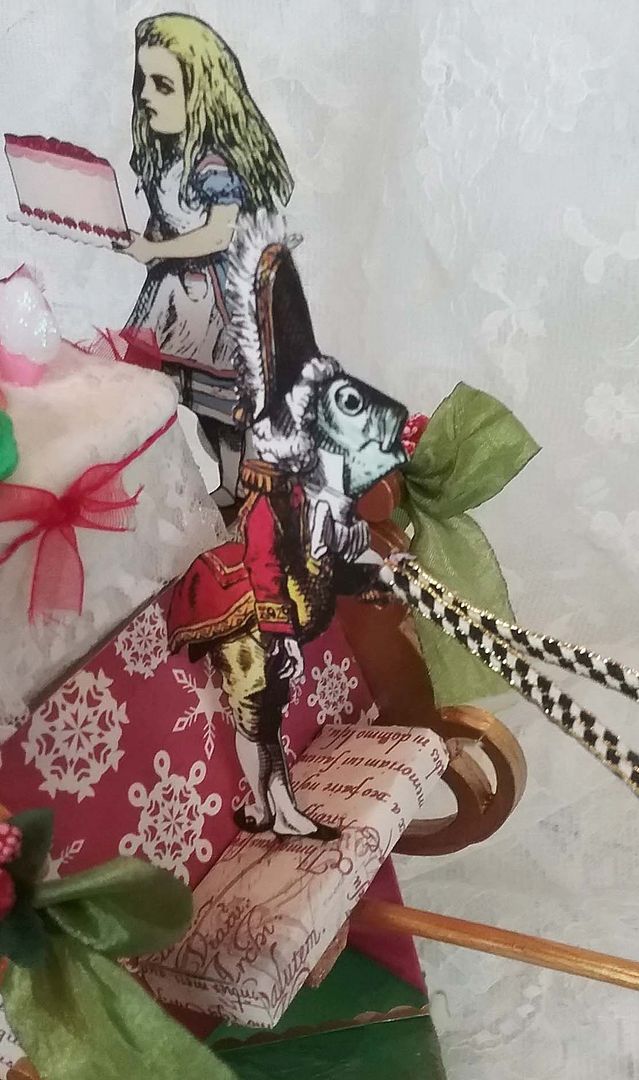
There is Hatter pontificating on something; he is in love with the sound of his voice.
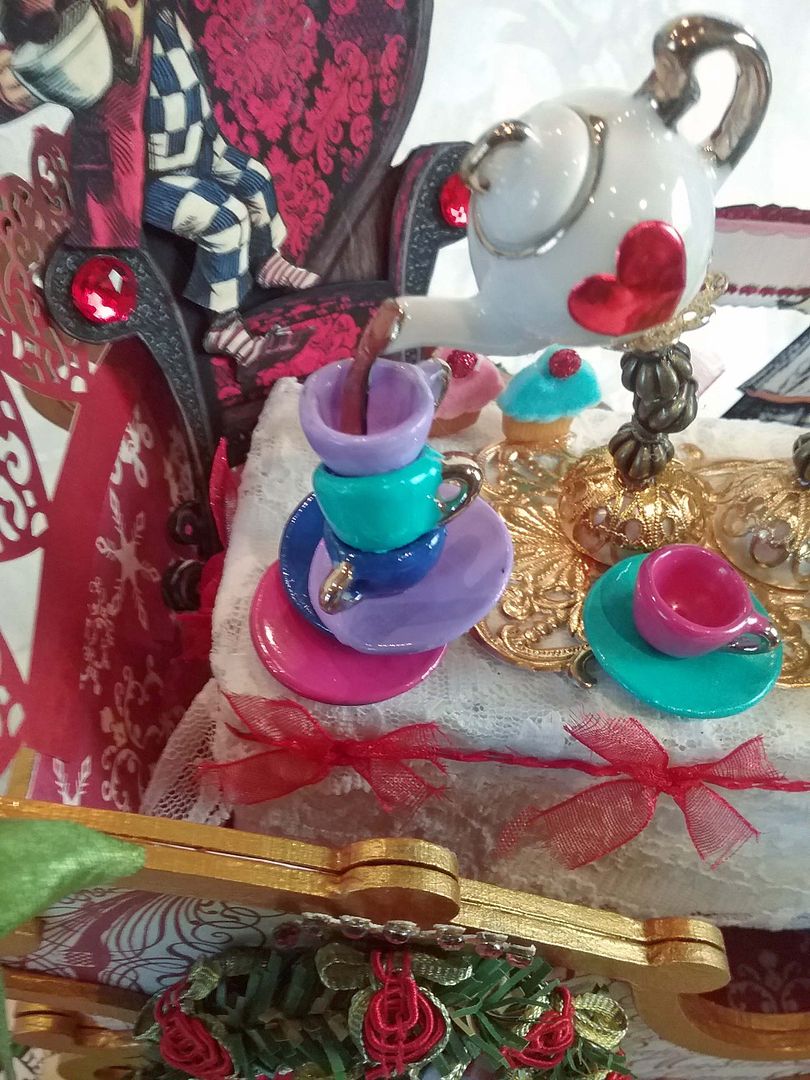
Of course, tea pours itself in Wonderland, oh the magic of Glossy Accents!
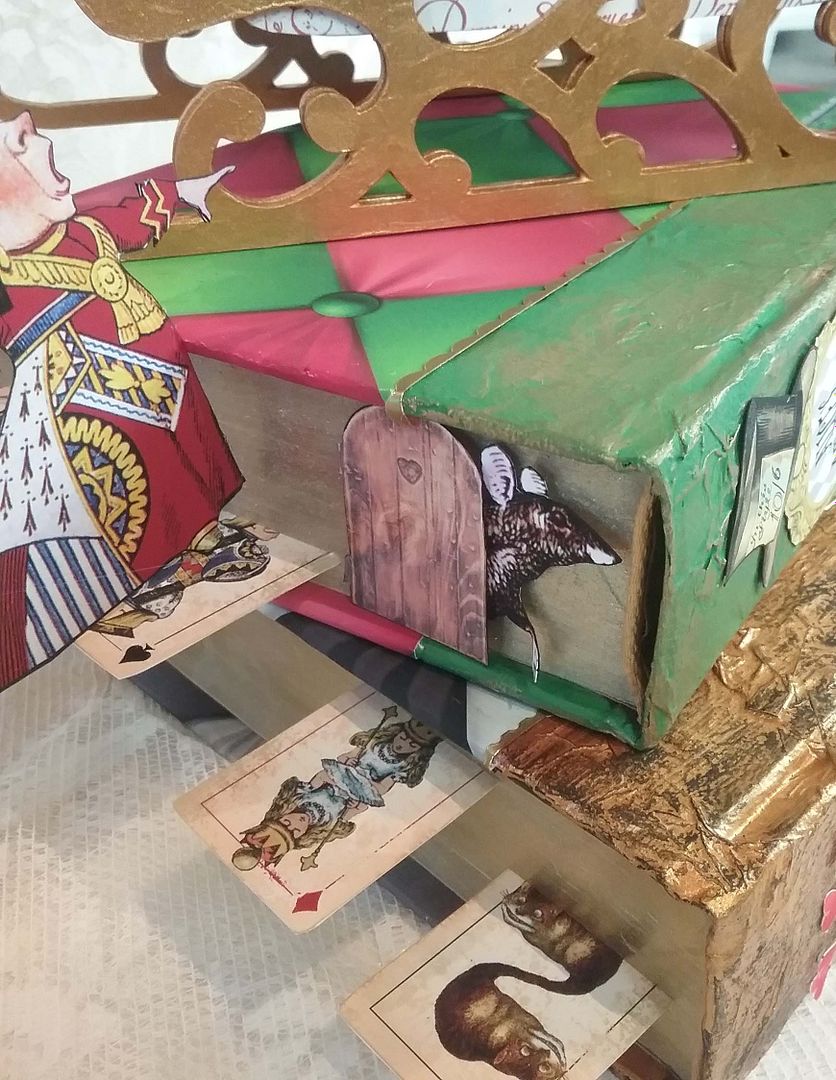
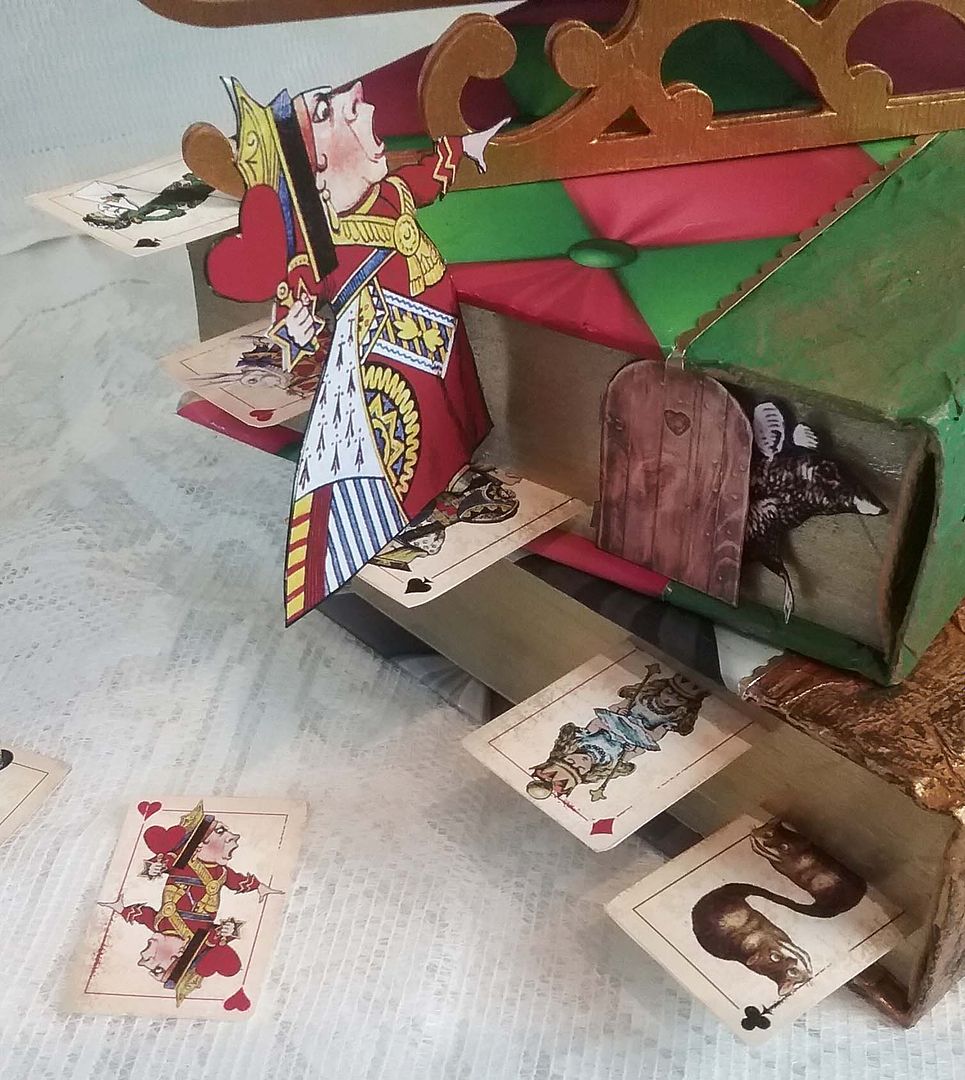
The Dormouse is peeking out of his door, wondering what all the fuss is about.
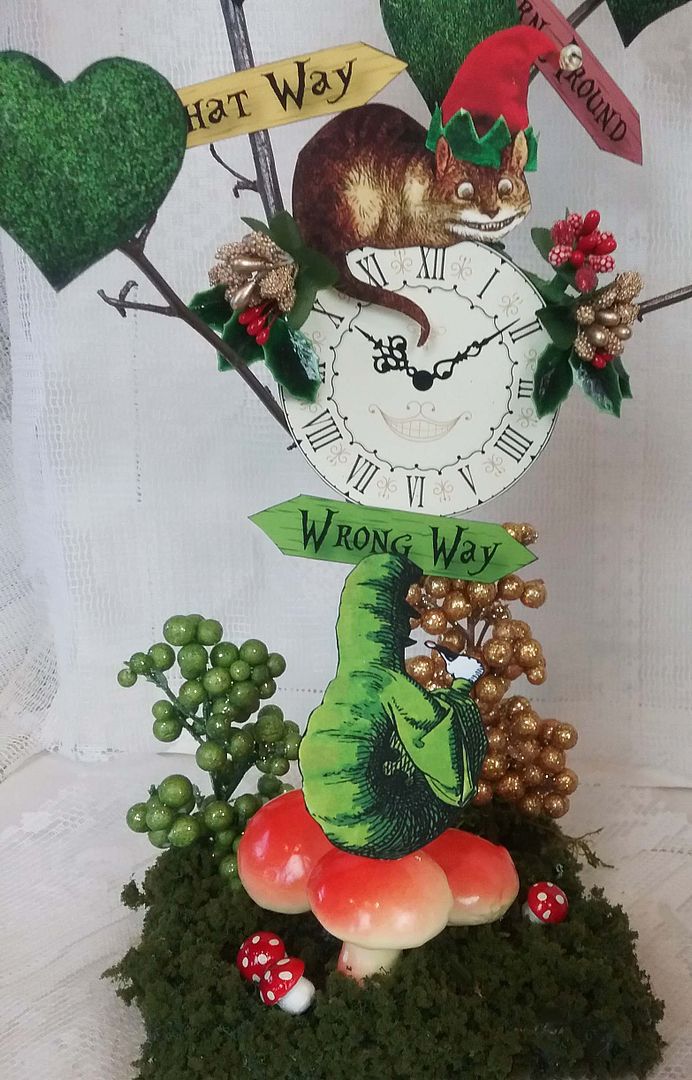
The Cheshire Cat is looking festive in his hat, and the Caterpillar is as inscrutable as always, sitting on a mushroom.
There’s the Queen climbing the playing card steps, but I think it is too late as the flamingo reindeer are already in the air.

INSPIRATION – From one of my other pieces
A few months ago, my niece Hana and sister Lee asked me if I would help with Hana’s birthday party (which was Mad Hatter themed) by creating artwork for the party.  The main piece I created was a centerpiece (see below).
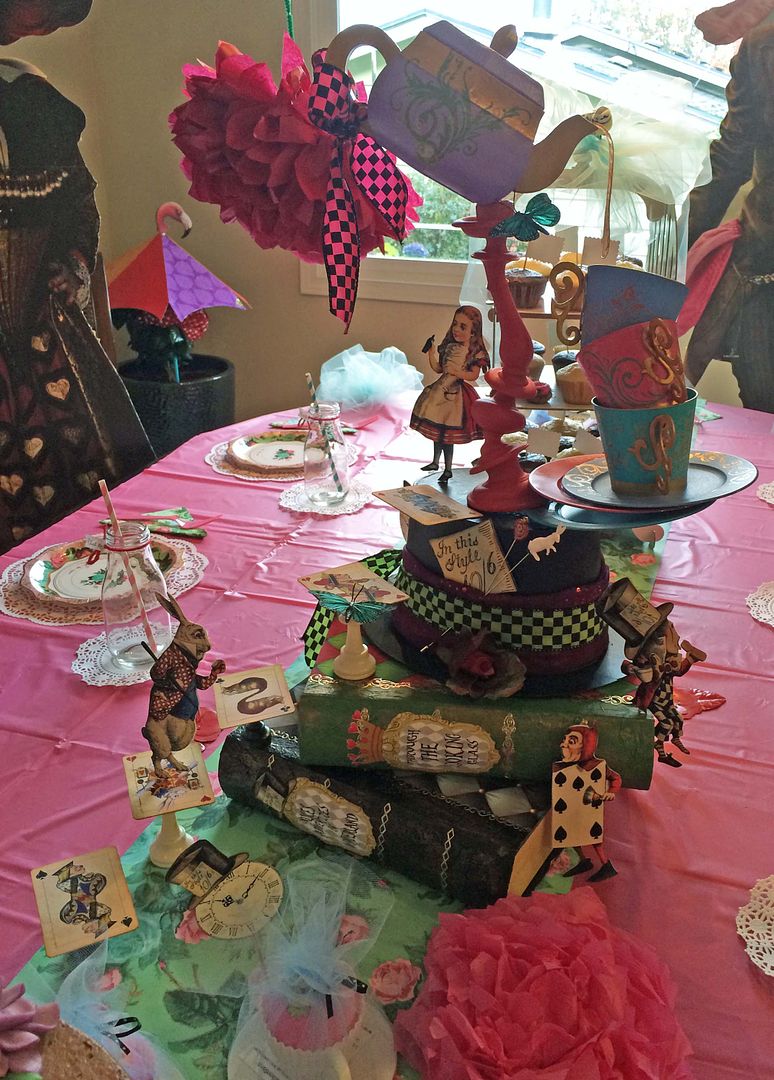
The sleigh project is just a reinterpretation of the large centerpiece I created for Hana’s Birthday.  The card staircase is made using chess pieces.  The cards are the large ones in the new digital image set.  All of the characters are from my older Alice image sets. 
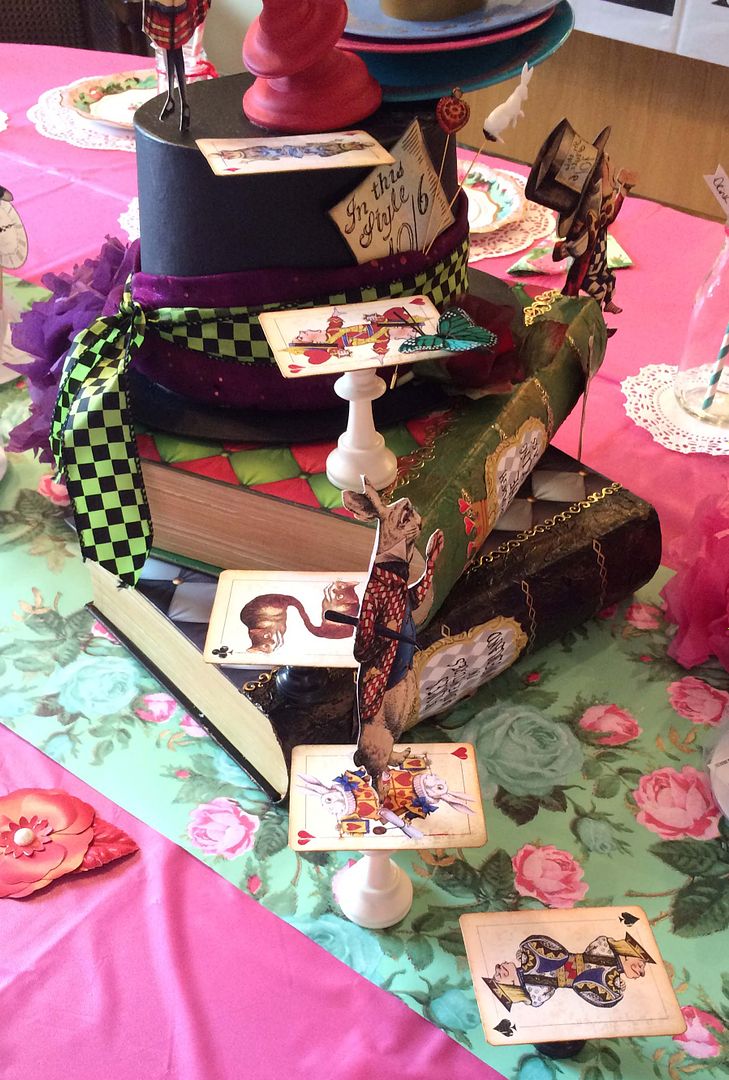
The hat and teapot are made of paper mache.  The cups and saucers were clear plastic that I sprayed with plastic spray paint and applied rub-ons.  I used chipboard swirls for the handles.  Once again, I used the Glossy Accents trick to make the tea pour out of the teapot.
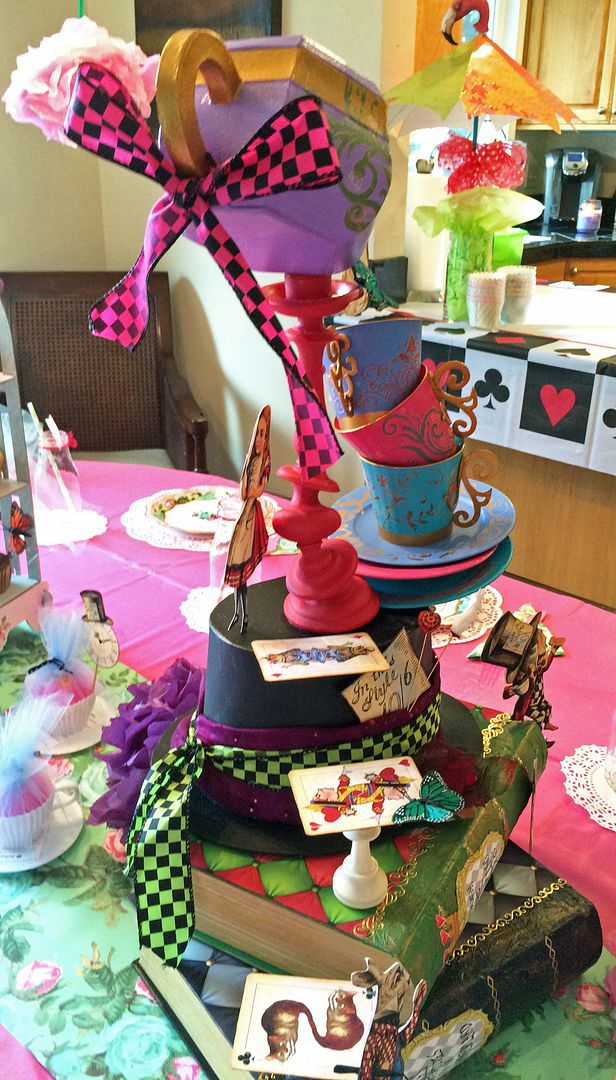
Lots of E6000 glue holds everything together.  I found the crooked candlestick online, and it worked perfectly as a way to suspend the teapot.  For the sleigh, I made my own crooked candlesticks using bead caps, beads, and filigree.
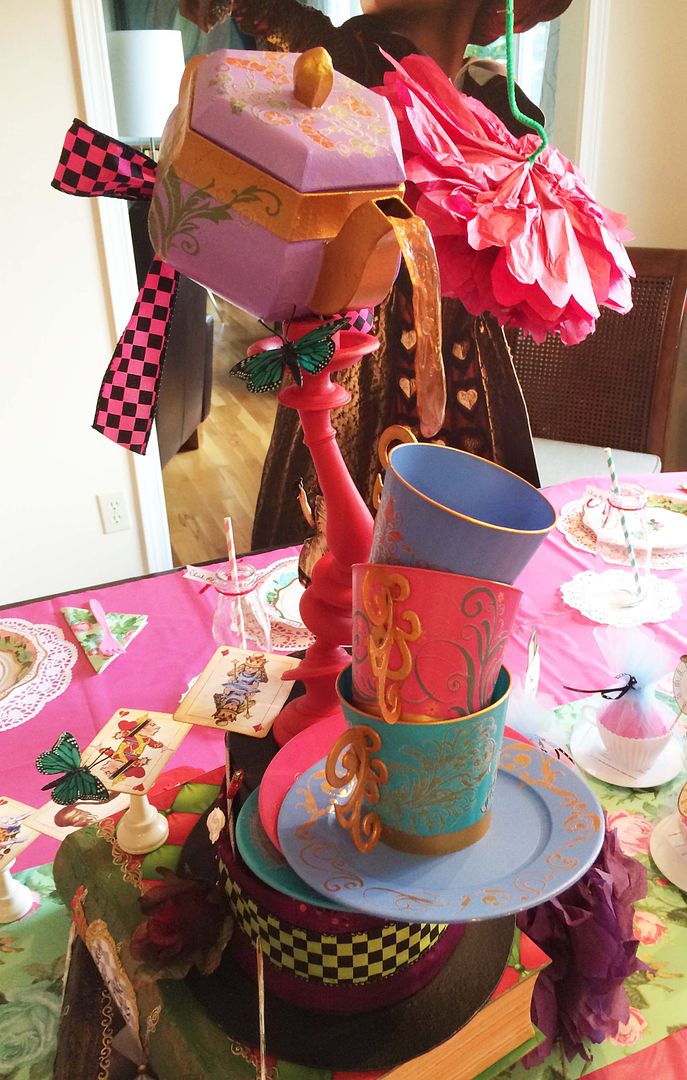
I also made some umbrellas and signs for the outside, plus something to jazz up the party favors. The clock and hat are on the new collage sheet.   The teacups are holding a bath bomb.  The cup is silicone and can be used to bake a cupcake (another great find on the Internet).  
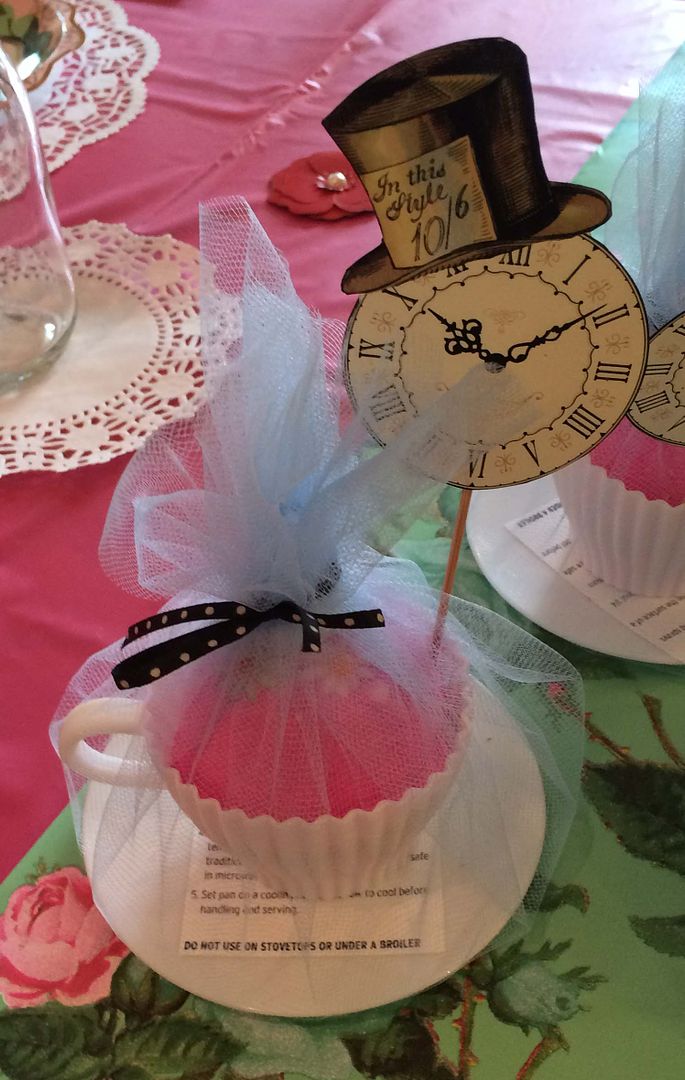
I used one of my umbrella templates (supersized) to make the umbrellas.  The flamingo head is the same one on the new collage sheet.
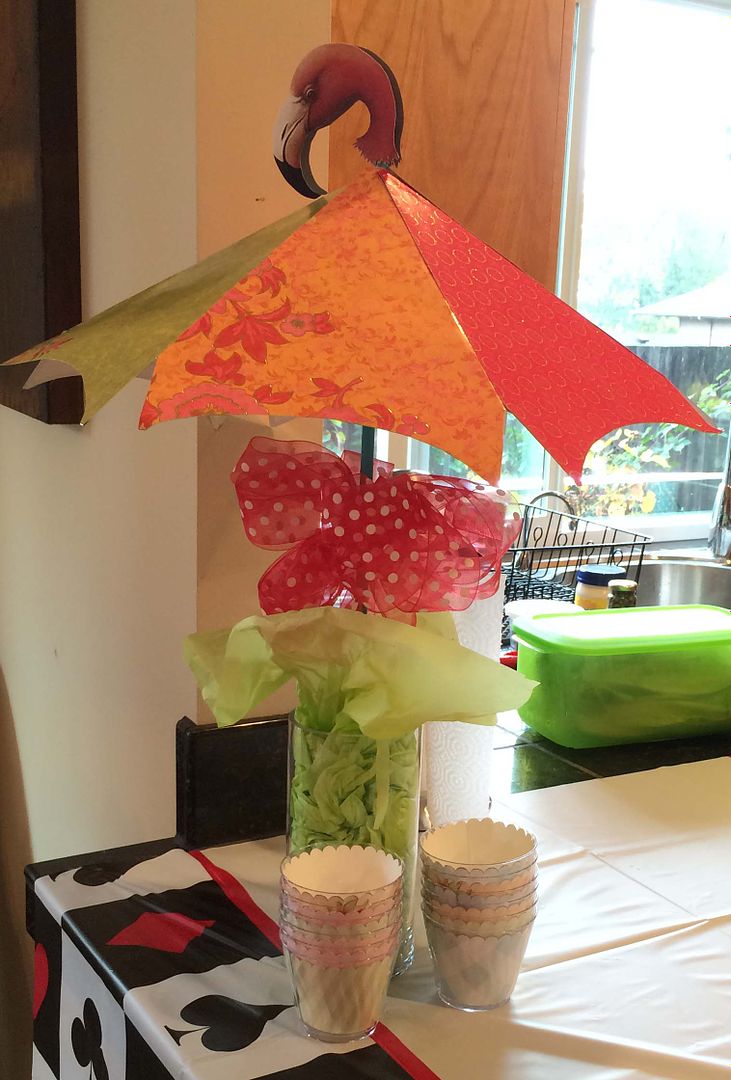
Smaller versions of all of the images seen below are in my Alice image collections.
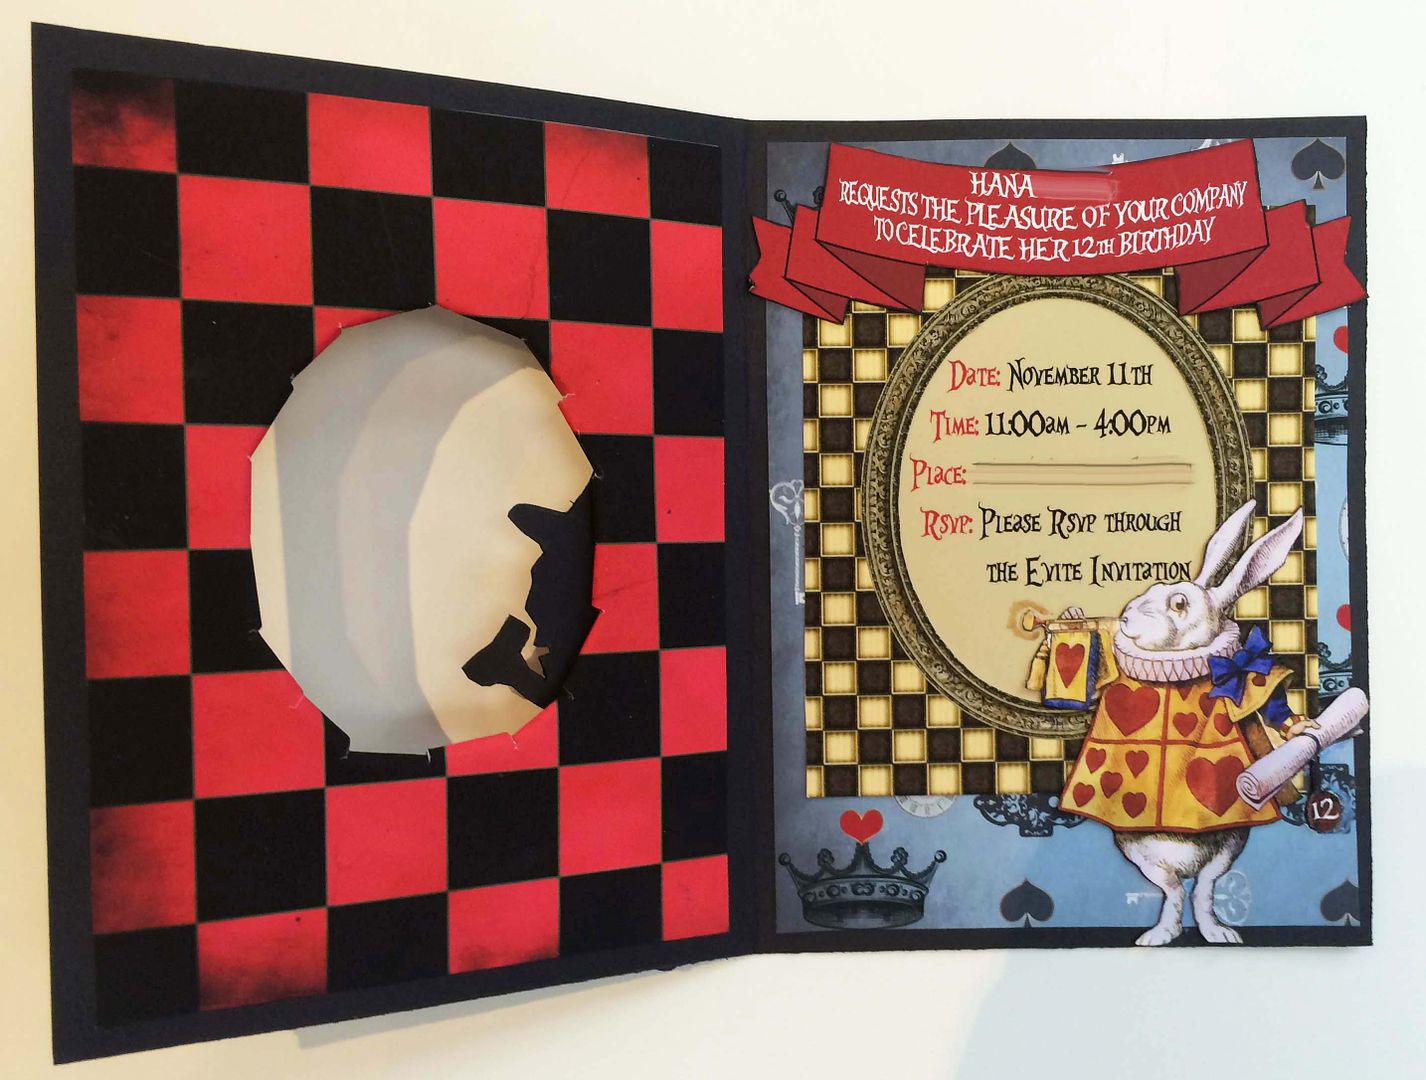
I even made custom invitations for all of her party guests.  The papers I used covering the books and invitations are in the new Tea Party Alice Digital Image Set.
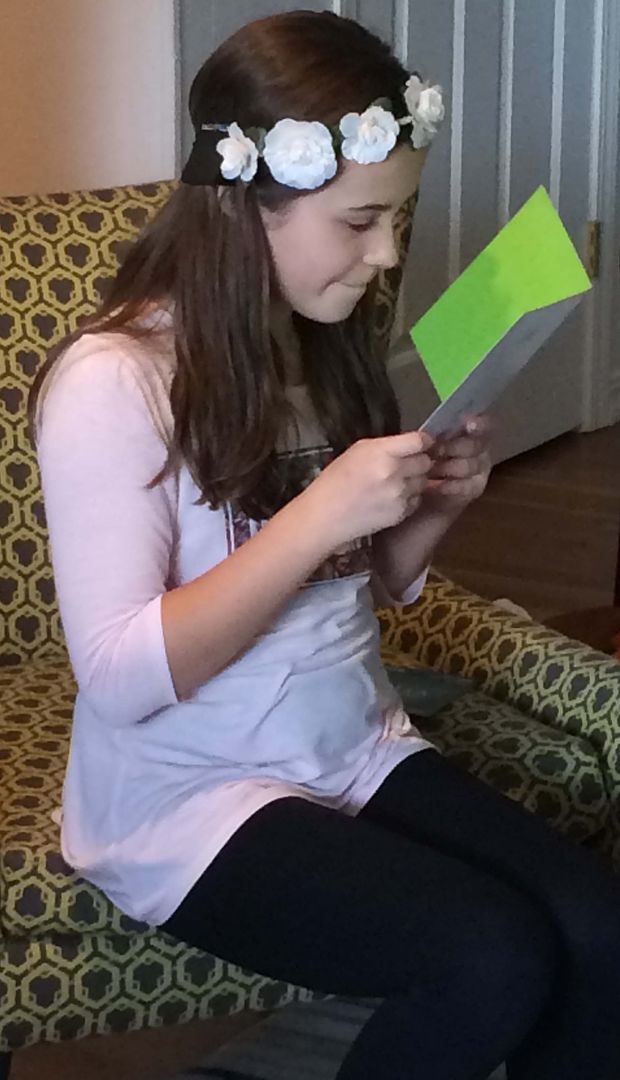
The hardest part of this project was that I live in Arizona, and my sister and niece are in Oregon.  I had to make all of the pieces here, pack them in my suitcases and then assemble and finish them once in Oregon.  Lots of work, but it was a labor of love!  My sweet niece Hana is pictured below.
COLLAGE SHEETS & DIGITAL IMAGE SET
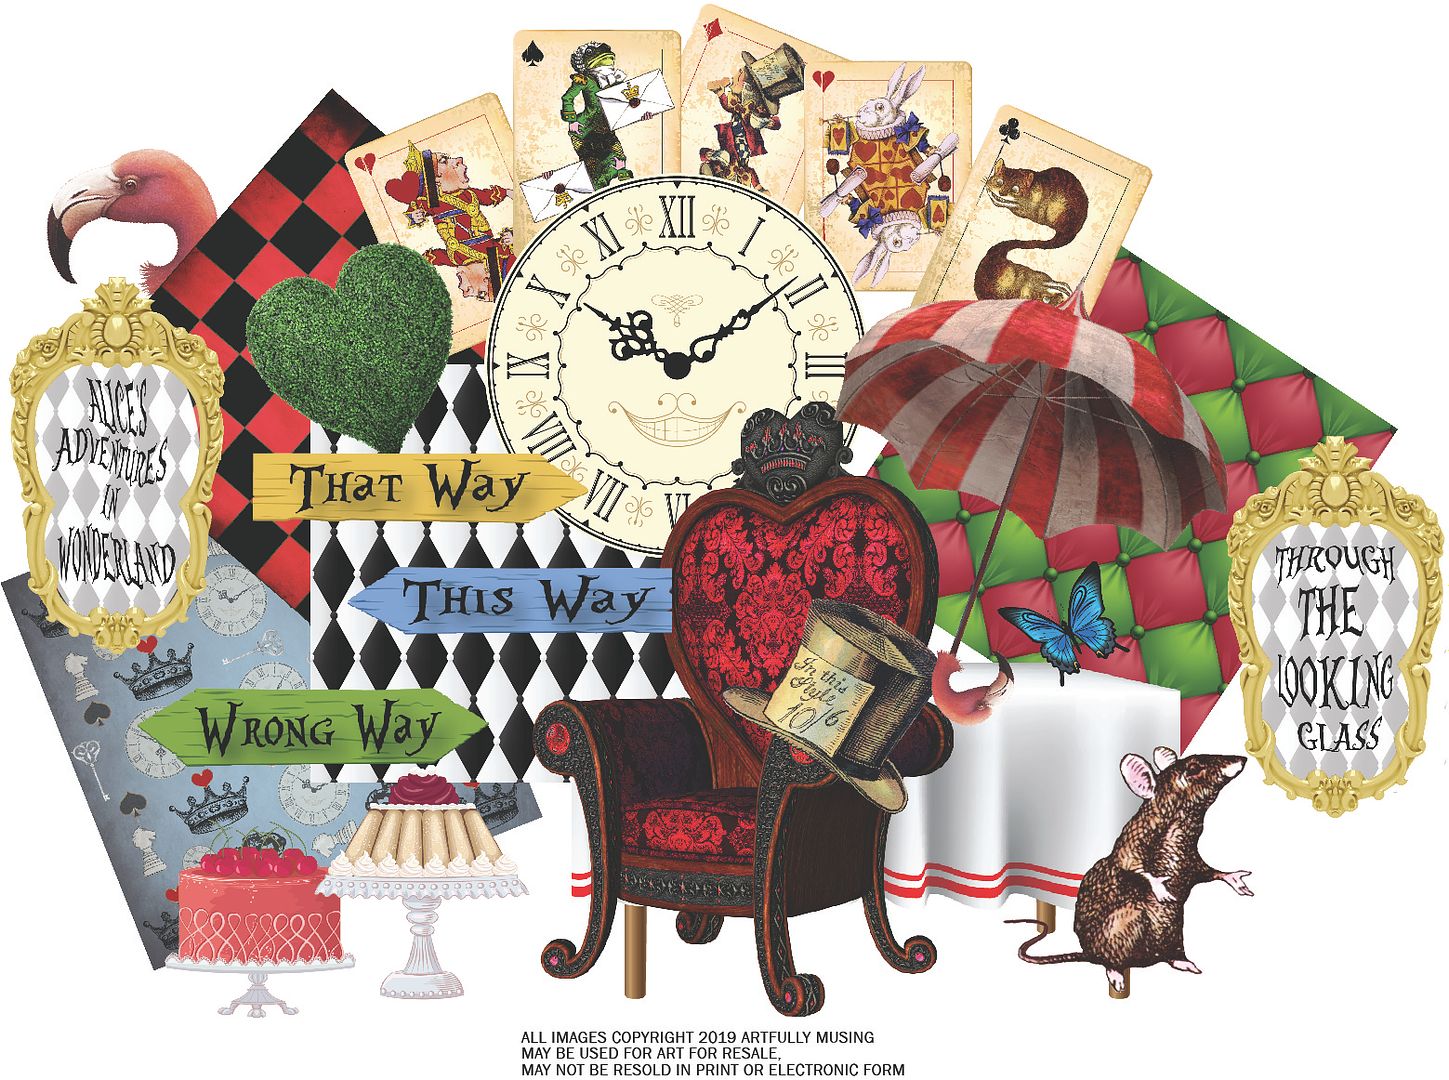
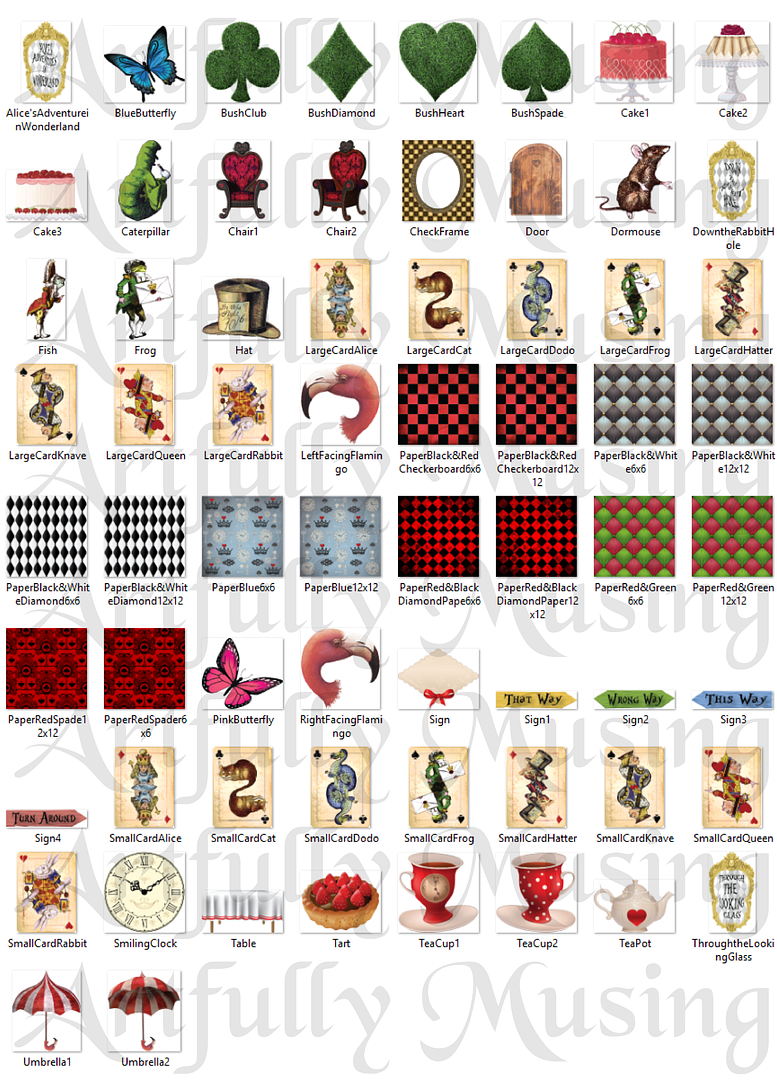
To go along with the sleigh project, I’ve created a new Alice-themed collage sheet and a companion digital image set that includes all of the images on the collage sheet and many more.  All of the images I used for the sleigh project (except for the Cheshire cat's hat) came from the new Tea Party Alice collage sheet and image set and from my older “We’re All Mad Here” collage sheet and “Wonderland” digital image set.
This sheet is filled with fun Alice-inspired items.  Some of my favorite images are the umbrella with the pink flamingo handle, the red heart chair, and the playing cards.
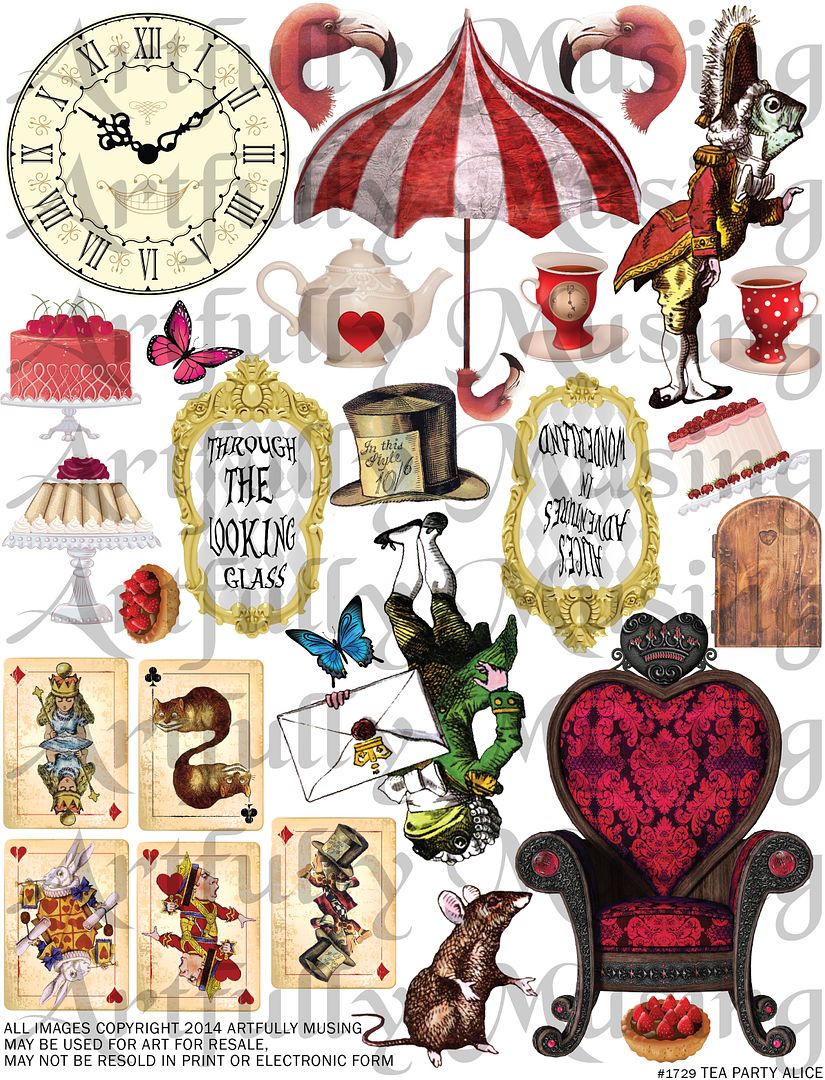
 

This set includes all of the images found on the Tea Party Alice collage sheet plus an additional 39 images for a total of 65 images.
  • Additional images include:
  • 7 unique patterned papers in two sizes (12x12 and 6x6) for a total of 14 papers 
  • 8 large Alice standard-sized playing cards
  • 3 additional mini-playing cards
  • 4 playing card suit bushes
  • The Caterpillar character
  • Checkered pattern paper with a center frame
  • Down the Rabbit Hole framed sign
  • 4 colorful direction signs
  • A blank cream and red bow tag
  • A table
  • An additional flamingo-handled umbrella
  • An additional heart chair


TUTORIAL - HOLIDAY SLEIGH
The tutorial below will cover how I made the Alice-themed Holiday Sleigh. 
SLEIGH
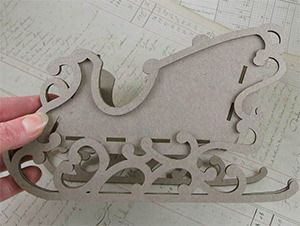
The sleigh is made using a chipboard kit of 7 pieces.
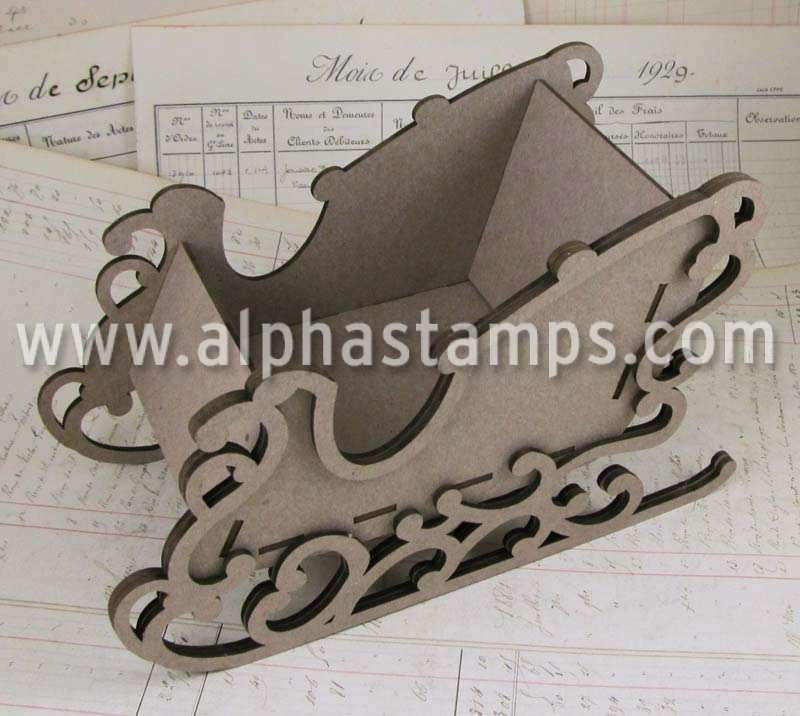
I started by gluing 5 of the sleigh parts together (front, back, bottom, and sides).  I did not attach the two scrollwork pieces at this time.  Next, I painted the parts of the sleigh that were not being papered (scrollwork and the inside of the sides).
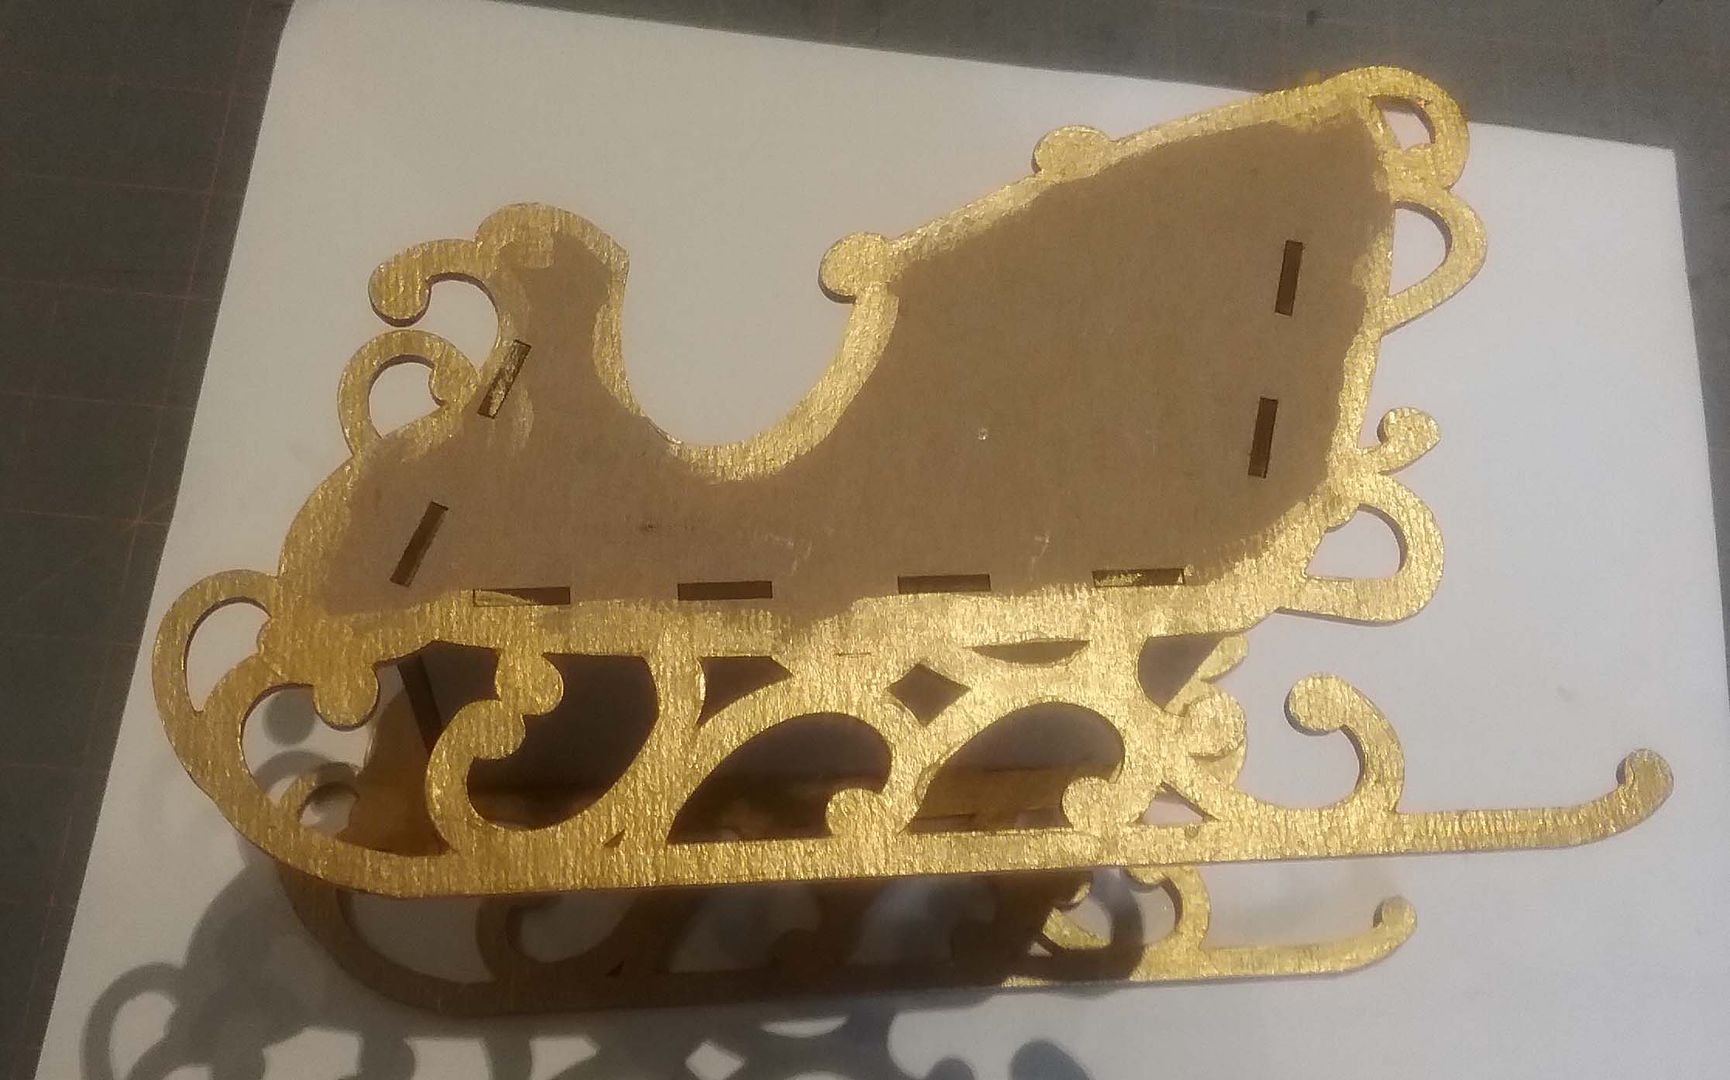
I also painted the two separate scrollwork pieces.
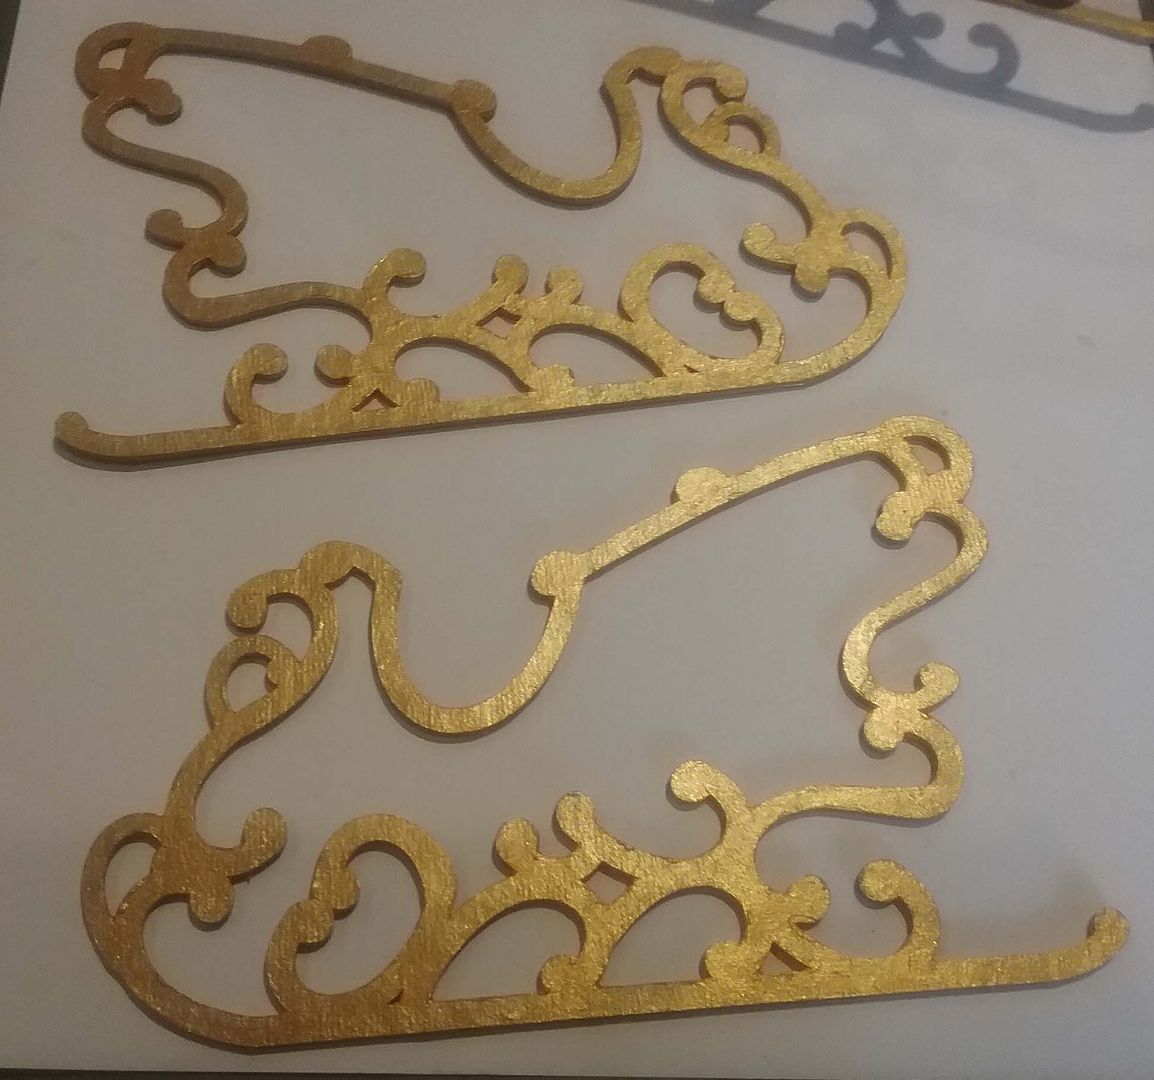
One of the best things about this kit is that it comes with a template that matches the dimensions of the side of the sleigh.  Imagine trying to cut out a piece of paper to fit the sides while trying to avoid all that scrollwork.  With the template, tracing and cutting paper for the sides was a breeze.
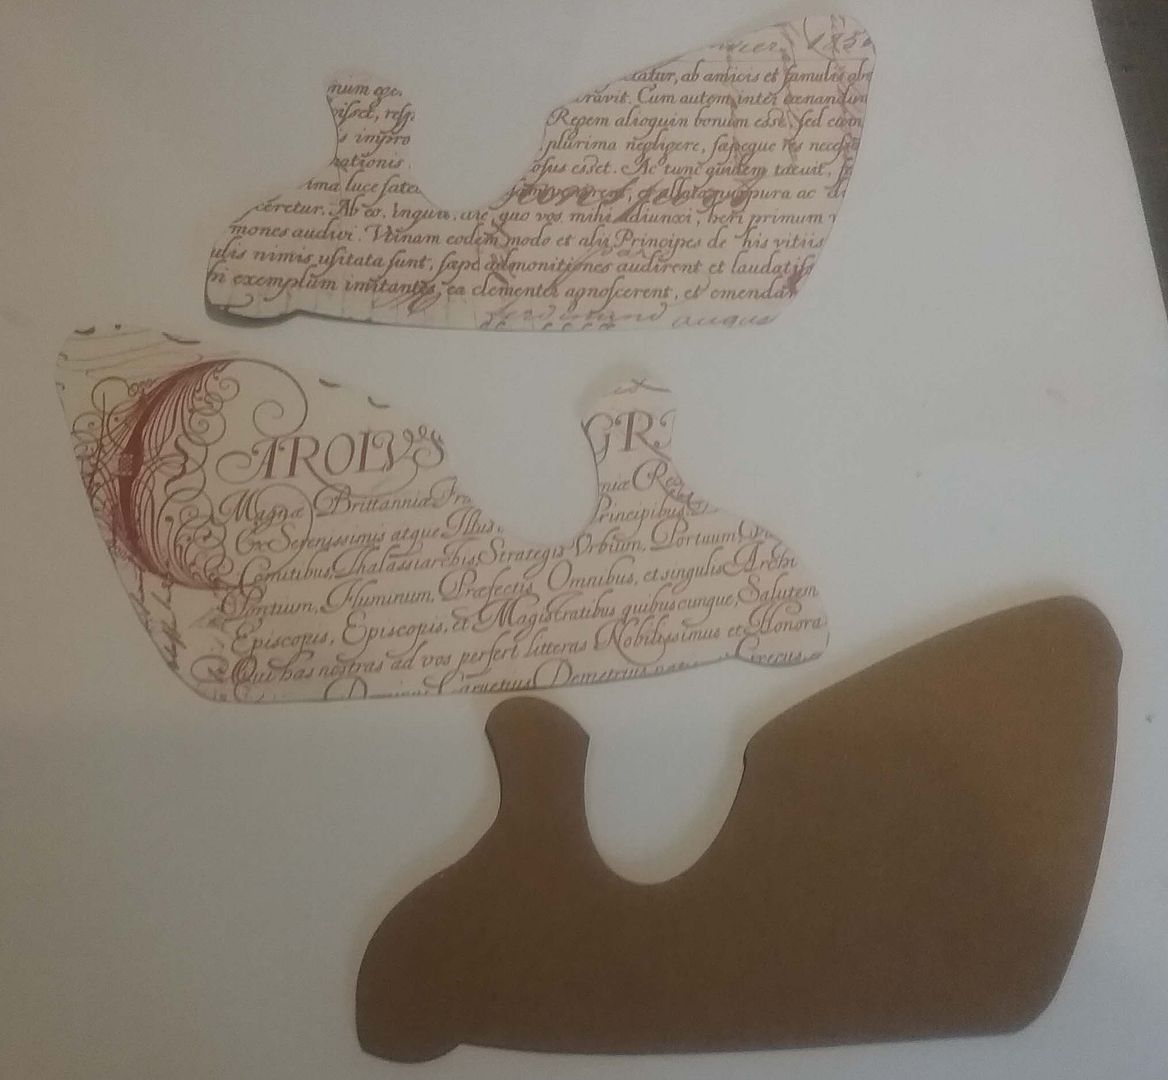
Next, I attached the paper and then attached the two separate scrollwork pieces.
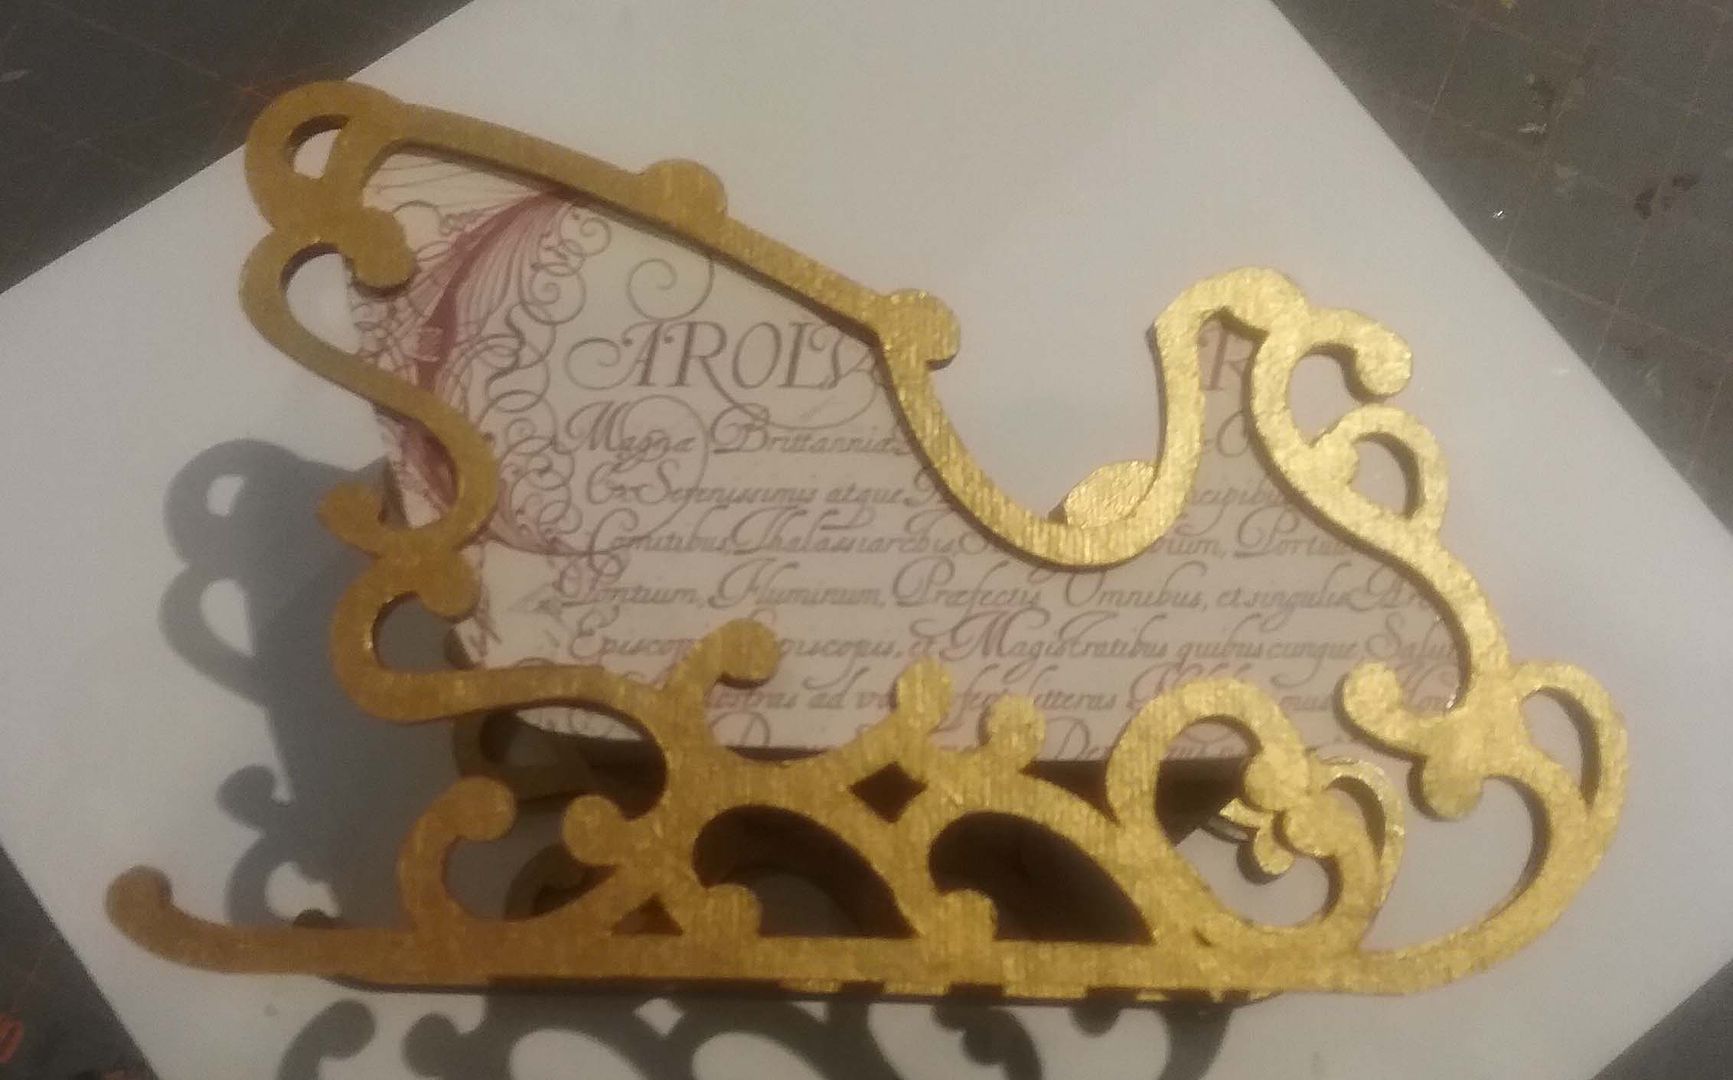
I then added paper to the front and the back pieces and to the inside bottom piece.
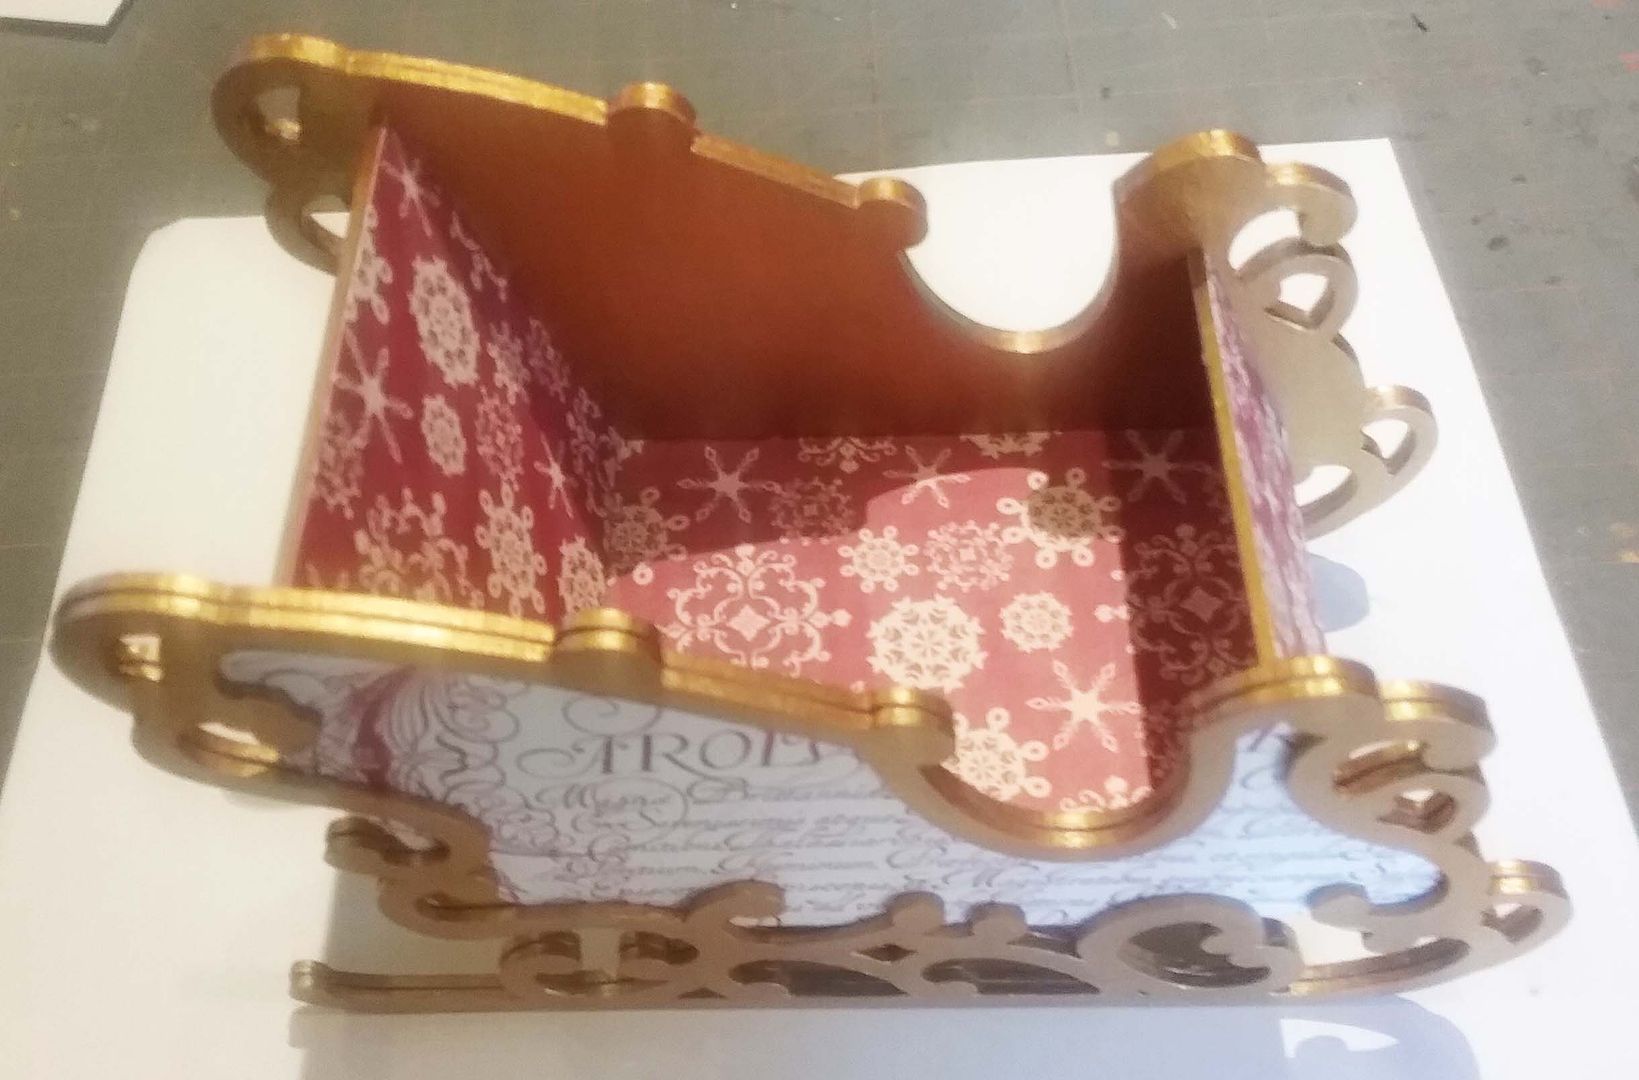
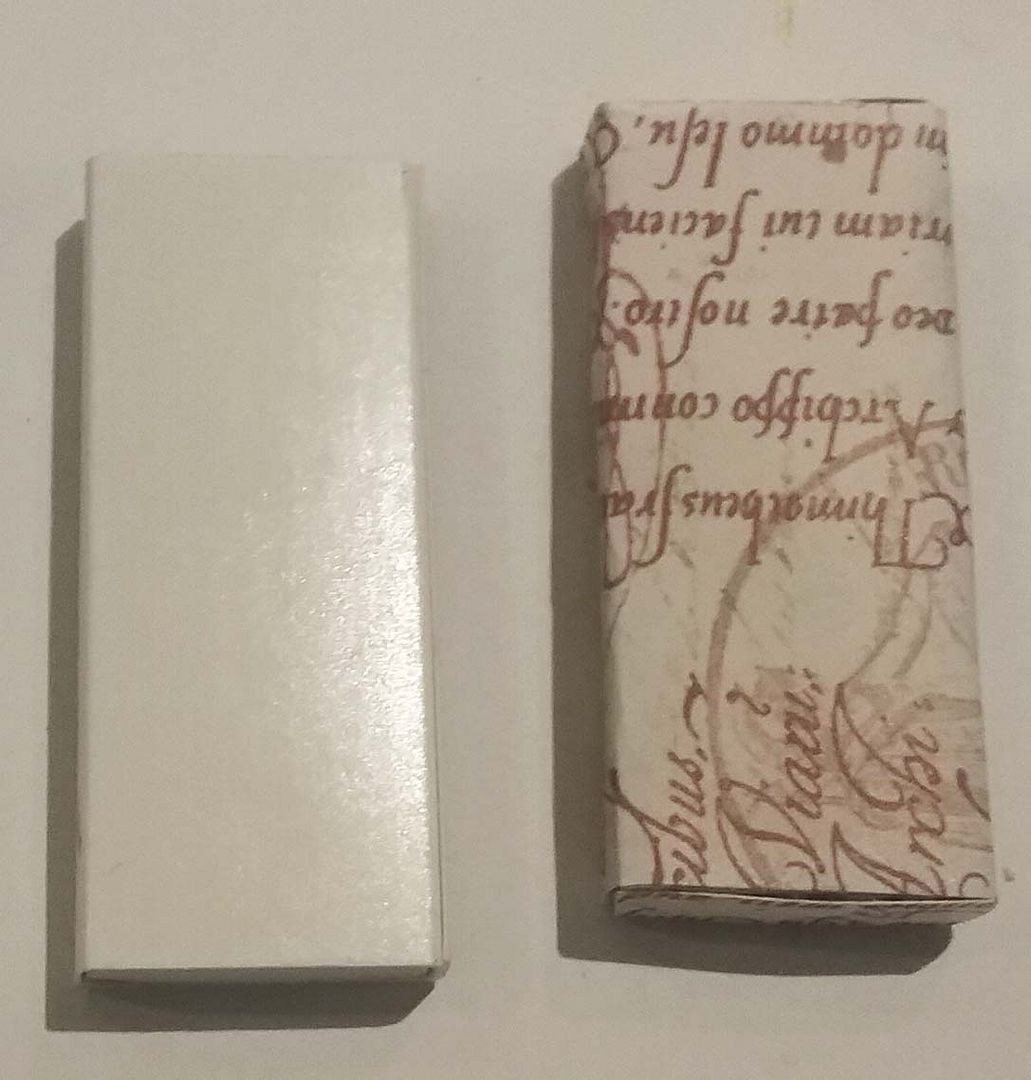
I used a narrow matchbox covered in paper for the ledge that the fish driver stands on.  
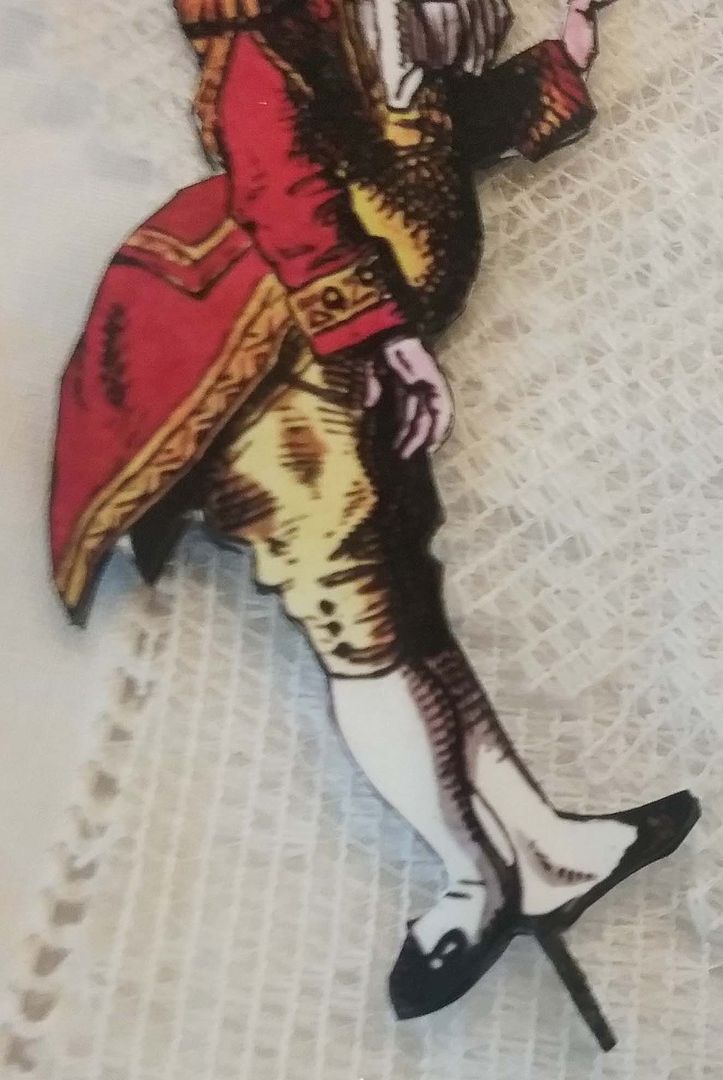
So that the driver would stand, I glued a flat toothpick between the character's two sides.  All of the characters in the project are double-sided so that they look the same from all angles.
Using the matchbox as the ledge gave me something to poke the toothpick into.  Below you can see the matchbox glued to the bottom front of the sleigh.

WREATHS
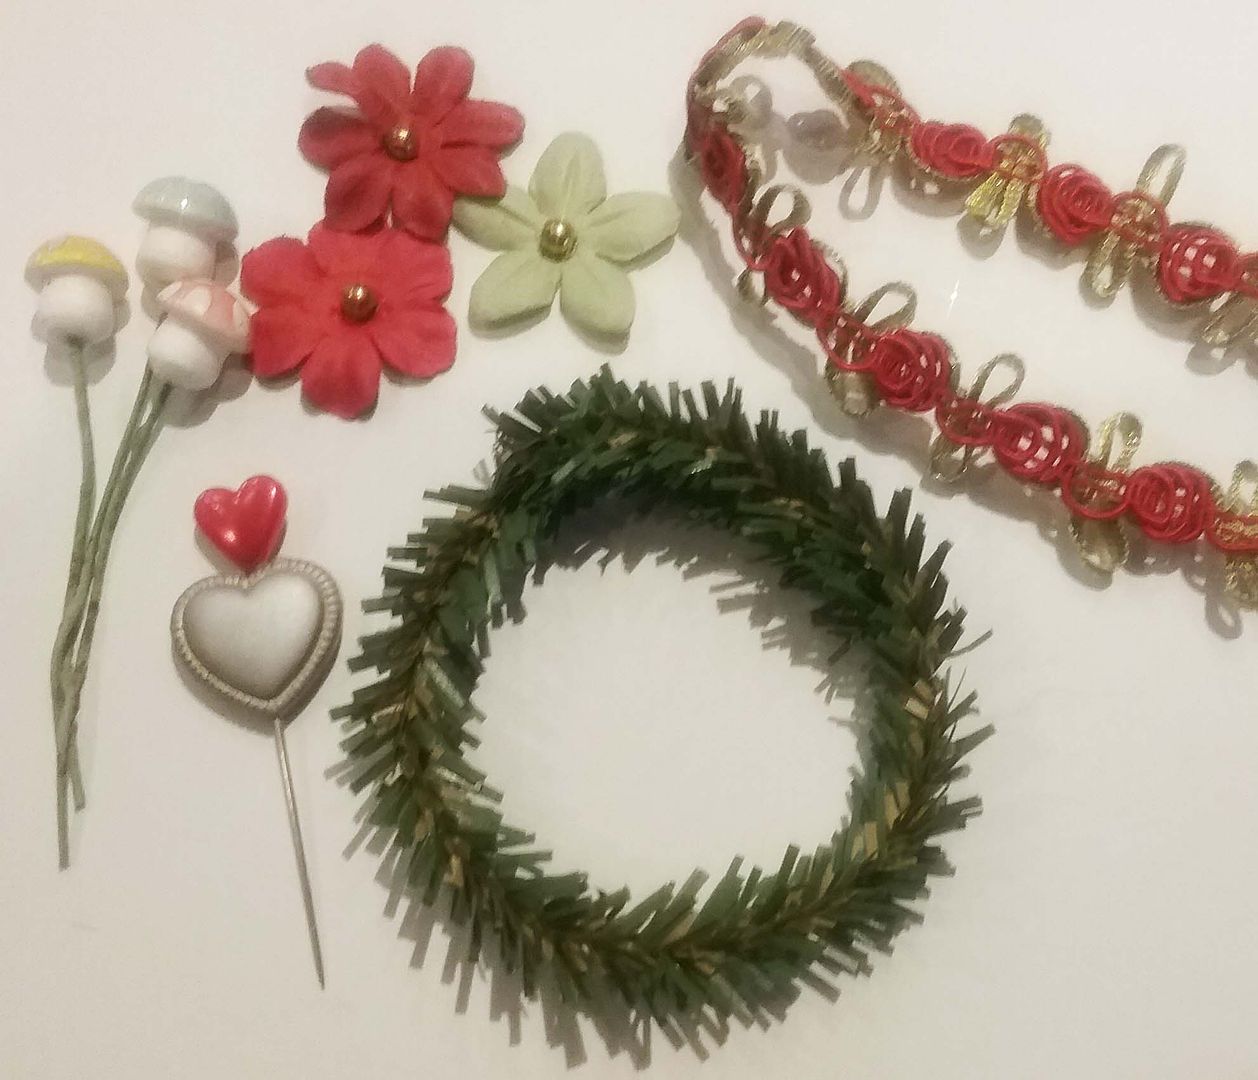
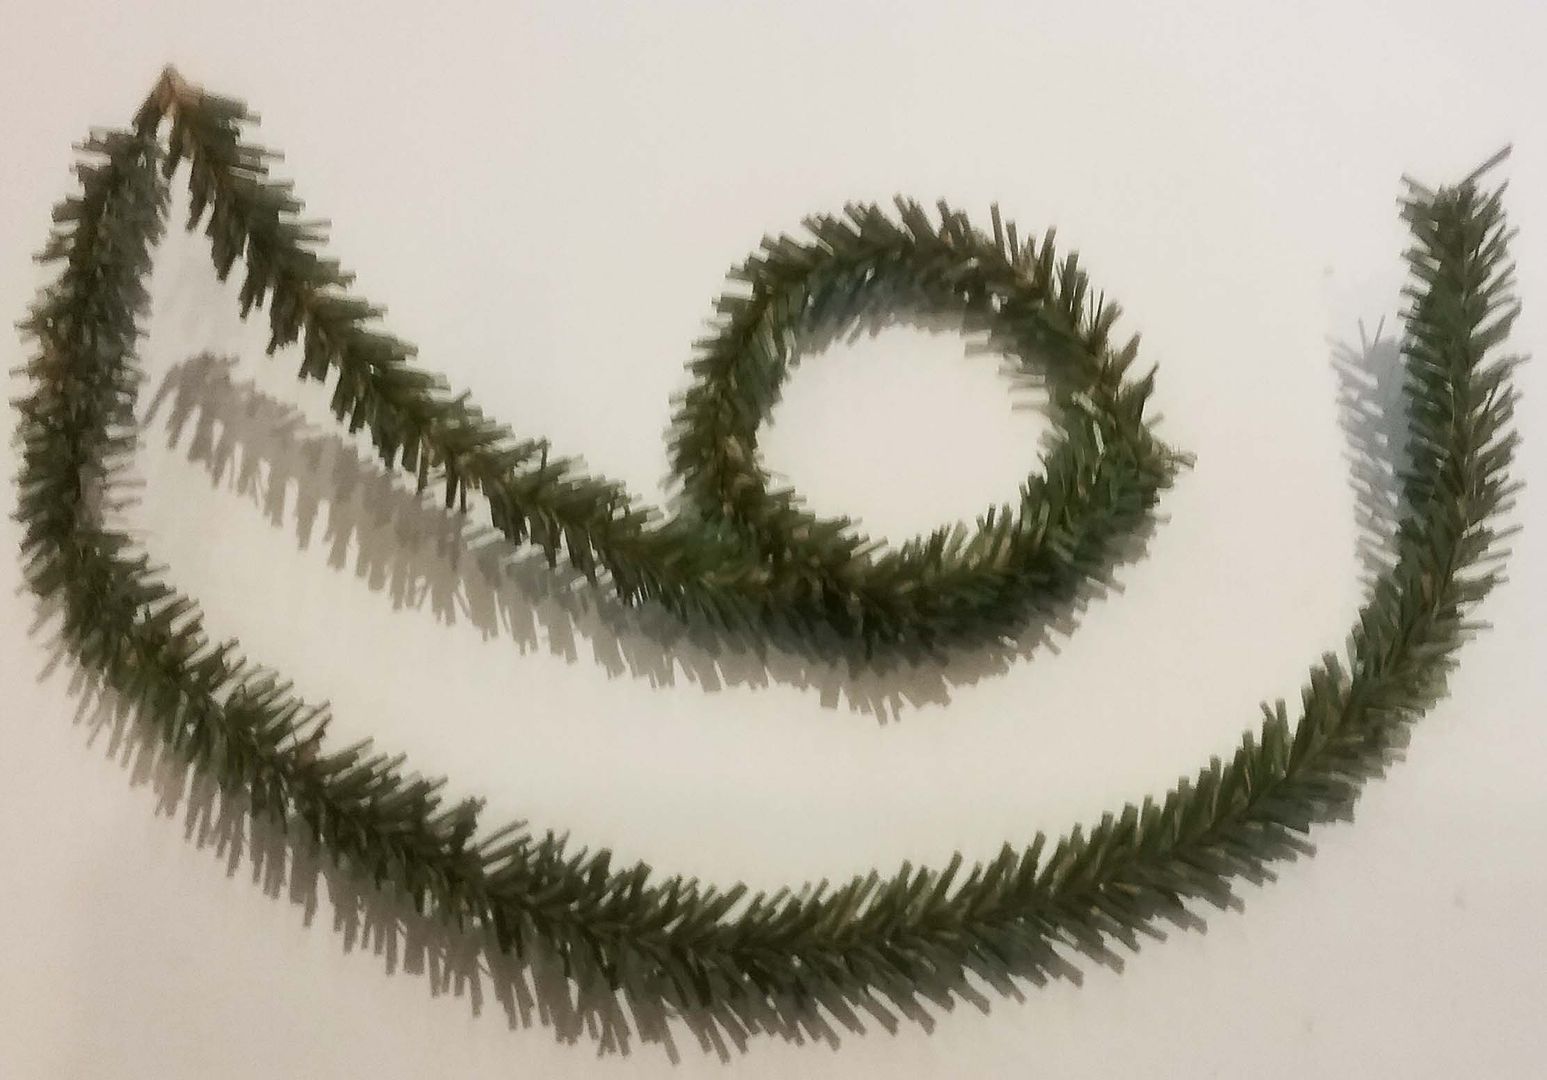
To decorate the sides of the sleigh, I made two wreaths (one for each side).  I started by making a circle using wired pine needle stems.  
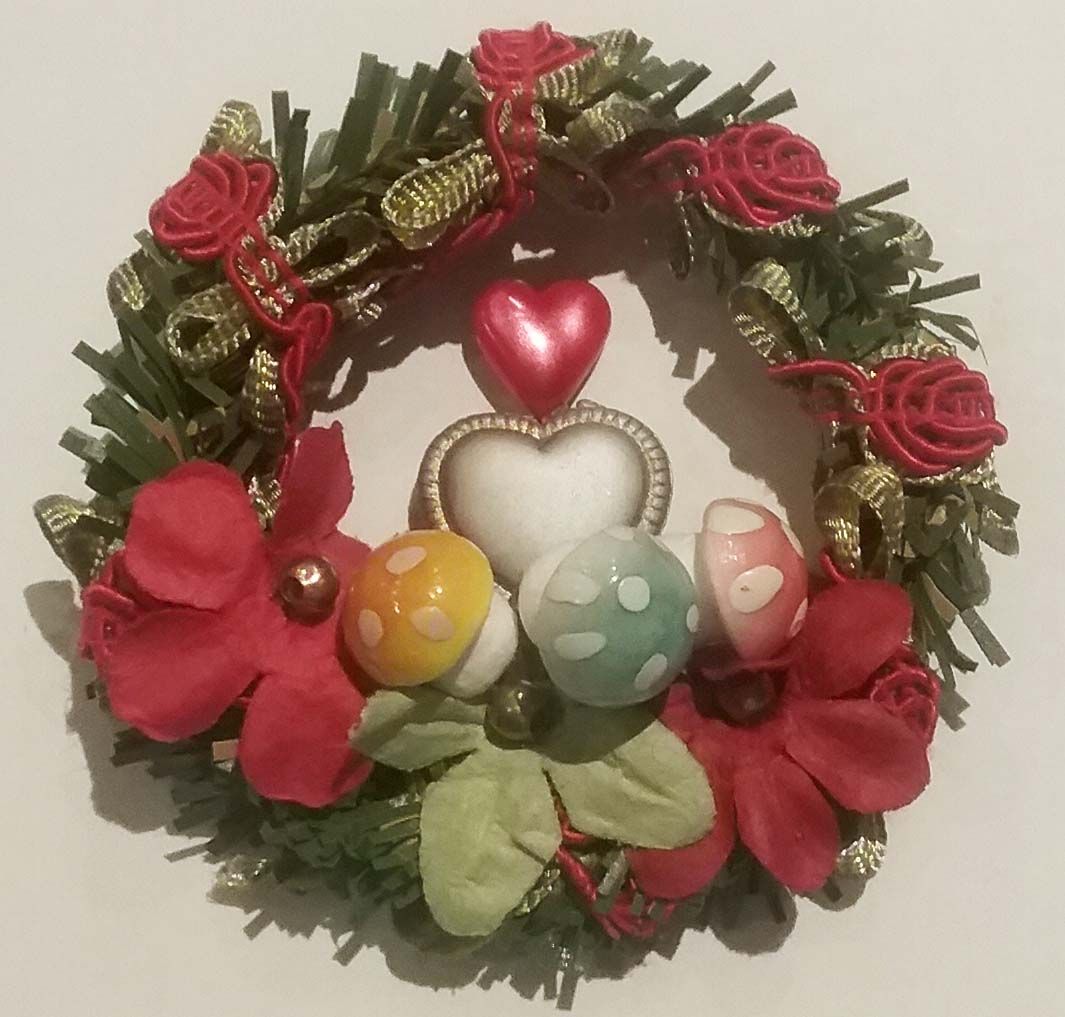
Next, I wrapped the circles in a rose ribbon braid.  Then I attached the flowers and mushrooms.  Lastly, I added the red heart stickpin and silver heart bead.
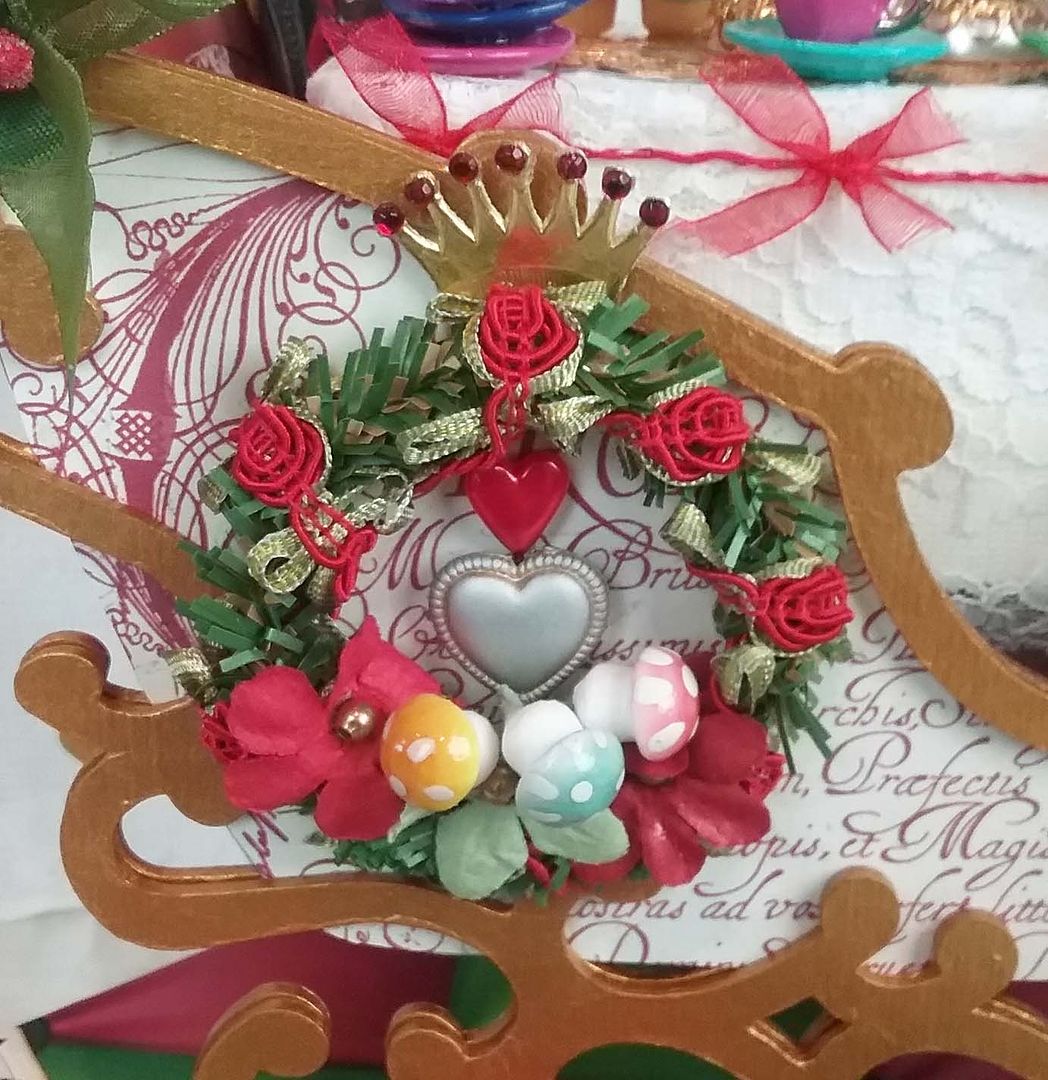
Once I had the sleigh decorated with the wreath, I decided it needed one more touch and added the Dresden crown with rhinestones.  After all, it is the Queen’s sleigh so it needed a crown!
In addition to the wreaths, I decorated the sleigh with ribbons and holly berries.  I also used part of a heart cupcake wrap to dress up the back of the sleigh.

TABLE
To make the table, I used two 1" wood blocks.  I choose the blocks as they were a perfect fit for the sleigh.  As legs and to make the table higher, I used two wooden finials.
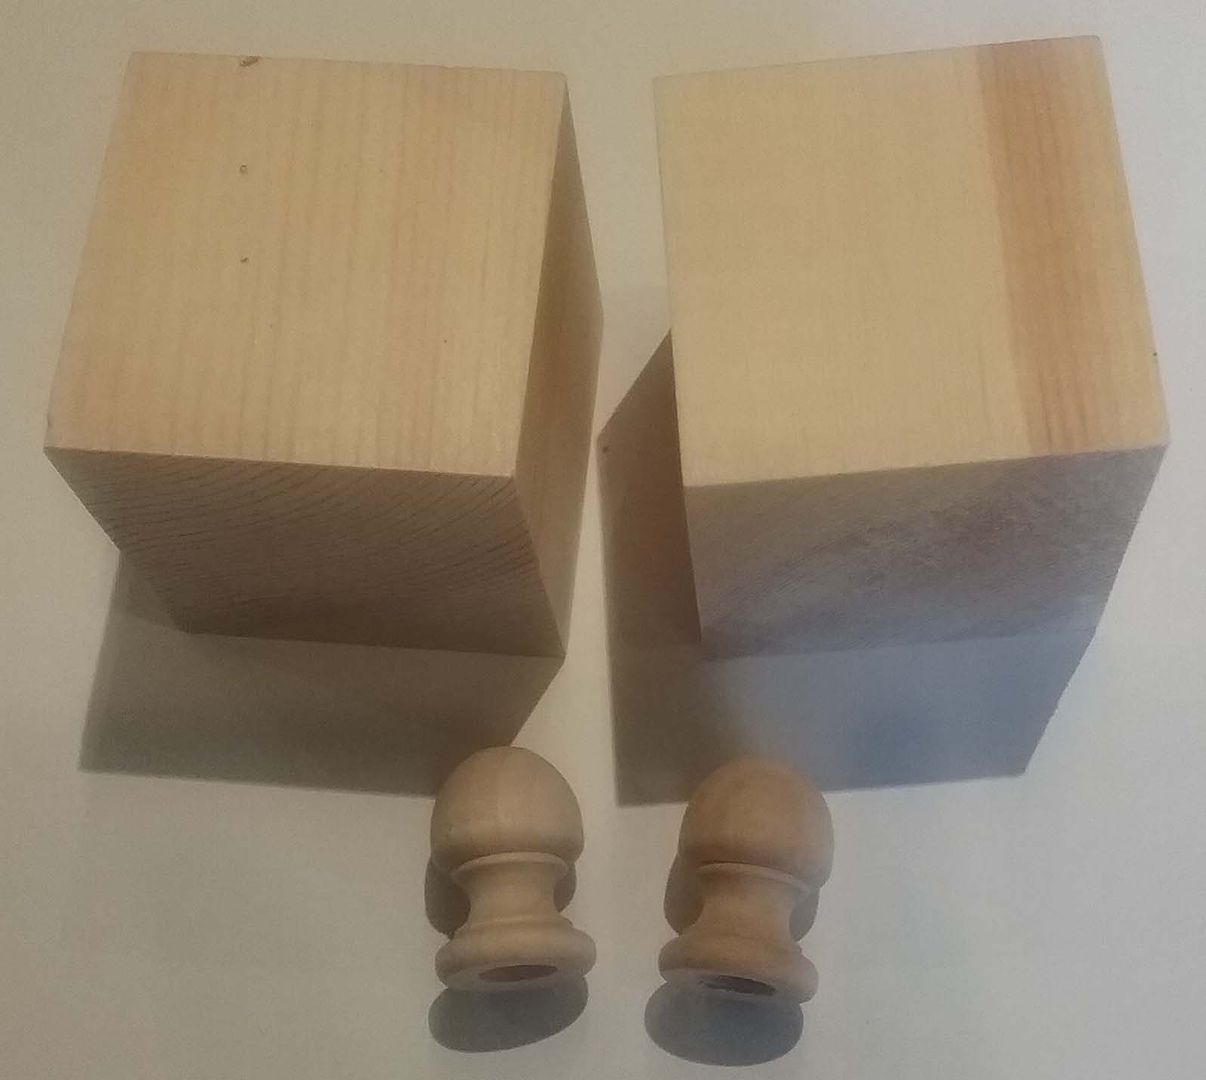
I glued the blocks together, glued the finals to the blocks, and then painted everything white.
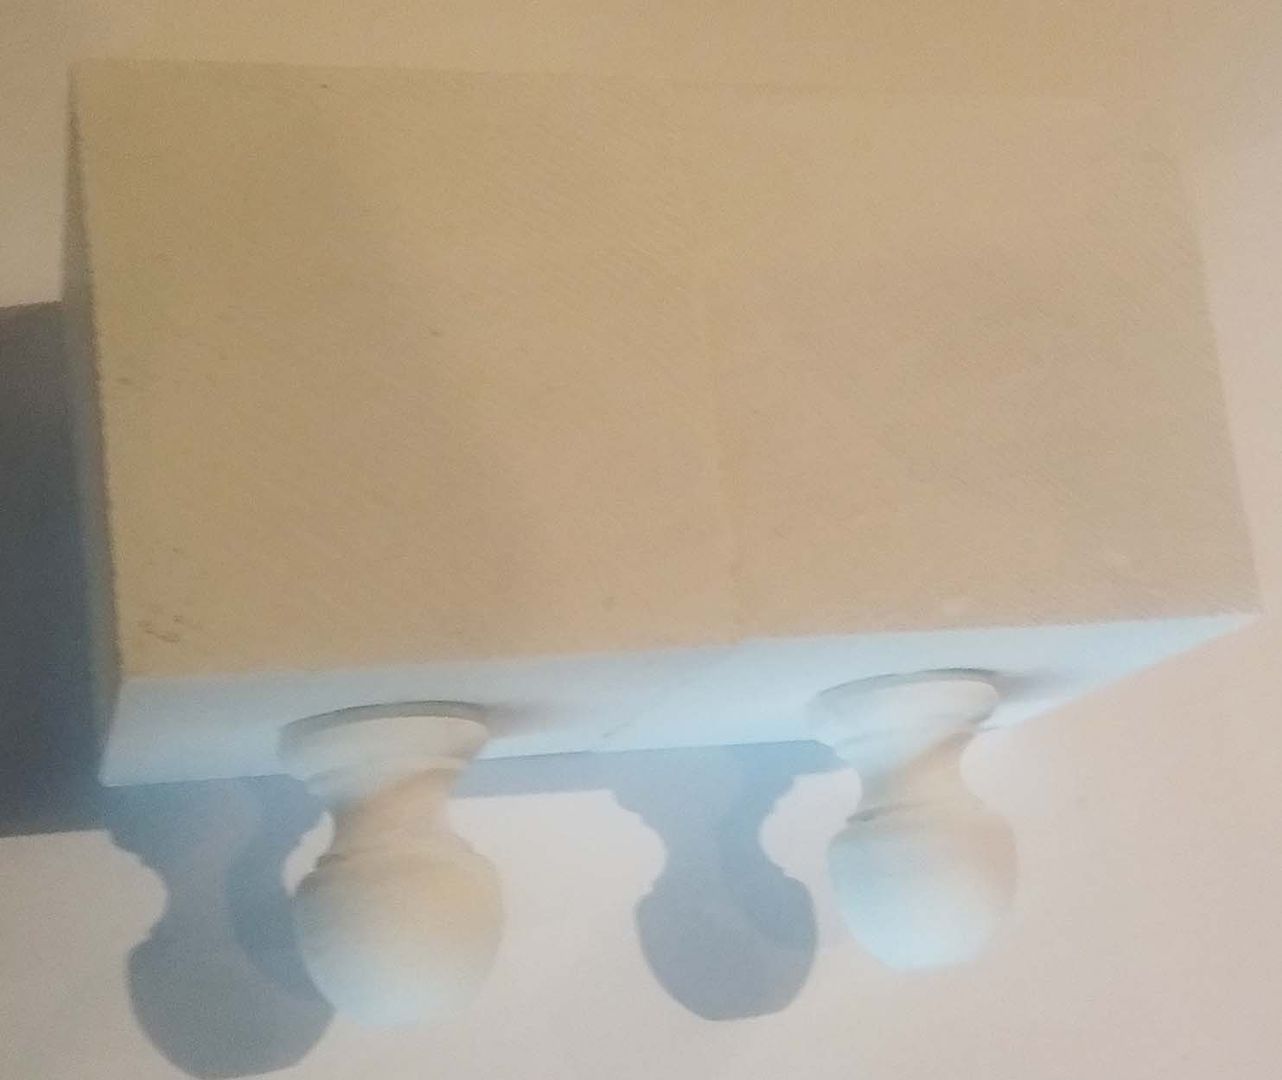
I covered the blocks with white lace from my stash and wrapped the table with a red bow-wired ribbon.  I added a piece of gold Dresden on the top of the table.
One of the main pieces on the table is the pair of crooked candlestick holders.  I started with the bead cap and glued the first bead on at a slight angle.  This is definitely a job for E6000 glue.  Once the glue was dry, I added the next bead, and so on, until finally adding the filigree to the top.  It’s really important to let the glue dry thoroughly between each piece before adding another piece.  When I was finished, I decided I needed a large surface on the bottom to glue to the table, so I glued a flat back bead underneath the bead cap.
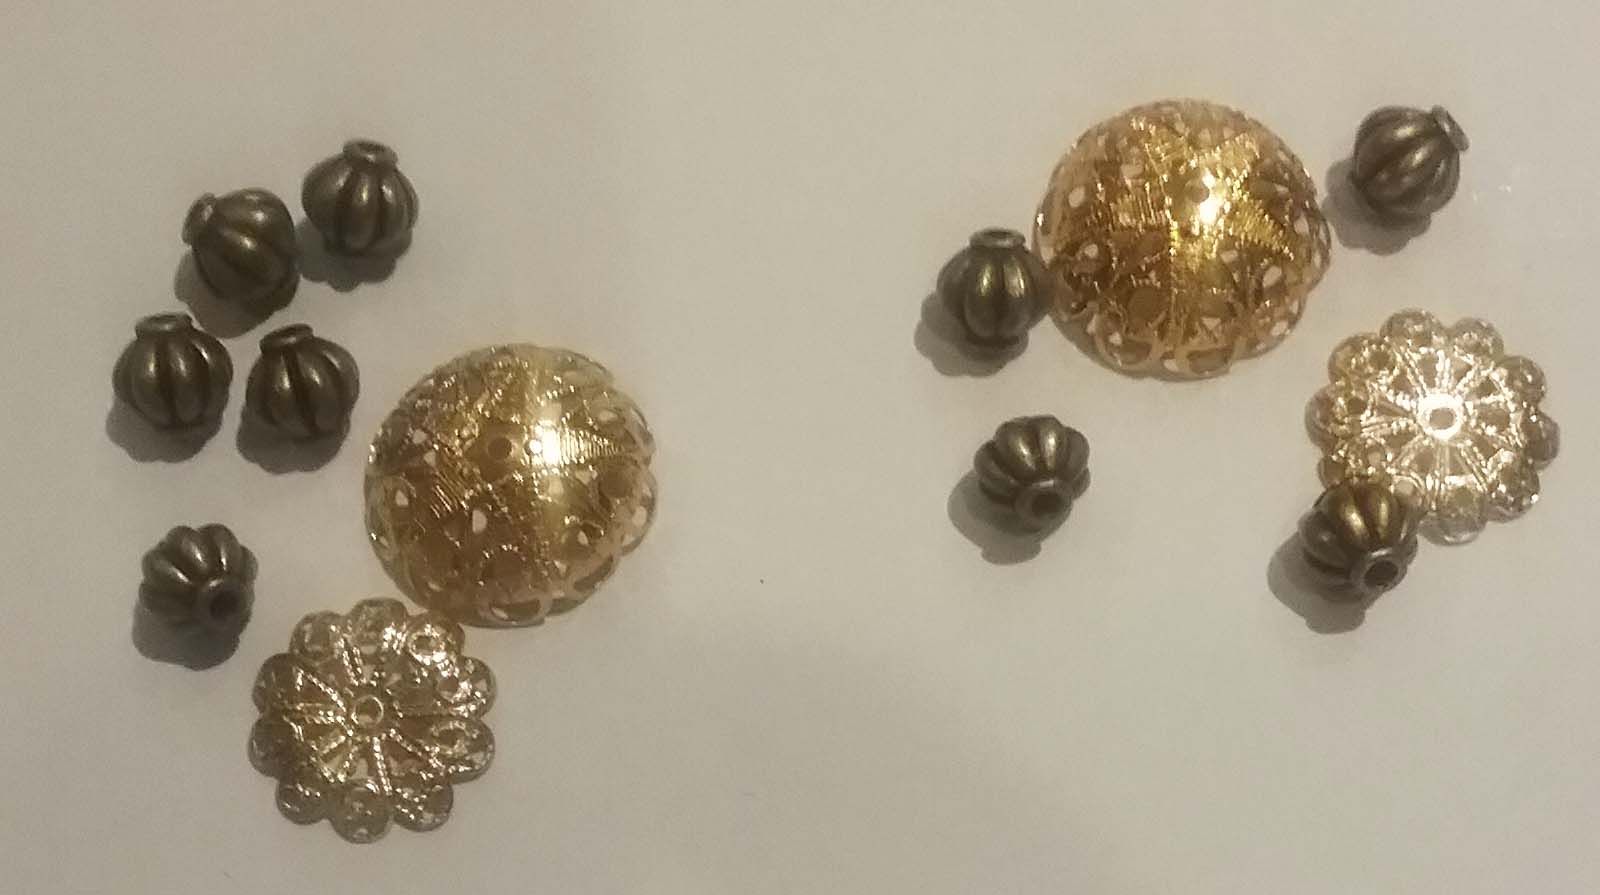
Lastly, I glued the teapot at an angle on one of the candlestick holders and a candle on the other.  The candle is a piece of plastic painted white and tipped with yellow paint.  In the picture below, you see the two candlestick holders glued to the table on top of the piece of gold Dresden.
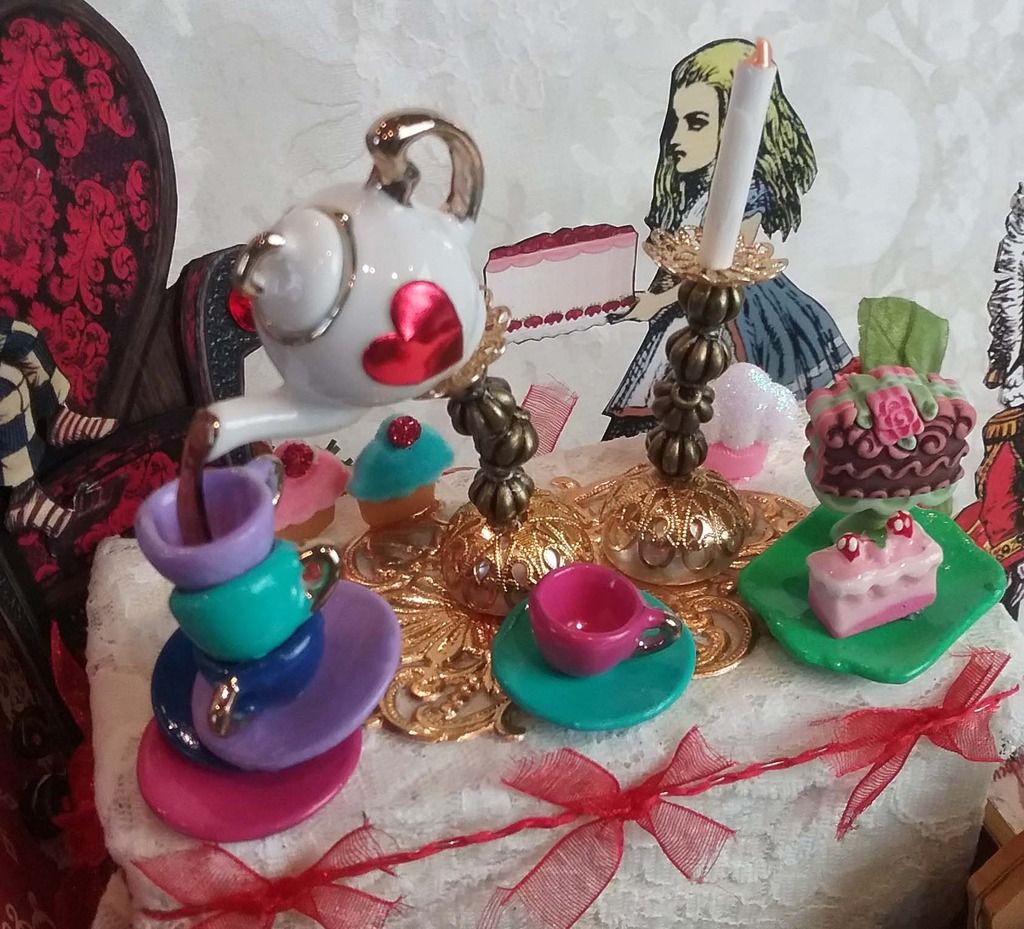
As you can see from the picture above, I glued a stack of plates and cups in a staggered fashion, again using E6000.  I painted the cups and saucers in bright colors using Patina Paints. 
To make the tea pour into the cup, I used Glossy Accents.  On either a piece of rigid plastic or wax paper, dispense a ribbon of Glossy Accents.  The length depends on the distance between the spout of the teapot and the top cup.  I did a few so I could choose which one to use.  Once the Glossy Accents is dry, paint it with Alcohol Ink and glue it to the spout of the teapot, and presto, you have tea.
The tea set also came with a tray which I painted and then attached some sweet treats.  The cake is made from two buttons.  I removed the shanks and then glued them together to make the cake look more 3D.
Below you can see the finished decorated sleigh.

FLAMINGO REINDEER
I started with a set of 4 chipboard reindeer (they come 8 in a set).
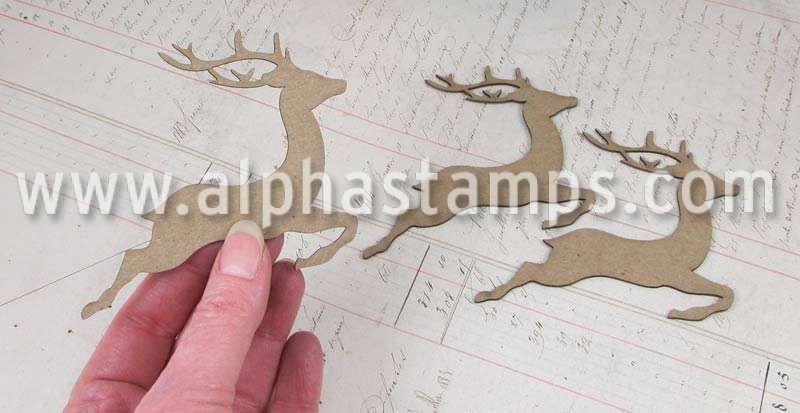
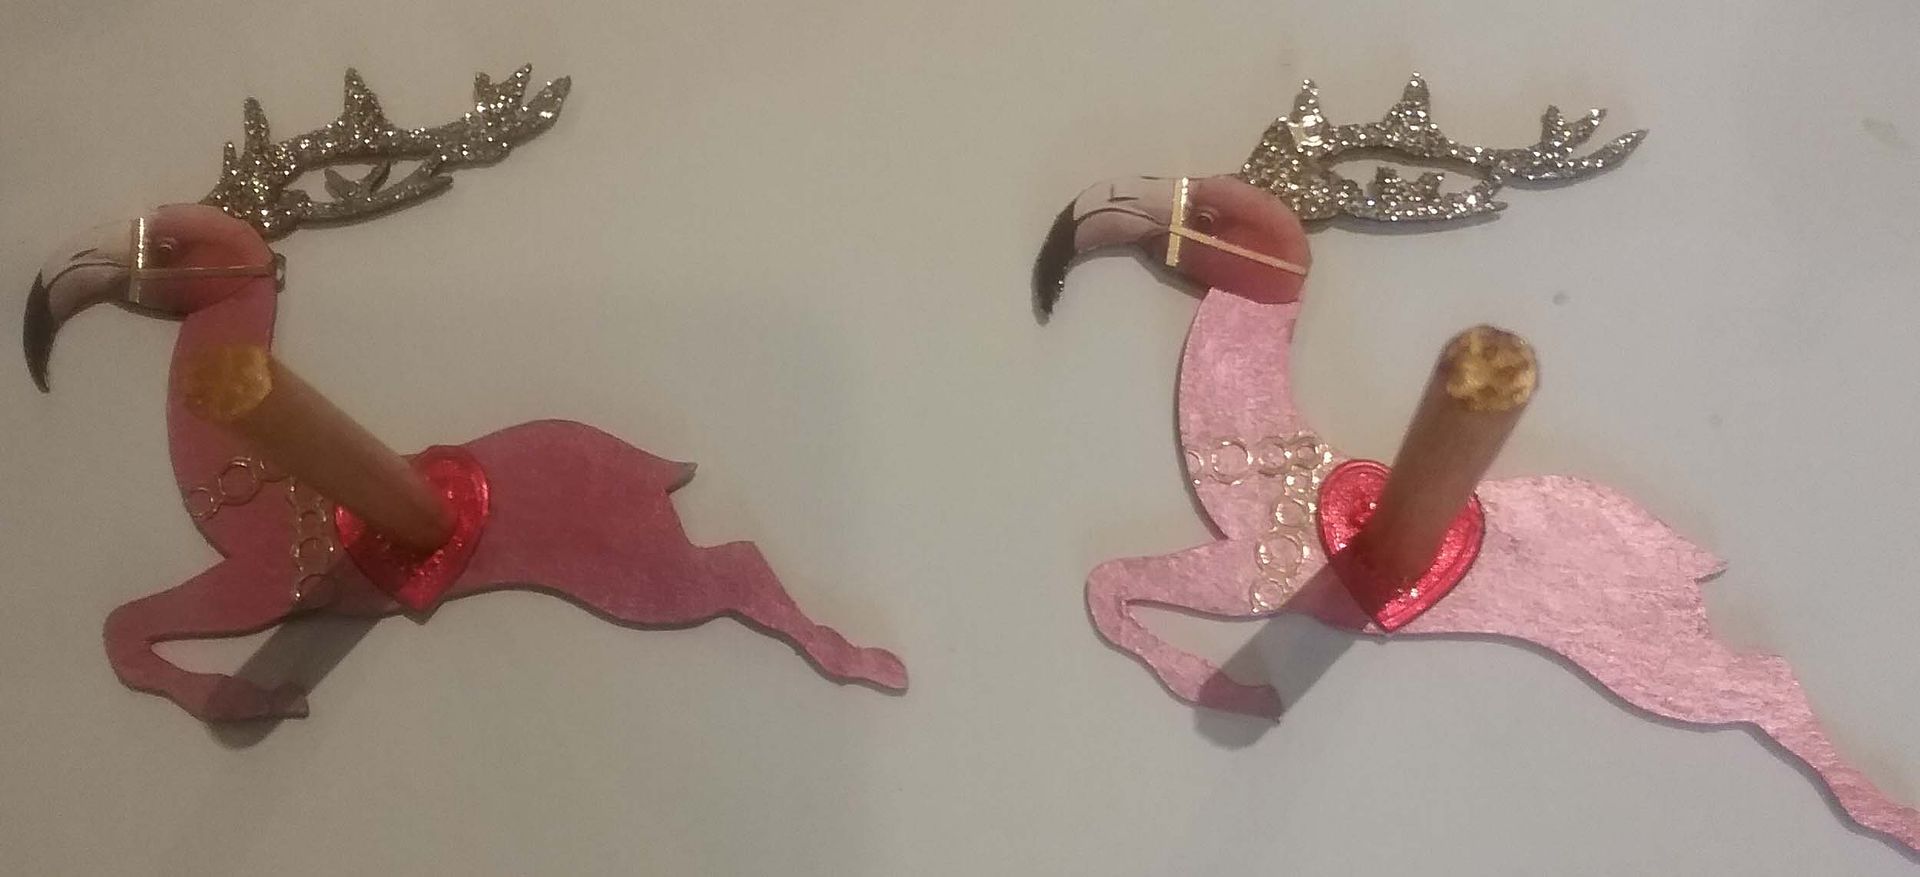
First, I painted them a pink shade that was close to the color of the flamingo head images on the collage sheet.  Next, I rubbed them with Fire Brick Distress Ink to give the color more variation and to add more of the color of the head image.  I then added gold stickers to serve as the harness, and Dresden red hearts function as the saddles.  I used  Distressed Glitter Dust (Vintage Platinum) to give the antlers a sparkle.

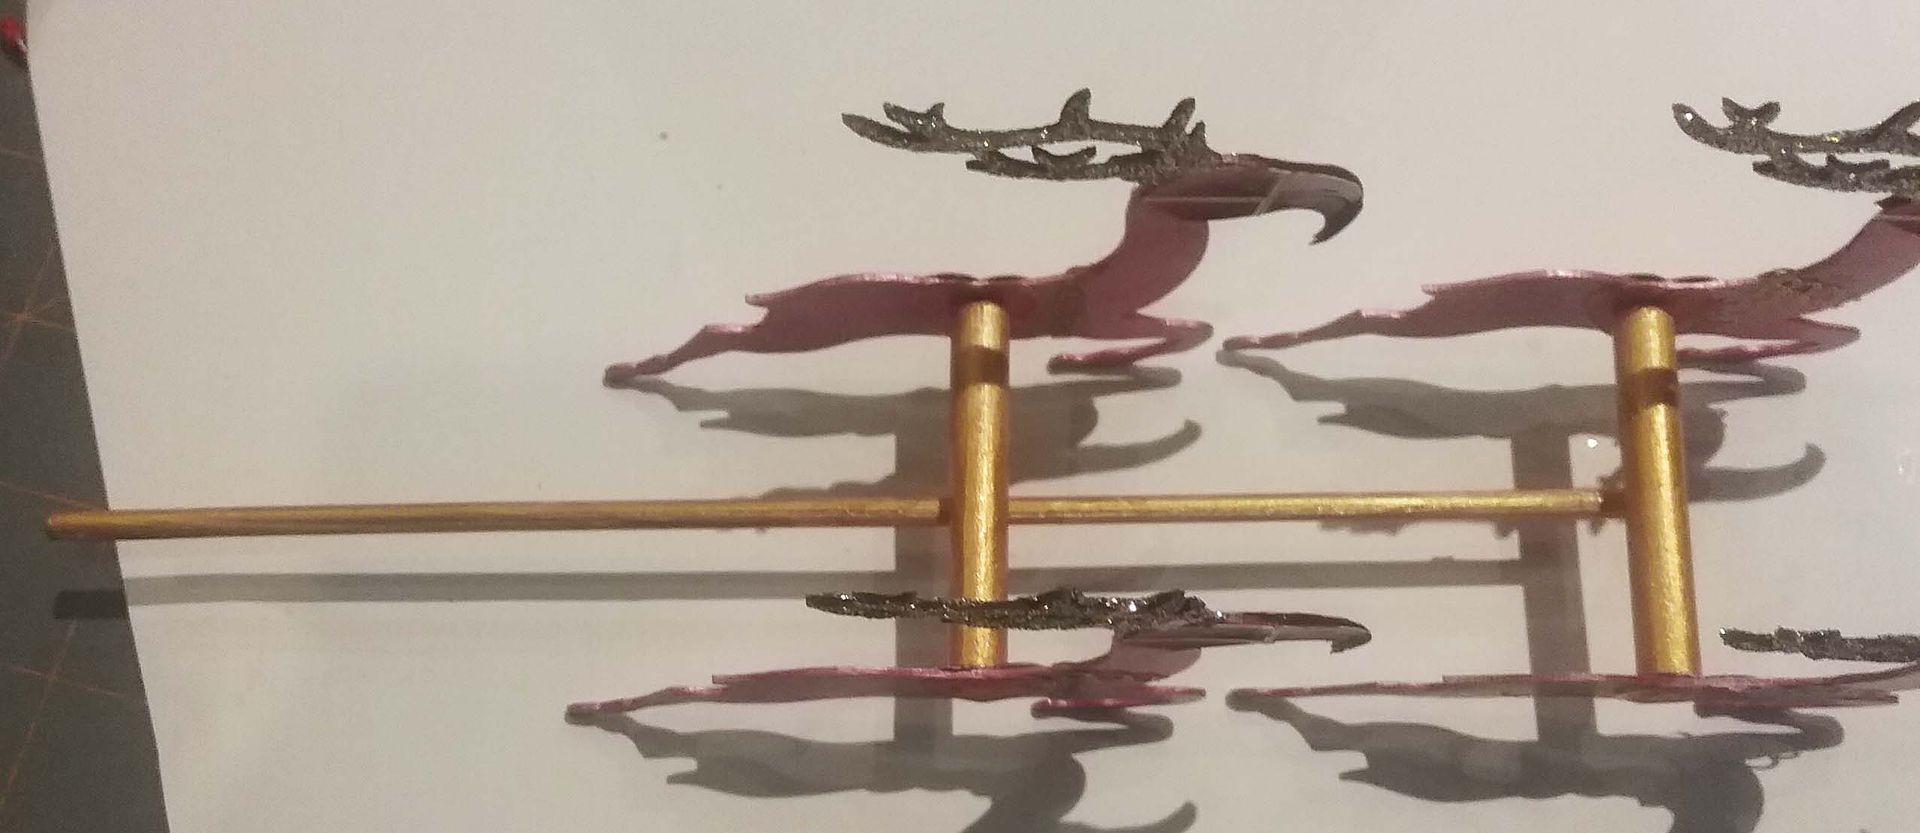
To connect the reindeer, I cut two wooden dowels 2” long, painted them gold, and glued them between each pair of reindeer. 
Next, to connect the reindeer pairs together, I used a wooden skewer (painted gold) that I glued underneath the dowels.
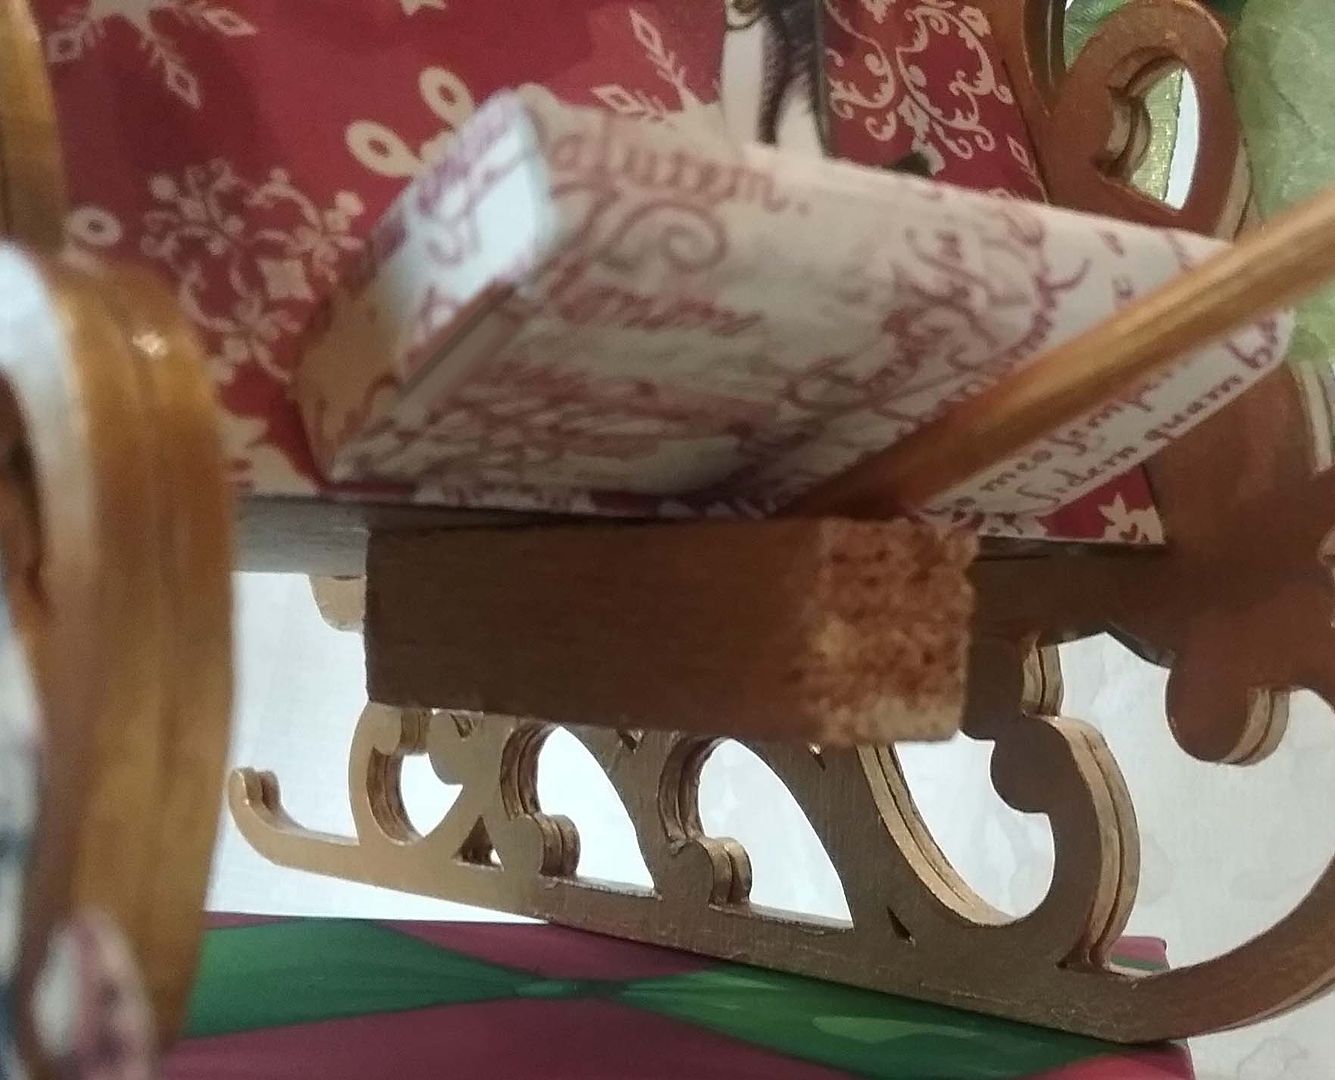
In order to attach the reindeer to the sleigh and to make them fly, I used a piece of balsa wood.  I choose balsa wood because it is easy to poke a hole in the softwood.  The hole is at an angle in the wood, so the reindeer will tilt up as if flying.
To attach the reindeer to the sleigh, I glued the balsa wood underneath the sleigh and the driver's ledge.  The sleigh and driver's ledge (made from the narrow matchbox) hides the balsa wood.
BASE OF BOOKS
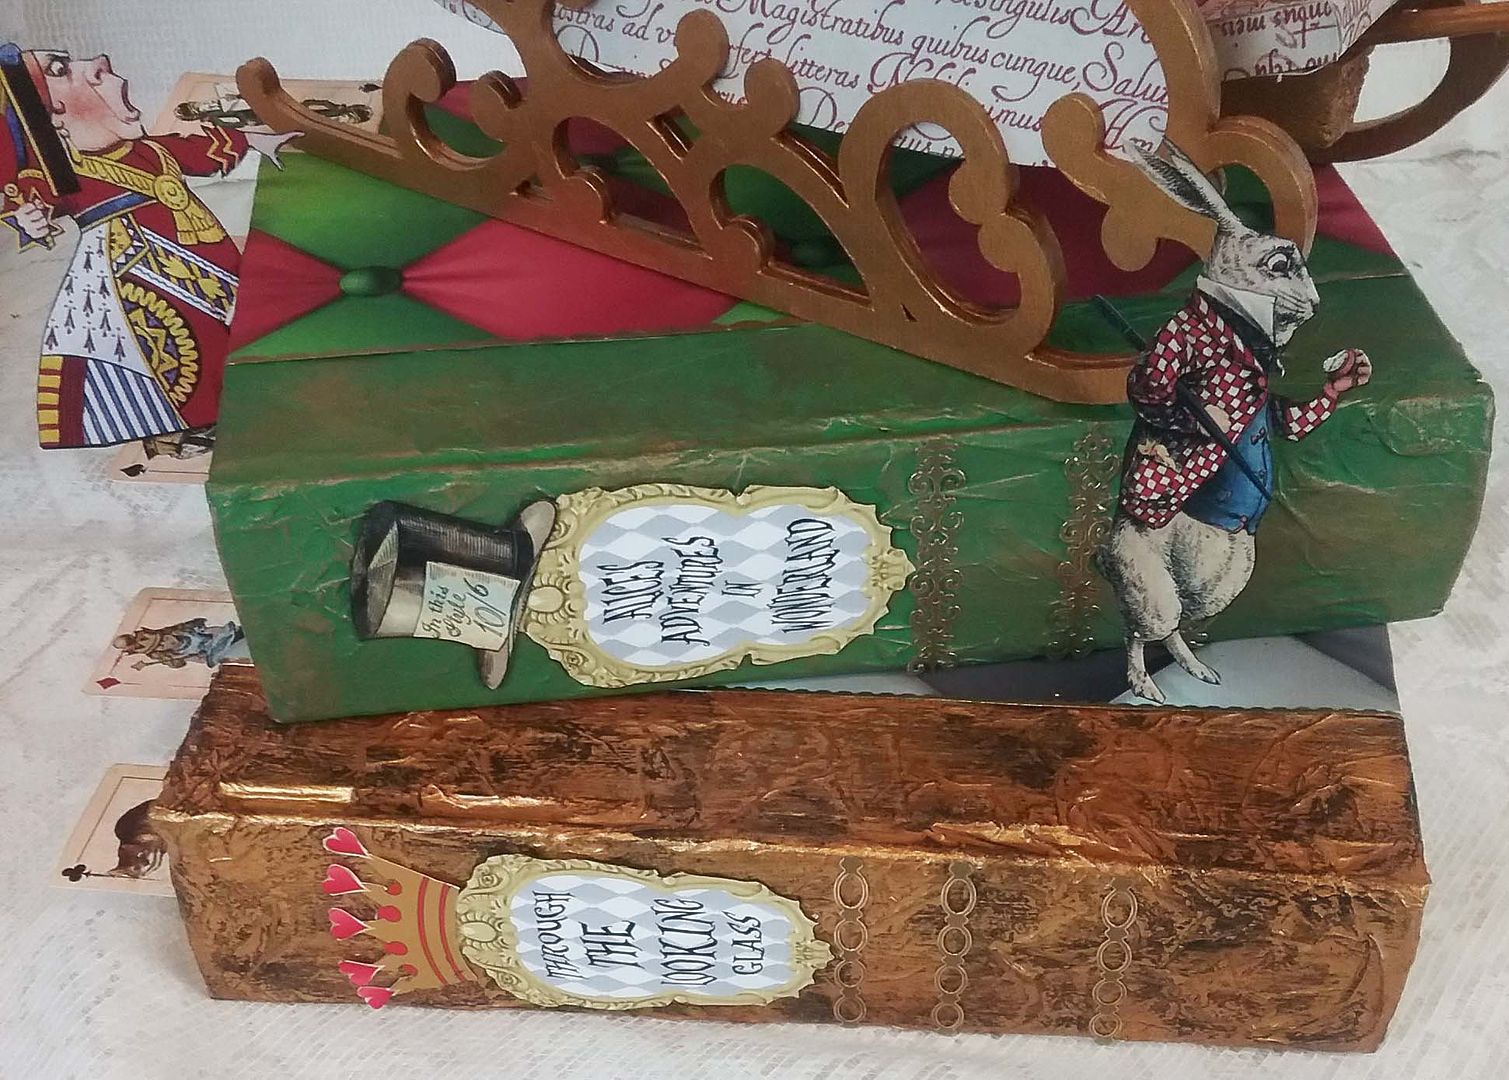
To give the piece more interest and height, I created a base made from books.  I have a large stash of old Reader’s Digest Best Loved Books that I use for altered book projects.
I started by covering the spines with torn and crumpled tissue paper (for texture).  I’m not going to go into detail on this technique as I have covered it previously with a video tutorial.  
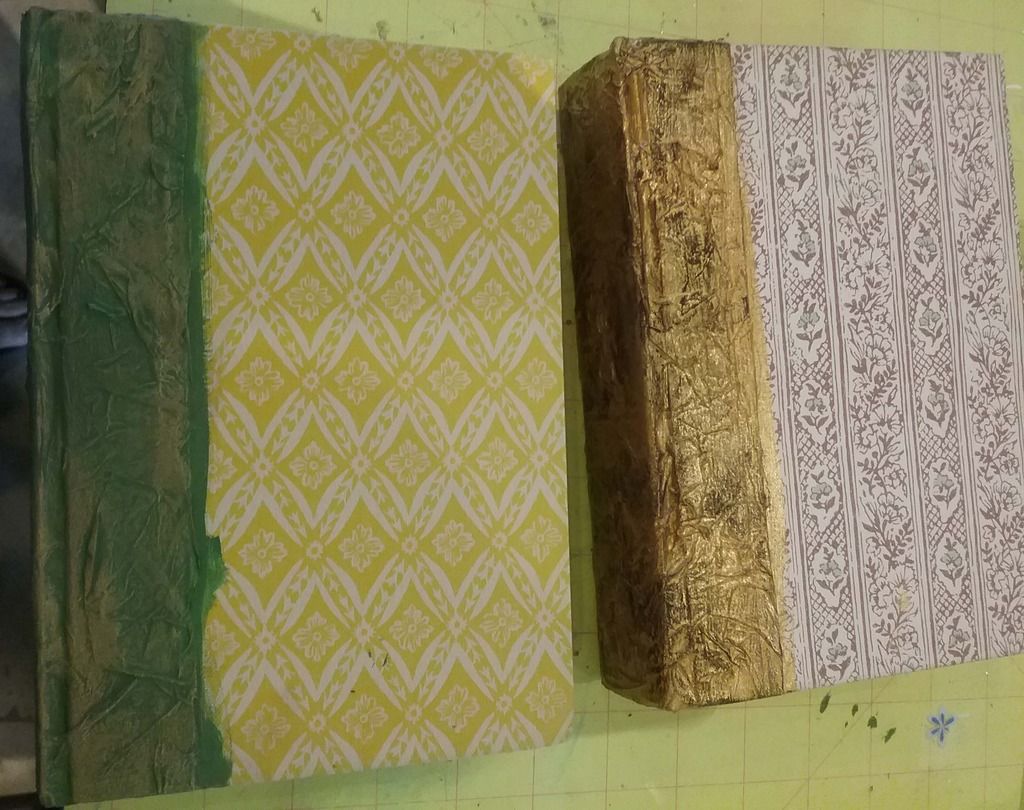
Next, I painted the spines, one green and one gold.  I rubbed gold on the green spine and black on the gold spine.  Using paper from the Tea Party Alice digital image set, I covered the rest of the book cover.
I added gold stickers and images from the Tea Party Alice collage sheet as a final touch.
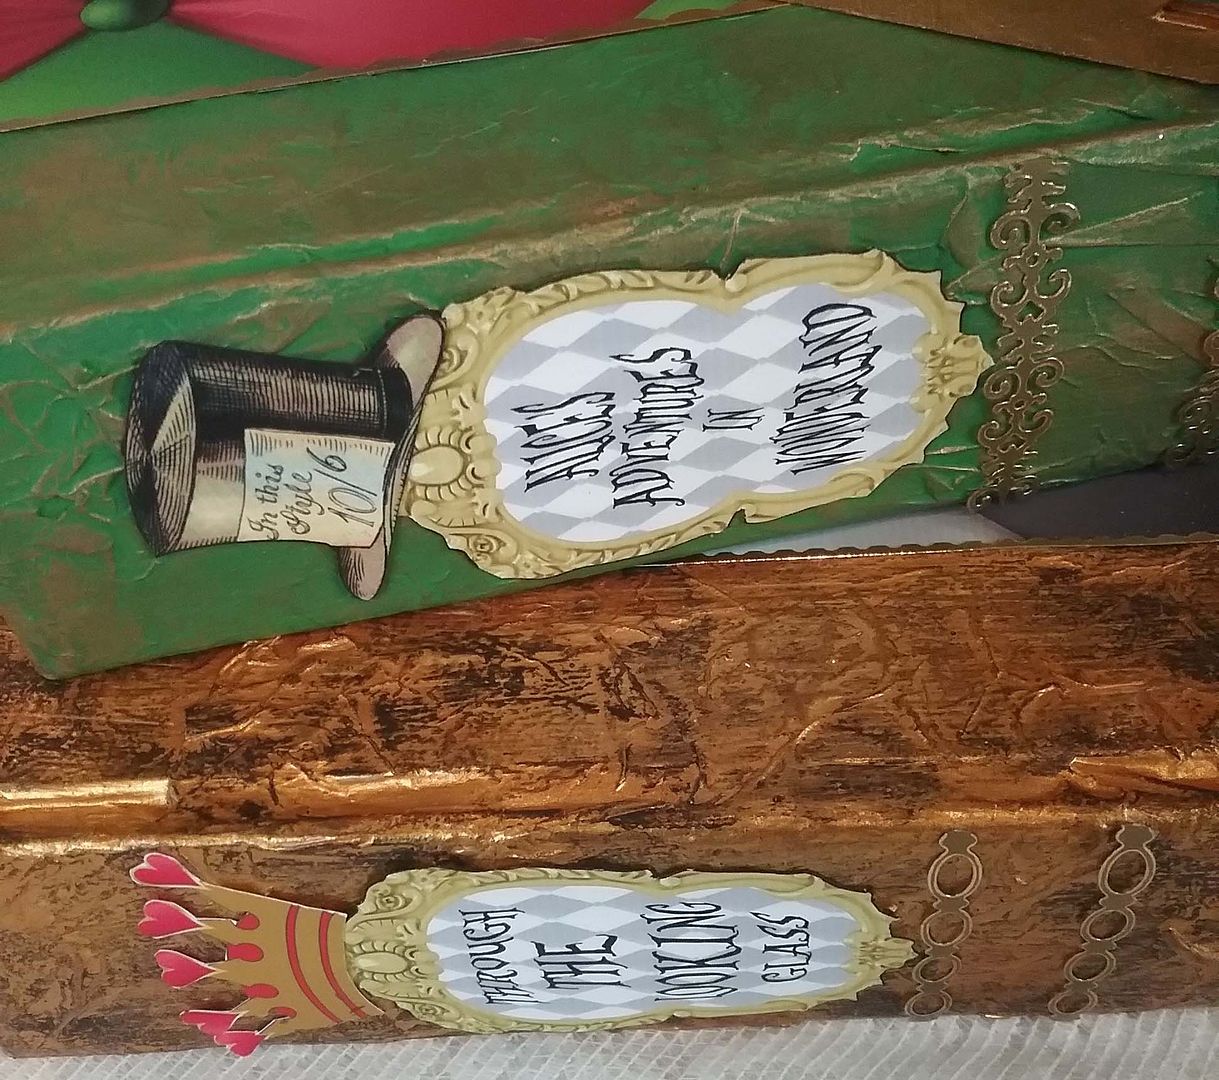
Using real books, it gave me a place (in between the pages) to insert the cards that make up the staircase.  I also added the Dormouse peeking out of his door

TREE
The tree is a twig from my yard that I glued into two layers of foam core that serve as the base.  I’ve attached images from the collage sheet as well as large and mini mushrooms.  
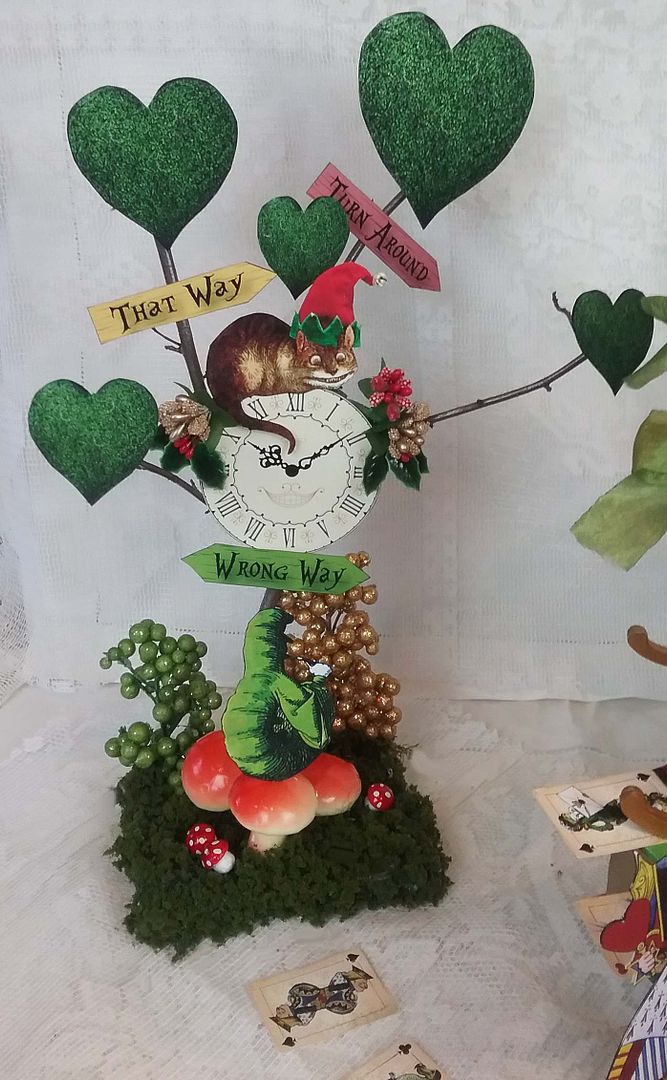
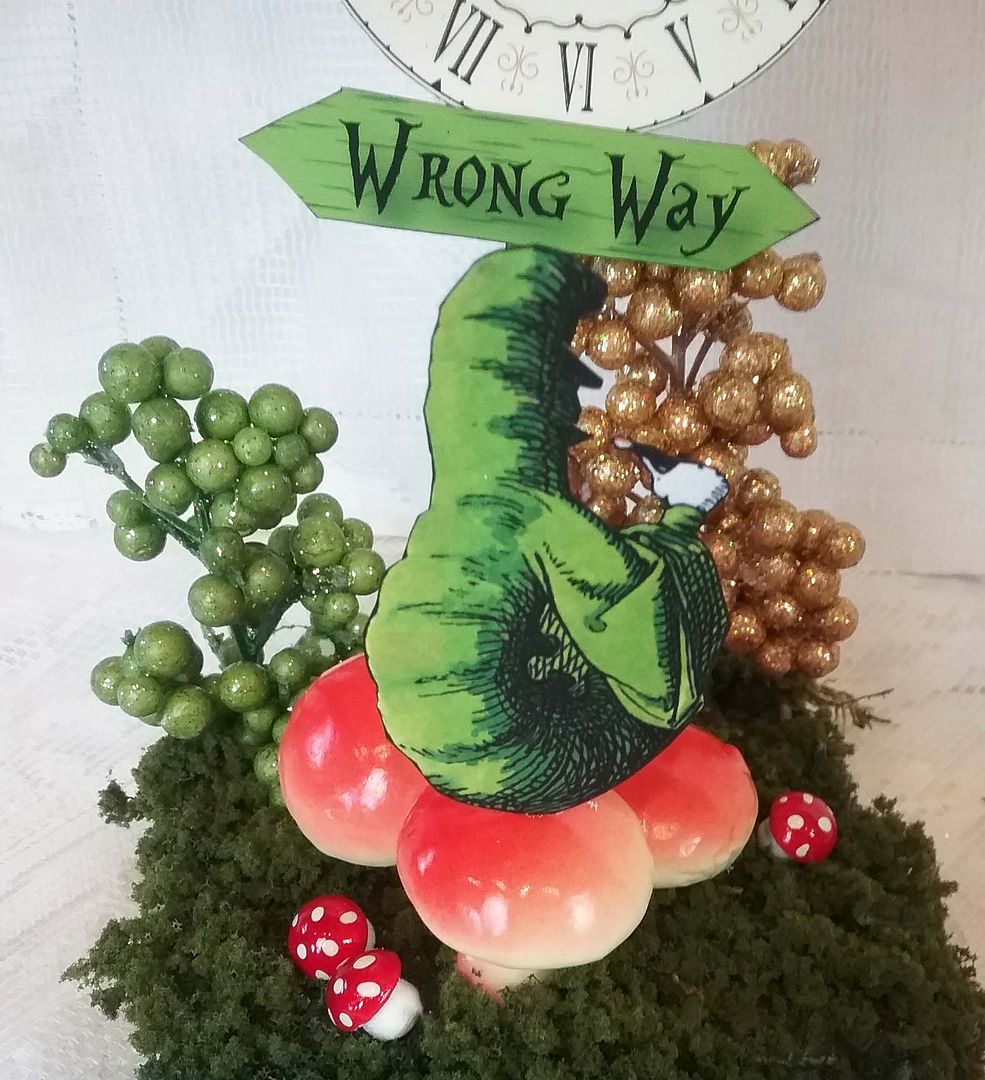
The large mushrooms are made of foam, so I attached a flat toothpick to the Caterpillar and stuck it into the mushroom.  The foam core base is covered with leafy green underbrush.  
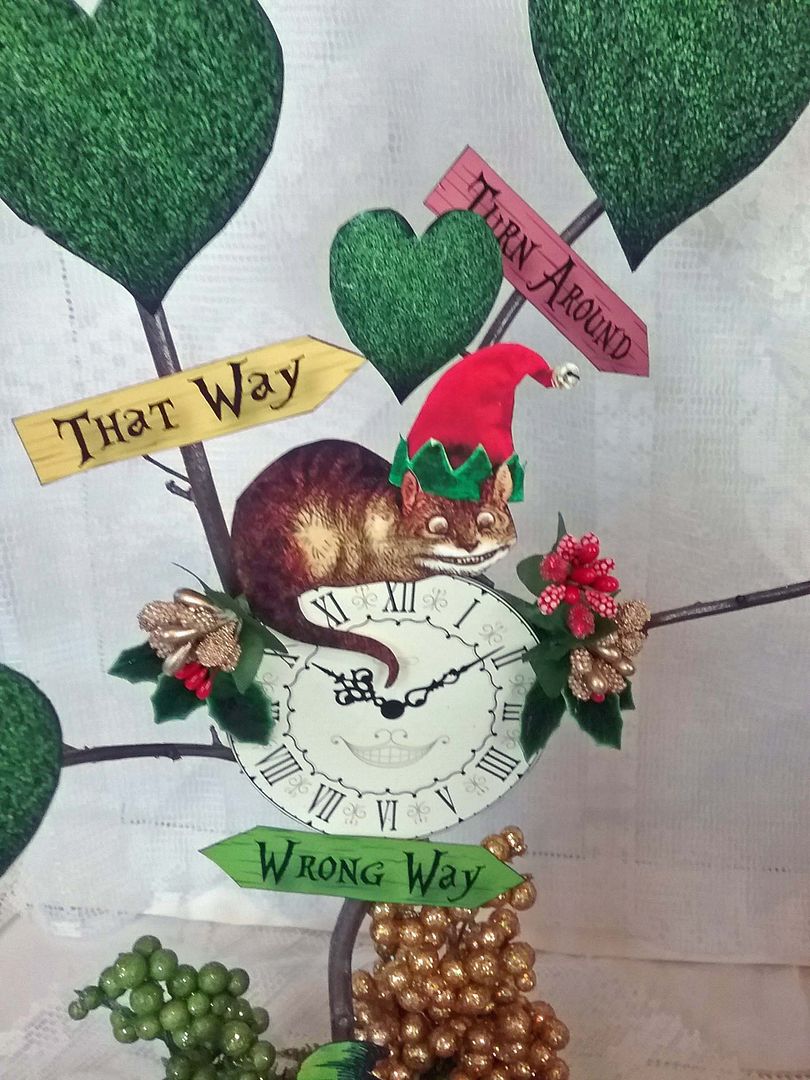
The Cheshire cat is sporting an elf’s hat.
Saturday, December 5, 2015

ALTERED CORKS & BOOKMARKS - GIFT & DECORATING IDEAS

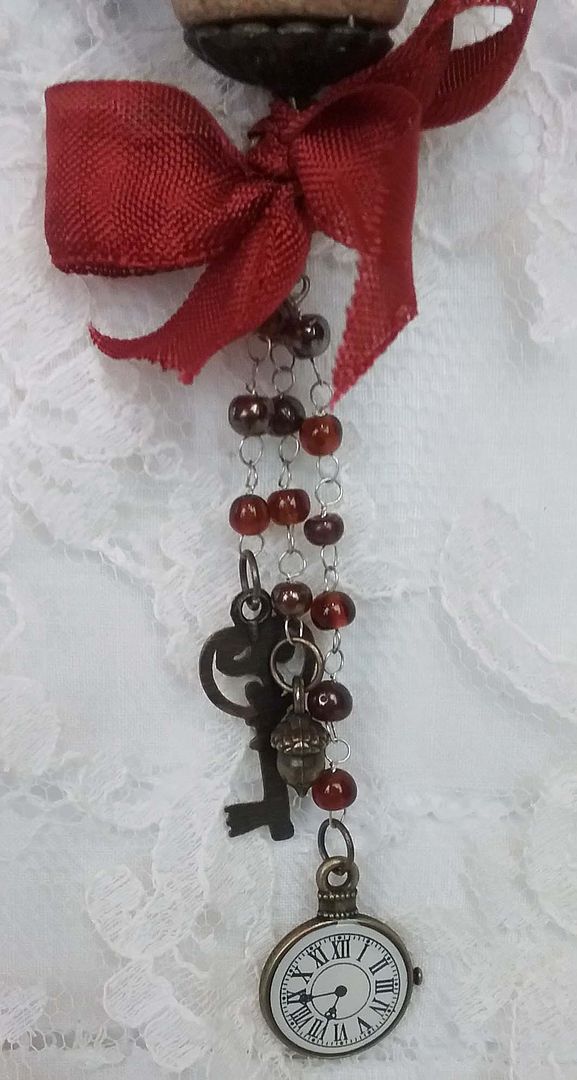
If you are stumped for a holiday or special occasion gift, how about an altered wine cork or bookmark.  The corks are great for decorating wine and champagne bottles, as an ornament on a tree, or as part of your home décor.  They also make great hostess gifts.  Another idea is to take a cork left over from a special occasion and alter it as a memento of the occasion.  As décor, they look lovely hanging from a lamp or a key in a clock or cabinet.  If nothing else, it gives you an excuse to drink a bottle of wine!

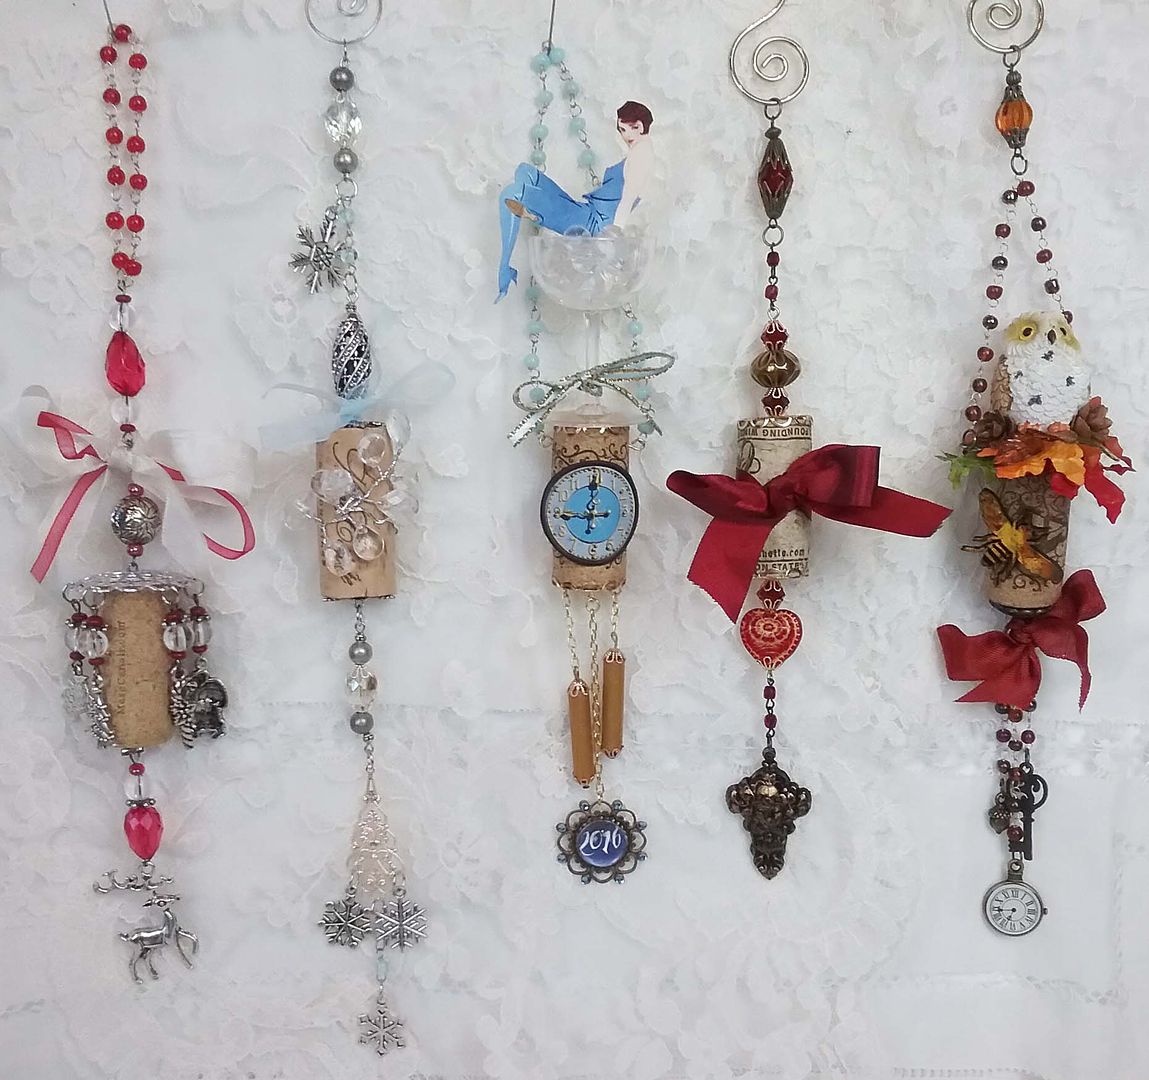
To give you many ideas, I’ve created 5 altered wine corks covering holidays and seasons.  In addition to the altered corks, I also customized 2 blank bronze bookmarks. These bookmarks are really a fast way to create a personalized gift.

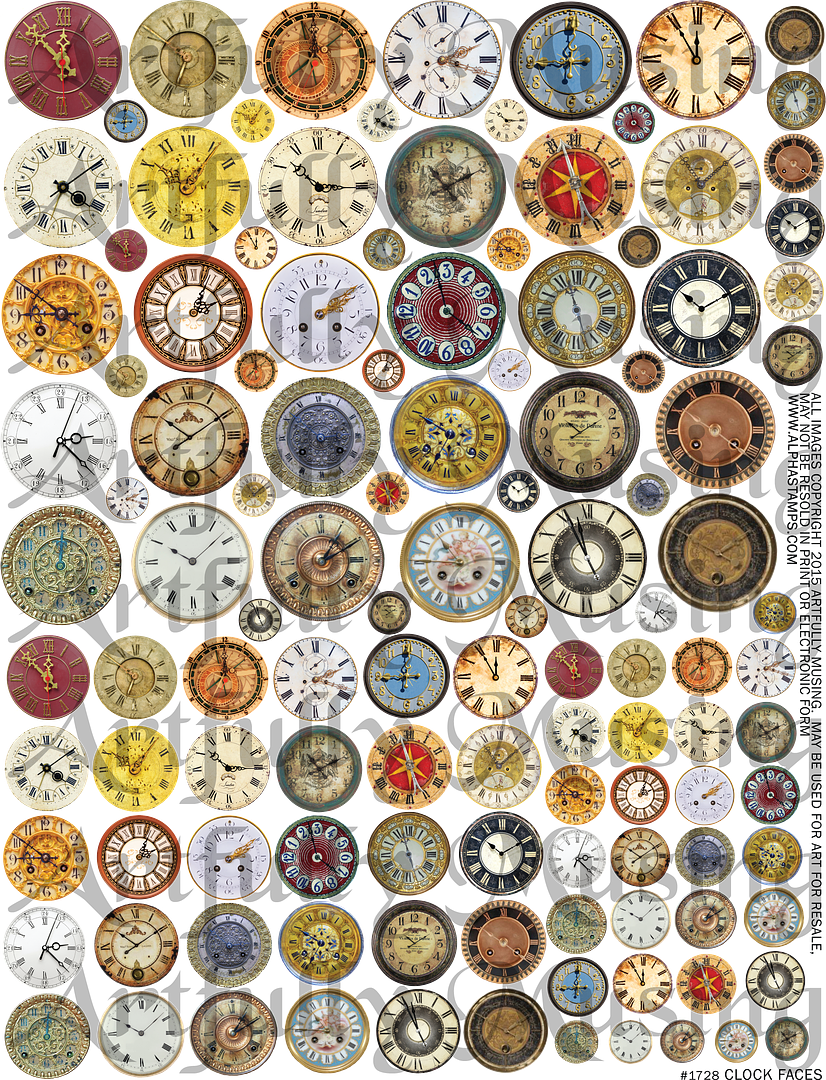
For these projects, there is a new collage sheet, “Clock Faces”.  I thought this theme was apropos as the season is partially about the passing of time and the beginning of a new year.

This sheet is loaded with 30 unique clock faces in 4 different sizes.  Click on the picture below to purchase.  Click on the image below to purchase this collage sheet.
GENERAL NOTES ON ALTERING CORKS
The key to altering a cork is to insert something like an eye pin, memo pin, or eye screw into the cork to accommodate adding beads, chains, and embellishments.  I used either eye pins or a memo pin for the samples below.  What you use depends on how much stuff you want to hang from the pin.  If you want to dangle a lot of stuff from the pin or use bulking things like ribbons to hang items, you might want to use something large like a memo pin or an eye screw. 

In all cases, I added E6000 to the pins before inserting them in the corks so that they would be more secure.  I also pre-poked a hole with an awl before inserting and gluing them in place.

Another item I added to all of the corks was something to the top and bottom of the cork before inserting the pins.  In most cases, it was a piece of filigree.  If you use filigree that extends over the edge of the cork and the filigree has holes, it will give you a place to hang more items or a way to use multiple chains or ribbons.

For the corks below, I designed 2 of them to hang from the neck of bottles and 3 to hang from an ornament hook.

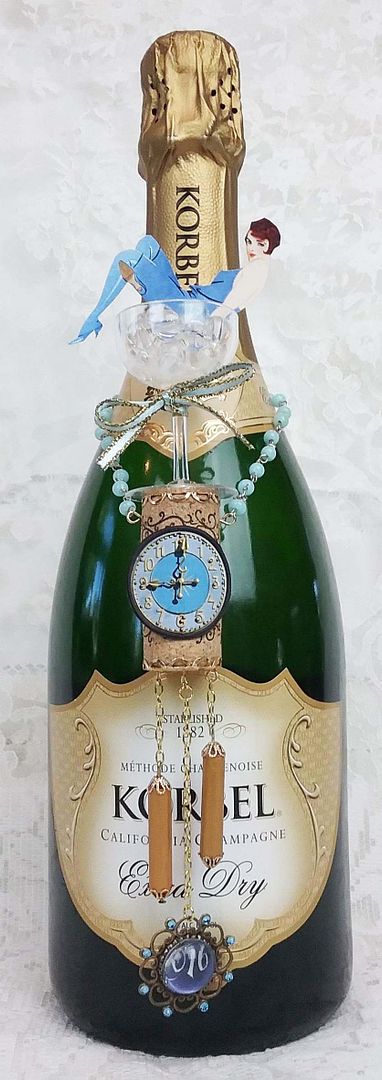
NEW YEARS ALTERED CORK
What a fun gift this altered cork would be for the hostess of a New Year’s Eve party or maybe hang on to a cork from a party you attended and make one to commemorate the evening.
I loved the idea of the sassy art deco lady sitting in the cute mini champagne glass filled with clear beads (which I thought looked like bubbles).  
For this altered cork, I started by adding round filigree to the top and bottom of the cork (attached with E6000).  It just so happens that this filigree perfectly fits standard wine bottle corks.
Next, I inserted (and glued) two eye pins into the sides of the cork.  I used eye pins on the sides so that I could loop the beaded chain (to fit over the neck of the bottle) and so that the chain would not interfere with the champagne glass.  
Below is a clock from the new sheet attached to the cork (needing a clock for this is what got me started on the new sheet).
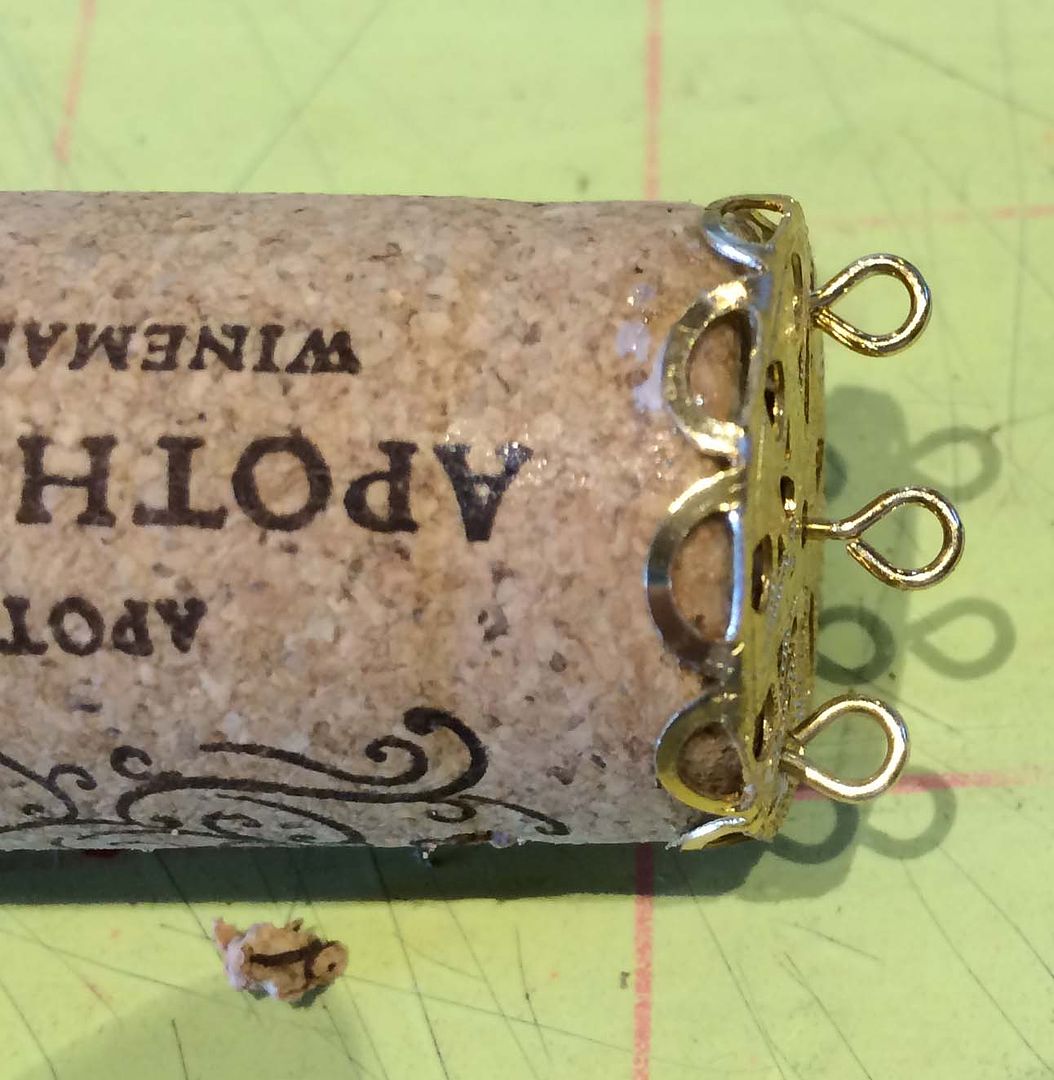
The champagne glass is glued on top of the filigree using E6000 glue.  Below you can see the bottom of the cork.  Notice how the filigree fits perfectly over the cork.  For the bottom, I needed 3 eye pins to accommodate the weights and clock pendulum.  The filigree has lots of holes, so no worries about having places to poke through the eye pins.
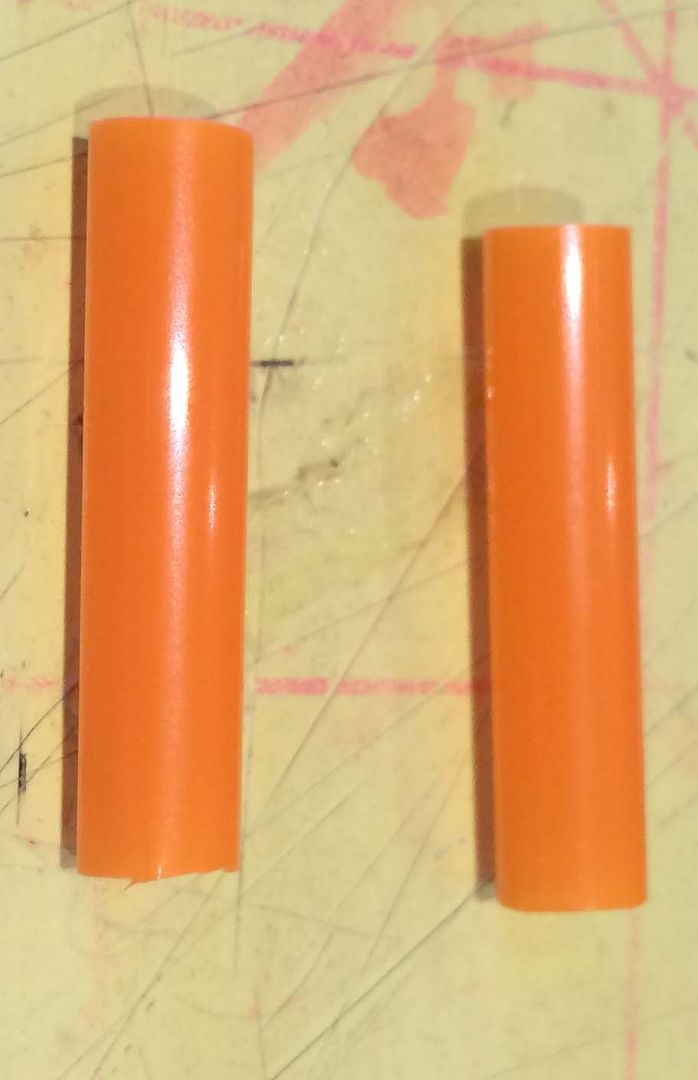
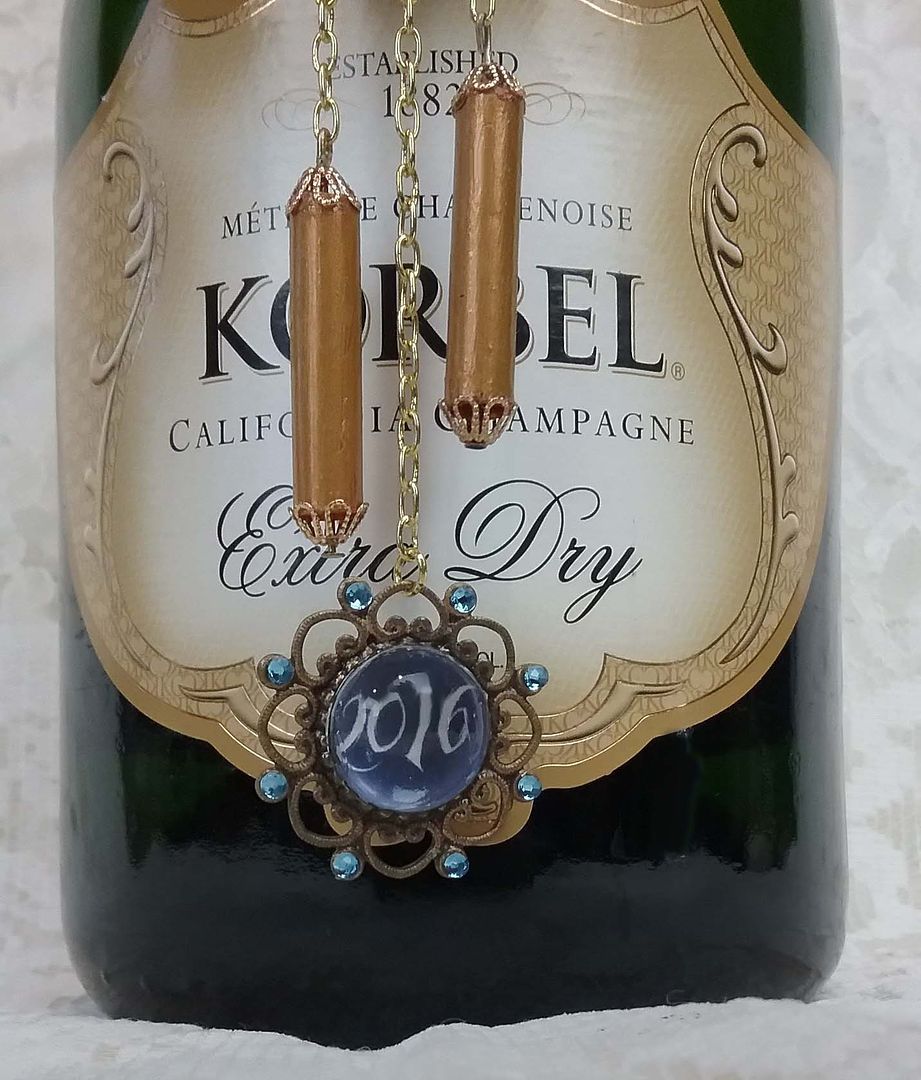
The clock weights are made from a plastic straw.  I painted the pieces of straw with Victorian Gold Patina Paint (because it sticks to plastic) and then glued bead caps on each end.  Next, I inserted a headpin through the bead caps and straws, created a loop on one end, and attached a chain.
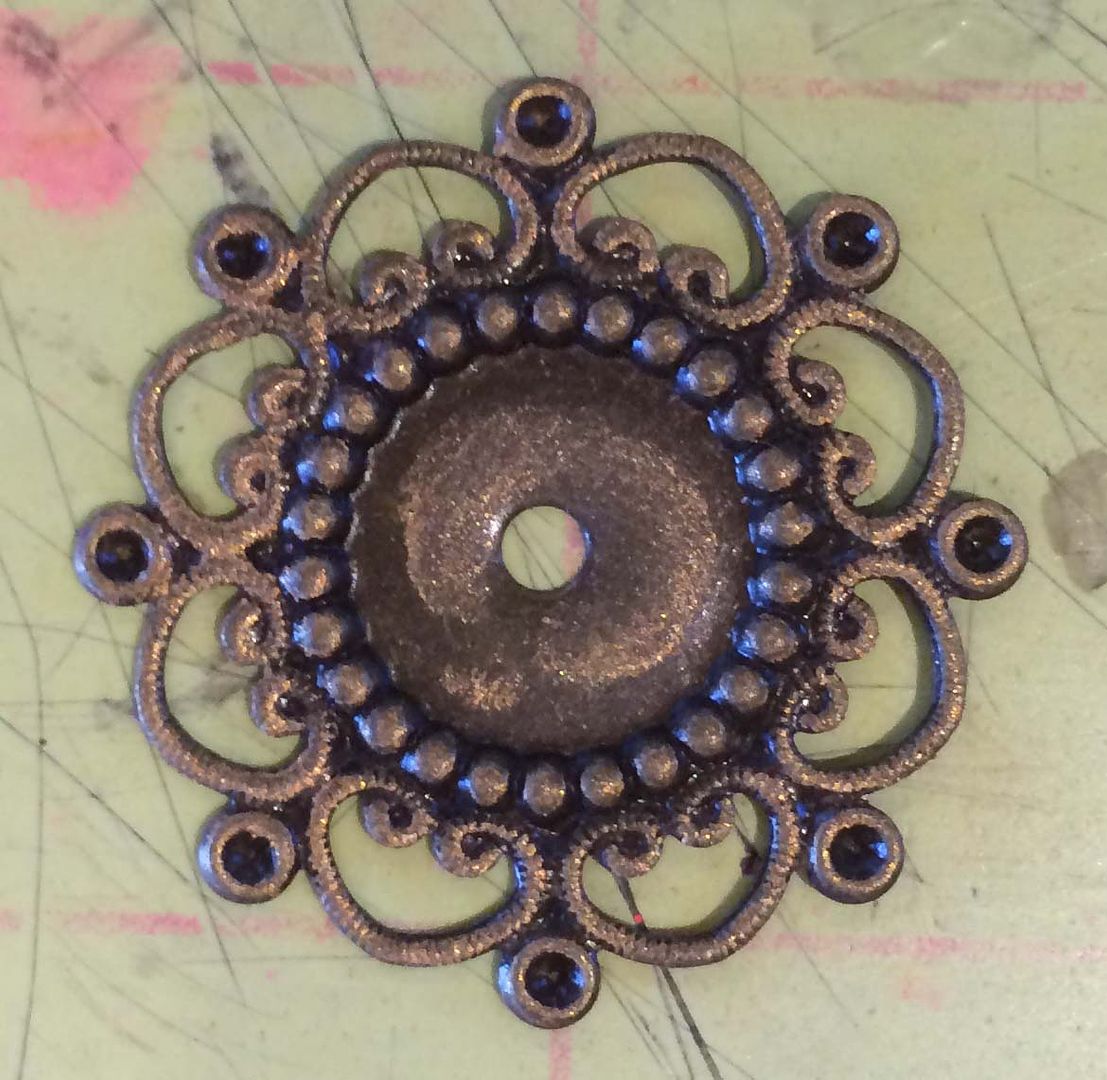
For the pendulum, I started with a piece of filigree and brushed on some Inca Gold Gilders Paste for dimension.  Next, I added the 2016 image to the center and glued it on the glass cabochon.  As a final touch, I added blue rhinestones.
In the picture below, you can see the finished clock weights and pendulum.
Feel free to download and use the 2016 image for your art.
CHRISTMAS ALTERED CORK
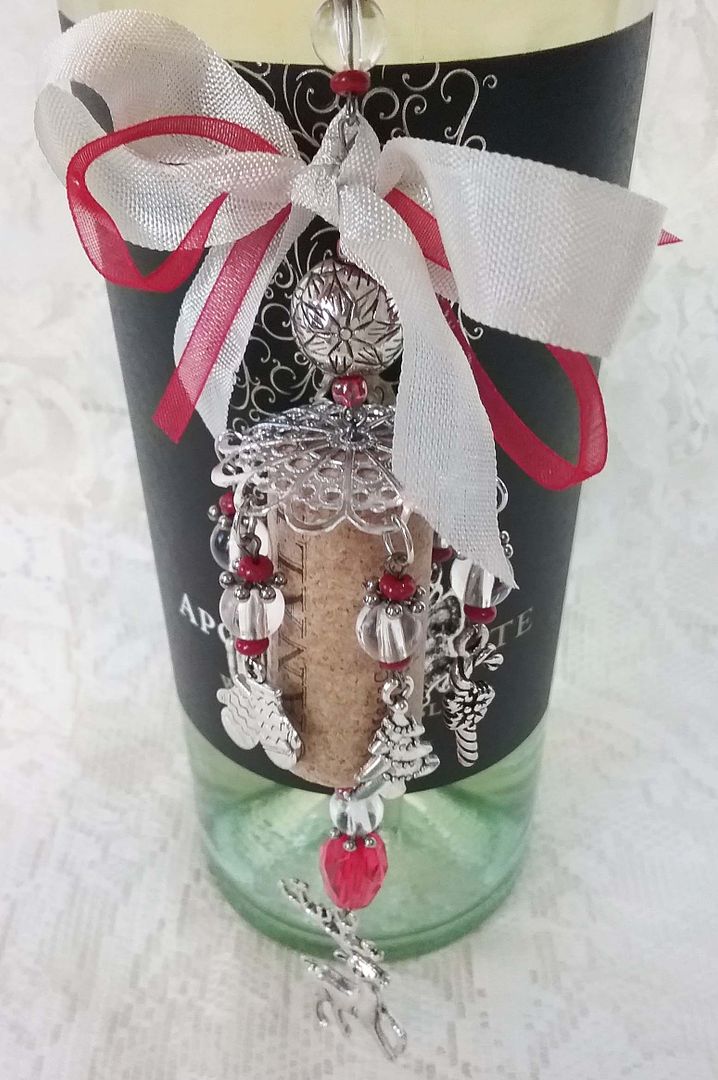
Just like the New Year’s Eve-themed cork, I think the Christmas-themed cork looks lovely on a wine bottle.  It would also make a beautiful tree ornament.
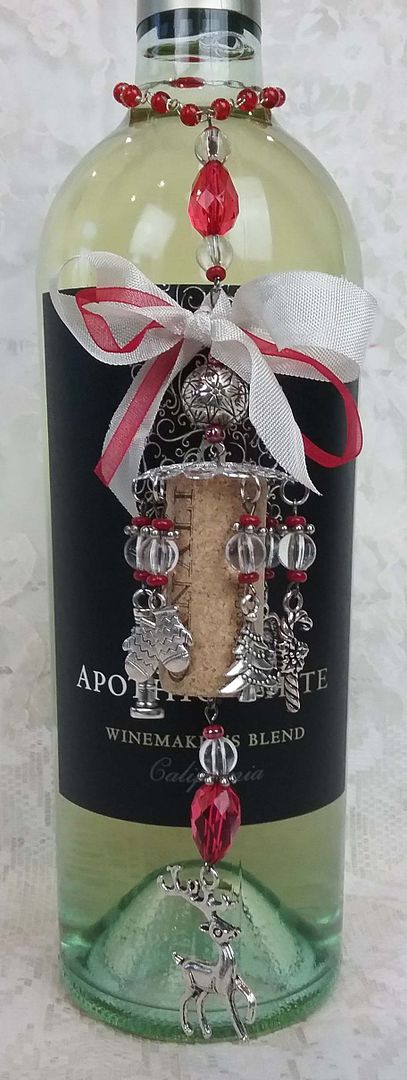
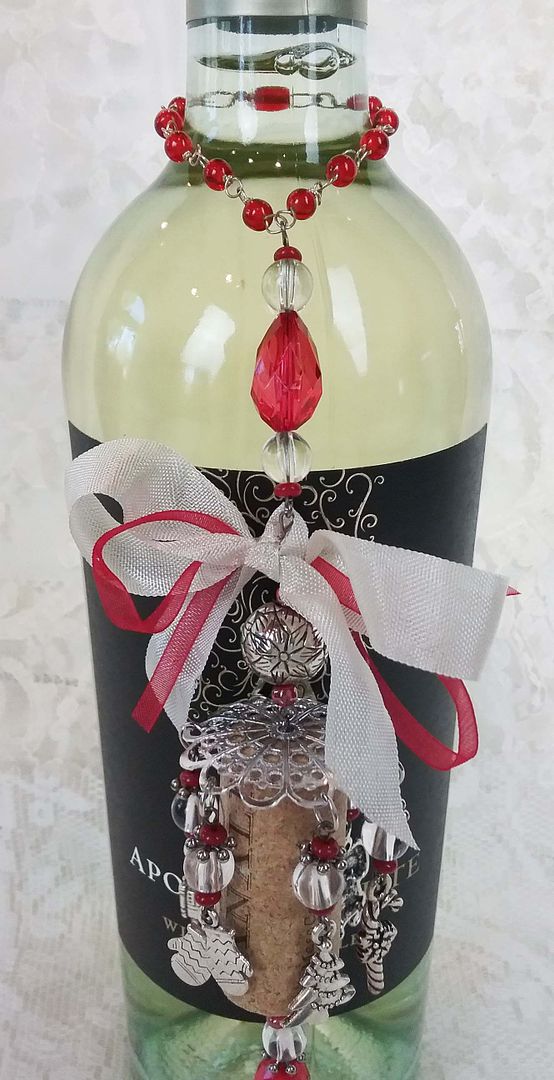
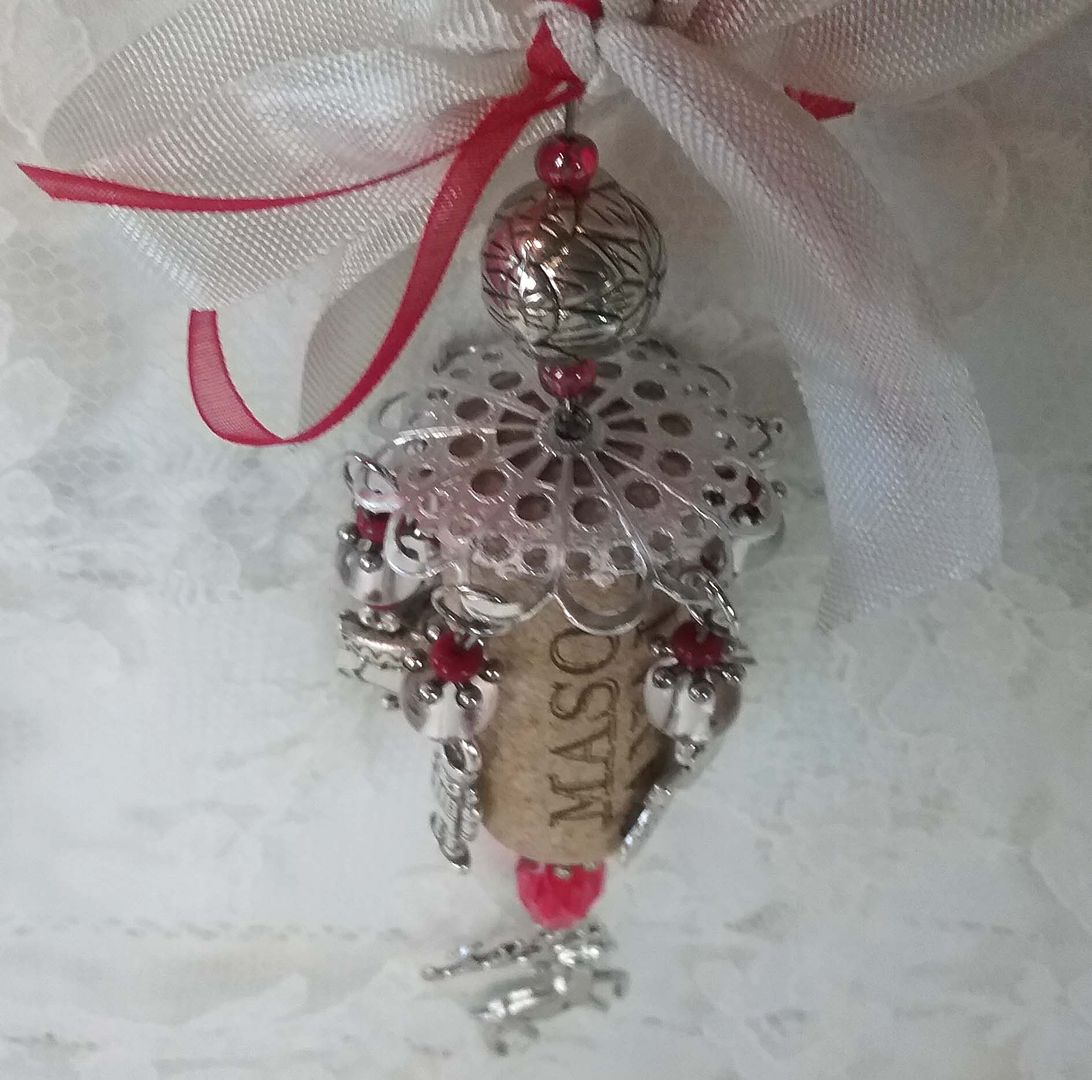
For this altered cork, I’ve added a large piece of filigree to the top of the cork.  This allowed me to hang several Christmas and seasonal charms from the filigree using clear, red, and silver beads.  At the top of the cork, I inserted one eye pin, which allowed me to attach silver, clear and red beads.  At the top, I added a beaded chain that fits around the neck of the bottle.  The final touch to the top was ribbon.
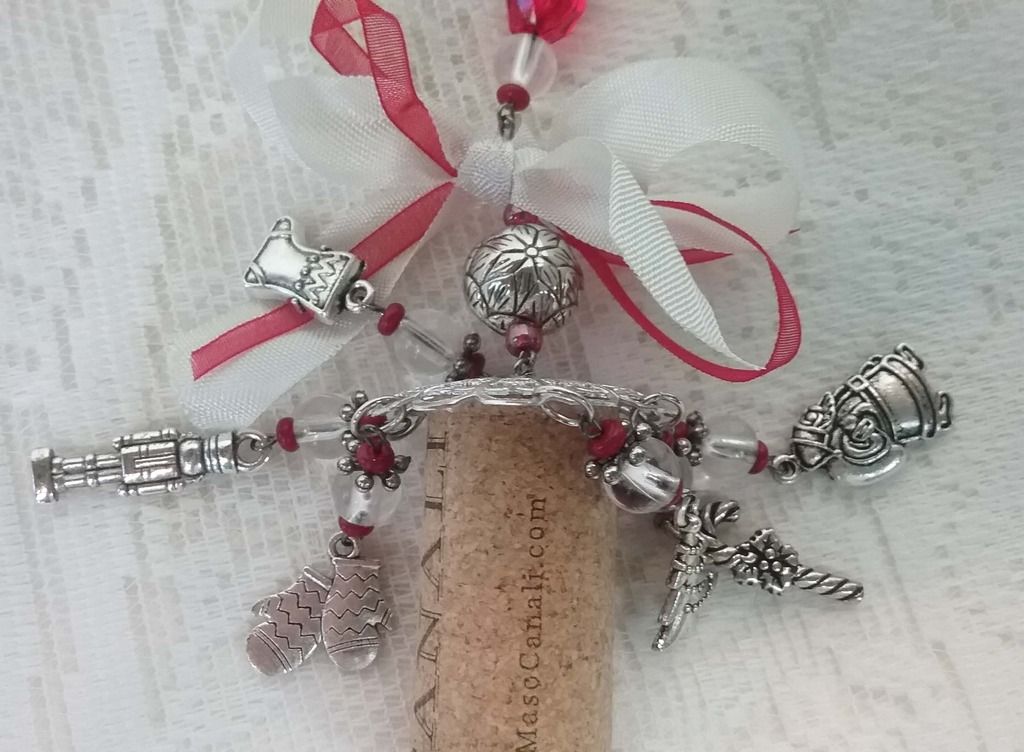
Below is a better view of the charms dangling from the filigree.
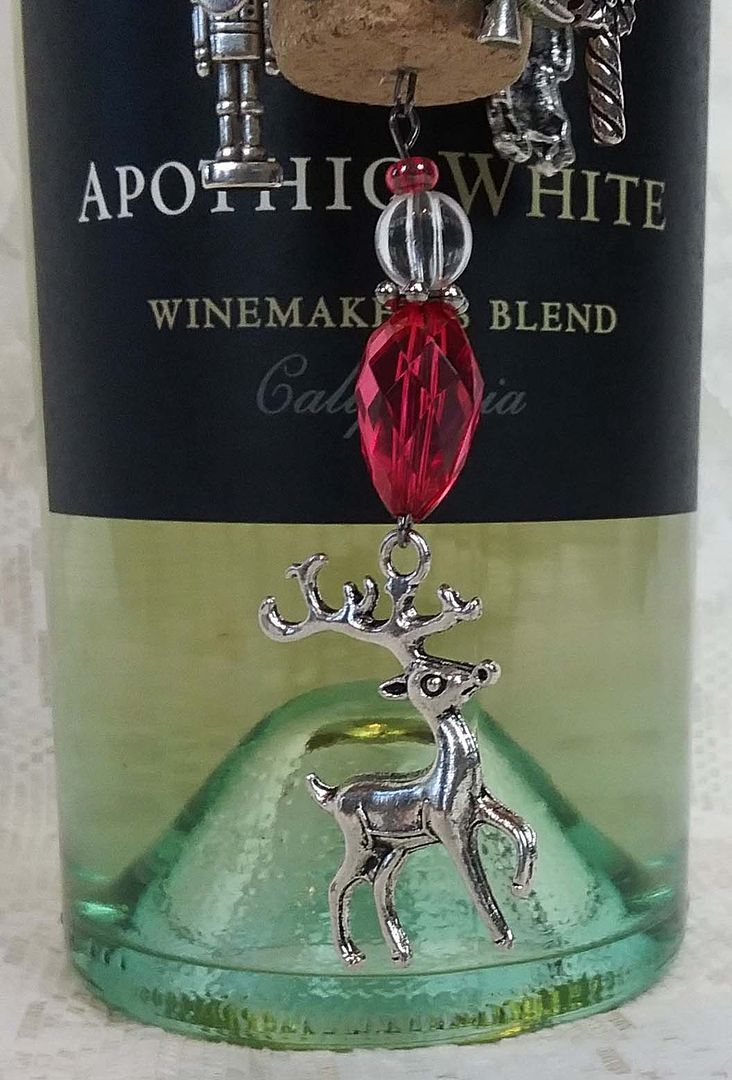
On the bottom of the cork, I used one eye pin to attach the beads and a large reindeer charm.
I used six different charms attached to every other hole in the filigree.

VALENTINES/ROMANTIC ALTERED CORK
Below is a Valentines' themed cork.  For this cork, I’ve used a gold swirl ornament hook to hang the cork.
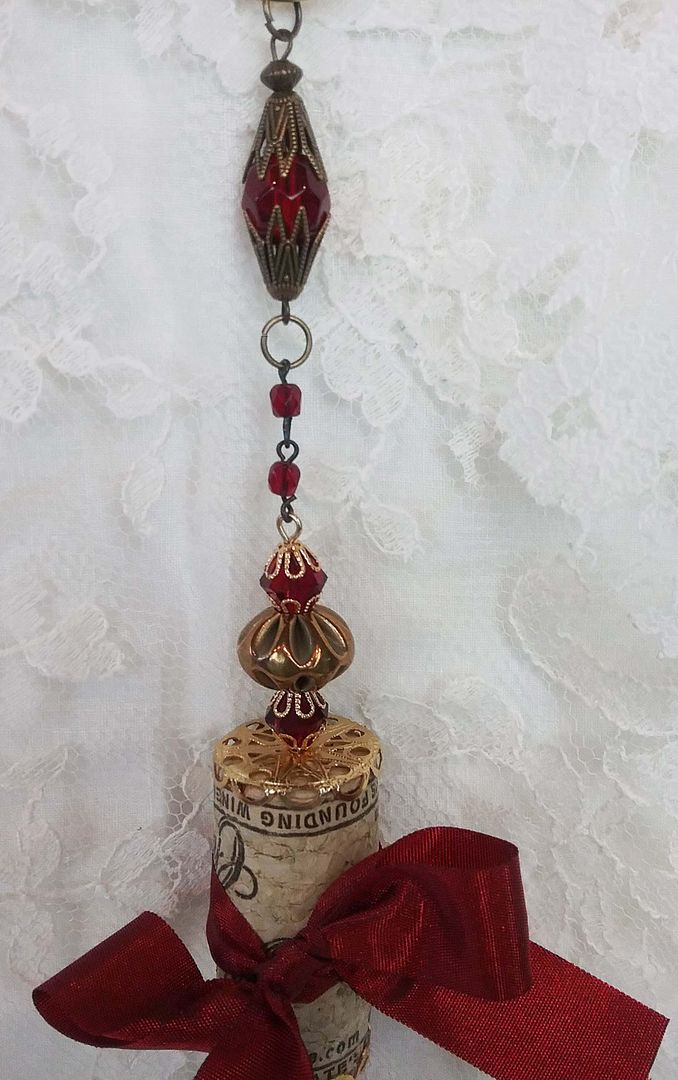
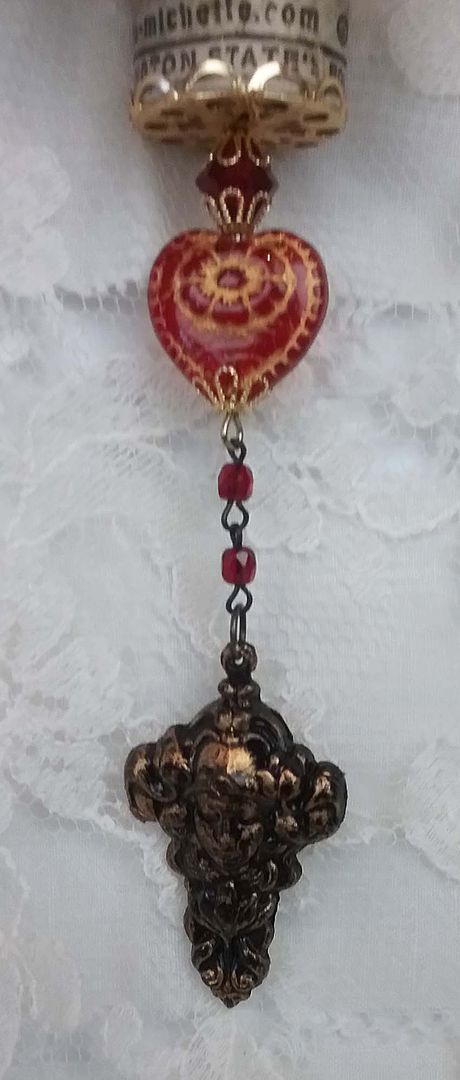
I inserted one eye pin in the top of the cork and added red beads, a gold puffy bead, bead caps, and a small section of rosary beads.  At the center of the cork, I tied a ribbon.
At the bottom, I again used one eye pin, a red bead, bead caps, a beautiful glass heart bead, a rosary chain, and a brass finding.

FALL ALTERED CORK
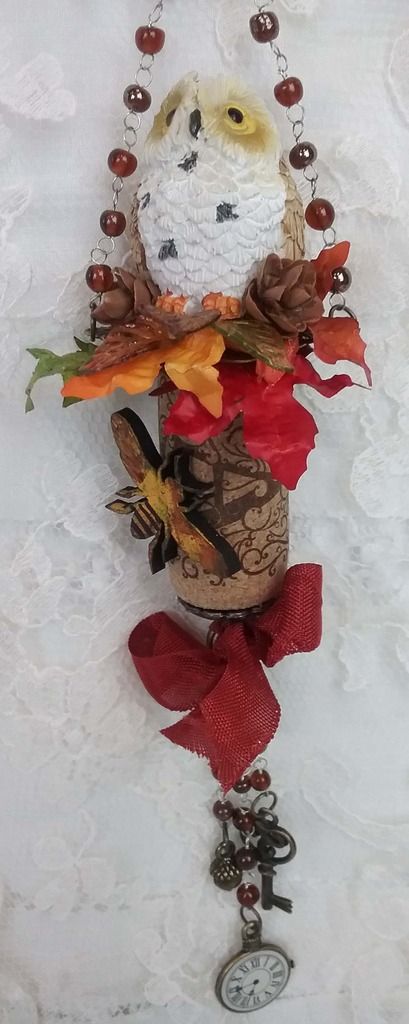
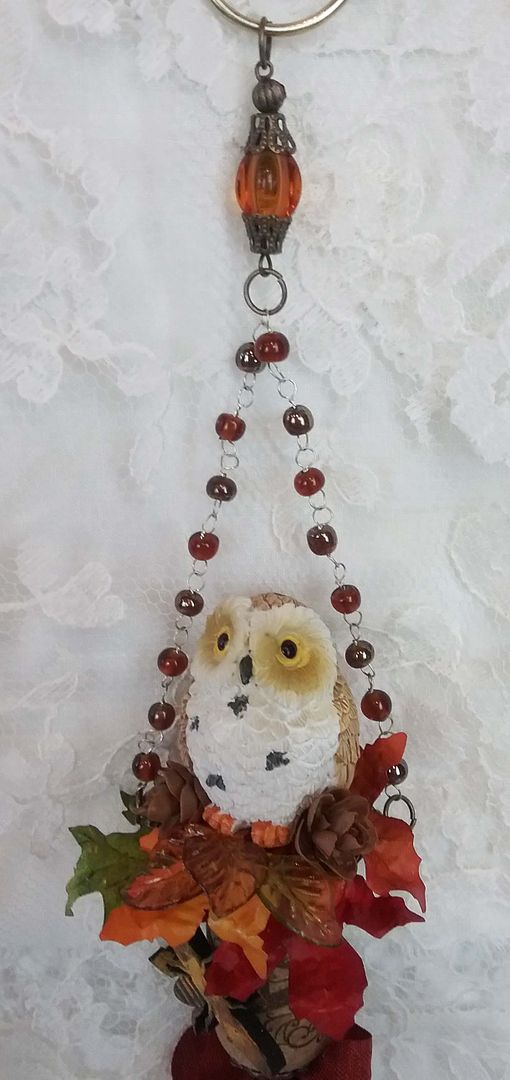
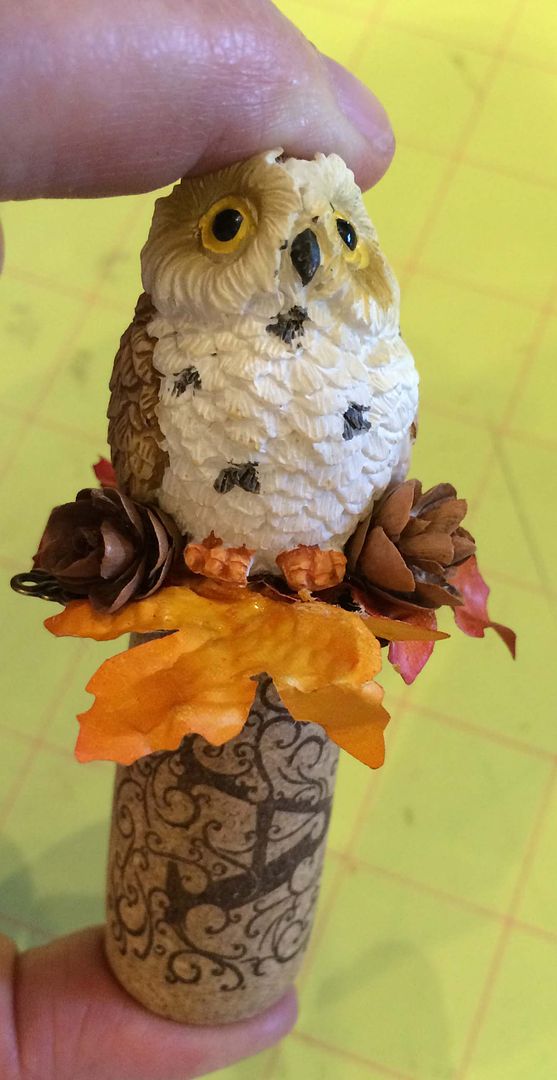
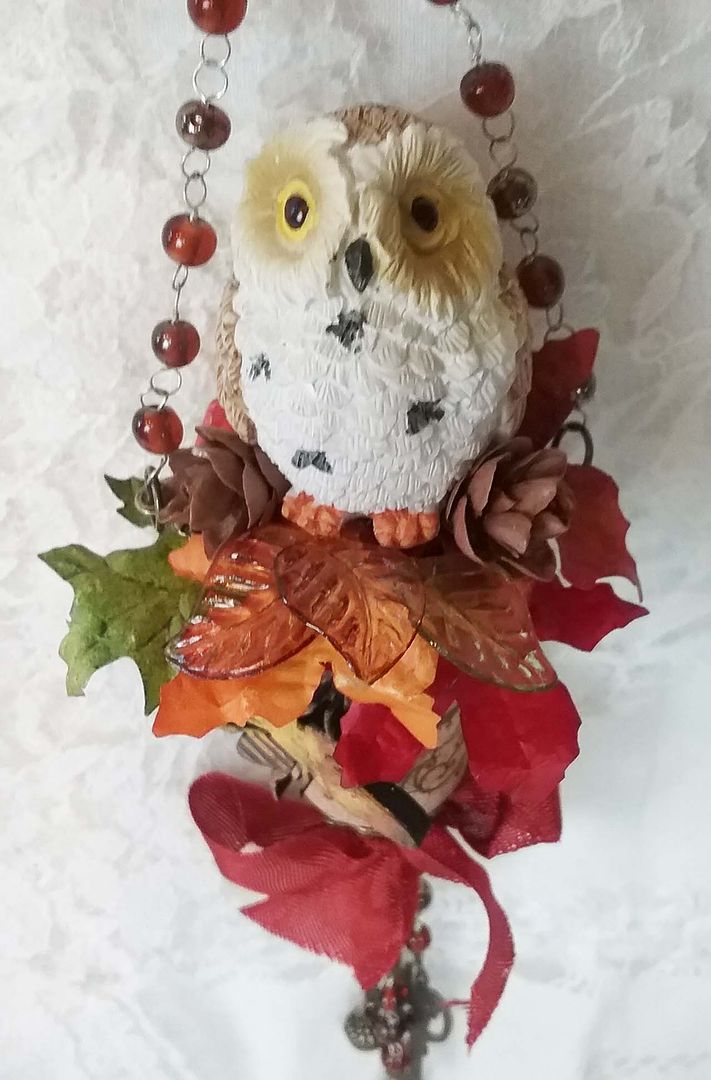
This altered cork was inspired by the cute fluffy owl on the top of the cork.  I just looooove owls; they peg my cute meter.
Underneath the owl is a combination of fall leaves and tiny pine cones.
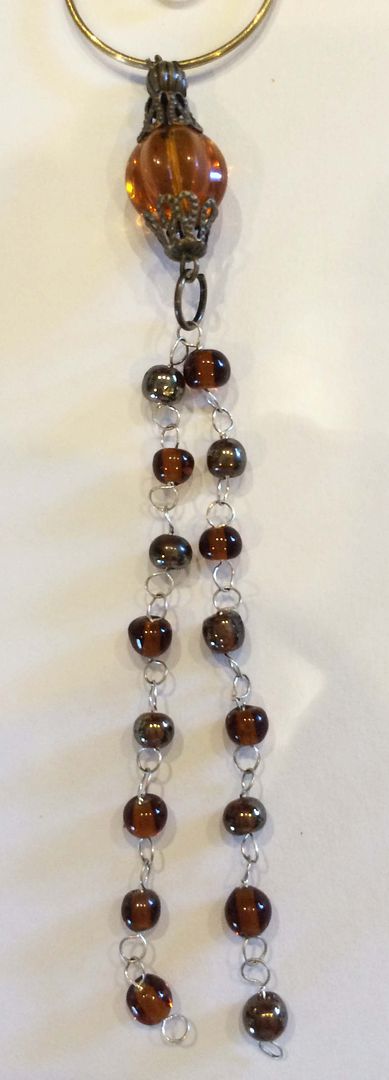
The altered cork is hung from an ornament hook that is attached to a small bead, a larger bead with bead caps, and then a beaded chain.
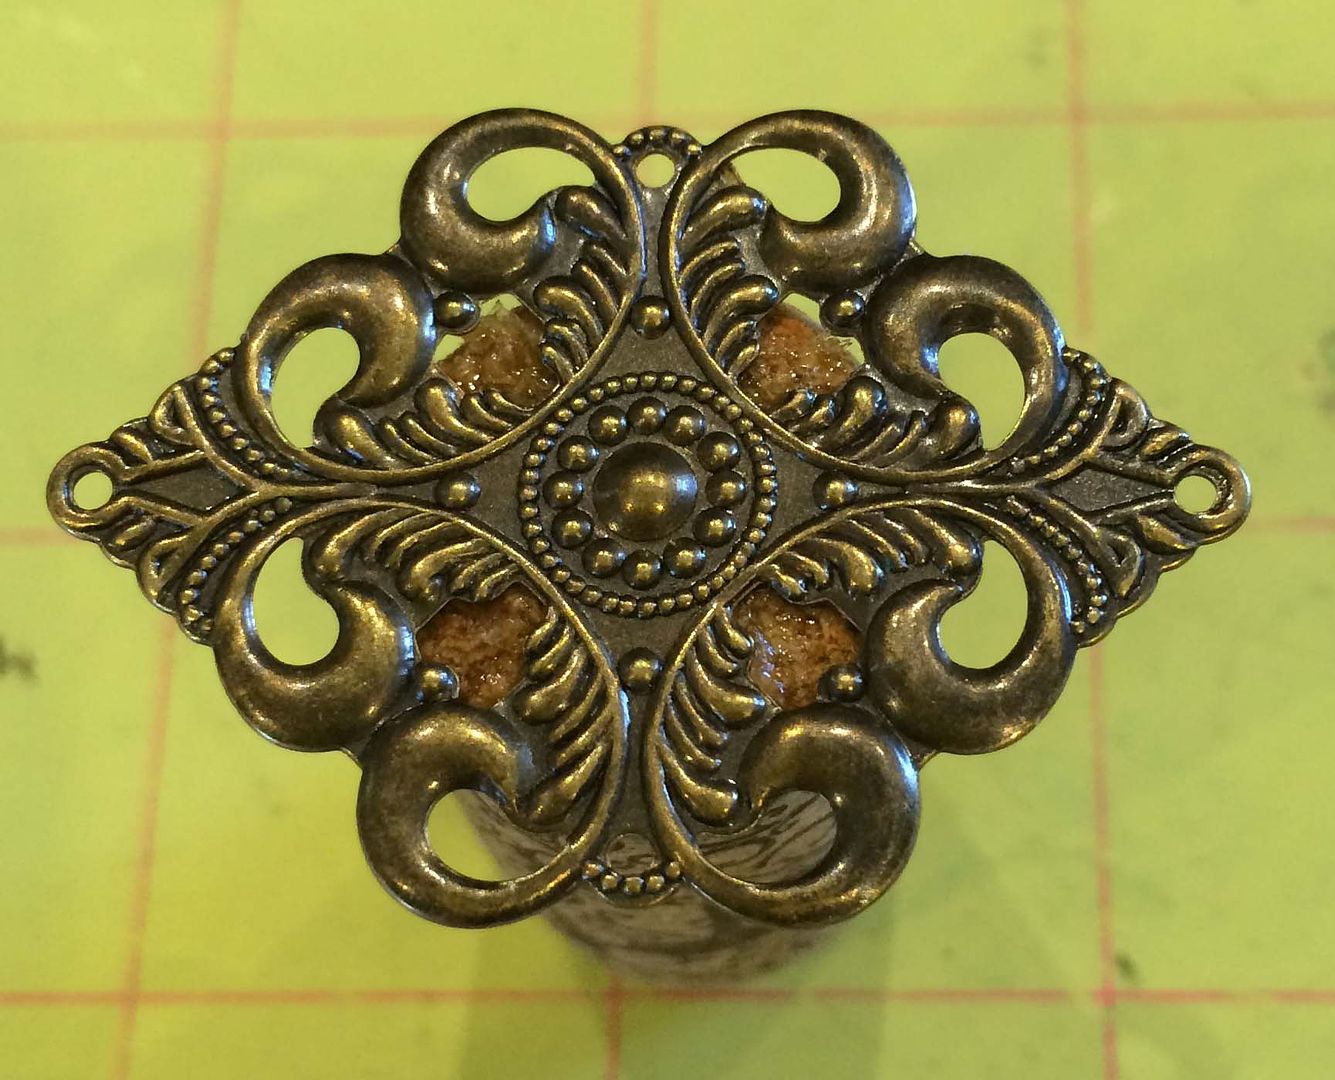
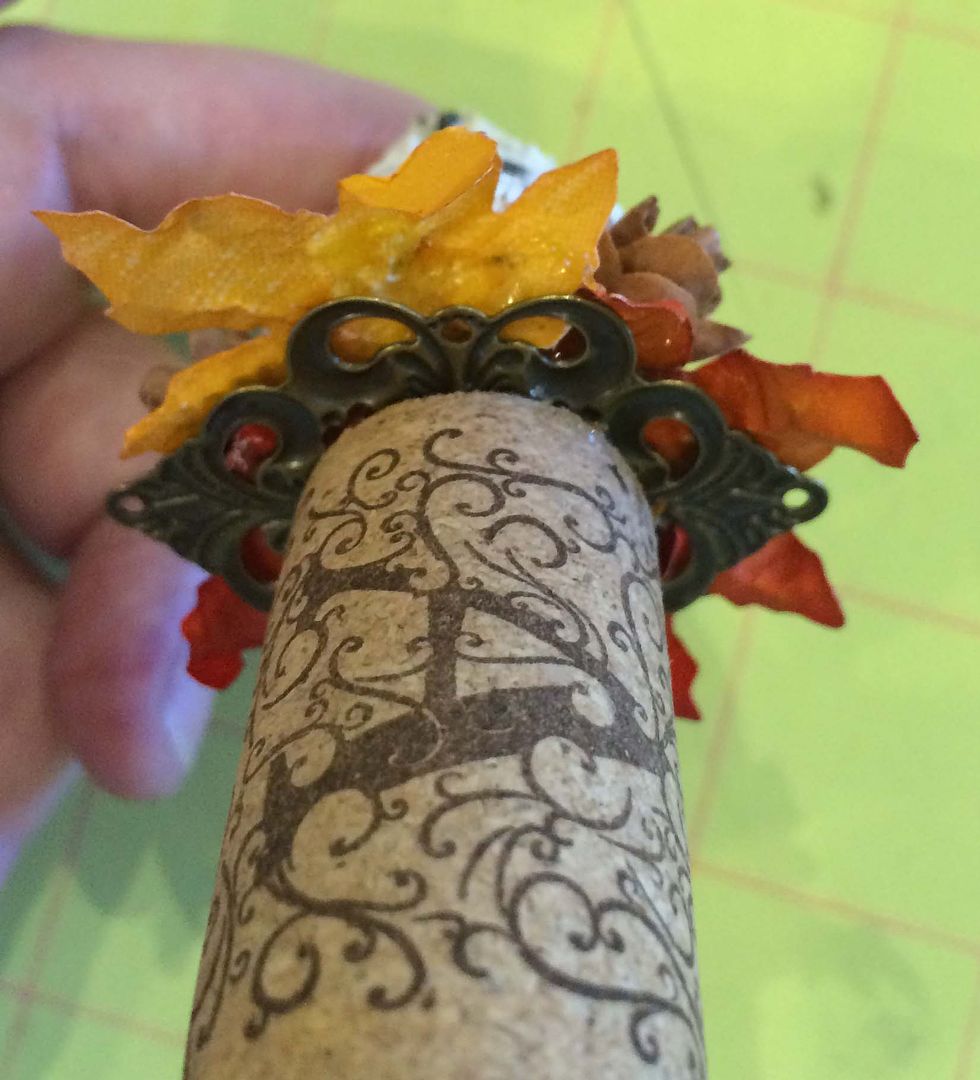
On the top of the cork, I started by attaching (with E6000) a large piece of filigree.  Note the two holes on the side of the filigree, as those are the holes I used to attach the chain. 
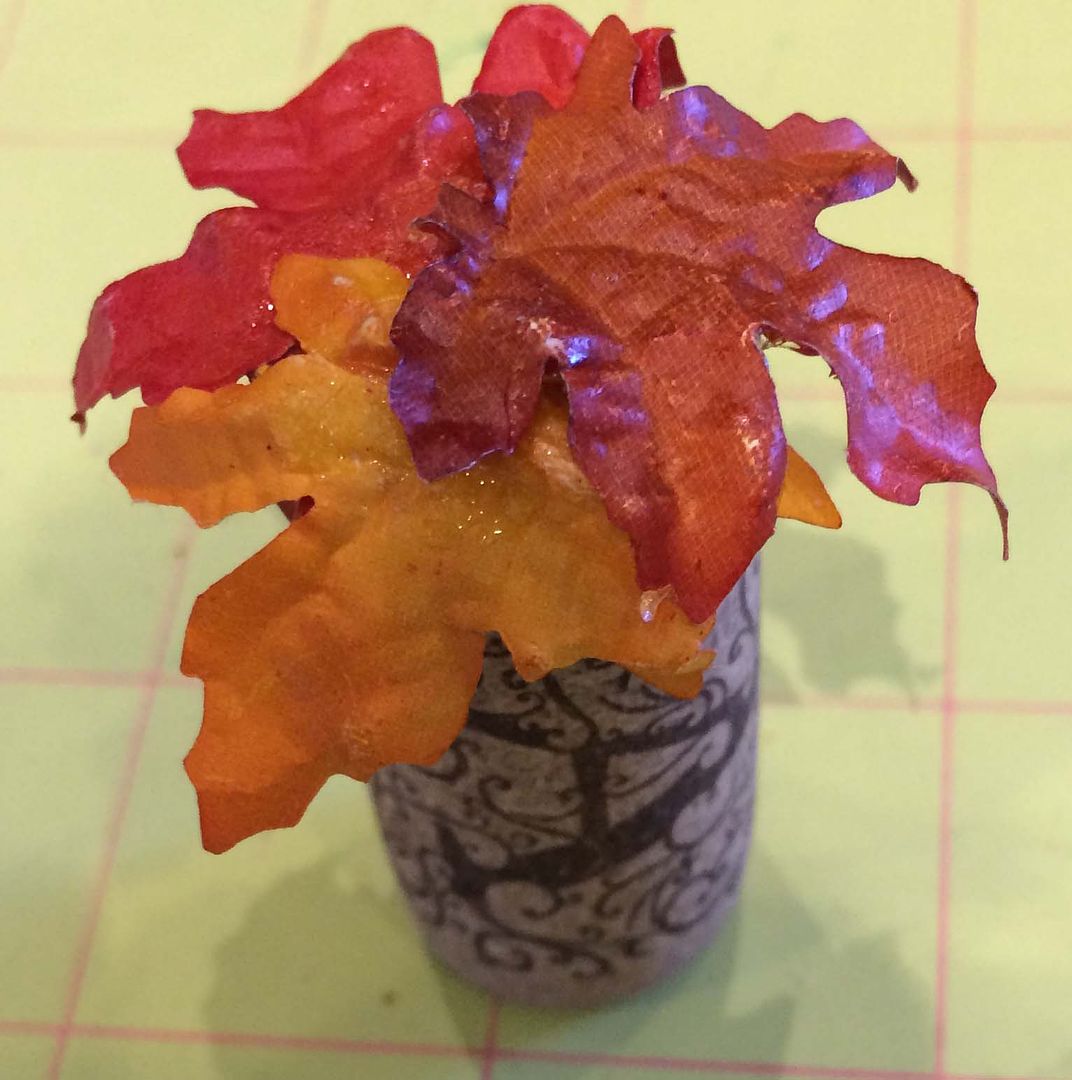
Next, I attached the fall leaves.  Then I glued on the owl, pine cones, and some acrylic leaves.
Below you can see the view of the underside and notice how I have made sure the holes in the filigree are not covered so that I will be able to attach the beaded chain.
Below is a view of the finished top of the cork.
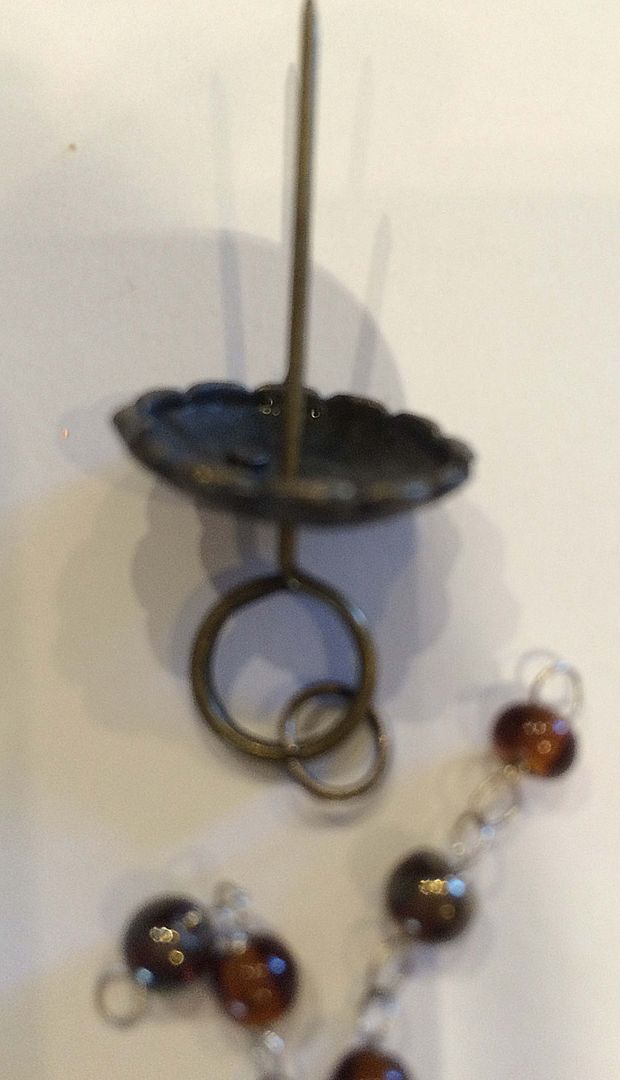
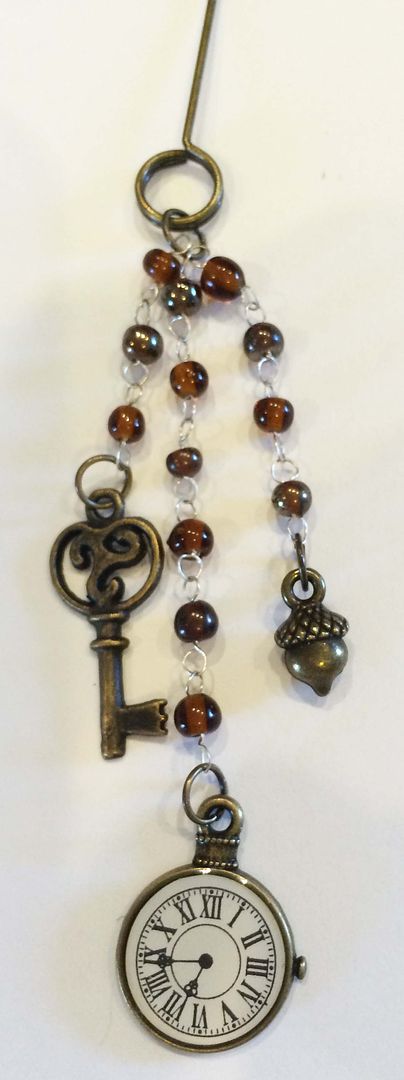
I decided to use a memo pin for the bottom of the cork.  I inserted the memo pin through a nail head (which already has a hole). 
At the end of each beaded chain, I added a charm.
The final touch was I ribbon I tied to the memo pin.

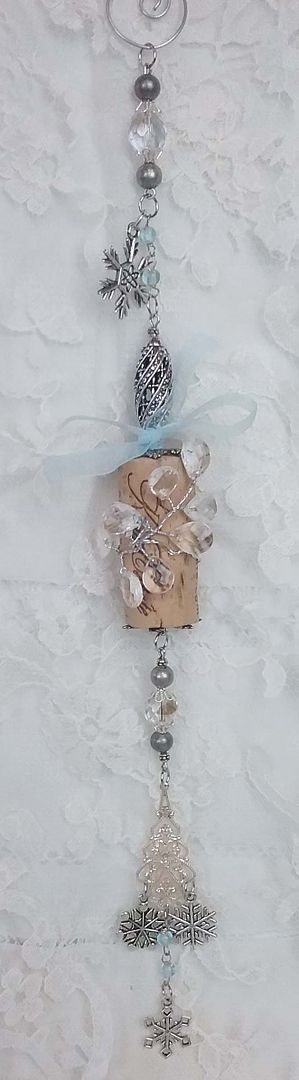
WINTER ALTERED CORK
The winter-themed altered clock is all about silver, clear, blue, and snowflakes.
In the middle of the chain of beads, notice how I attached a snowflake charm.  I also wrapped an acrylic wired spray around the cork.
On the top and bottom of the cork, I attached a silver snowflake which has a hole in the middle to accommodate inserting eye pins.
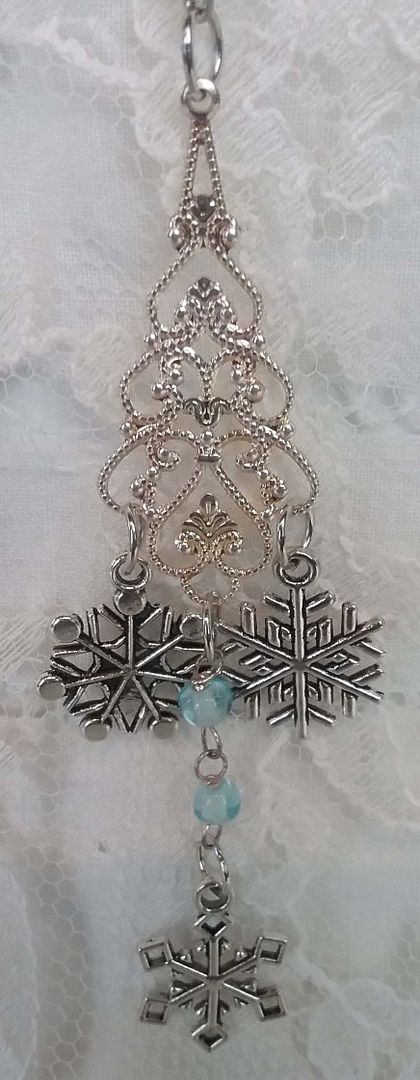
At the bottom, I used a silver filigree which gave me more places to hang snowflake charms.

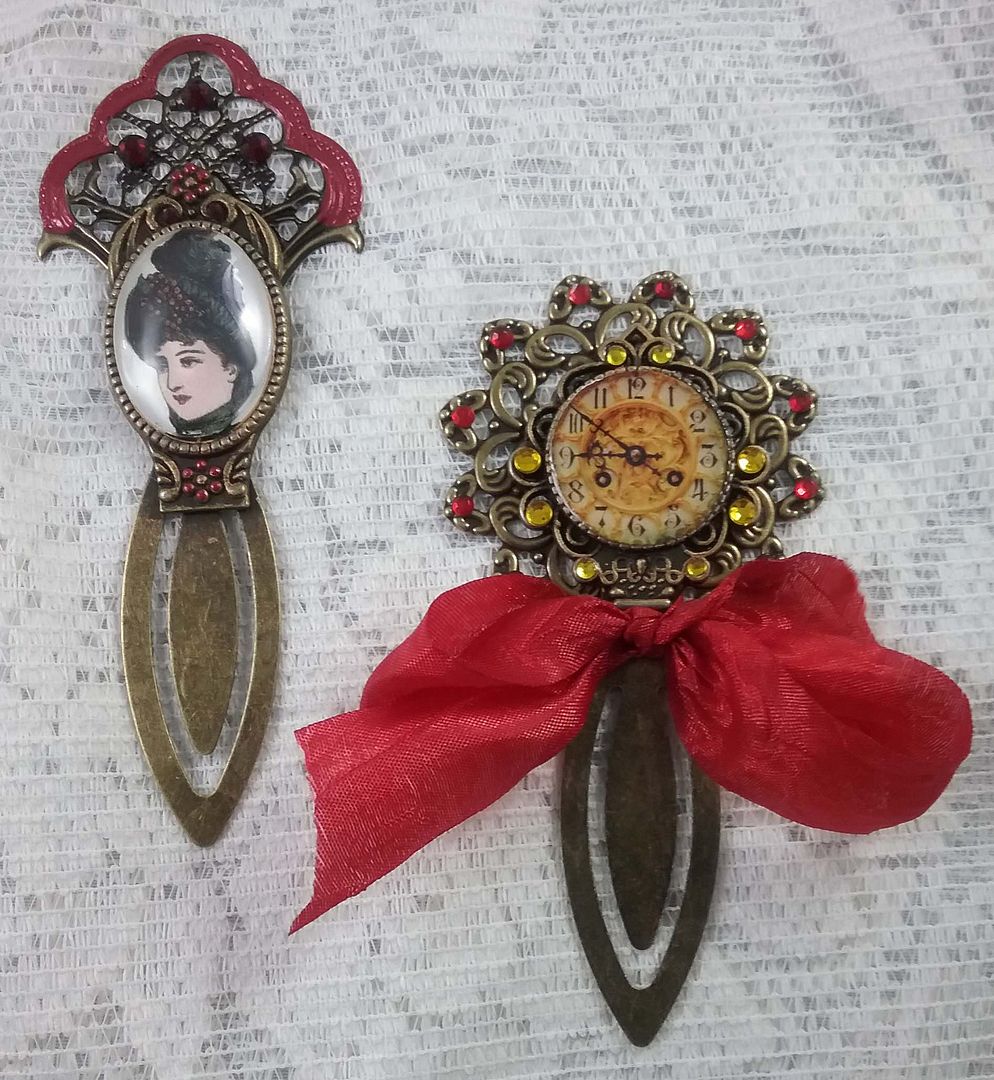
CLOCK BOOKMARK
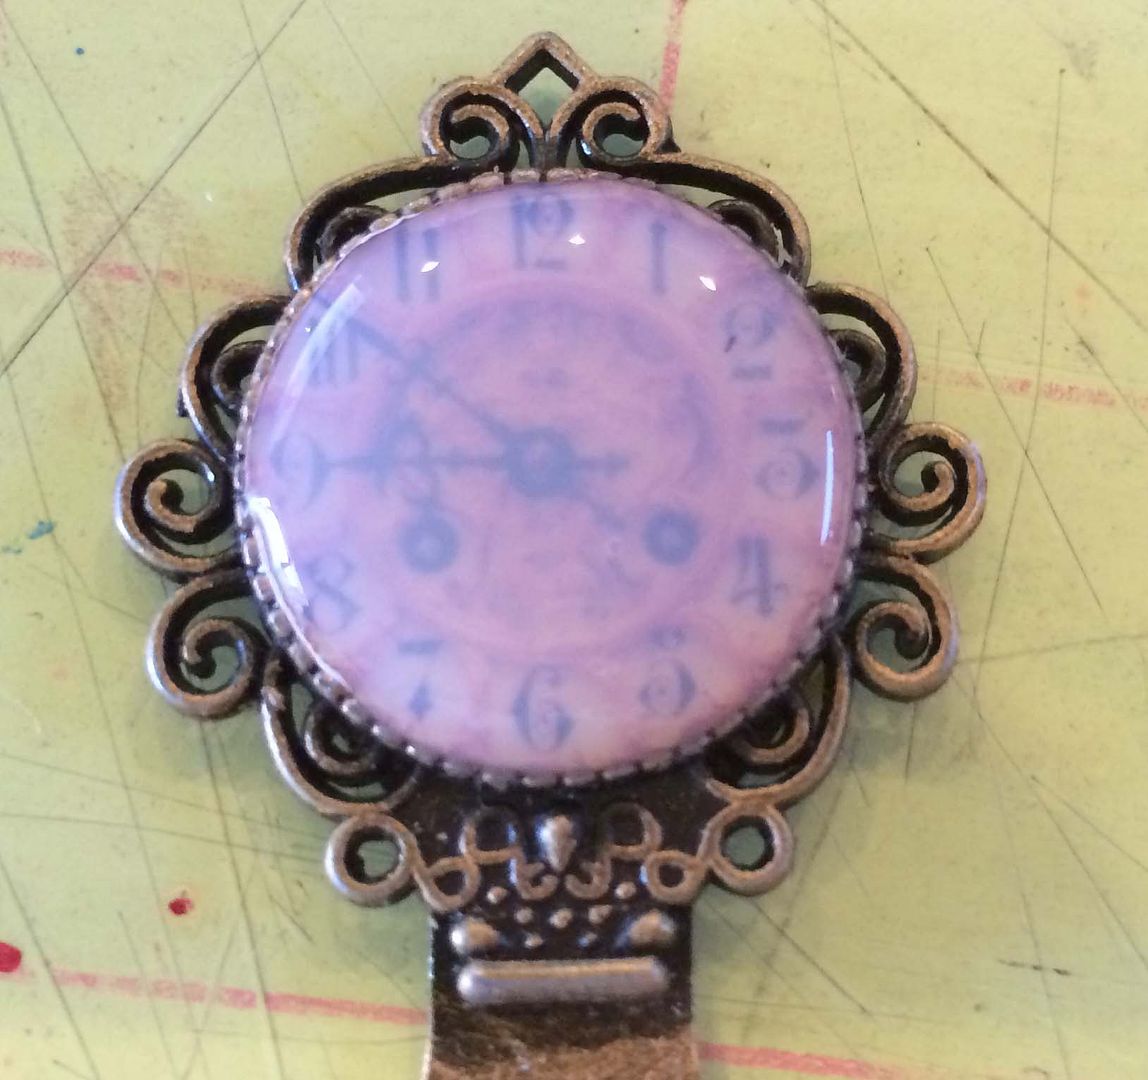
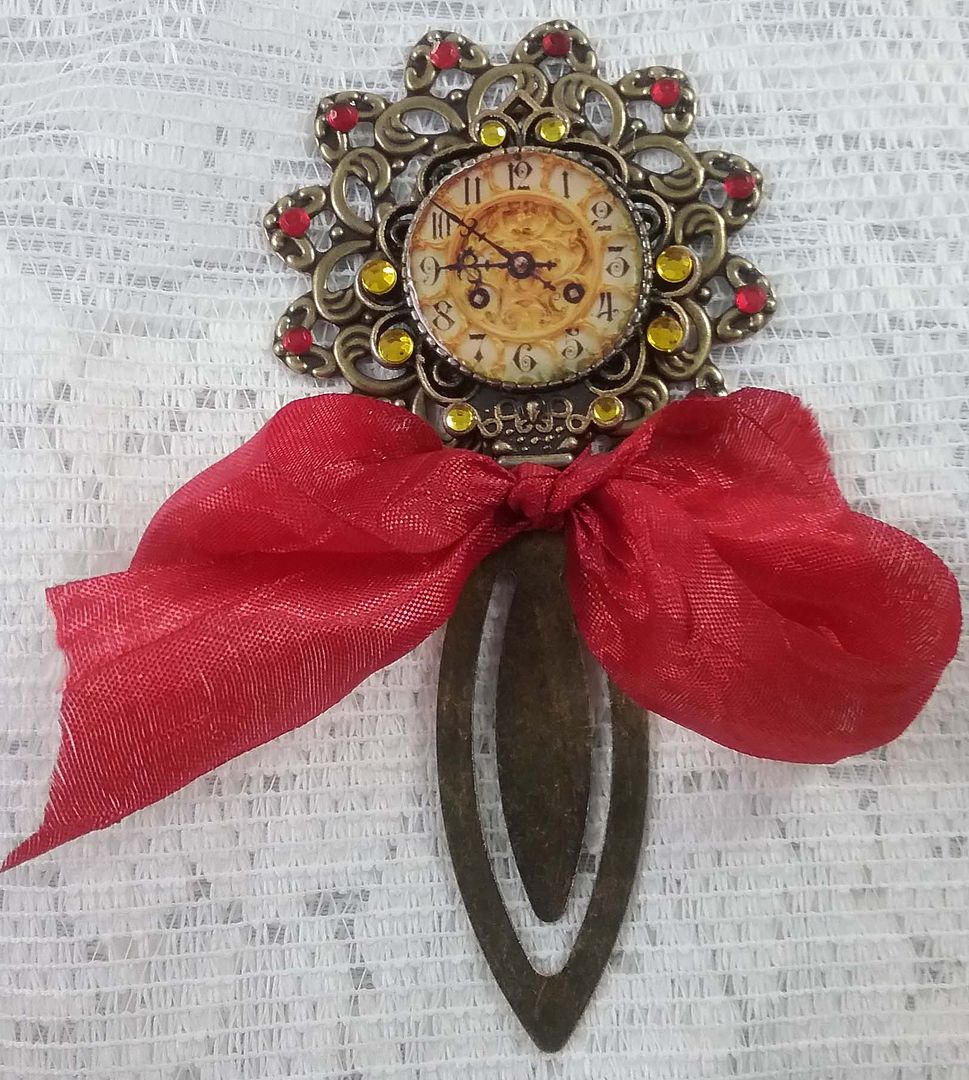
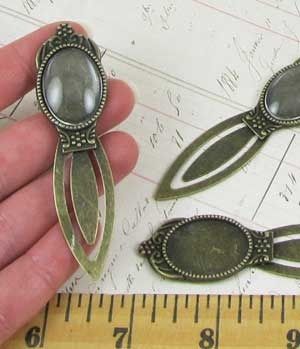
For the clock bookmark, I started with a bronze bookmark which is made to be customized.
Using my finger, I lightly brushed the bookmark with Inca Gold Gilders Paste to bring out the details.  I then glued one of the clocks from the collage sheets in the round area and covered it with Glossy Accents creating a domed glassy appearance.
To further jazz up the bookmark, I added a piece of filigree and then rhinestones to both the filigree on the round section of the bookmark and the filigree glued to the back.  The final touch was tying a red ribbon around the neck of the bookmark.

VICTORIAN WOMAN BOOKMARK
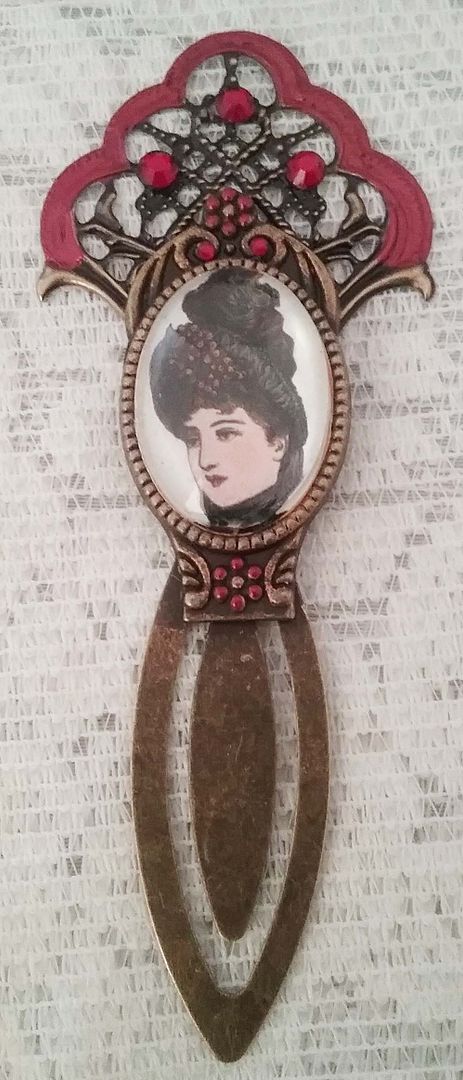
For the Victorian-themed bookmark, I again started with a bronze bookmark made to be customized.  This one has an oval shape.
After adding an image from the Victorian Ladies collage sheet (you saw me use this in the Toy Shoppe) project, I glued it on a glass cabochon.  As with the clock bookmark, I glued a filigree to the back.  I added rhinestones to both the bookmark and the additional filigree and painted the filigree with Garnet Liquid Pearls.