What You’ll Need
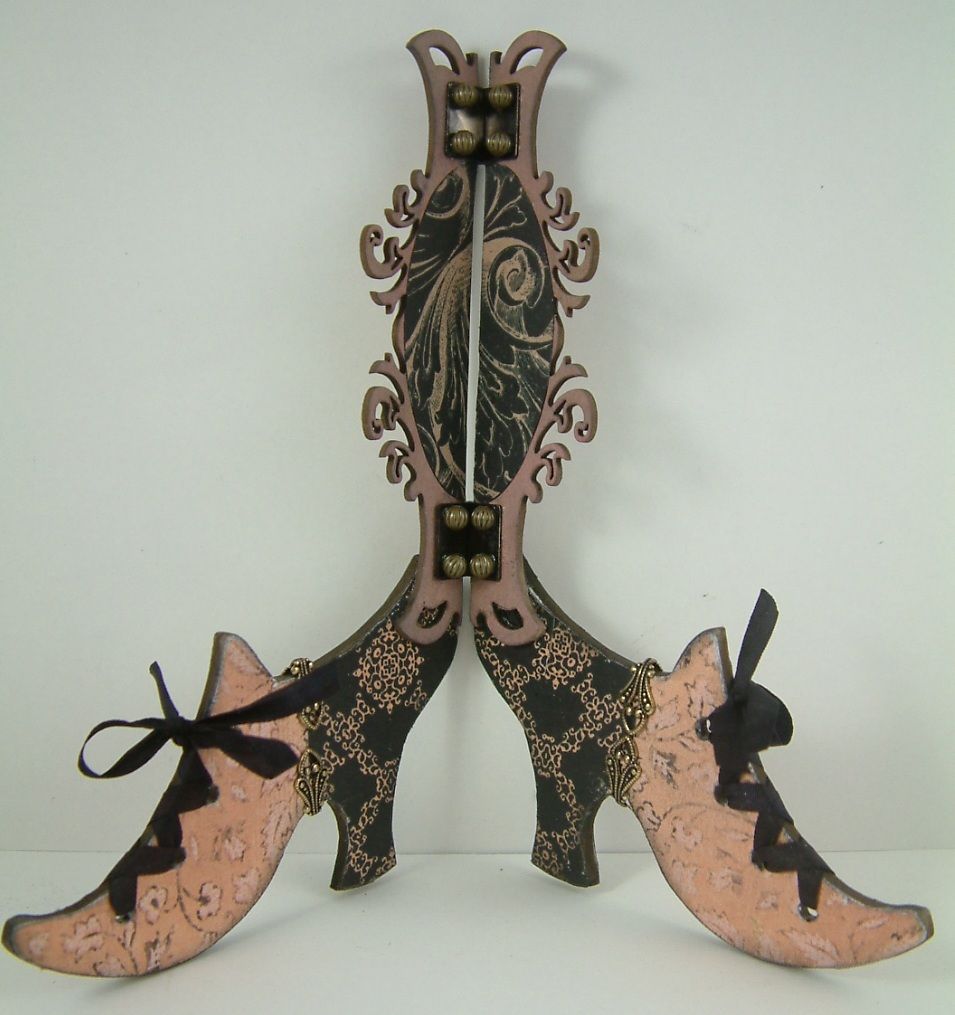
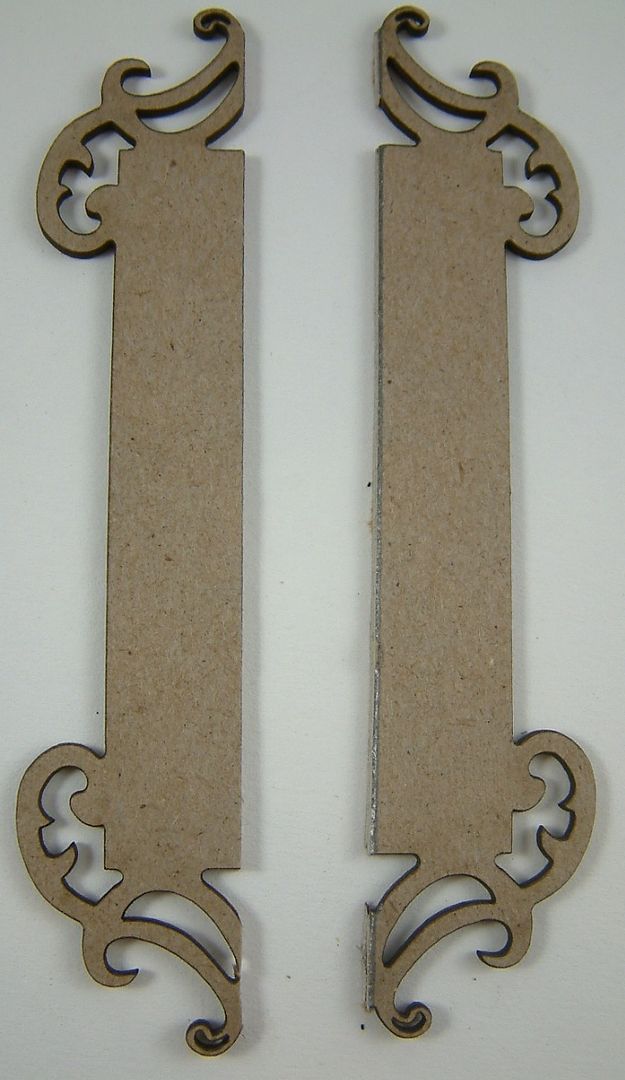
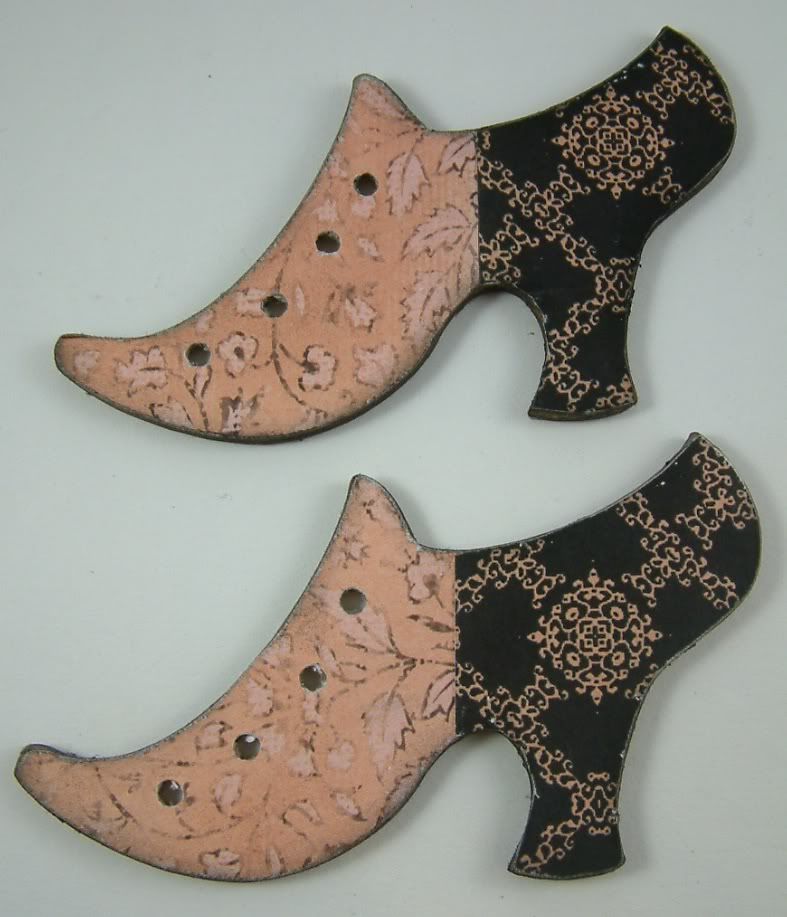
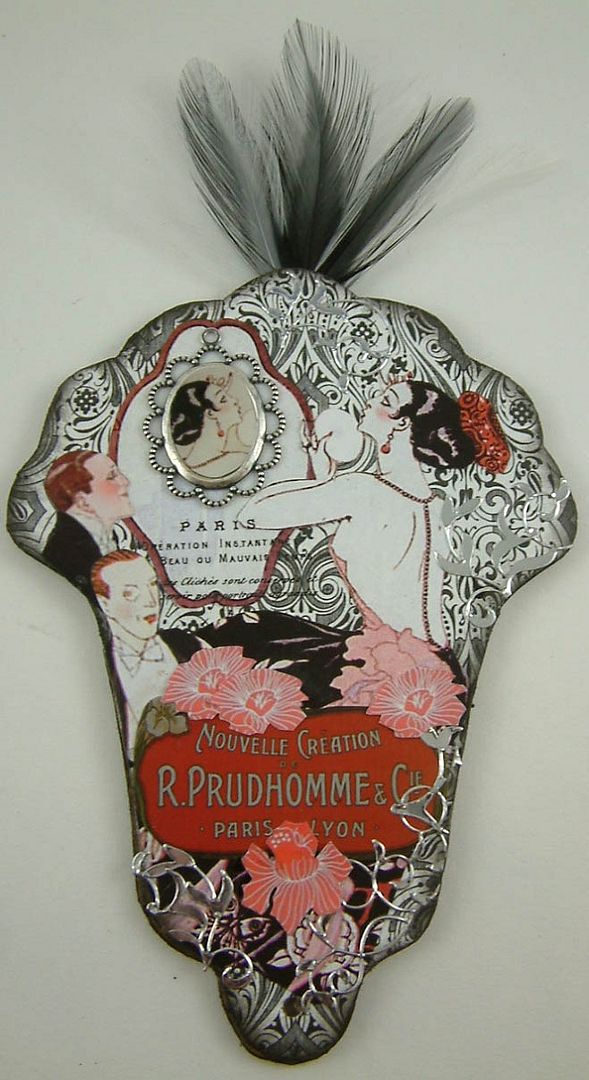
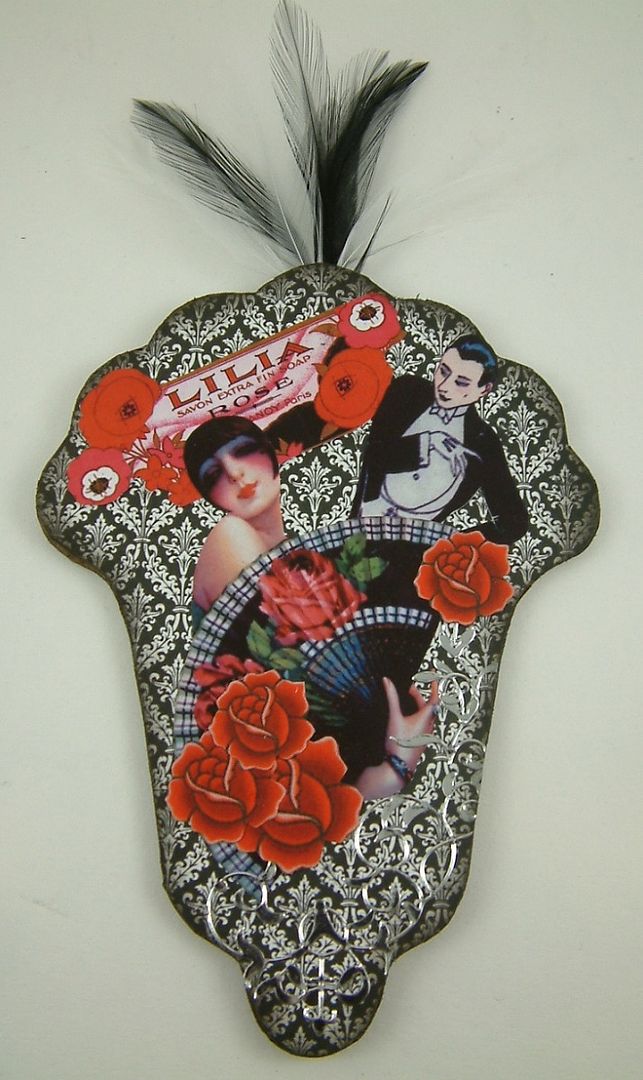
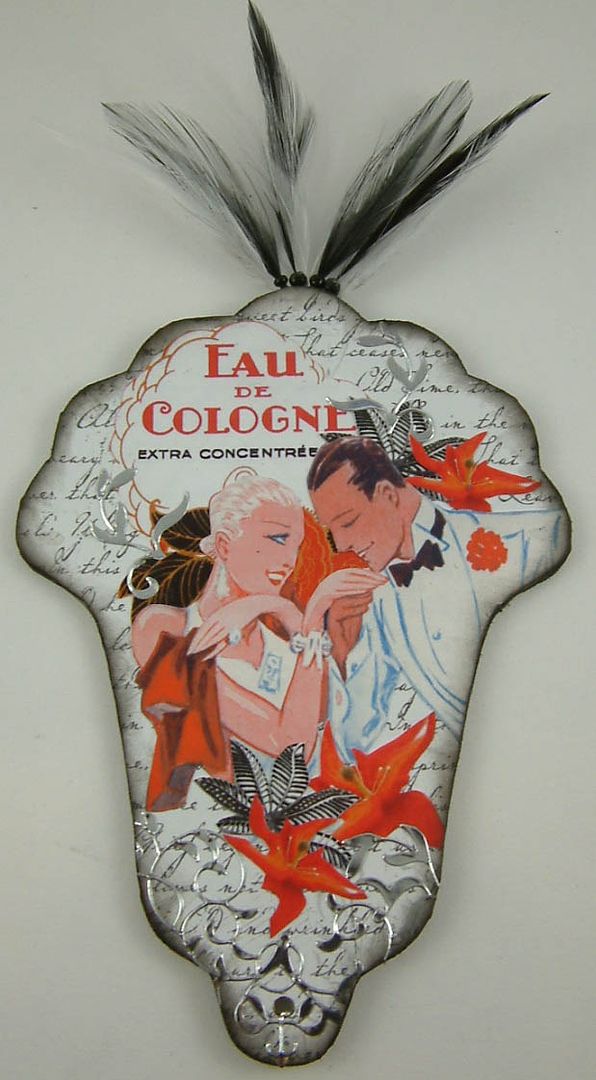
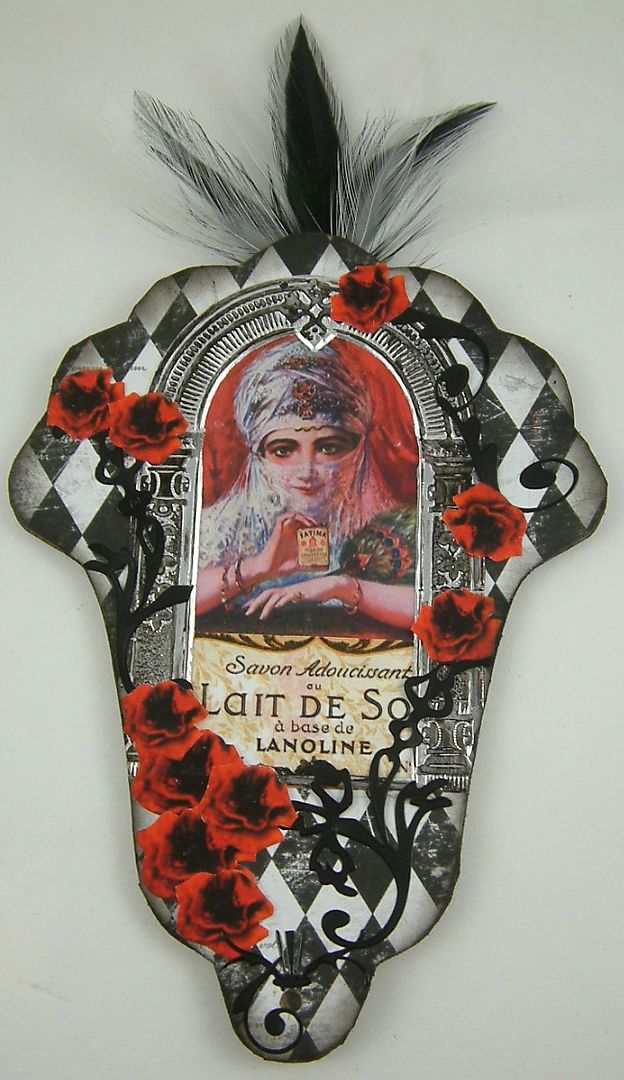
Five Decorated Fan Blades with a hole punched in the bottom of each blade. For the example fan I used Alpha Stamps shell shaped chipboard fan blades.

Thin Ribbon – used to act as a stop to keep the fan from opening too far. I recommend Alpha Stamp’s I recommend Alpha Stamp’s 1/8 “ Satin Ribbon.
One Cotter Pin - to hold the blades together.

Clips
Decorating the Blades
When decorating your fan blades there are some things to consider:
- Use bulky embellishments only on the blade that will be on top. Using bulky embellishments on the other blades will make it hard to close the fan and might also damage the décor on the blades.
- When assembled, the blades will slightly overlap each other so take that into consideration in your design.
- You can decorate the back of your fan with patterned paper or other flat embellishments.
- The Alpha Stamps shell shaped fan blades are thick so it is easy to poke a hole in the top or cut a slit to add embellishments like feathers
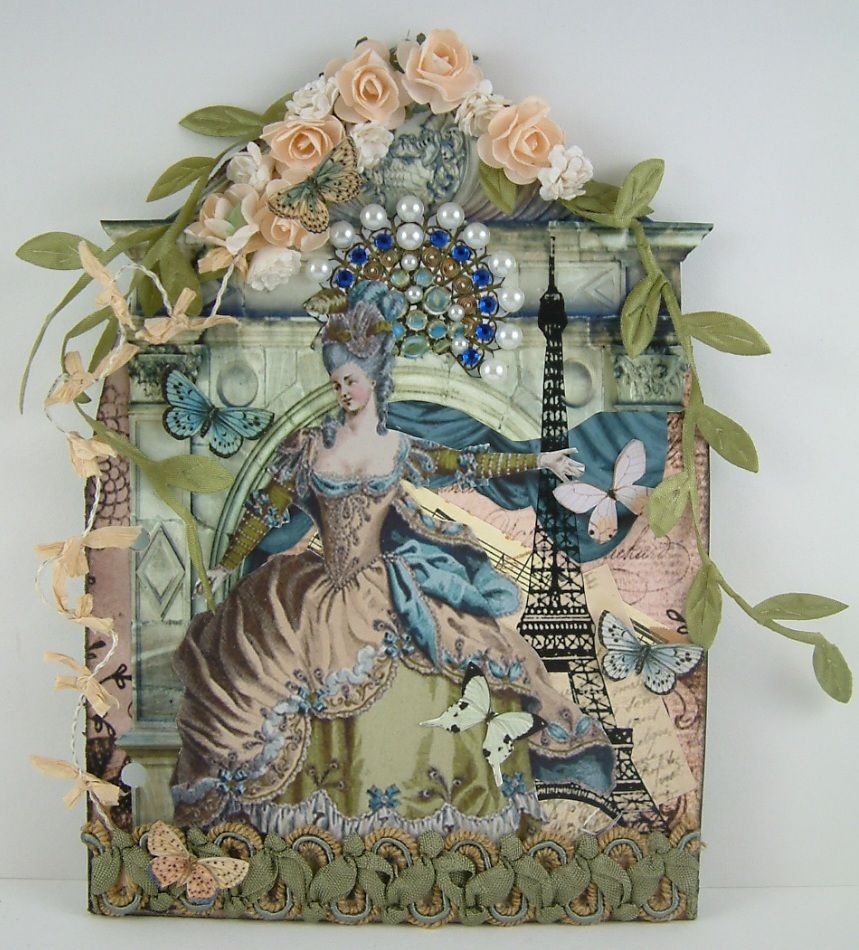
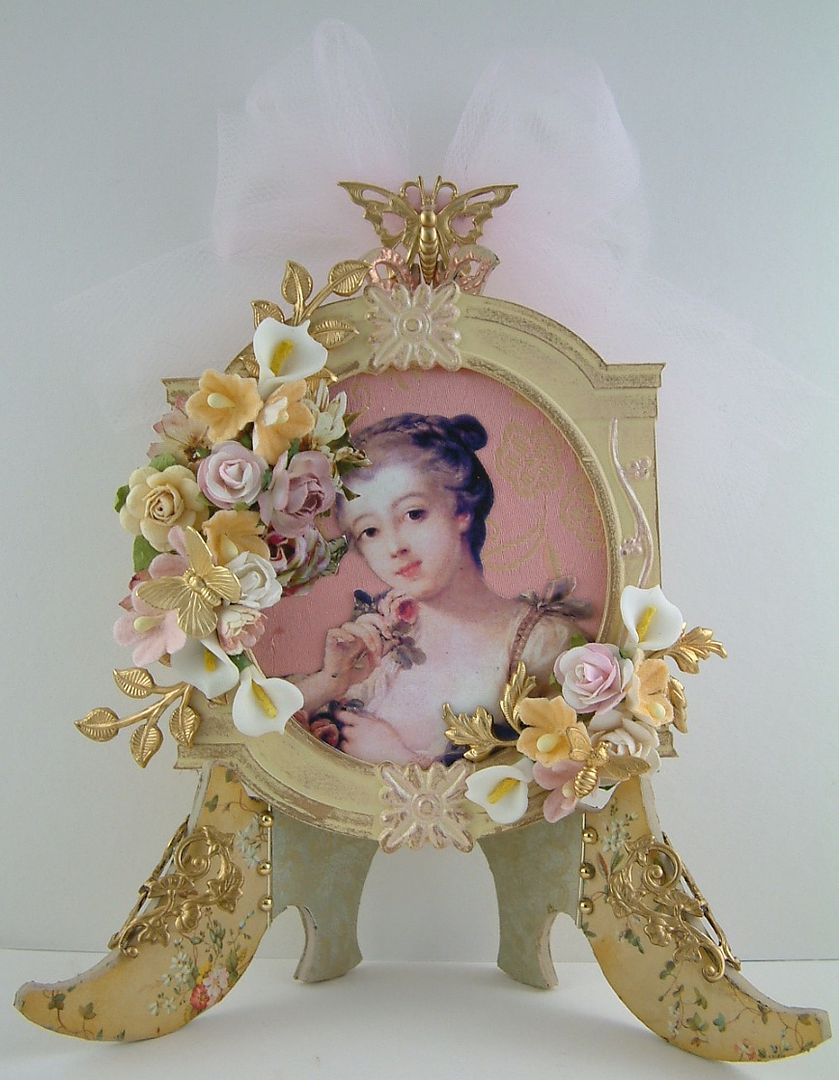
- As you add embellishments to your fan blades, keep the hole at the open. To decorate my fan blades I started by covering them on the back and front with decorative paper. I used the Enchanted 6x6 Paper Pad.
To decorate my fan blades I started by covering them on the back and front with decorative paper. I used the Enchanted 6x6 Paper Pad. I inked the edges using a black stamp pad.

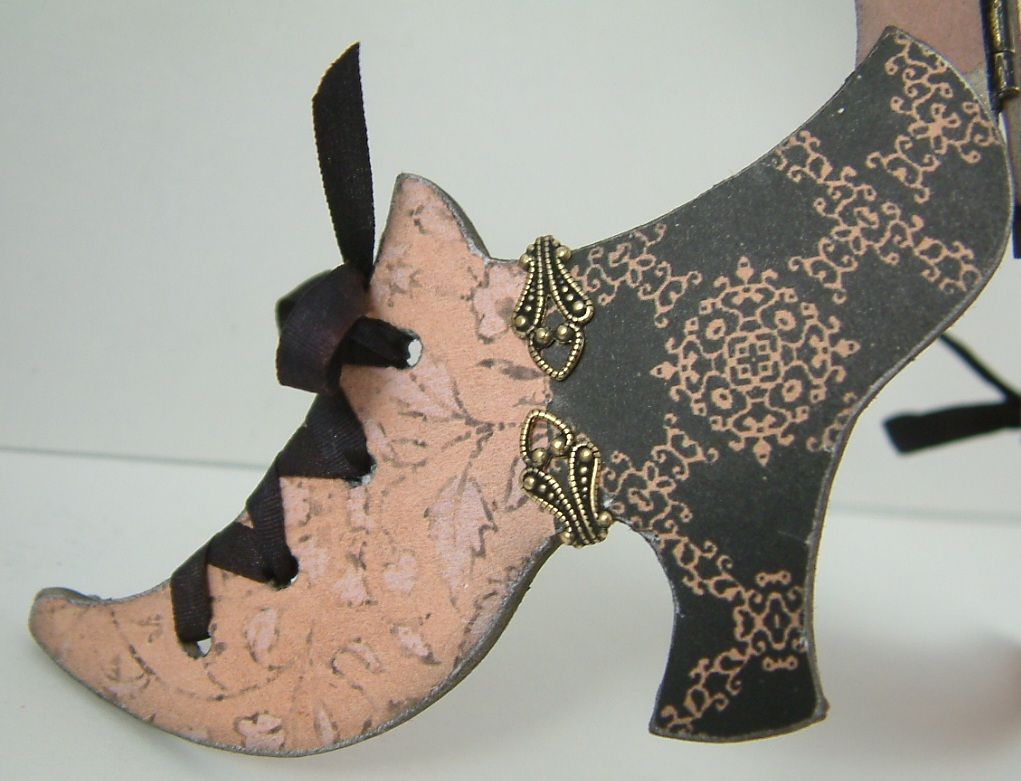
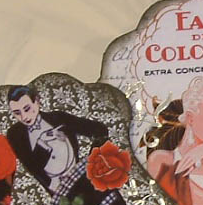
Next, I added images from different Alpha Stamps collage sheets. I also added images of flowers, silver and black stickers and rub-ons. I kept the décor on my top blade pretty flat. The only dimensional embellishment I used was the lace edge oval setting to frame the girl’s image. I used Glossy Accents to create a clear dome over the image.

Assembling Your Fan
The next step is to decide the order of your blades and which blade will be on top.
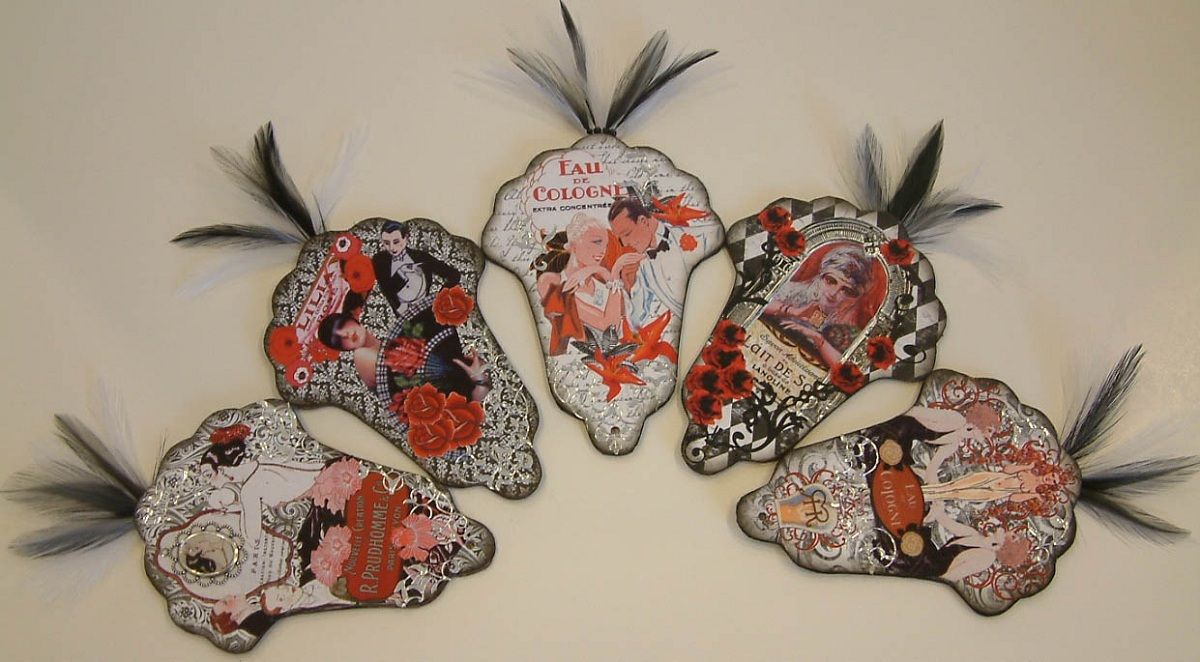
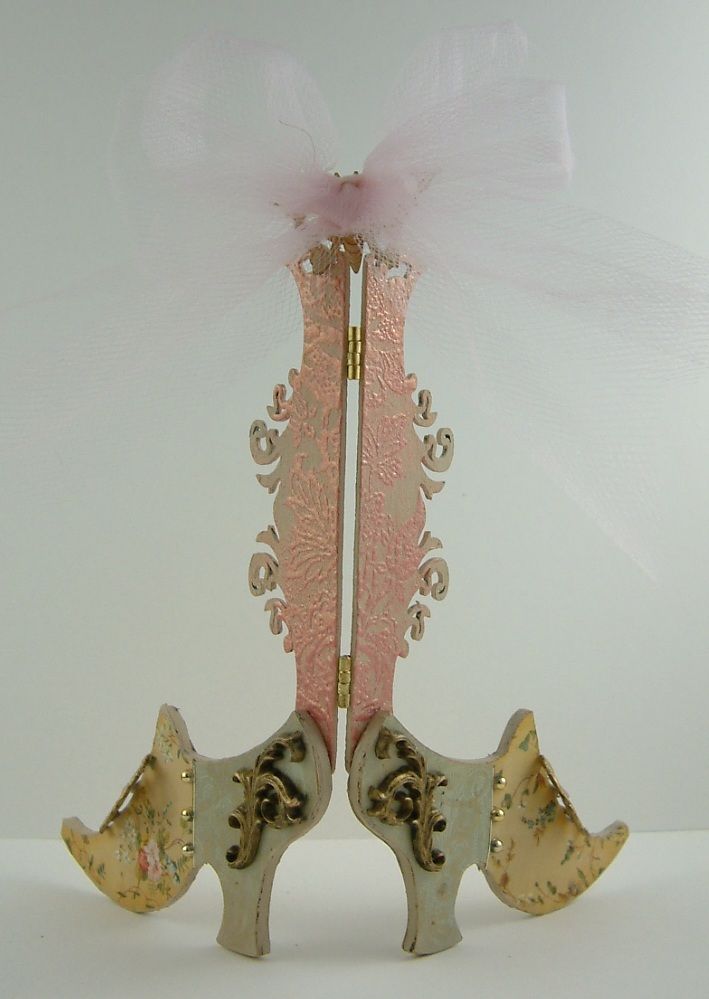
Stack the blades one on top of the other.

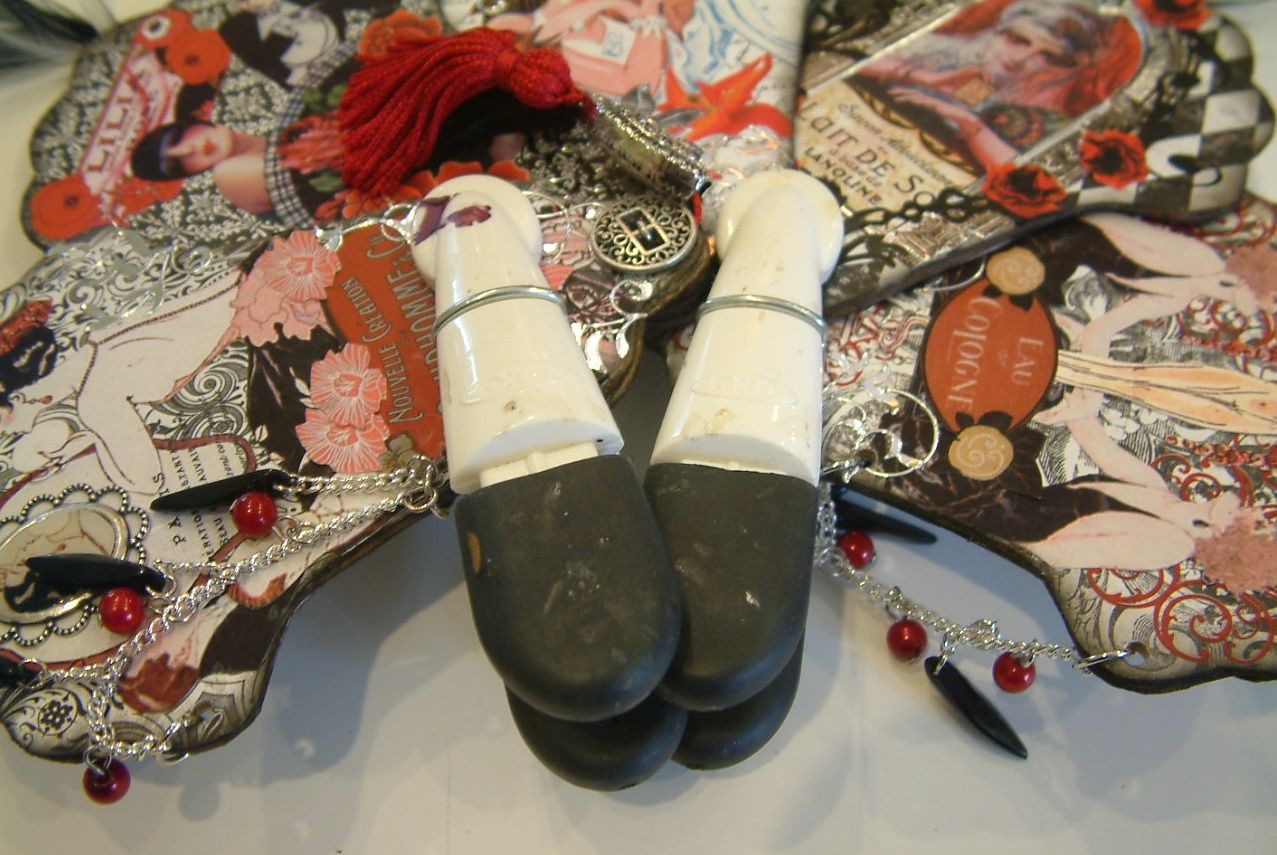
Secure the blades together. The blades of this fan are thick and most long pronged brads are not long enough to go through all of the blades and have enough prong left to bend in the back. On my fan I used a piece of wire and a button. I looped the wire through the holes in the button and then pushed the wire through the hole on all of the fans.
Next, I sniped the wire in the back and bent it to hold the blades together.
Alpha Stamps now carries and even better solution than I used which is a long cotter pin. These pins are what I would recommend to secure your fan.
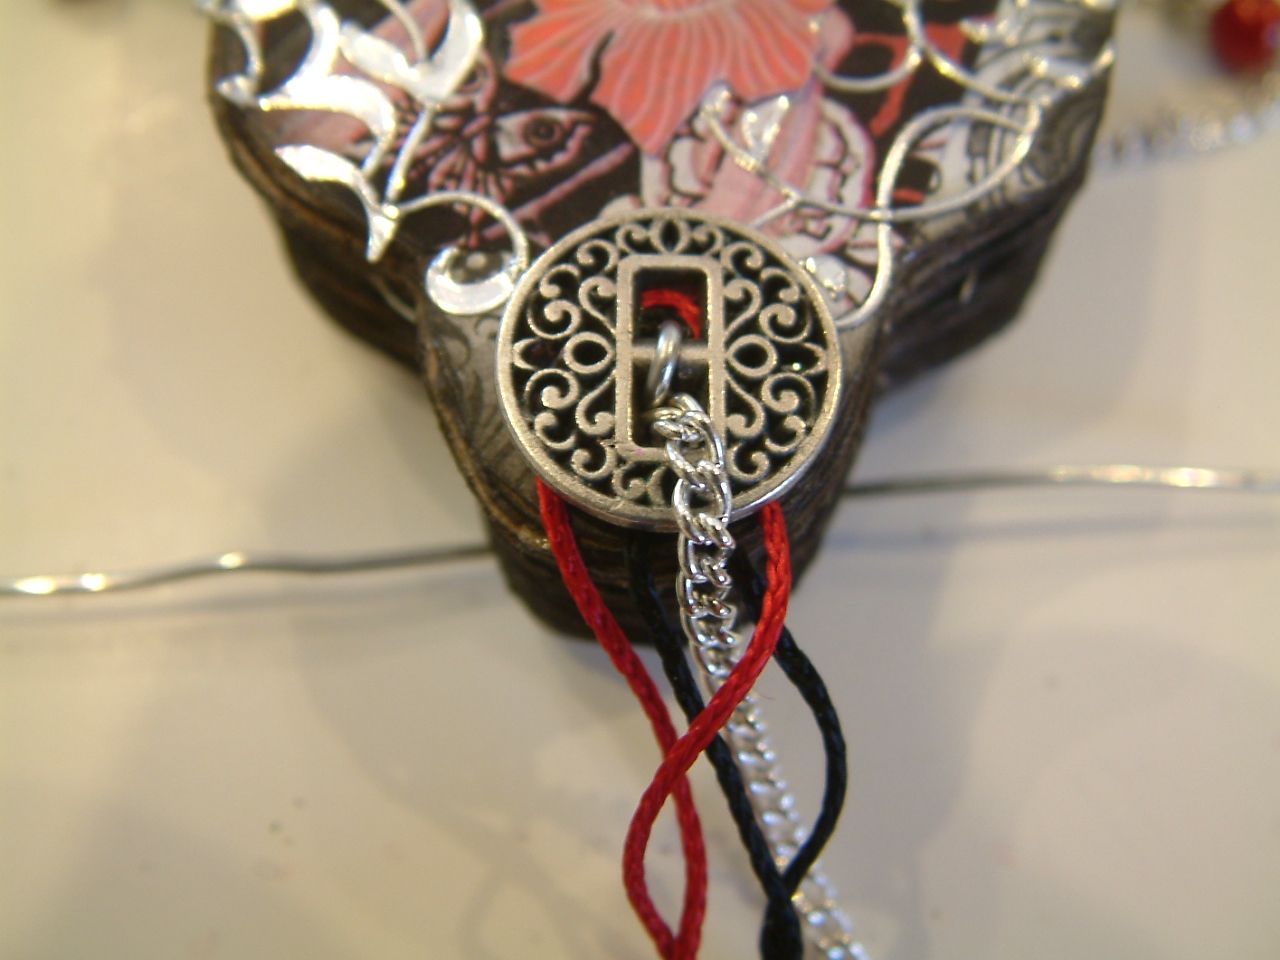
The head of the cotter pin is great for hanging tassles, beads and other embellishements. I would recommend hanging something from the head of the cotter pin as it is slightly larger than the blade holes. Hanging something from the pin will create enough bulk to keep the pin from slipping through the blade holes.

Here are the steps to add a bead, tassles and a piece of filligree to your fan. Note: Be sure to decorate your fan first before this step. Some of the pictures below show the fan blades undecorated. The pictures are for demonstration purposes only.
Click here to purchase a Tassel Making tool from Alpha Stamps and to see a tutorial on using the tool.
Click here to purchase a Tassel Making tool from Alpha Stamps and to see a tutorial on using the tool.
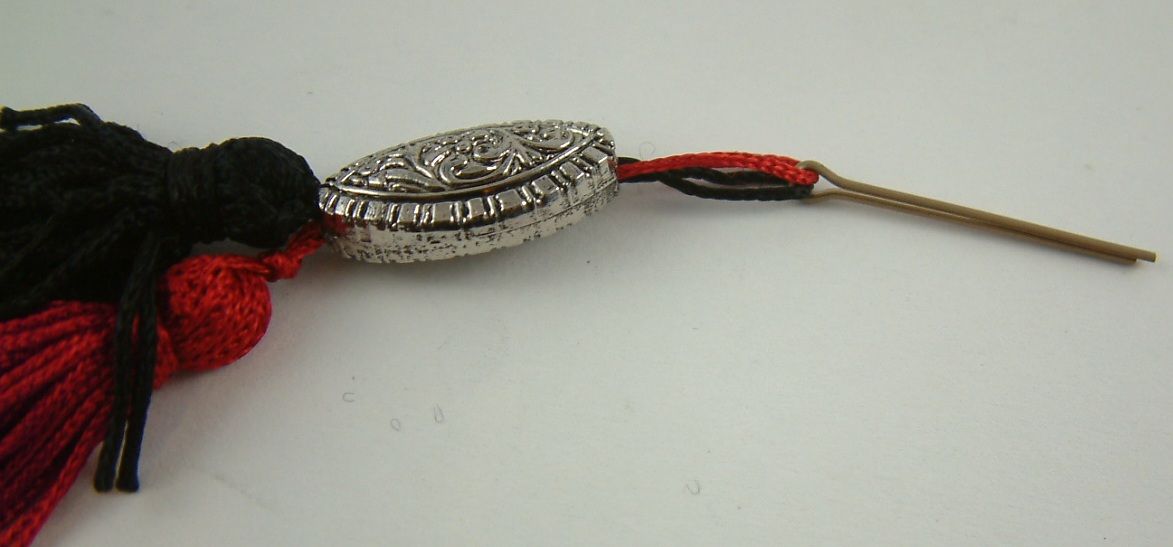
First, loop a thin piece of wire through the loops on the tassles.
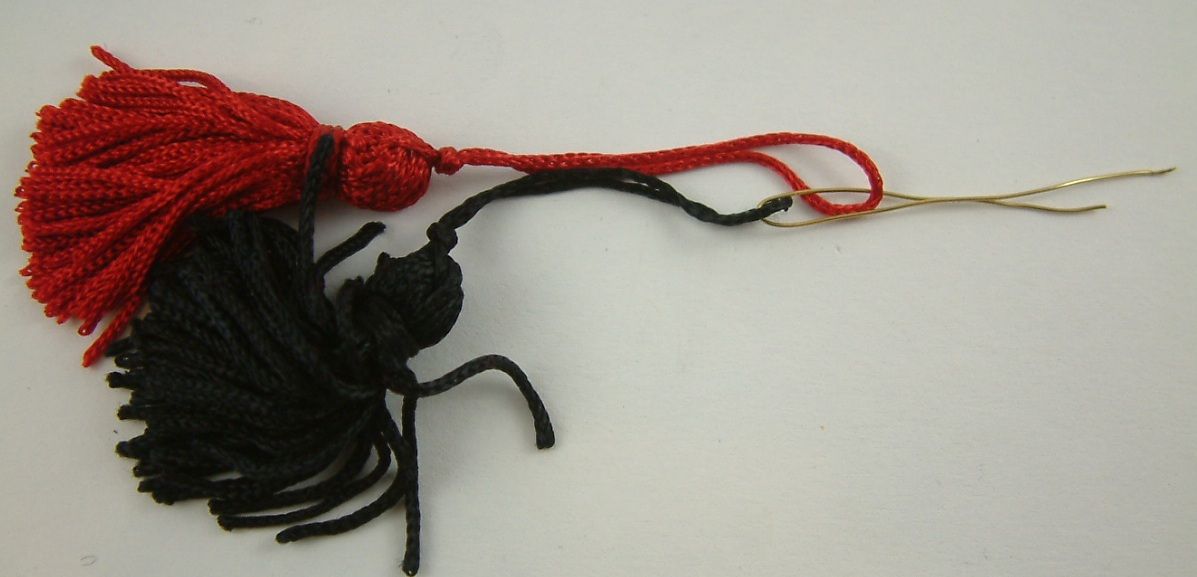
Use the wire to thread the tassels through the bead.
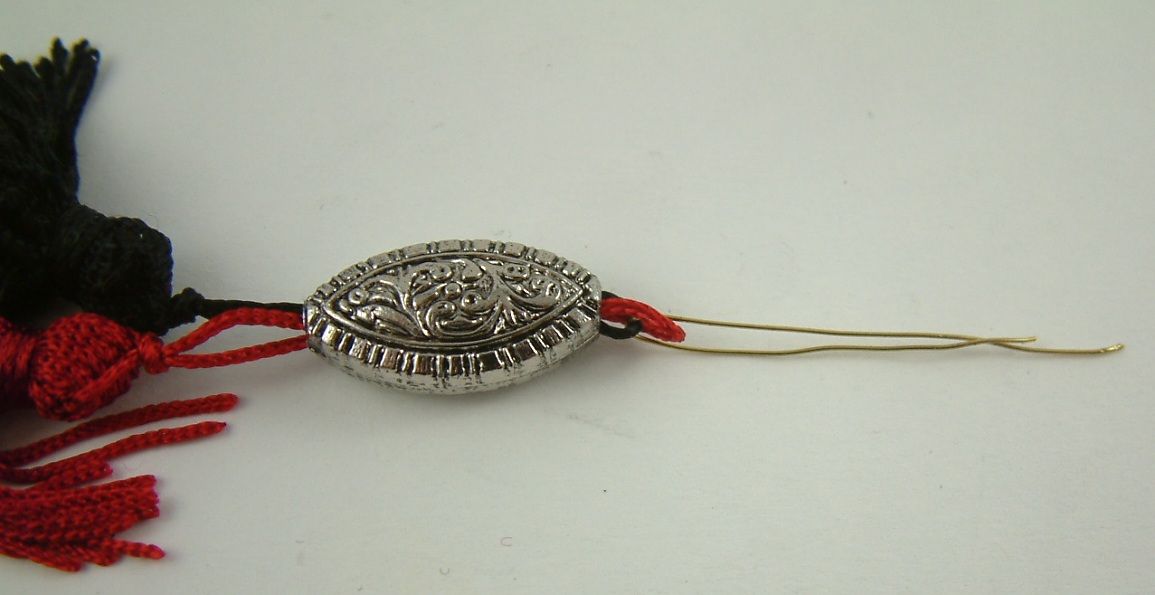
Slide the tassle loops between the prongs on the cotter pin.
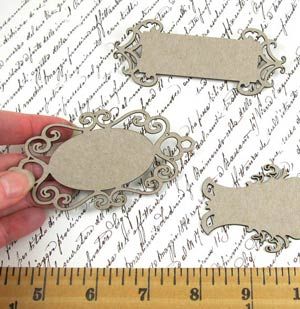
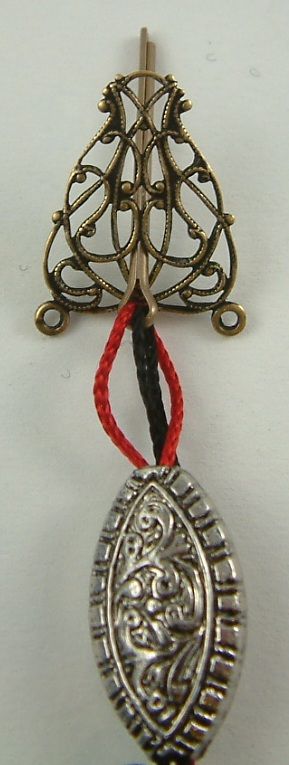
Insert the cotter pin through the filigree.
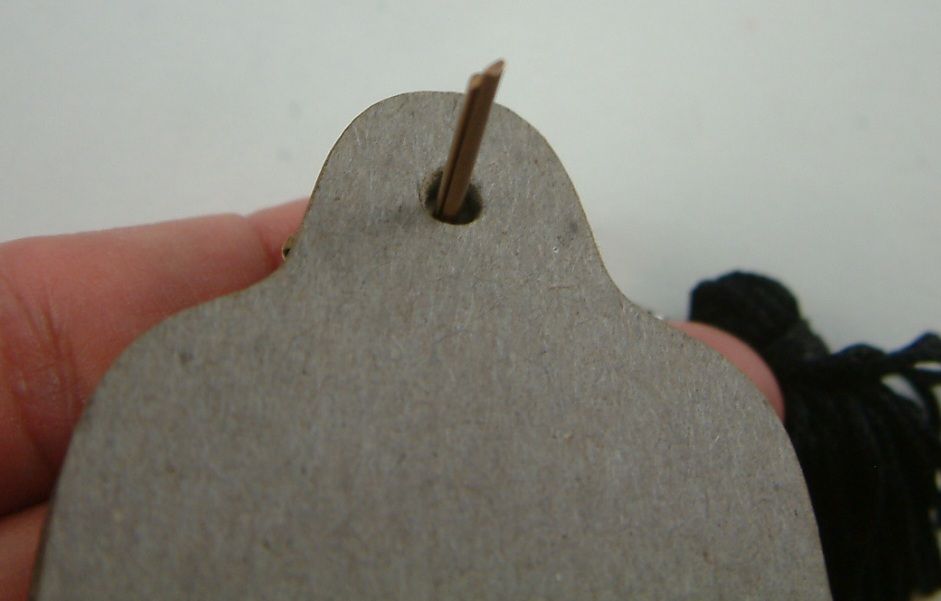
Apply glue (that works with metal) to the back of the filligree and then insert the cotter pin through the holes in the stacked blades of the fan. Remember your fan blades should already be decorated. If you don’t glue down the filigree it will move when you open and close the fan.
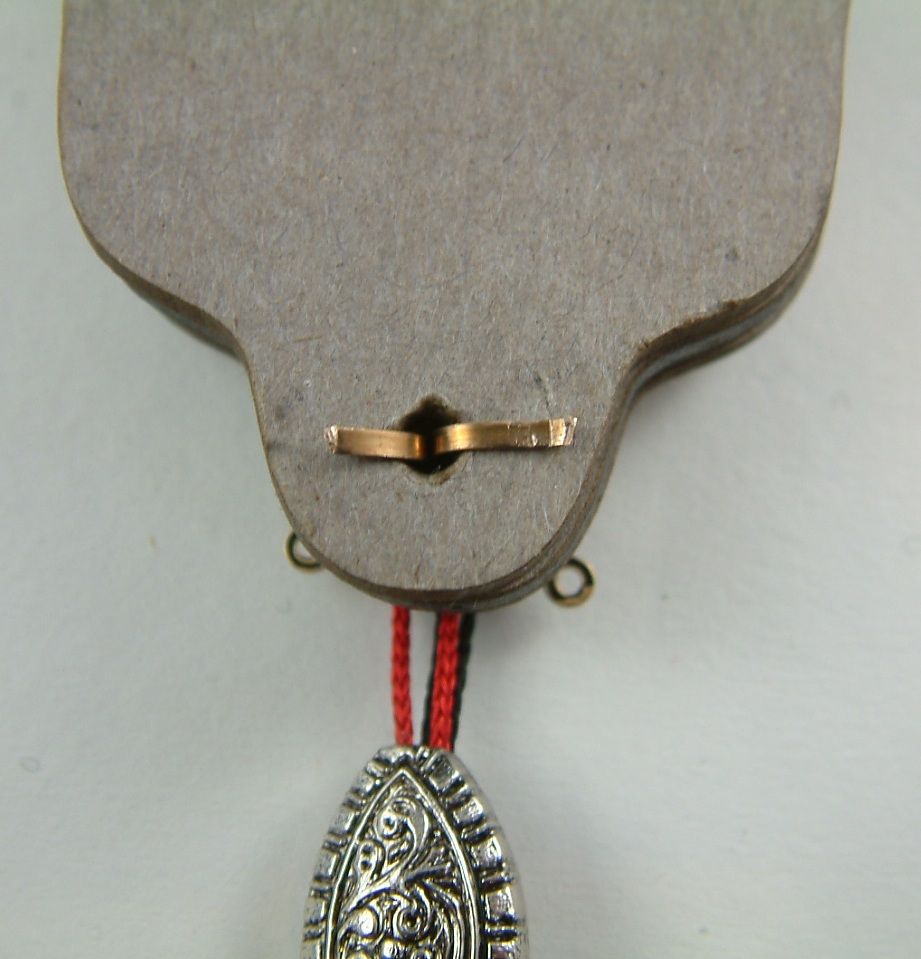
Trim and bend the prongs of the cotter pin. Do not glue the cotter pin in place. The fan blades need to move around the pin as you open and close the fan. The filigree is already anchored in the front. You can cover the back of the bent cotter pin with paper so long as you take care to not inhibit the movement of the pin or glue the pin down in any way.
Note that the piece of filigree has two holes which you could use to add more dangling embellishments.

Once your fan is assembled, spread the blades out and decide how much overlap you want between the blades.
Adding a Ribbon Stop
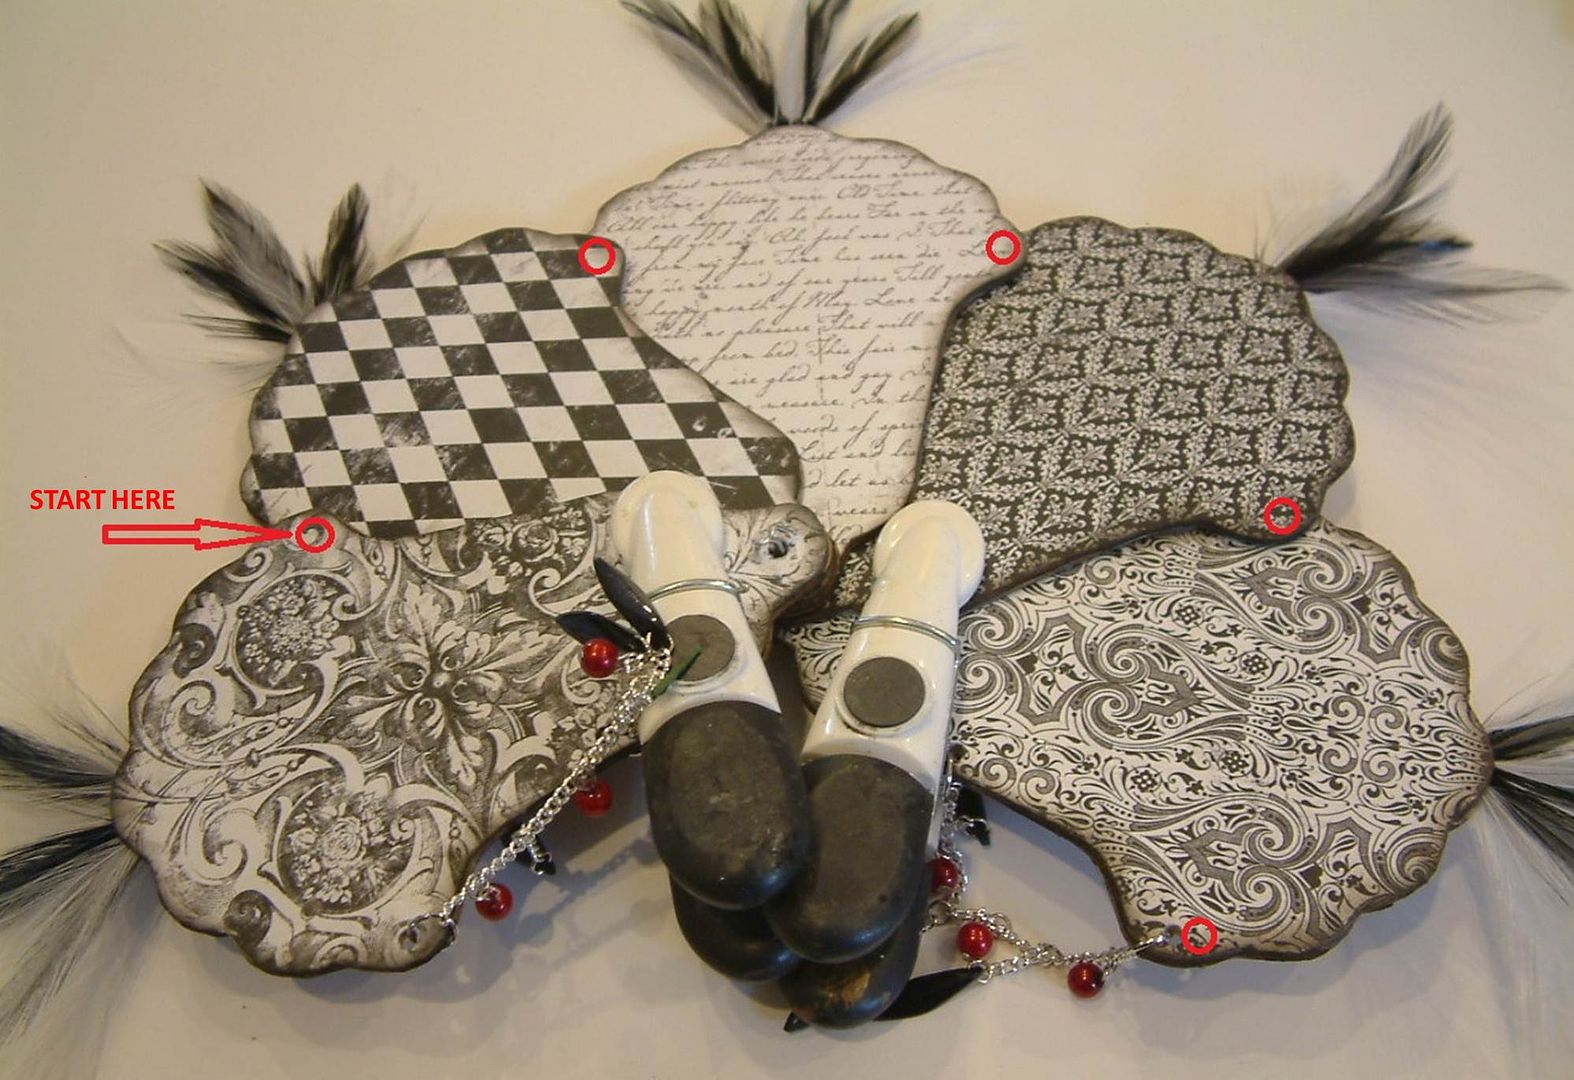
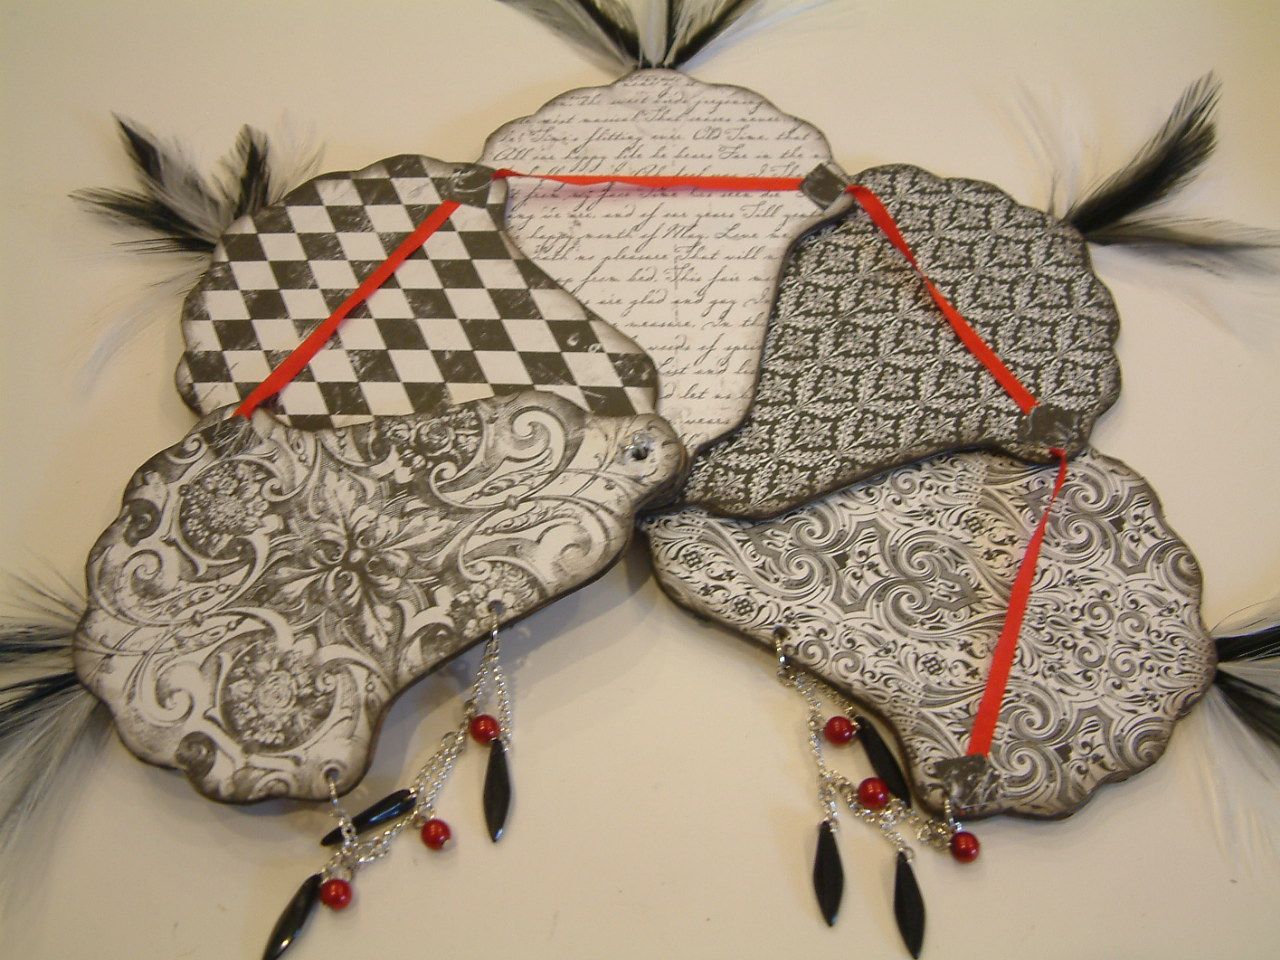
Make sure the the top blade is on the left and each blade moving from left to right is under the next blade.
Make sure each blade overlaps the next blade by the same amount. Clip the blades in place at the bottom. If you clip them at the top the clips will be in the way of where you need to attach the ribbon.
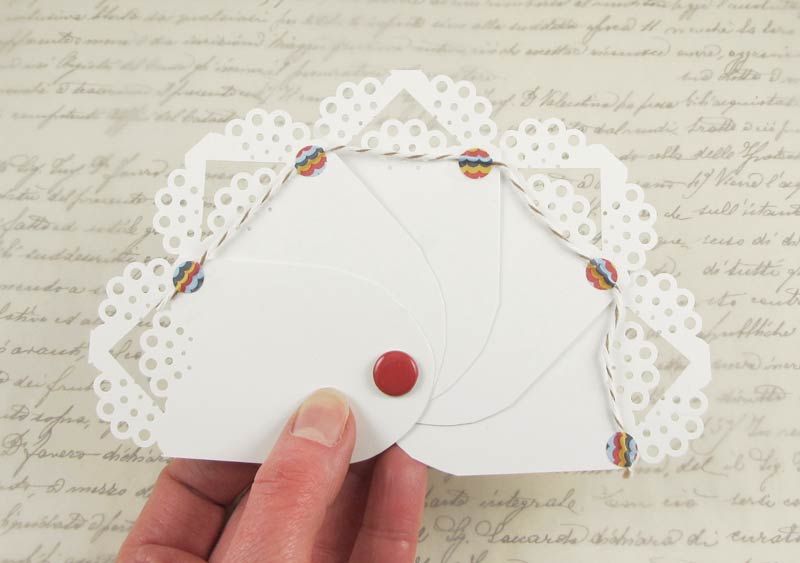
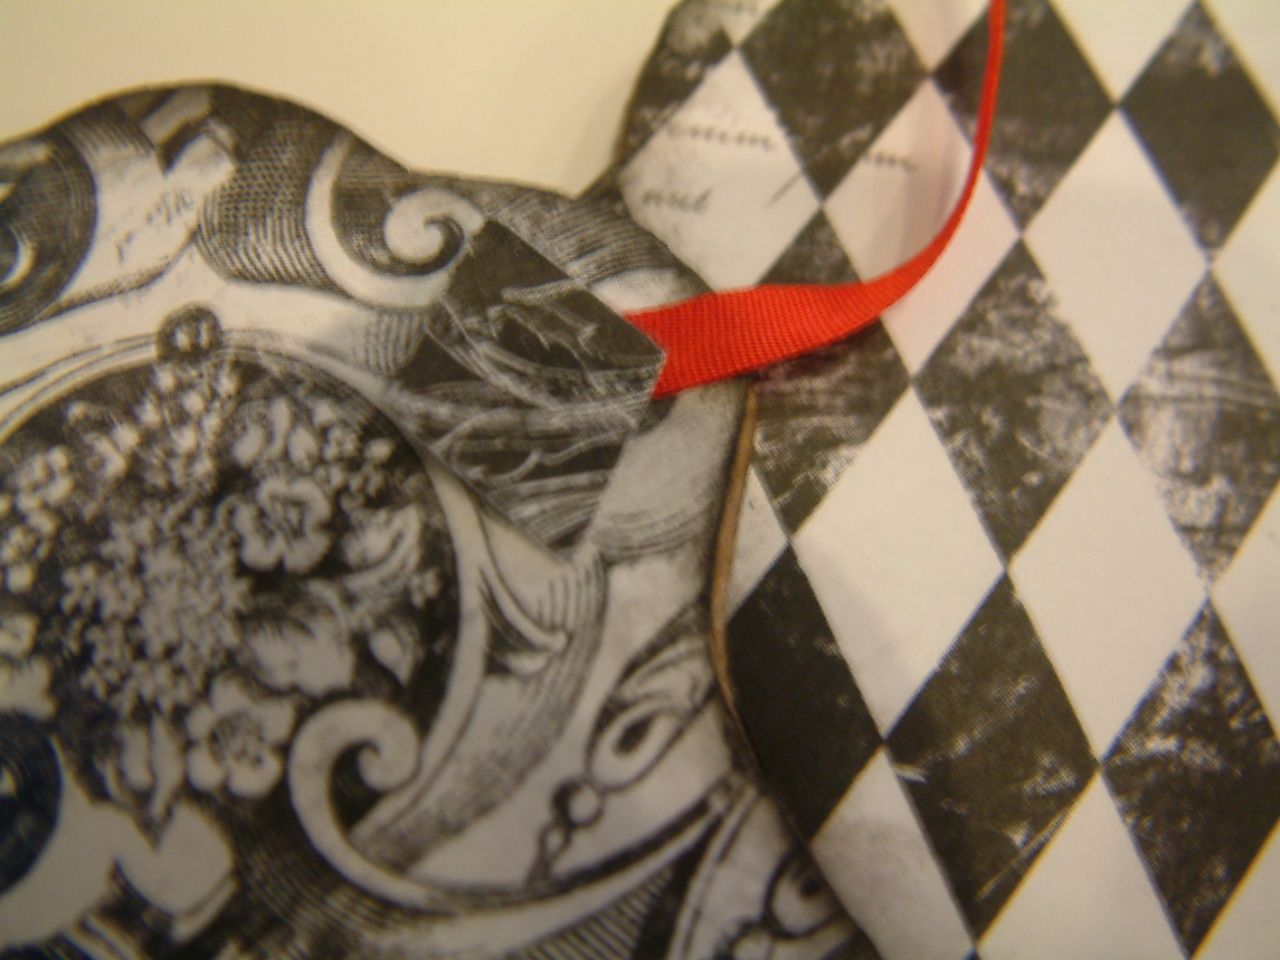
Flip the fan over. The next step is to glue the ribbon to each of the fan blades. The ribbon acts as a stop to keep the fan blades from opening too far. In the picture below (FIGURE 1) I have marked with red circles the points to attach the ribbon to the blade. Only glue the ribbon down on those points. The rest of the ribbon needs to be loose so it will fold between the blades when you close the fan. Starting with the blade on the top left (this blade should be on the top of the other blades), glue the end of your ribbon in place. Don’t worry about the glue seeping through the ribbon as you will be hiding the attach points with paper or a sticker.
FIGURE 1
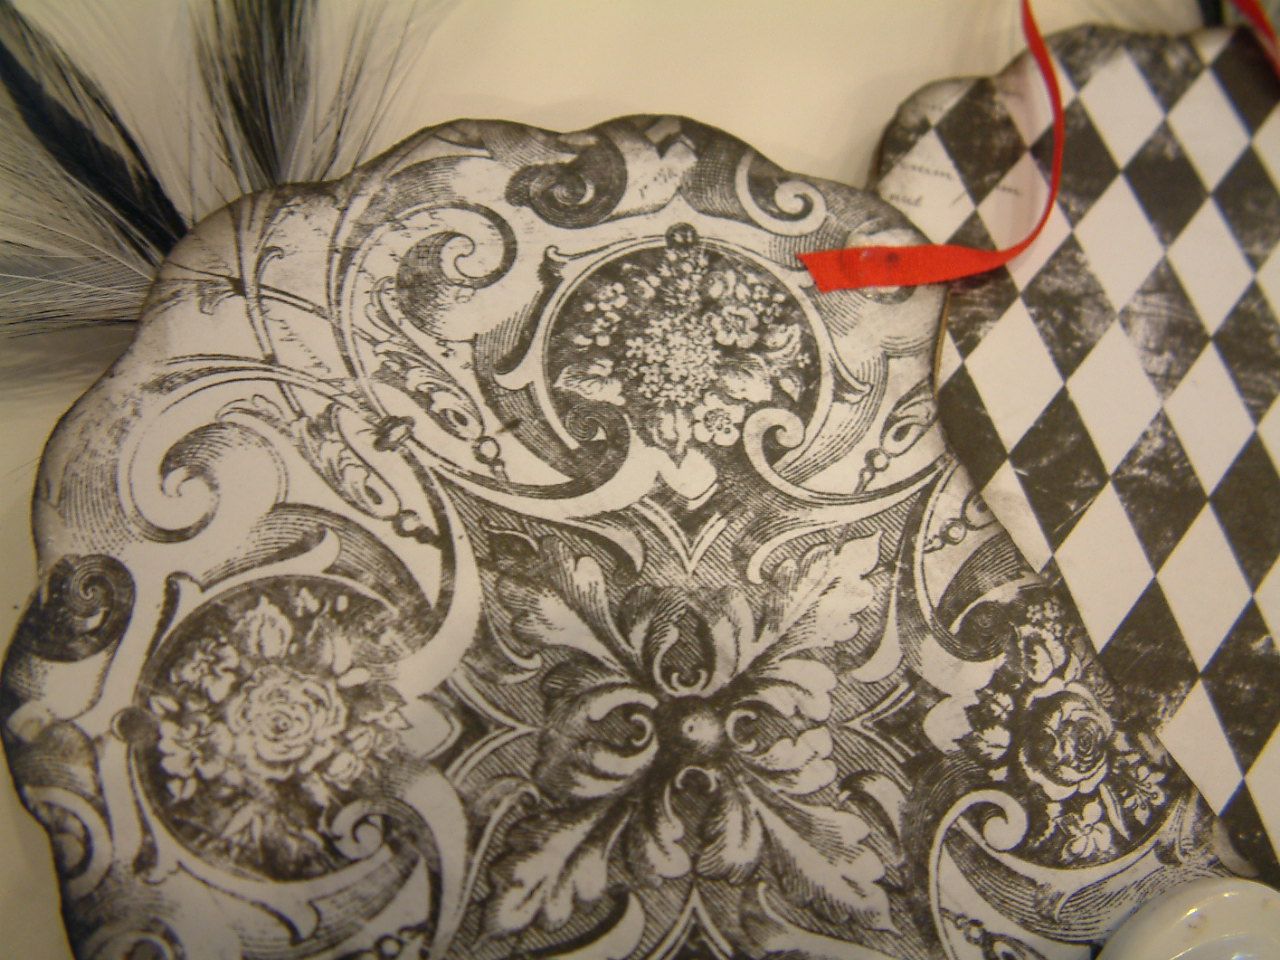
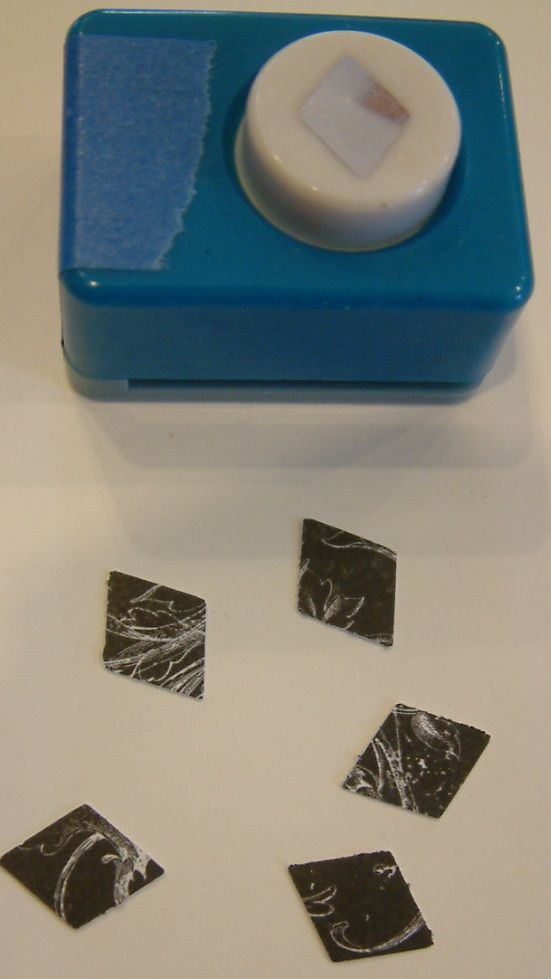
Use a small piece of paper or a sticker to cover the ribbon at the glue point. This also helps to secure the ribbon in place. I used a diamond paper punch to punch coordinating pieces of paper and glued those on top of the ribbon.
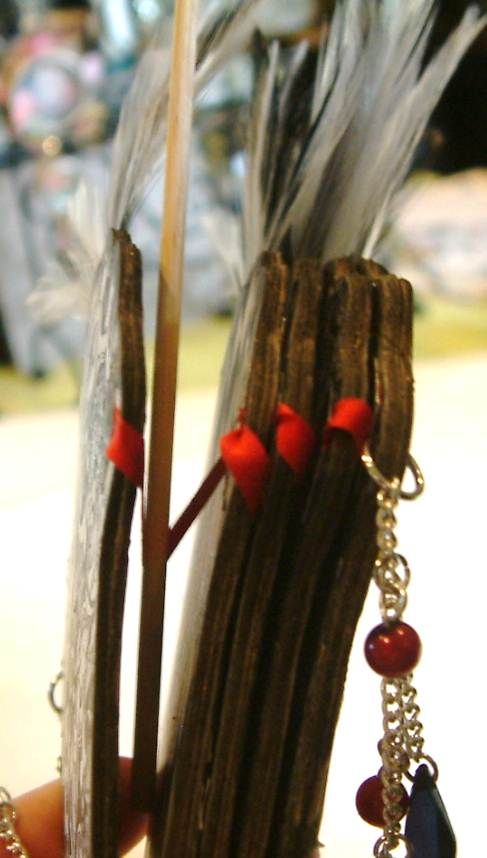
Continue gluing the ribbon to each blade, working from left to right following the diagram in the FIGURE 1 picture above. Note: Let the glue dry and attach a sticker or paper to the ribbon before moving on to the next blade. This will insure that when you glue the ribbon to the next blade you won’t accidently pull the ribbon off of the blade before it. As you glue the ribbon to the next blade make sure that it is pulled taut.
The last step is to train your ribbon to fold between the blades when the fan is closed. You can use a thin object like a toothpick or wooden skewer to help the ribbon fold between the blades.
That’s it you’re finished!

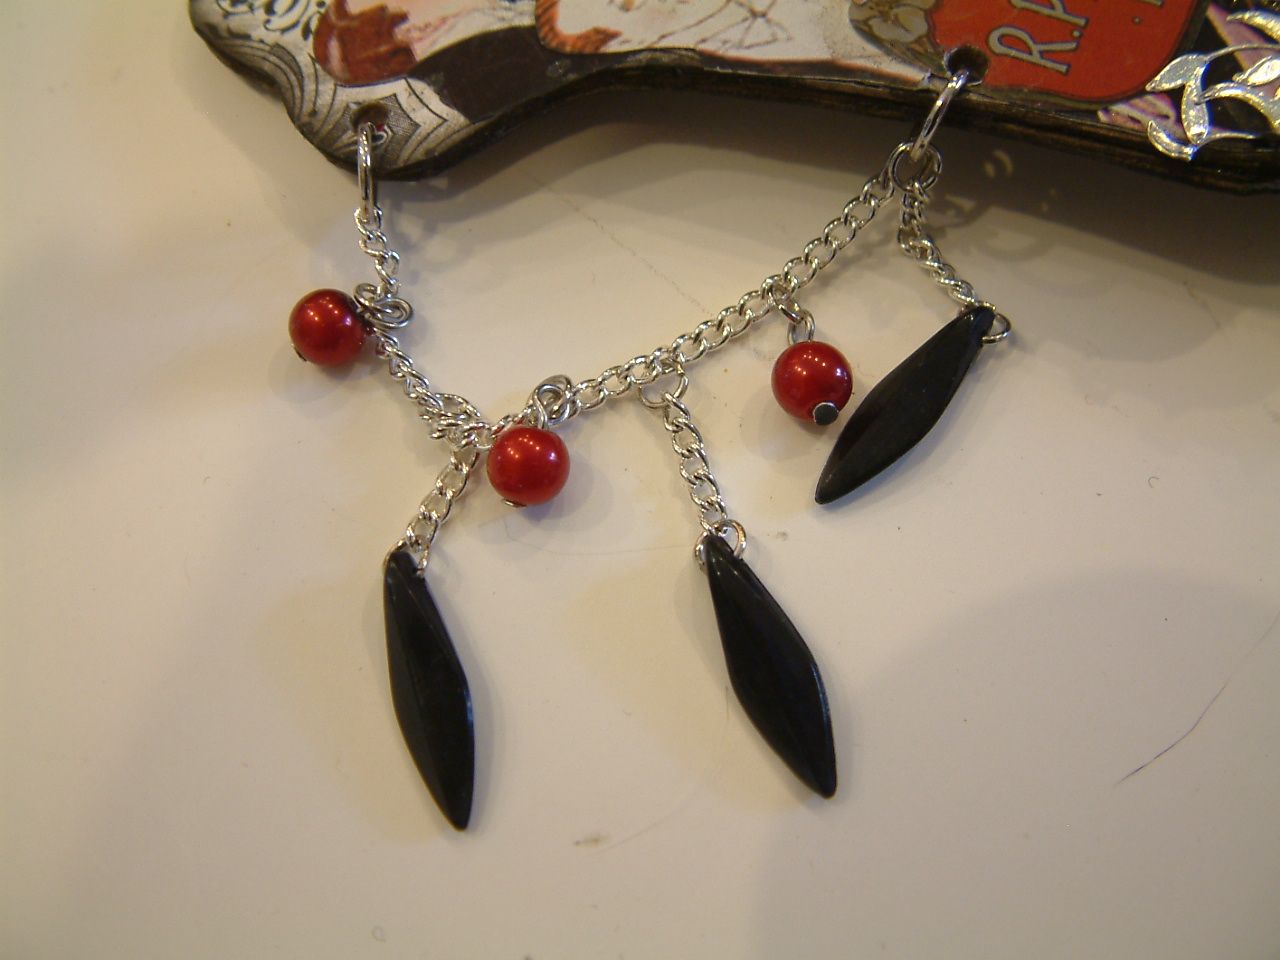
An additional embellishment you can add to your fans is a chain and beading that is attached to the sides of the first fan blade (on it’s left side) and to the last fan blade (on it’s right side). To add this embellishment I punched two holes in the sides of the blades to accommodate the chain with beads. Don’t attempt this on the blades in the middle as it will interfere with the opening and closing of the fan.

Alpha Stamps Supplies Used in the Example Fan:
Fancy Fan Blades
Click here if you are interested in joining the Alpha Stamps hosted fan swap “The Romance of Perfume”.
Click here if you are interested in joining the Alpha Stamps hosted fan swap “The Romance of Perfume”.
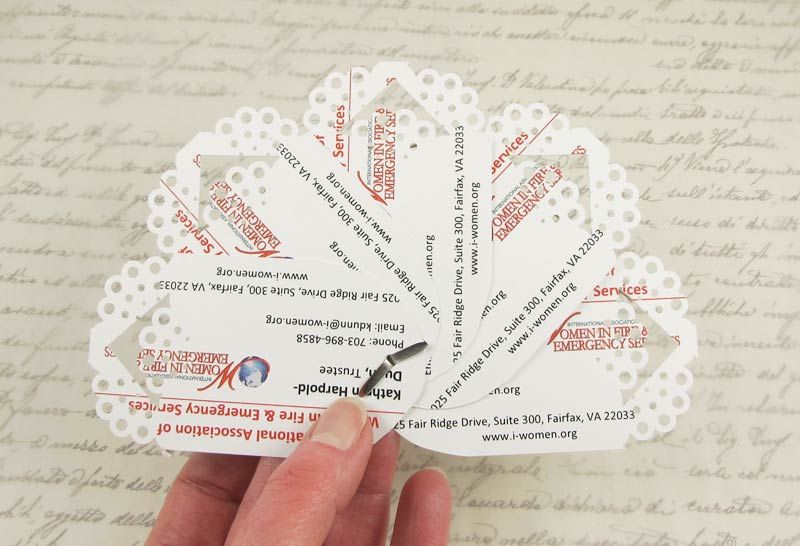
A Fan Idea by Kathryn at Alpha Stamps
Kathryn came up with the clever idea of using business cards to make a paper fan. She punched the corners with a decorative punch, attached the cards with a brad and then connected the blades together with ribbon. The cards are a little smaller than an ATC so you could use the same idea and attach ATCs together to create a fan. Alpha Stamps carries ATC sized envelopes which would be a perfect size for the fan.