

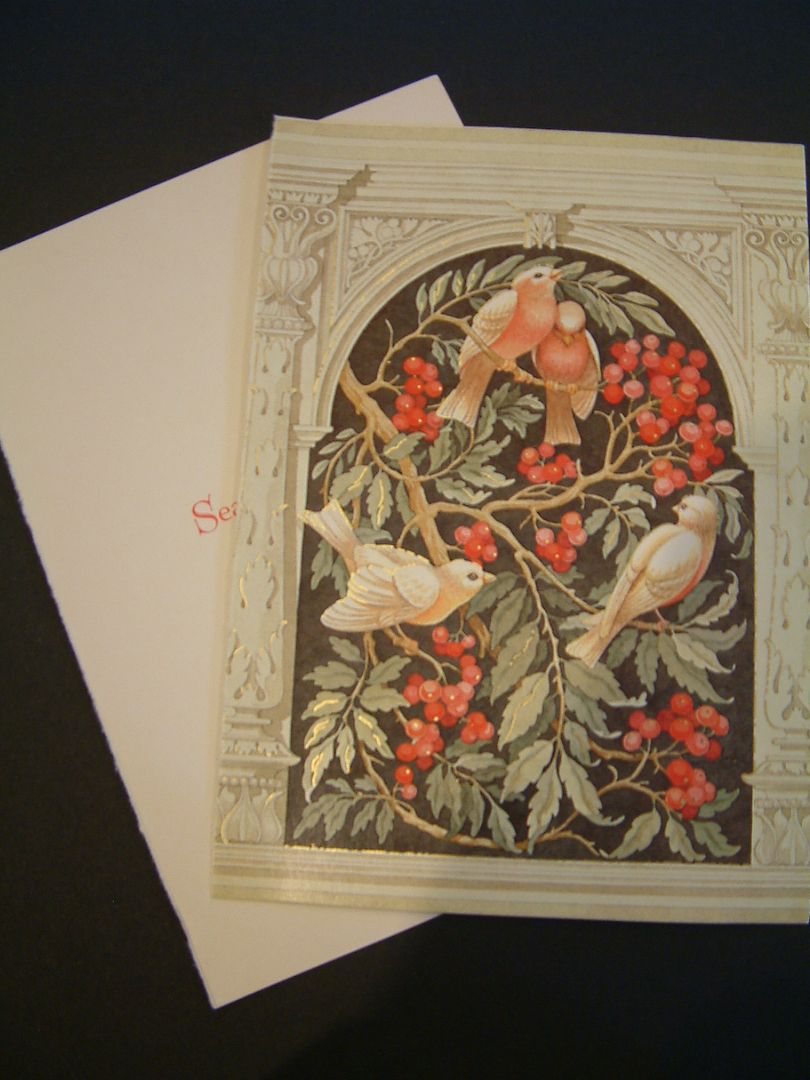
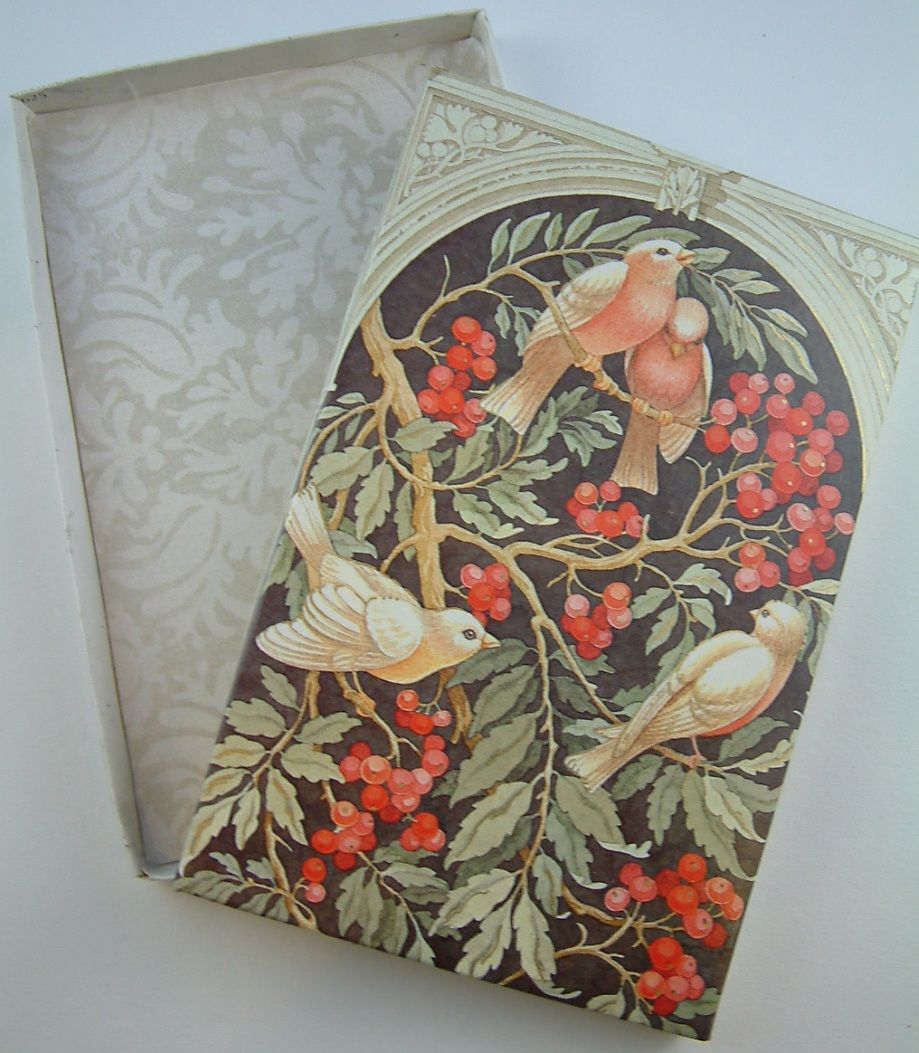
So you have stacks of Christmas cards with great art on the front and what can you do with them. One thing is to make them into boxes. These little boxes are great for ATCs, gift cards, jewelry etc. and they are so simple to make.

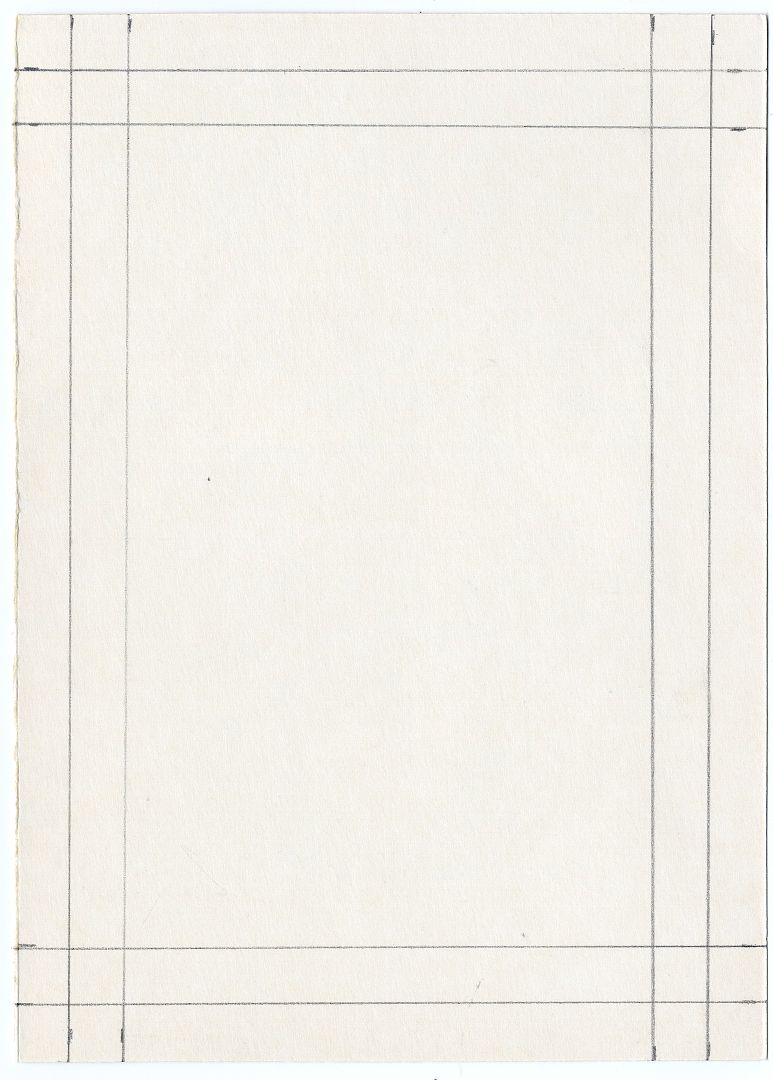
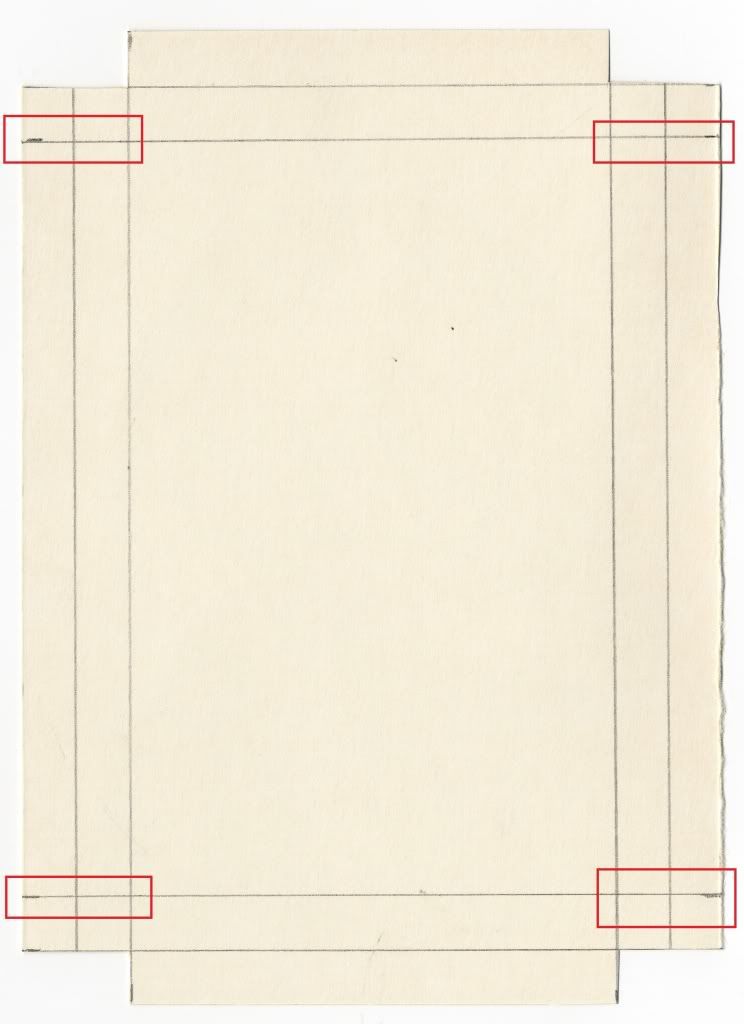
2. Score a line 3/8” from the first score lines. You should now have two score lines on all four sides of the card. The lines in the picture below represent the score lines.
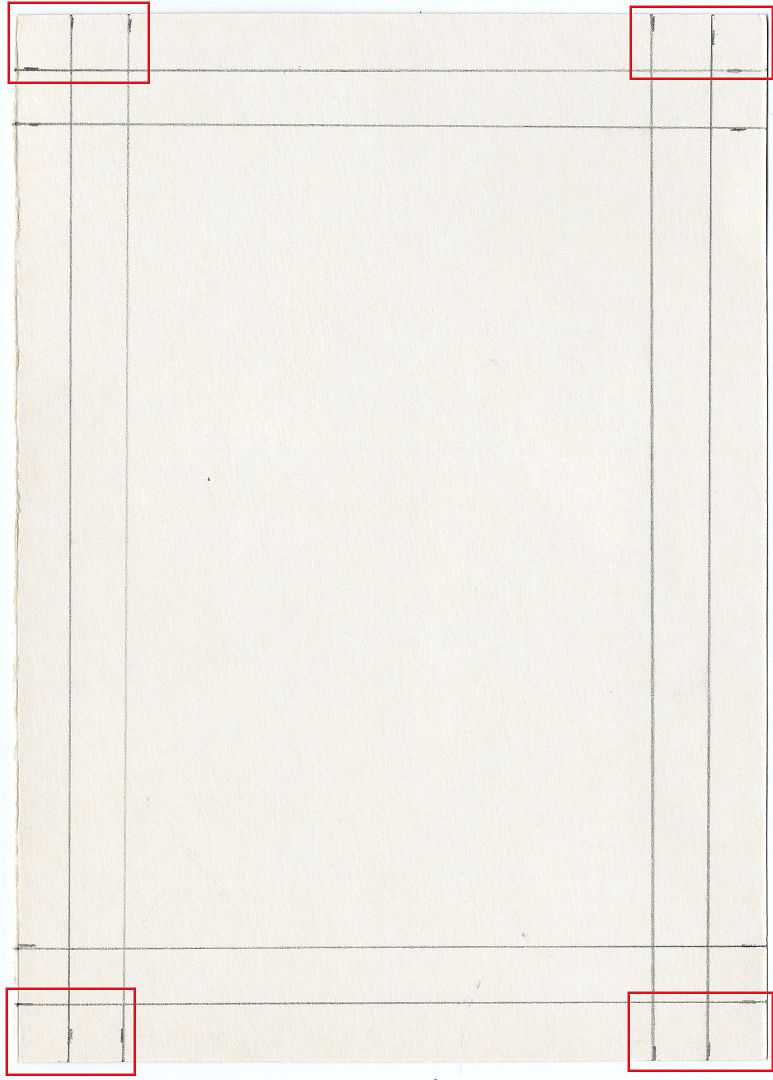
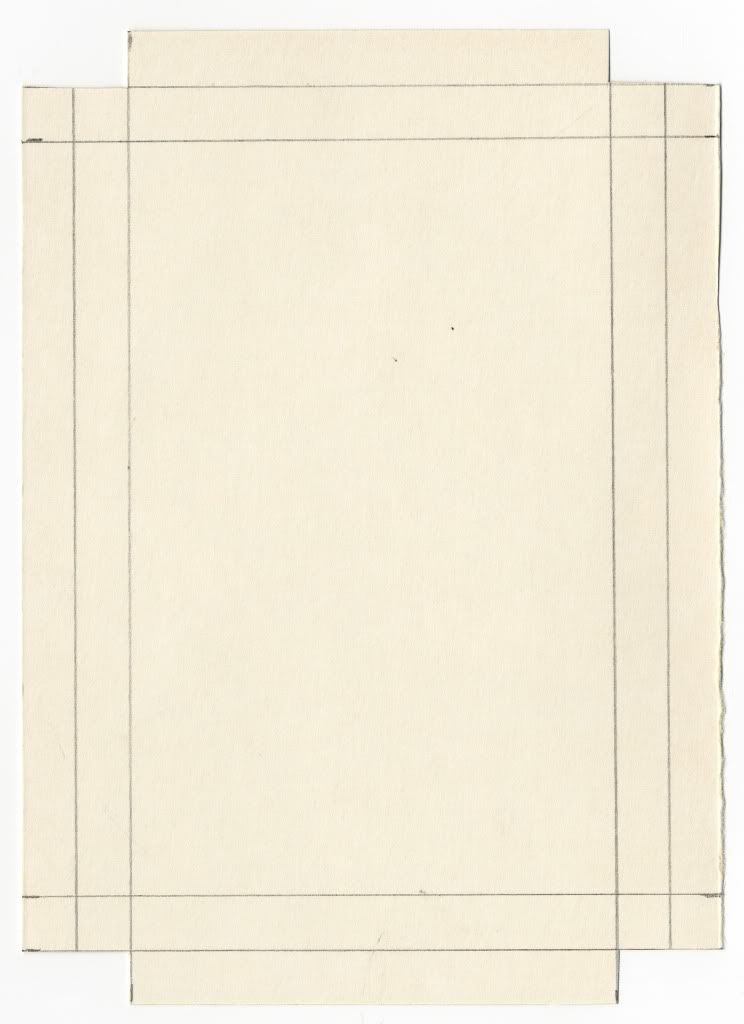
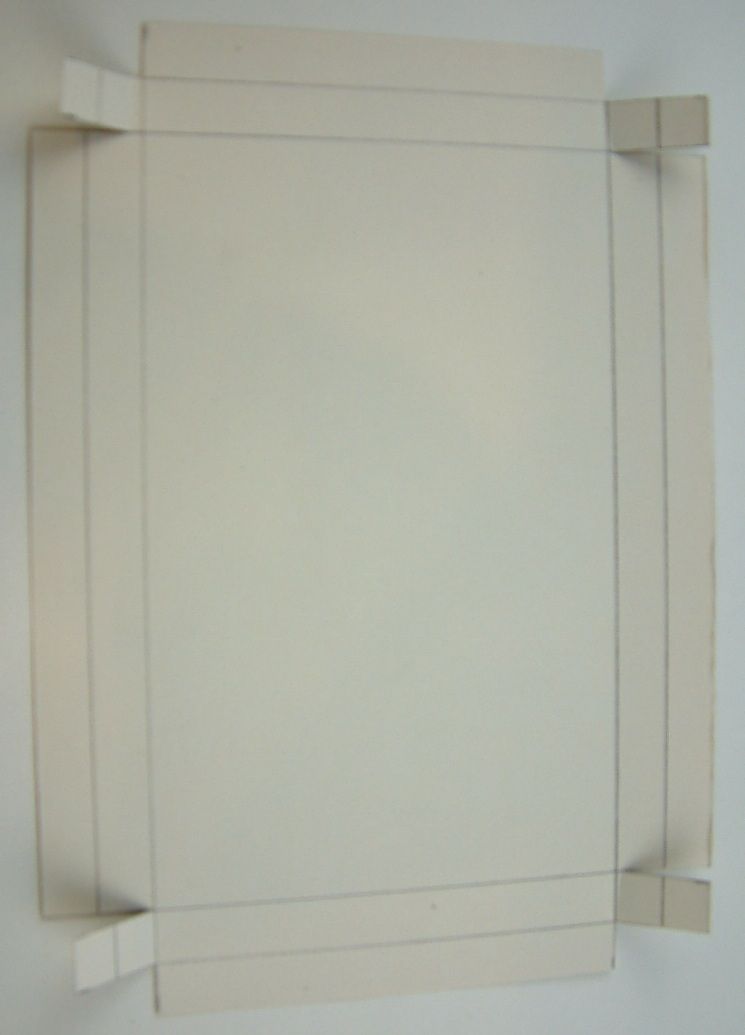
 3. Cut away part of each corner (see the pictures below).


What you need:
· Christmas Cards
· Ruler
· Scoring tool
· Scissors
· Glue
Start by separating the front of the card from the back of the card by cutting along the fold. The front of the card will become the lid of the box and the back of the card will become the bottom of the box.
Making the Box Lid
1. Score a line 3/8” from each edge of the card. 2. Score a line 3/8” from the first score lines. You should now have two score lines on all four sides of the card. The lines in the picture below represent the score lines.
4. To create the tabs, make cuts on each corner (see the pictures below).
5. Pre-fold the score lines. This makes it easier to assemble the box.
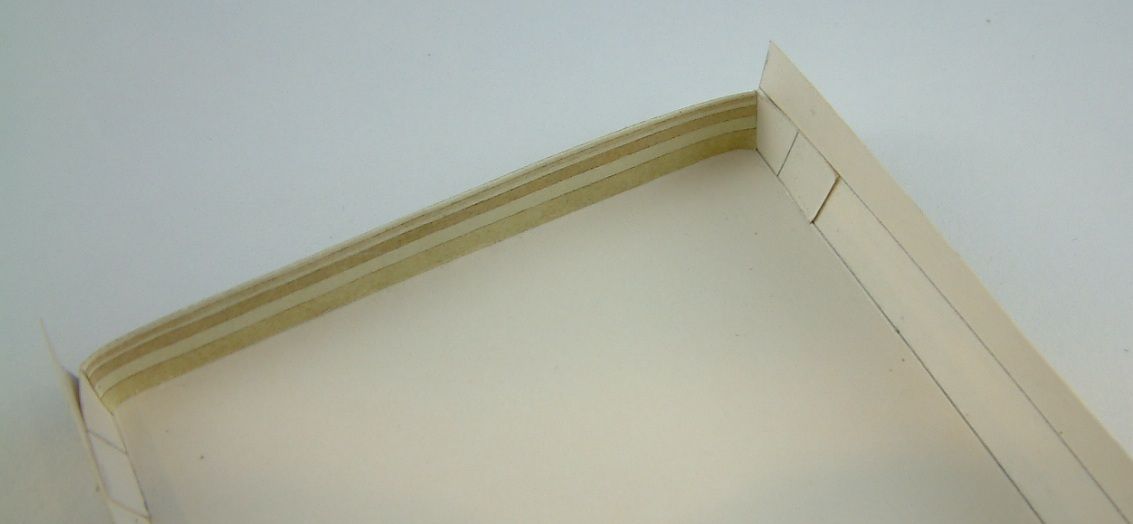
6. Glue down the tabs to create the corners (see the picture below.)
7. Once all the tabs are glued in place, fold and glue down each flap or edge (see the picture below).
MAKING THE BOX BOTTOM
Cut 1/16” from the longest edge and cut 1/16” from the shortest edge (only cut two edges not all four edges). Trimming the two edges makes the bottom of the box slightly smaller than the top so that the lid will fit over the bottom.
The rest of the steps are the same for making the bottom of the box as the steps for making the lid so repeat steps 1 through 7 above.
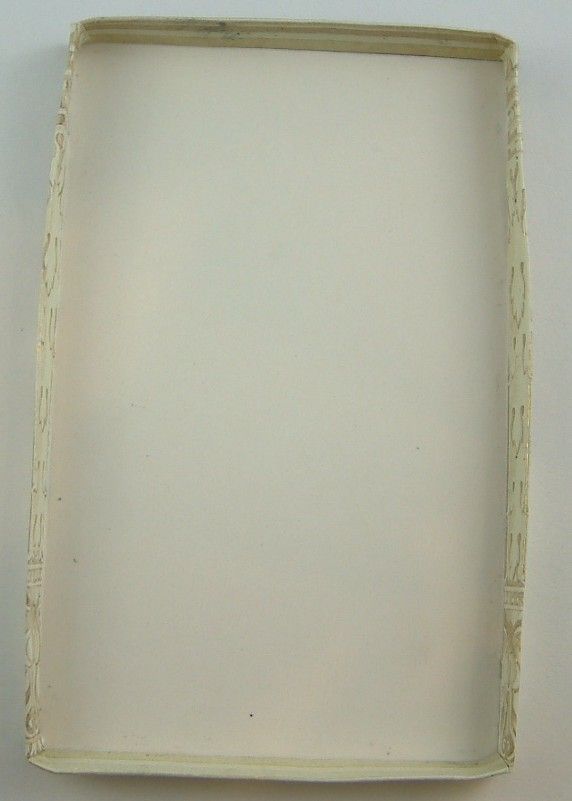
That’s it, you have a box!
If you want to hide any writing inside the box, you can add a decorative piece of paper to the inside once you’ve assembled the lid and bottom. And of course you can always embellish the outside all you want.
If you want a smaller deeper box you can modify the measurement of the score lines. I wouldn’t score lines smaller than 1/4”. Just remember you need to take a little off the bottom so the top will fit over the bottom.
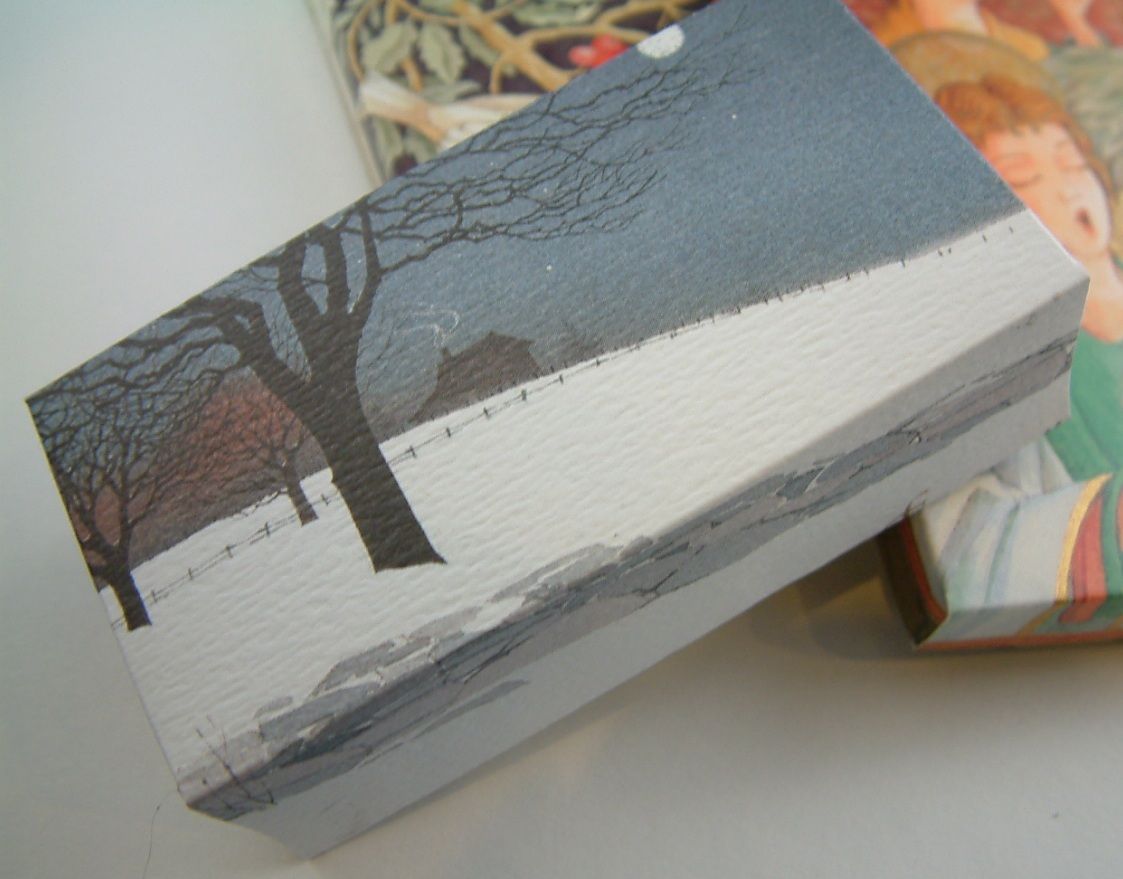
Below is an example of a smaller deeper box where I used 1” for the score lines.
22 comments:
What a wonderful and useful idea.
Thanks for sharing,I'm off to make boxes.
Hugs
This is great! I have stacks of old christmas cards and Have been wondering what I could do with them! thanks for the tutorial!
What a wonderful idea! Thank you for showing us how it it done! Too cute!
Who couldn't use an extra box! This is great for those odd size small boxes that you might need. Thanks for a nicely done tutorial, Laura.
This box is beautiful!!!! Thank you for the Tutorial!!!!
Laura -
Thank you so much for this tutorial! I have years of old Christmas cards I could not bring myself to throw away. Now I have something to do with them - LOL!
Elaine Allen
What a great idea. You're so clever. I have tons of cards that I've received and kept from over the years hoping to find something to do with them.
Thank you.
What a great way to recycle and have something so unique!! I love this idea-thank you!
Marcie
Great idea! I can't wait to try it...
Thanks!
um, doesn't seem to have taken the first time.
er, so what I meant to say before google/blogger tripped me up was: wow -- that's a really neat idea!
Thanks so much for the tutorial for these. My Mother in law sent me some already done up years ago. I swear I spent 3 days trying to figure out how she did it...then I gave up... You have no idea what you have just given me LOL
Keep smiling and creating
These little boxes are so handy. I made them years ago when I worked and filled them with a doily and handmade fudge to give to every company employee. They loved them. Jingle Bell Joys...
Laura thank you thank you for showing us this tutorial. I have so many cards and not sure what I was going to do with them and some are just to pretty to toss. Now I have a use.
Take care, Lesley ♥
That is going to be so useful. Thank you so much. I have printed it off and will be making boxes for all the little things I buy for presents.
Hugs Joanne xx
What a wonderful idea! thanks so much for sharing!
How fun!!!! I'm going to try this this afternoon. Thanks Laura!!!!!
These are really special! What a good idea you have here!
Rose
It is a wonderful idea, Laura,
and the tutorial shows beautifully how to- THANKYOU.
Hugs,Dorthe
what a great idea! thanks for sharing! merry Christmas!
hugs,
peggy aplSEEDS
what a great idea! thanks for sharing! merry Christmas!
hugs,
peggy aplSEEDS
simply wonderful. how neat down to the details of detail..what wonderful art.You are most gracious to give my muse wings of inspiration.
Post a Comment