


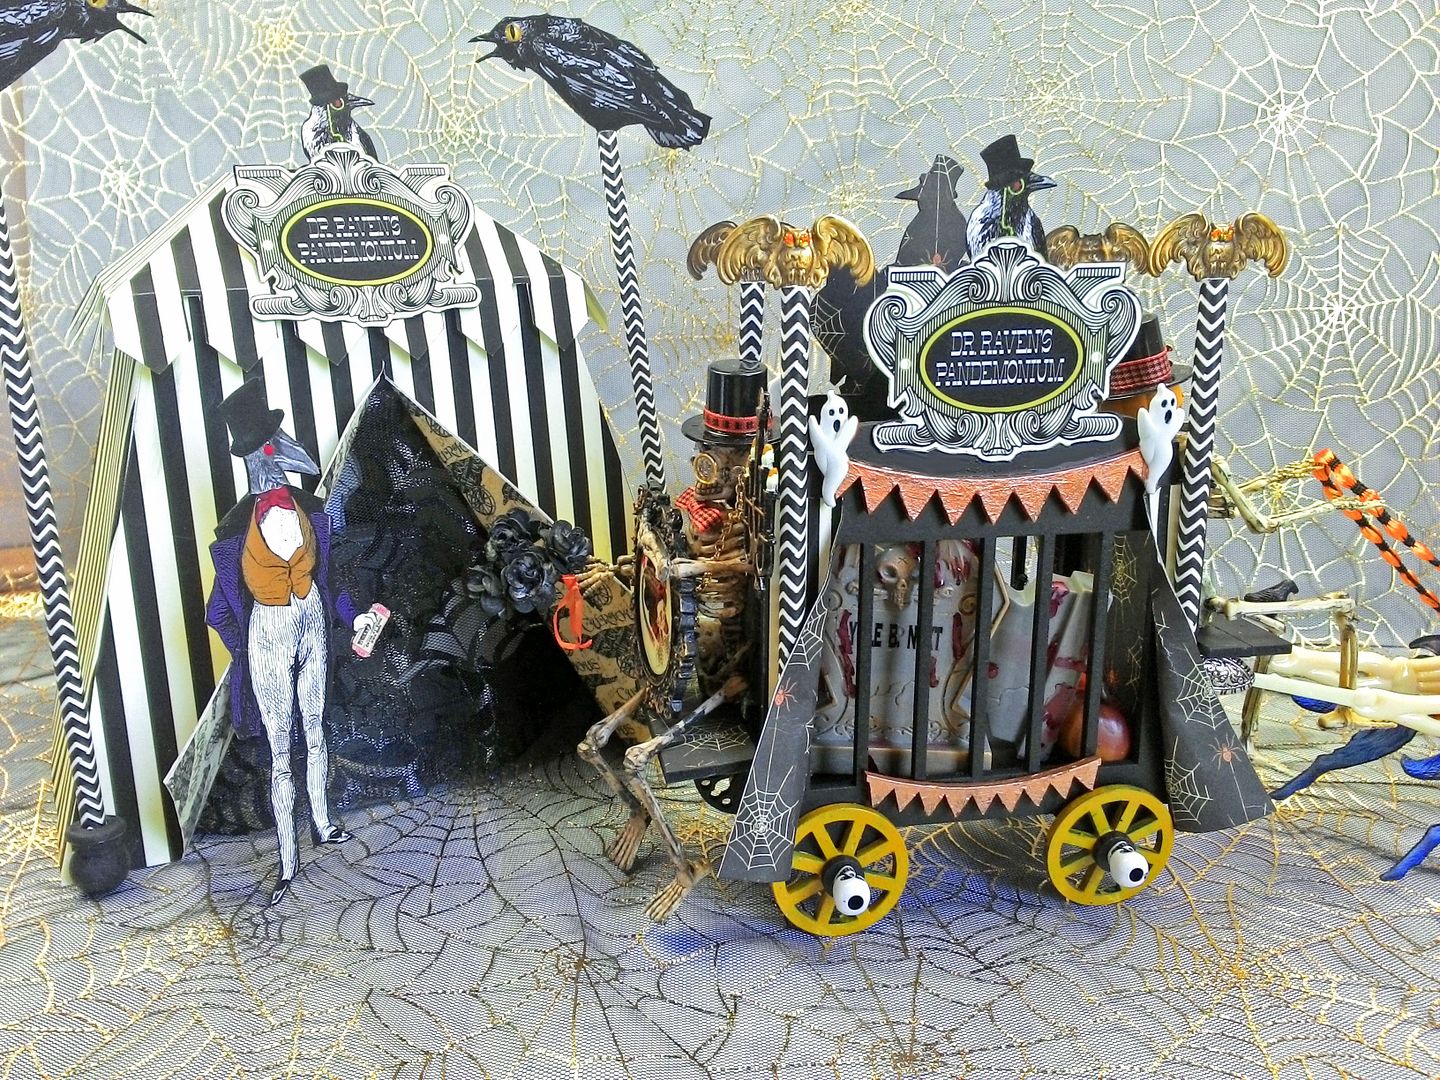
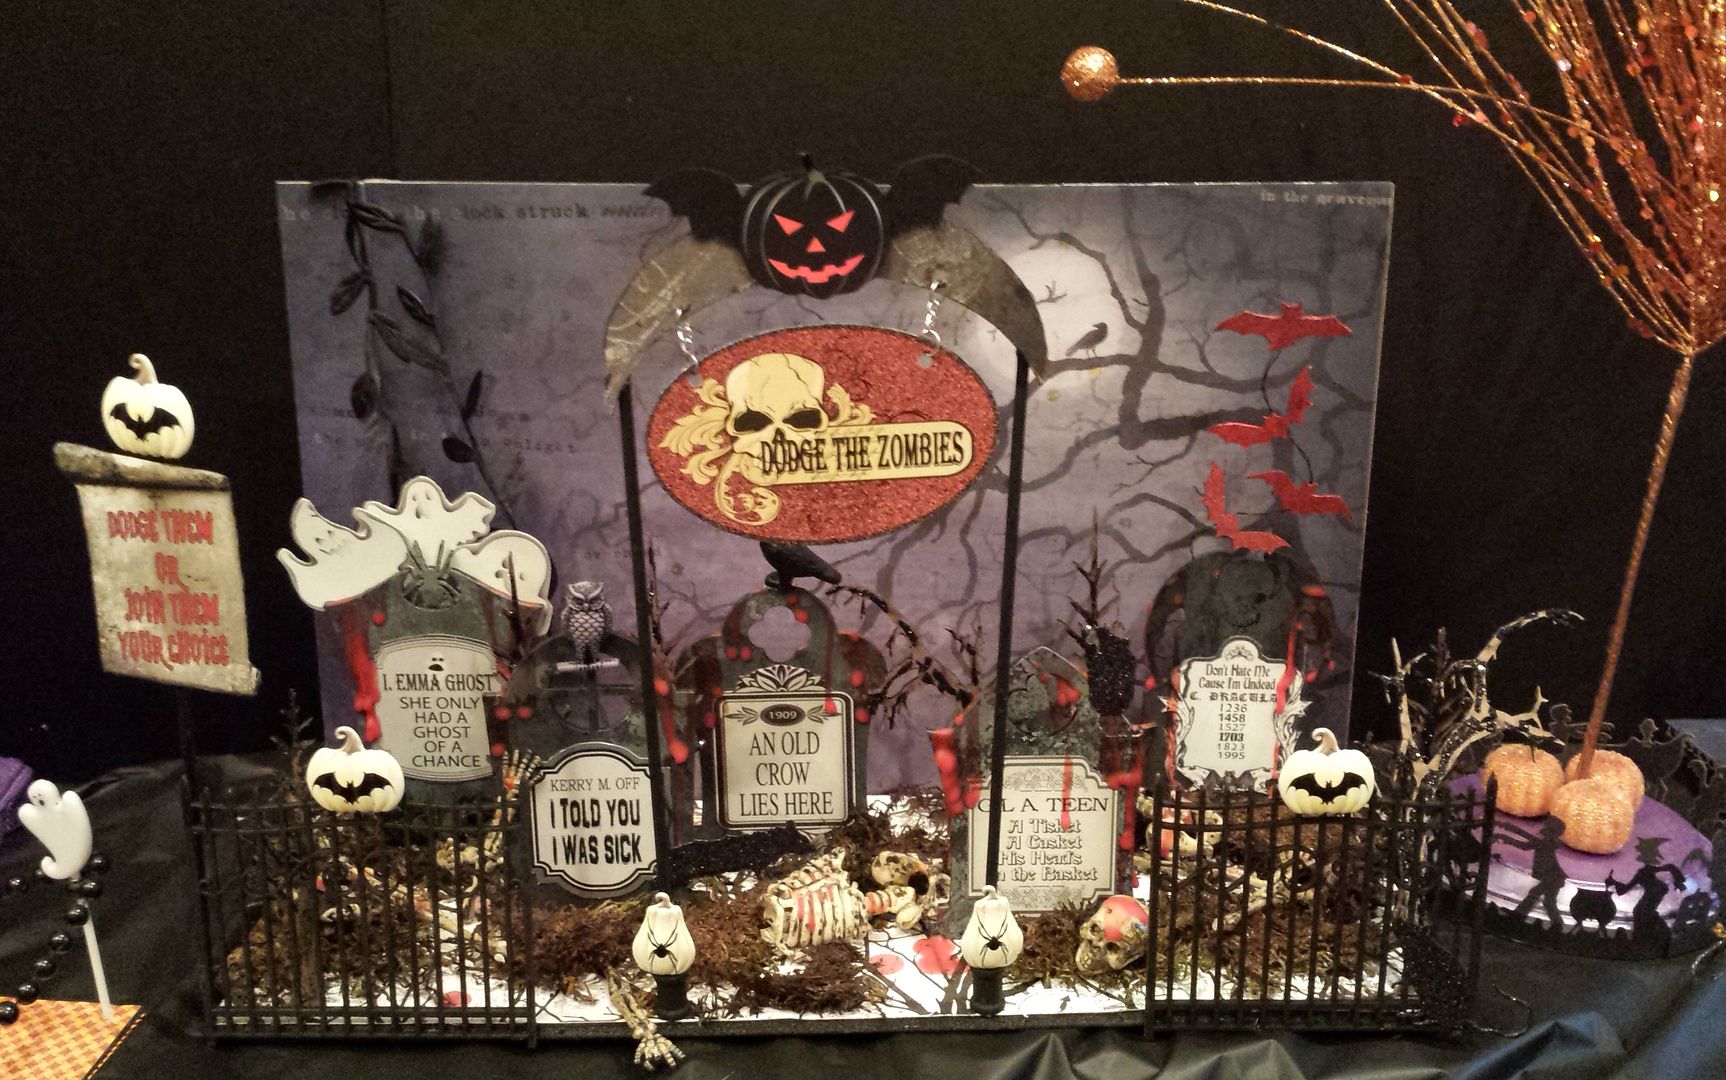
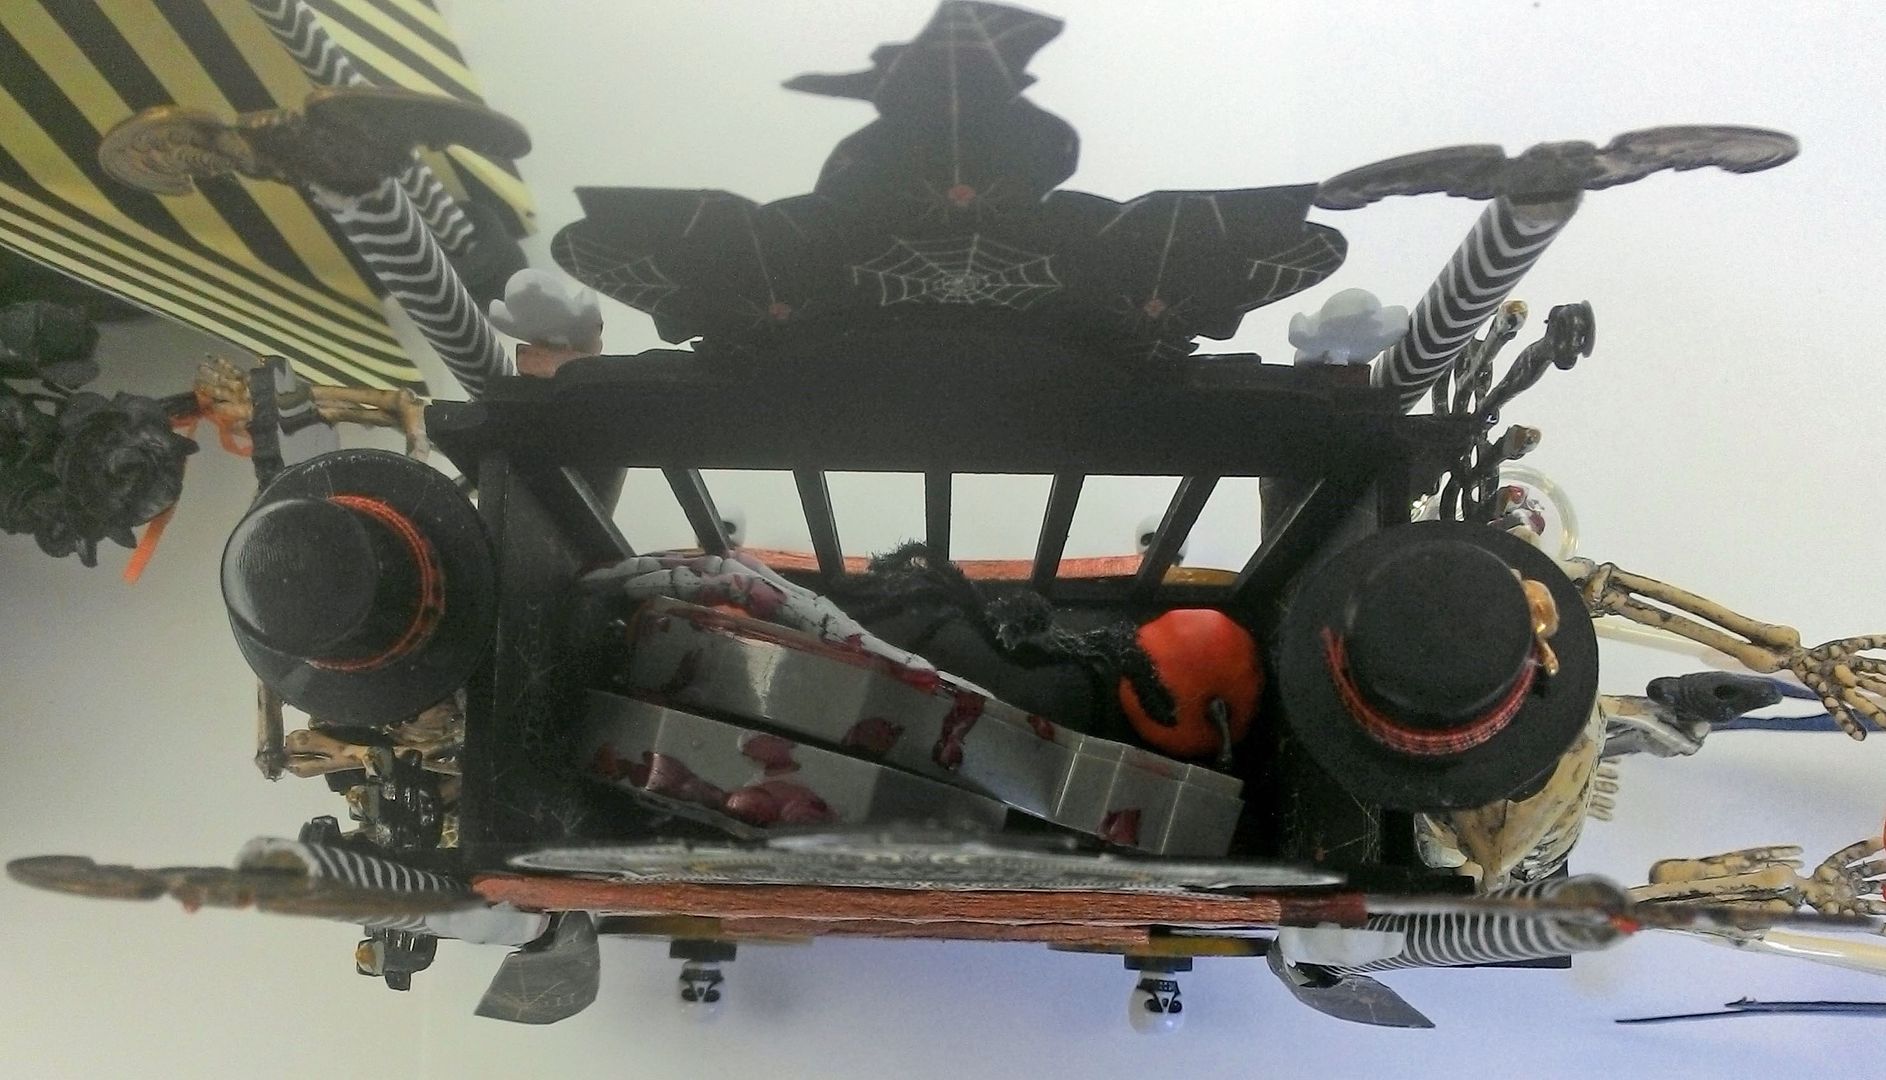
Mr. Yule B. Next, had an unfortunate accident at the Pandemonium this week. Dr. Raven thought that in light of the goulash condition of Mr. Next, perhaps he would fit right in at the “Dodge the Zombies” game.
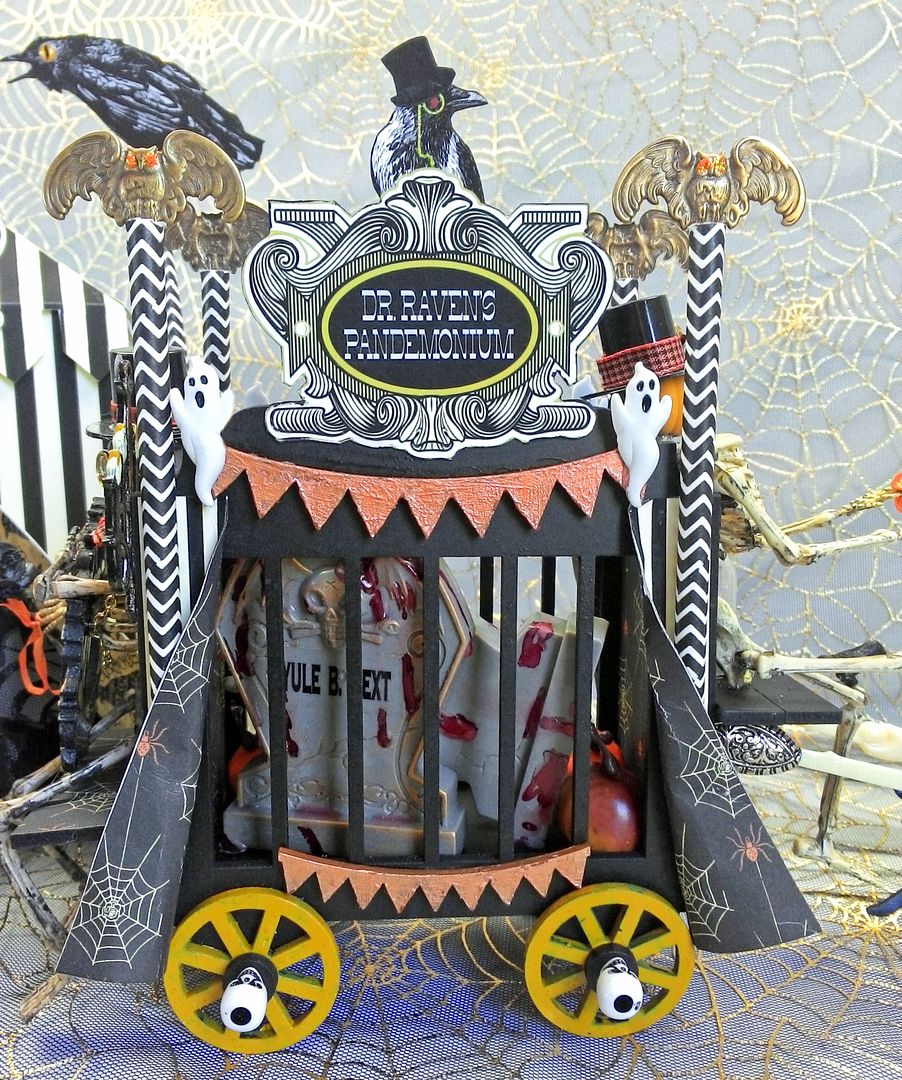
Of course with a business like Dr. Raven’s it’s important to have a wagon for occasions like these. The bars on the wagon are a must when transporting some of the more unusual oddities to his Pandemonium.

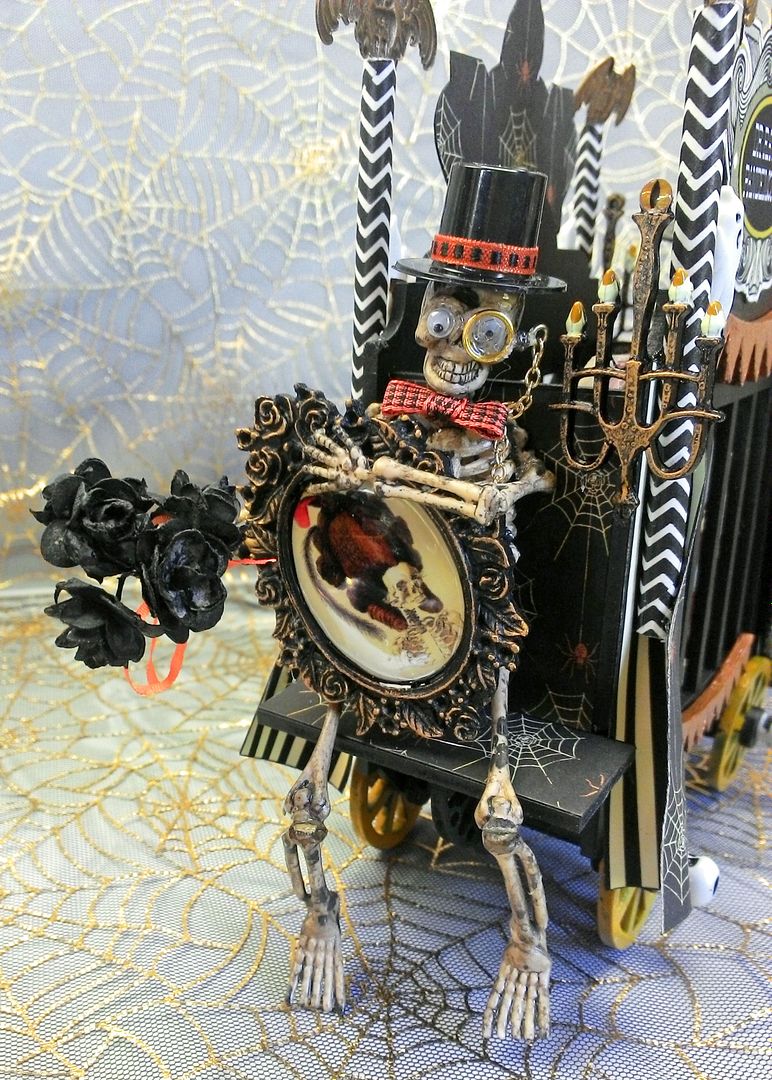
Mr. Skeletony is hitching a ride over to the Boo Bash. He goes every night hoping to find his lost love (a purported beauty) carrying her picture and moldy roses (her favorite).
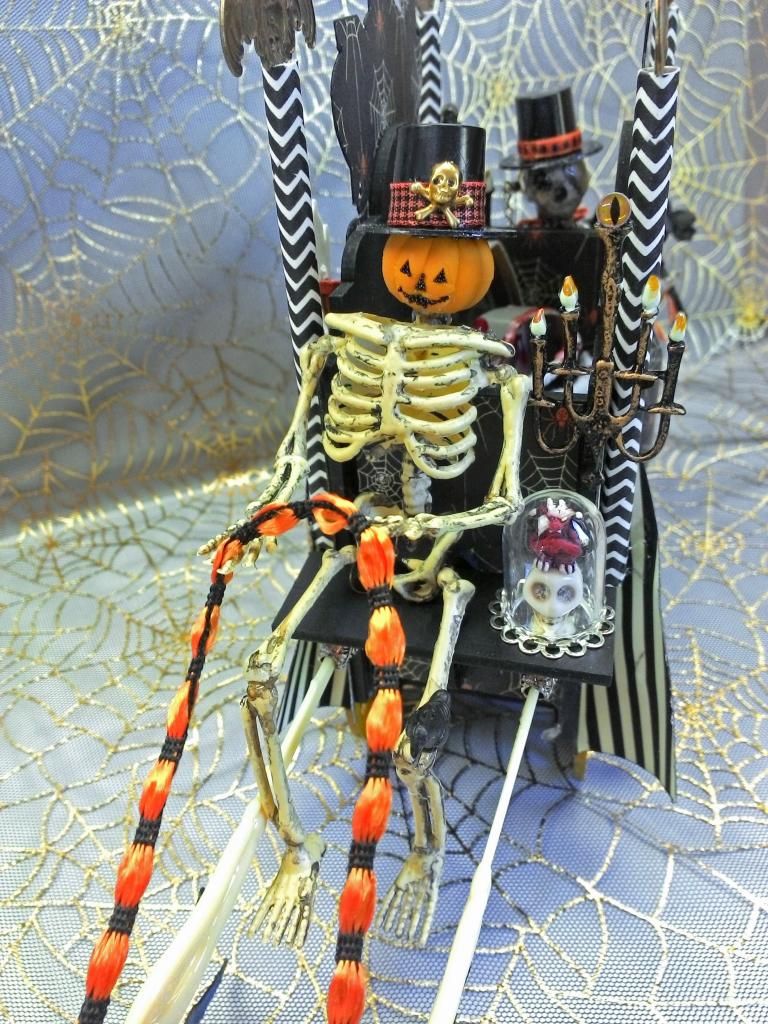
The coachman has a pet gargoyle which is sort of a nasty fellow, so the coachman keeps him in a glass dome; it’s the only way he can prevent him from biting people.

The Wagon
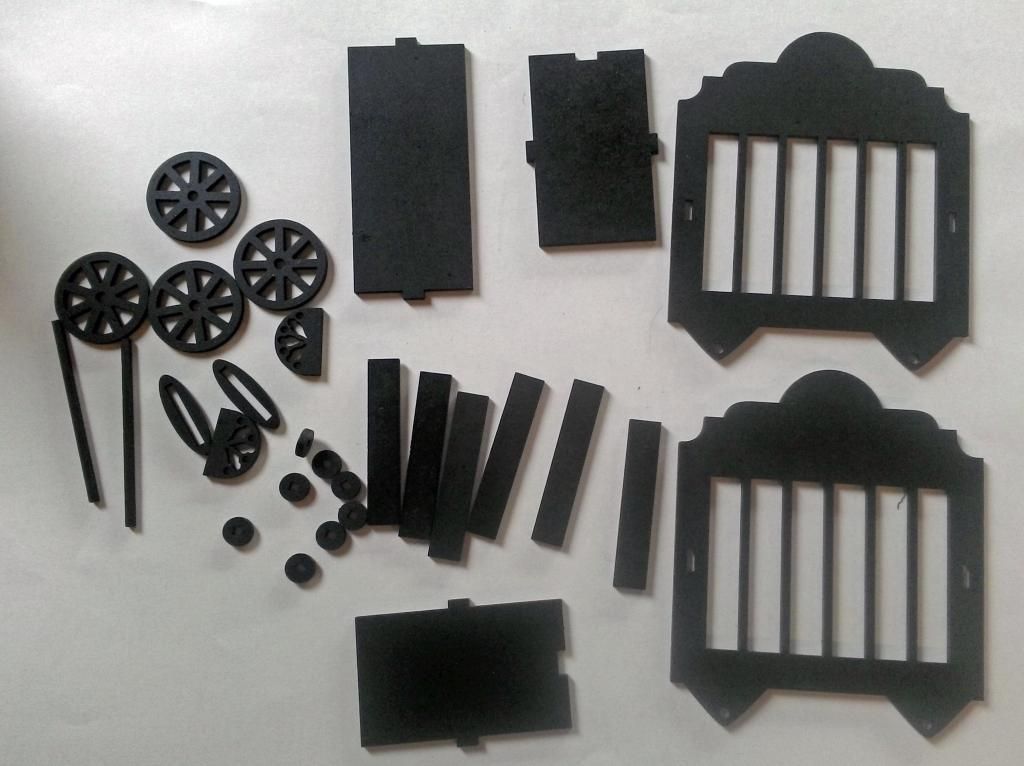
The wagon is as a Masonite kit which includes assembly instructions.
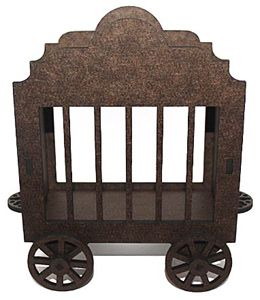
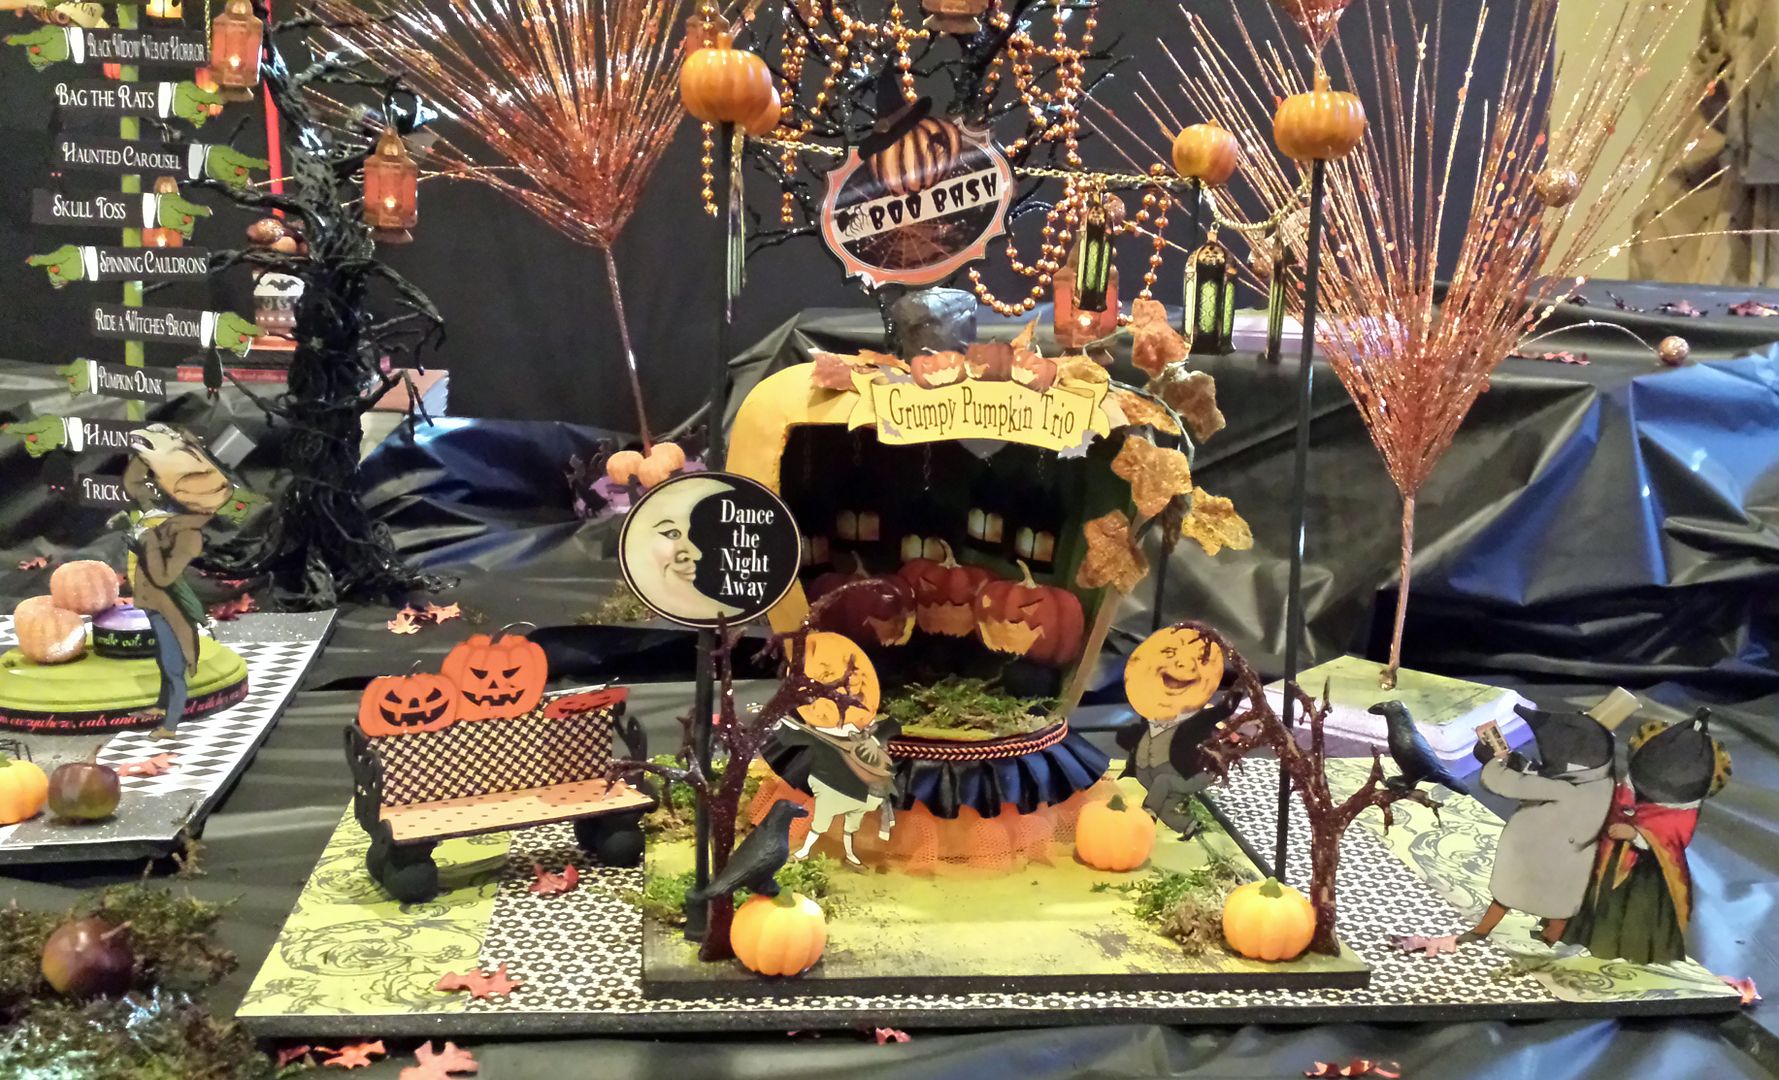
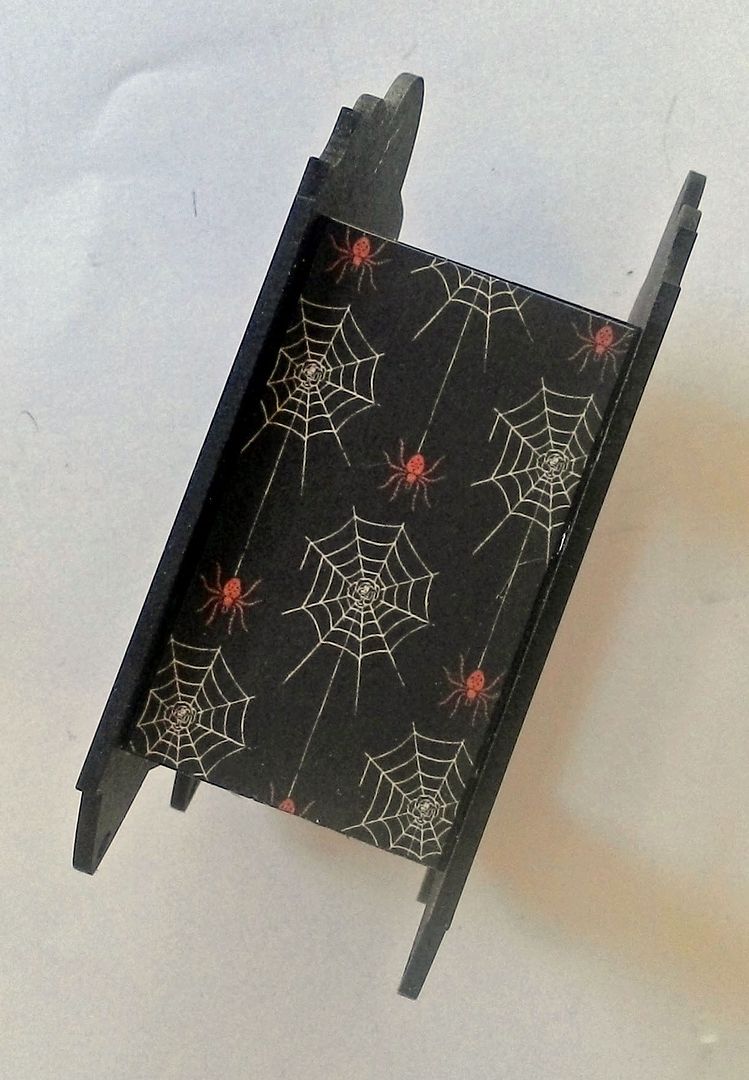
It’s original purpose is for a circus wagon to hold ATCs but as soon as I saw it I knew I would take it in a spooky direction. I thought it was a perfect addition to my Halloween Carnival. In the picture below you can see how the top is open if you want to use it for displaying ATCs.
In addition to sharing with you how I embellished the wagon, I’ll describe the changes I made to its assembly.
I started by spray painting all of the pieces black which made the process much faster than hand painting all of the pieces. Note in the picture below I also painted the slats from the bars. The slats will become the benches for the coachman and Mr. Skeletony.
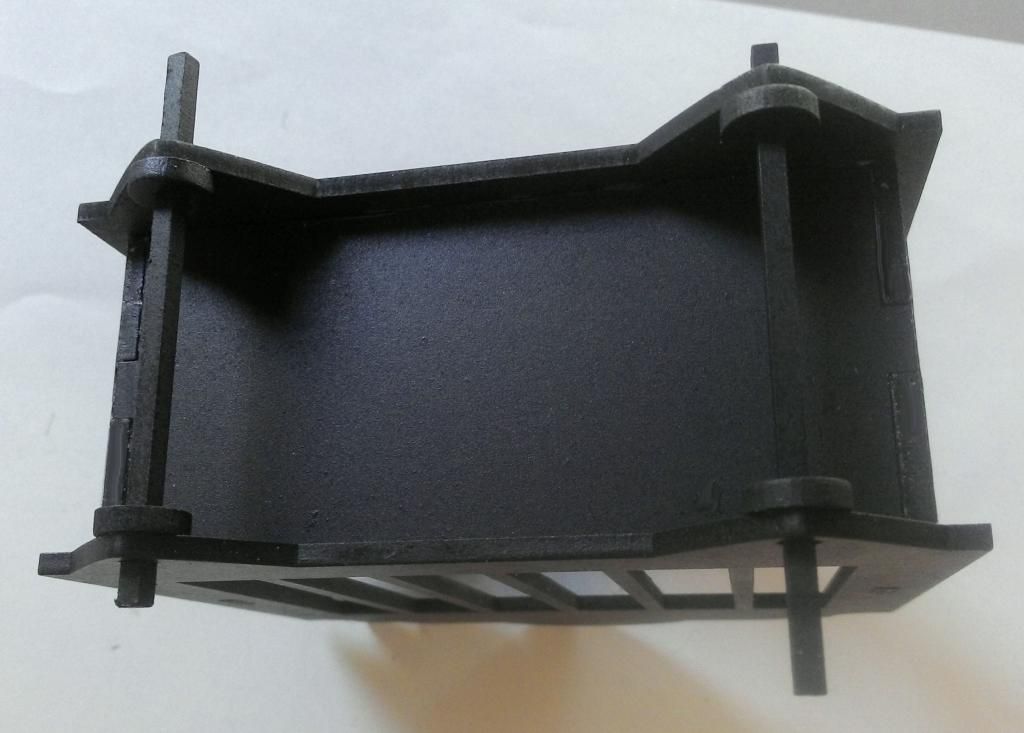
Before assembling the main section of the wagon I added paper to the front and back pieces.
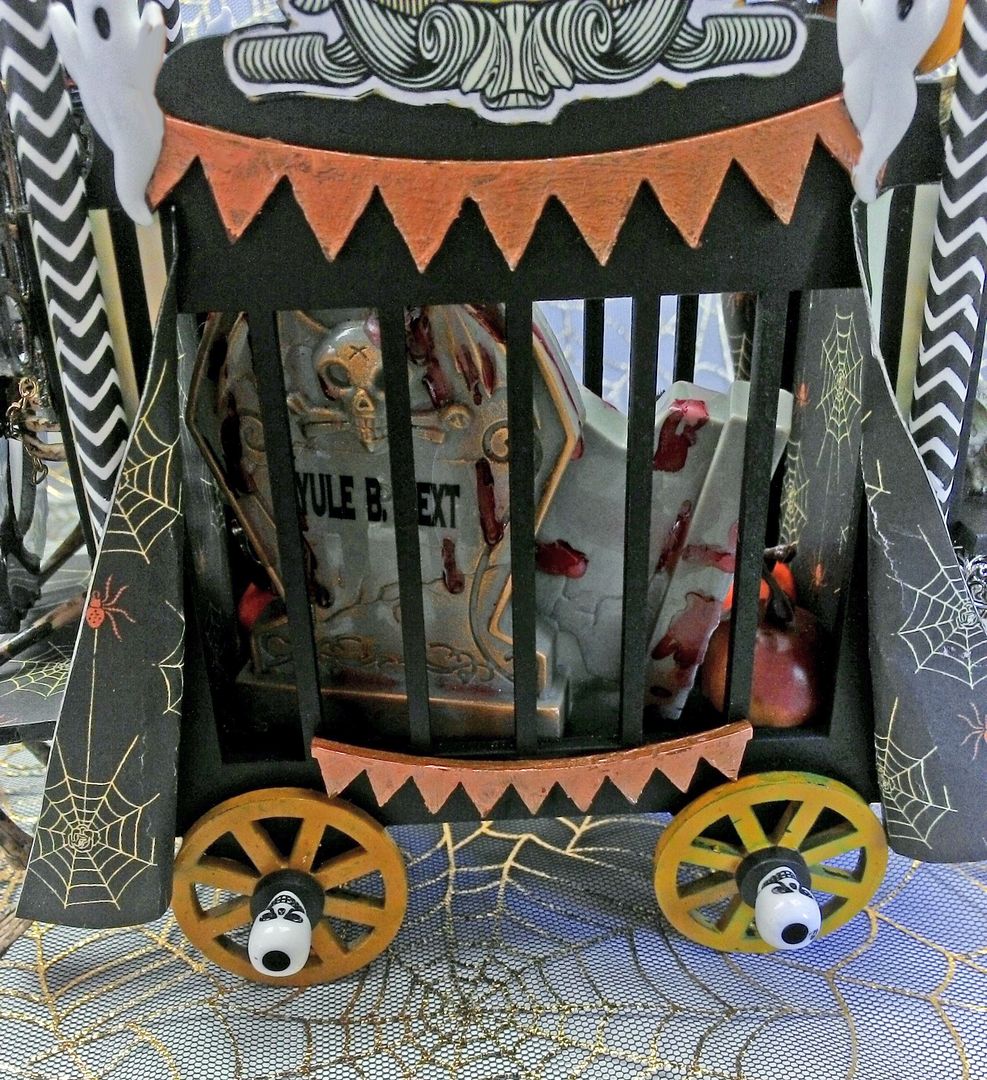
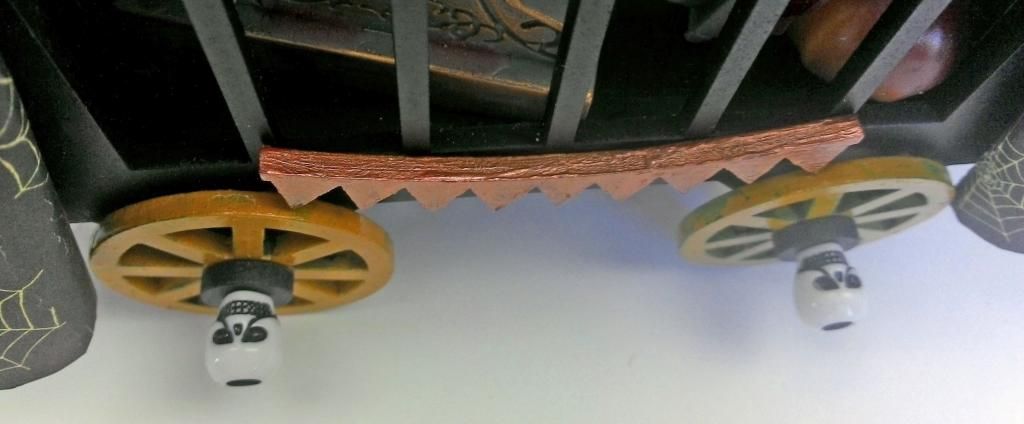
I approached attaching the wheels in a slightly different manner than the one described in the instructions. I first glued the washers in place on the inside of the wagon. I pushed the axles through the washers to make sure everything lined up as the glue dried. The axles are loose and not glued to anything.
Next, I evened up the axles and slid the wheels onto the axles and then the washers. The instructions call for the outside washers to be glued to the axle but not to the wheel if you want the wheels to turn (not an easy thing to do). If you put glue in the washer hole, it gets all over the axle as you slide the axle in place. Instead, I used skull beads to keep the wheels and washer in place. The particular skulls I used fit snugly on the ends of the axles.
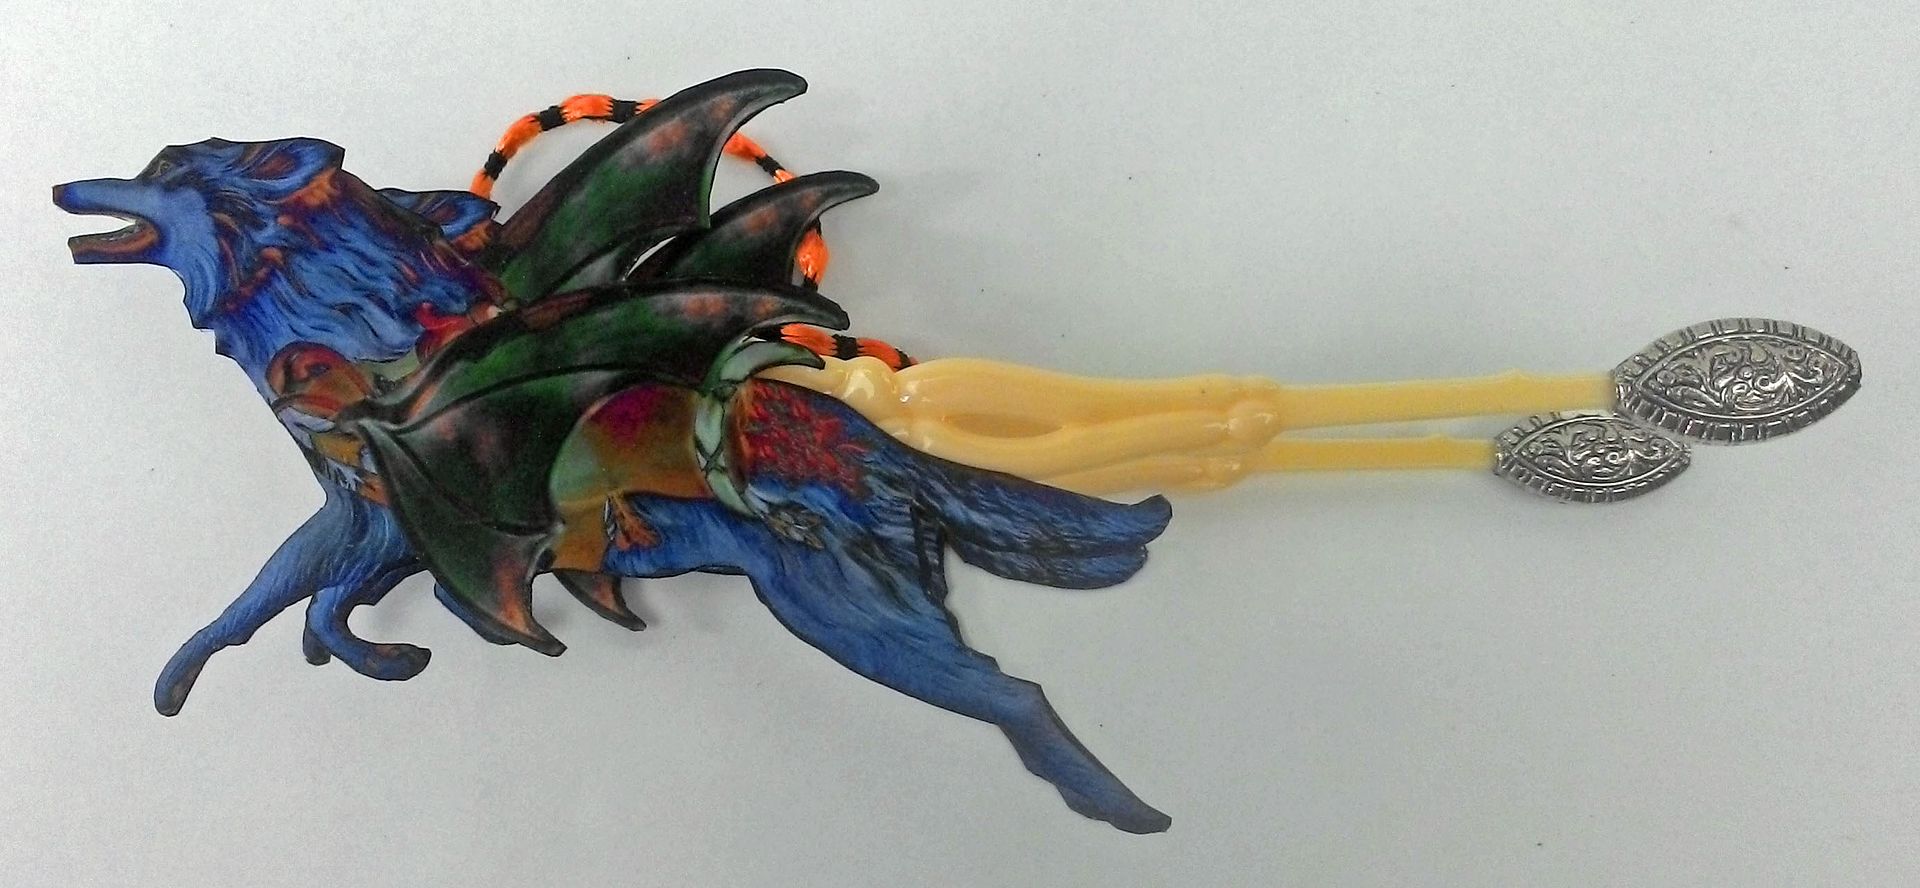
To pull the wagon I used the wolf image from the Halloween Carnival Rides #1 Collage Sheet which contains spooky carousel animals. To support the wolves and to make them stand on their own, I glued two pieces of a wooden skewer between them. I used two skeleton hand food picks to connect the wolves to the wagon. The wooden skewers slide perfectly into the gap between the thumb and fingers on the pick.
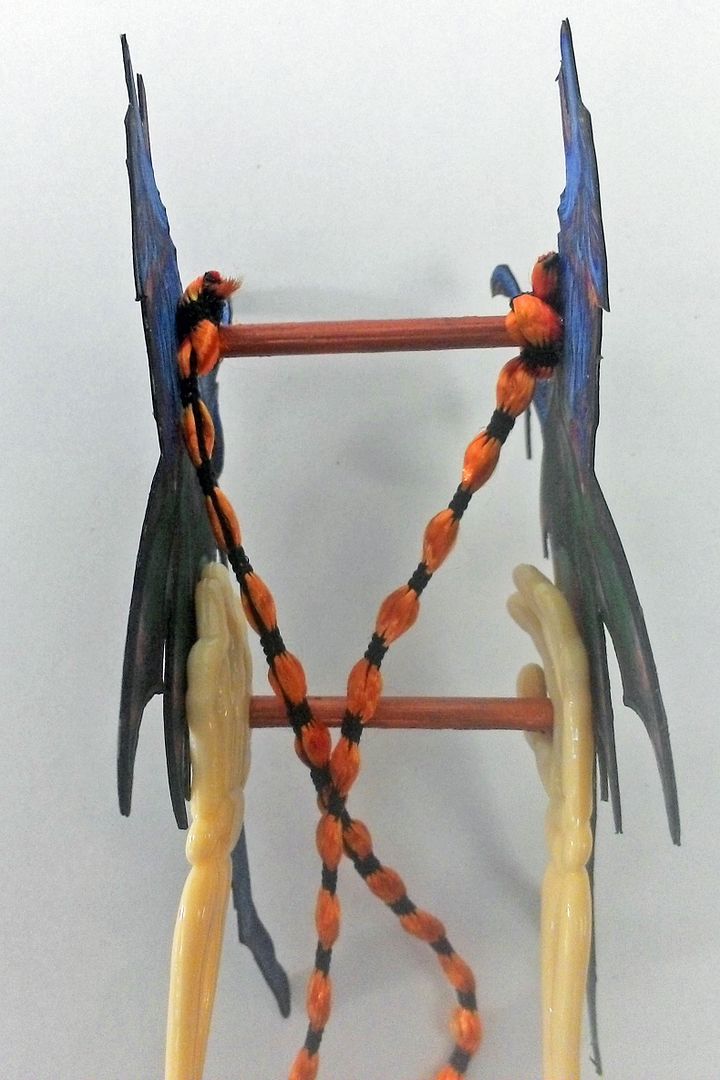
At the end of the picks, I attached a bead. The purpose of the bead was to give me a larger surface area to attach the wolves to the wagon. The beads are attached under the front bench.
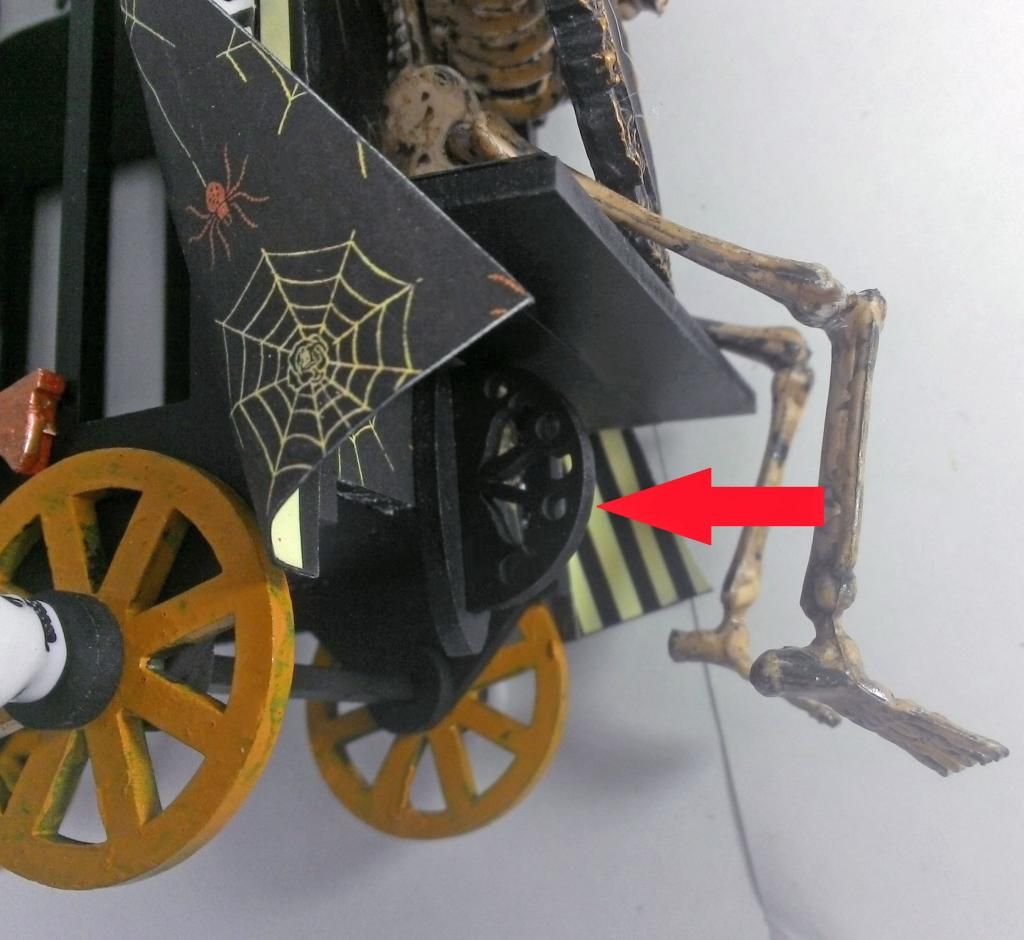
To create the benches I glued together two of the pieces that were in between the wagon bars. The kit comes with two decorative hitches to which you can attach a string to pull the wagon. I repurposed the hitches and used them as supports for the benches by gluing them vertically under each bench. Just gluing the benches to the front and back of the wagon was not enough to support the weight of the skeletons.
The blood on the coffin was made by dripping red candle wax. I decided it was not dark enough so I painted it with Red Pepper Alcohol Ink.
To manipulate the skeletons into the position I wanted, I used heavy scissors to cut them at the arms, elbows and knee joints. I then glued them into the desired position.
Mr. Skeletony’s monocle is made from a jump ring, bead, eye pin, and chain. It’s attached to his google eye using Glossy Accents.
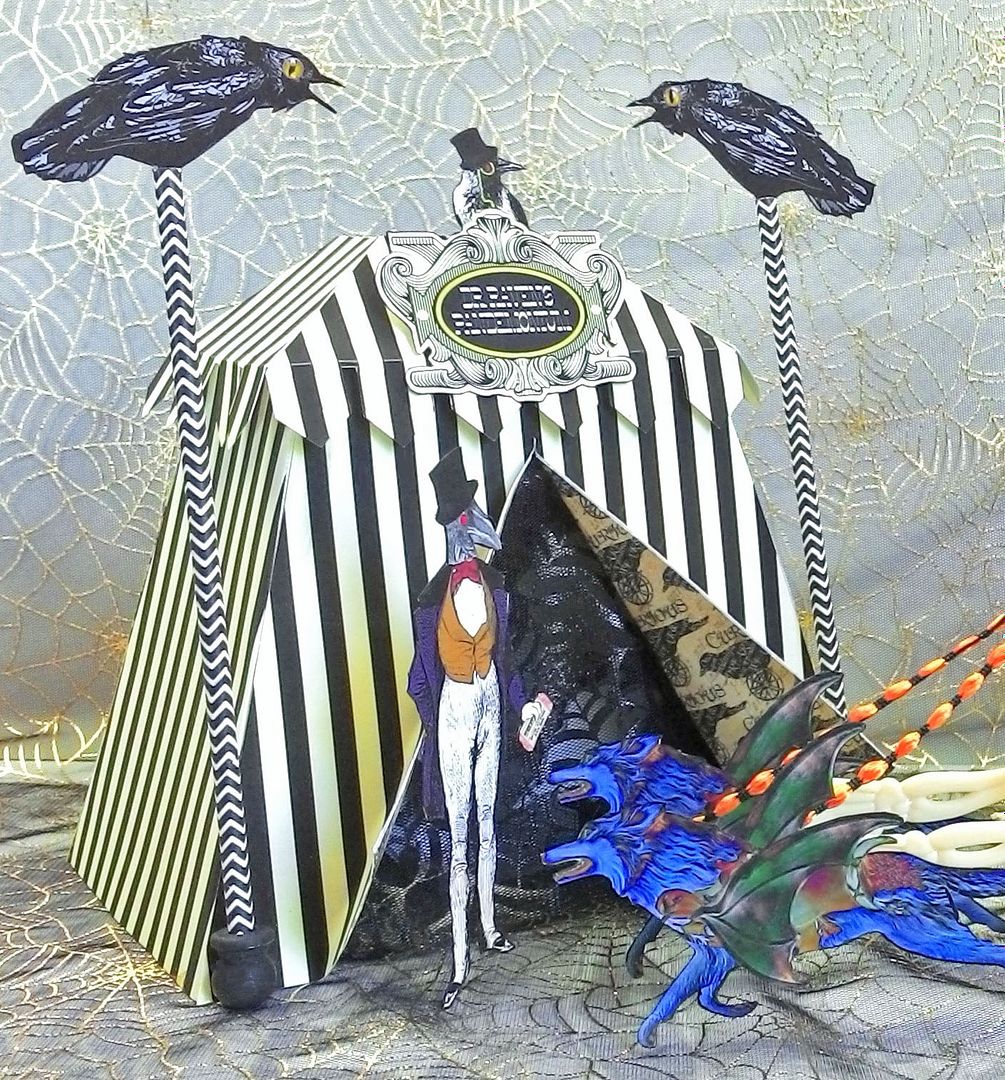
The posts are made from chevron patterned straws. These are heavy and stiff paper straws. The tails of the owls fit perfectly into the straws.
The tent comes from my 3D Tent Digital Image Set which includes 4 different tents. Some of the tents are available as collage sheets. For a video tutorial on how to assemble the tents click here.
You can find the tutorials and more information about building a Halloween Carnival at:

COLLAGE SHEETS
or
or
5 comments:
what FUN! YOUR work is awesome!
You are SO amazing. Love the google eye with the monocle.
Utterly amazing, I am just lost for words.
Your pieces are amazing and I do love to see your creativity in creating these tableaux but I think I find your writing to be just as creative and fun! Thank you for such entertaining posts and items!
Absolutely wonderful - once more! I love your projects, especially during halloween season *gg* and, of course, the instructive tutorials - many thanks!
hugs serafeena
Post a Comment