

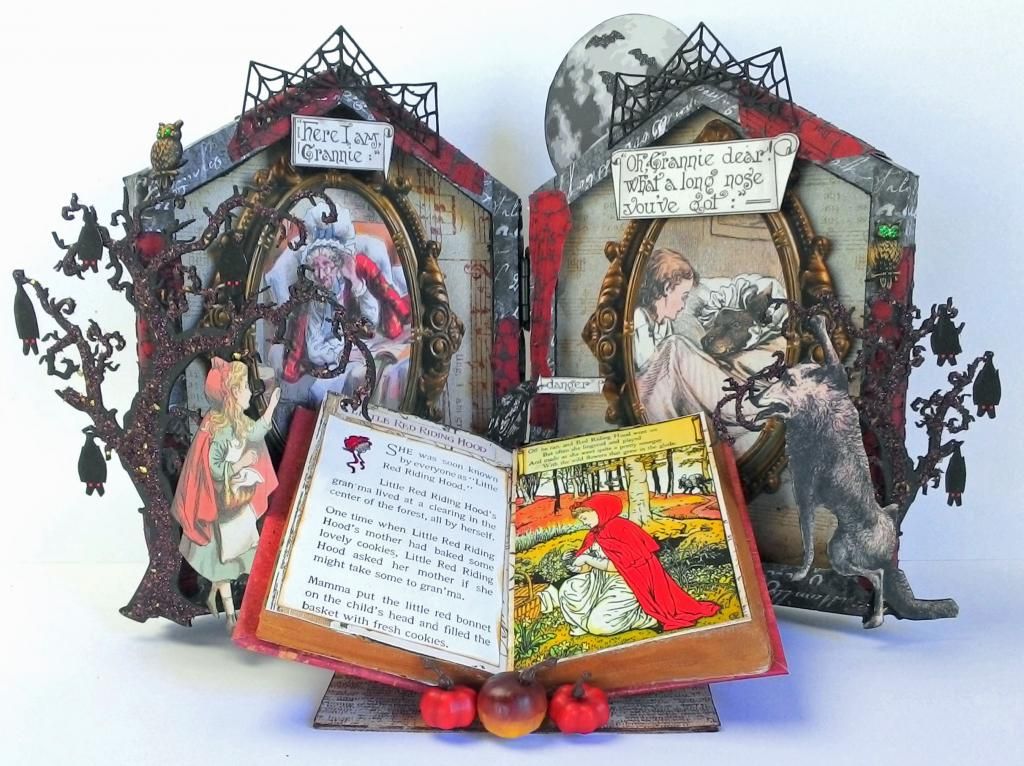
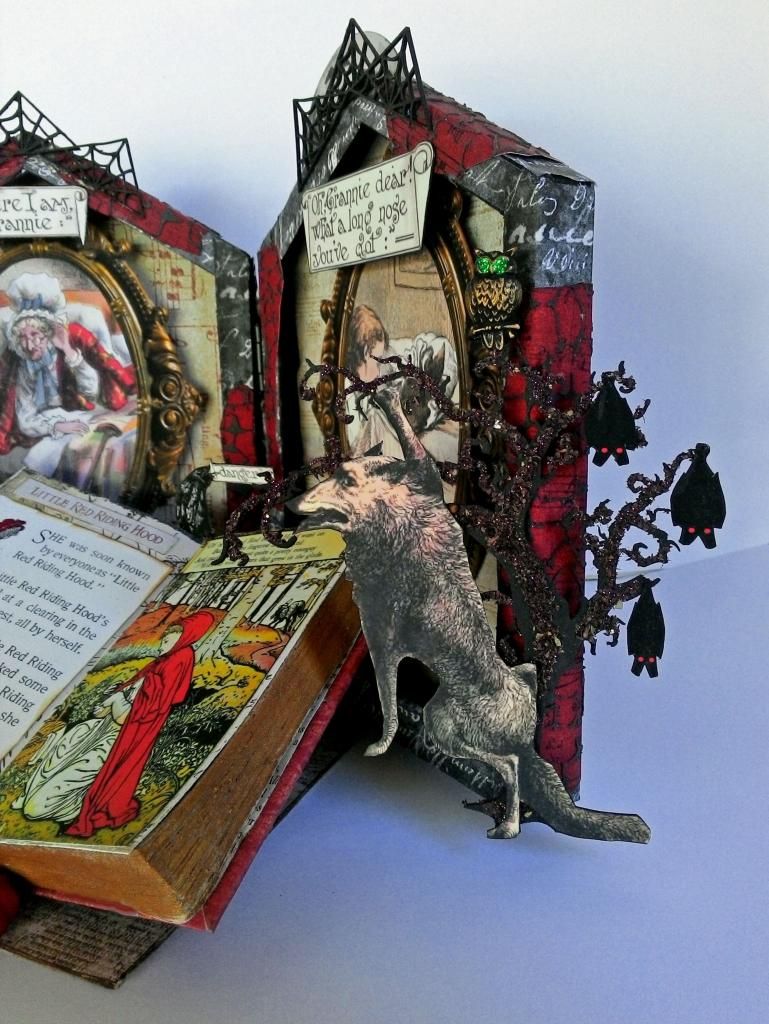
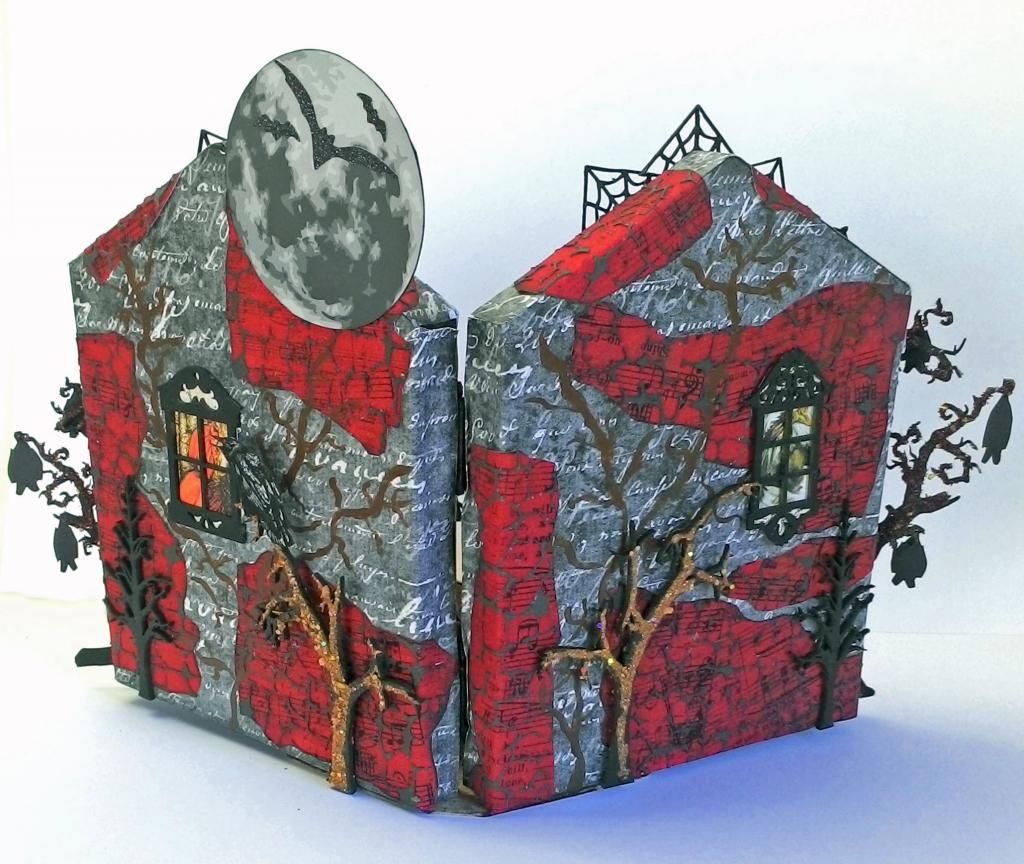
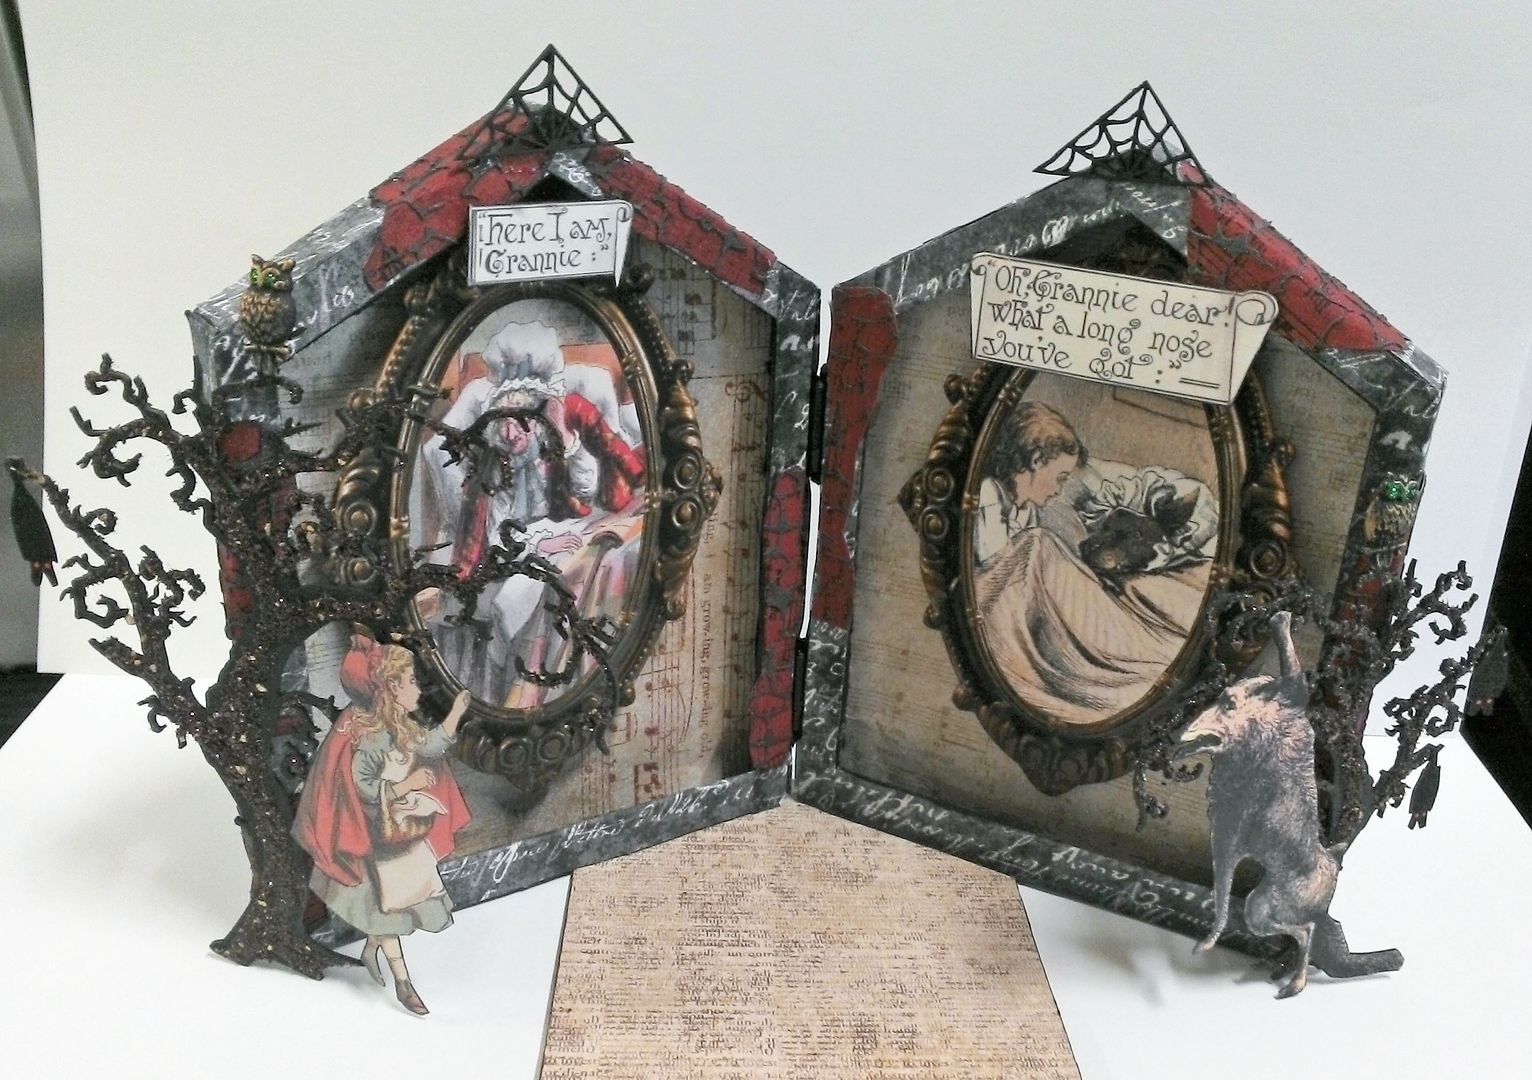
Since Little Red Riding Hood is such a dark story, I thought why not push it a little further with a touch of Halloween. The poor much-aligned wolf in this story gets the short end of the stick.
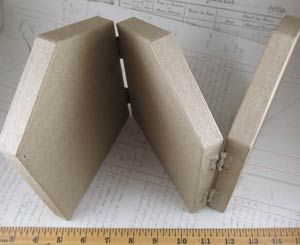
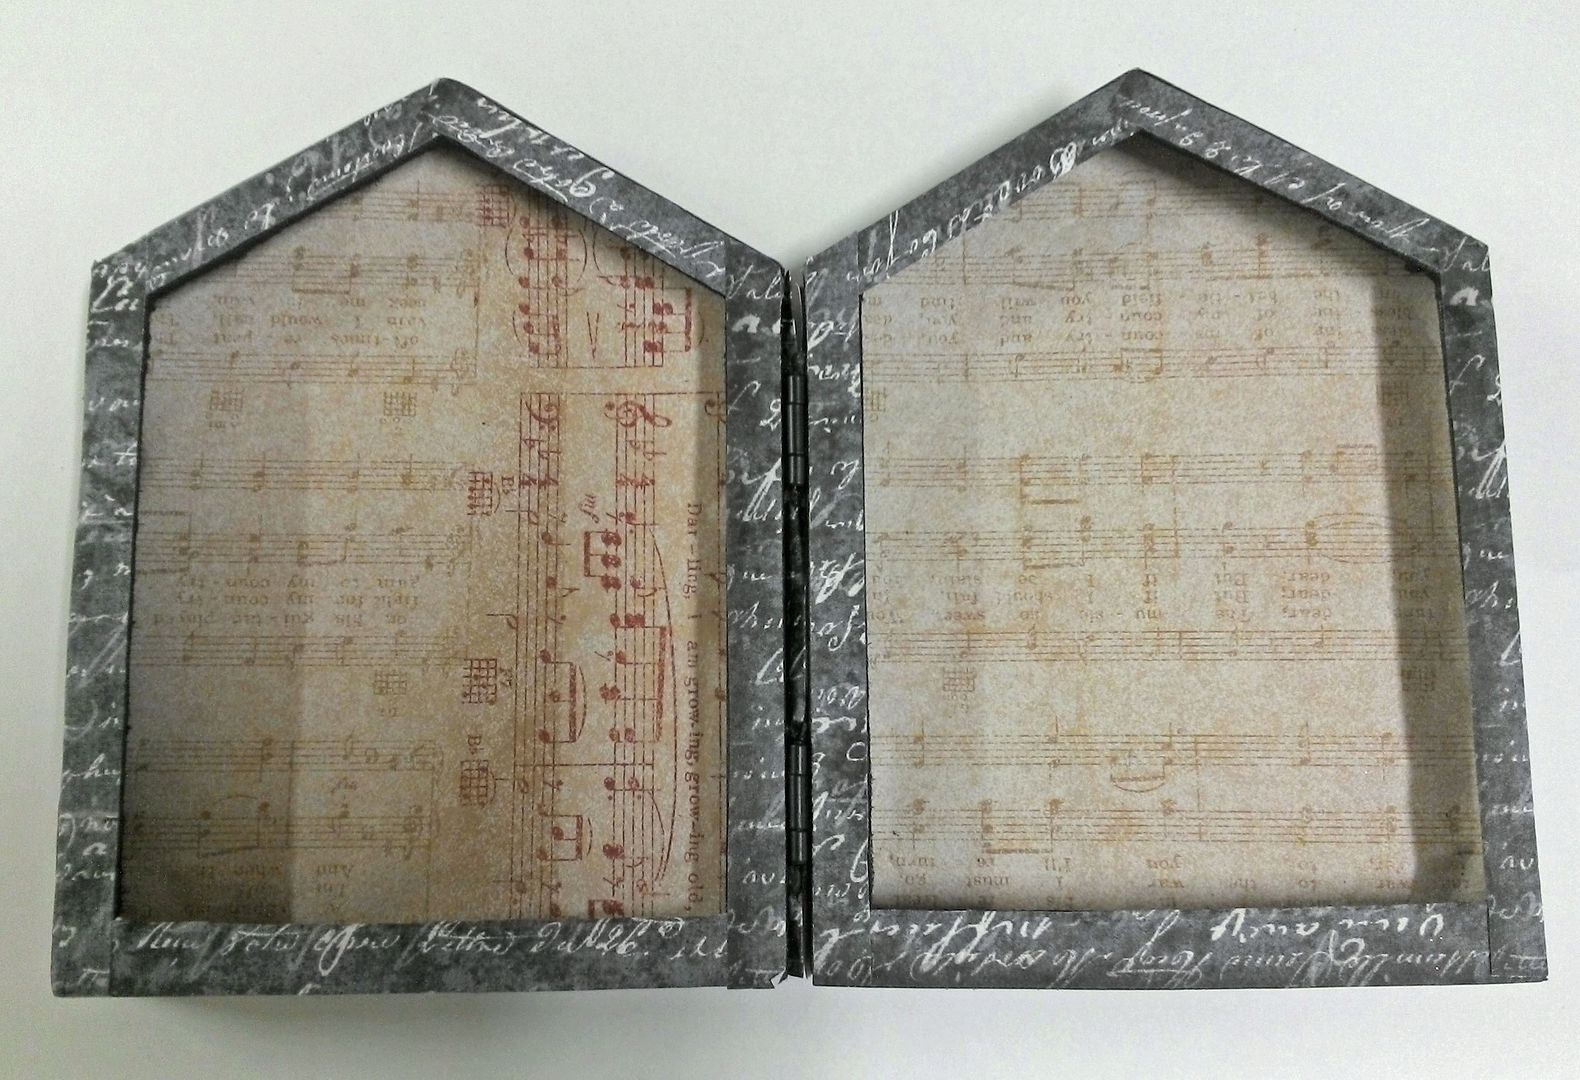
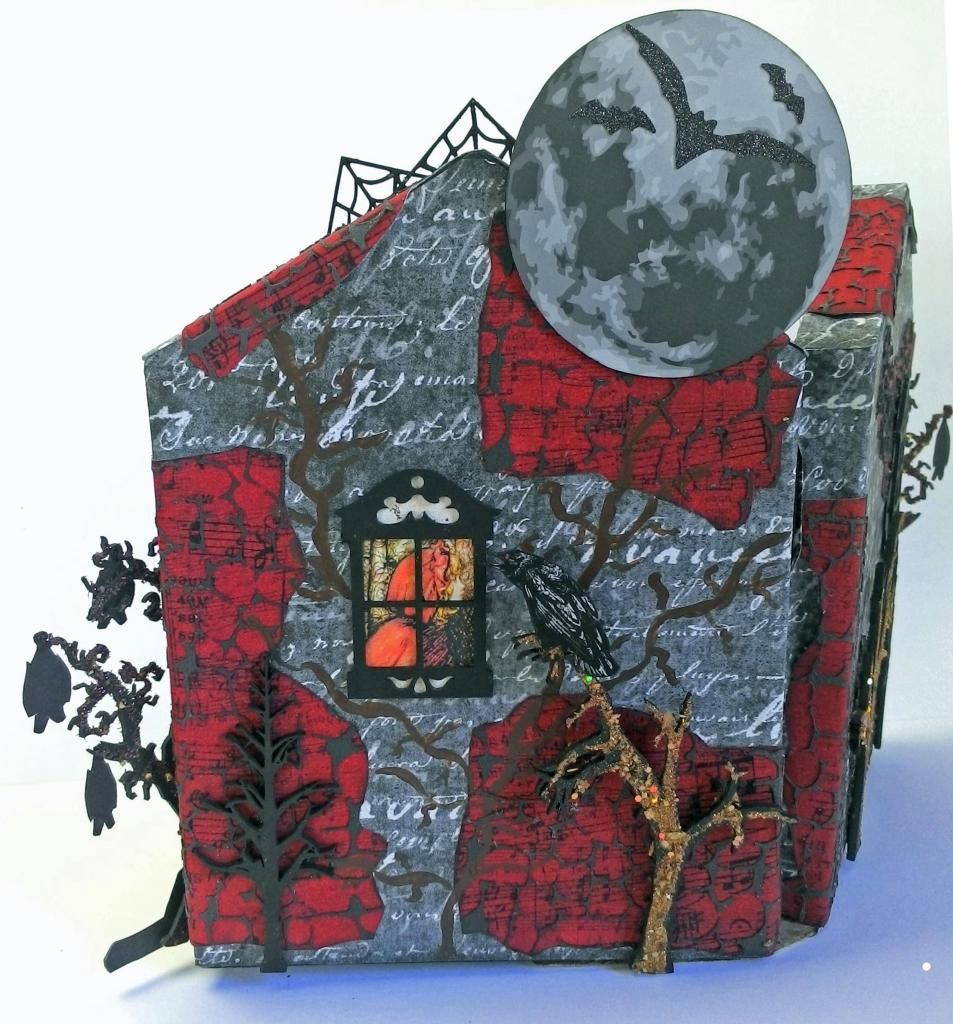
I decided to use a paper mache house accordion shrine as the backdrop and create a faux book with the story. The book rests tilted and open in the niches.

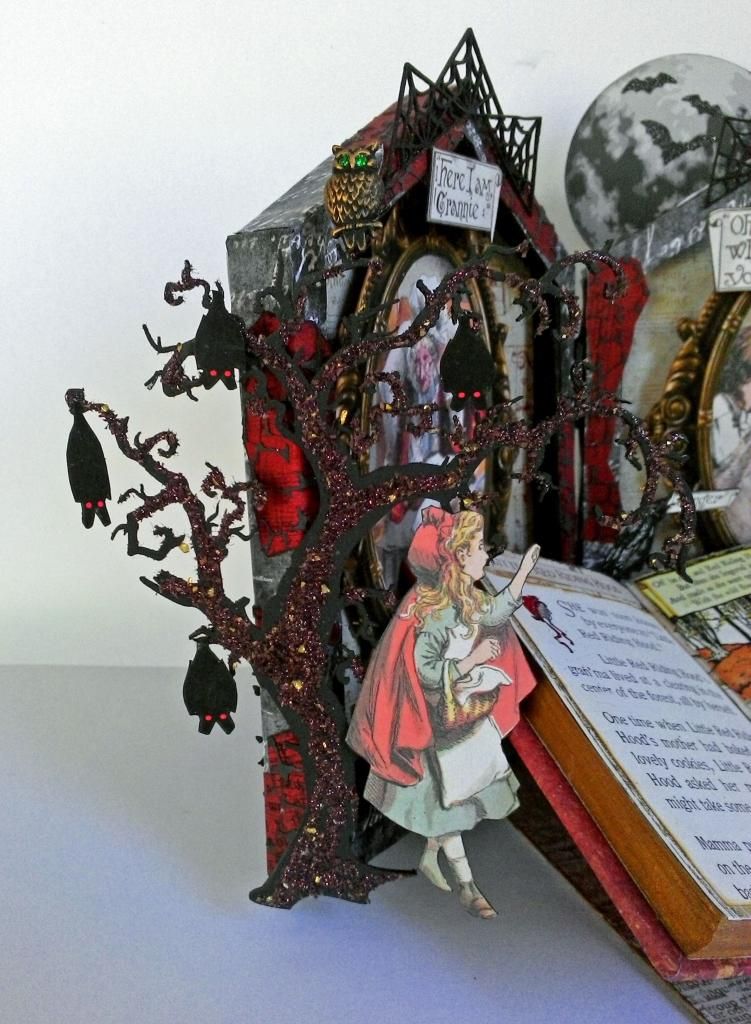
The touch of Halloween comes from the pumpkins, bats, ravens, spider webs and a large moon.

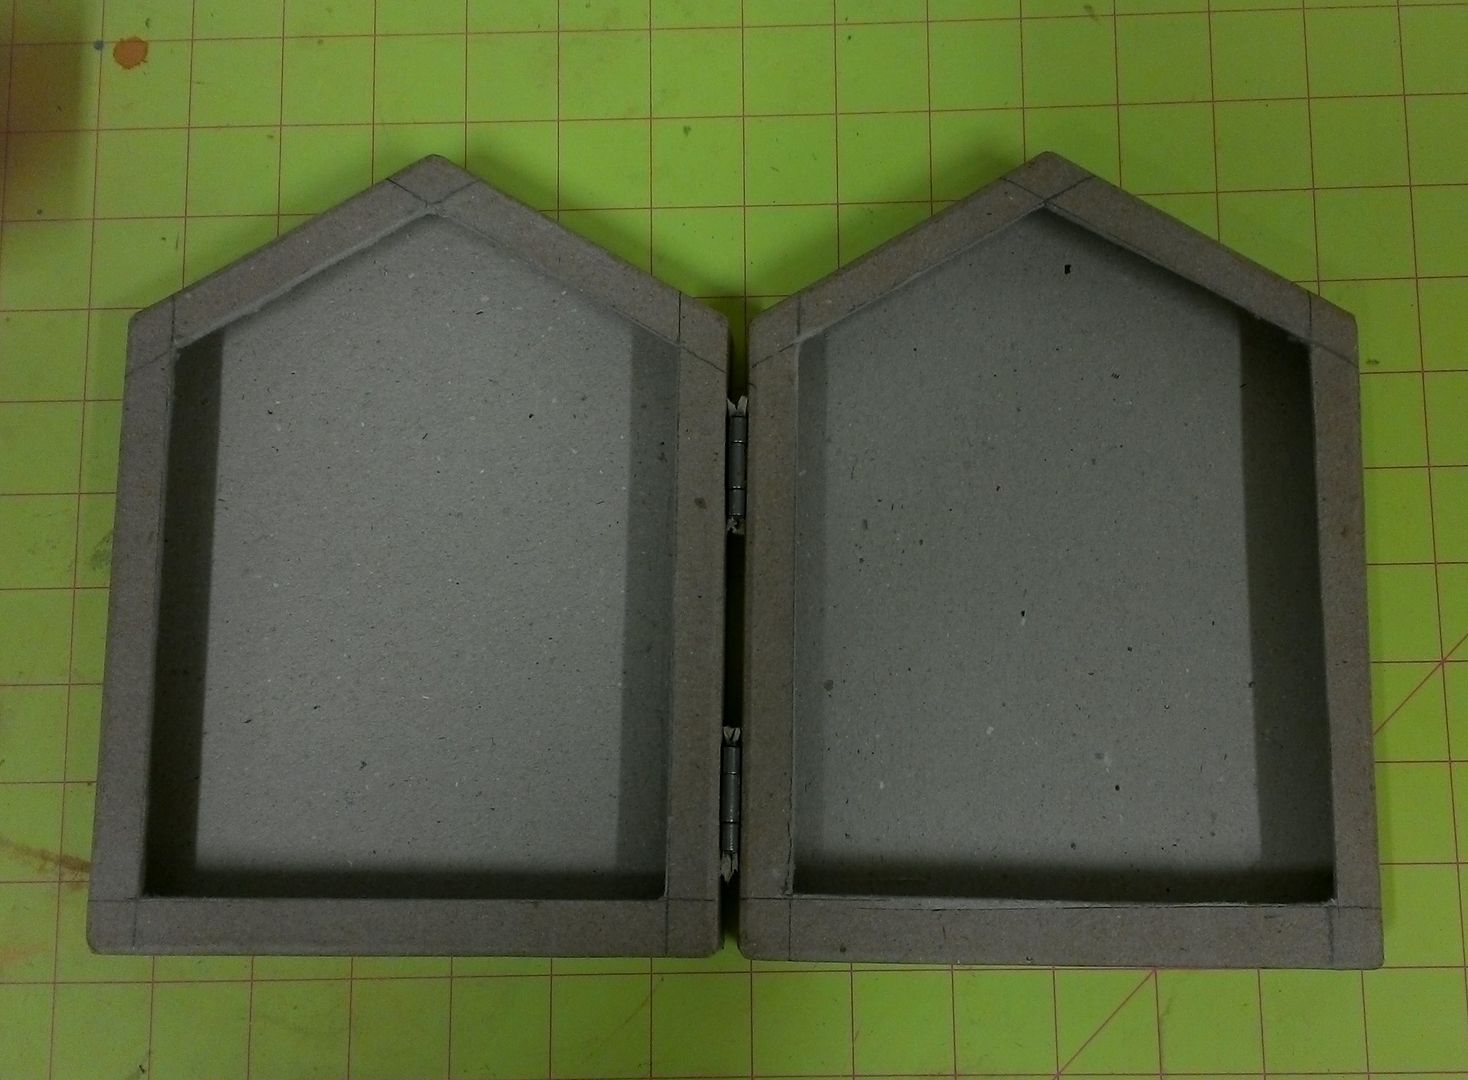
Prepping the Houses
I started by removing one of the house shapes. The shapes are attached with hinges that are screwed into the paper Mache.
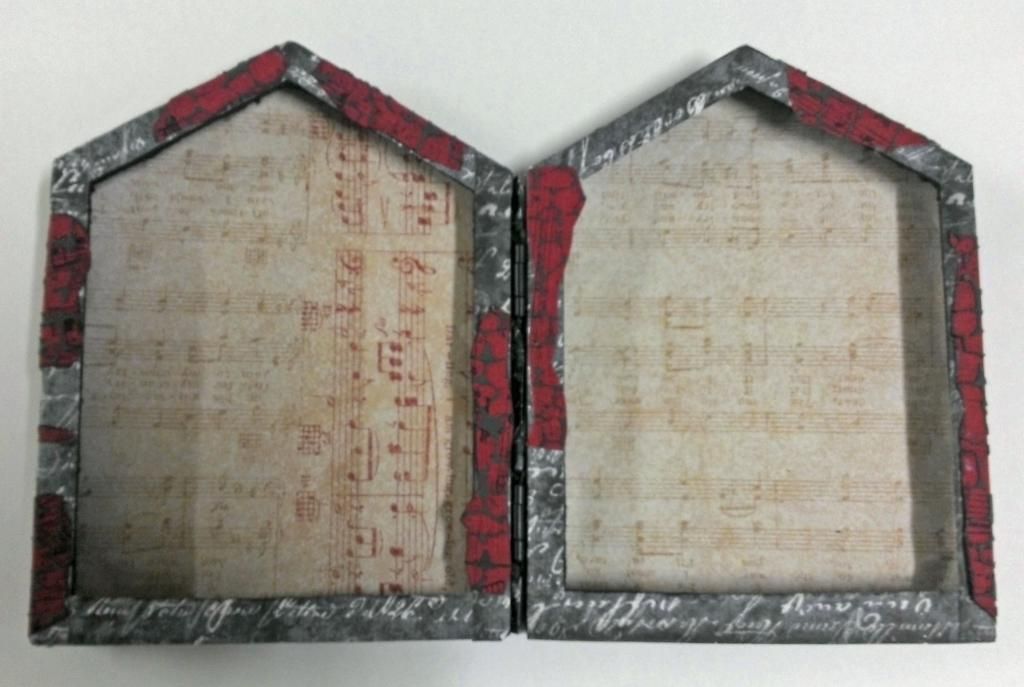
Next, I marked the areas for the niches and cut away the marked area using a box cutter and metal ruler (as a guide).
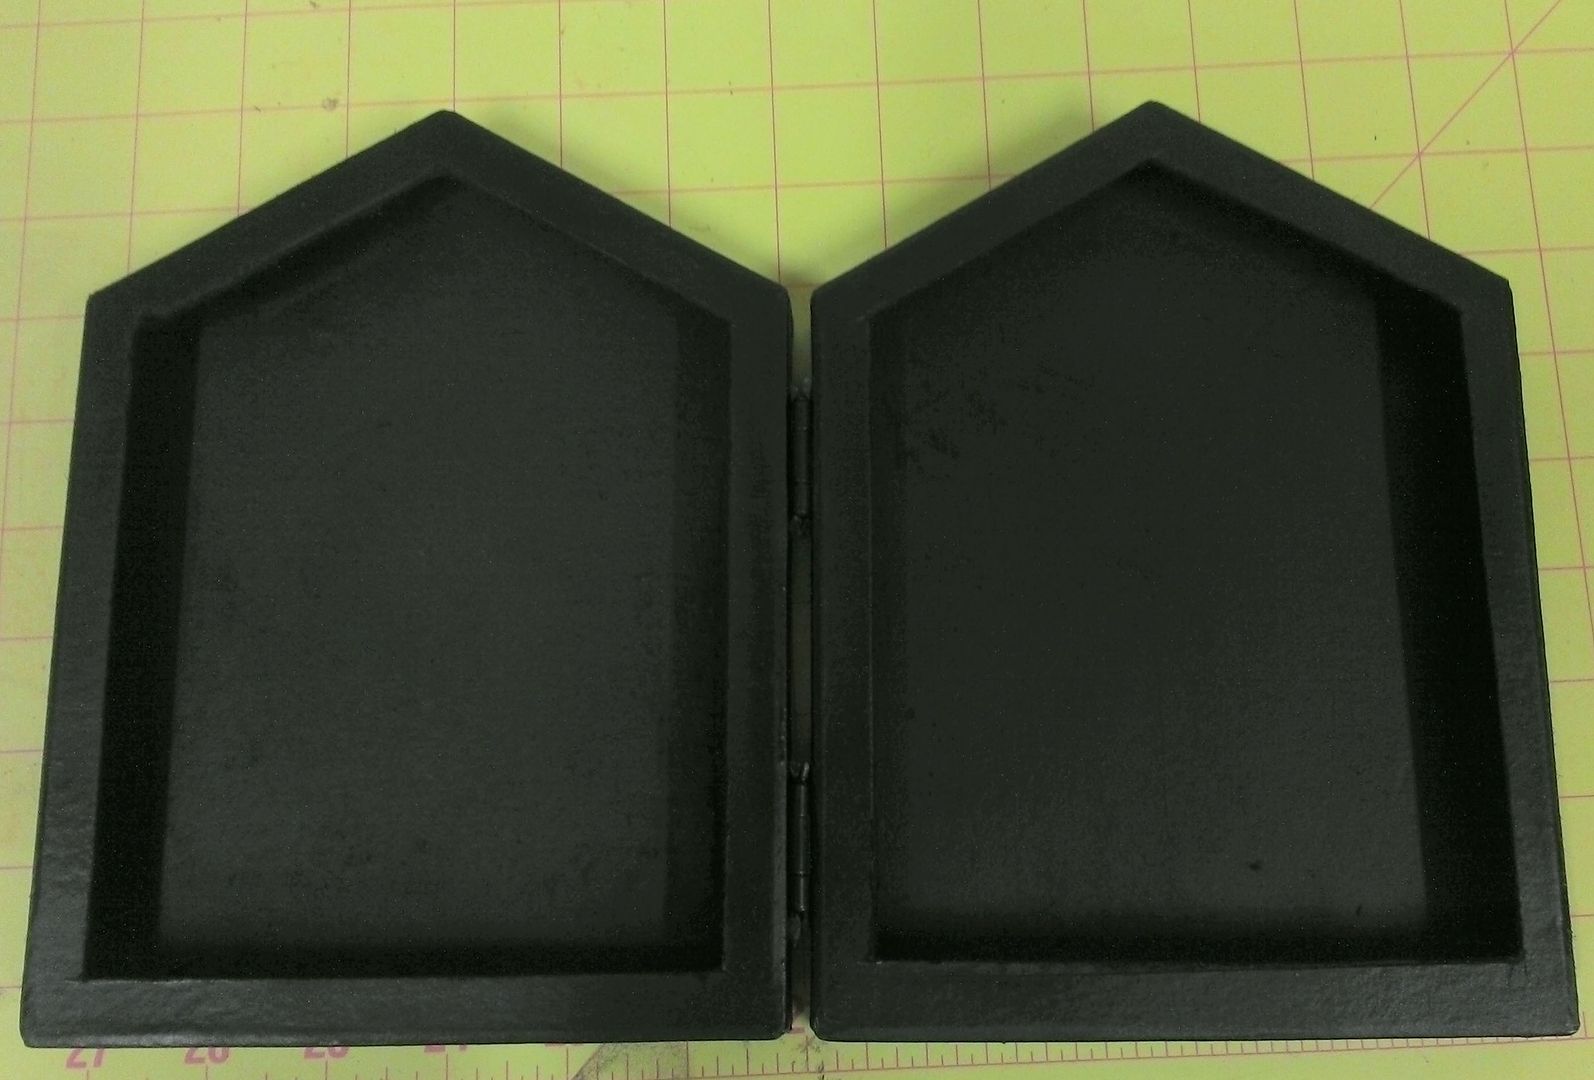
I spray painted the houses black (because it was a fast and easy way to paint both the inside and outside).

Stone Work
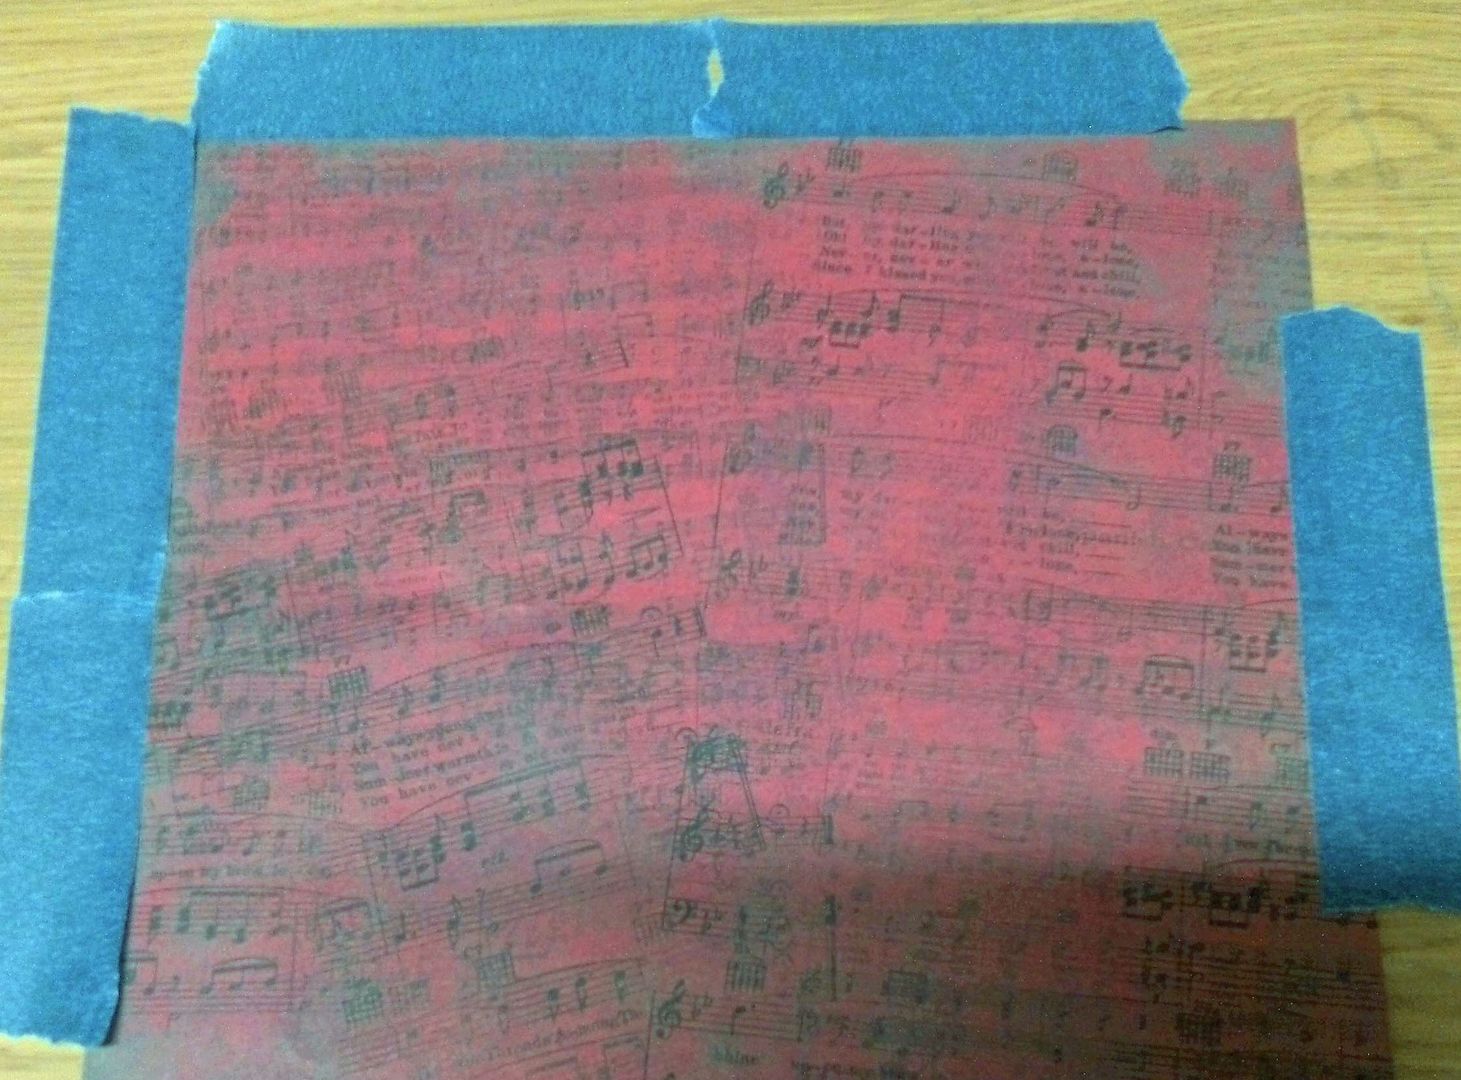
To create the stonework I used a textured sand paste. I started by taping down the decorative paper with low tack painters tape.
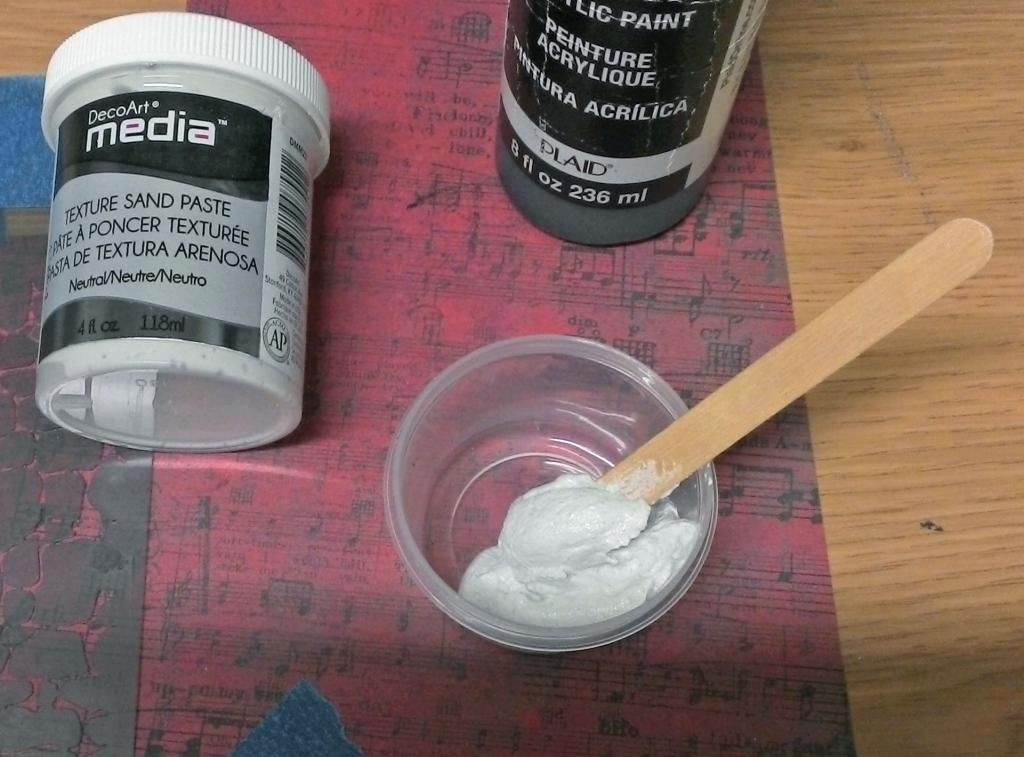
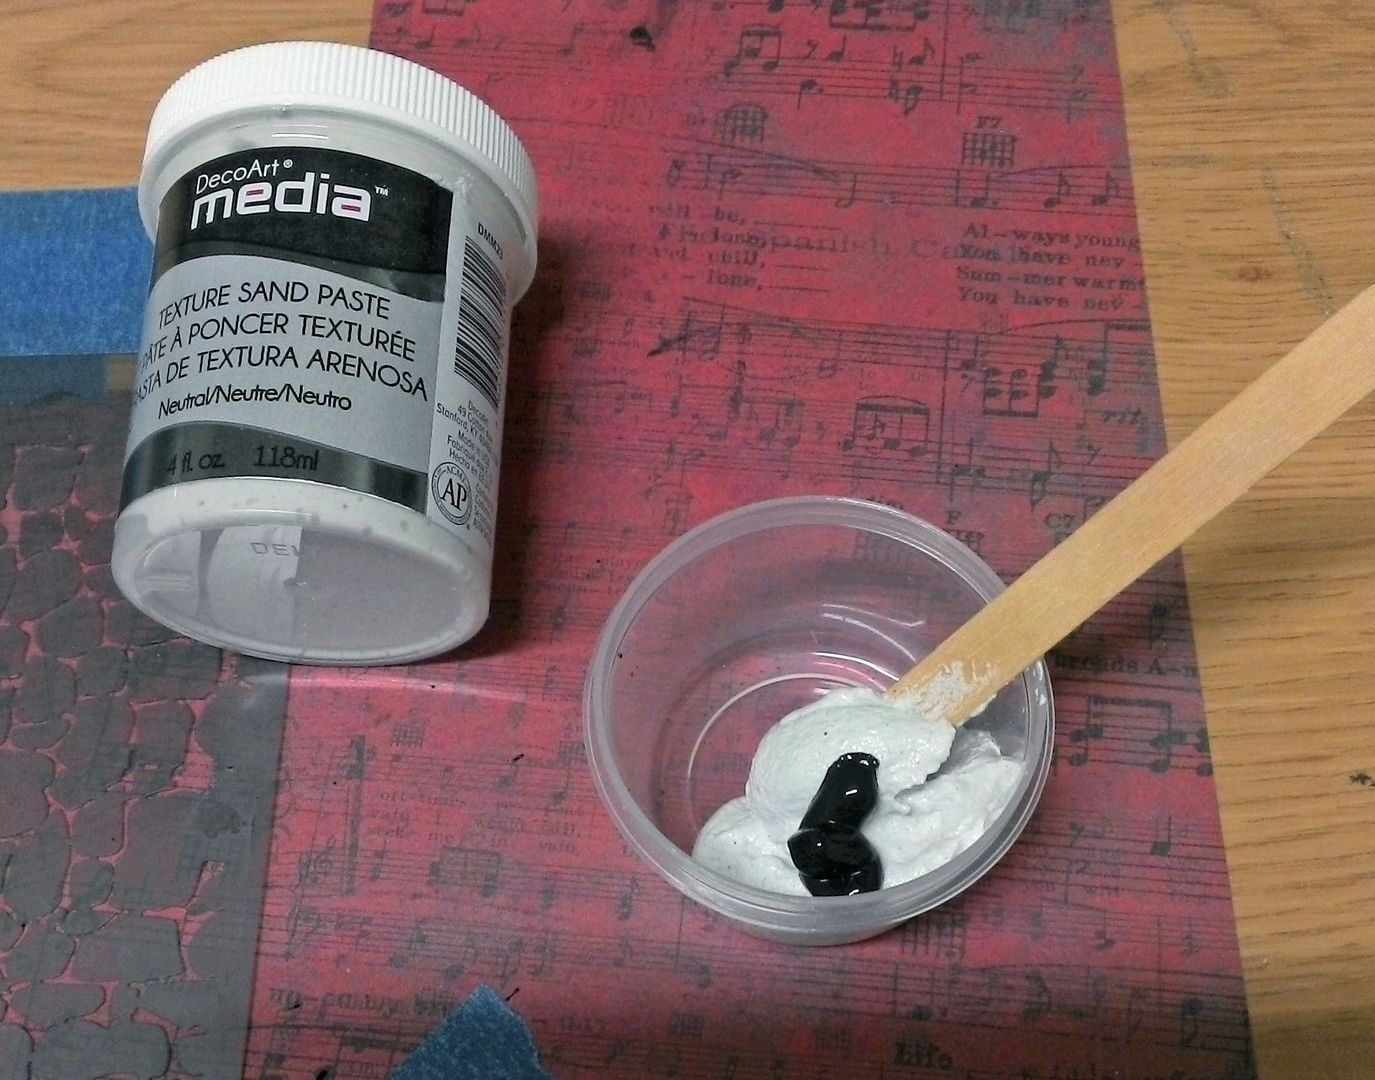
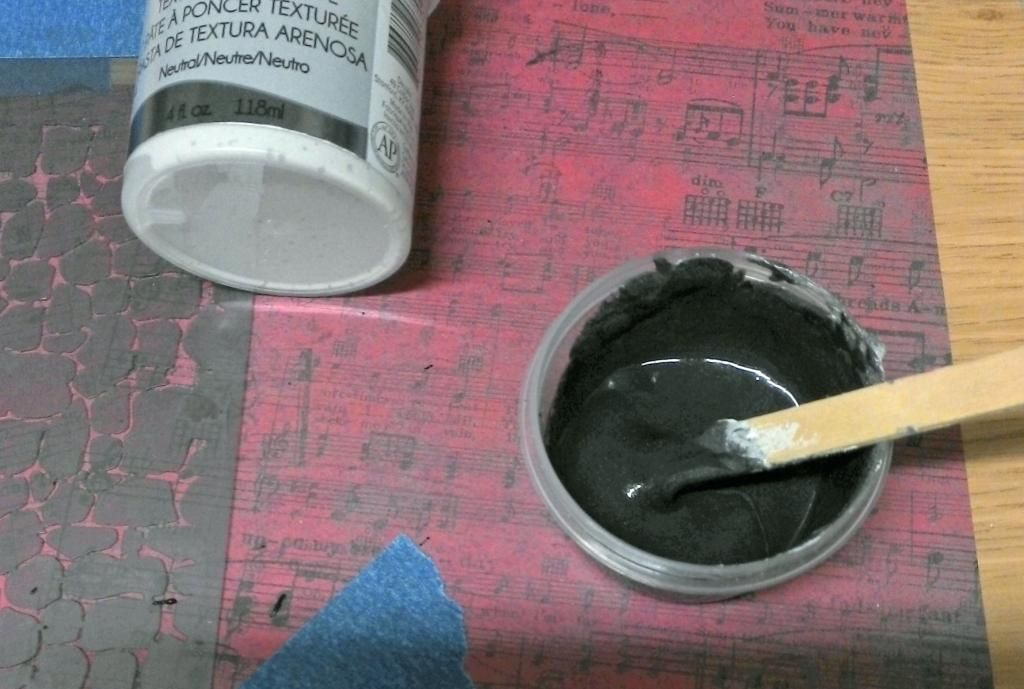
VERY IMPORTANT: The more liquid you add to the paste the thinner it will get. You need to let the paste dry out to the consistency it was before you added liquid color; if you don’t, it will seep under the stencil. As the liquid evaporates, stir the paste occasionally so that the parts exposed to the air don’t dry out and clump.
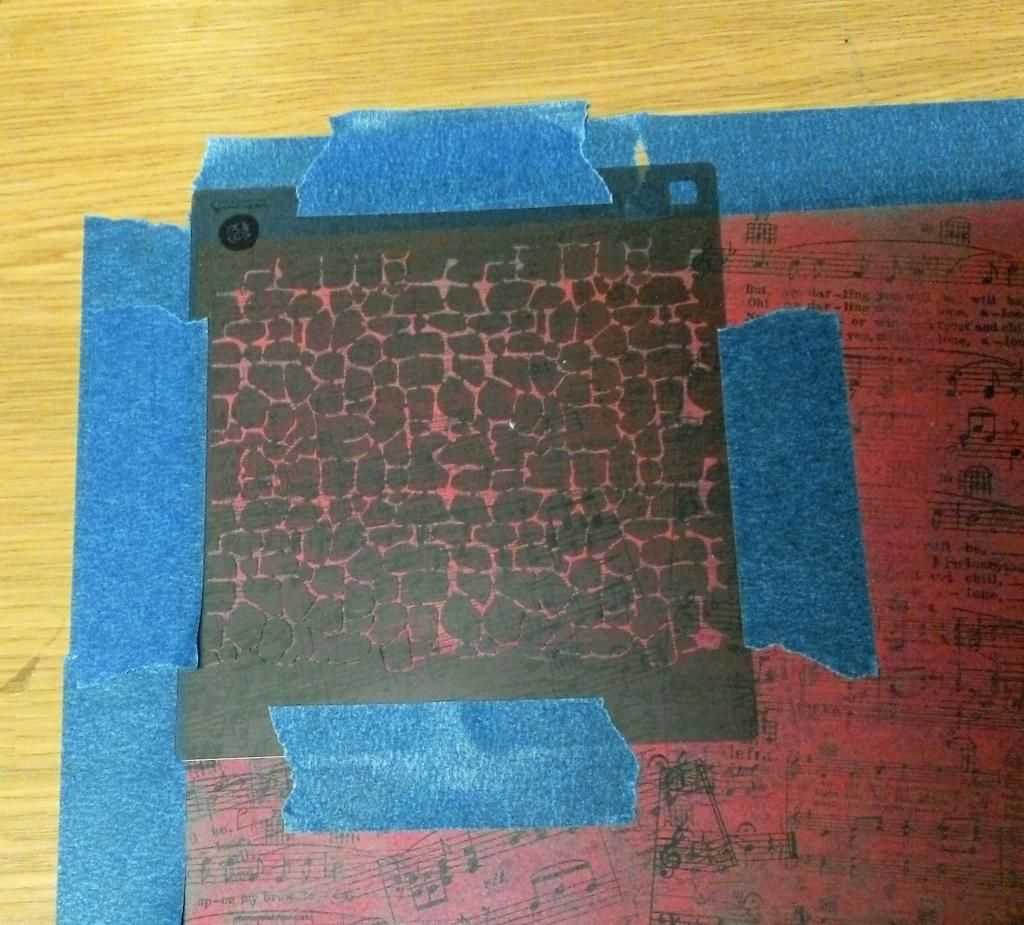
Next, spread the paste very carefully over the stencil using a light touch (I used a popsicle stick). Be careful not to push the paste under the stencil.


Carefully cut away the stenciled area and then you can start the process over again with a new section of the paper.
I suggest you wash your stencil between each usage as the paste will build up in the open areas and you won’t get a good result.
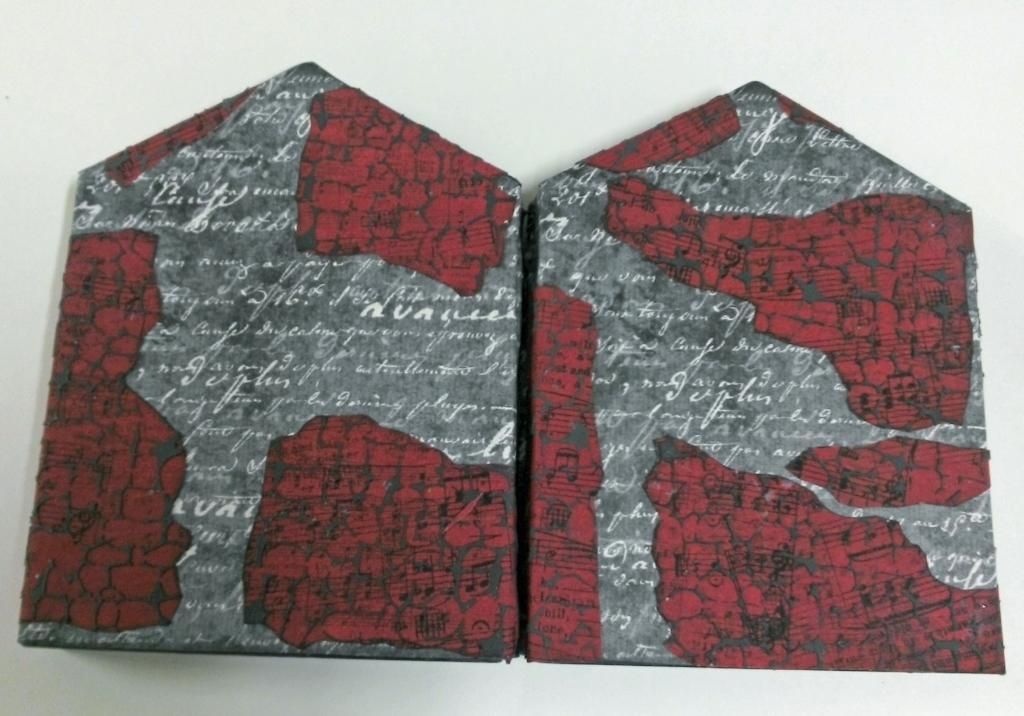
To give the house a vintage crumbling look, I cut up the stenciled stone pieces and attached them randomly on the house.
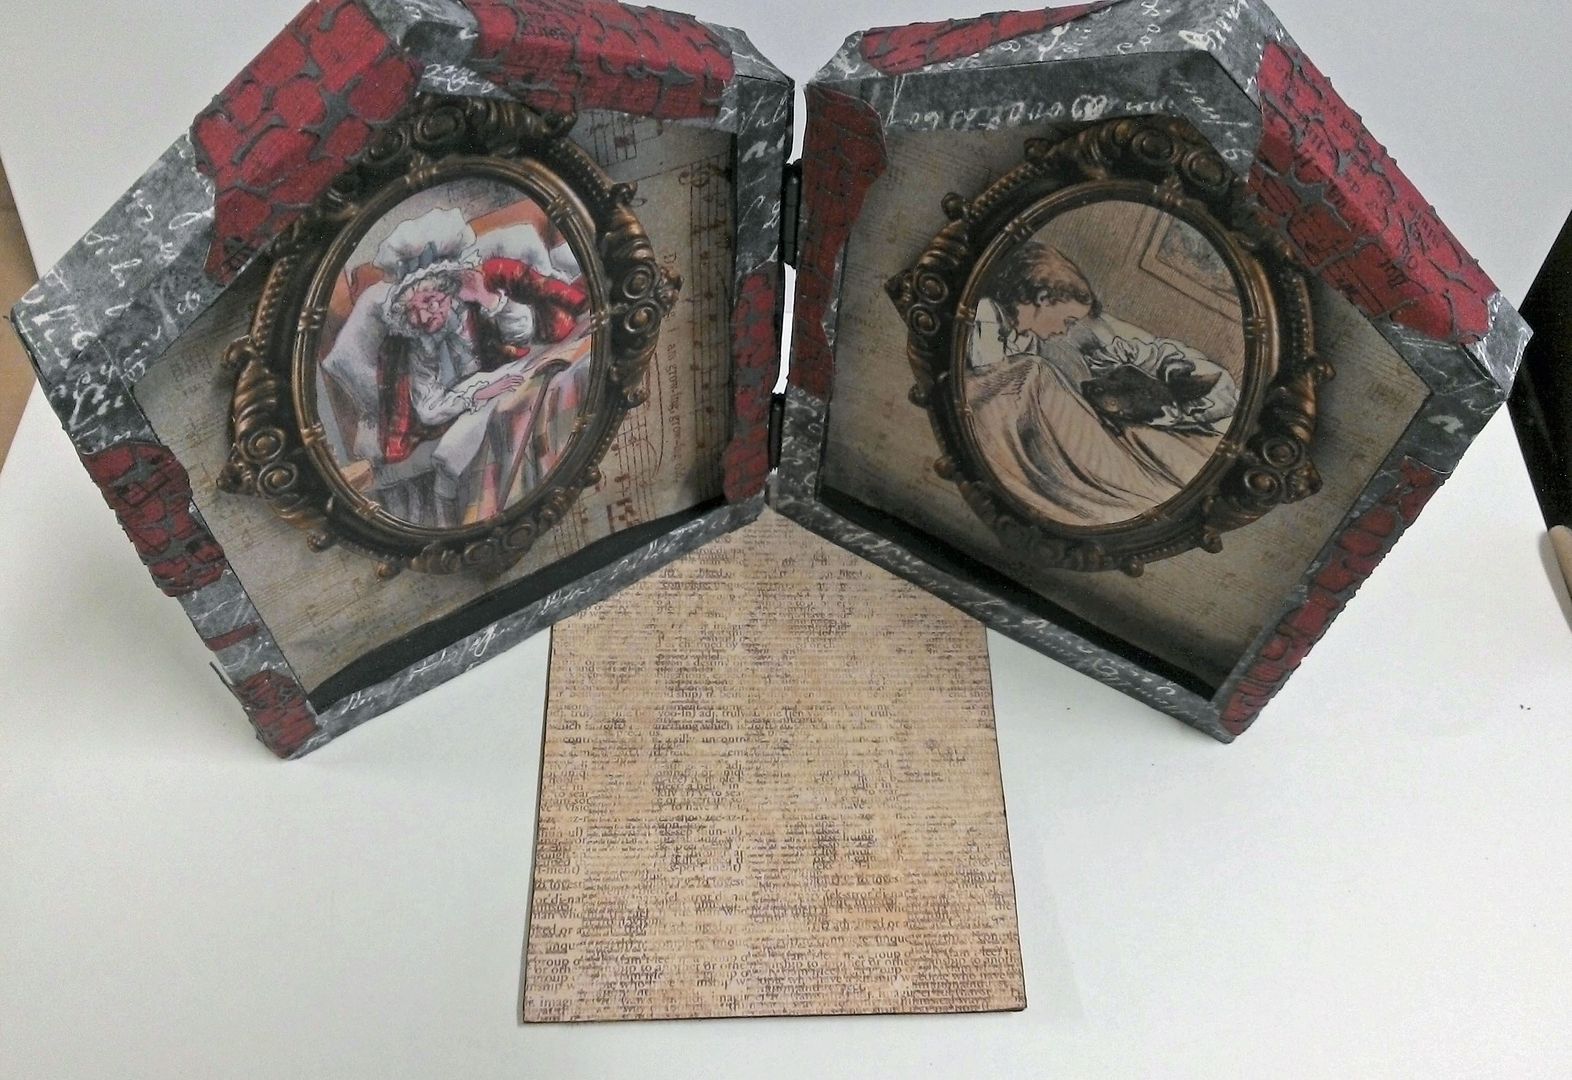
Decorating the Houses & the Chipboard Support
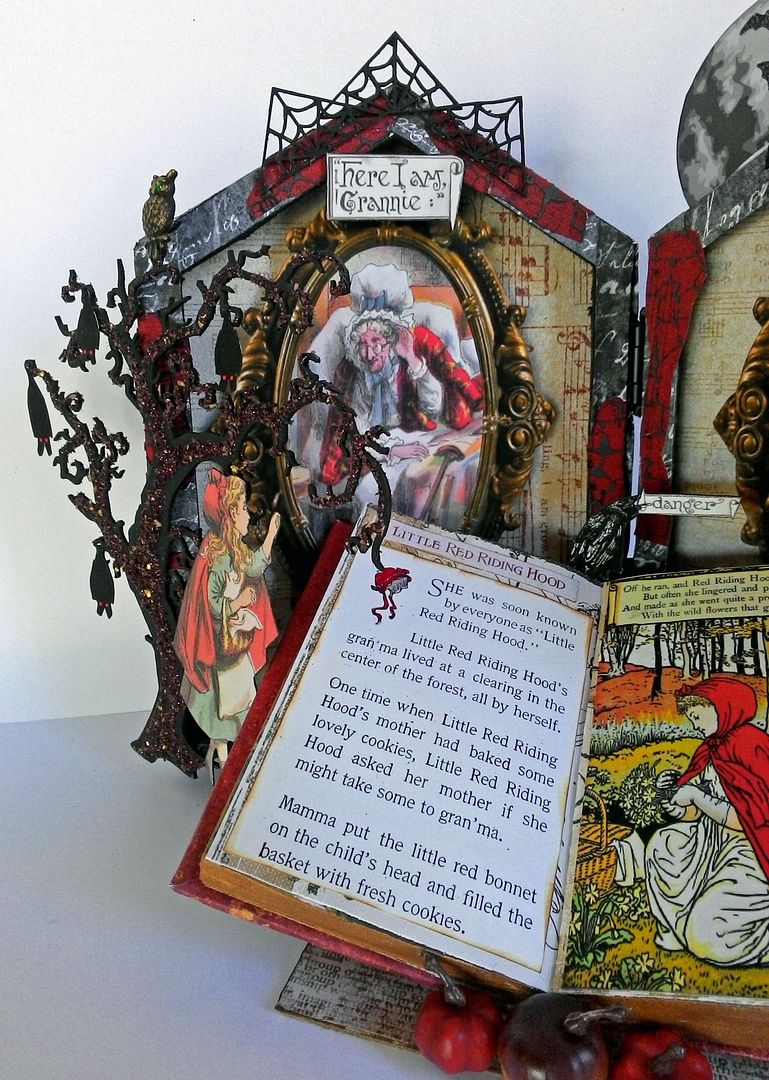
I framed two of the story images with a frame from my Antique Frames Digital Image Set and used double-sided foam tape to pop them out from the back of the niches.

Making the Faux Book
I didn’t have a book that was small enough to use so I cut one. The final size of the cut-down book (pages) is 3” x 5”. I removed the cover and cut away the side and bottom.
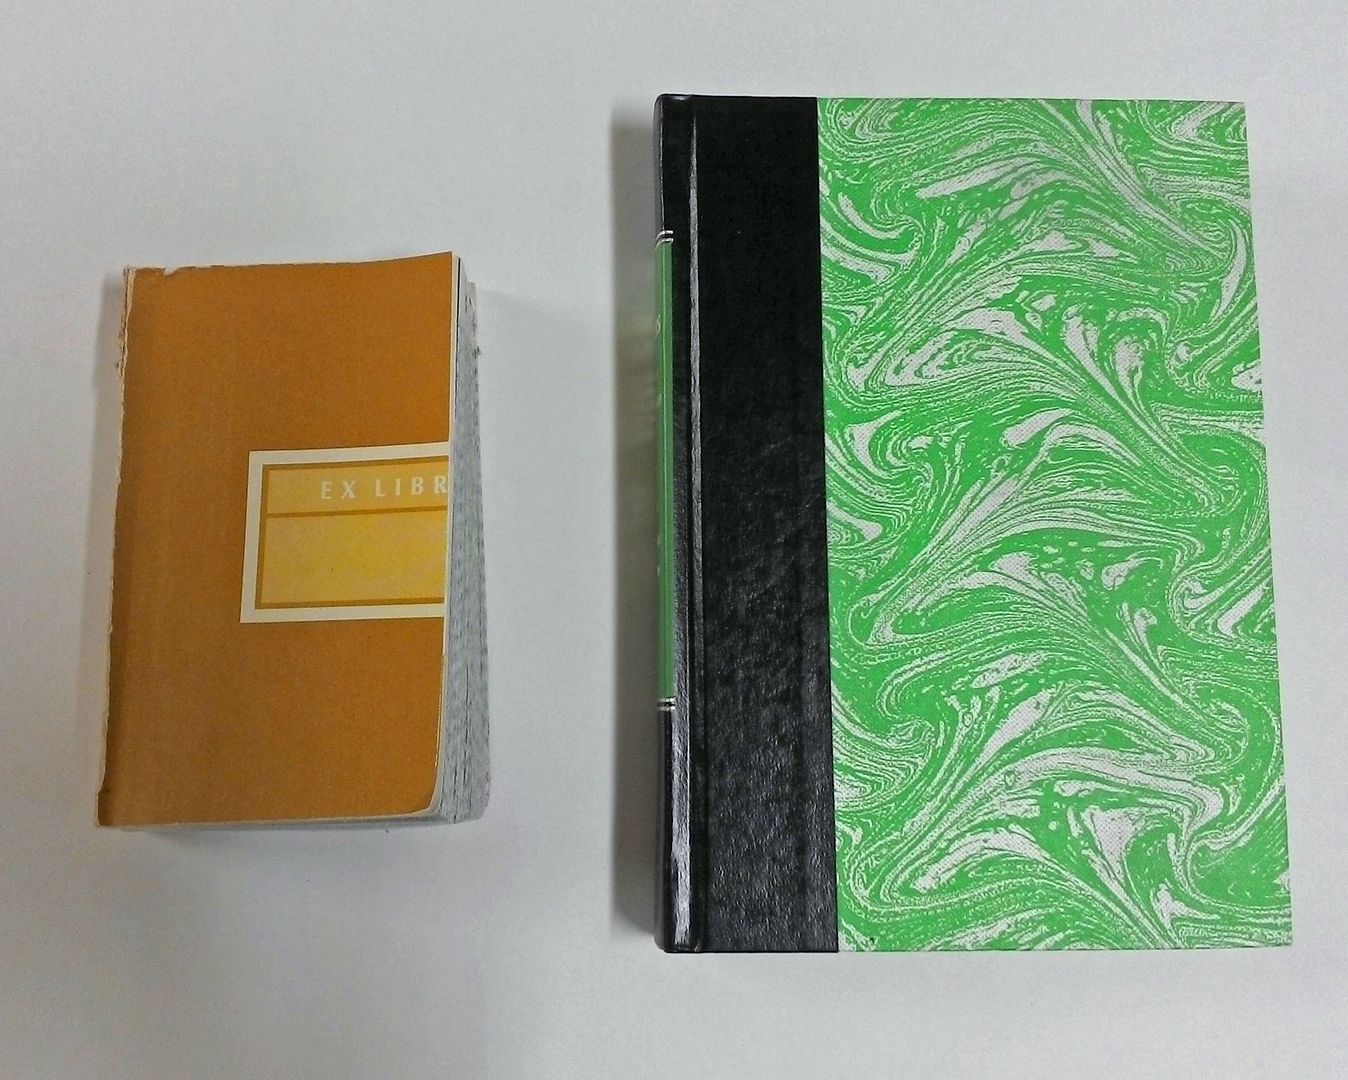
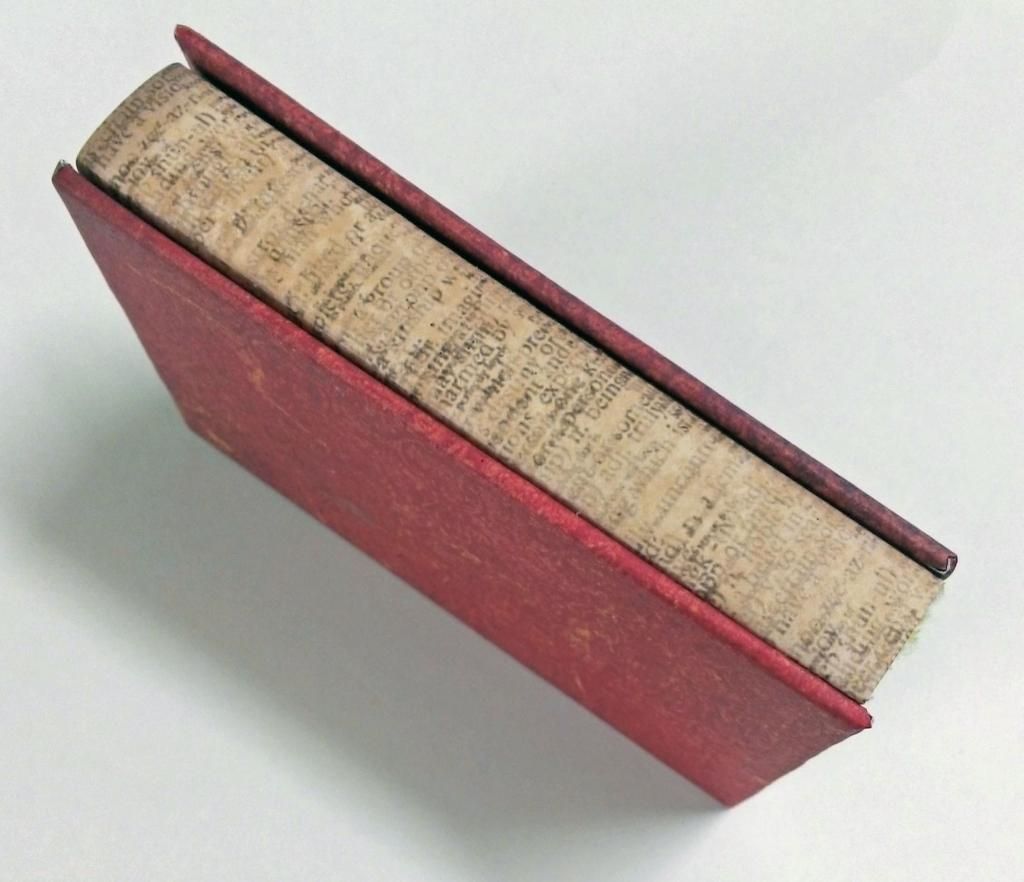
Next, I cut a piece of paper for the spine and two pieces of chipboard for a new cover.
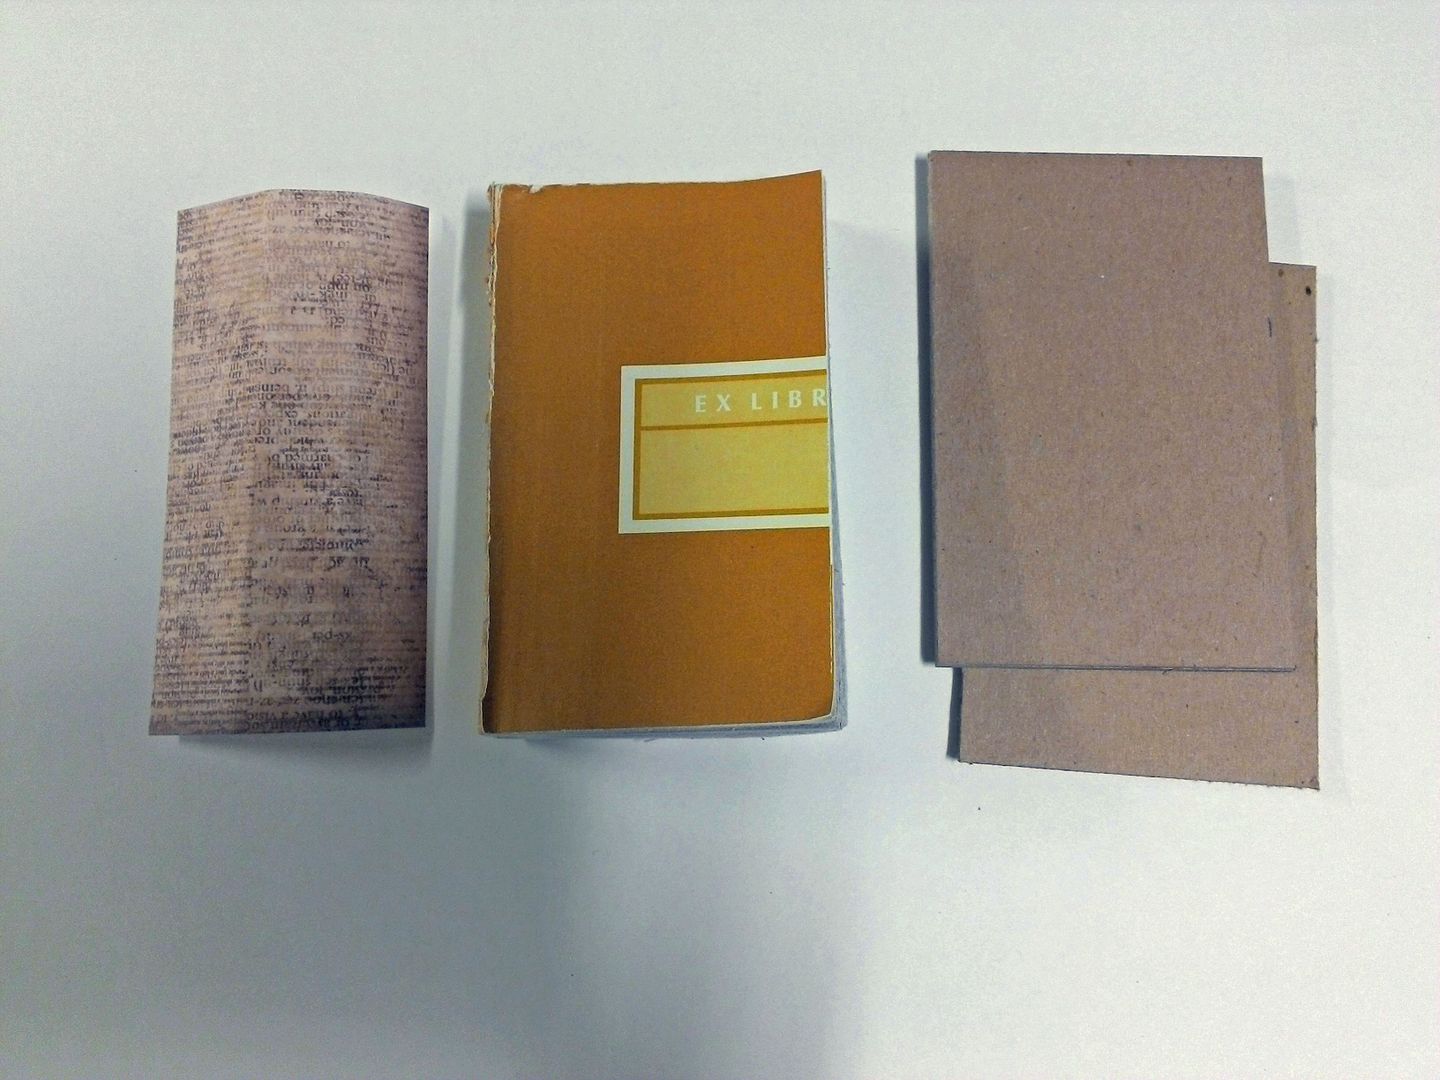
I covered the chipboard with paper.
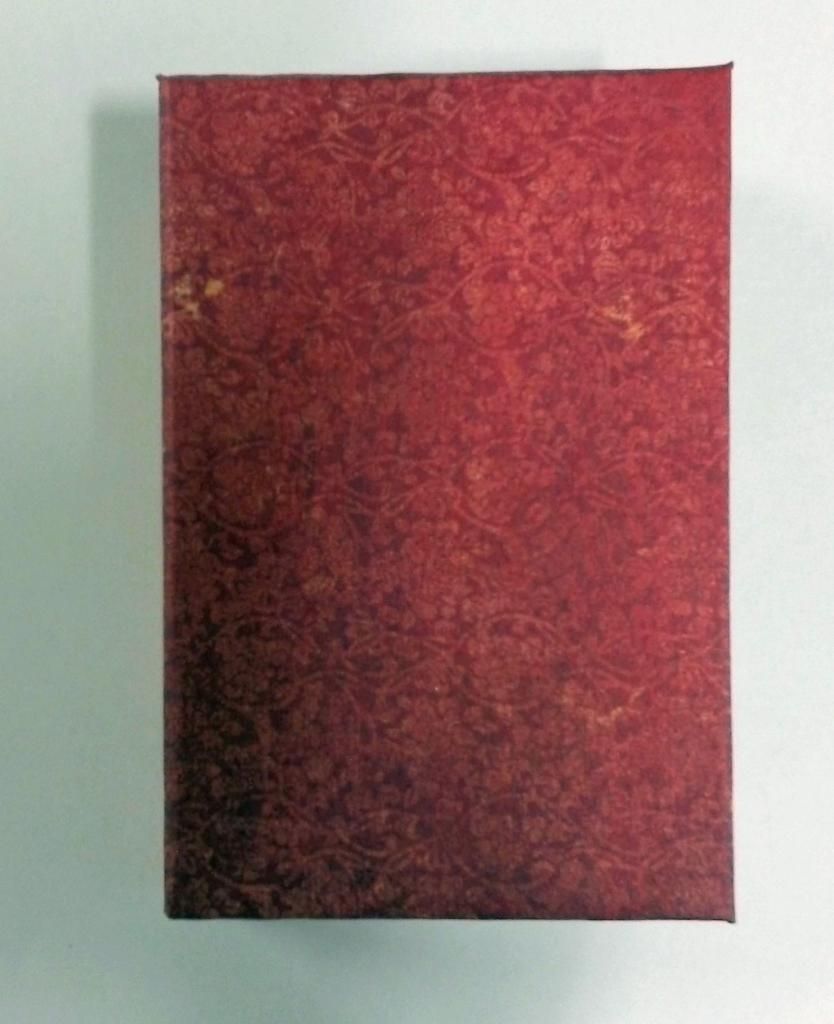
Next, I glued the covers to the front and back pages.
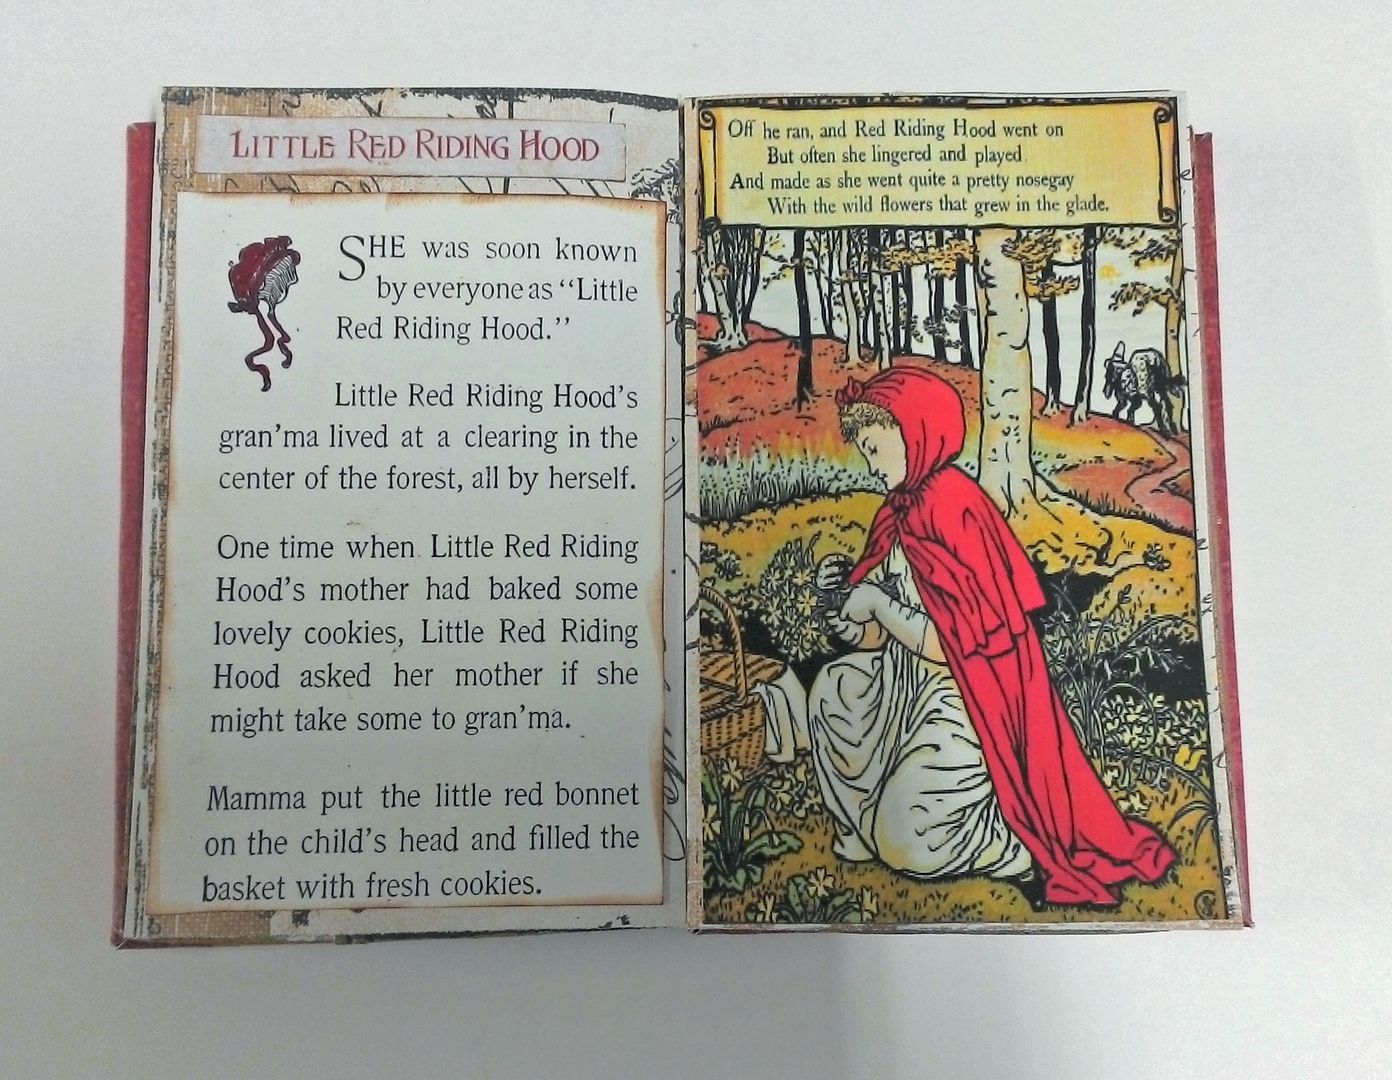
I opened the book to the middle and glued story images to the pages.
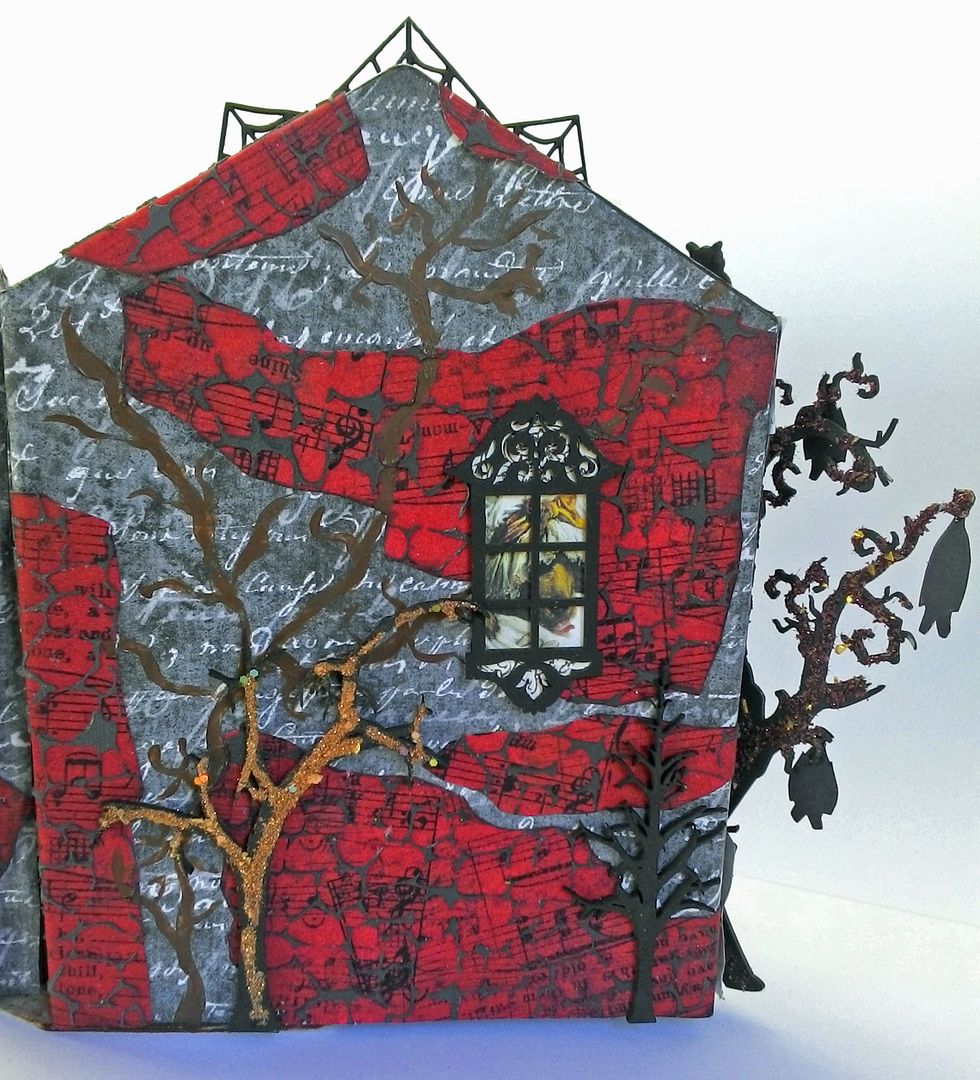
Decorating the Back
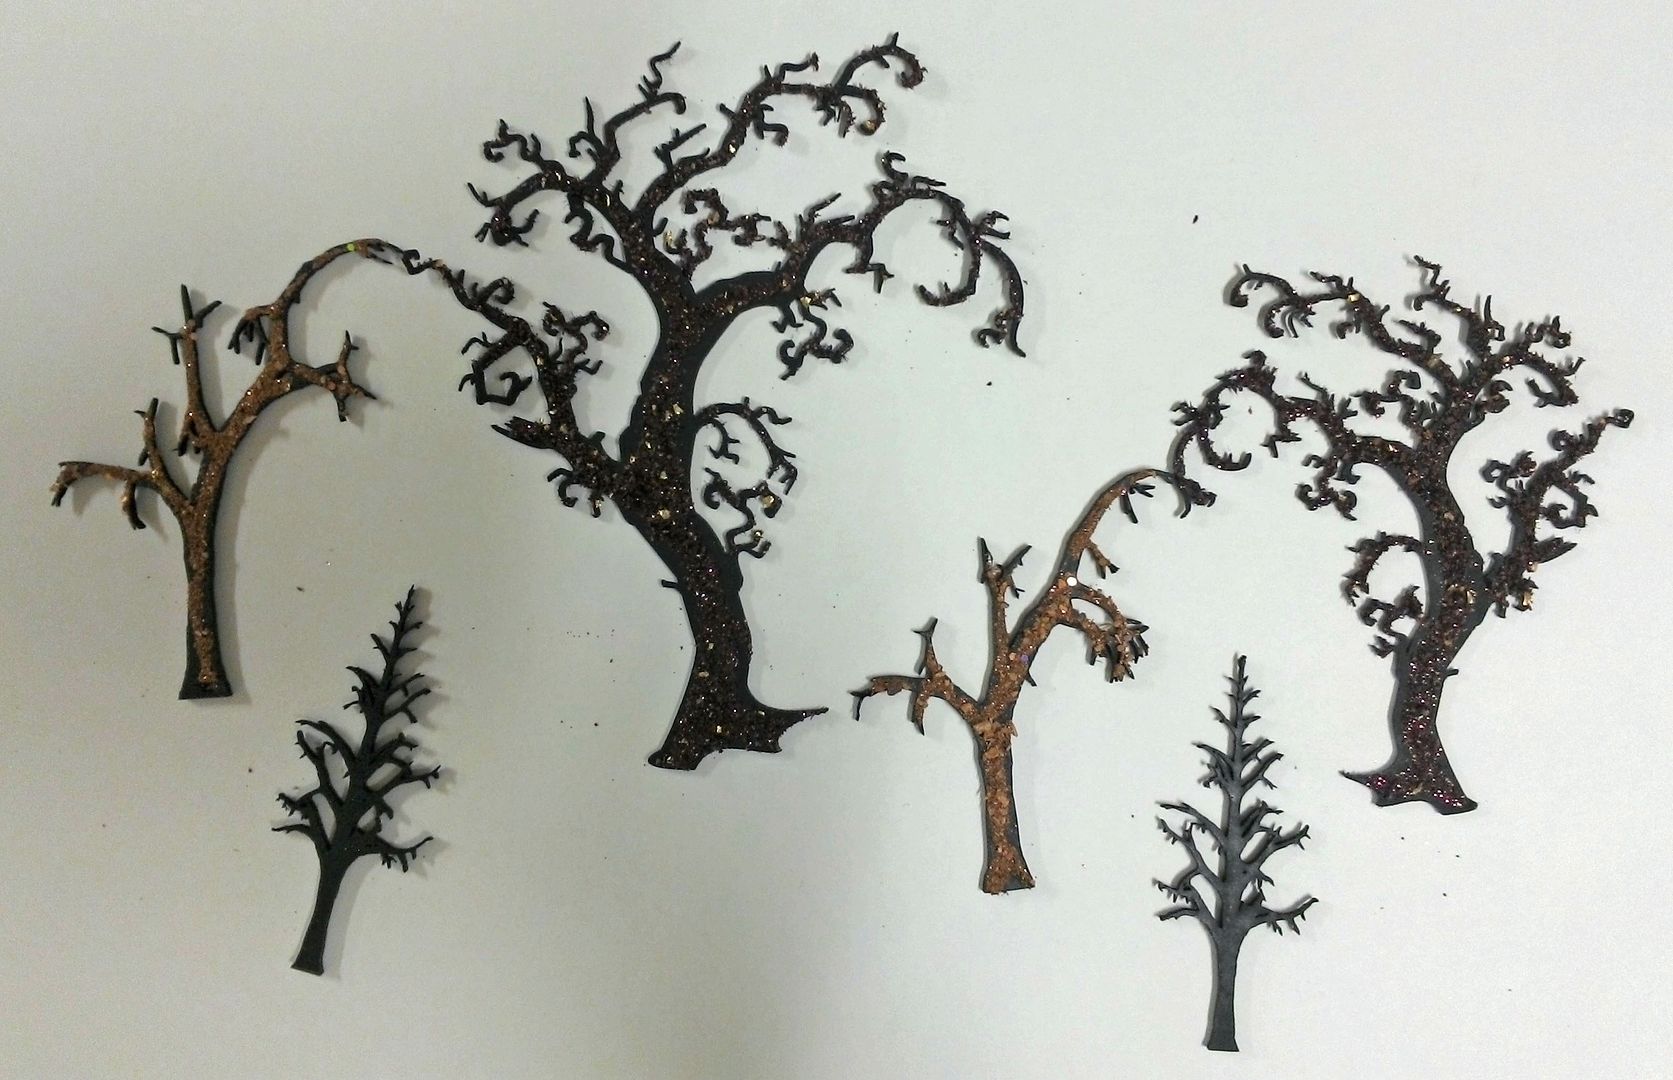
On the back, I painted brown vines, attached the remaining trees and two windows with images from the story.
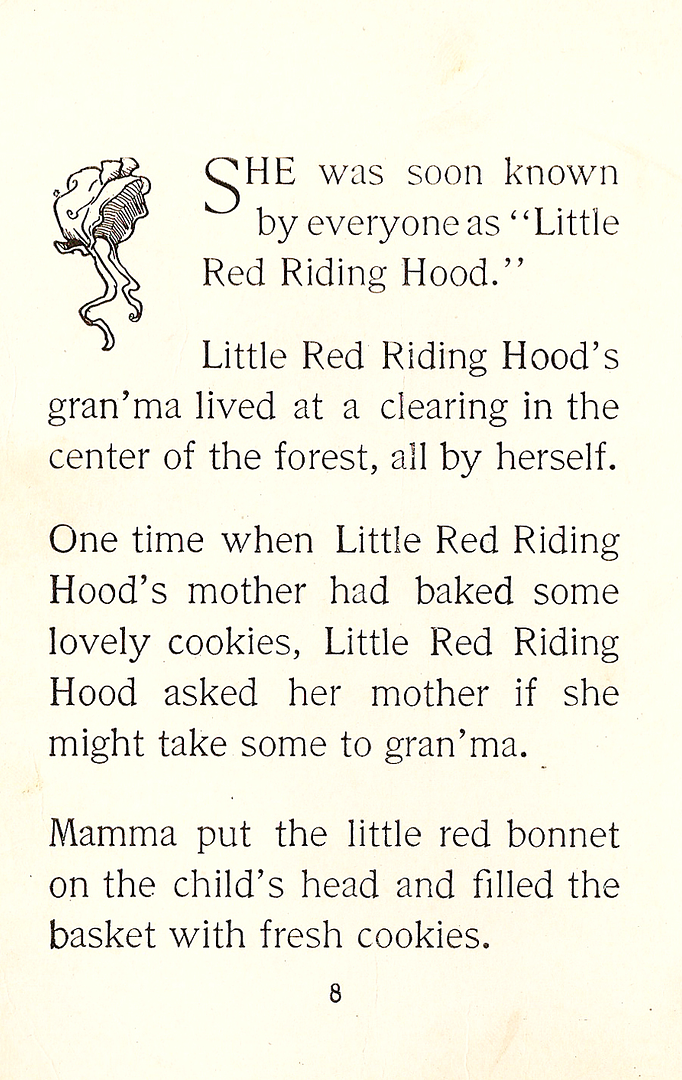
Feel free to download the image below that I used in my book.
9 comments:
What a lovely work of Art!! such detail!! TFS
wonderful tutorial and amazing project! I love the "dark side" of the story.
Your tutorials are the best! Your work is just fabulous.
Love this, so beautiful!
you never cease to amaze and enchant me with your creations ... this being no exception!
Fabulous project, AS ALWAYS:) Laura, is the Sand Texture paste you used on this project better than the "Texture Magic" you used in 2011 on your Creepy Manor Chunky Book?
I absolutely adore your work--how you constantly create such awesome and imaginative projects is beyond me!! I think you are the most constantly original, detailed, and inspiring artist I've encountered on my many wanderings on the internet. You are AMAZING!!
you are a magical creature!!
what a wonderful amazing delightful work of art!!!
wow!!
wow, that's one of my favourite topis, truly beautiful, it's magic!!
Post a Comment