


To kick off the New Year, I have Valentine-themed tags to share with you. I've been doing so many miniatures. Lately, I thought it would be a fun change to create some collaged pieces. First up are romantic art tags featuring Victorian women.
You’ll notice that I’ve incorporated one or more hearts on each tag and other elements.
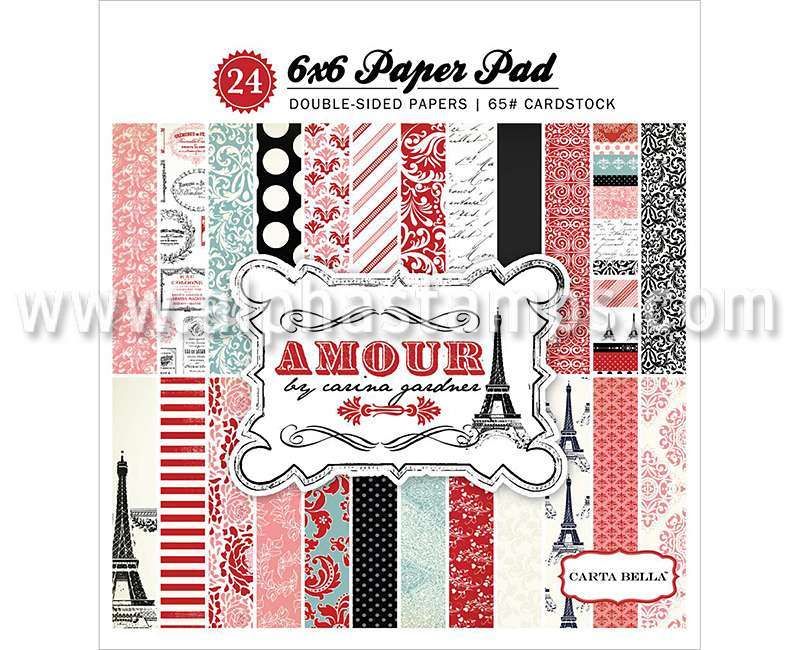
The Amour 6x6 paper pad I used for the
tags is loaded with beautiful papers.
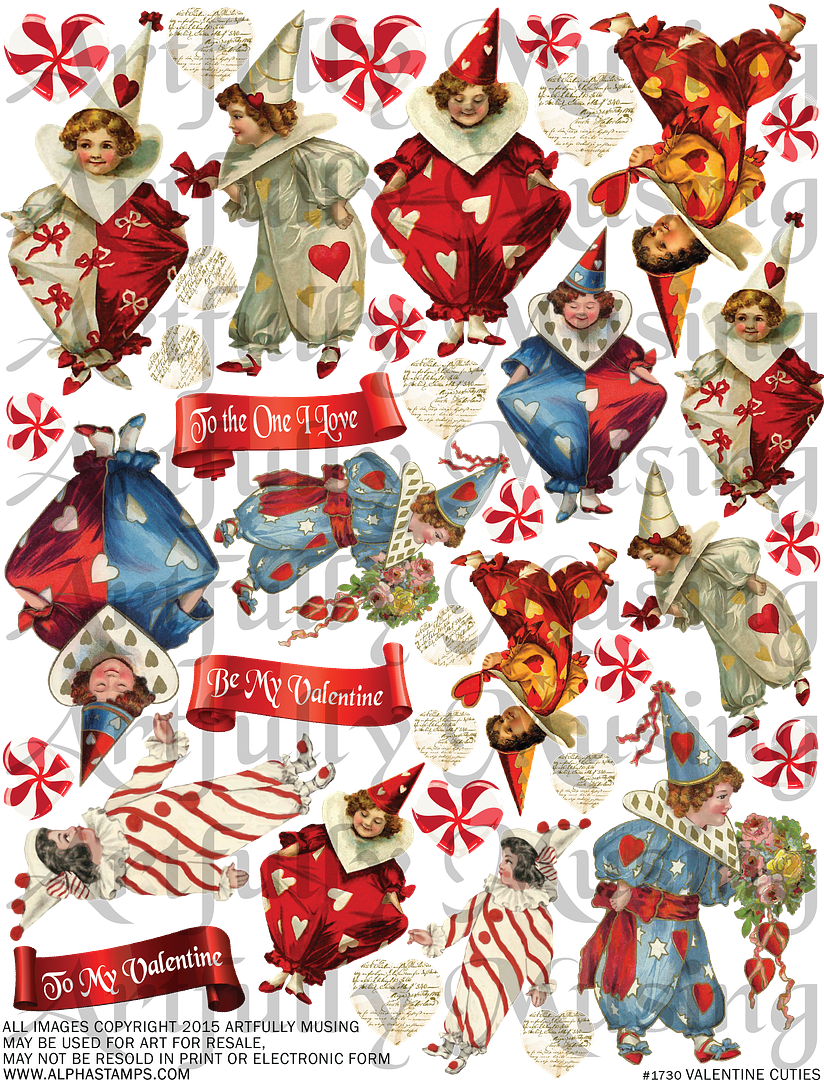
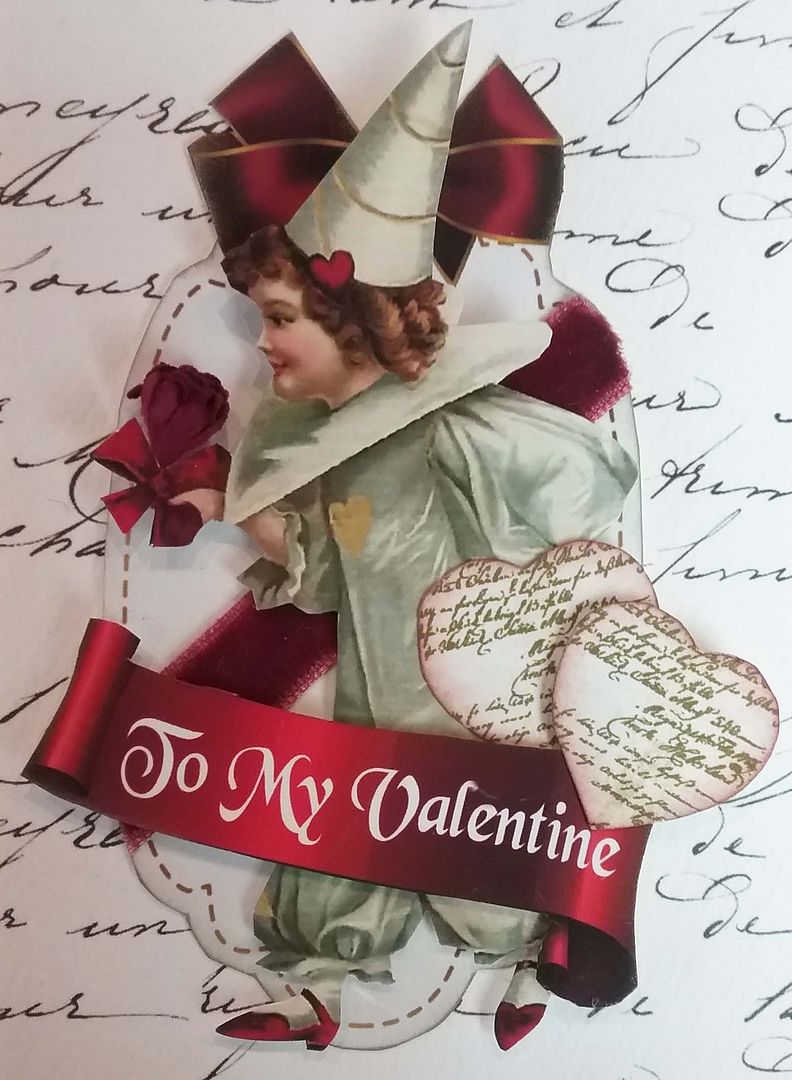
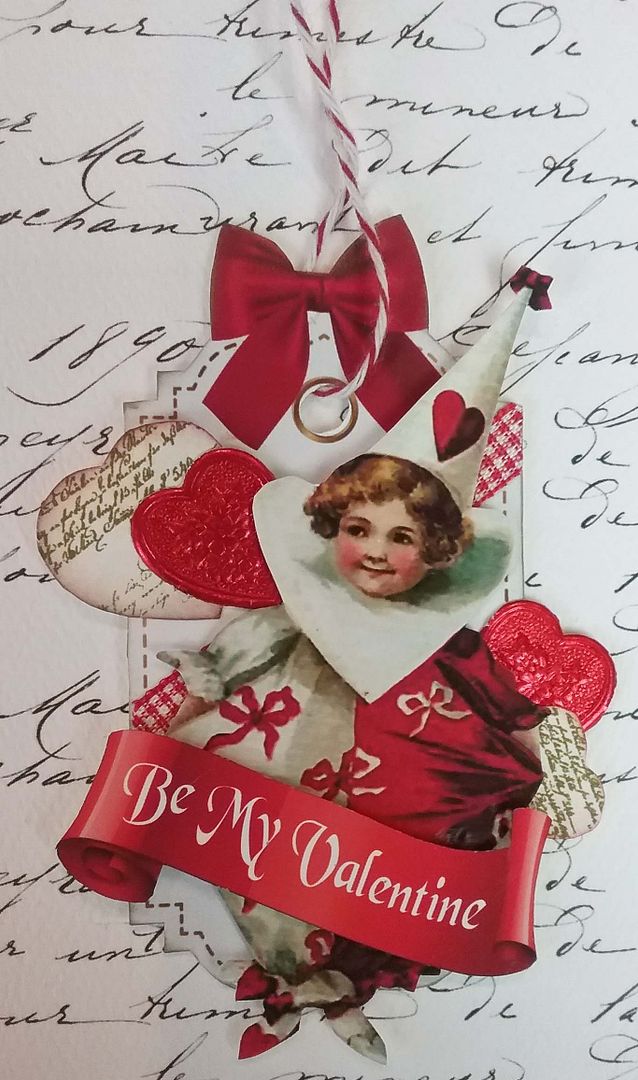
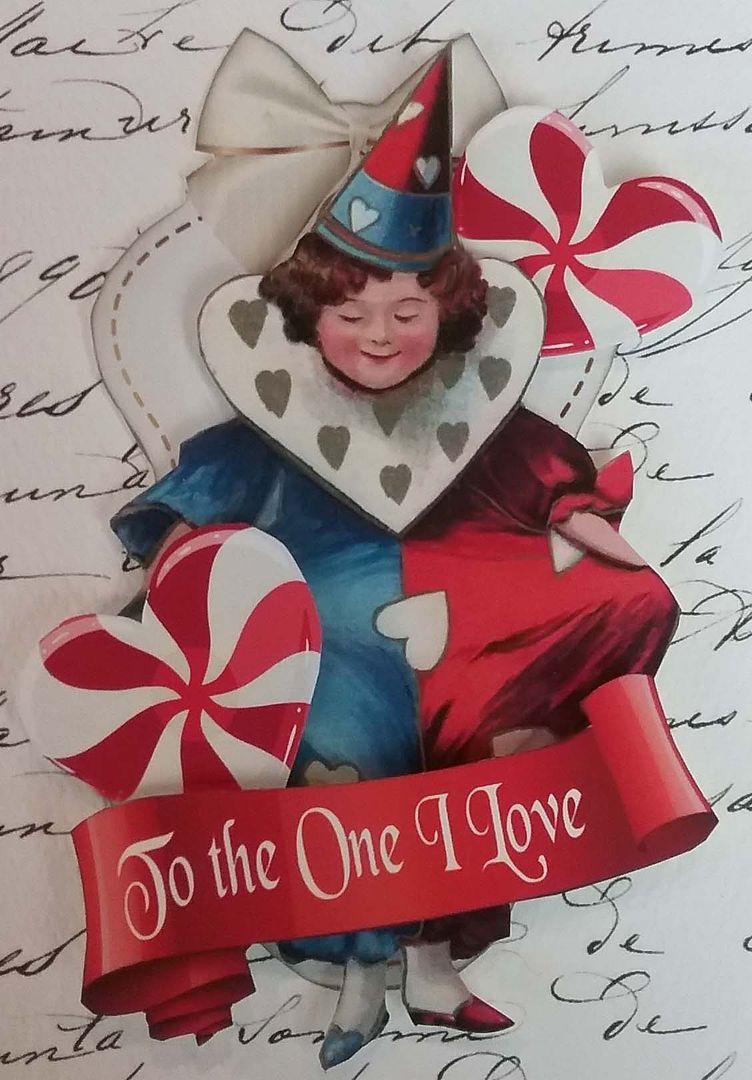
Next up are fun vintage Valentine tags
that can be used as gift tags or on Valentine's cards and are super quick to make. The images are from my new Valentine Cutiescollage sheet. The base of the tags is a
new gift tag sheet I’ve created that is free with purchase at Alpha Stamps
(more details below).

This new sheet includes 7 cuties in two
sizes, three Valentine banners, and two different styles of hearts in various sizes. Click on the image below to purchase this collage sheet.
FREE GIFT TAG COLLAGE SHEET
Feel free to download this collage sheet (by clicking on it).
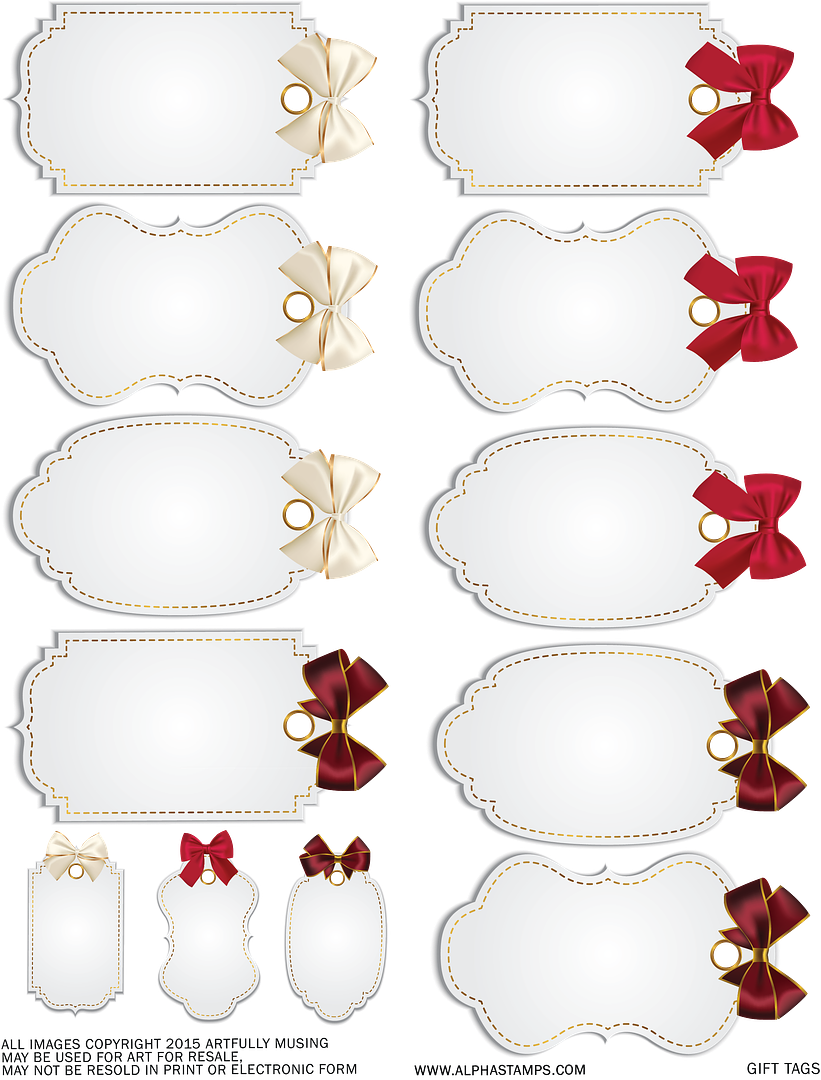
In addition to the images from the free Gift Tag and the Valentine Cuties collage sheets, I also used ribbon to jazz up the tags.
ROMANTIC VICTORIAN ART TAGS
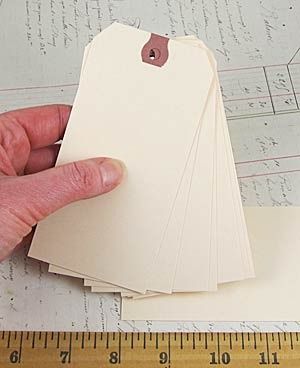
For each of the tags, I used my VictorianLadies Collage Sheet, Manila Tags (2-5/8"x
5-1/4"), and paper from the Amour
6x6 Paper Pad. Click on the image below to purchase this collage sheet.

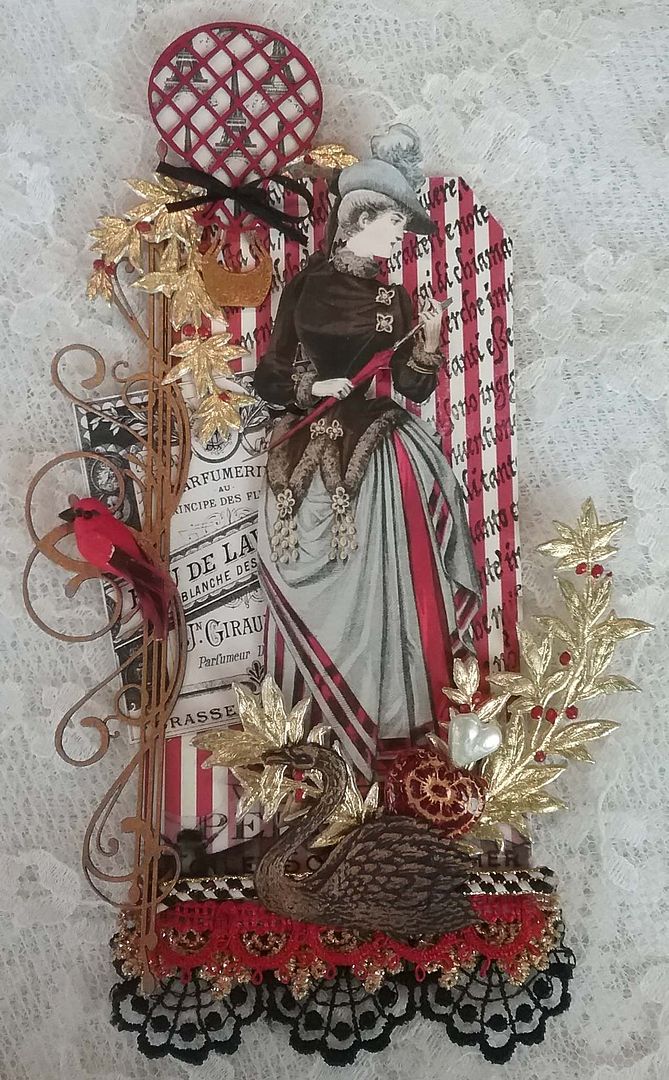
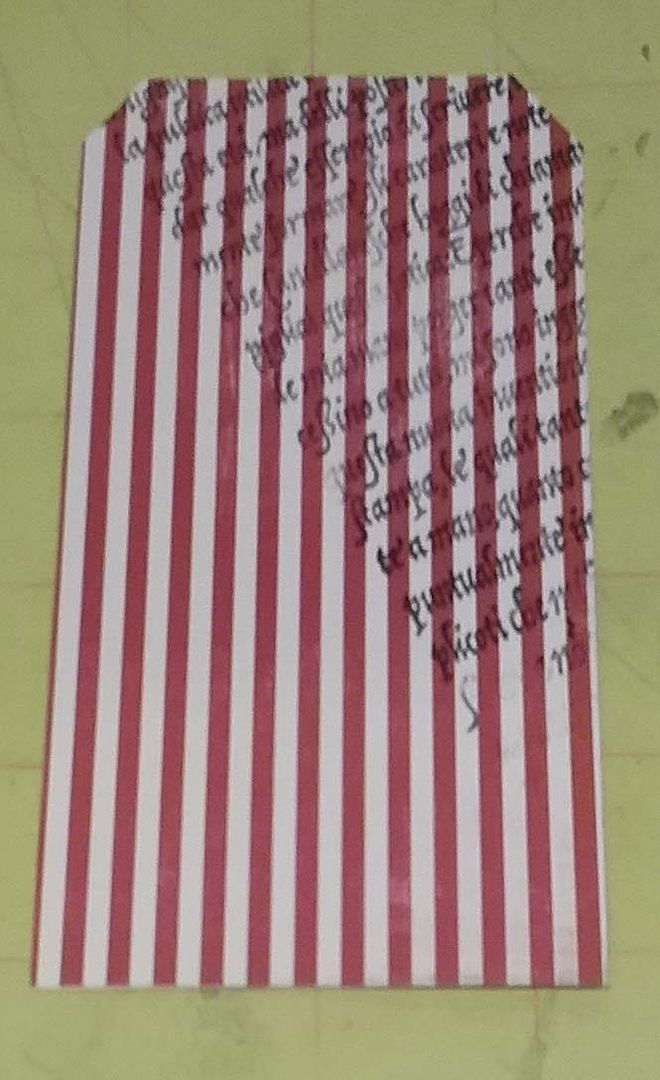
RED TAG
For the red tag, I started by covering
the tag with red and white striped paper from the paper pad. Next, I stamped the paper.
I continued building the background by
using an image from the Parfumerie Edwardian Gents & Ladies 2 Collage Sheet Set and an image from the
French Floral Overlays collage sheet (printed on vellum). At the bottom, I added red and gold lace, and
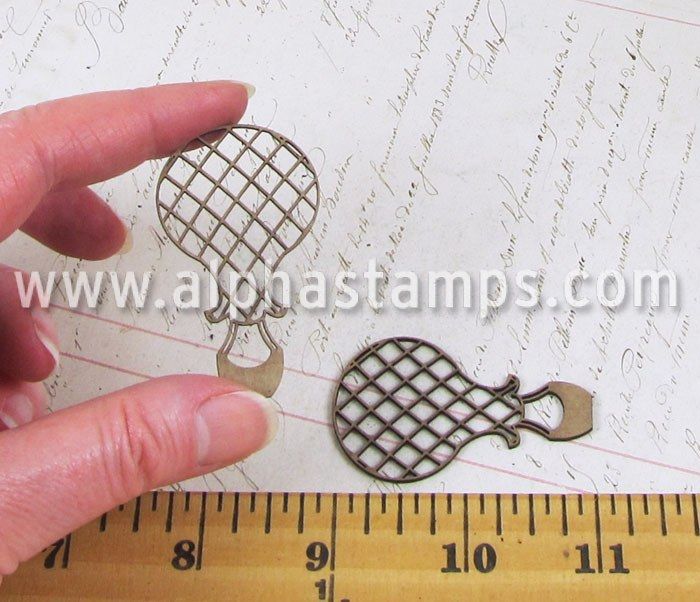
to the side, I added a chipboard scroll painted gold.
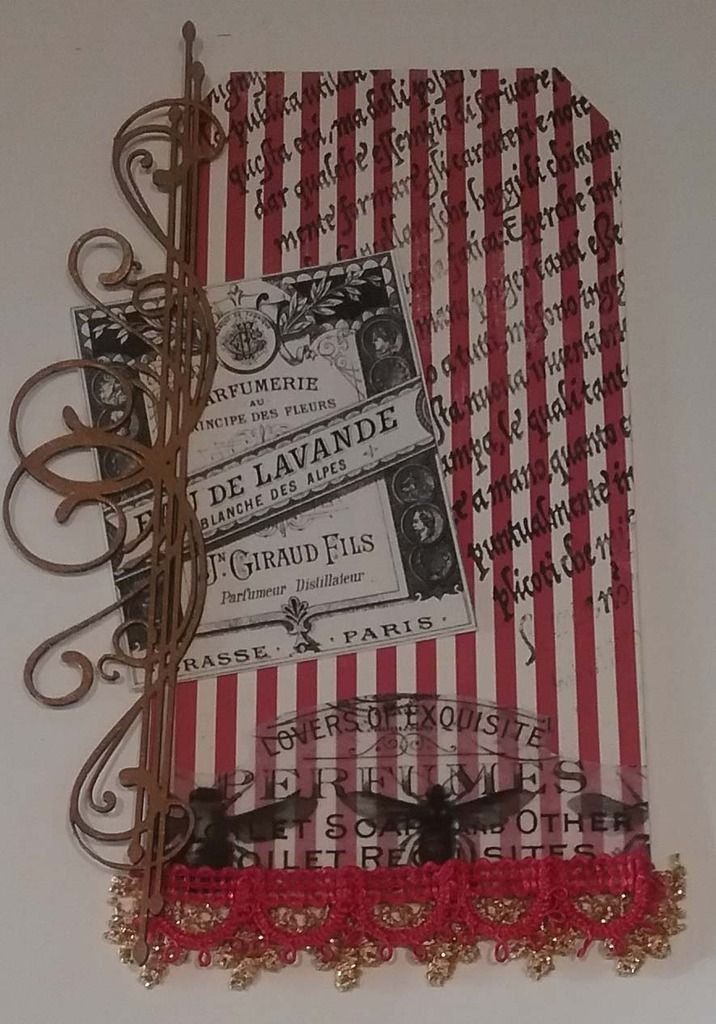
Next, I added the woman (focal point),
Dresden myrtle leaves, and a chipboard hot air balloon. The balloon is painted red and backed with
paper from the paper pad. The basket is
painted gold, and a black ribbon is tied around the middle of the balloon.
At this point, I decided the bottom needed
more ribbon, so I added black lace to the back and a black, white, and gold braid
to the front. Adding these touches of black to the bottom balances out the black ribbon tied around the balloon.
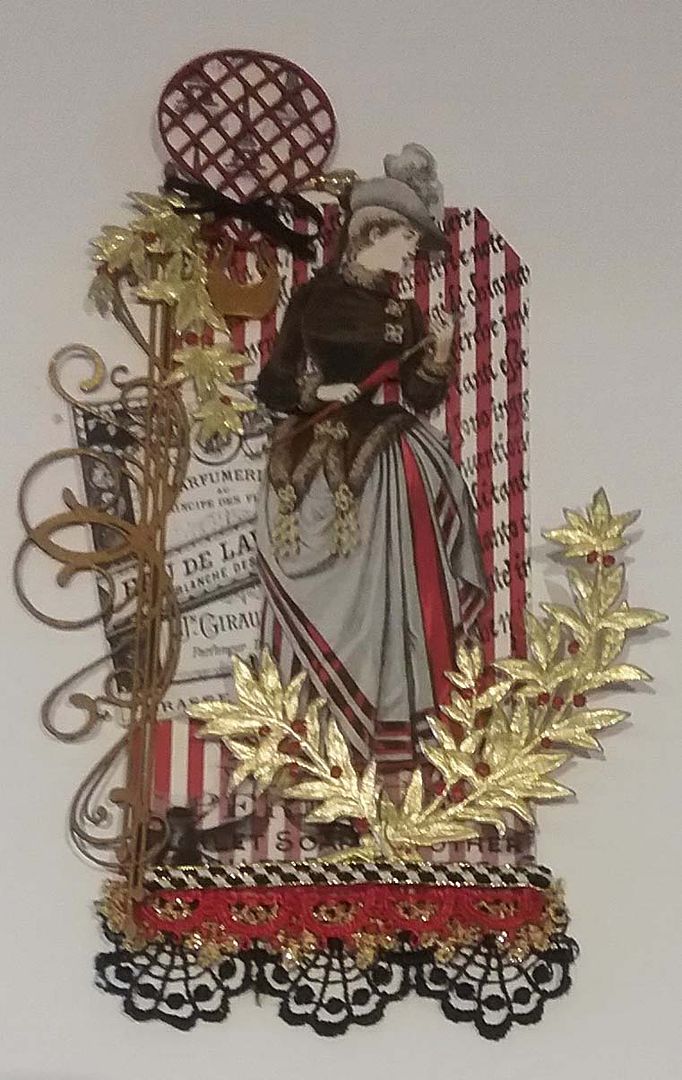
The final touches are the red bird, white swan (painted black and rubbed with Inca Gold Gilders Paste), and a heart stick
pin threaded through a red glass heart bead.
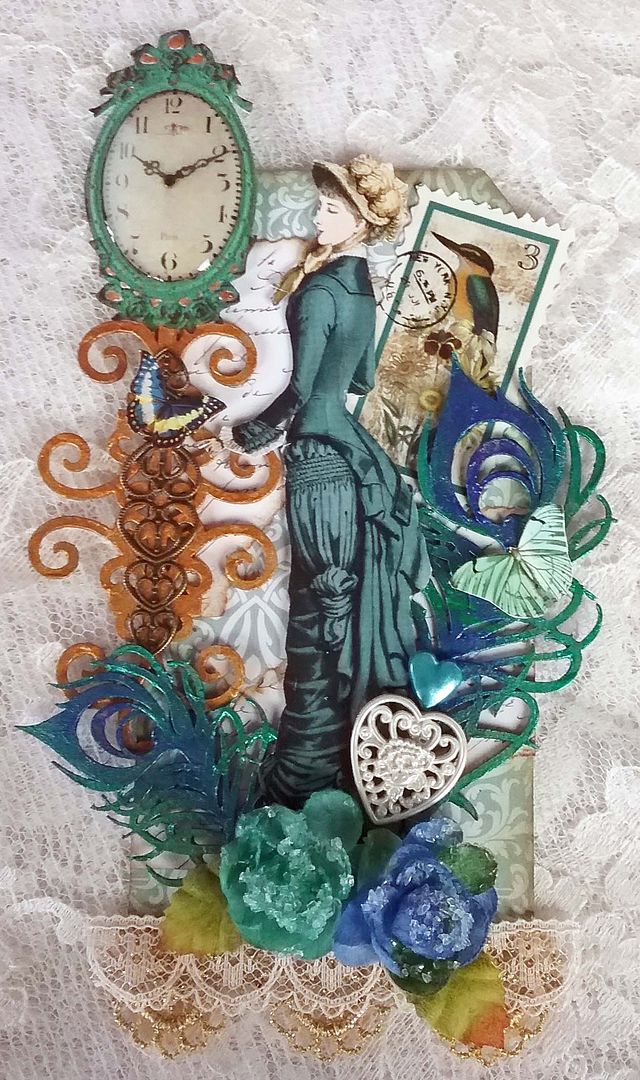
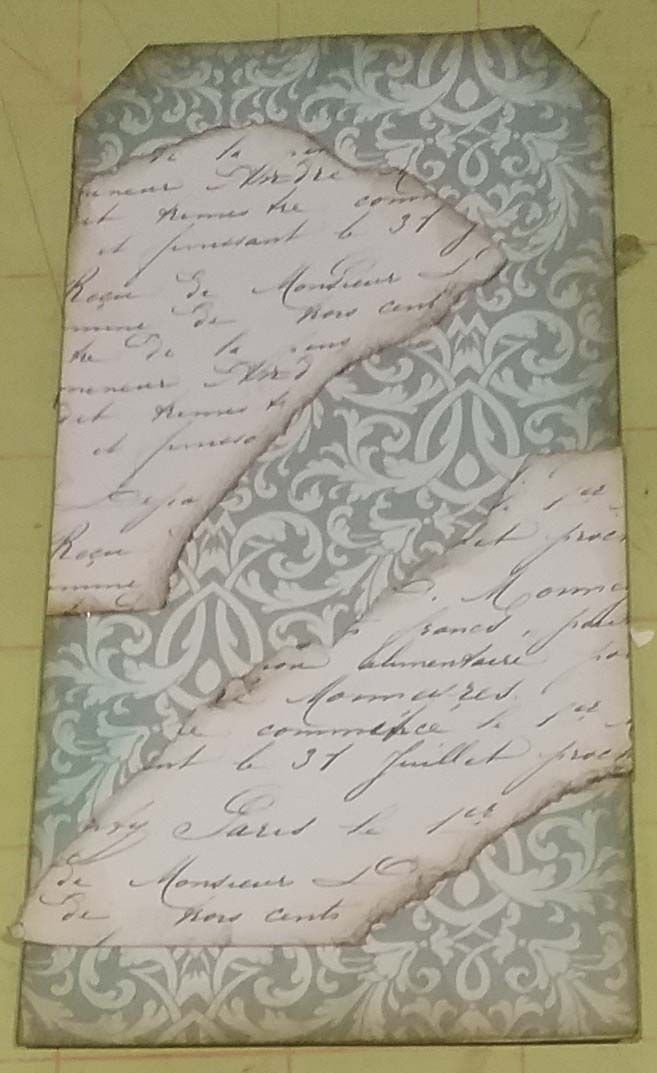
TEAL TAG
Just as with the red tag, I started by
covering the manila tag with papers from the paper pad.
I added a faux postage stamp from my Birds & Bees Collage Sheet to build up the background.
To the bottom, I added white and gold lace. On the left side, I added chipboard flourish painted
gold. The flourish is accented with a
piece of bronze filigree and a clock from the Tick Tock Collage Sheet. I added Glossy Accents to the clock face to
give it a glass-like domed appearance.
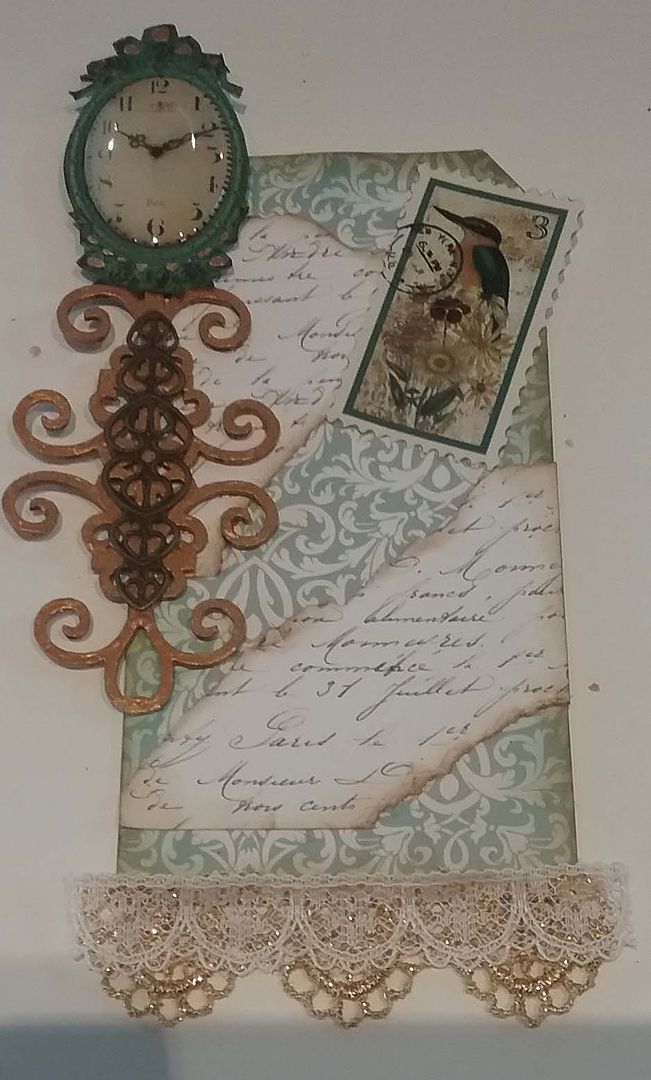
Next, I added chipboard peacock feathers
painted with Liquid Pearl paints.
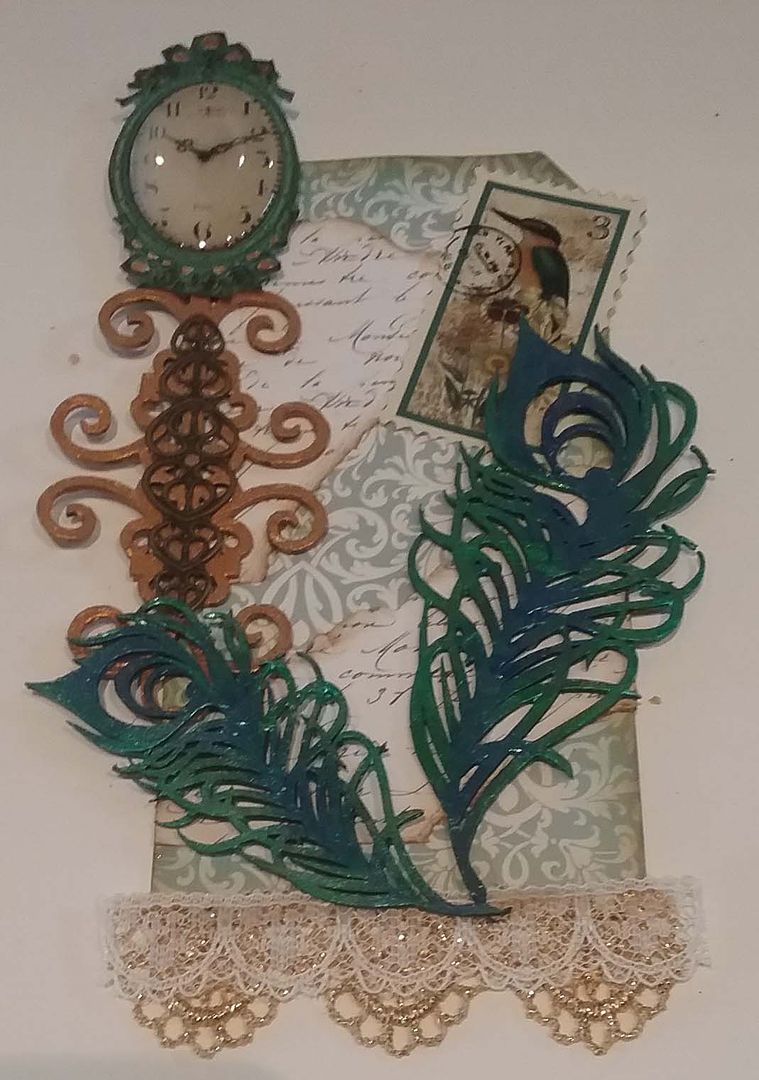
I continued by adding the woman to the
center, flowers at the bottom, a heart stick pin glued behind a heart button
(with the shank removed), and three butterflies from the Butterflies and Moths Collage Sheet.
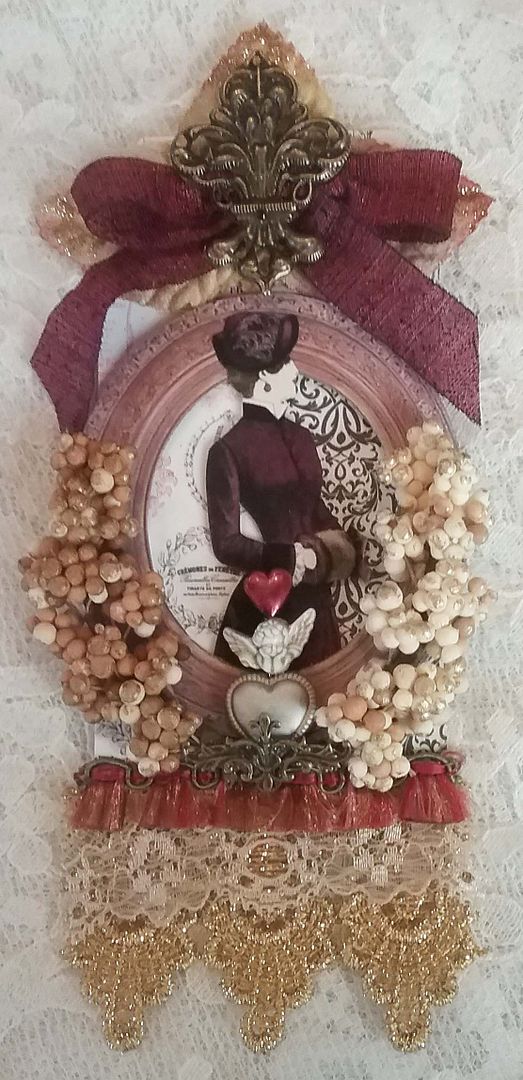
PINK TAG
Again I started by adding papers from
the paper pad to a manila tag.
Next, to the top of the tag, I added
three leaves, a ribbon, and a piece of filigree. I added gold lace, cream lace, and pink sweeper fringe to the bottom.
I then added the image of the woman (both behind the frame at the bottom and on top of the frame at the top) and then attached the frame to the tag. The frame is from the Large Vintage and Elegant Frames Digital Image Set and is popped up from the background.
To the sides of the frame, I added
berries (these come in the set with the leaves), a heart stick pin threaded through a puffy bead heart, and a cherub button glued between (shank
removed). On top of the puffy bead heart, I glued a piece of filigree.
9 comments:
Hello Laura
I love very much the tags with women, relly pretty!
Hugs and kisses
Laura, these tags are nothing short of knock-your-socks-off stunning. I've never seen tags made with so much care, skill, patience and eye for detail. They are truly special ... receiving one of those Valentines would really be a token of love!
Laura, your tags (like everything else you create) are amazing! I can't pick a favorite as they are all beautiful. Wishing you another creative New Year!
What a wonderful creations Laura! I love all the details. Brilliant!
Laura, your tags and valentine's are just exquisite! As always, your creativity just amazes me!
hugs,Jackie
Laura, are the little red dots on the gold dresden myrtle leaves liquid pearls? Thanks!
Stunning tags...Beautiful creations...thank you for sharing...
beautiful, thanks for the tutorials, love the lady collage sheet!
Magnificient atc´s!
Post a Comment