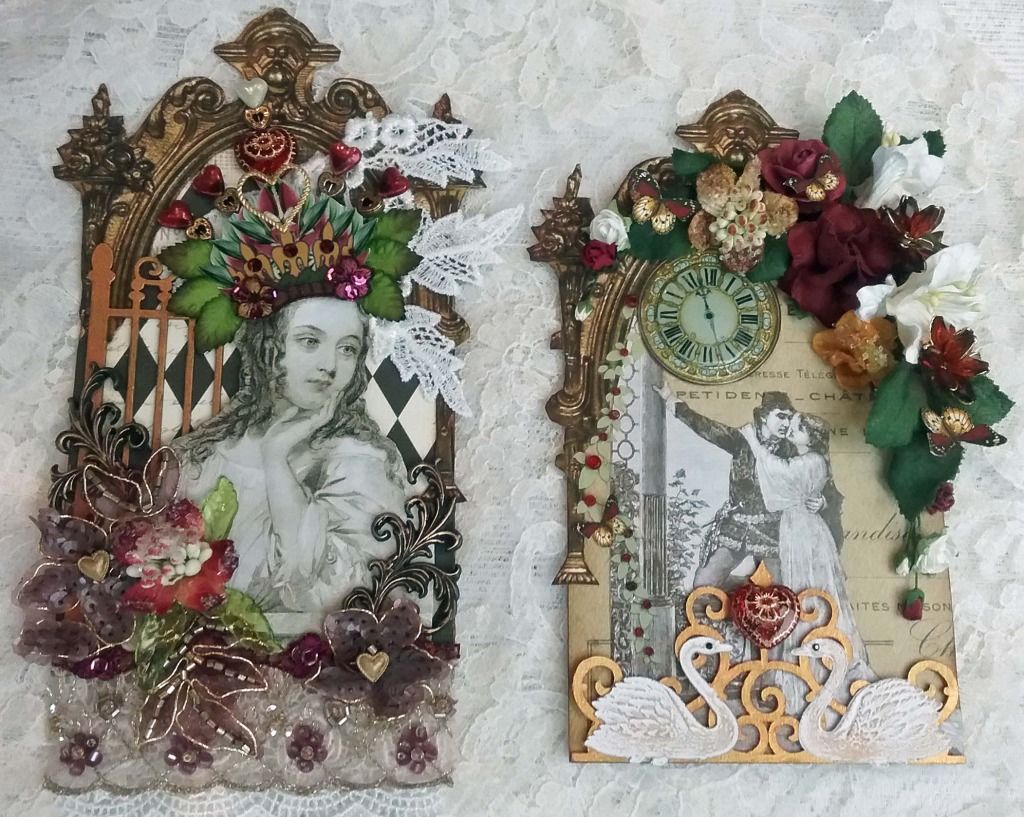
I had originally hinged the two pieces together, but after laying out different designs, I just wasn’t happy. In a last-ditch effort to save them from the trash can (which is where pieces I hate go), I took them apart and focused on them separately (which finally took me to my happy place!).
PUTTING THE PIECES TOGETHER
For both of the pieces, I started by
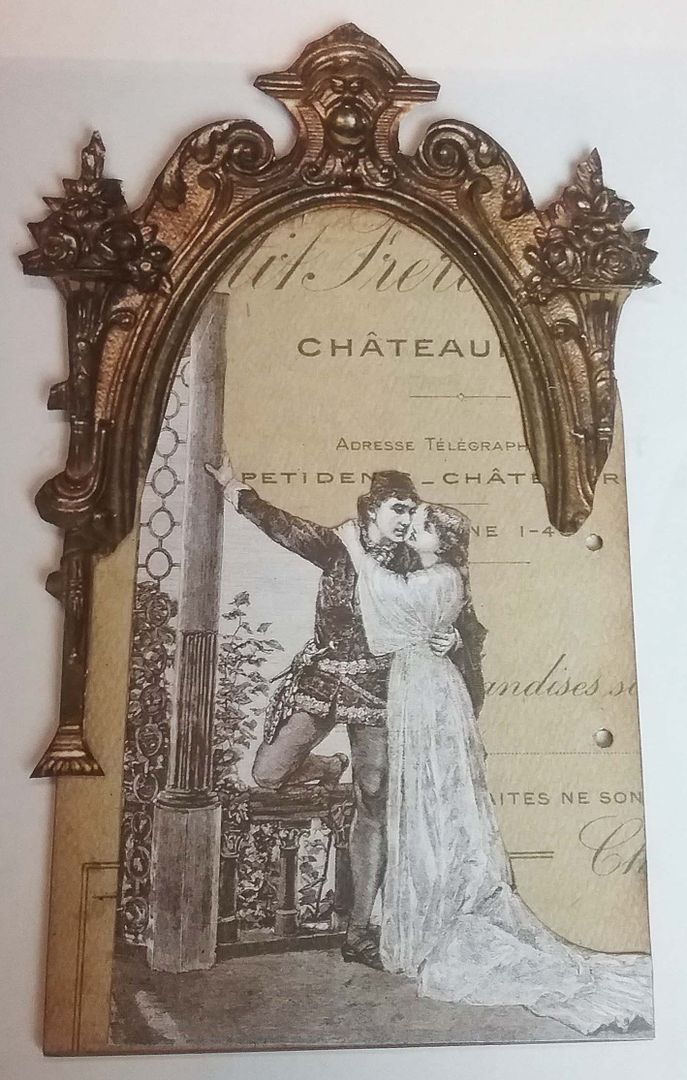
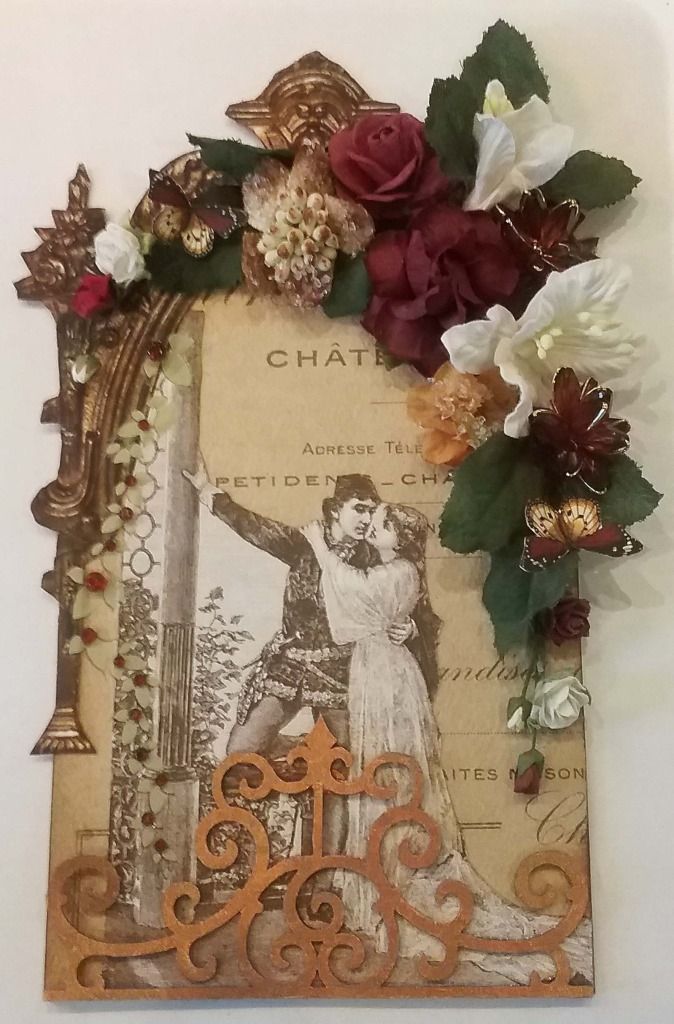
covering a piece of chipboard with decorative paper. Next, I added images from the Alpha Stamps Juliet Collage Sheet.
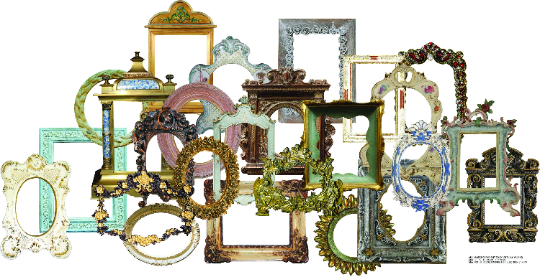
I also used one of the frames from my Large Vintage and Elegant Frames Digital Image Set. I printed the
frame twice and cut away part of the bottom of each frame (the back of the
frame is covered with coordinating cardstock).
The frame I used is the last one (far right) on the second row in the
picture below. I love using large frame
images to give a piece structure.
LARGE VINTAGE AND ELEGANT FRAMES DIGITAL IMAGE SET
To purchase this digital image set, click on the image below.
STAR CROSSED LOVERS
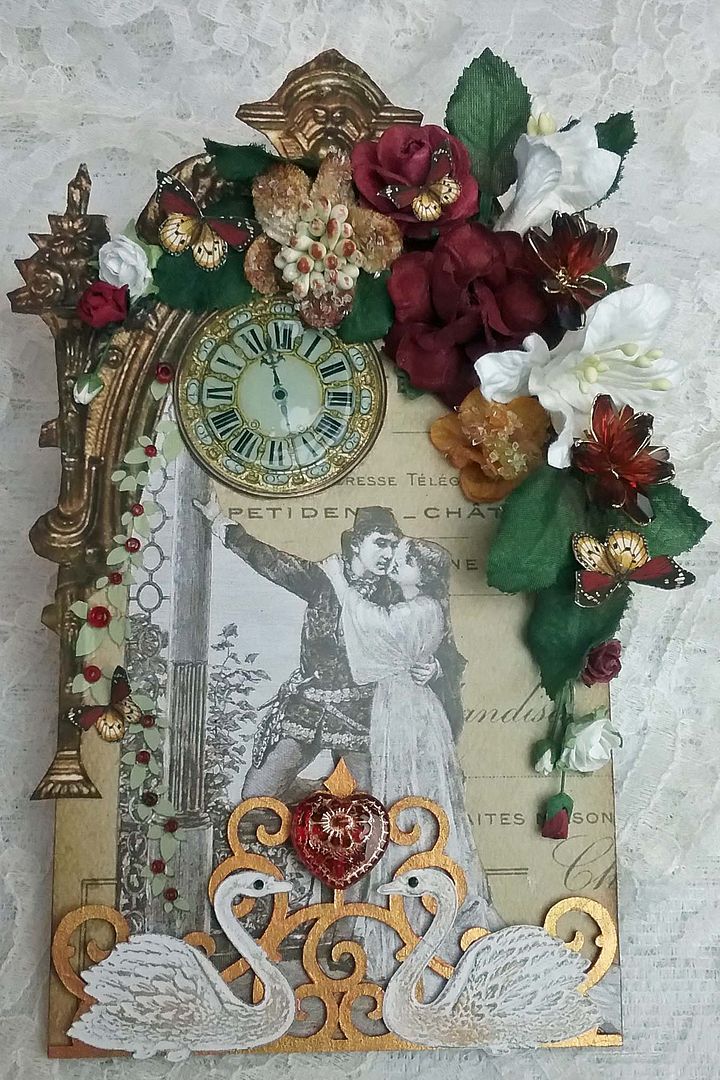
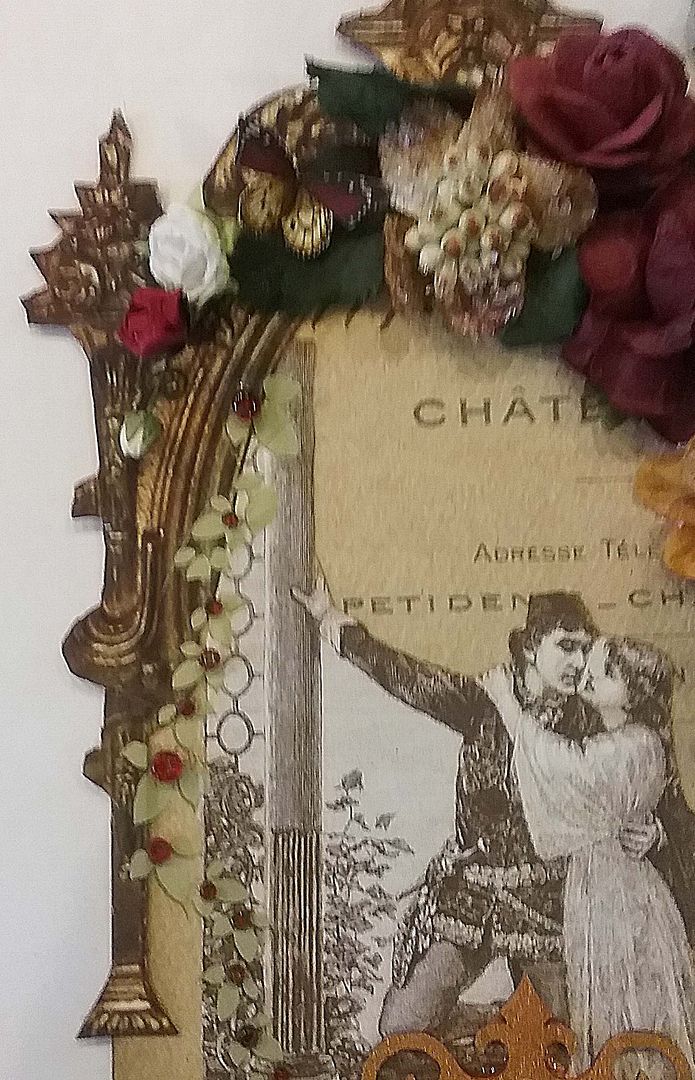
In the picture below, you can see the
holes going down the right side of the piece, but no worries, as the cascading
flowers will hide my misstep.
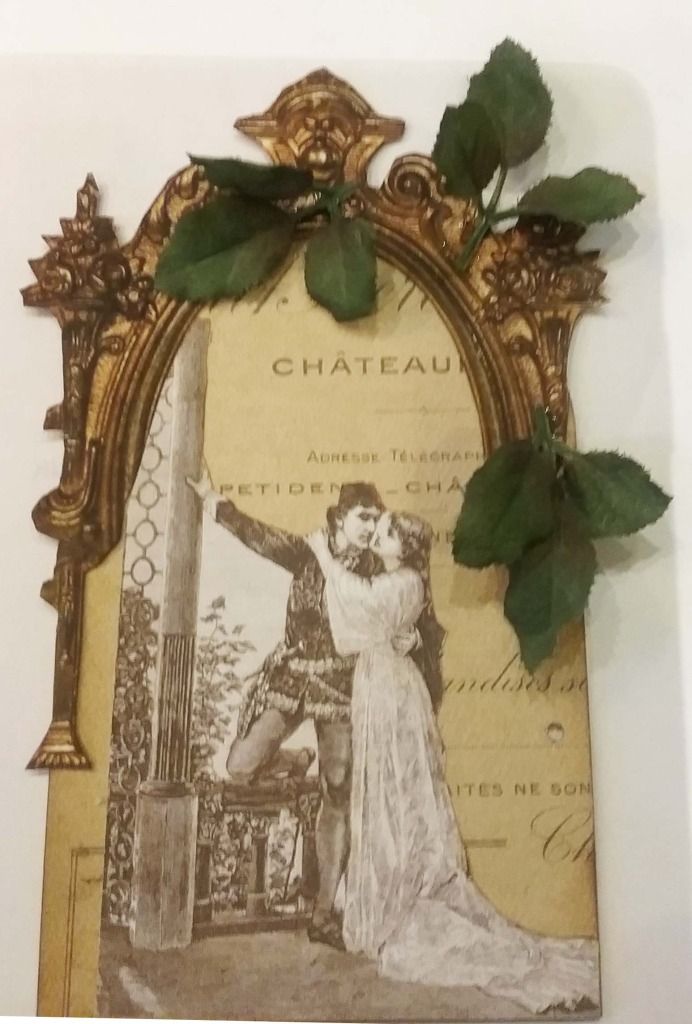
I started building the flower cascade by
attaching leaves from my stash. I think
these leaves had a flower that I used on another project.
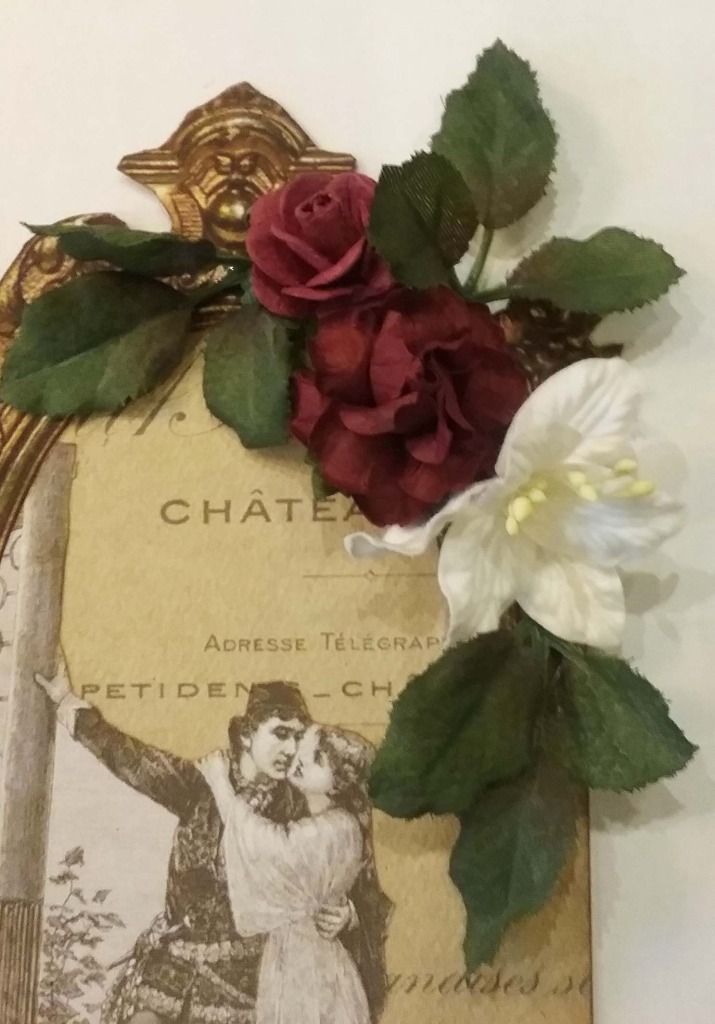
Next, I added the larger burgundy, white and
yellow flowers.
The brown beaded flowers
are from my stash. Next, I added the
smaller burgundy and white roses and rose buds.
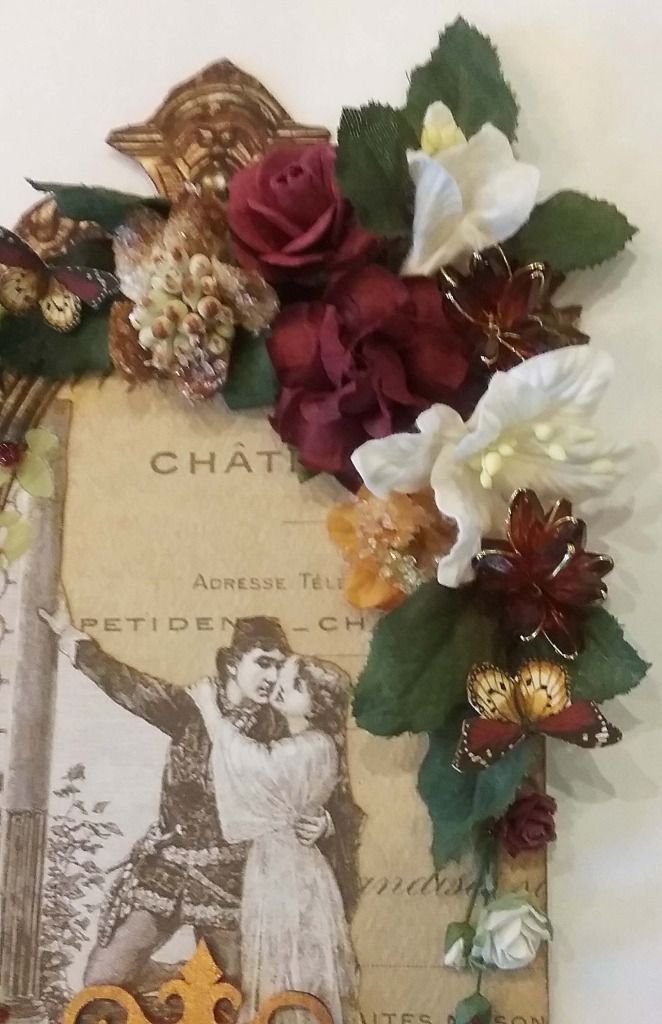
The ones on the right hide the holes. As a final touch to the flower cascade, I
added paper butterflies.
In addition to the vine, I used a clock from
my Tick Tock collage sheet. I added
Glossy Accents to the center to give it a domed and shiny appearance.
MY COLLAGE SHEETS AND DIGITAL IMAGE SETS USED FOR "STAR-CROSSED LOVERS"
QUEEN OF HEARTS
The approach for this piece was the same
as the one above. I used the same
chipboard, paper frame, decorative paper (opposite side), and the image from the
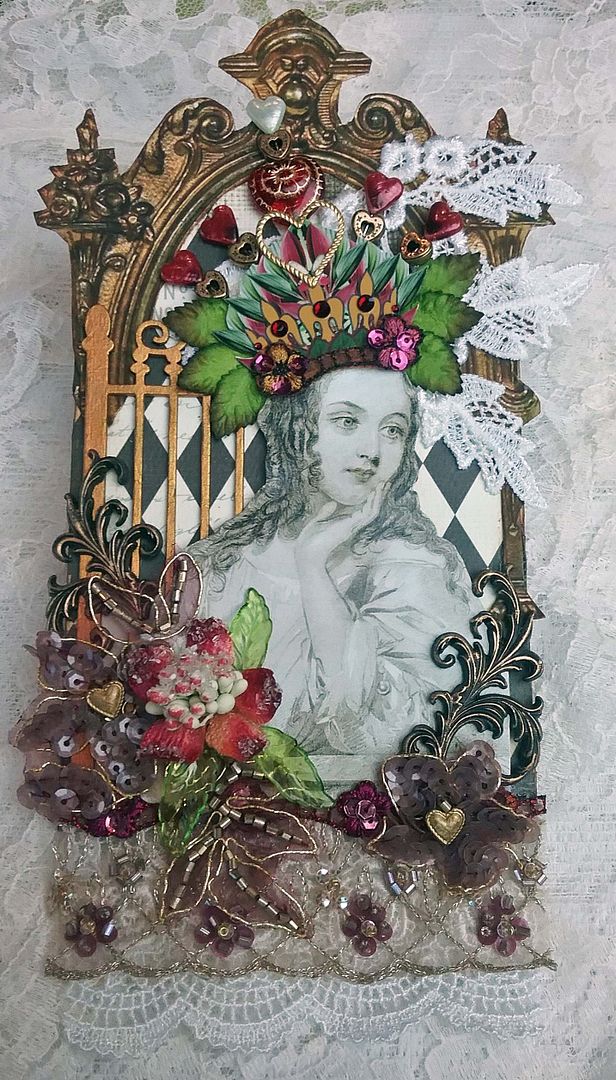
Juliet Collage Sheet.Next, I added half of a chipboard gate (painted gold) to give the piece an architectural feel and cover the holes on the left side. I also added lace (from my stash) to the top right side of the piece.
Next, I glued the image in place and
started building her heart crown. I used
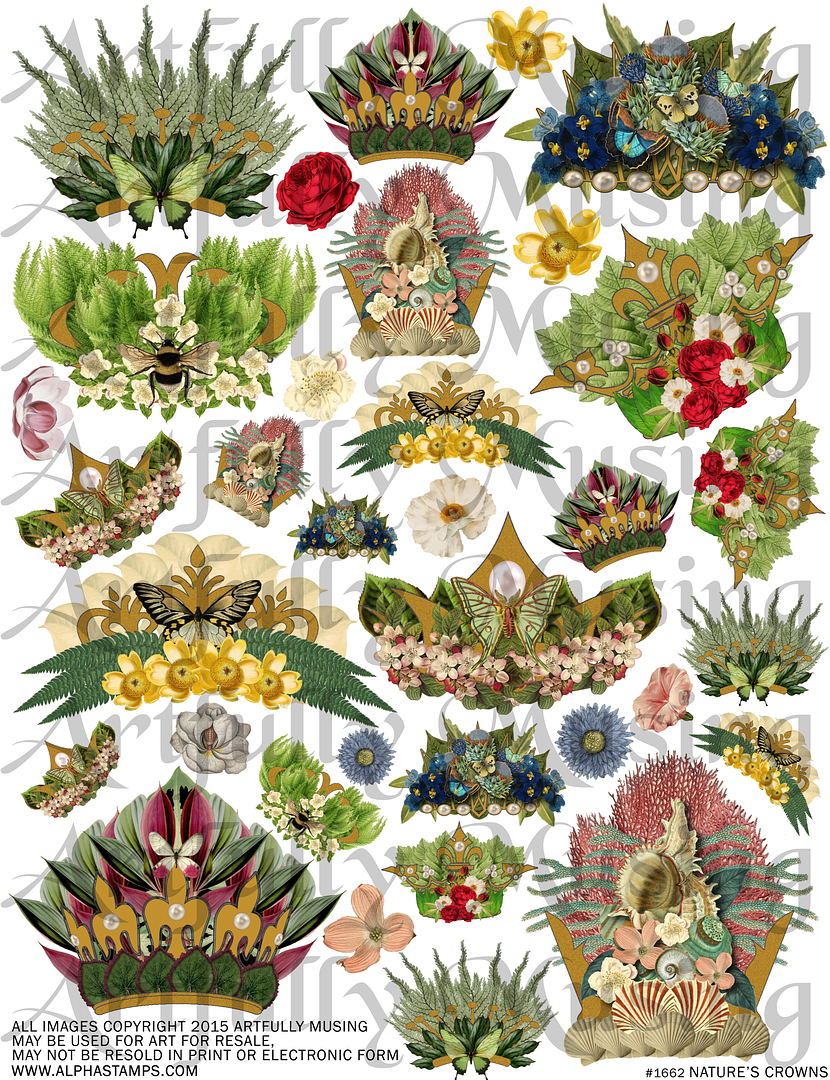
one of the crowns from the Natures Crowns collage sheet as the base. Click on the image below to purchase this collage sheet.
Using heart stick pins, I added small heart
beads and glued the stickpins behind the crown.
In the center, I also added a glass heart bead to the stickpin in addition
to the small heart bead. To the front, I
added a gold heart, rhinestones, and a piece of trim to the crown. The final touch was to add some leaves behind
the crown.
To the bottom of the piece, I added first
lace, a large beaded trim, and a small beaded trim. Next, I added resin swirls and beaded flowers. The final touch is the sugared bloom with acrylic
leaves.
MY COLLAGE SHEETS AND DIGITAL IMAGE SETS USED FOR "QUEEN OF HEARTS"



5 comments:
Just gorgeous! So romantic and nostalgic and magical - and literary! Love them both!
Absolutely gorgeous!!!!! Love love love them both!!!!!!!!!
very pretty!
i love your blog because it is so creative and lovely! for valentine' s day this idea it must be perfect!
if you like ti visit me
i am daniela
from
https://infusodiriso.wordpress.com/
thanks for the step by step, beautiful projects and lovely layers!
These are so beautiful!
Post a Comment