

I can't believe
it is already February! With February being the month of love, I have
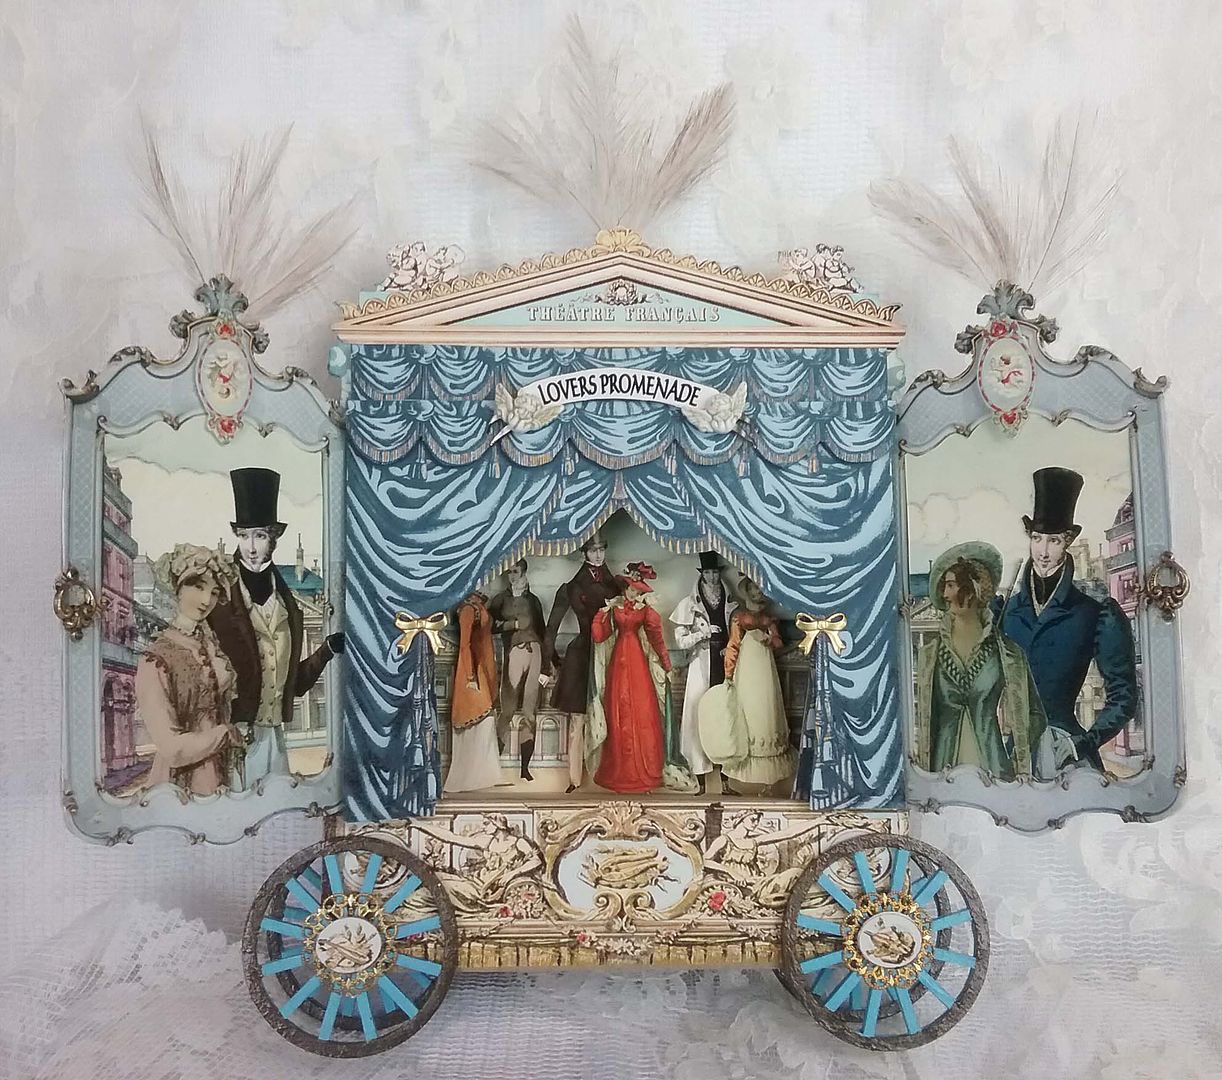
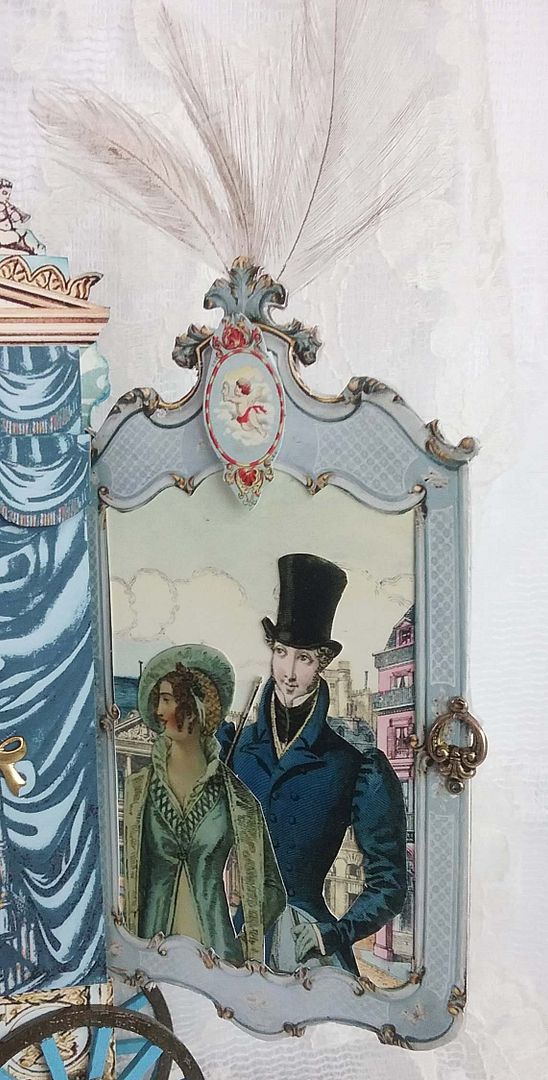
another romantic project to share; the traveling Theatre Francais
presents "Lovers Promenade." It's the final scene in which, after many
pitfalls, all the lovers are finally united (aka a happy ending).
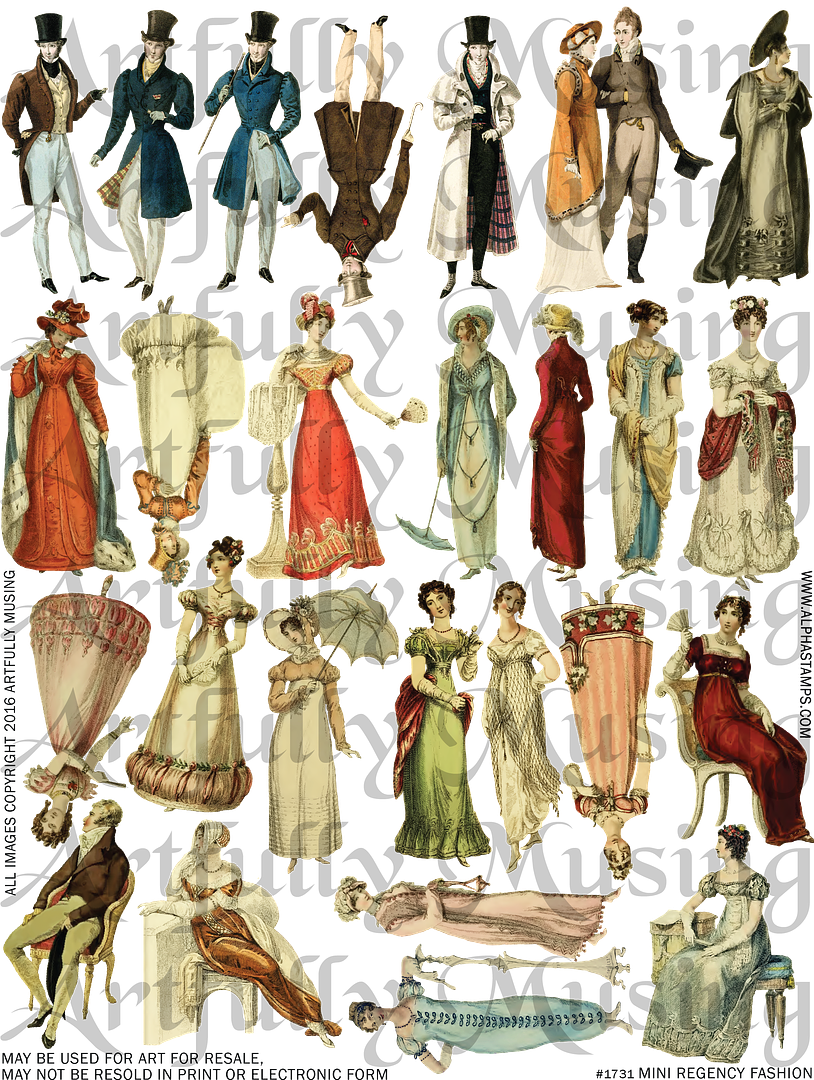
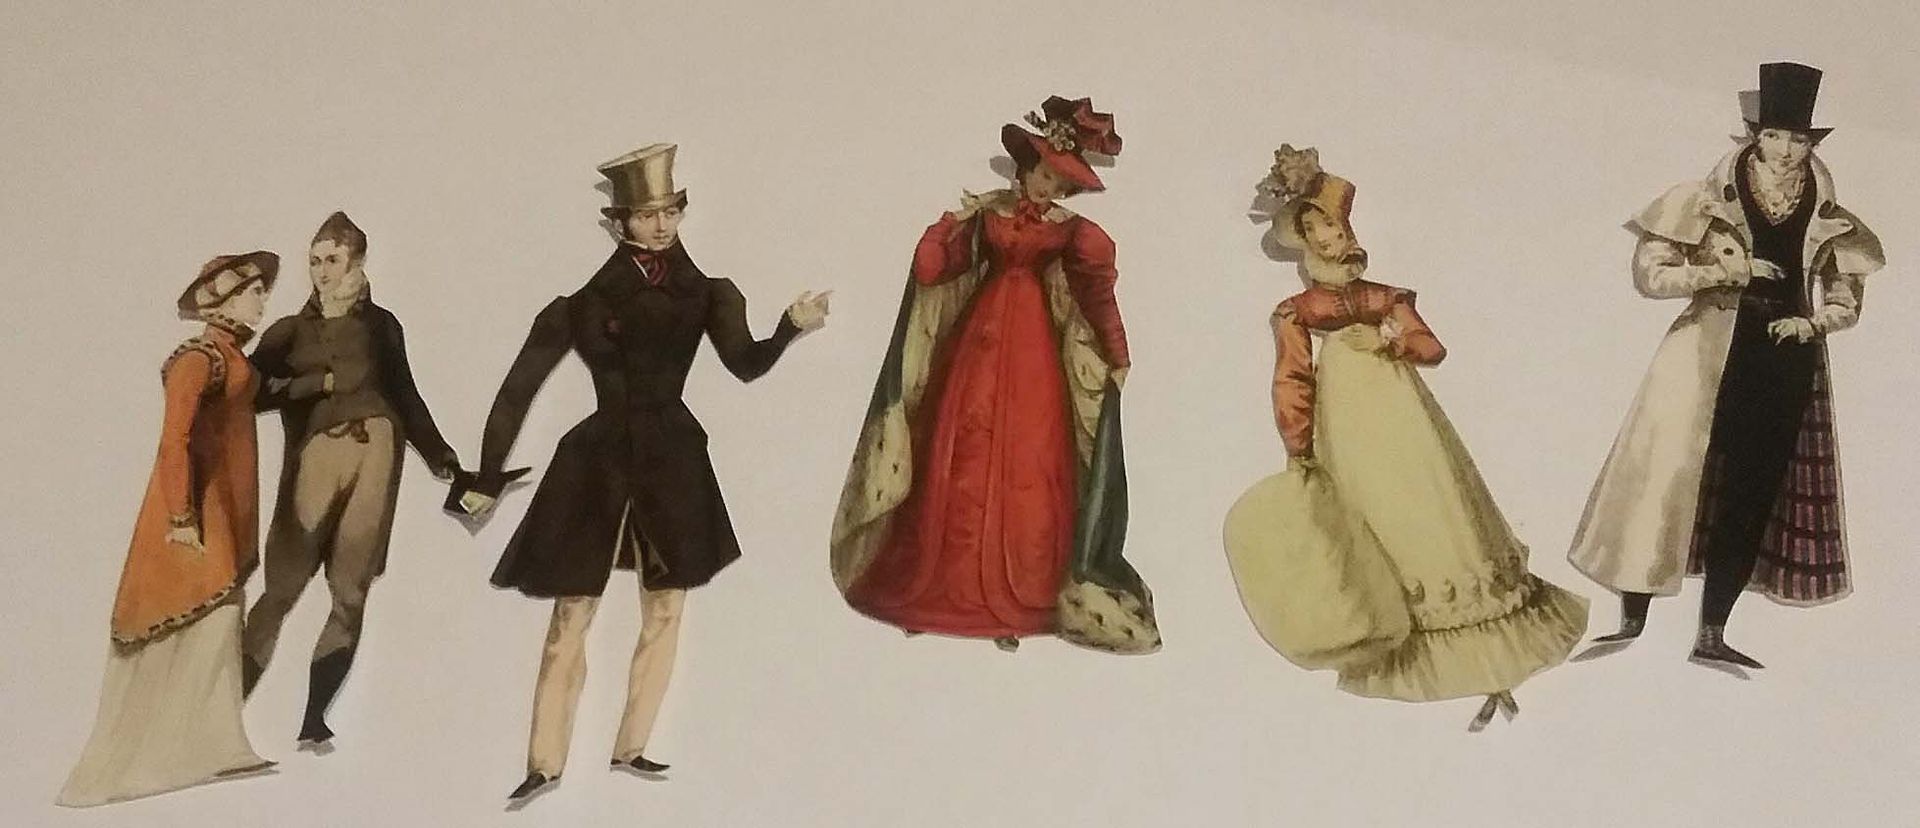
This collage sheet is filled with 26 miniature
men and women wearing Regency period fashions (my favorite) and is approximately
2 ½" tall. The images are sized to fit
the theater
shadowboxes carried by Alpha Stamps and are great for other small art
projects. Click on the image below to purchase the collage sheet.
I assembled this theatre using a
chipboard kit, collage sheet images, and chipboard wheels.
On either side of the stage are the
doors (faux) so that the theater can be secured and moved to the next town for
another performance.

TUTORIAL
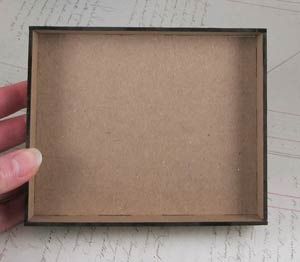
I started with a chipboard shadowbox kit
with 5 pieces that lock together with tabs and notches.
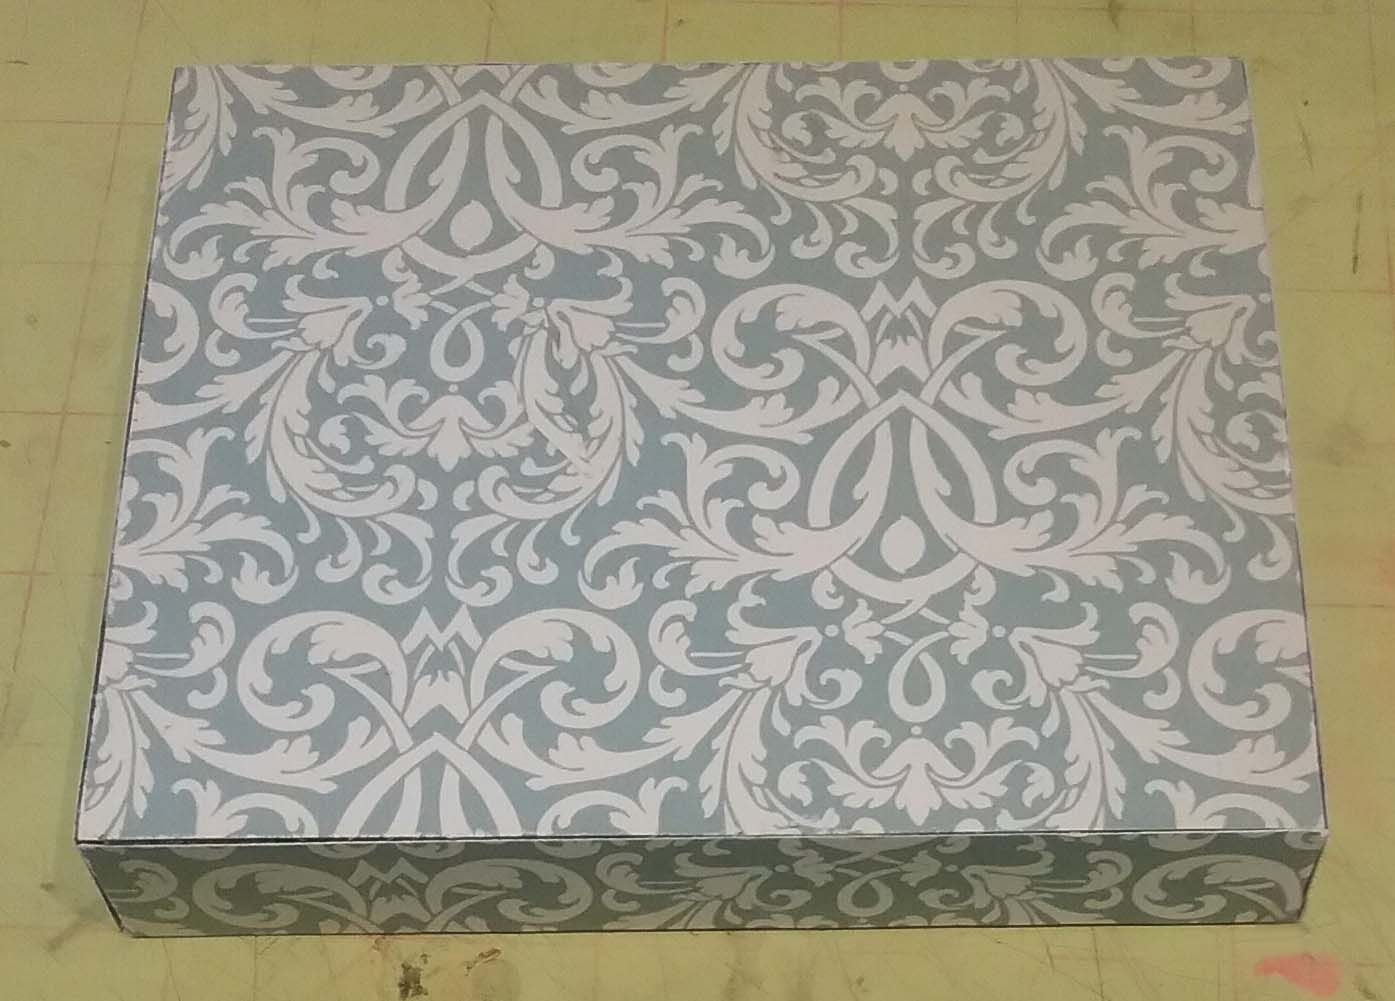
After gluing the pieces together, I used
decorative paper to cover the outside of the shadow box.
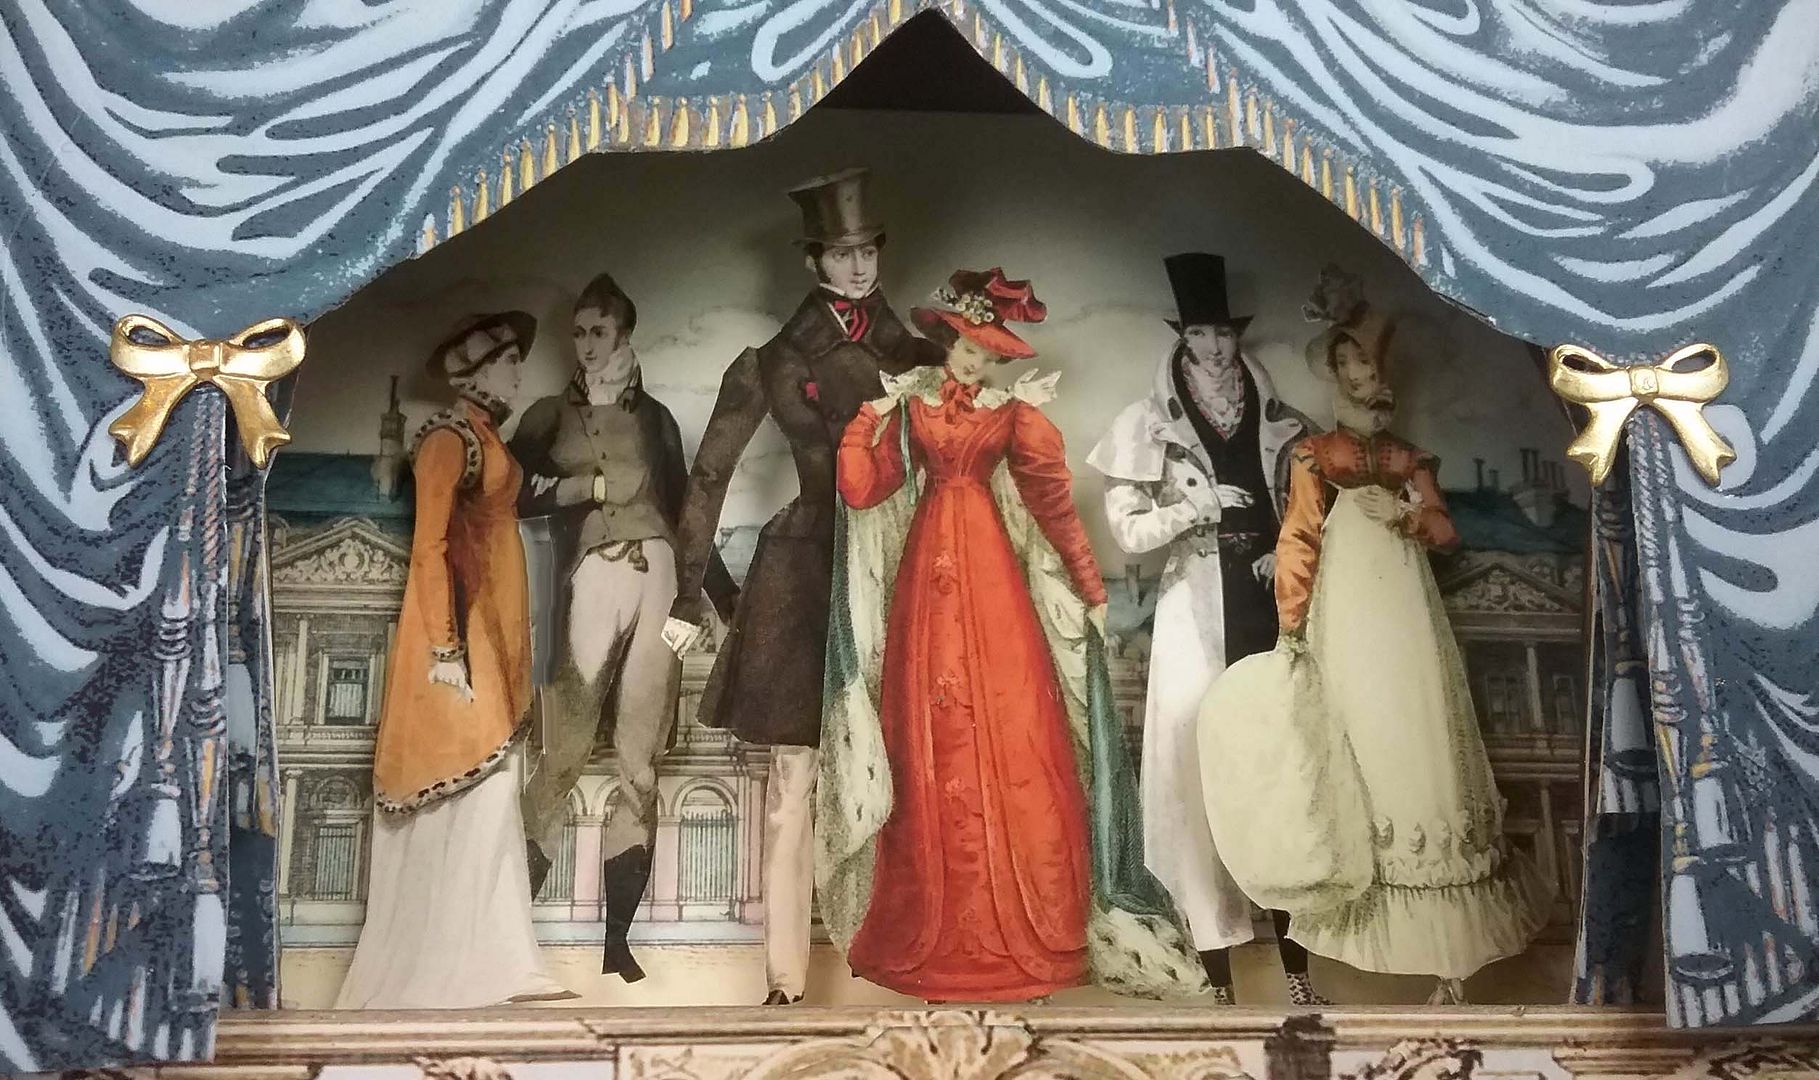
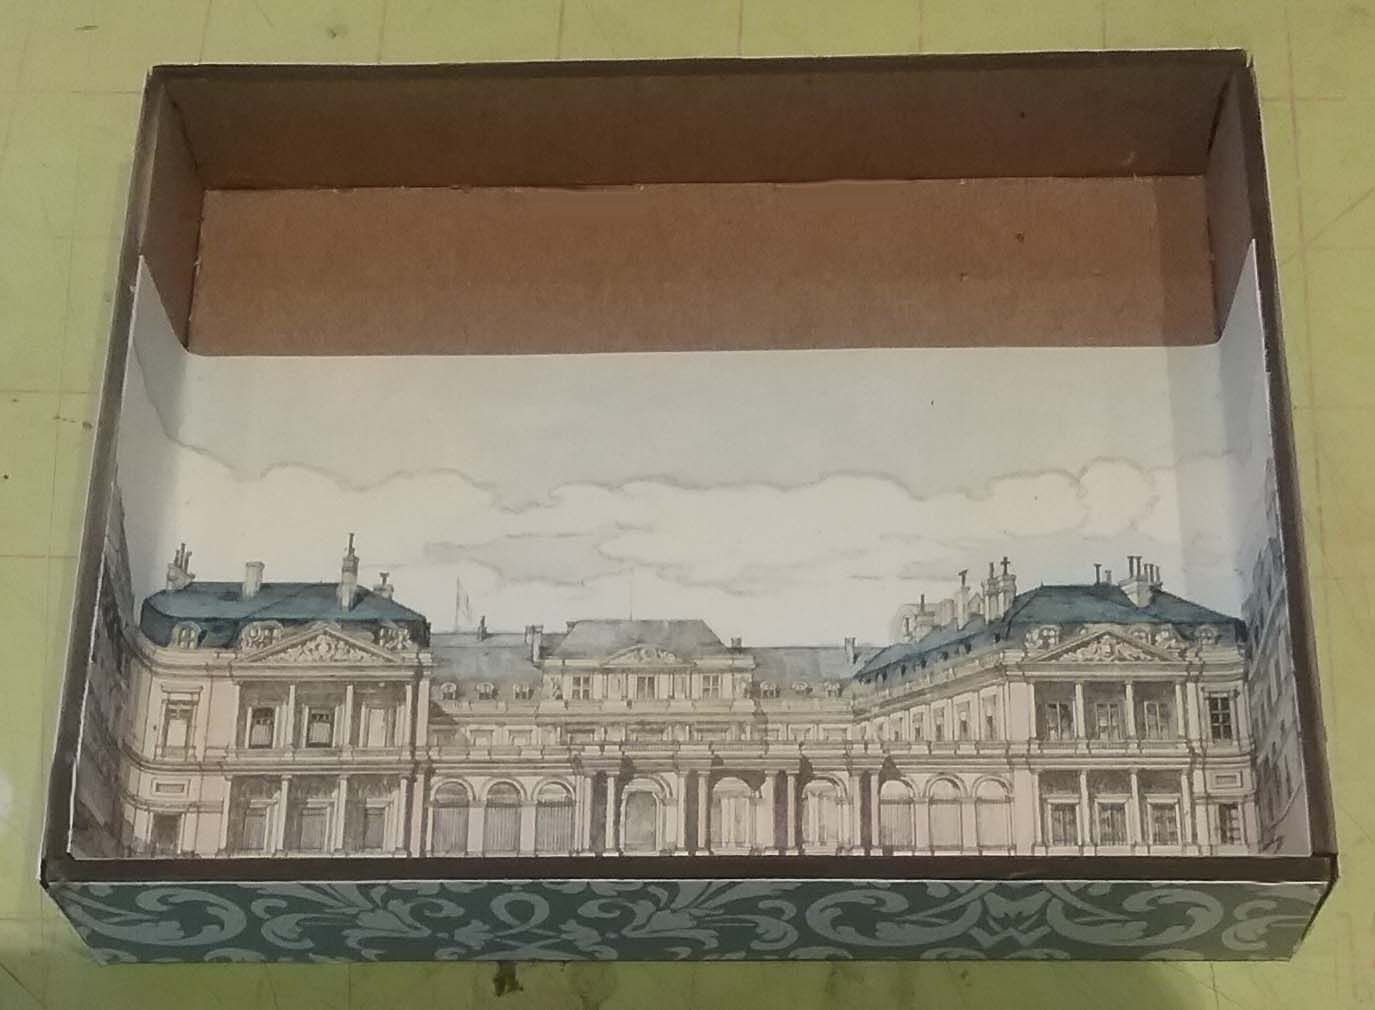
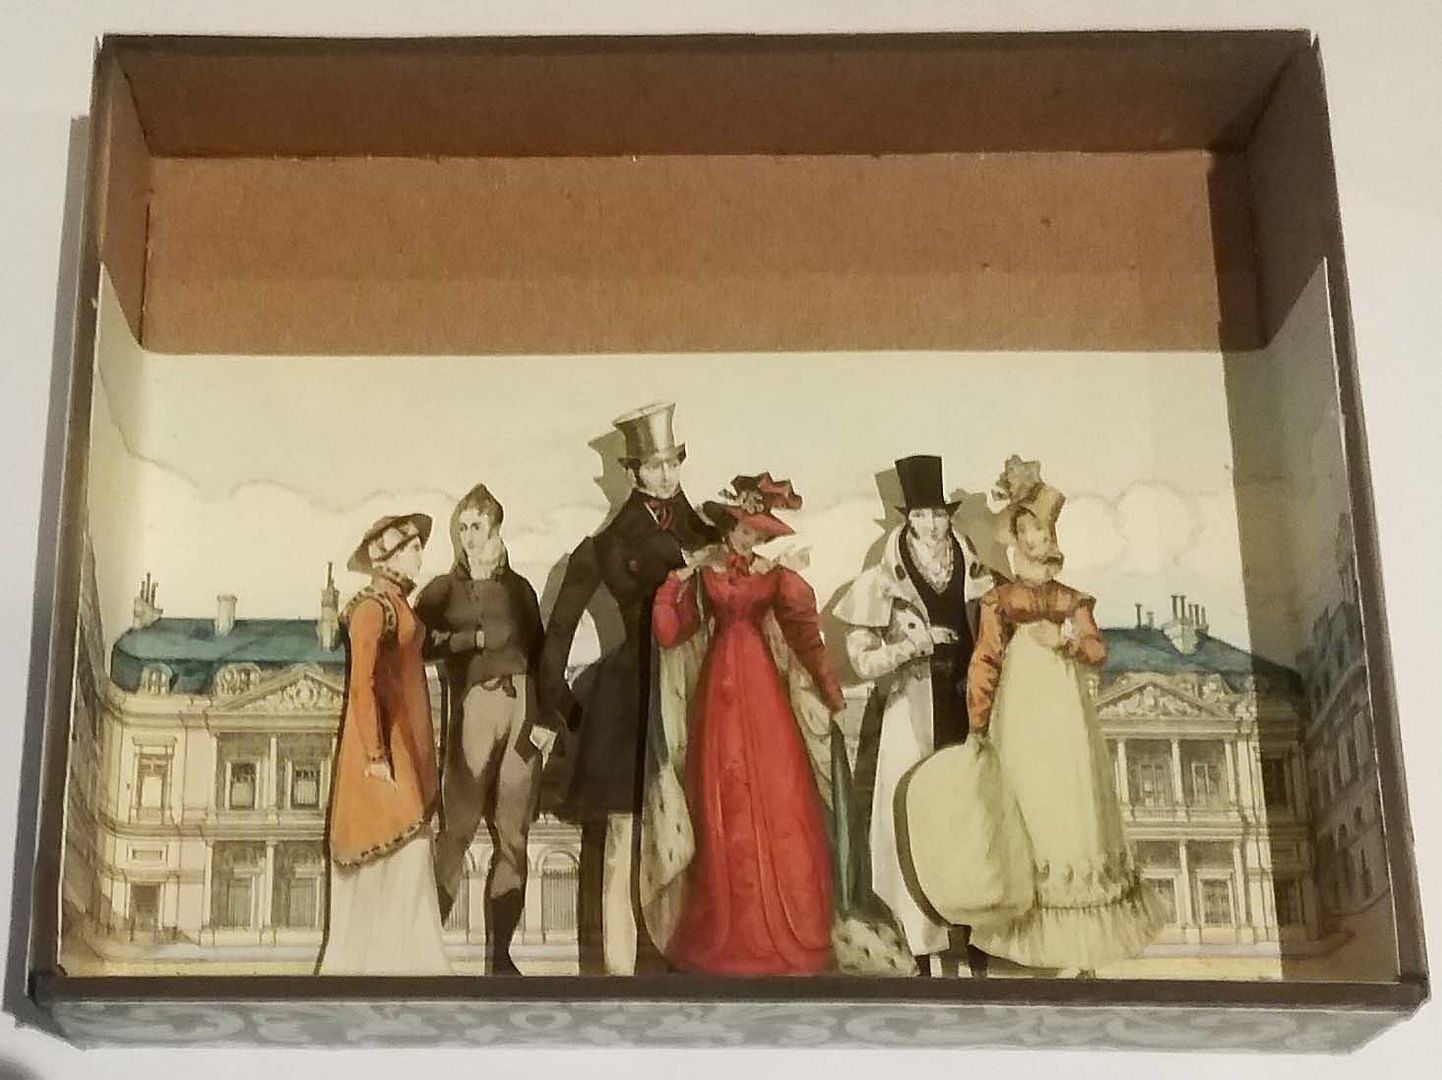
Next, on the inside, I added the background
scenery from the French Fairies Shadowbox Façade collage sheet. You don't need to add anything else to cover the
inside of the shadowbox, as you won't see it when the curtains are attached.
I backed the characters from the Mini Regency Fashion collage sheet with heavy cardstock.
I attached the characters to the back of
the shadowbox using popup dots. I used
between 1 and 3 dots so that they would pop up at different distances from the
background.
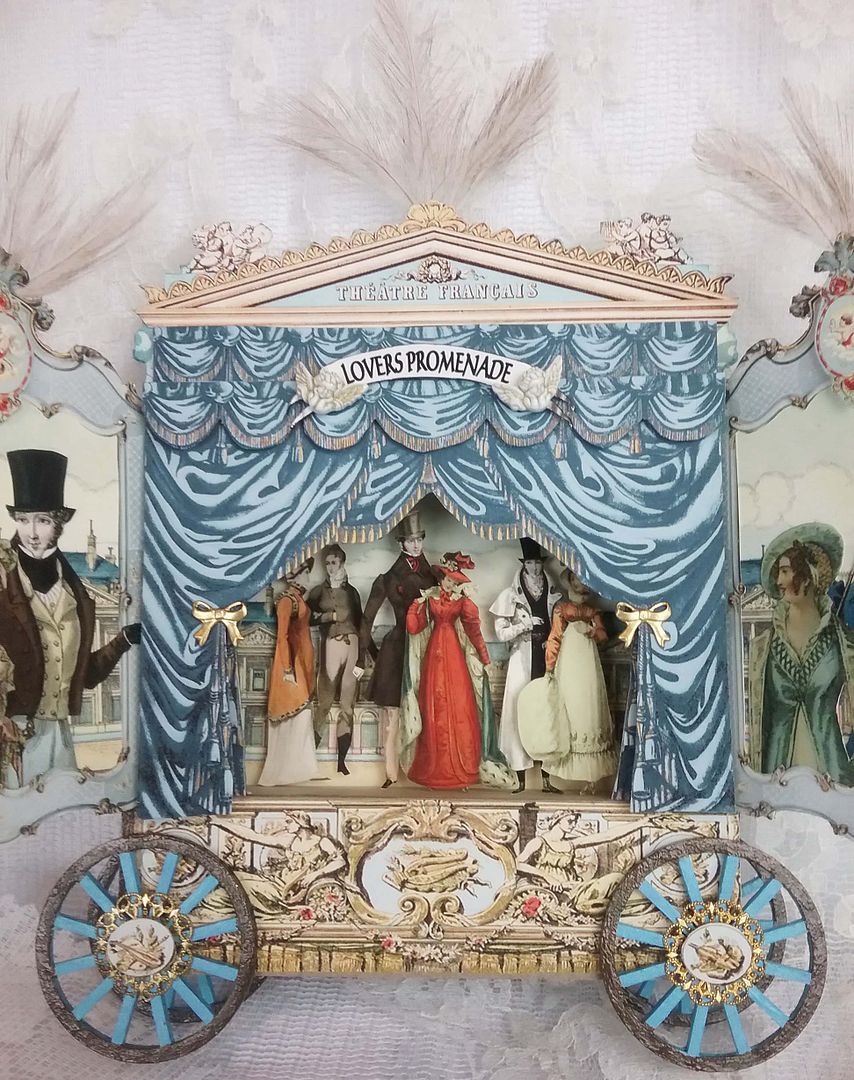
To create the theater façade, I started
with a chipboard shadowbox facade.

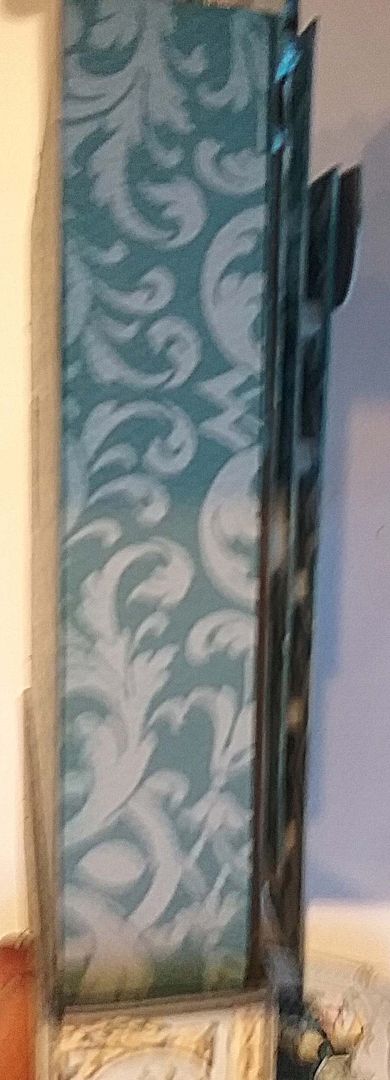
I used decorative paper for the top of the
curtain and part of the curtain image from the Square Shadowbox Curtains – Teal Collage Sheet for the lower sides.
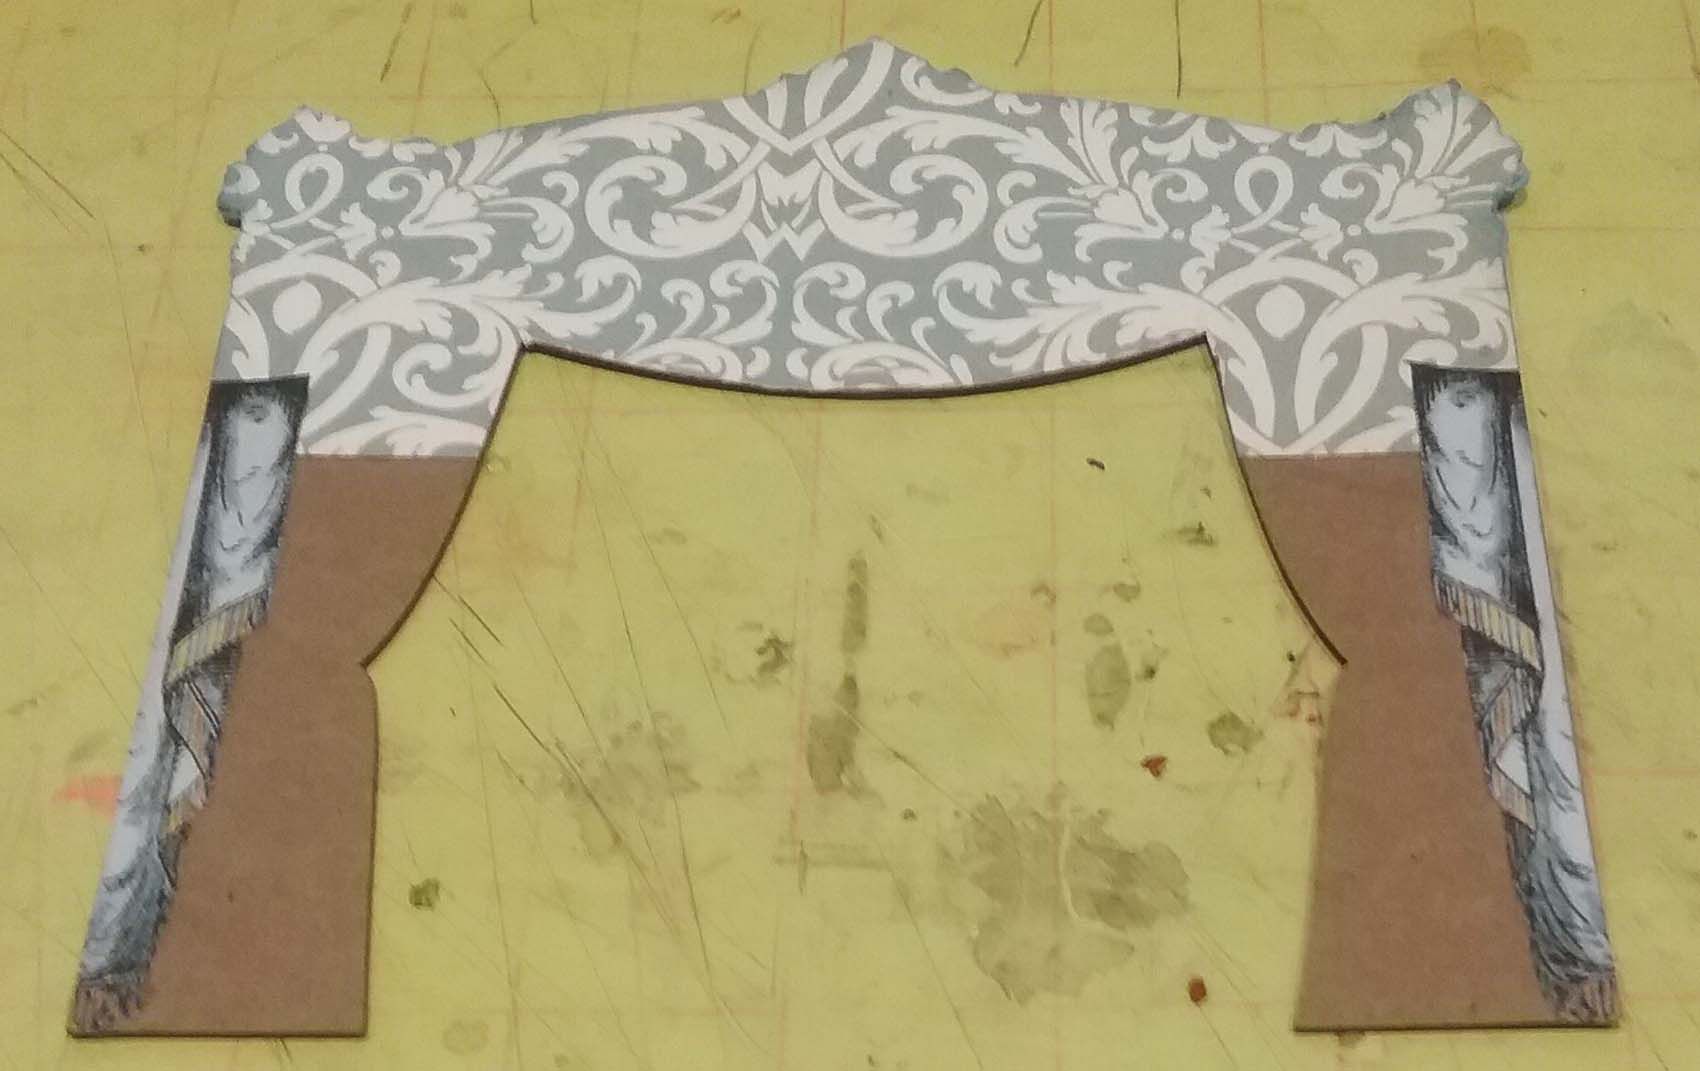

Next, I used images from the Gatefold Shrine Curtains collage sheet to create a skirt for the stage. I thought the skirt gave the piece more
height and provided a place to attach the wheels. I backed the stage pieces with chipboard to
make them sturdy.
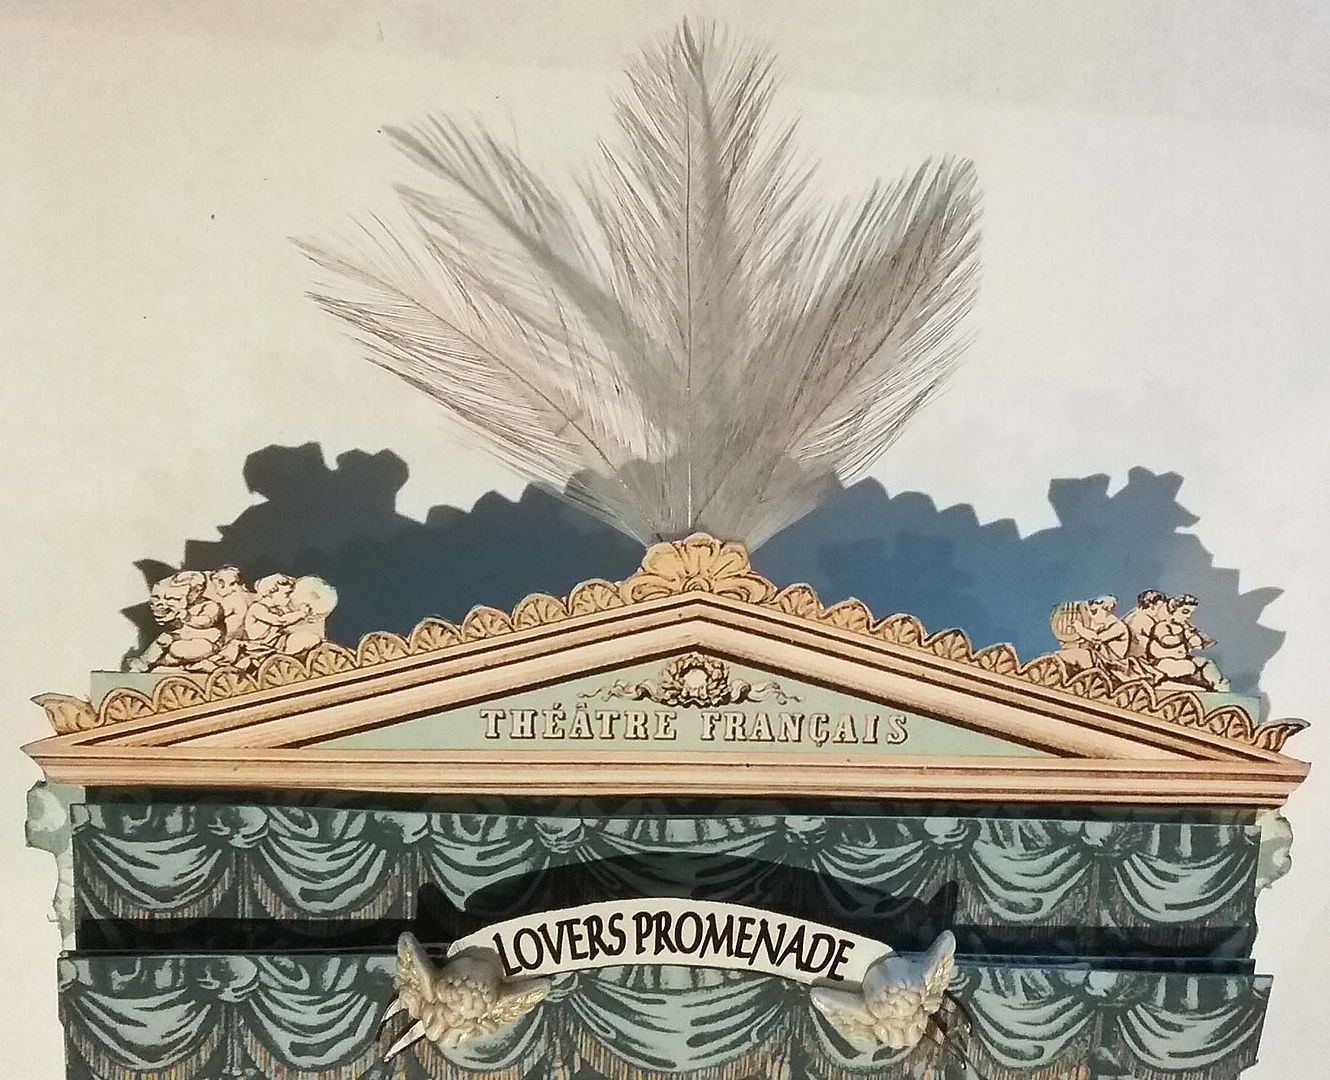
Next, I attached layers of teal curtains,
popping up sections of the curtains to create dimension, and added the chipboard
skirt. I added a pediment backed with decorative paper to the top.

To dress up the theatre, I glued together
3 sets of white feathers colored with Inca Gold Gilders Paste. I used my fingers to apply the paste to the
feathers.

I attached one of the sets of feathers
to the back of the pediment and used an image from the Gatefold Shrine Curtains collage sheet to cover the base of the feathers. The "Lovers Promenade" sign is accented with
cherub buttons.

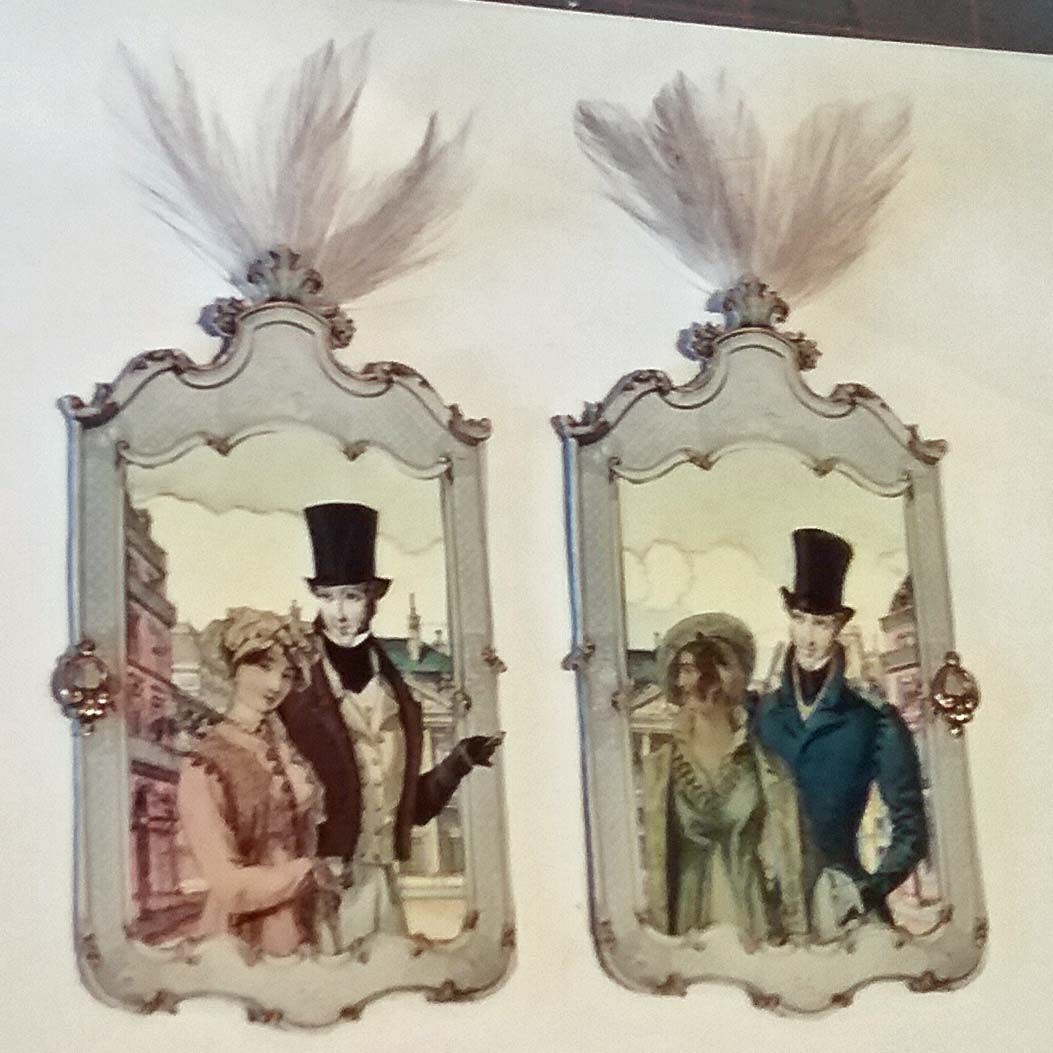
Next, I made the doors for the
theater. The door frame is from the Antique Frames digital image set. Notice how I used the same image in the background as I used as the background in the
shadowbox. The couples on the doors are from the Days Gone By collage sheet and/or the digital image set.
The door layers starting from the back
to the front, are:
- Decorative Paper
- Thin Chipboard
- Collage Sheet Backdrop Image
- Digital Image Set Frame Image
- Collage Sheet Couples
I also attached feathers to the doors
and brass connectors to serve as a faux pull (to close the doors).
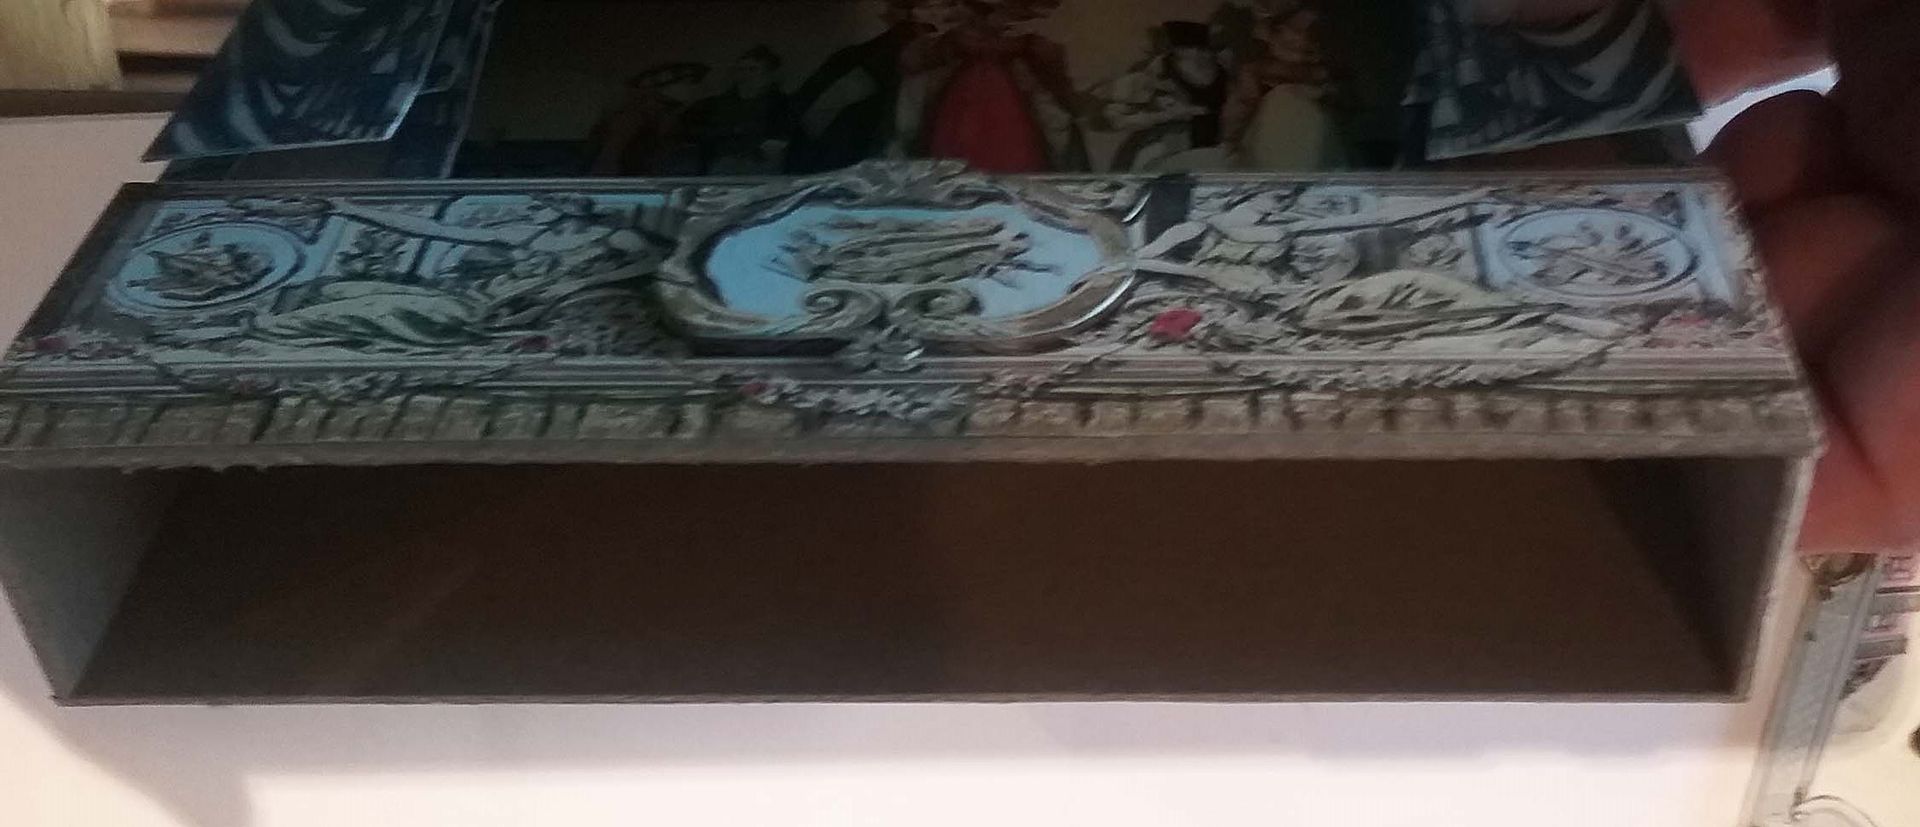
The picture below is a side view of the
theater before the doors are attached. You can see how the pop dots on the curtains are visible. The doors serve as a structural and
decorative element of the theater, but they also hide the pop dots.
Next, I glued the doors to the shadowbox
at a slight angle (forward).
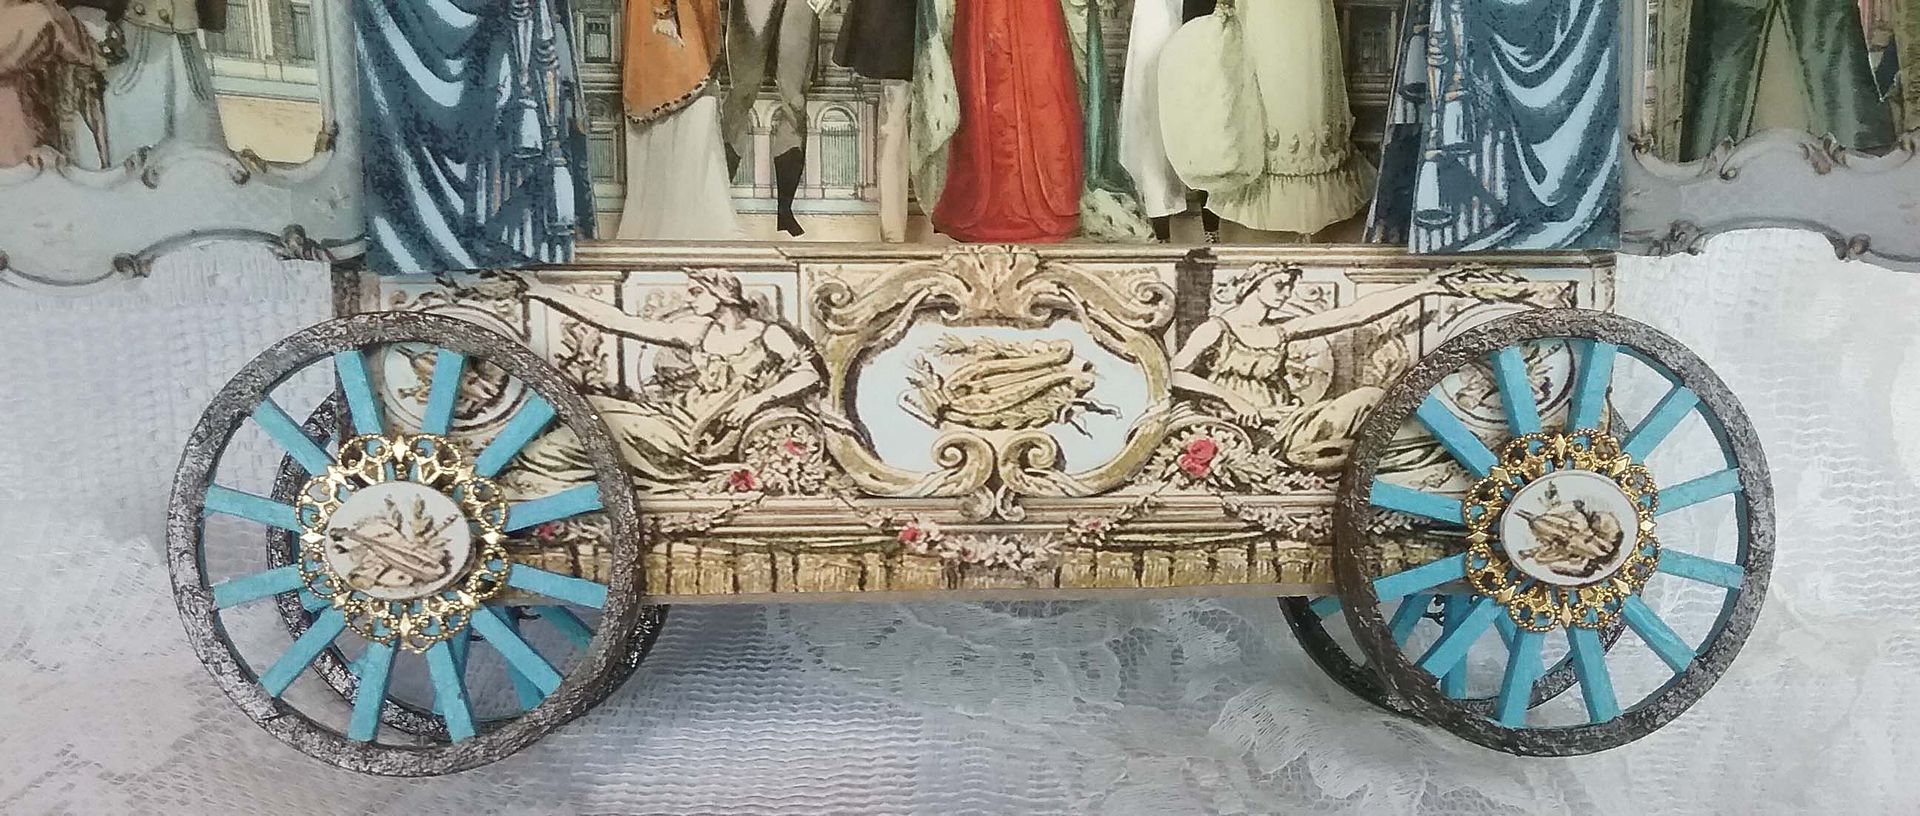
The last step was to add the chipboard wheels, which I
painted, and then dressed up with a piece of filigree and an image
(the same image that is in the skirt). Lastly,
I glued the wheels to the skirt.

MY COLLAGE SHEETS USED FOR THIS PROJECT
or
or
9 comments:
a valuable and original set
Lady Laura, you are so amazingly talented! This piece is fabulous! You never cease to amaze:)
Wonderful inspirational project.
TFS, Julie x
I always learn something from you Laura (even if I don't usually remember to comment!). Beautiful work as always!
I always learn something from you Laura (even if I don't usually remember to comment!). Beautiful work as always!
You just keep raising the bar. I can't believe you created that little beauty out of those materials. You're really a wonder woman. I must find a way to spend a day (or weekend!) creating and watching YOU create stuff!!!!! I just know I could learn so much from you - we have a similar aesthetic - you've really refined it!
Wow Laura! Your creation is truly beautiful and dreamy! Thanks for sharing the tutorial!
Beautiful and elegant reminder of gentler times gone by! Just wonderful. Thanks for the tutorial. xo sheila
Love this so creative, just wondering how you backed the sheet with cardstock, did you use the Mini Regency Fashion collage sheet and then put it on cardstock and cut it out again? Would really like to make these and im not sure what to order from A.S. as I want to make them very sturdy.
Thanks,
Jenn
Post a Comment