-->

Welcome

I love answering your questions. If you ask them in the comment section, I have no way to answer you (if you haven't heard from me, that is why). If you use the "EMAIL ME" in the left column of this page, I will be able to respond to you. You can also use it if you want to be added to my newsletter. Laura

Wednesday, October 1, 2014

HOUSE OF POE - TUTORIAL

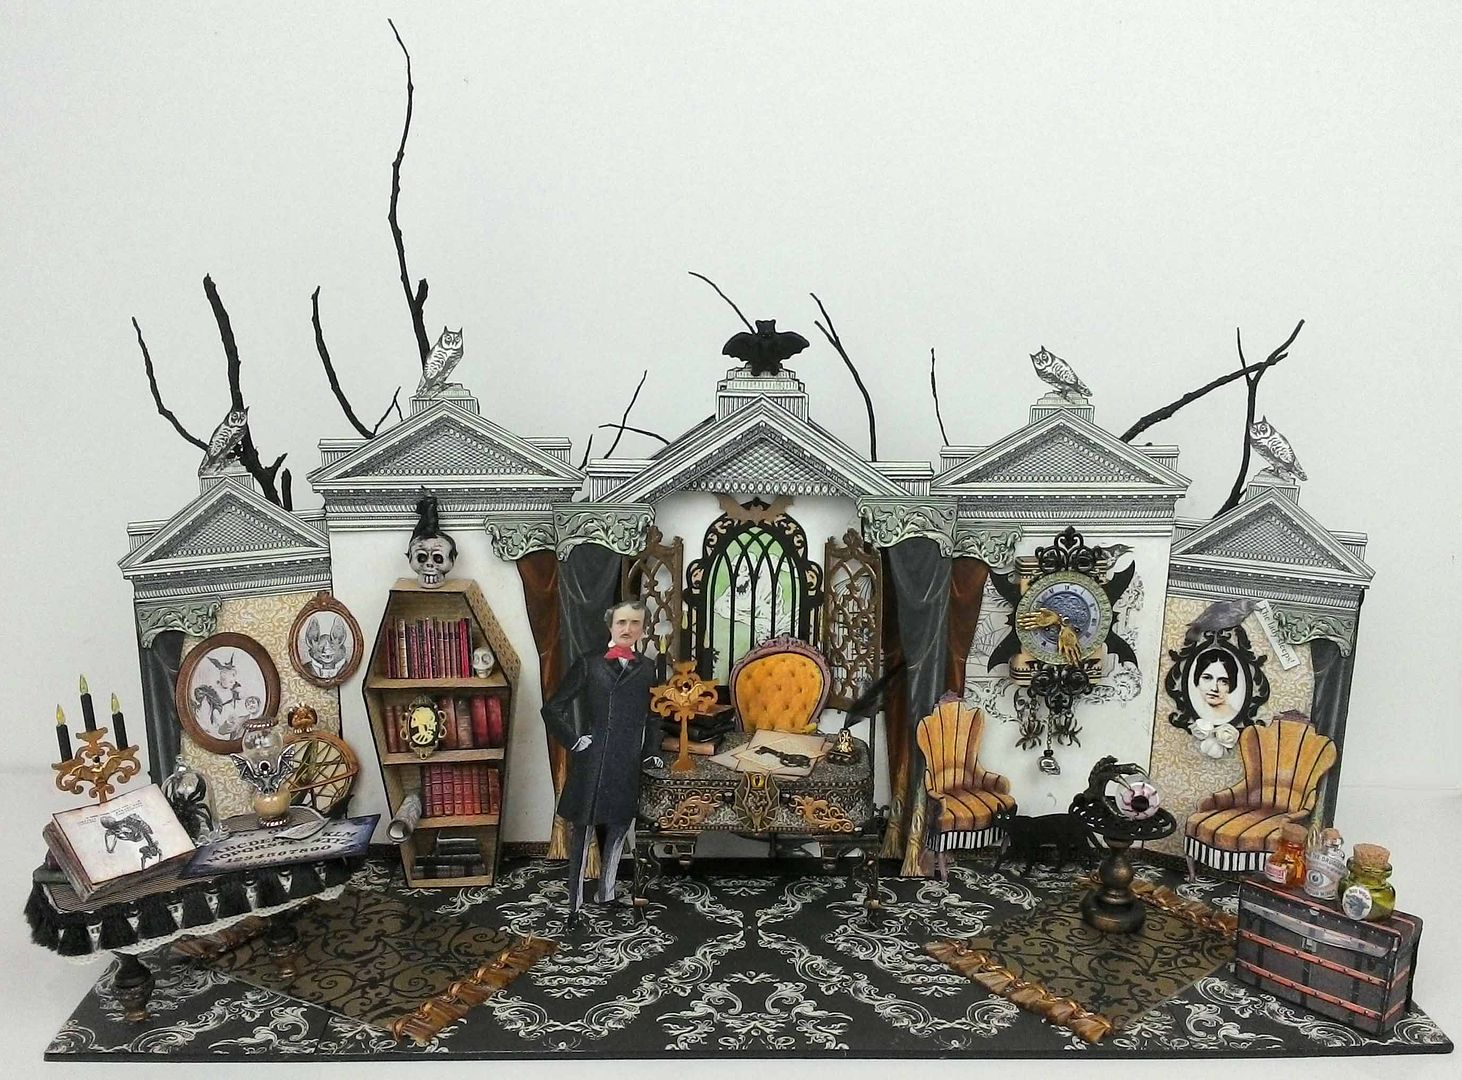
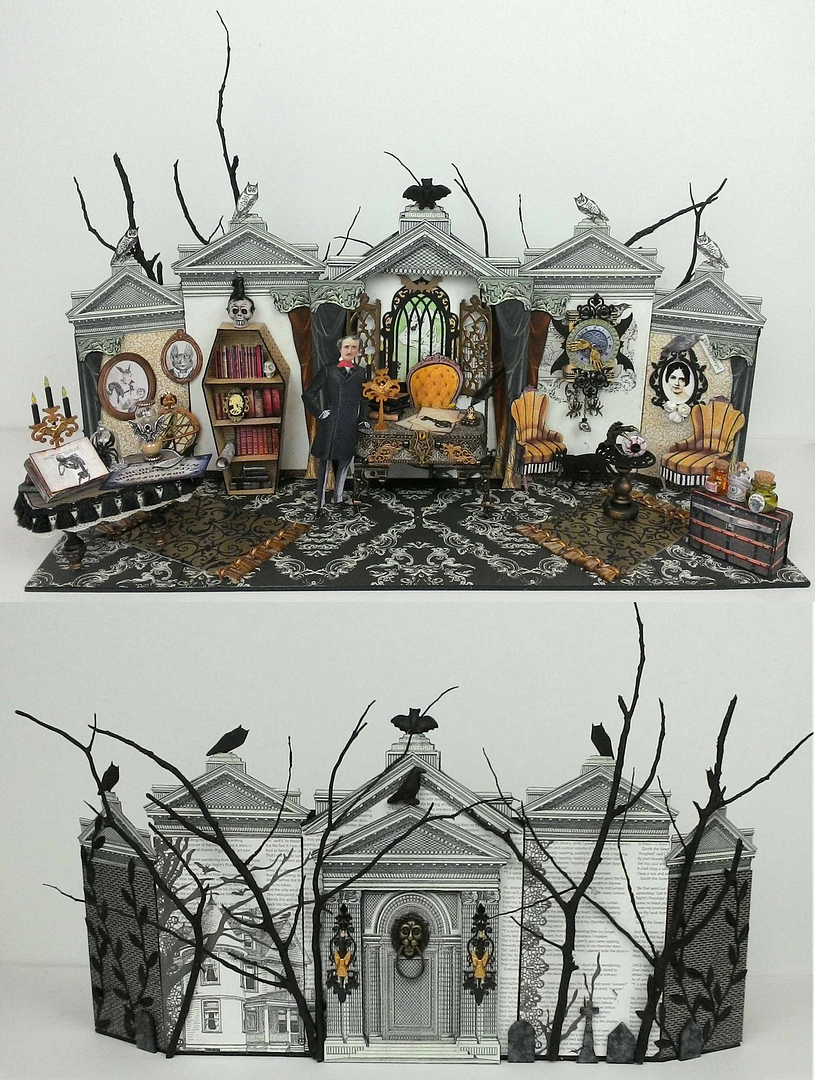
The "House of Poe" is my ode to Edgar Allen Poe the master of the macabre.  I love all of his stories and if you are a fan too, I hope you like this project.  Within the larger piece are smaller items that could be stand-alone pieces or part of a larger project.  In the tutorial below, I'll show you how to make a clock from a matchbox, a table & desk from an Altoids tin, a bookcase coffin, a working hourglass, and other bits and bobs.


MAIN STRUCTURE
I started with the leftover section of the paper mache house accordion shrine. This is the piece leftover from the Little Red Riding Hood project.  You could certainly use the entire shire to make your own House of Poe.

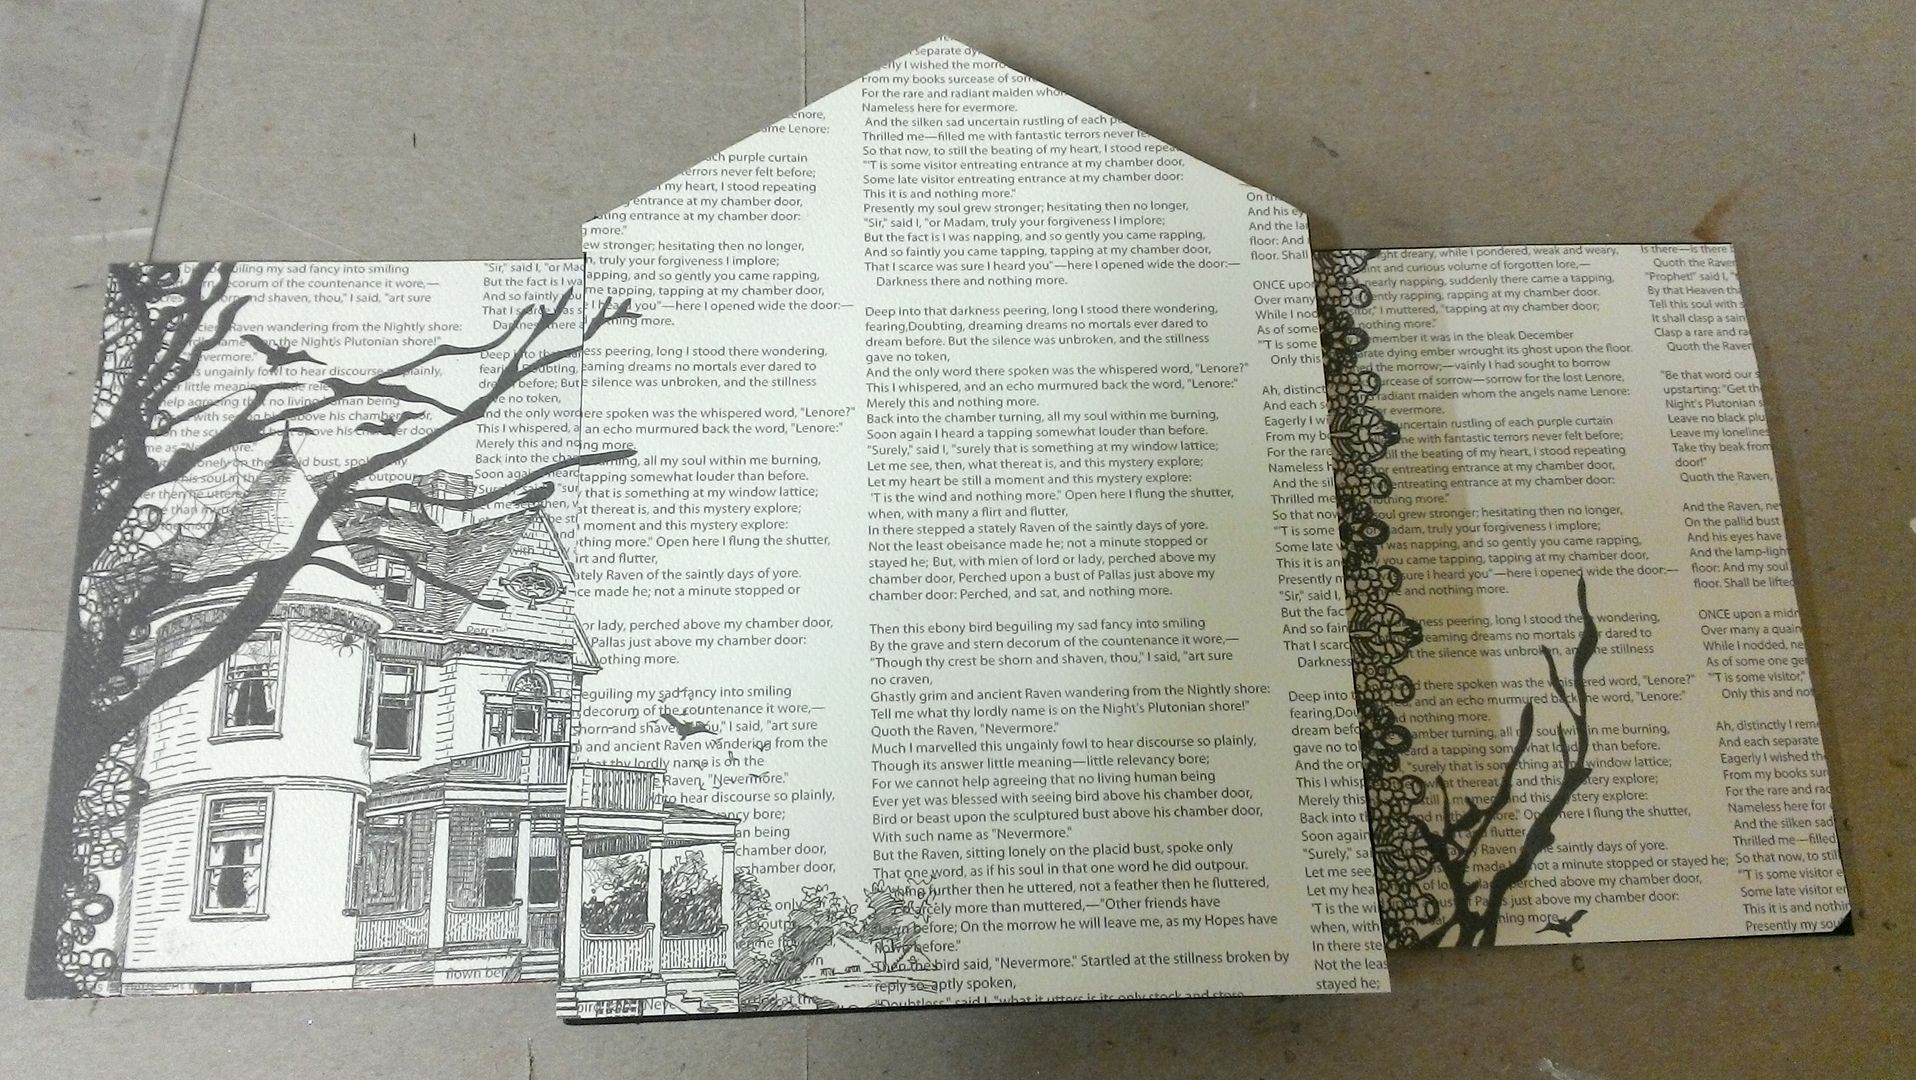
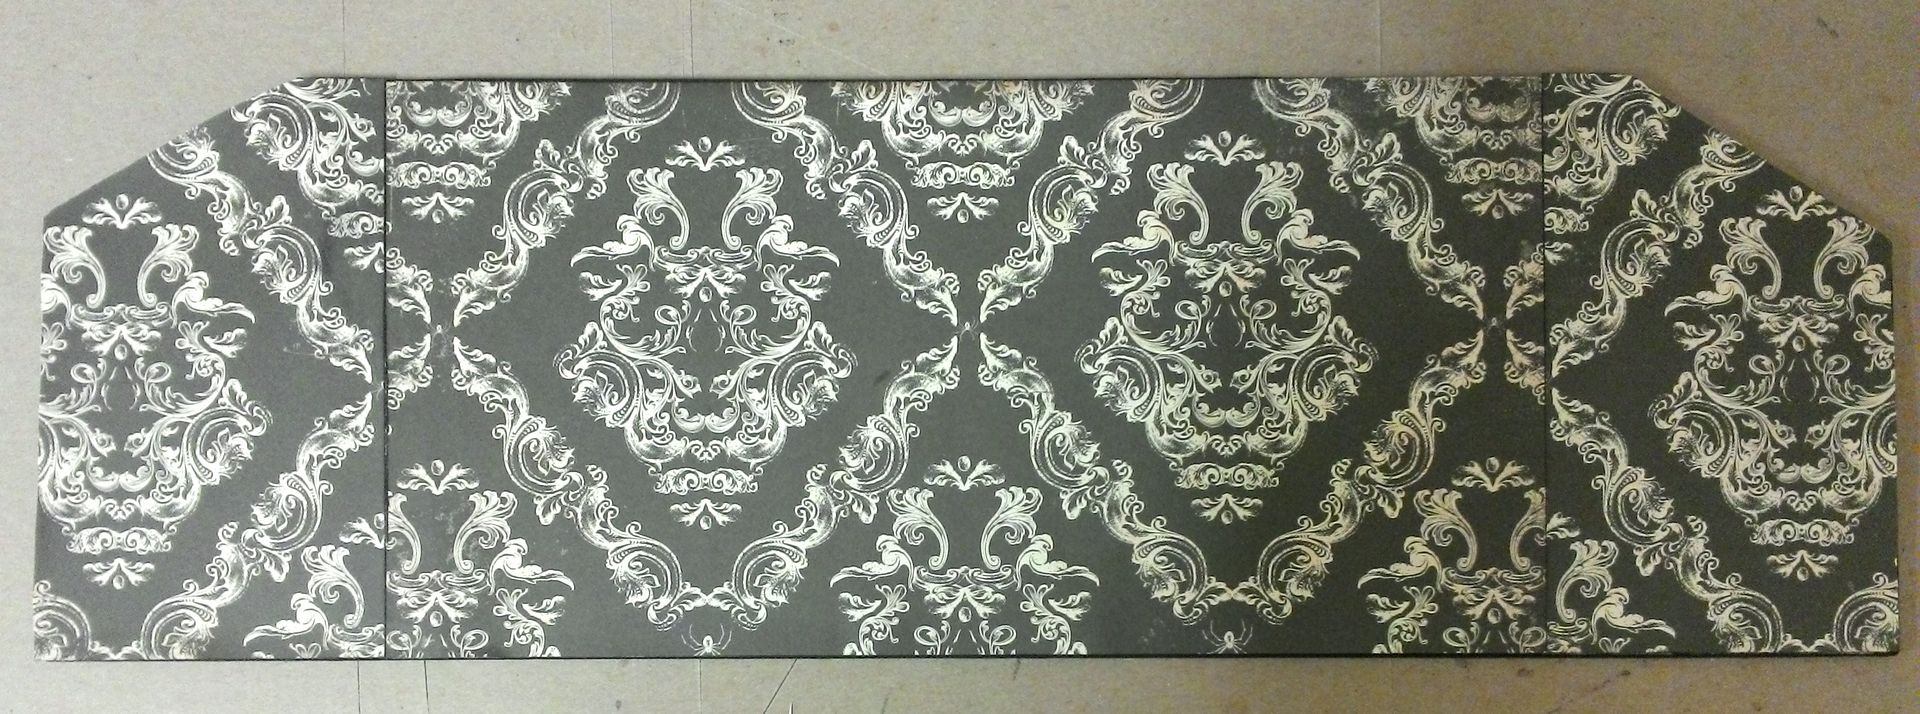
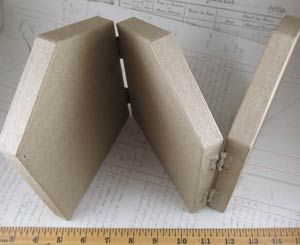
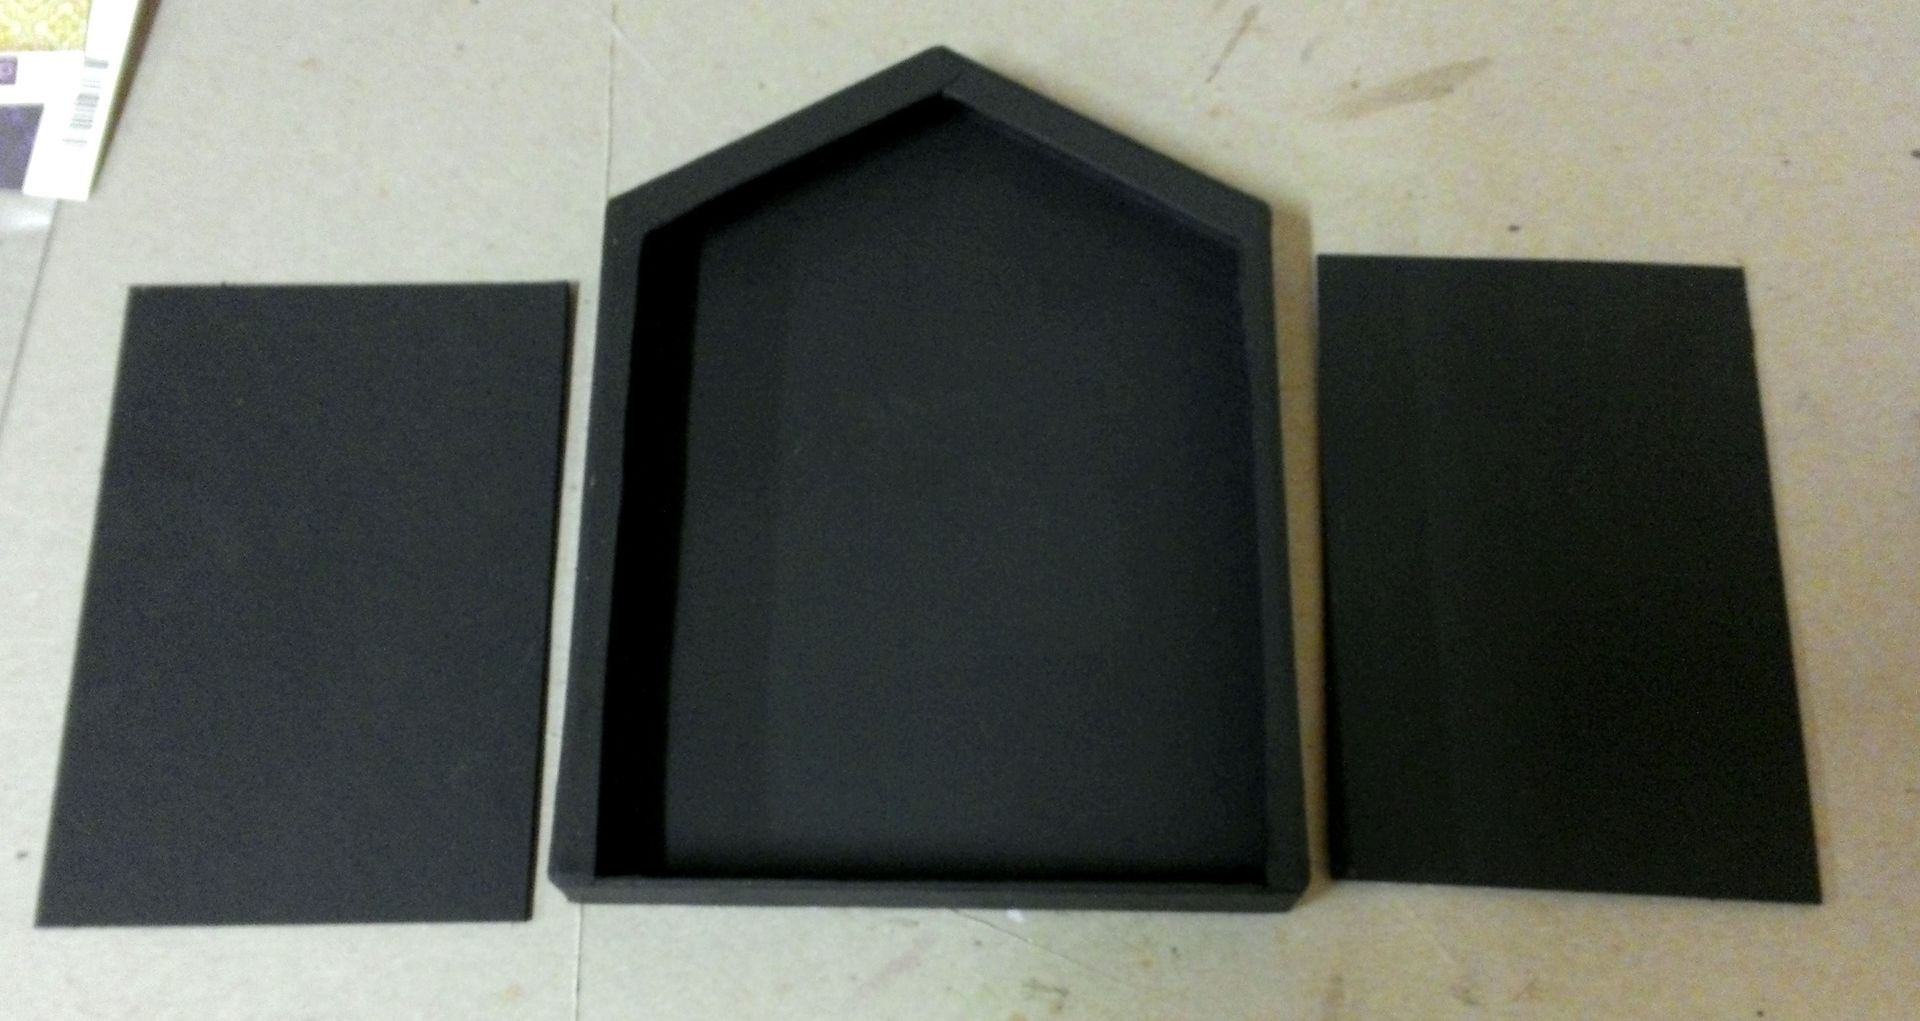
I started by cutting out a section of the house to create a niche.  To make a larger house, I cut two 6” x 4” panels from heavy chipboard and painted all of the pieces back.
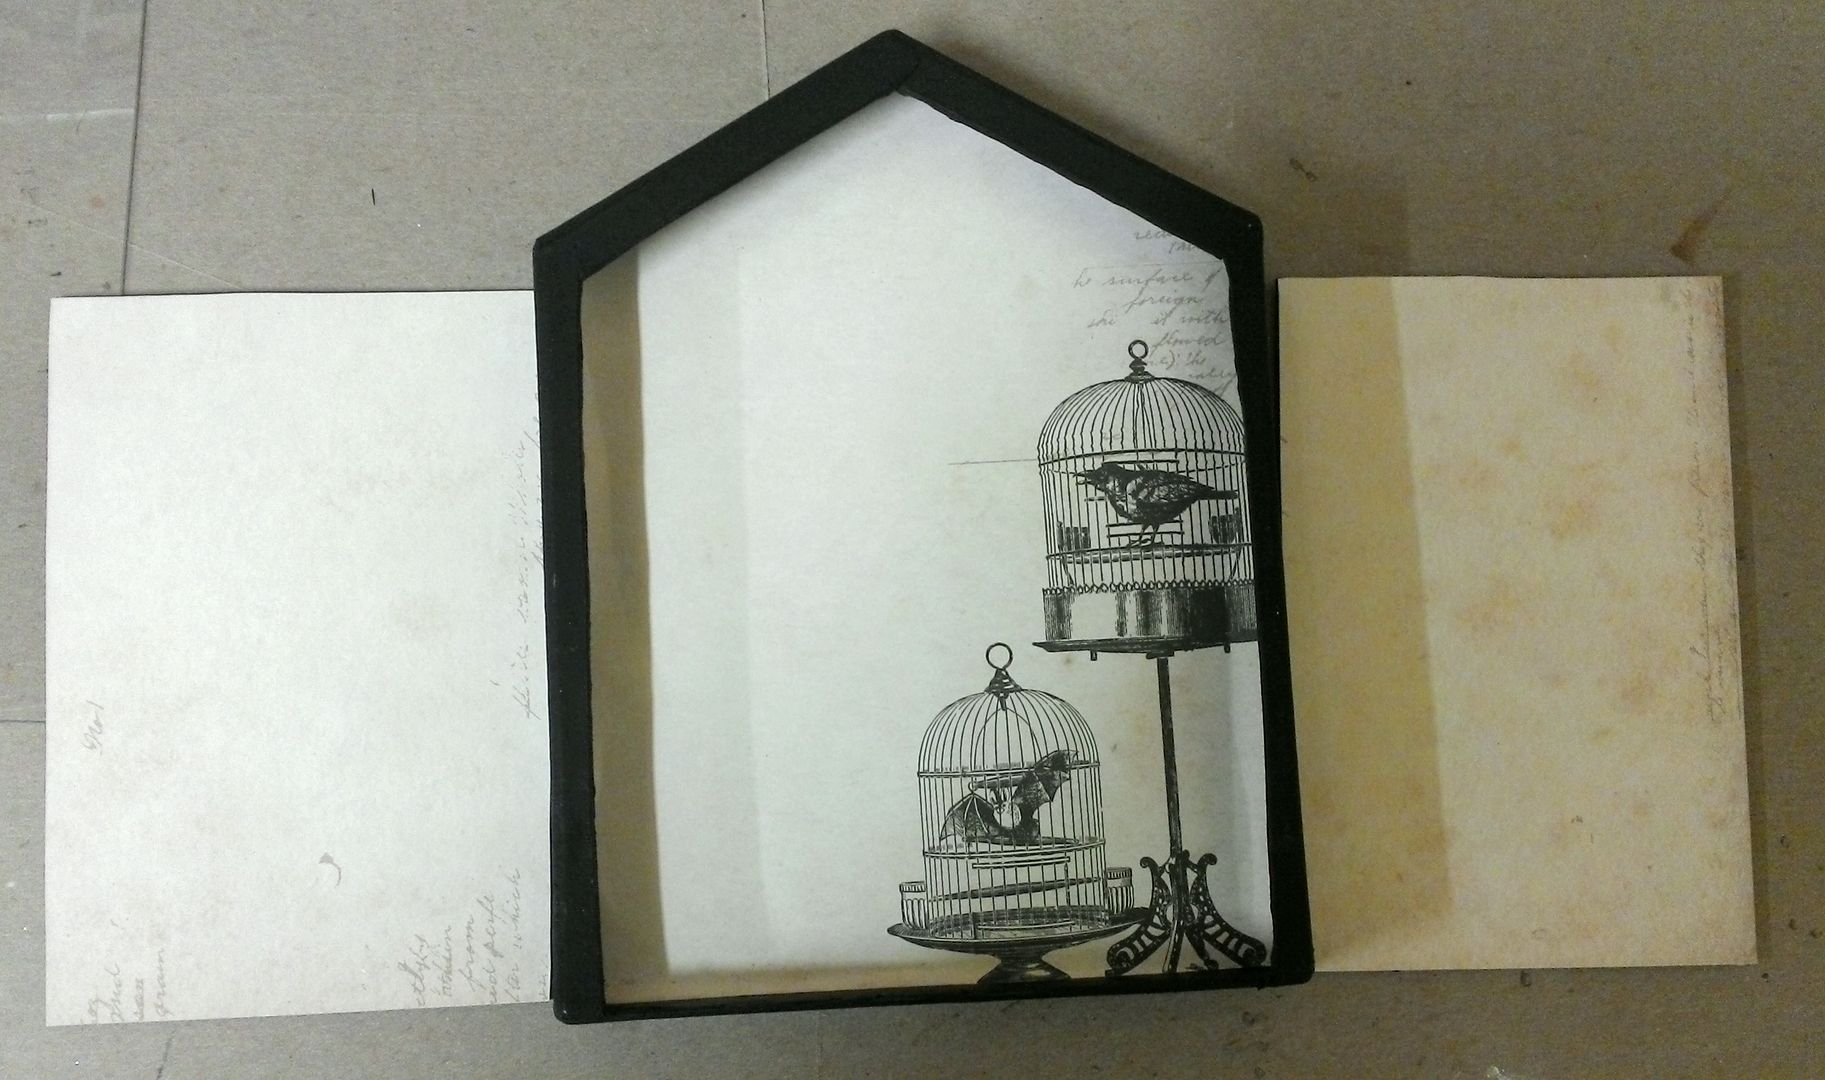
Next, I papered the pieces front and back.
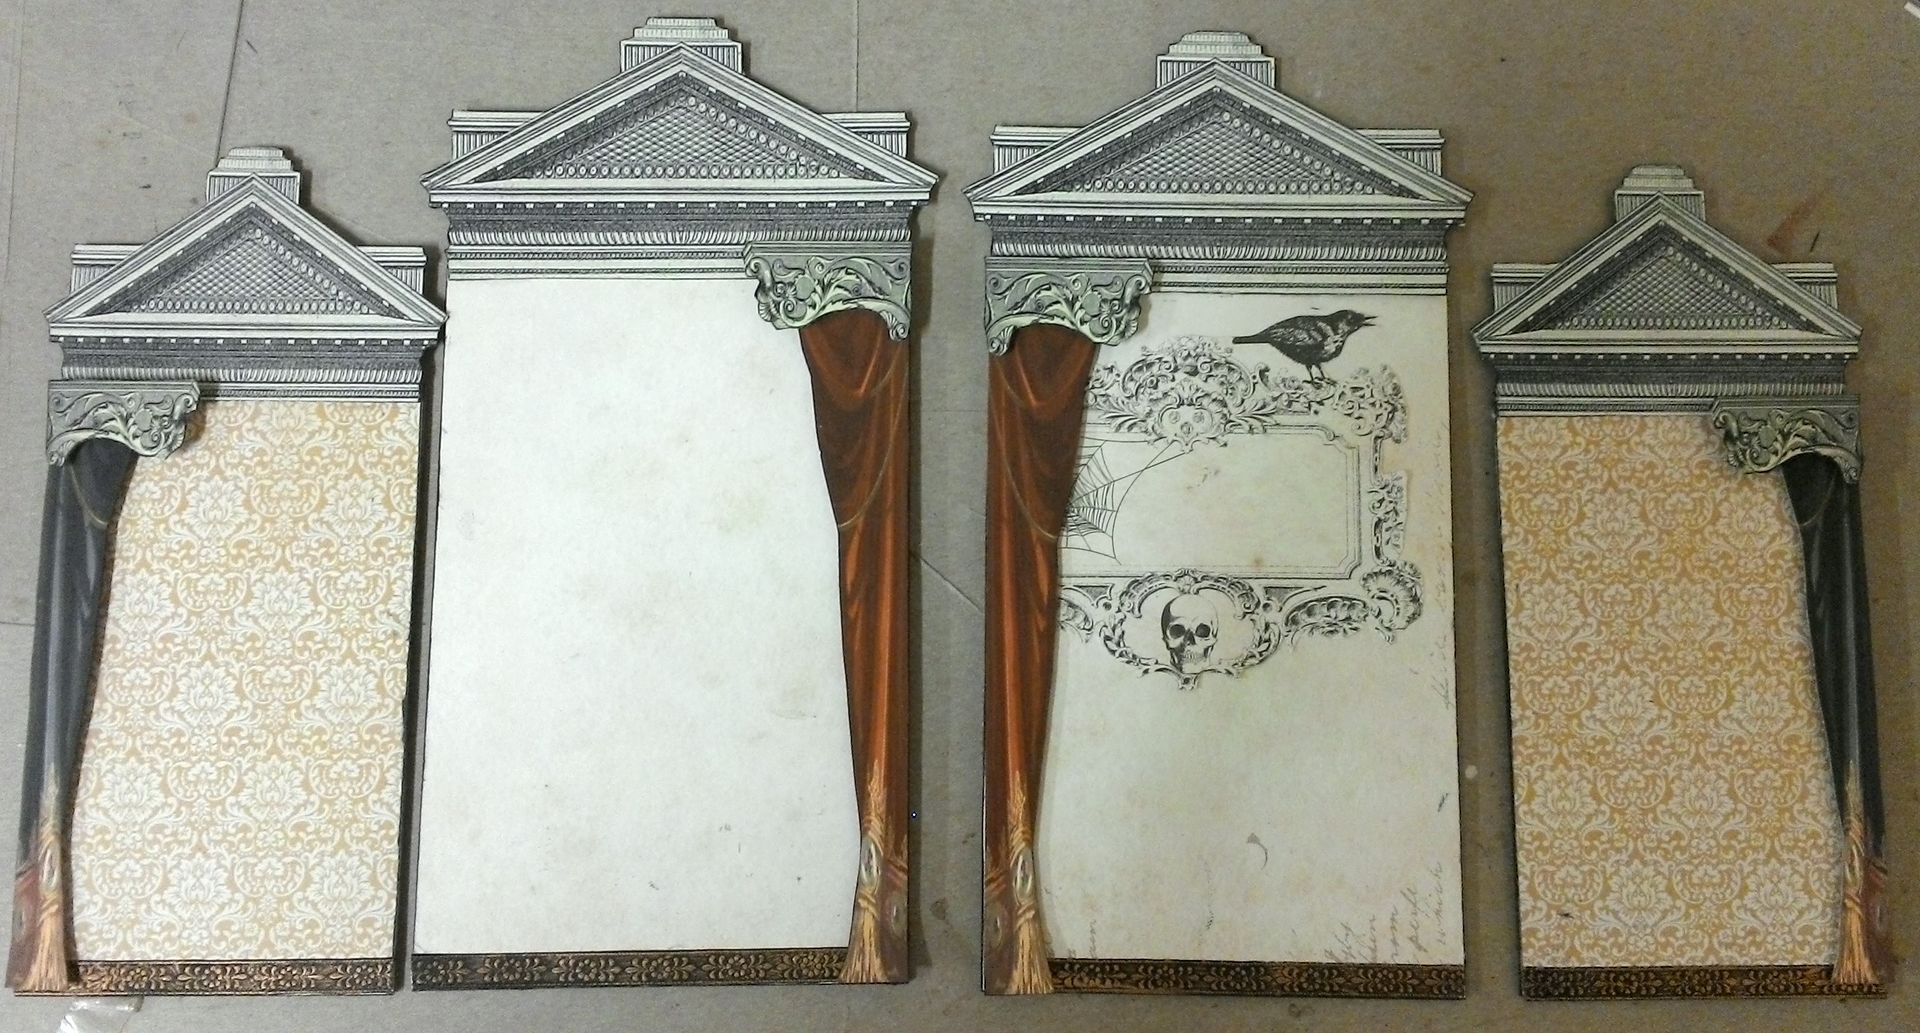
In the meantime, while I was working on the bits and bobs for the house, I realized that the house was not big enough to accommodate all the stuff I had planned (yikes!).  The solution was to cut a second set of 5” x 3”.panels.
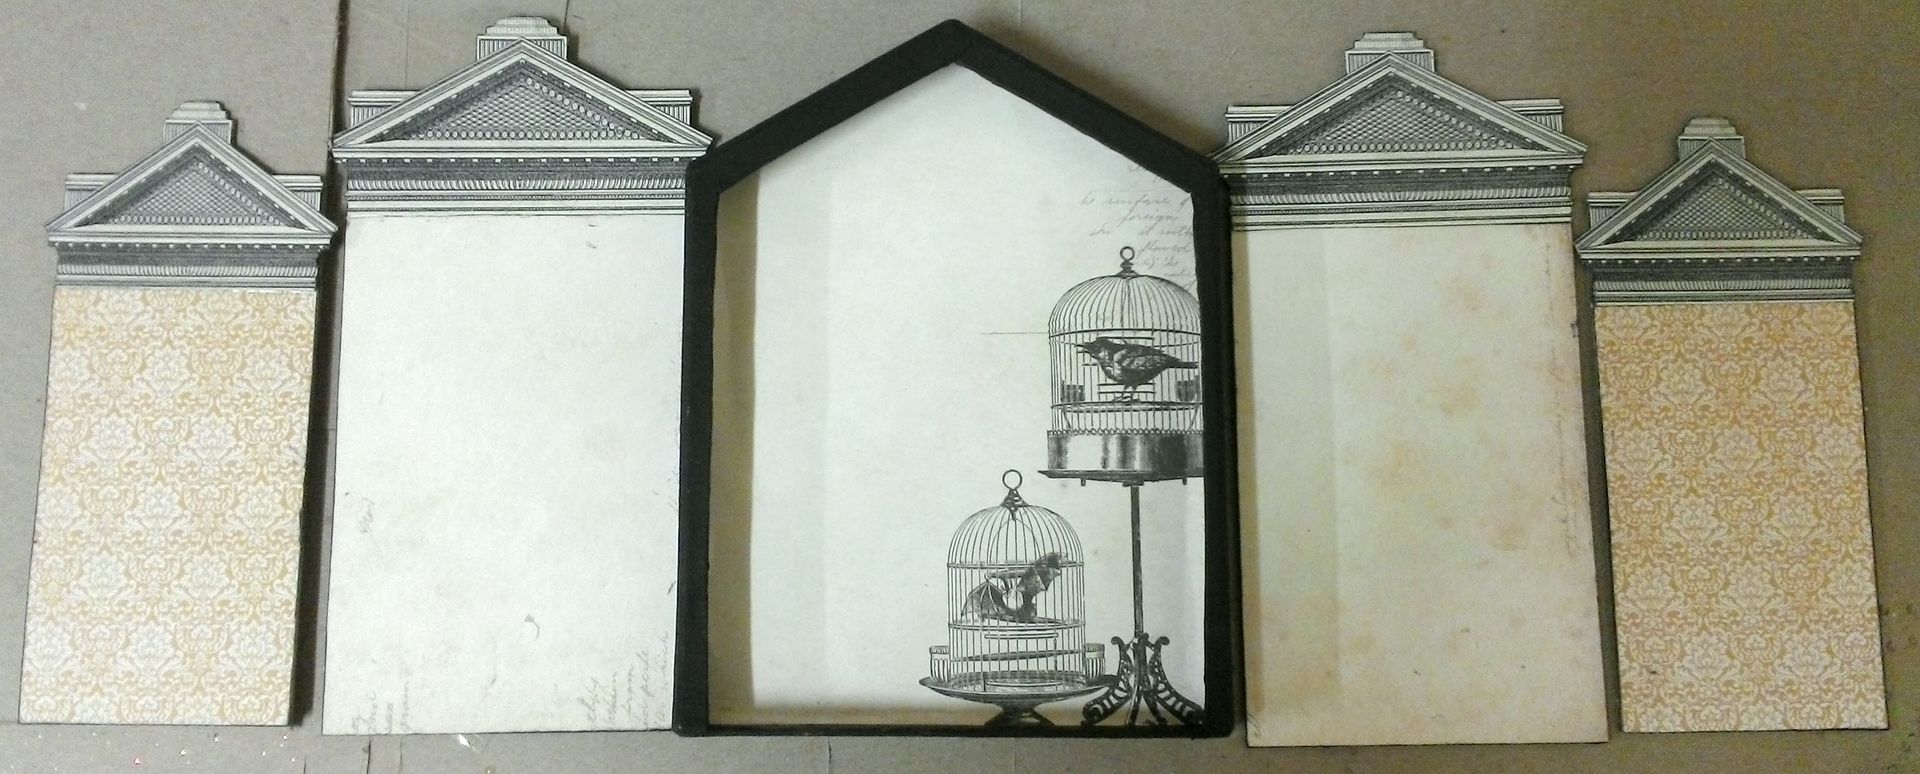
 
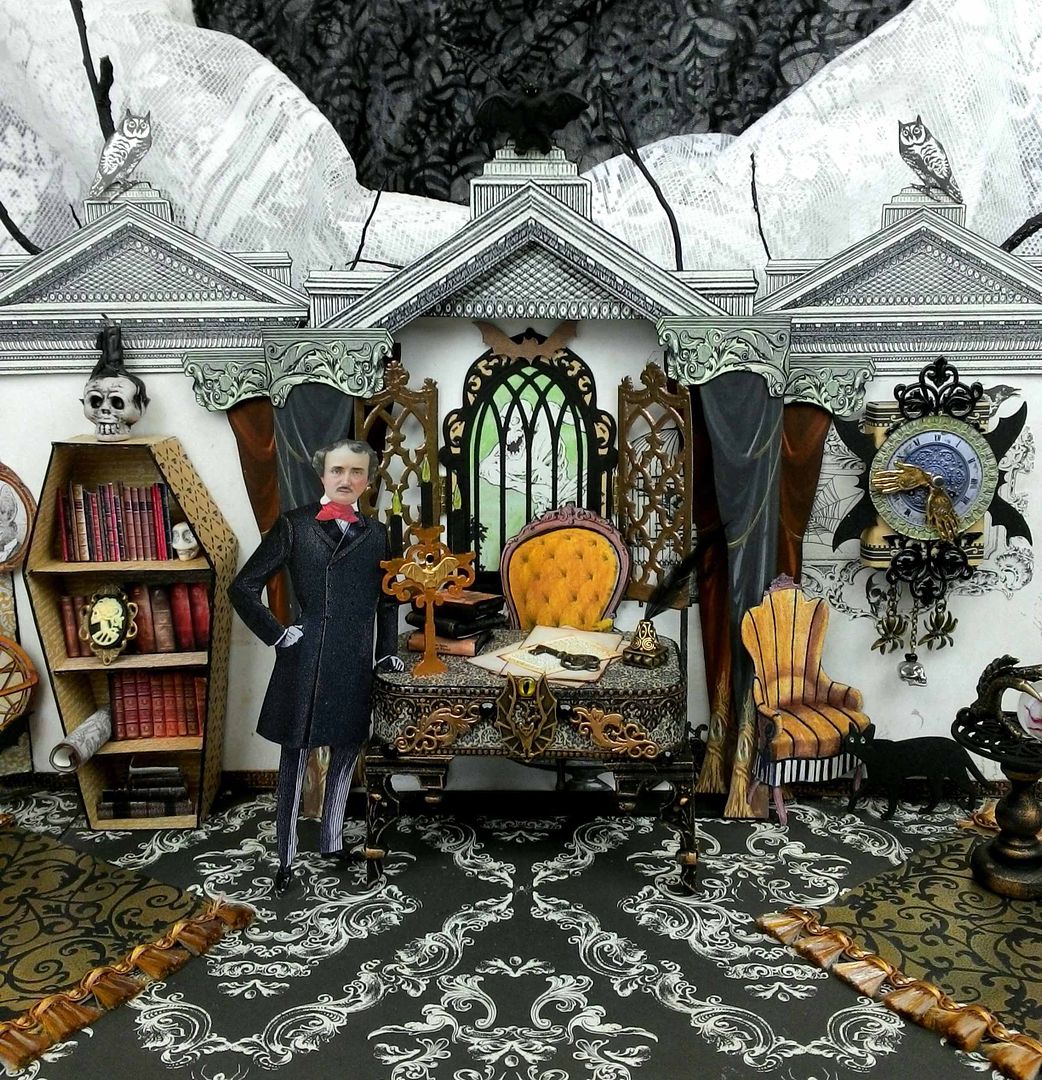
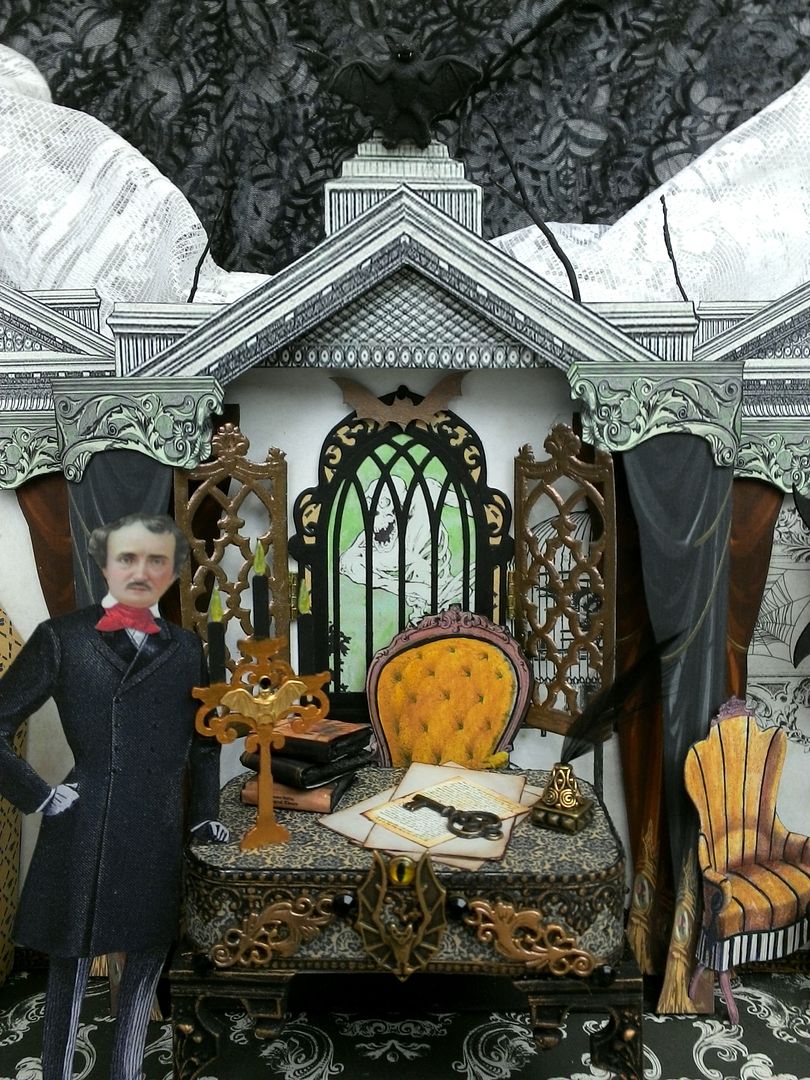
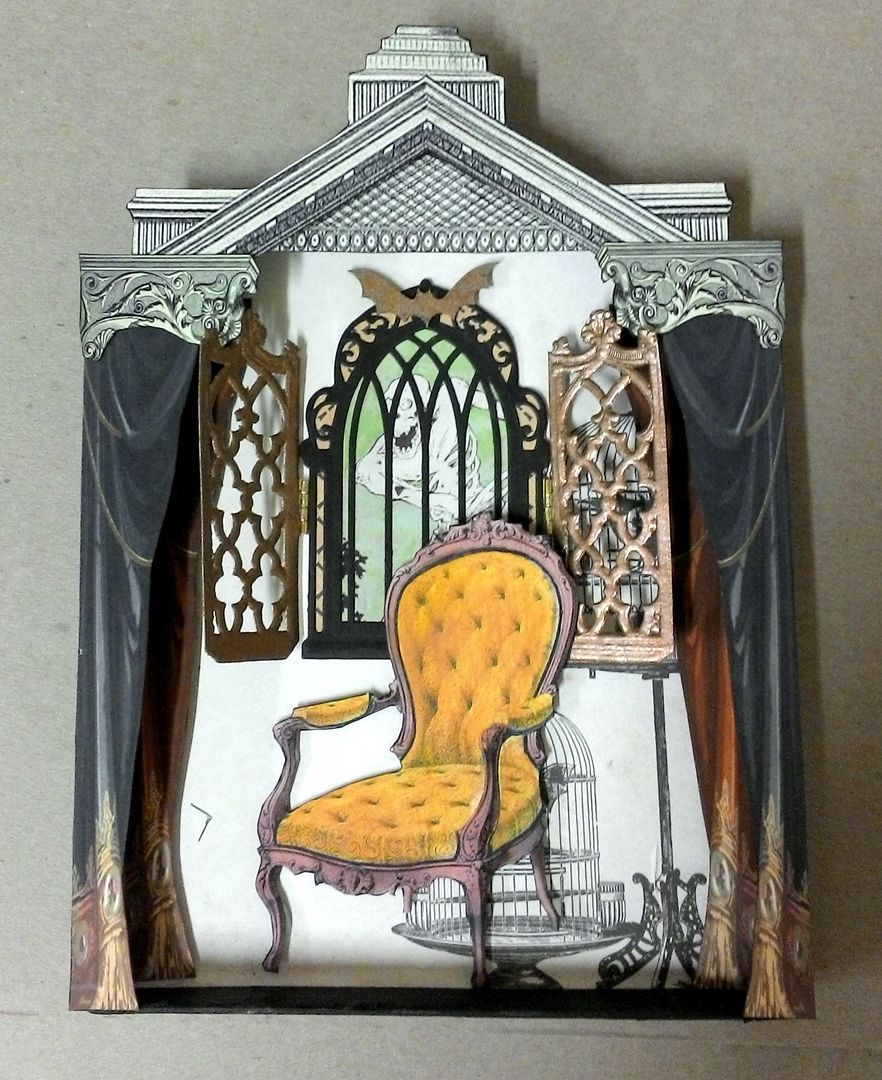
To create dimension, the curtains are popped up from the panels (using double-stick foam tape) and the corners are popped from the curtains.  In the center section, the orange curtain is popped up inside the niche and the grey curtain is popped up in front of the niche.  The corners are also popped up from the grey curtain.
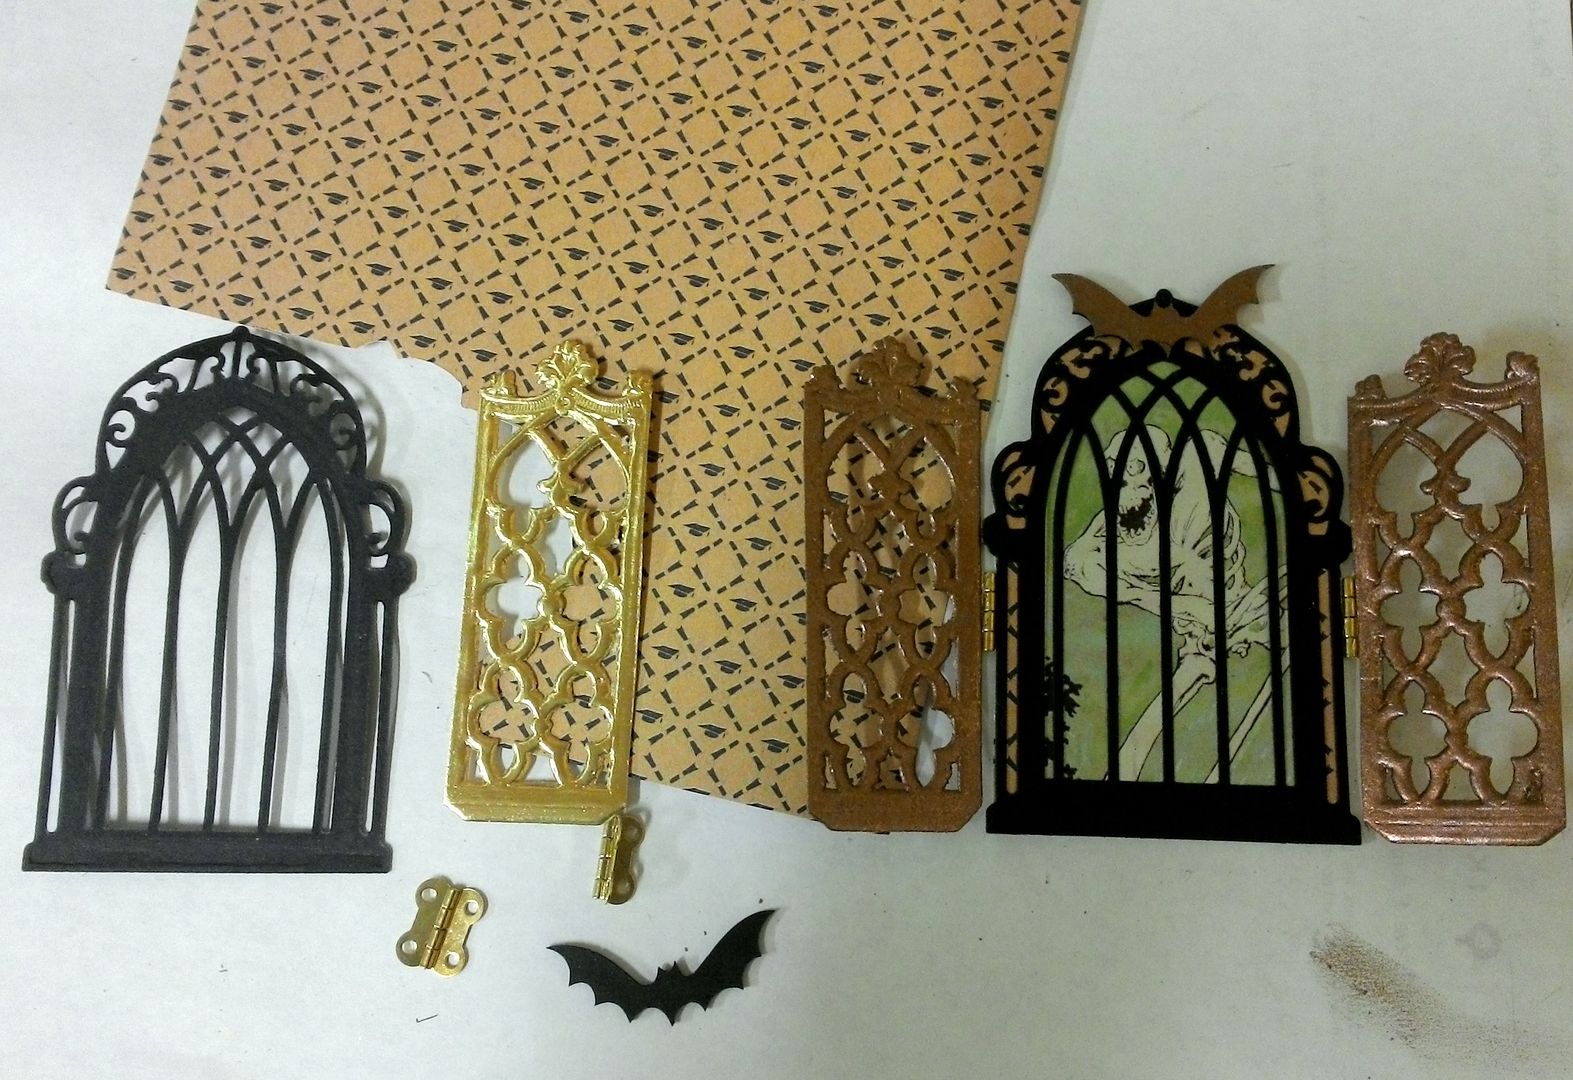
The window is made from a die-set and is flanked by two pieces of Dresden that look like shutters.  I glued the Dresden on with a hinge, so that I could bend the shutters forward.  In the background is a skeleton specter.
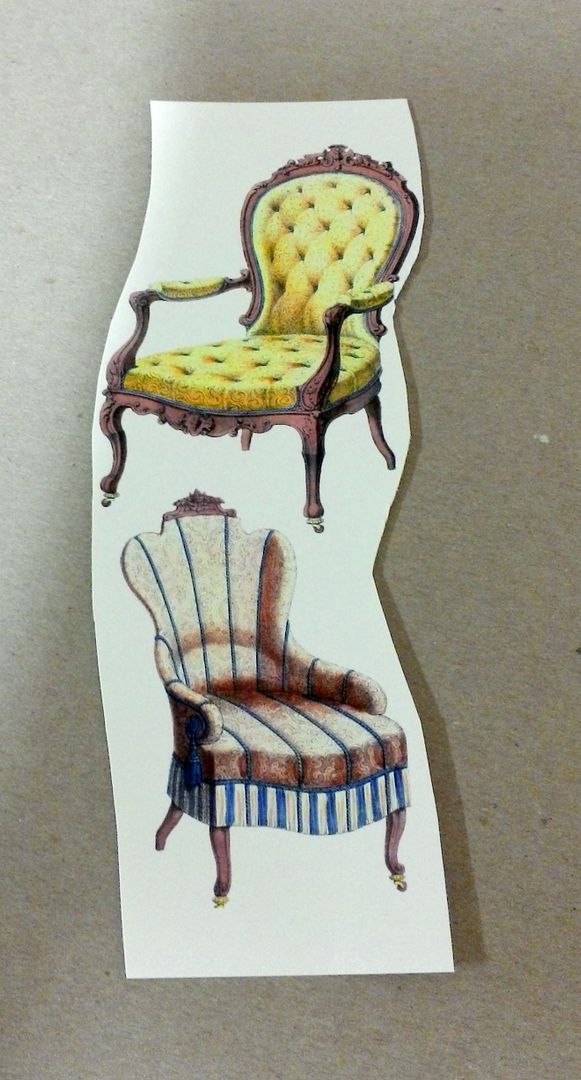
I used double-stick foam tape to attach the chair and to pop it up from the wall.
DESK & TABLES
The room needed surfaces to display cool stuff so I decided to create a desk out of the bottom of an Altoids tin and a table out of the top.
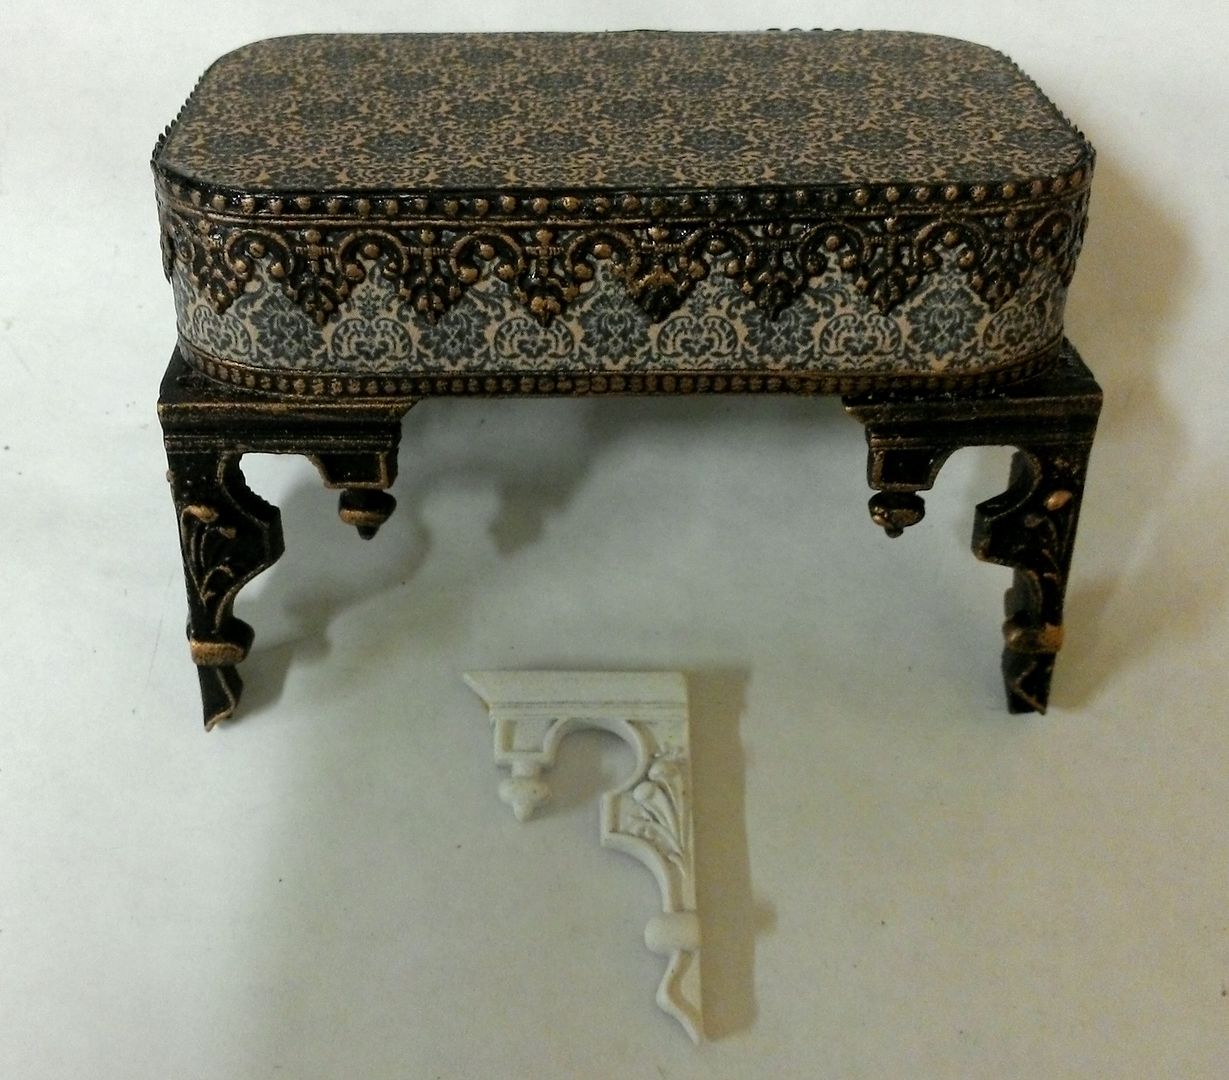
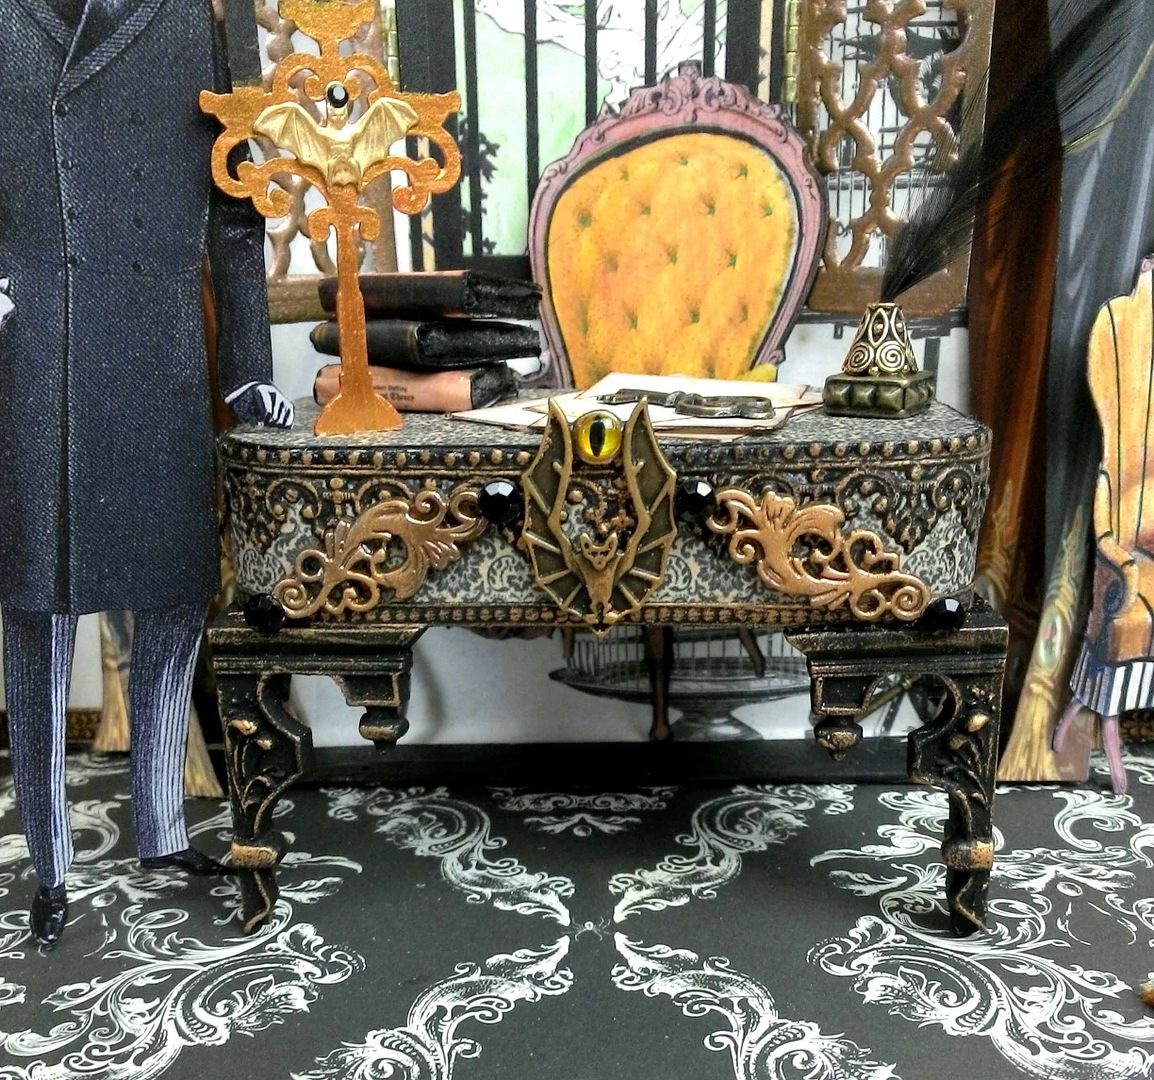
I covered the bottom of the tin with paper and Dresden.  To darken the gold Dresden, I first painted it black and then rubbed on Inca Gold Gilders paste.  The feet of the table are made from resin gables.  
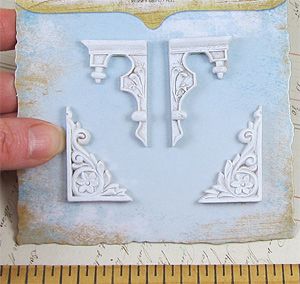
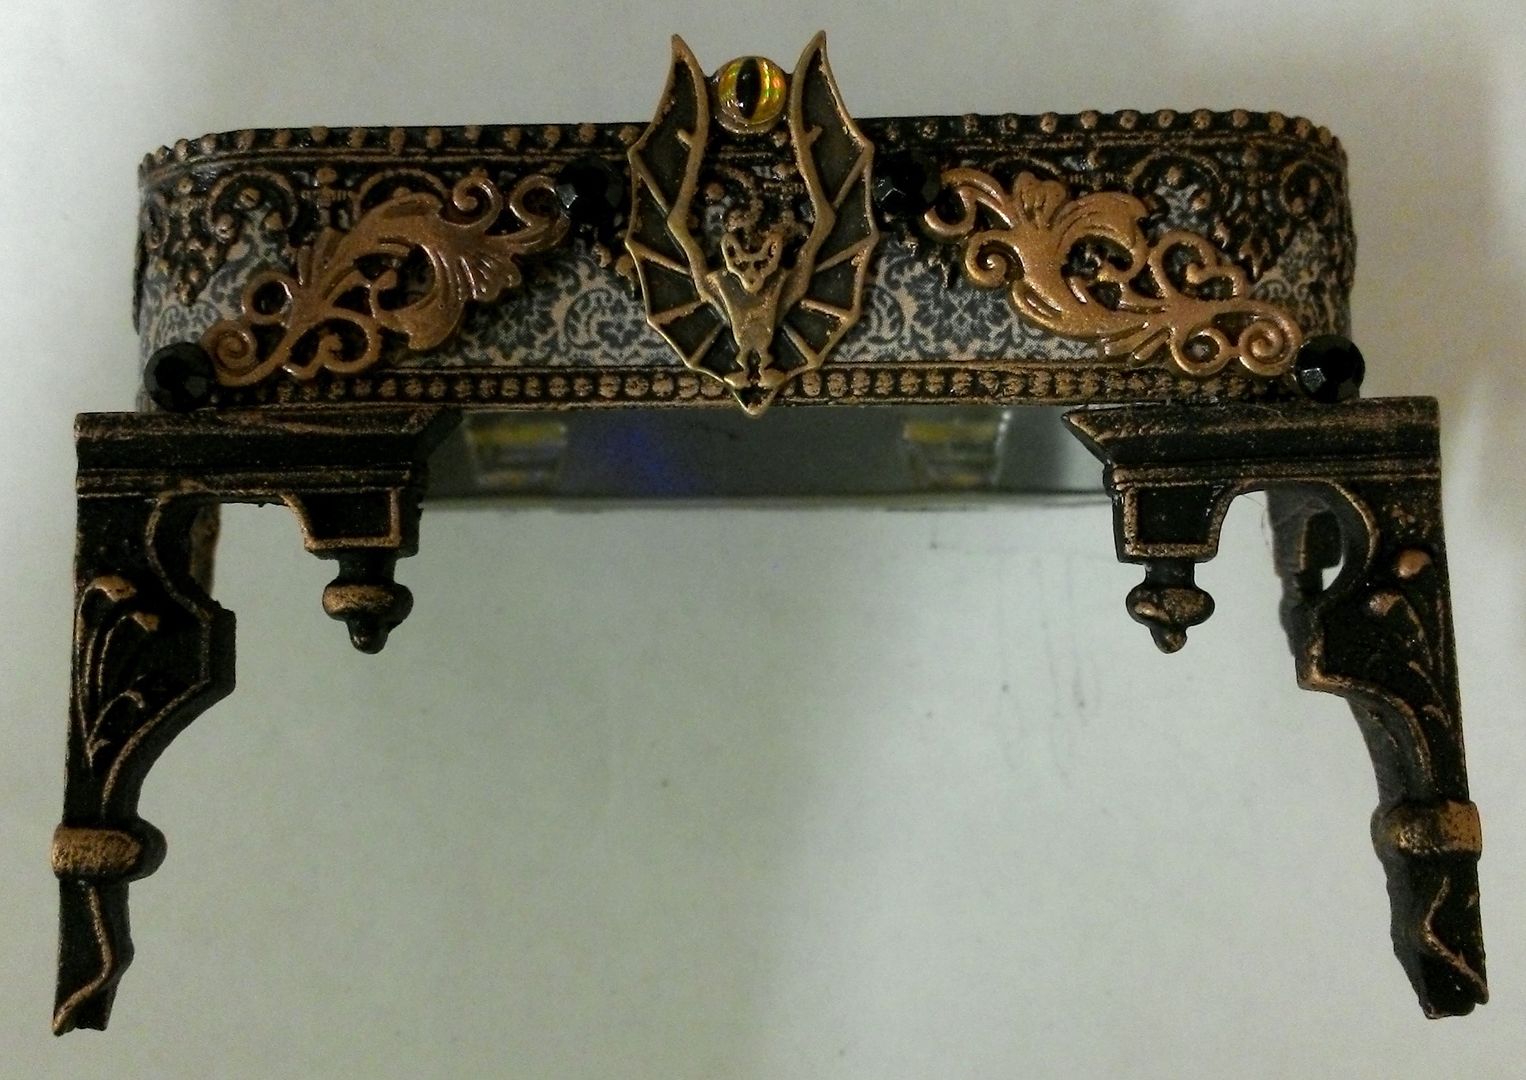
I glued the gables together to create a corner with the long gables in the front, painted them black and rubbed them with the Gilders paste.  I only made feet for the front as the back is attached to the chair.  The last step was to add decorative swirls and a brass bat with a cat-eye.
To make an inkwell and quill, I used a rondelle, bead cap, and feather from my stash.
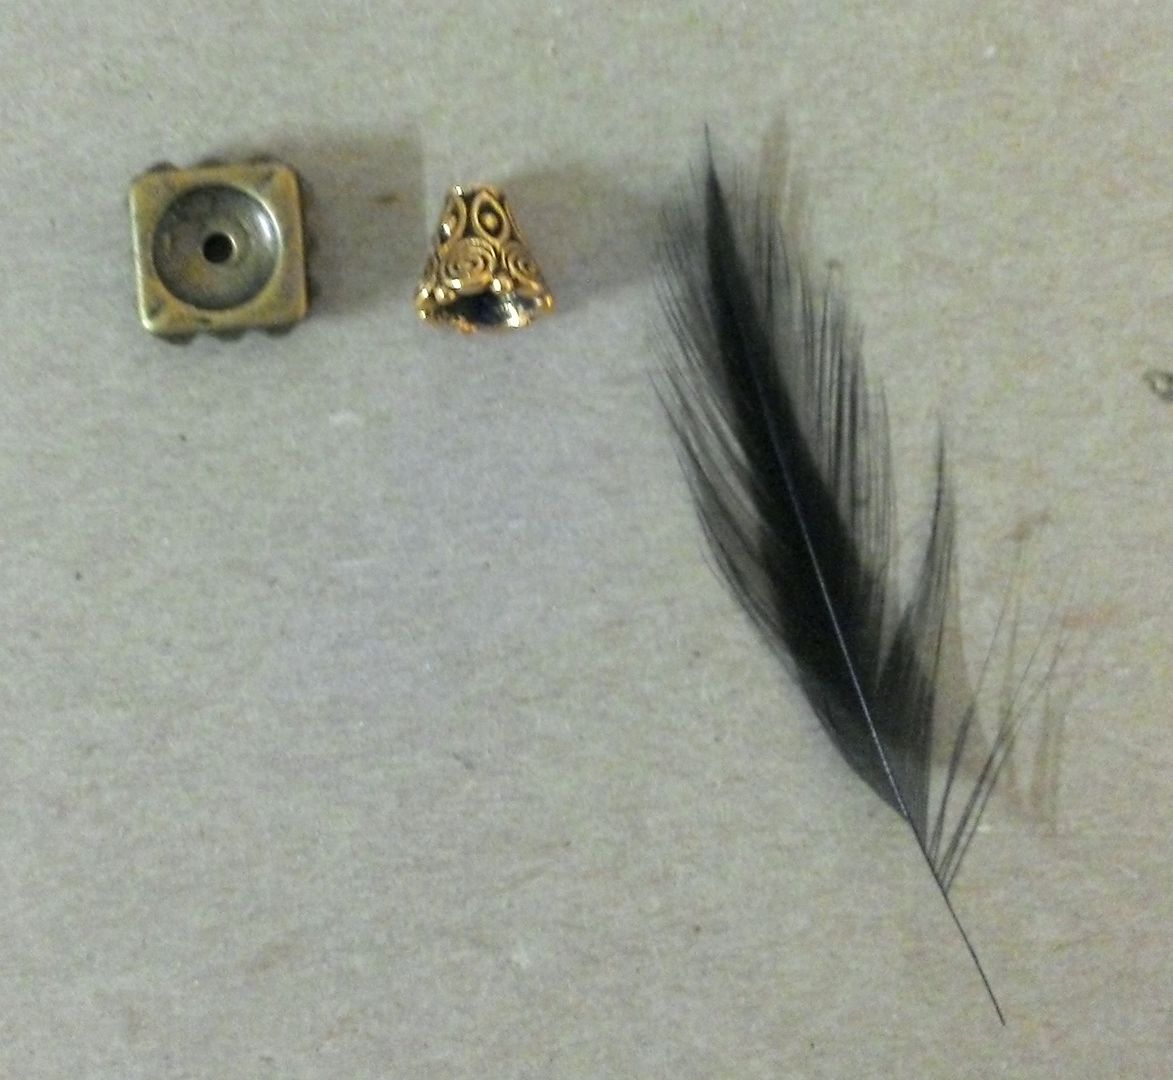
Other decorative items on the table are books, a candelabra, papers, a letter, and a key.
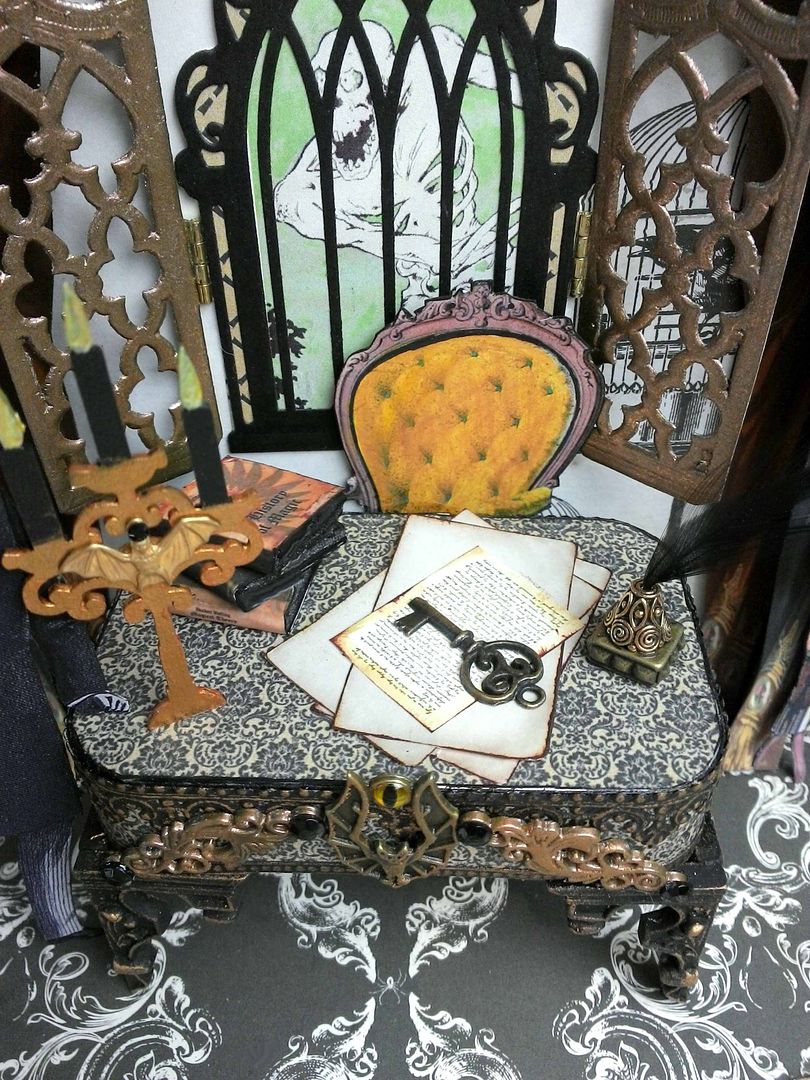
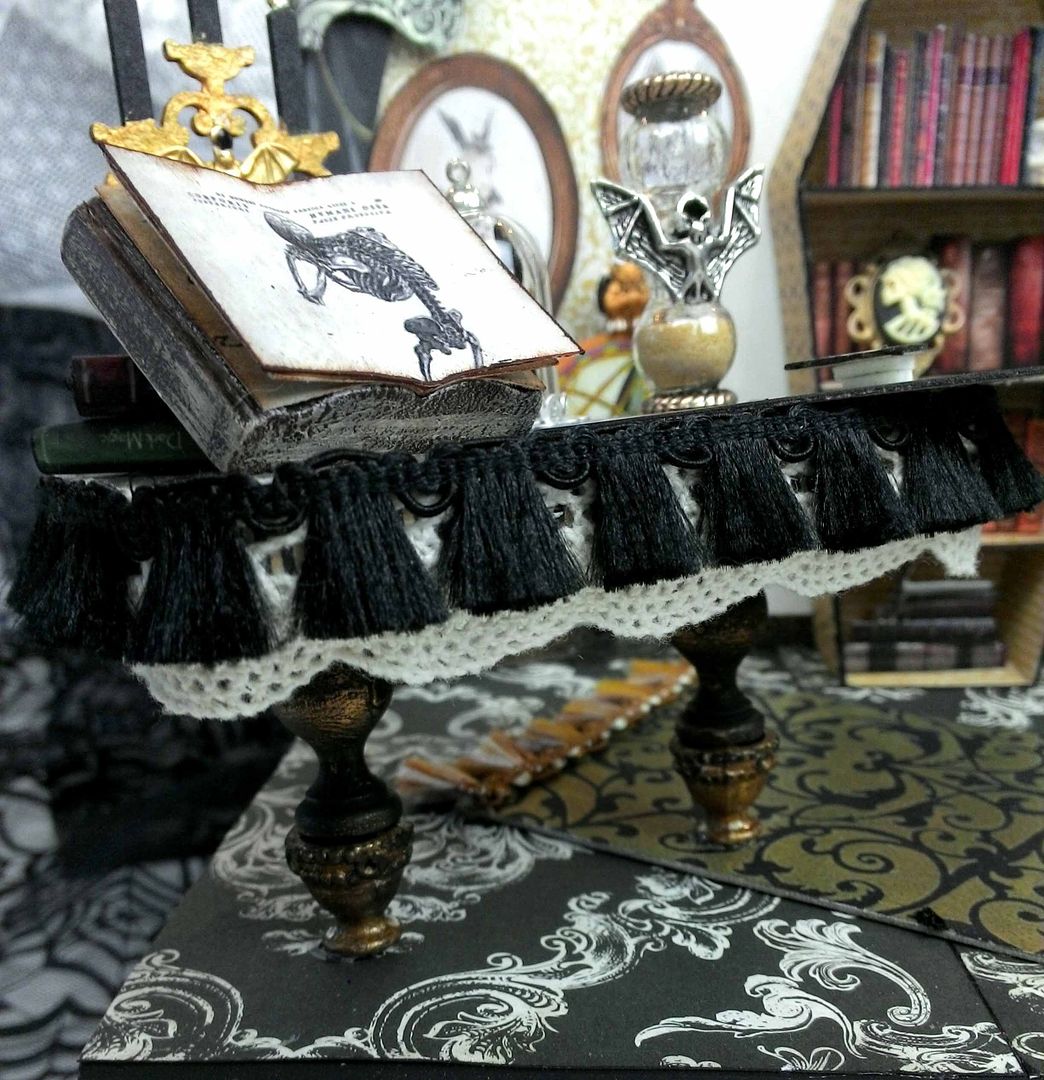
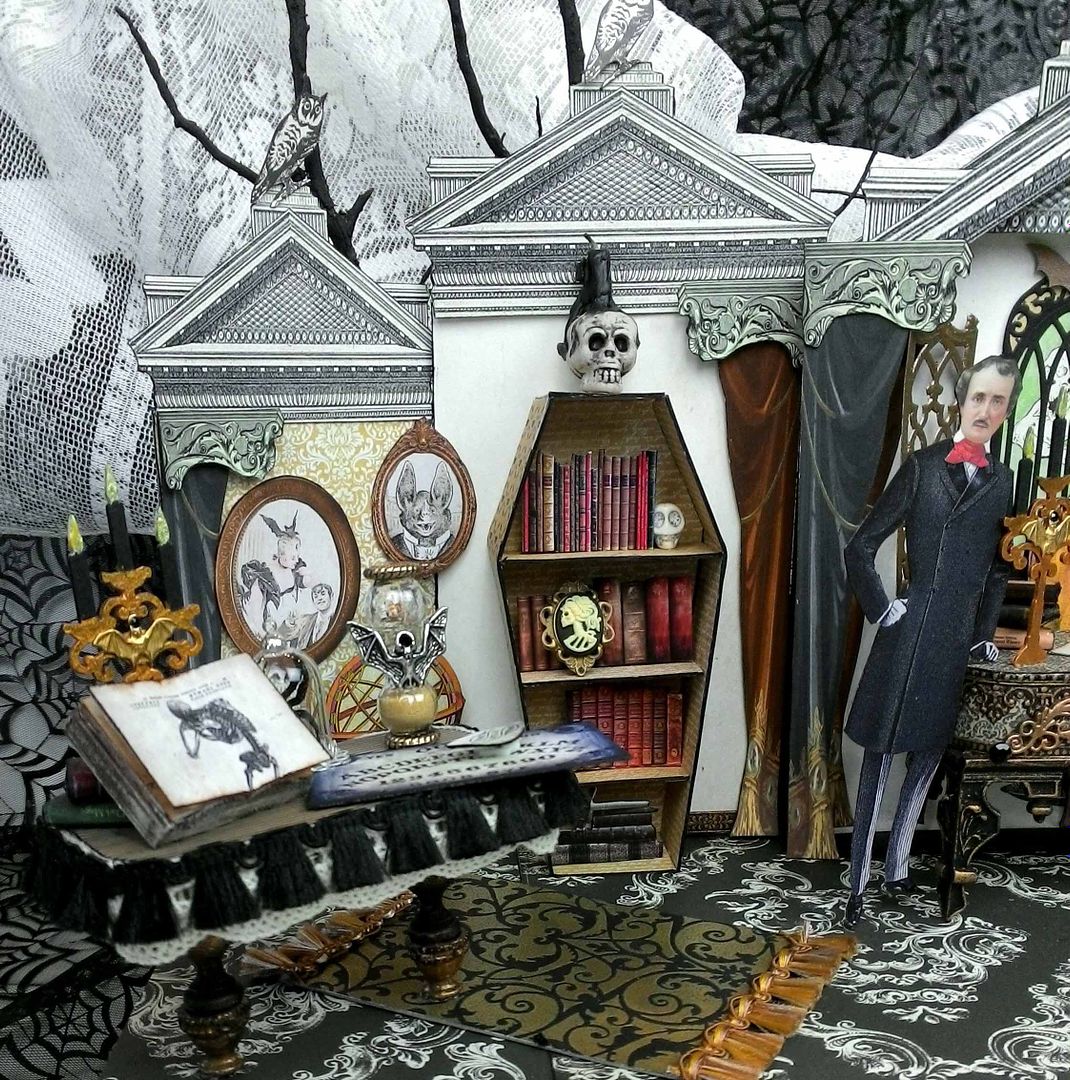
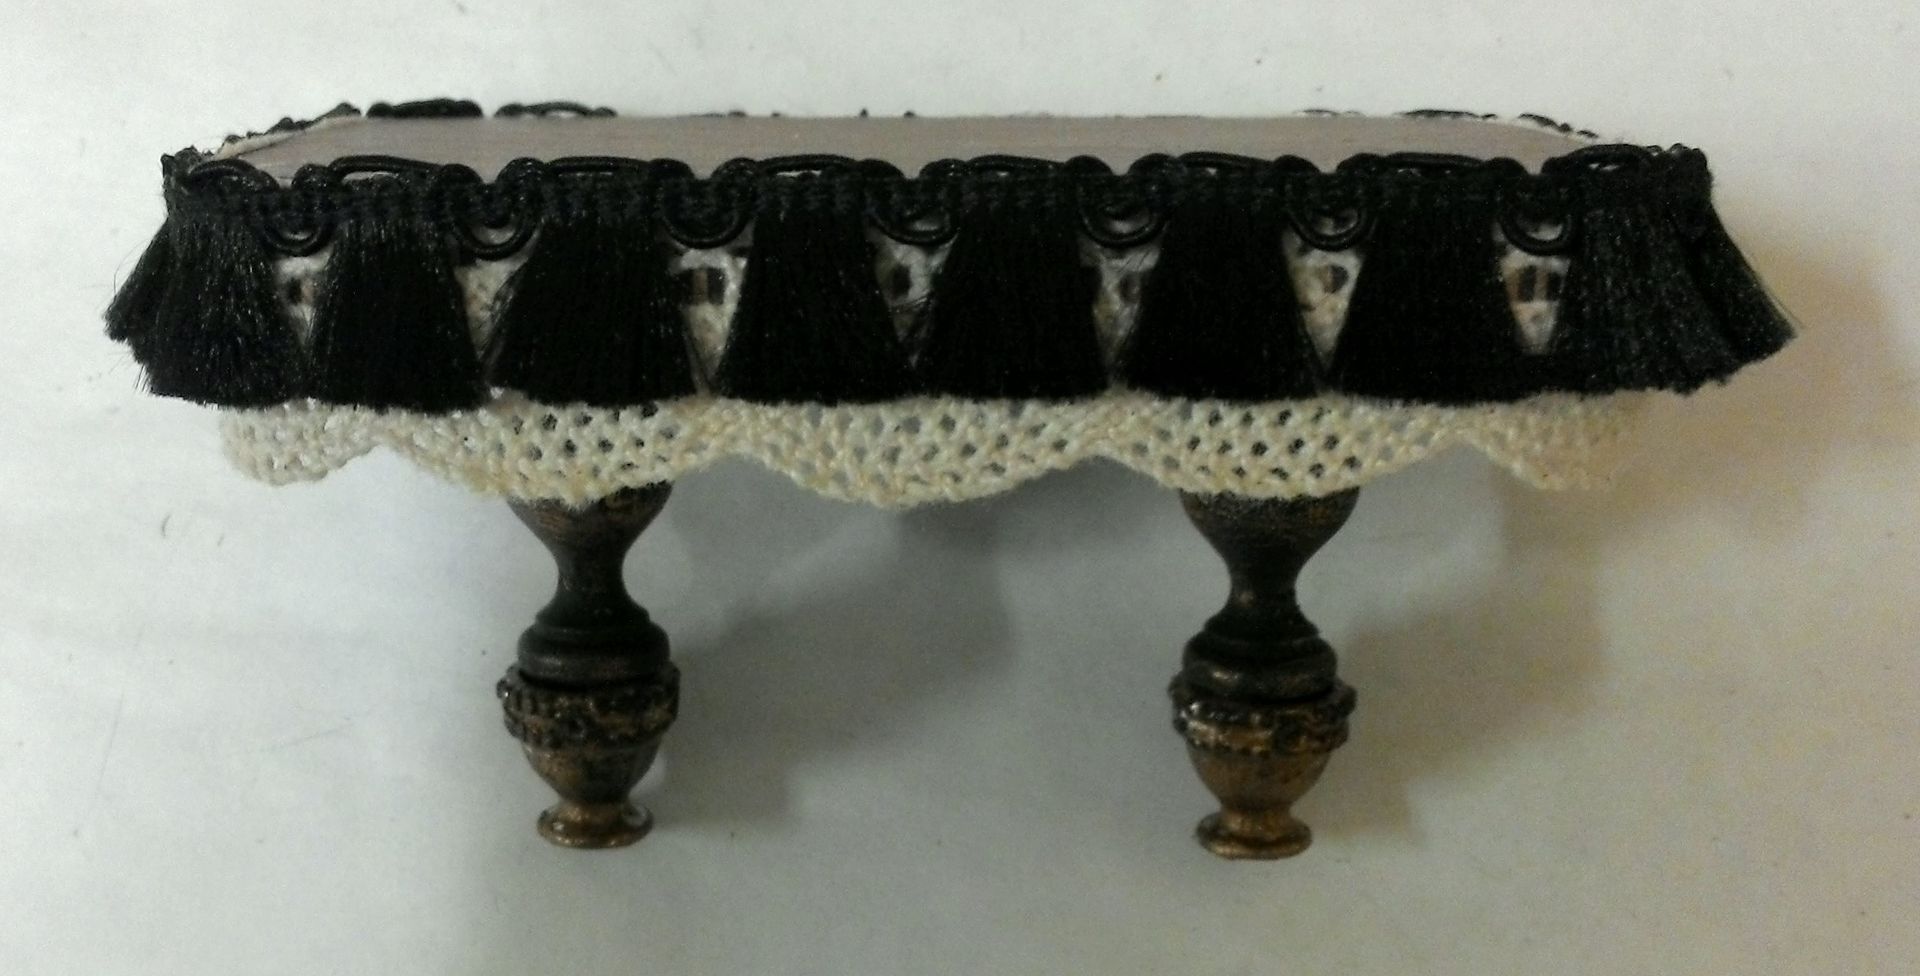
To make the table, I covered the Altoids tin top with paper and trimmed it with lace and black sweeper fringe.
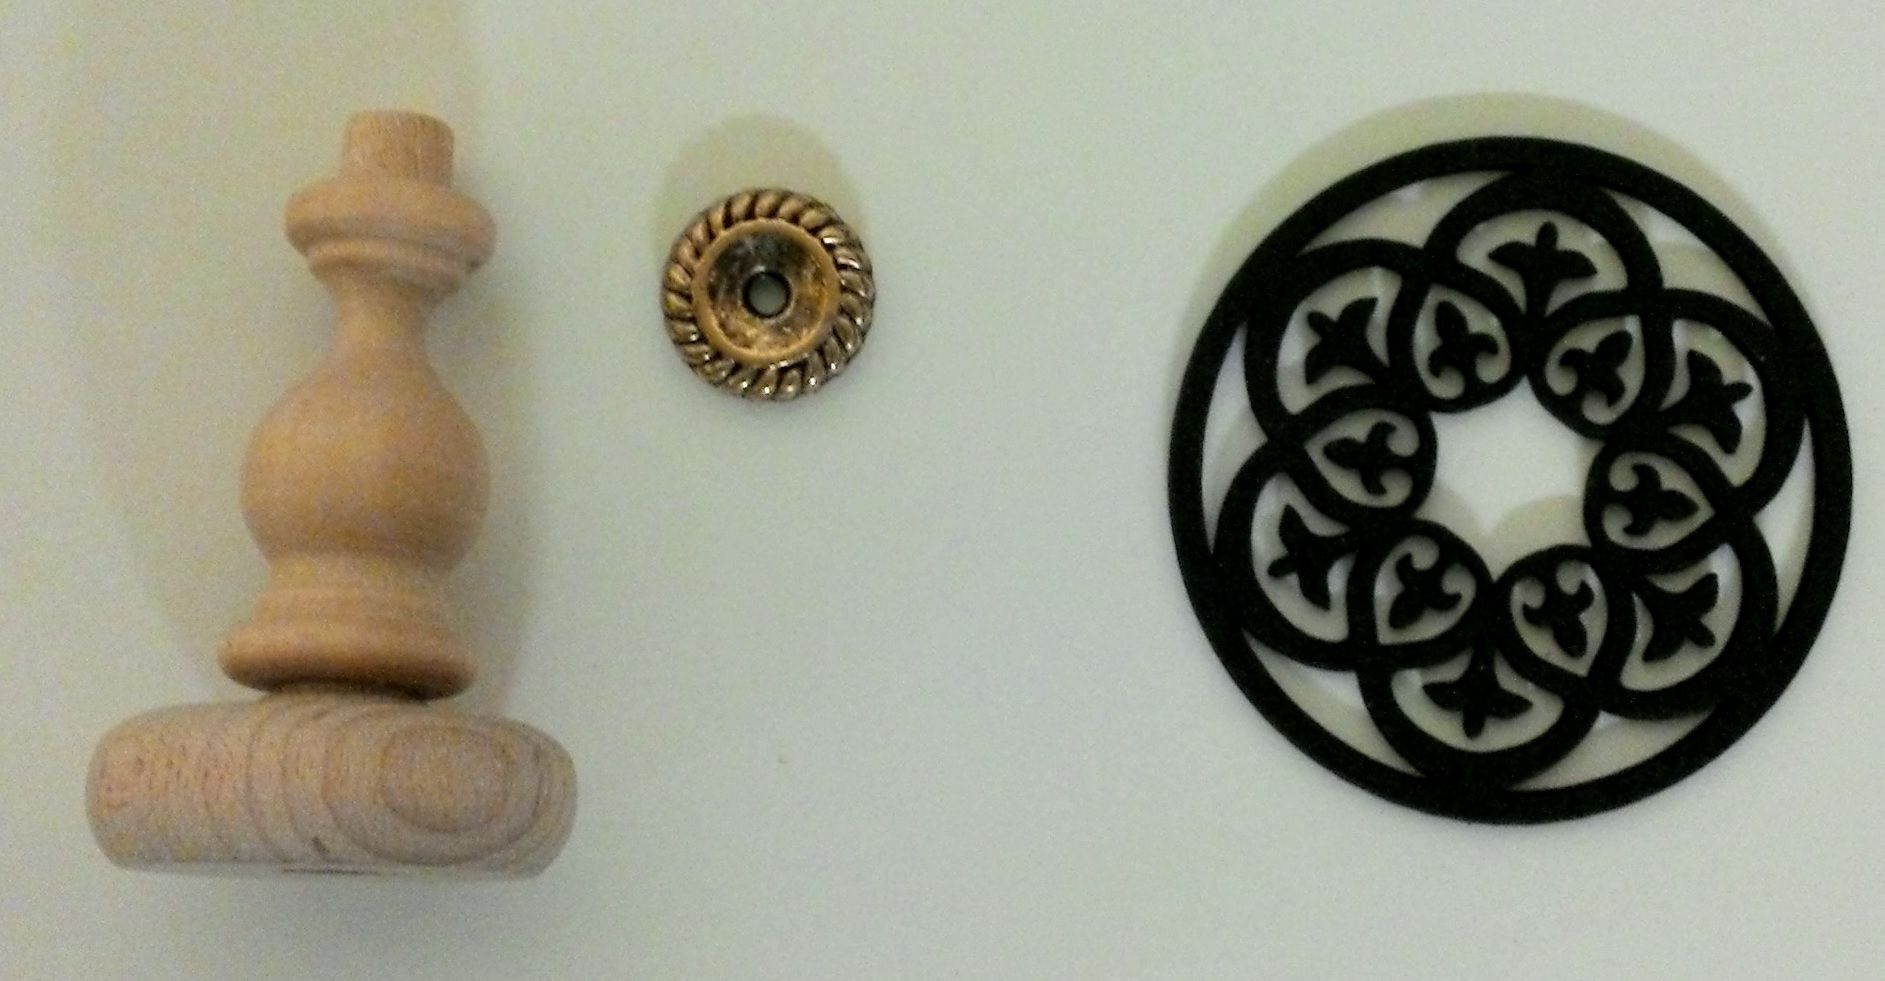
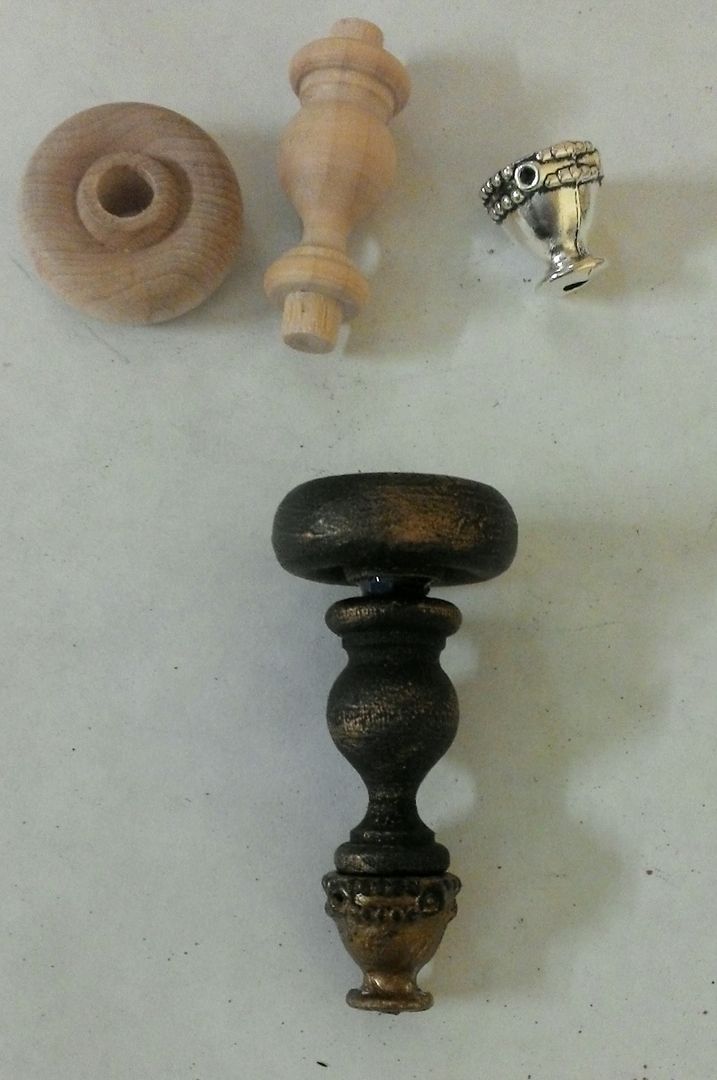
The legs are made from a wooden chess piece (turned upside down) and a cup (all painted black and rubbed with Inca Gold Gilder paste.
On the table, you’ll find a candelabra, open book (supported by other books in the back), an Ouija board, a rather large spider in a glass dome and a working hourglass.
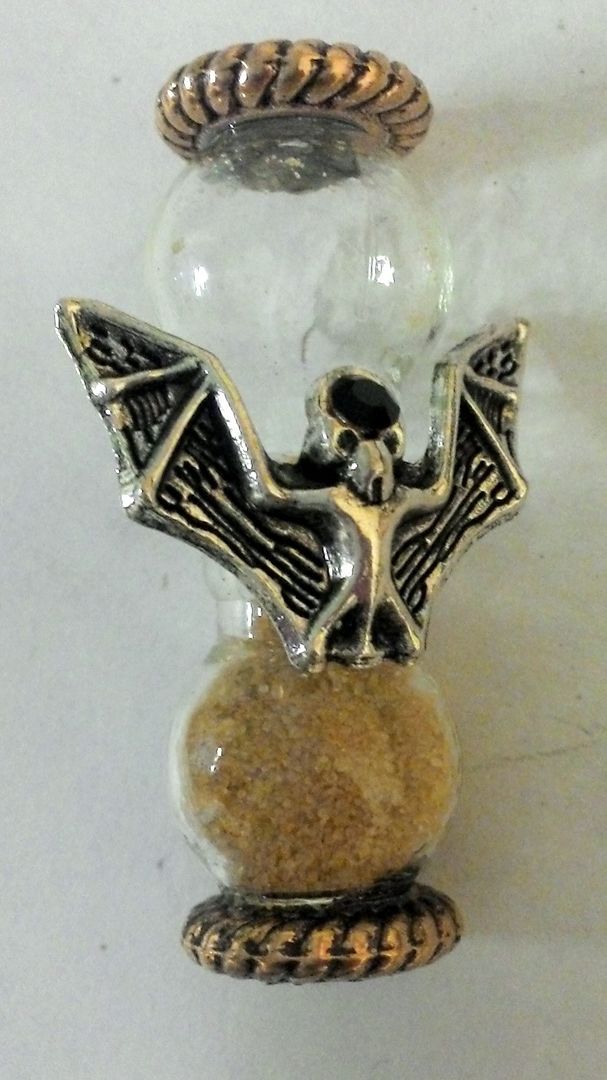
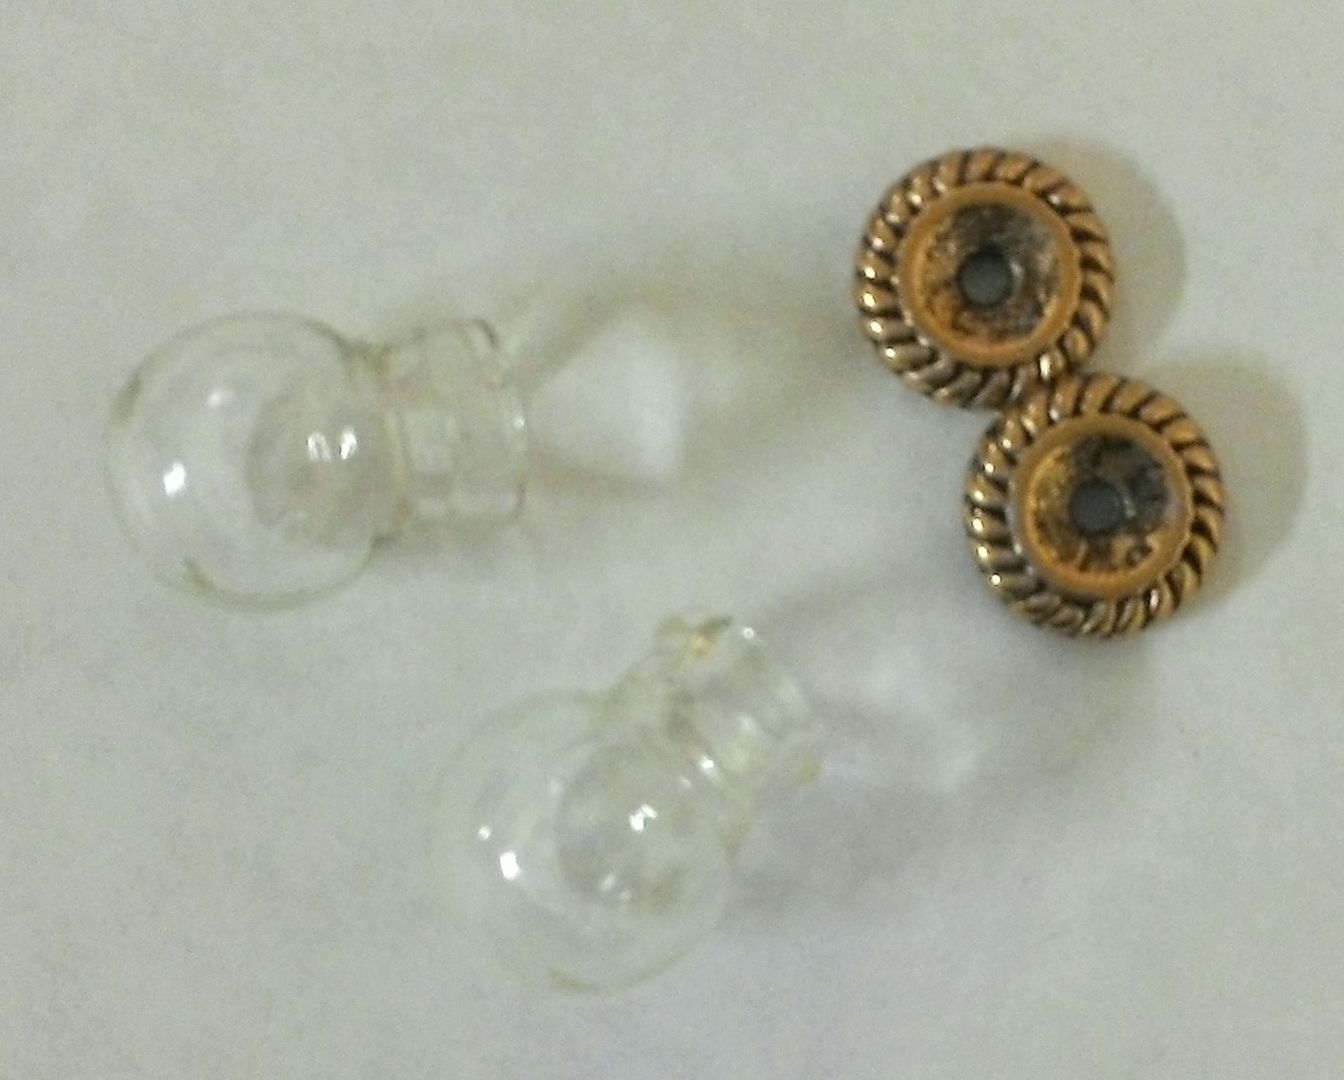
To make the working hourglass, I used two tiny round bottles and two rondelles.  I filled one of the bottles with sand and glued the rims of the bottles together with Glossy Accents.  I added the rondelles to the ends and a bat serves as decoration.
 
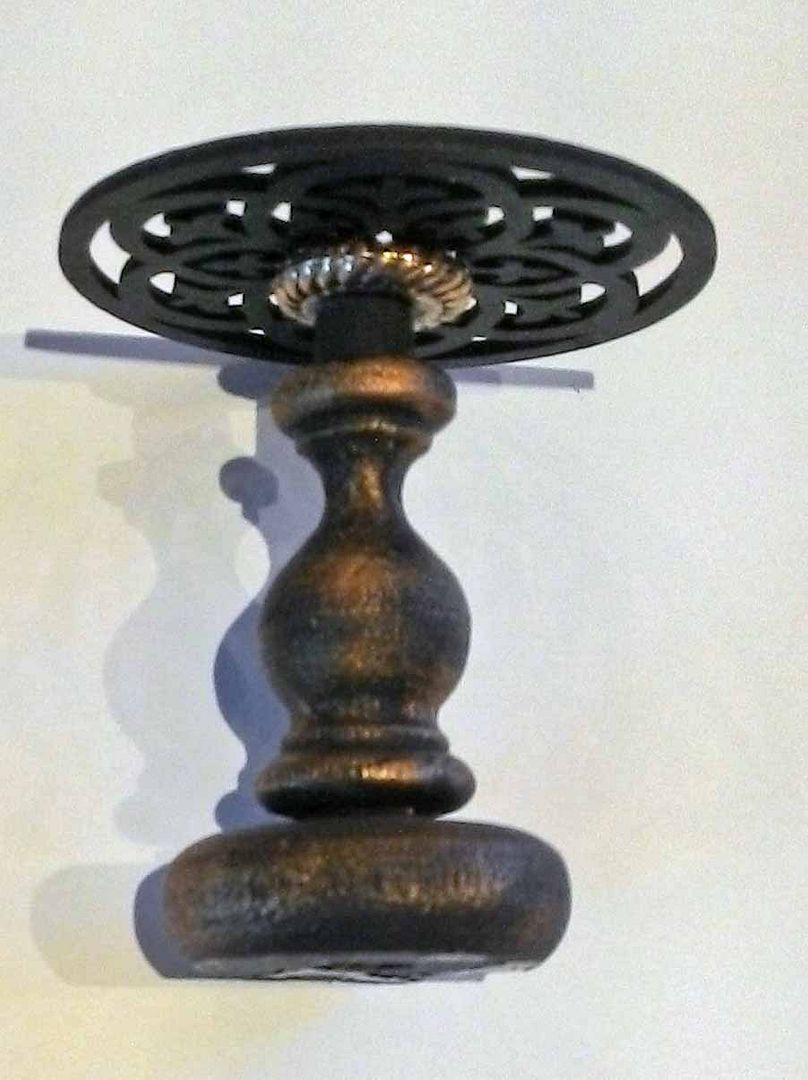
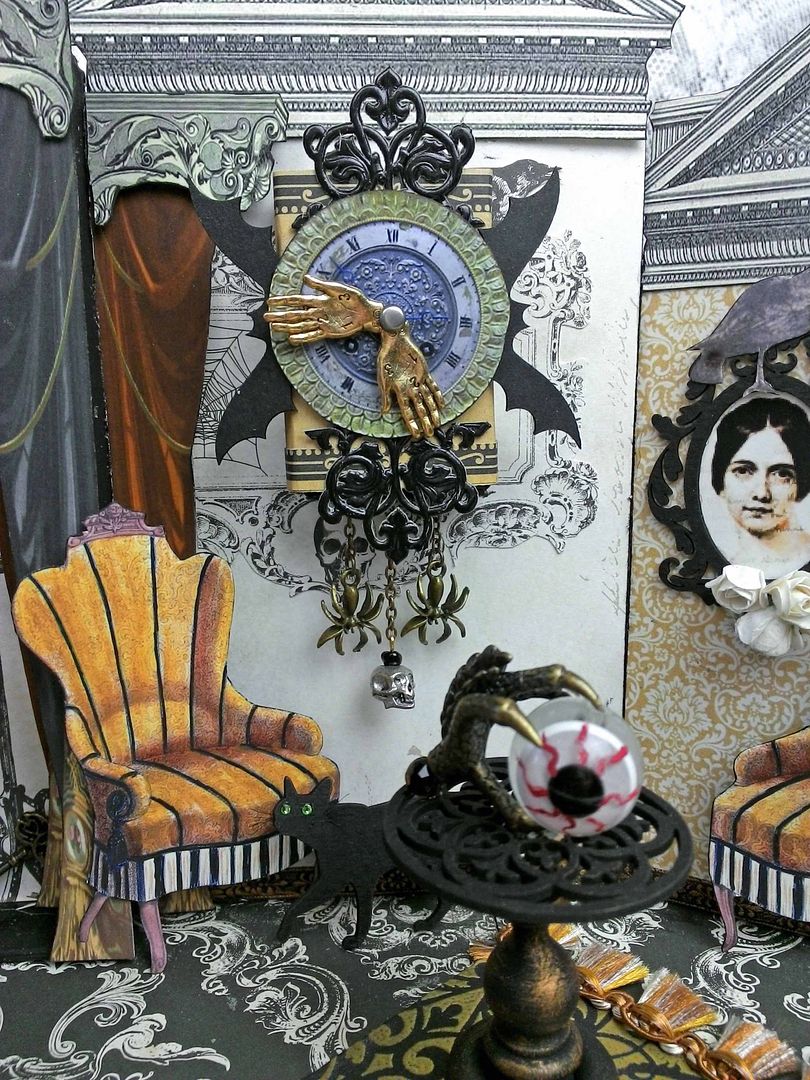
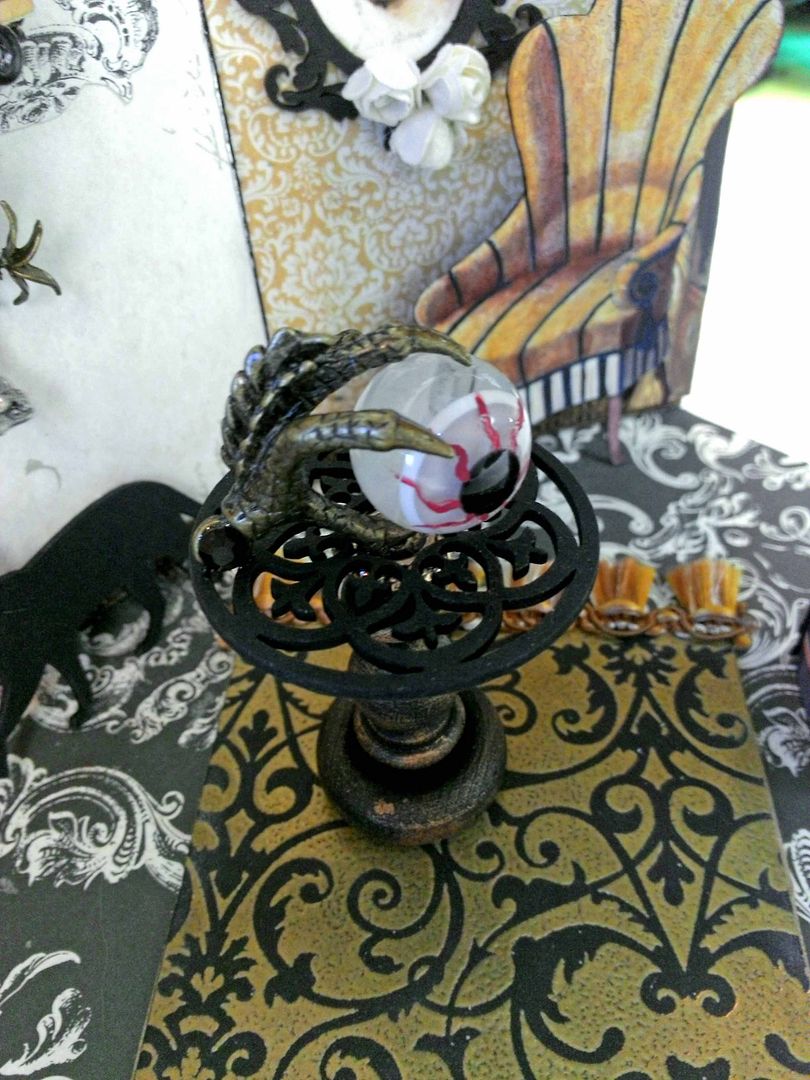
The base of the small round table is made of the same chest piece as the legs on the Altoids tin table.  I glued a rondelle to the top of the chest piece as without it, the top of the chest piece would stick up through the hole in the tabletop (Santos Doll Halos) making the surface of the table uneven.
On the top of the table, I glued a talon holding an eyeball bead.  I painted the red veins on the eye with acrylic paint giving the eye a bloodshot appearance.
MATCHBOX CLOCK
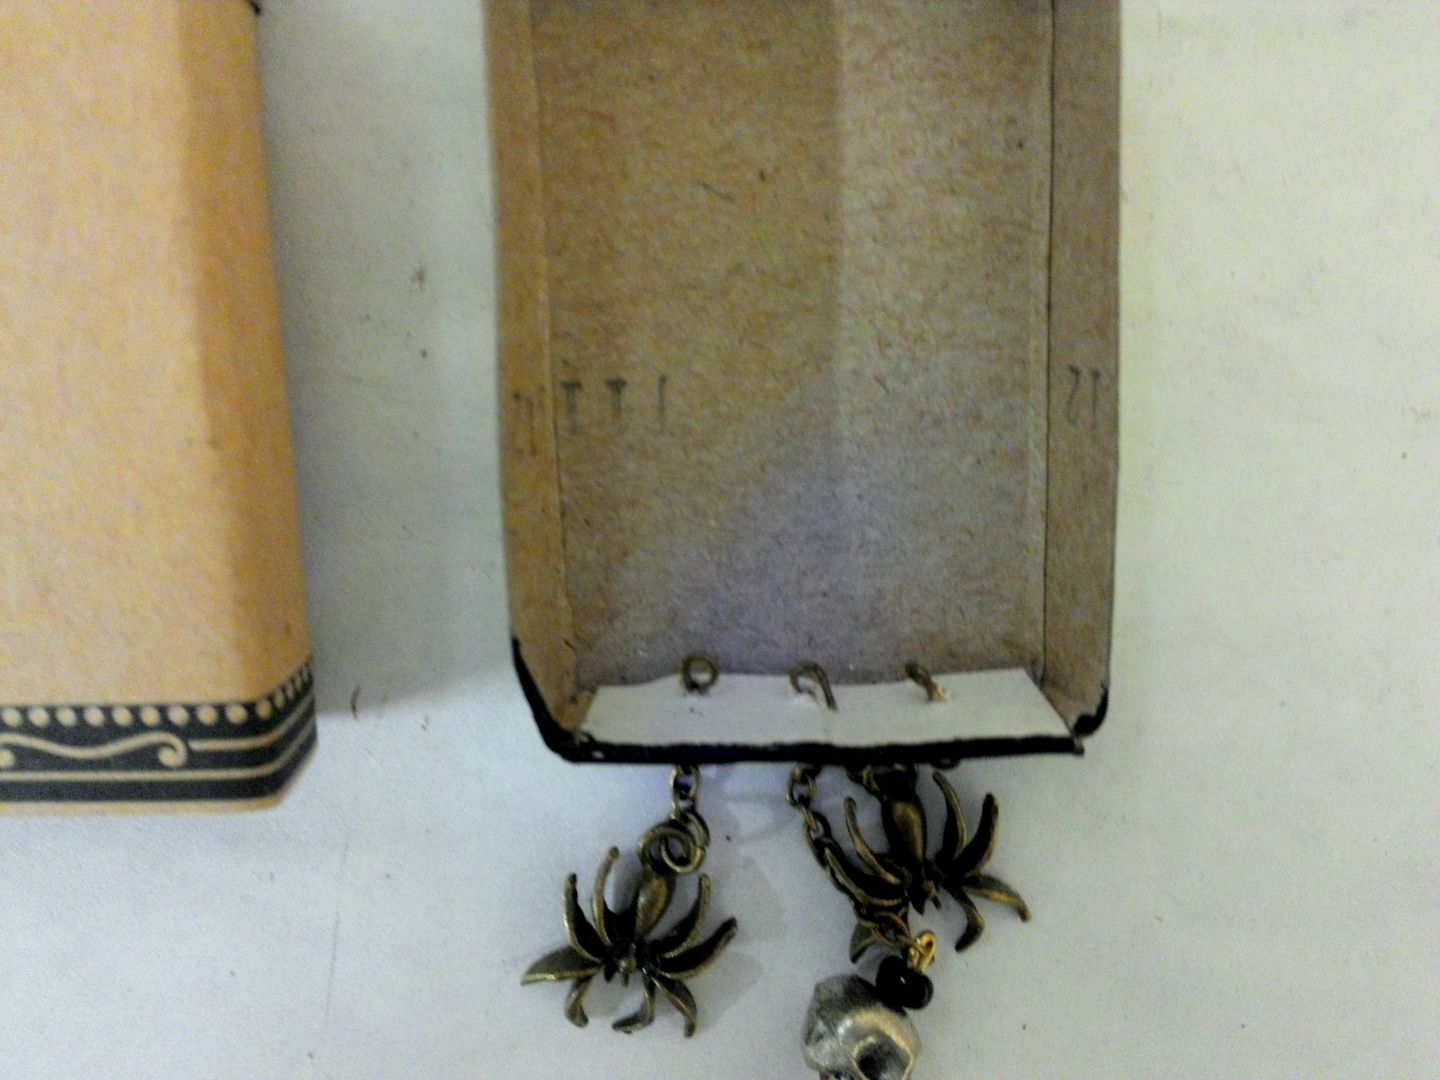
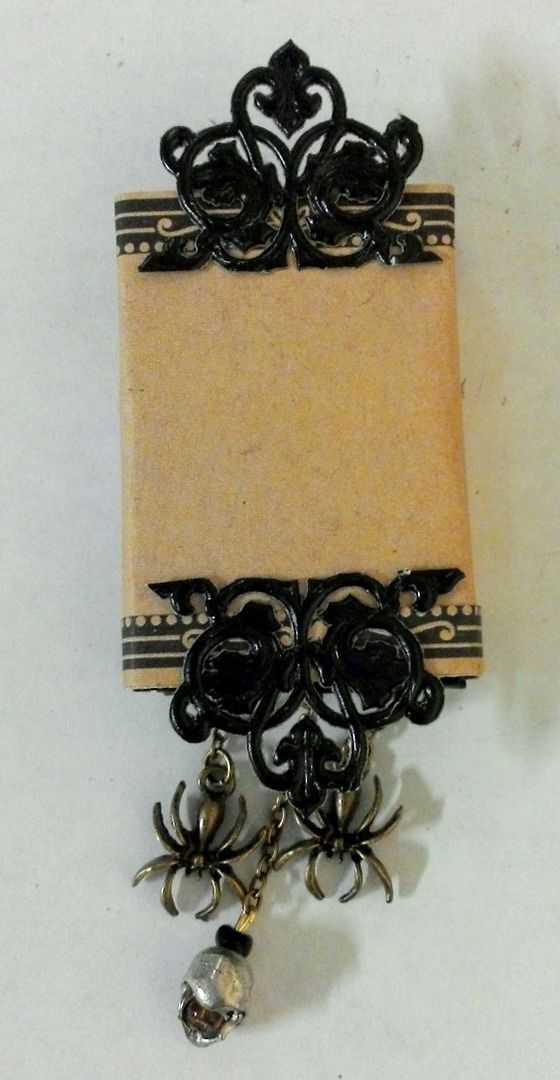
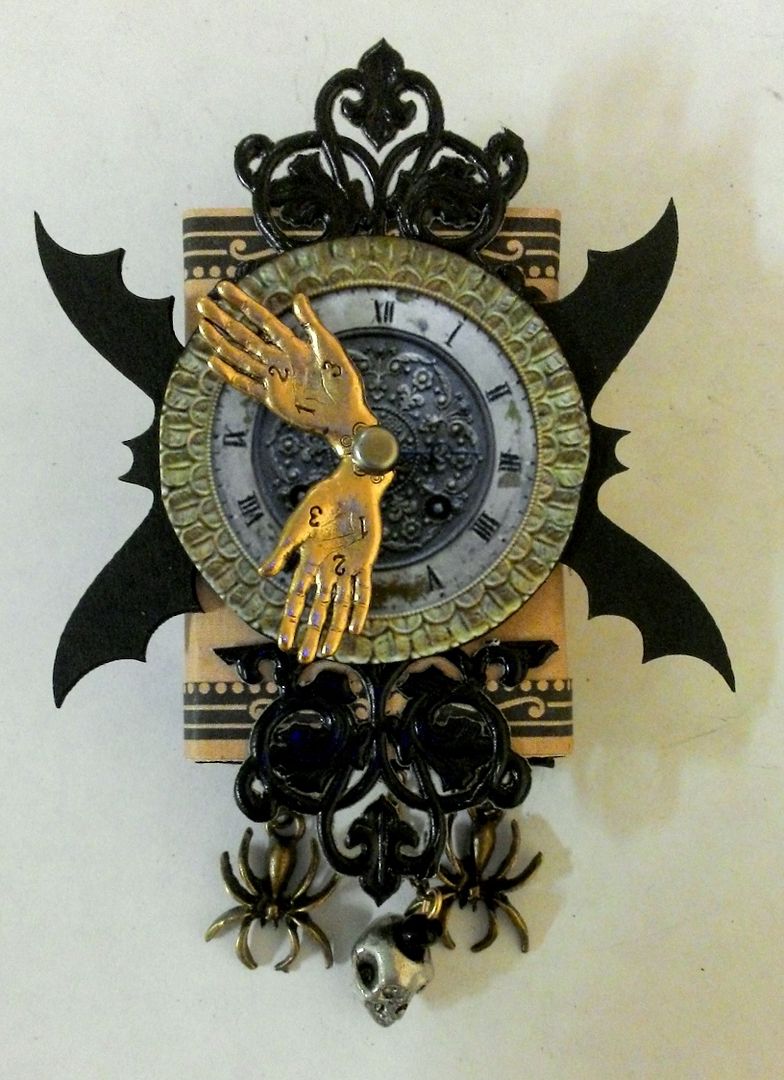
To make the matchbox clock, I started by papering the matchbox case.  I used a black marker to color the ends of the matchbox drawer.  Next using chain and eye pins, I attached spiders for weights and a scull bead for the pendulum. 
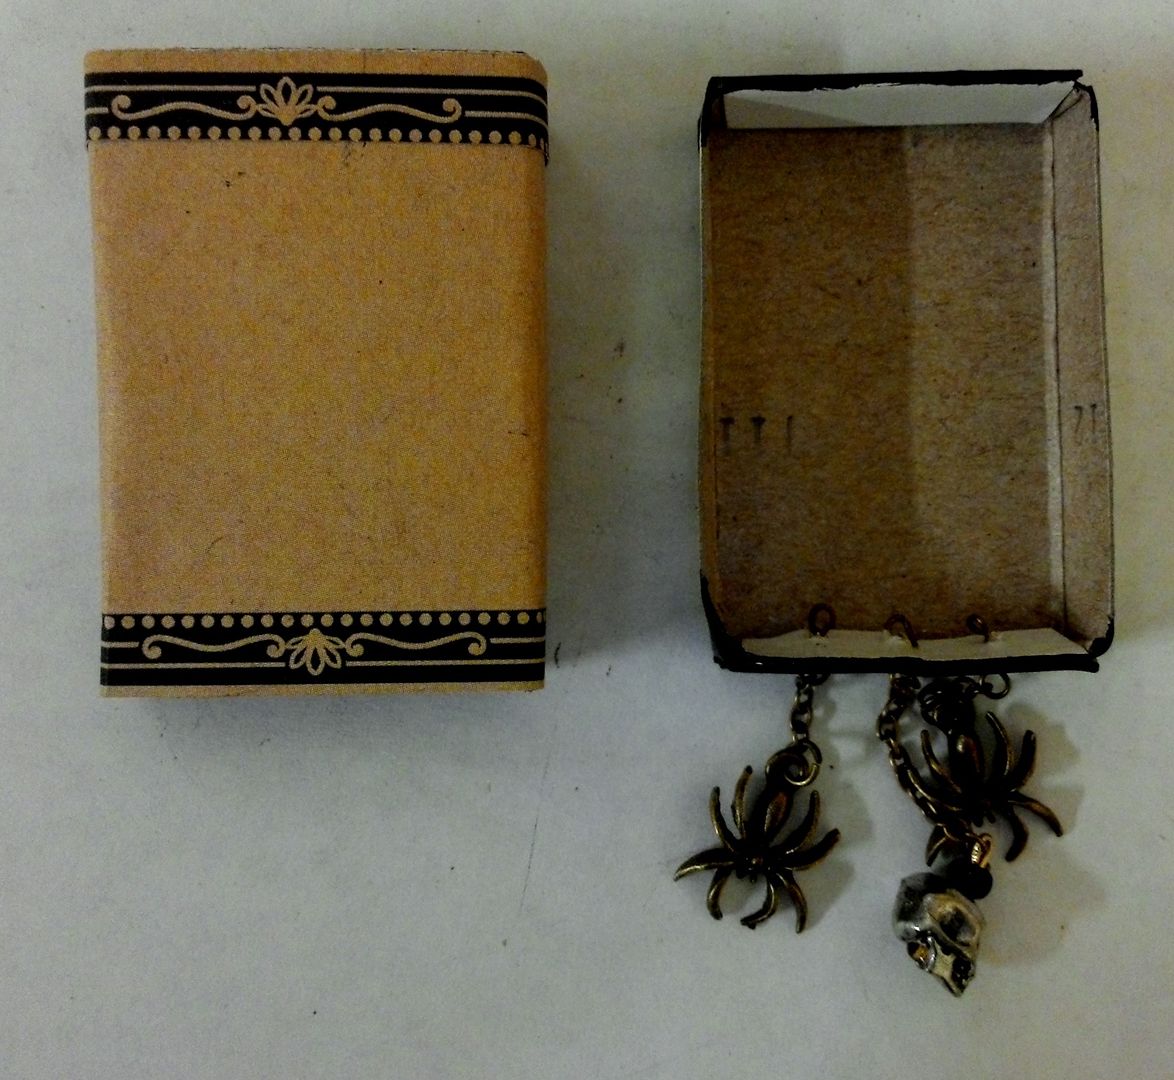
I cut a Dresden scroll in half and glued the halves to the top and bottom of the case.
COFFIN BOOKCASE
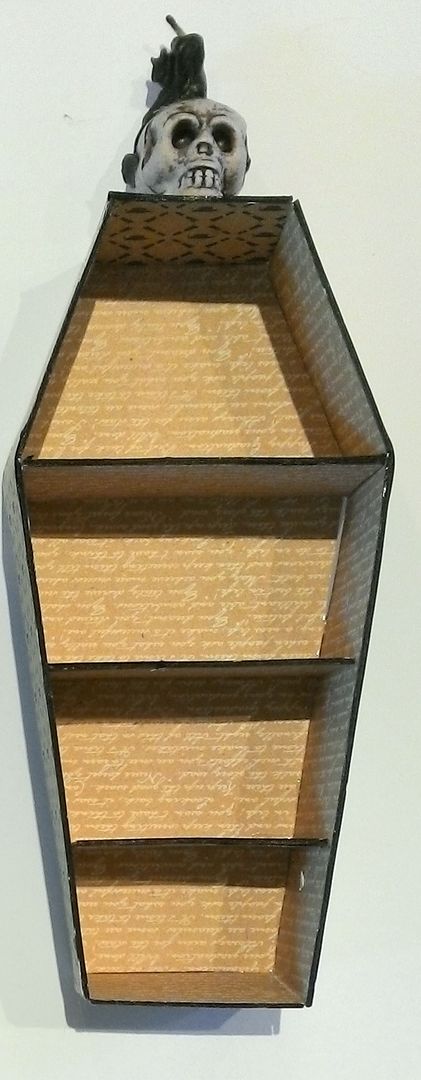
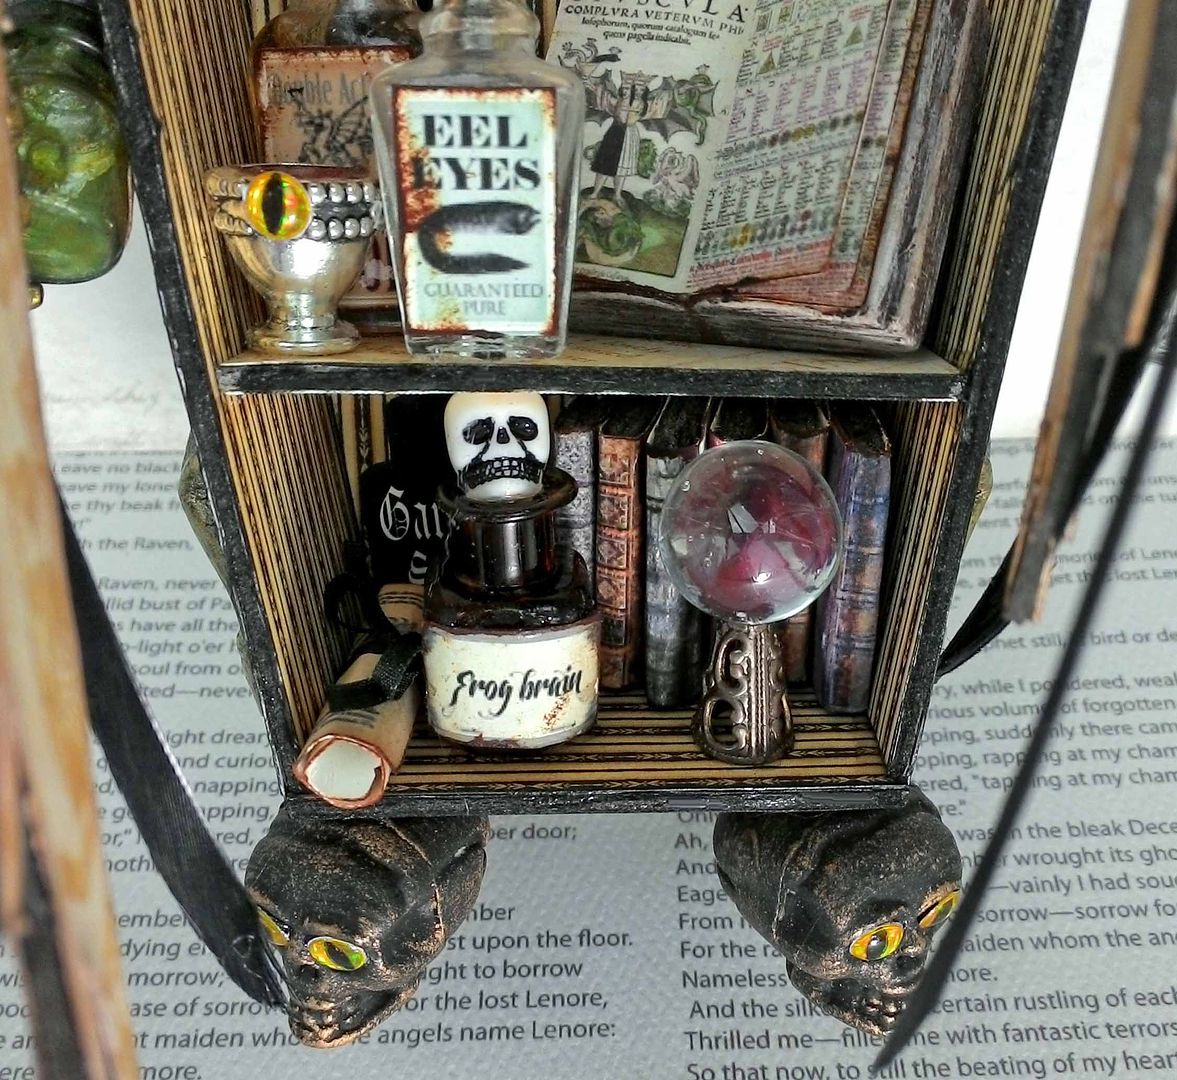
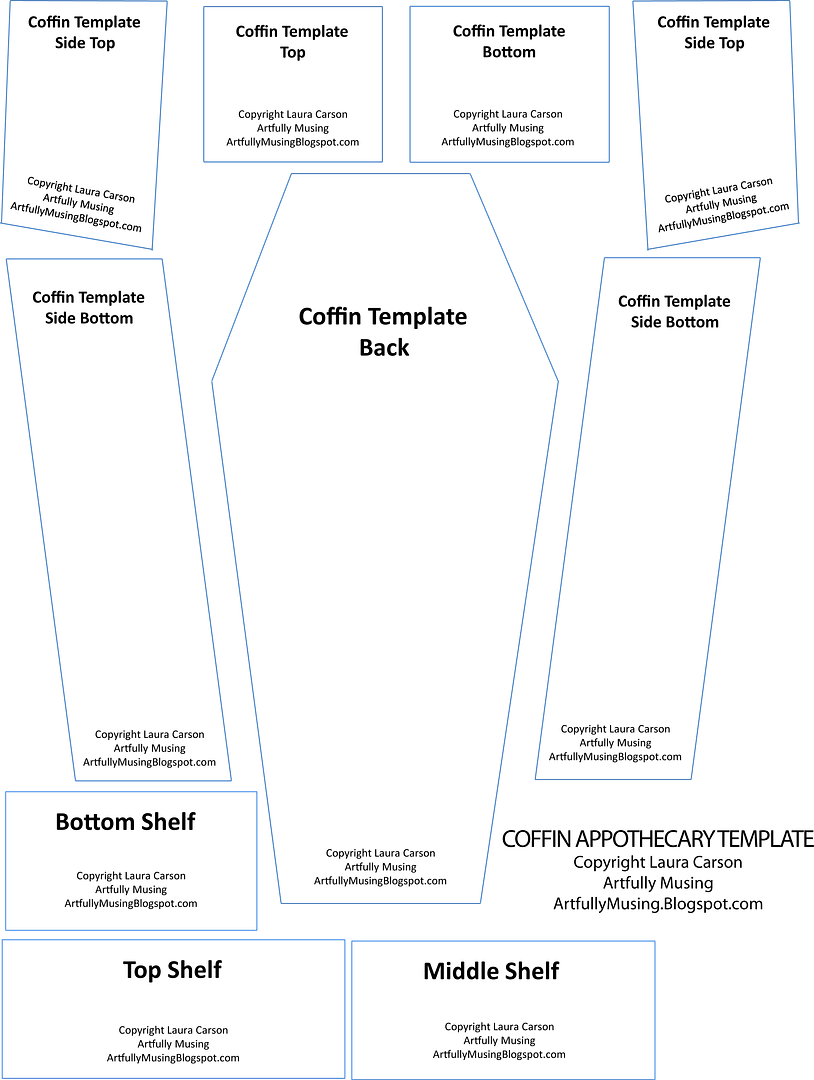
I used the template from the previous Coffin Apothecary project to create the bookcases.  Click here if you missed the template and tutorial. 
http://artfullymusing.blogspot.com/2014/09/coffin-apothecary-with-raven-wings-new.html
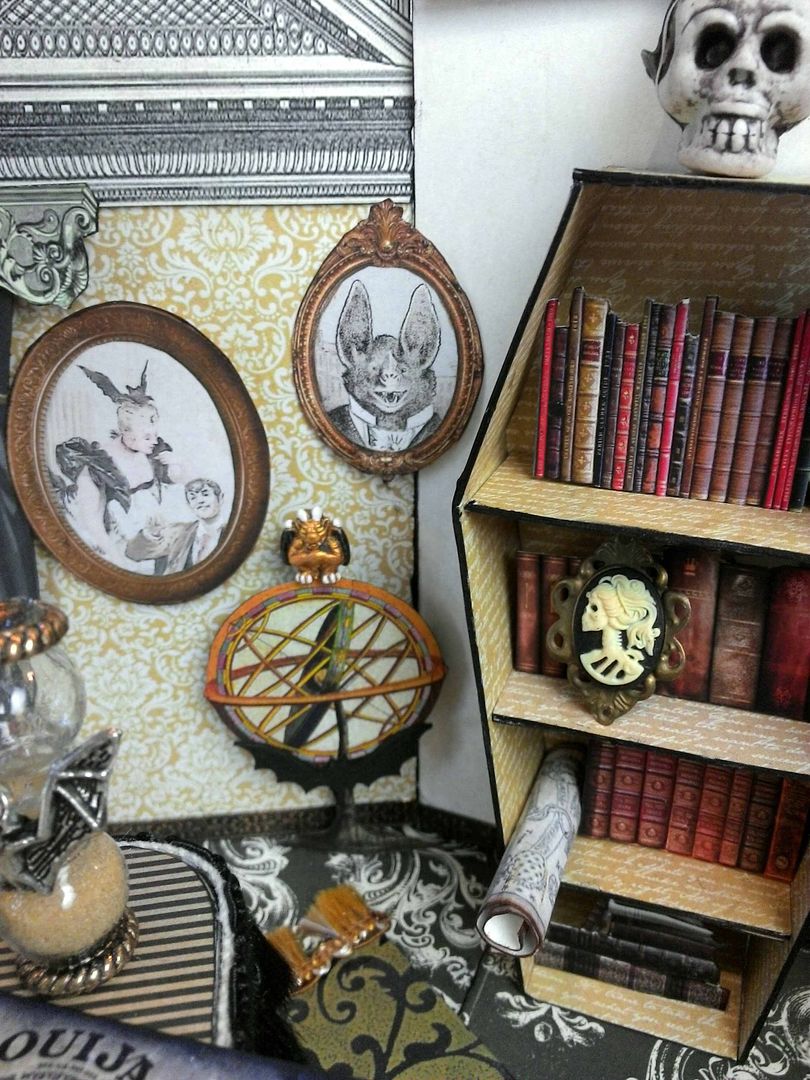
I reduced the size of the template to fit on the wall.

The bookcase is filled with books and other creepy decor.  The books are just a facade. I backed them with cardstock and used layers of double-stick foam tape to attach them to the back of the bookcase.
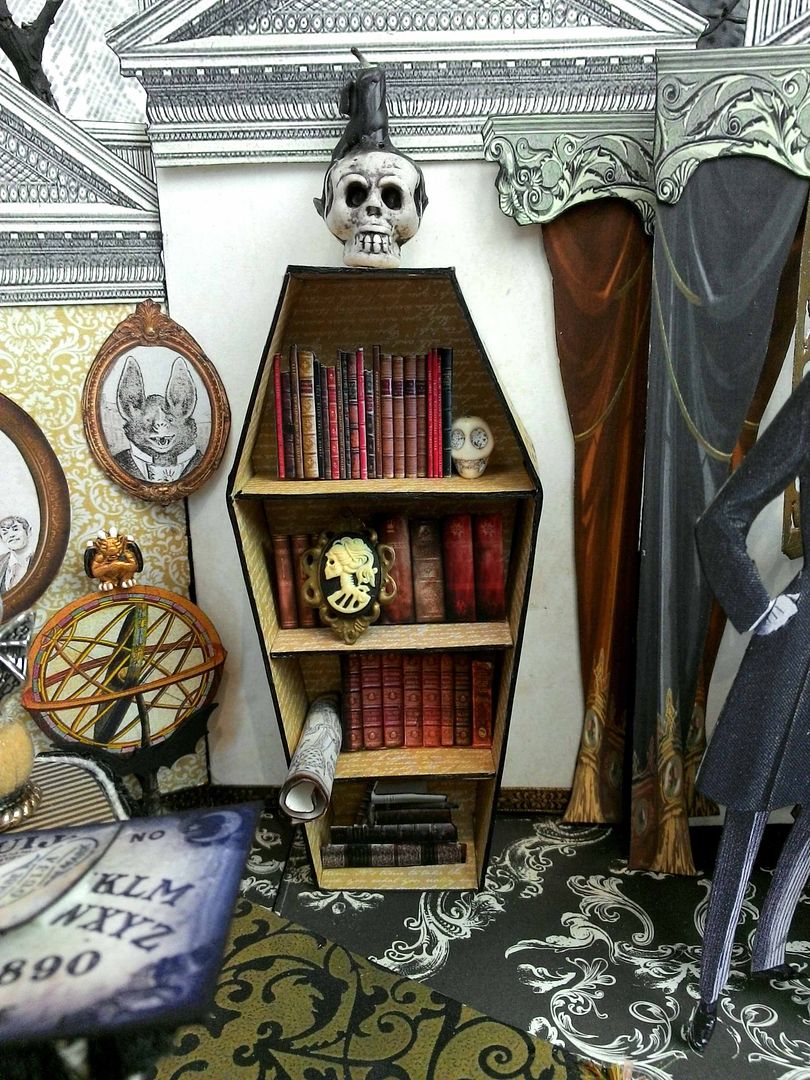
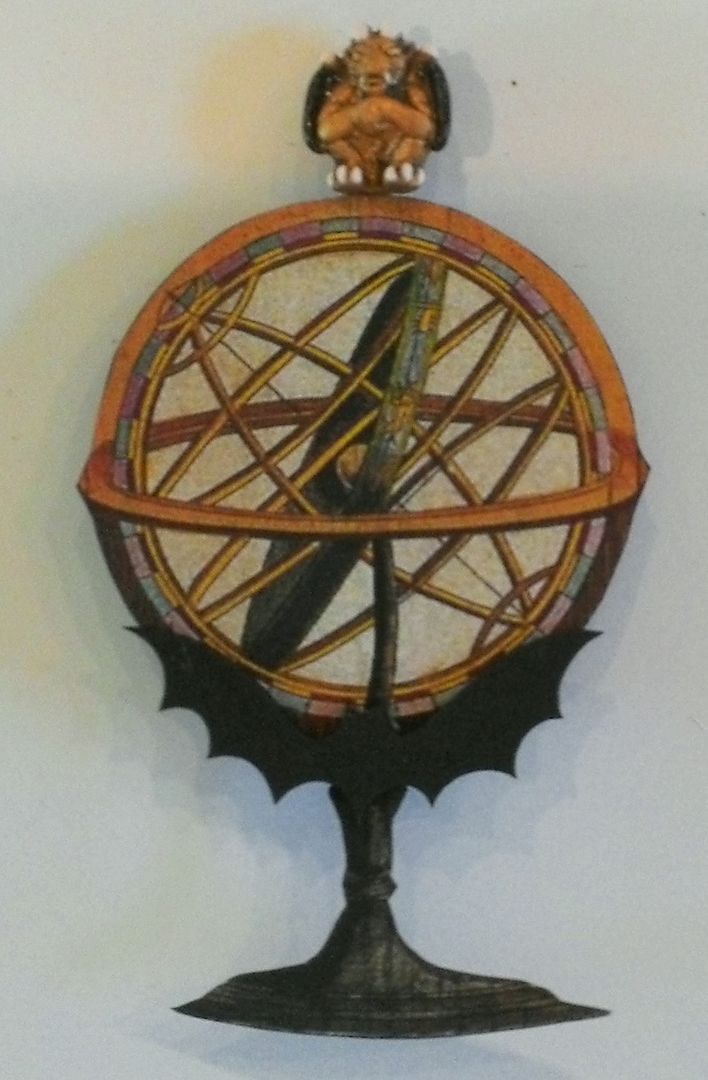
I added the gargoyle bead to the top the globe using a toothpick, which is glued to the back and runs through the hole in the bead. The final touch is the bat on the bottom.
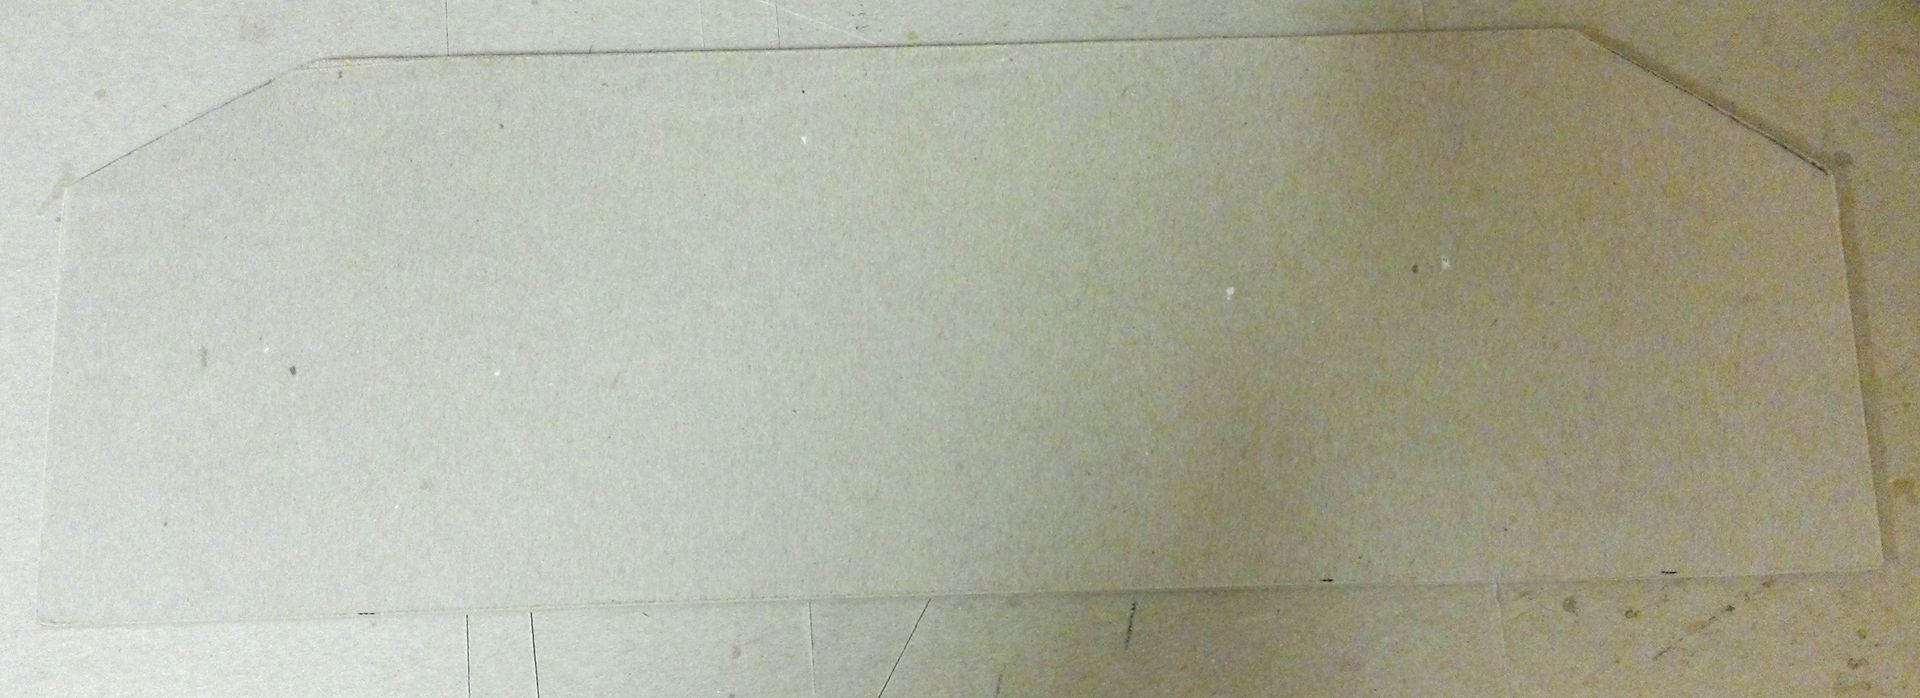
The base for the house is made from thick chipboard that in the back, matches the angles of the walls and is straight in the front.  Once I glued the walls together I used them to trace the angles on the base.
I covered the base with decorative paper.
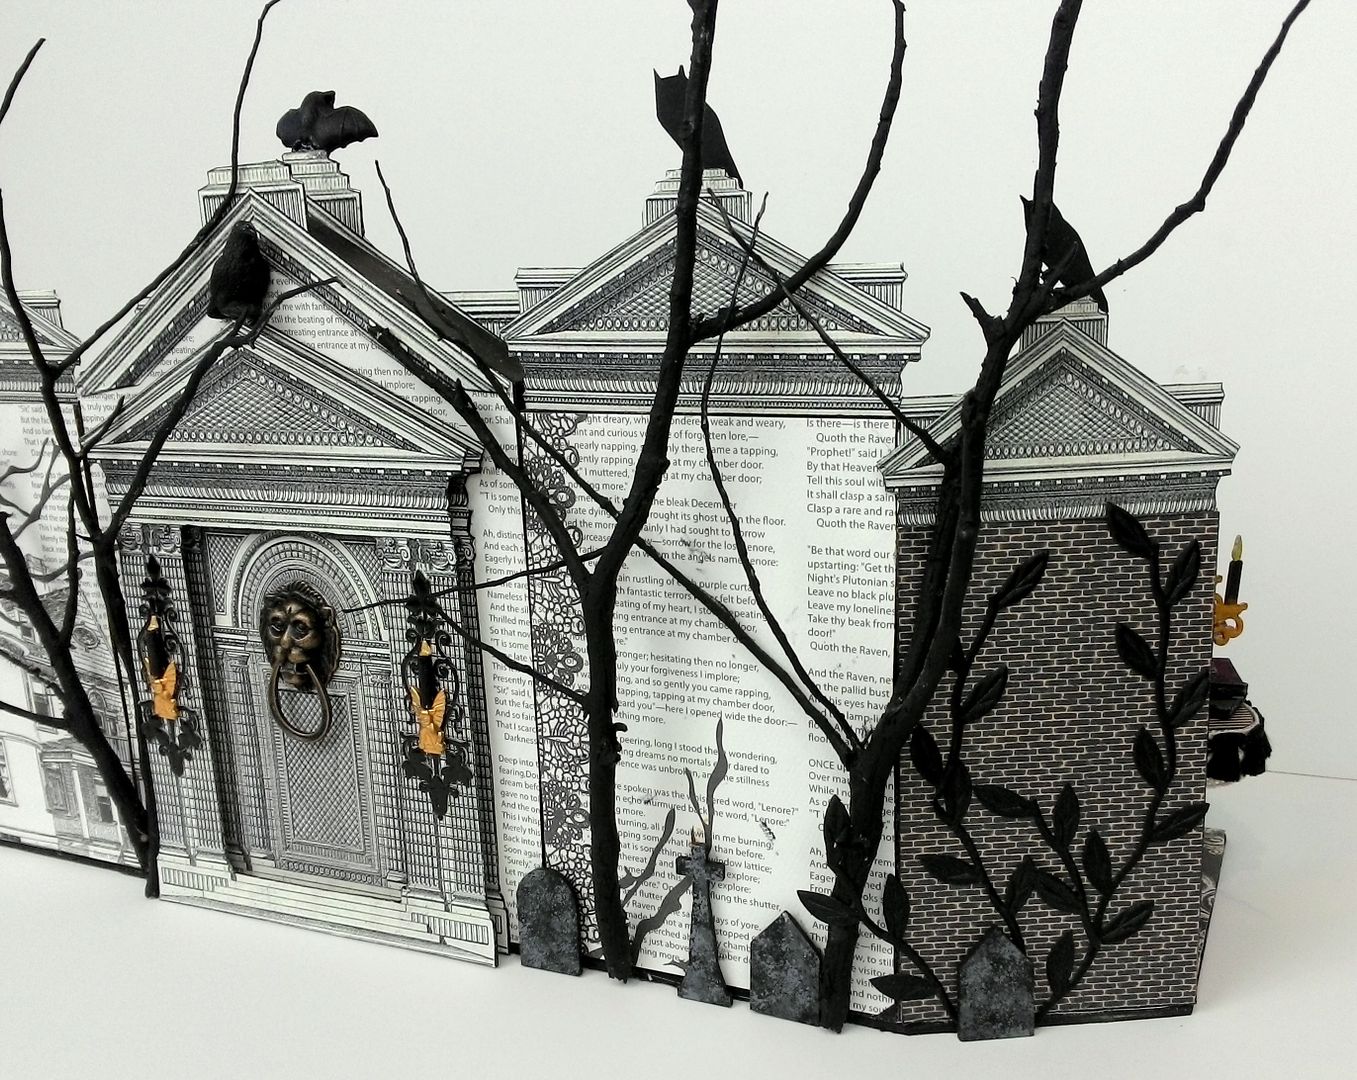
The Front
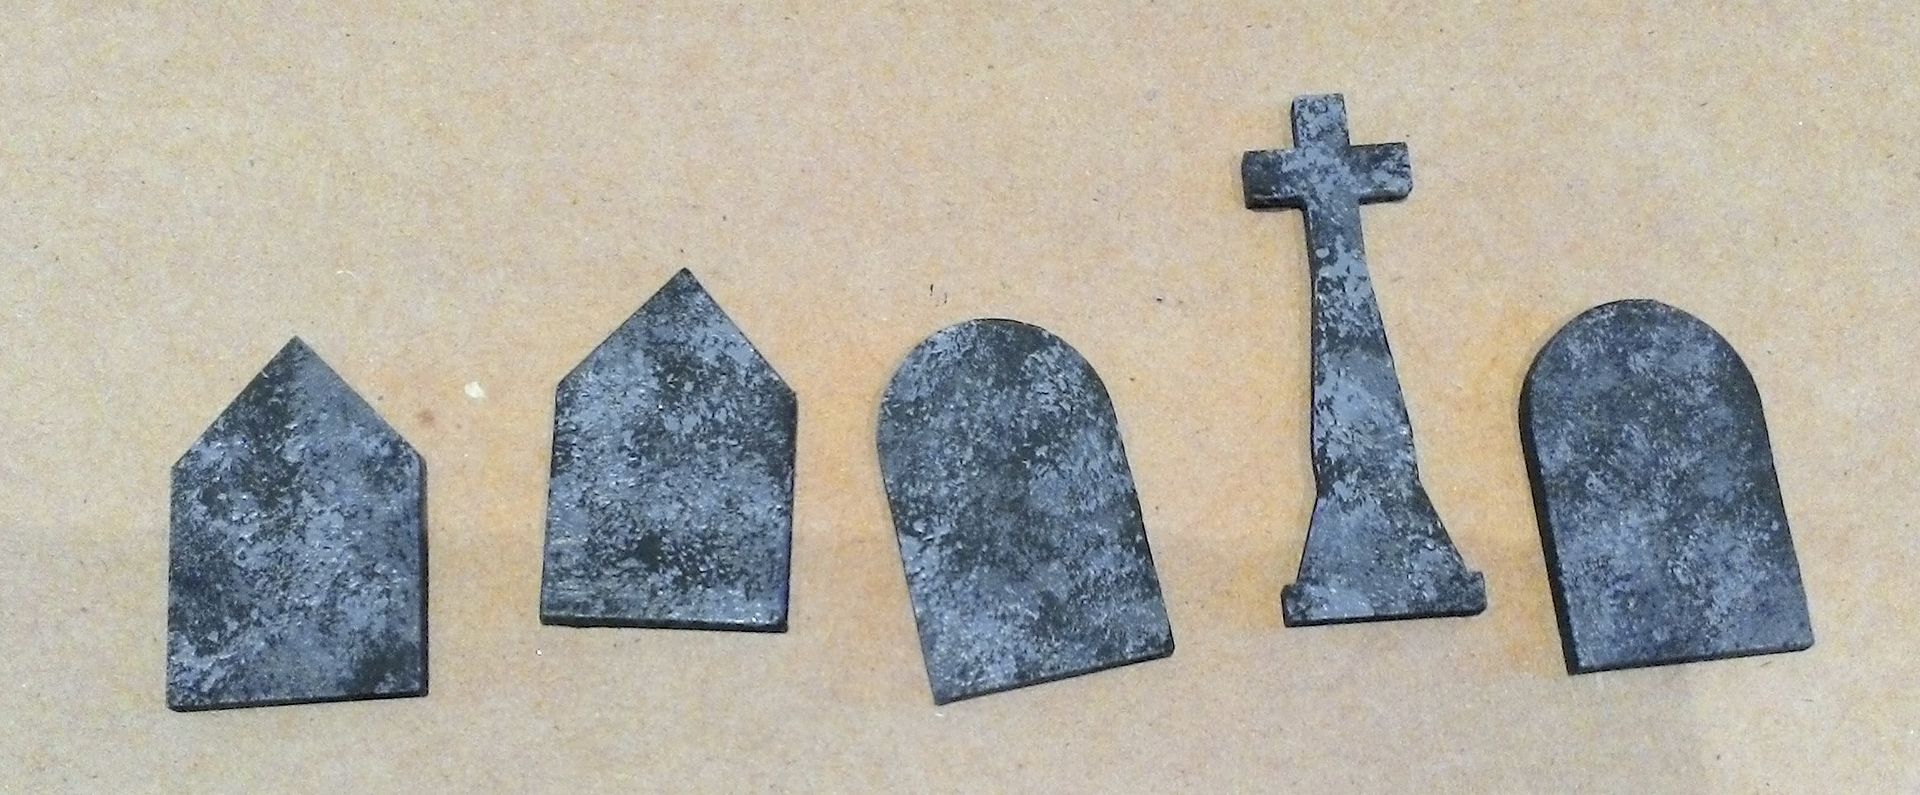
The tombstones are first painted black.  Next, I stippled them in dark grey and then in a lighter grey to give them the appearance of stone.
The trees are made from real tree branches that are painted black.
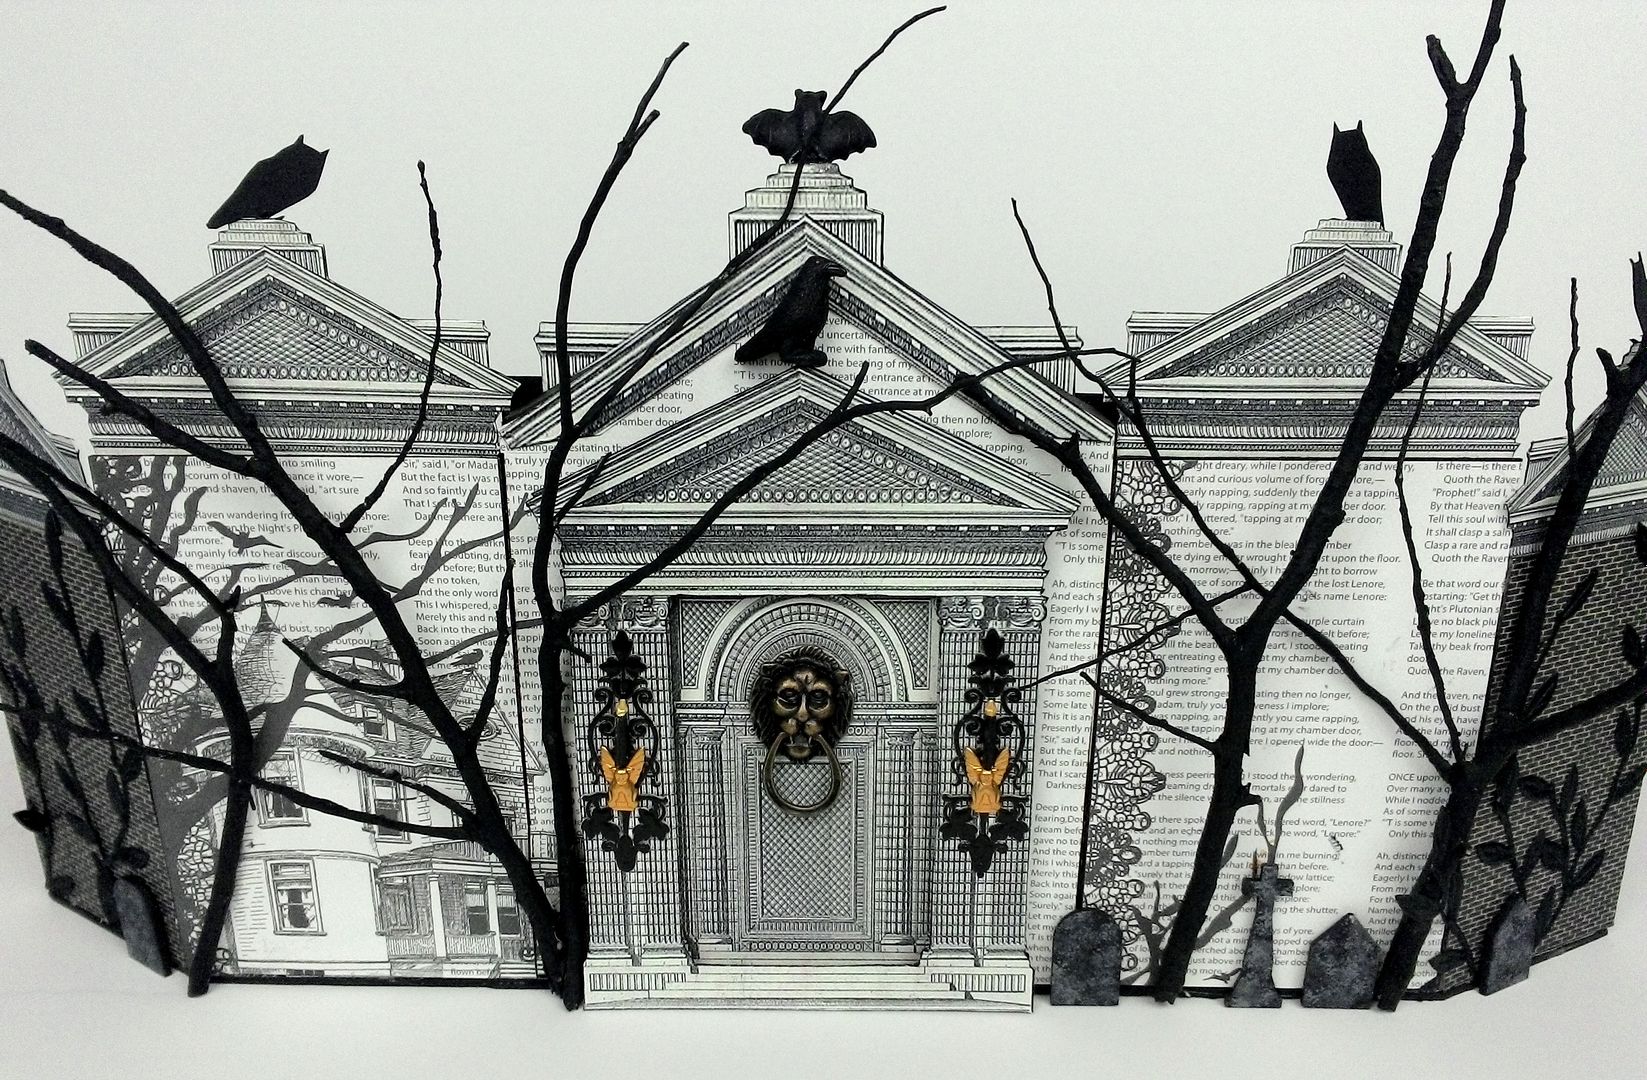
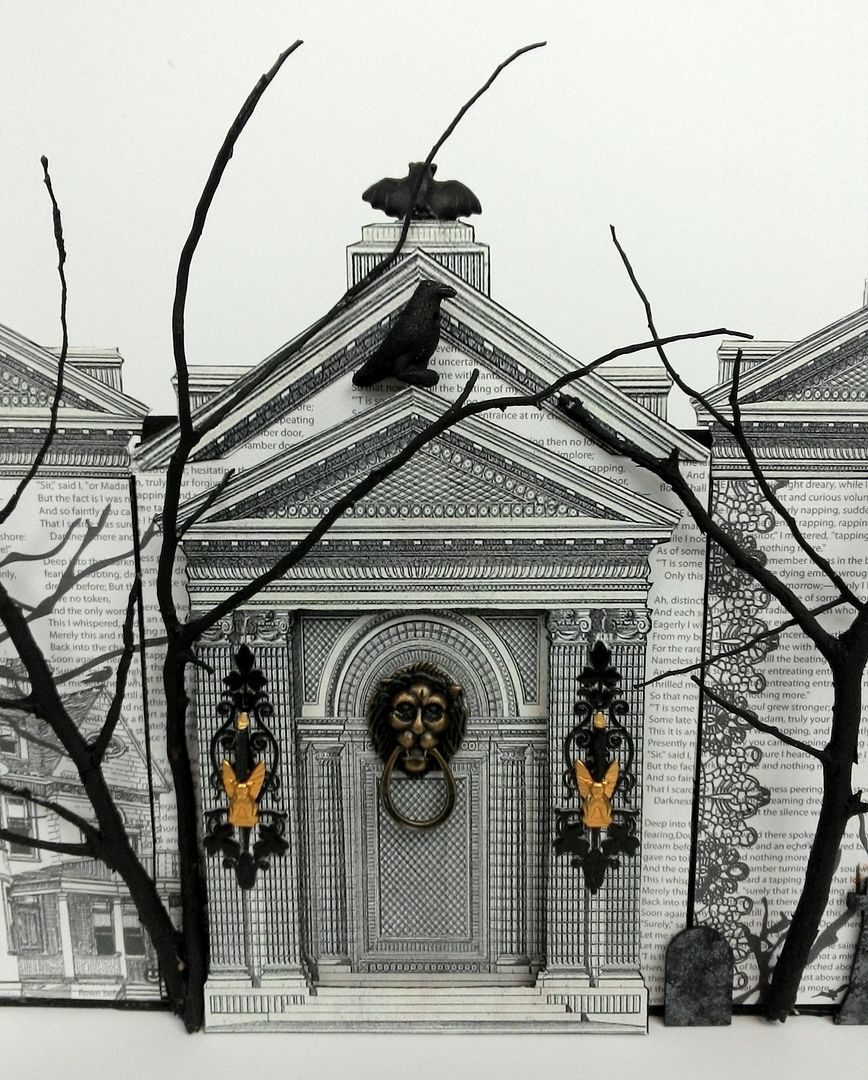
I used decorative paper to cover the front and then the same architectural pieces as I used in the inside of the house.  For the front door, I used the entire architectural piece and cut out layers and attached them with double-stick foam tape to make the front door pop.

I used black wrought iron Dresden Scrolls and brass winged griffins to create sconces on the sides of the door.   The knocker on the door is a lion head handle.
I used a stitched leaf ribbon for vines.  A raven bead guards the entrance.
Alpha Stamps Supplies Used for this Project
Saturday, September 20, 2014

Coffin Apothecary with Raven Doors – NEW Collage Sheet & Digital Image Set – VIDEO TUTORIAL

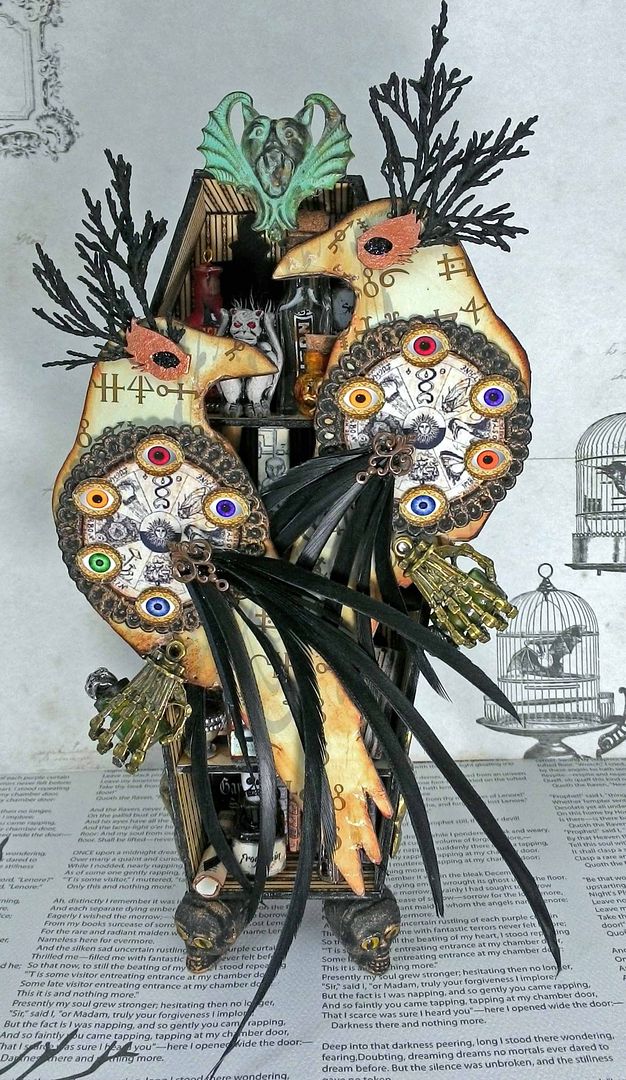
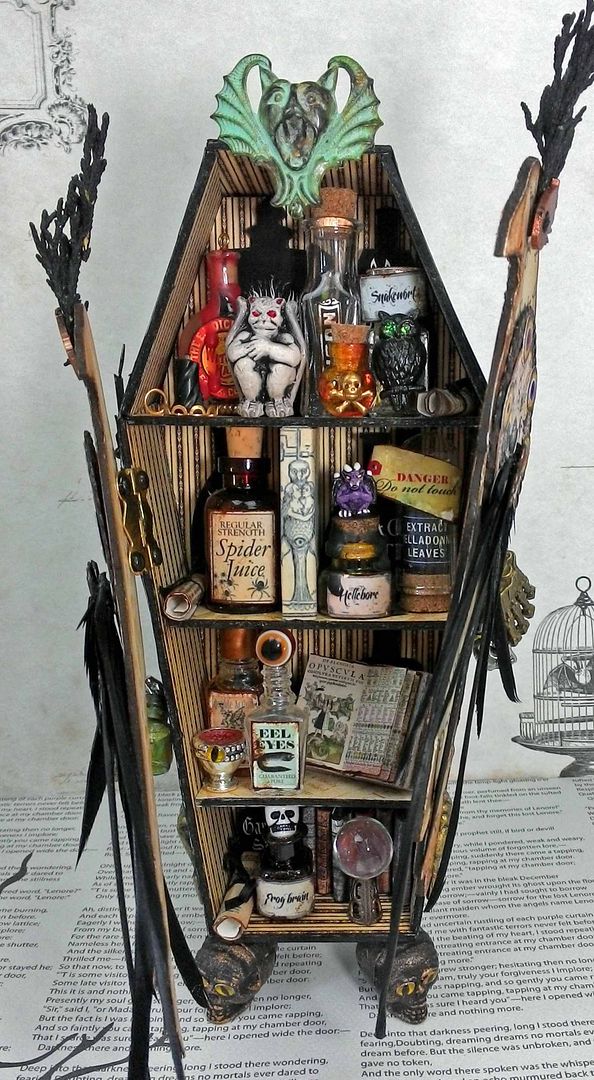
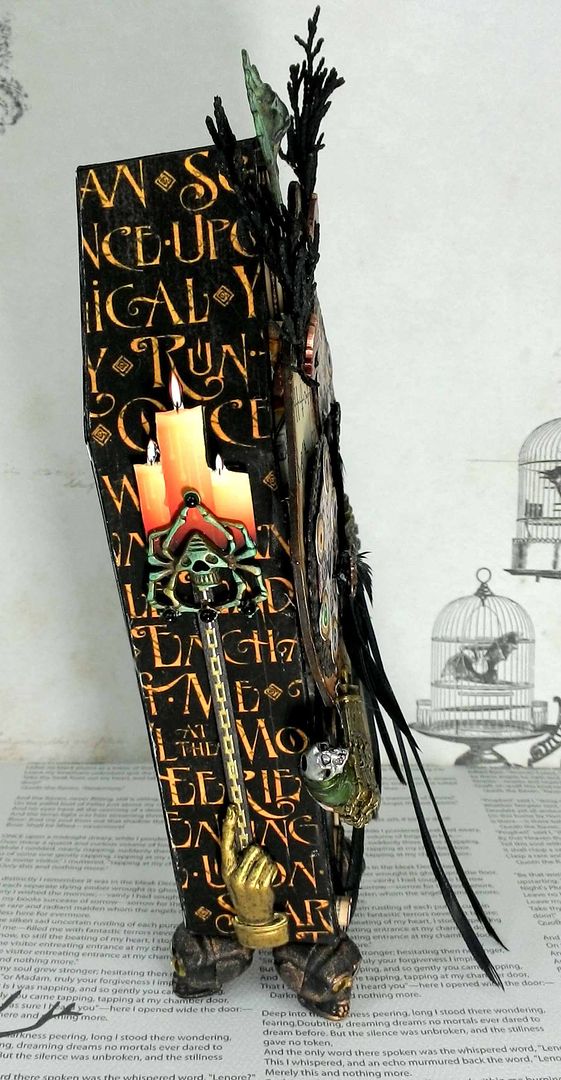
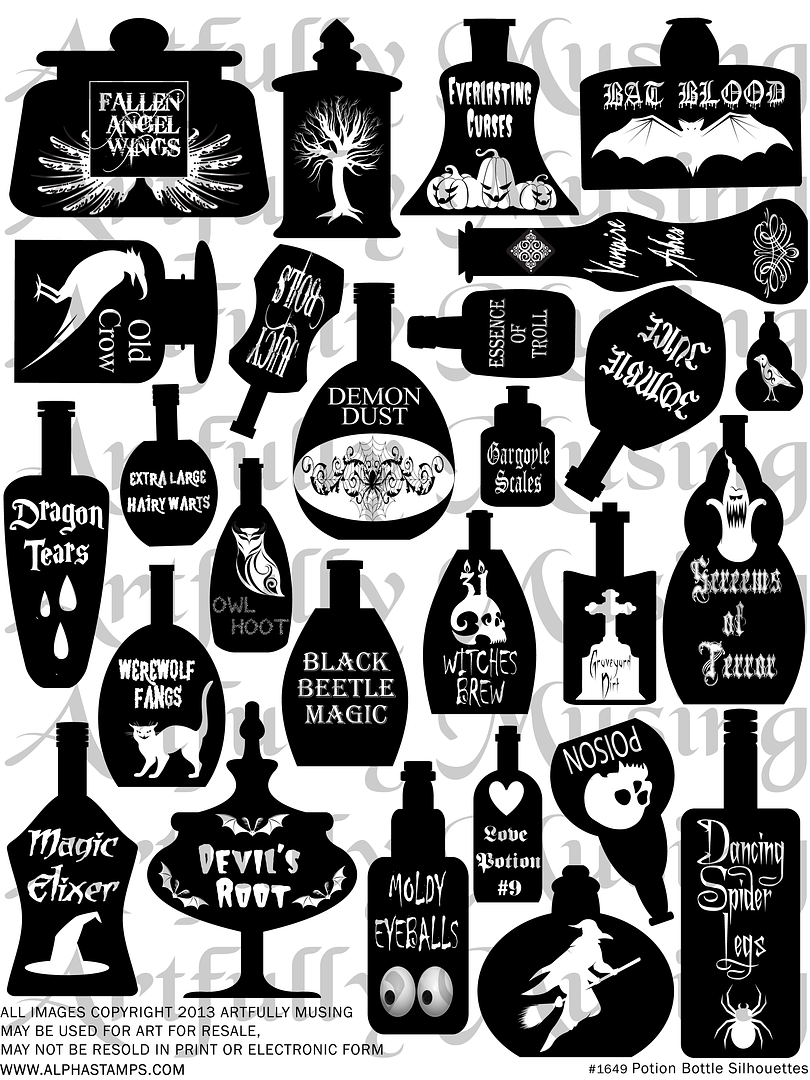
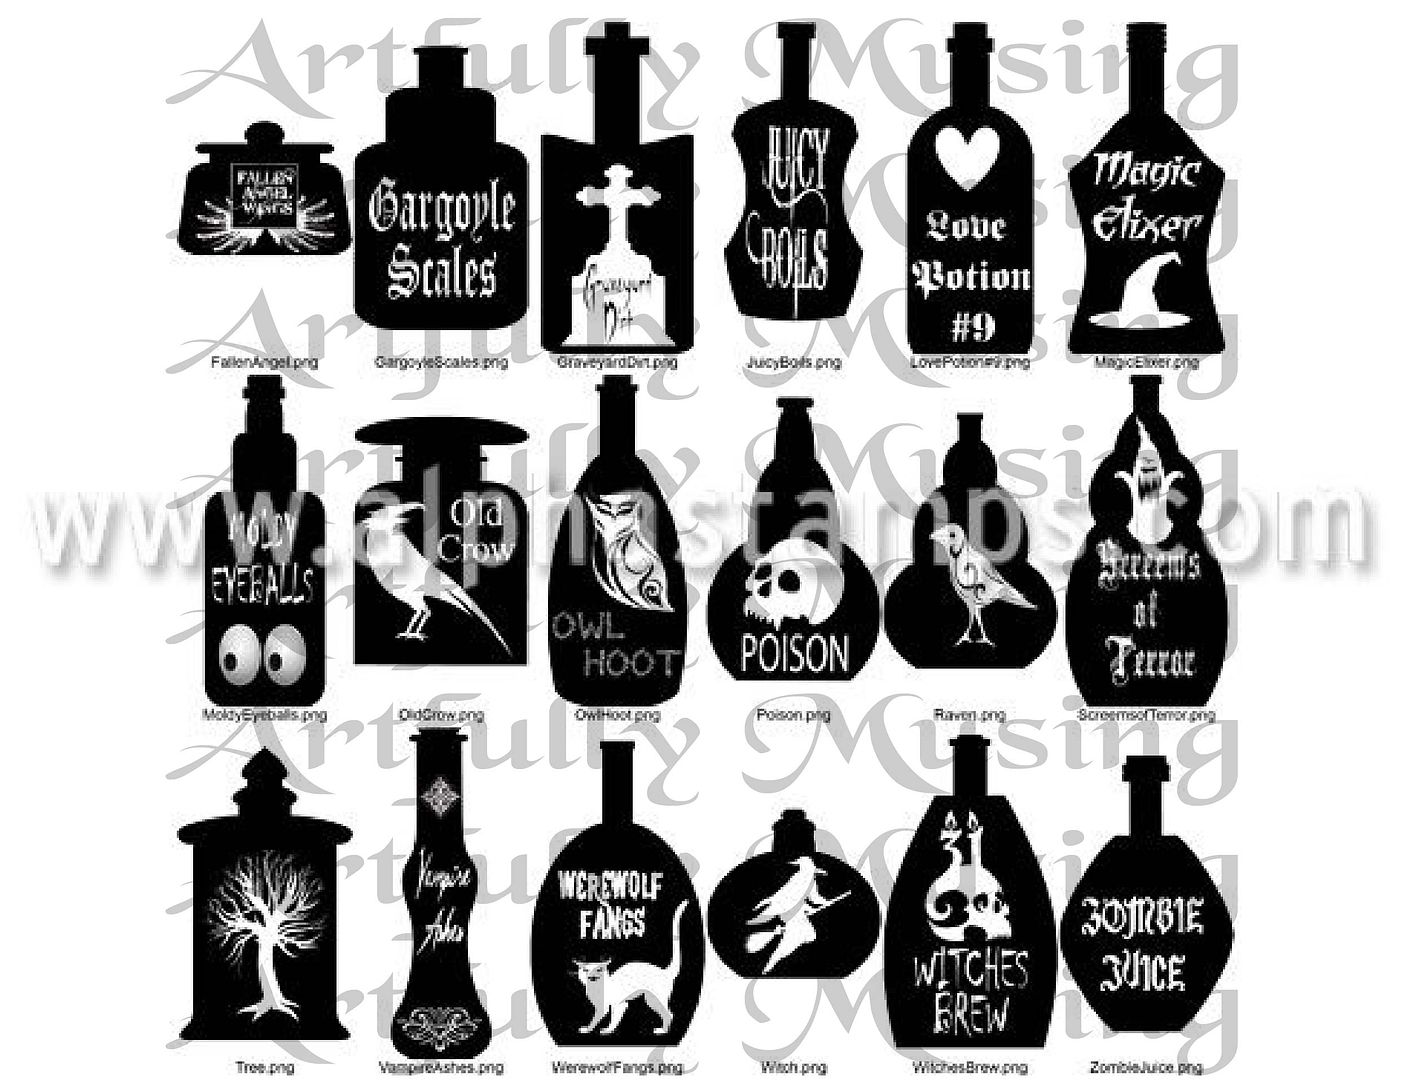
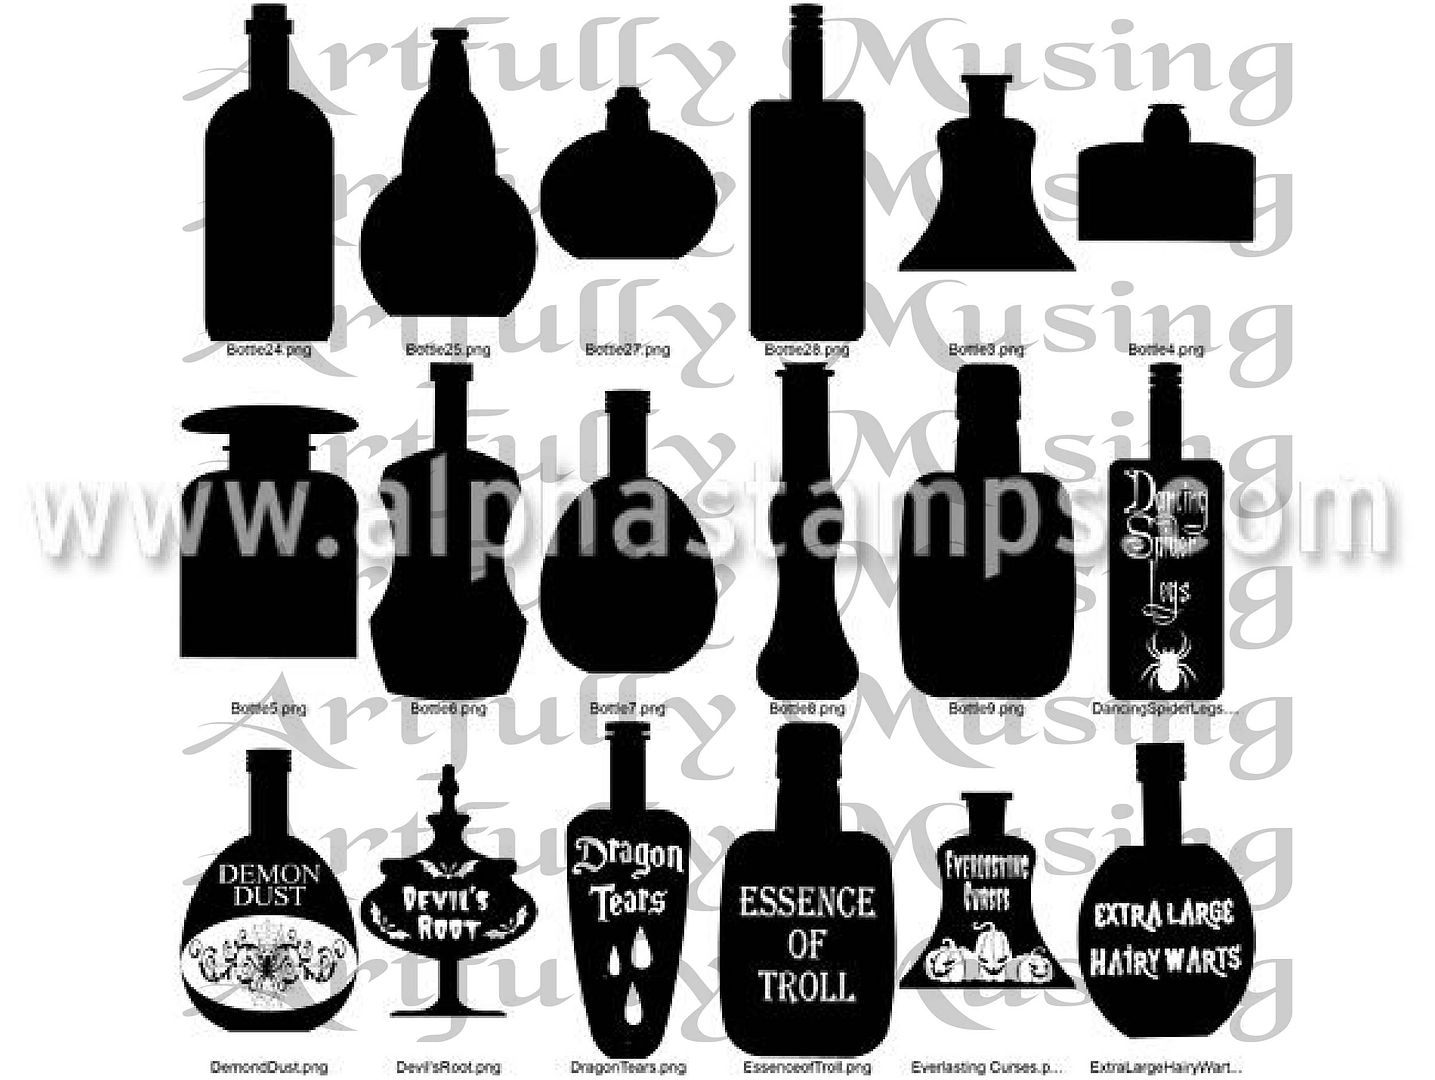
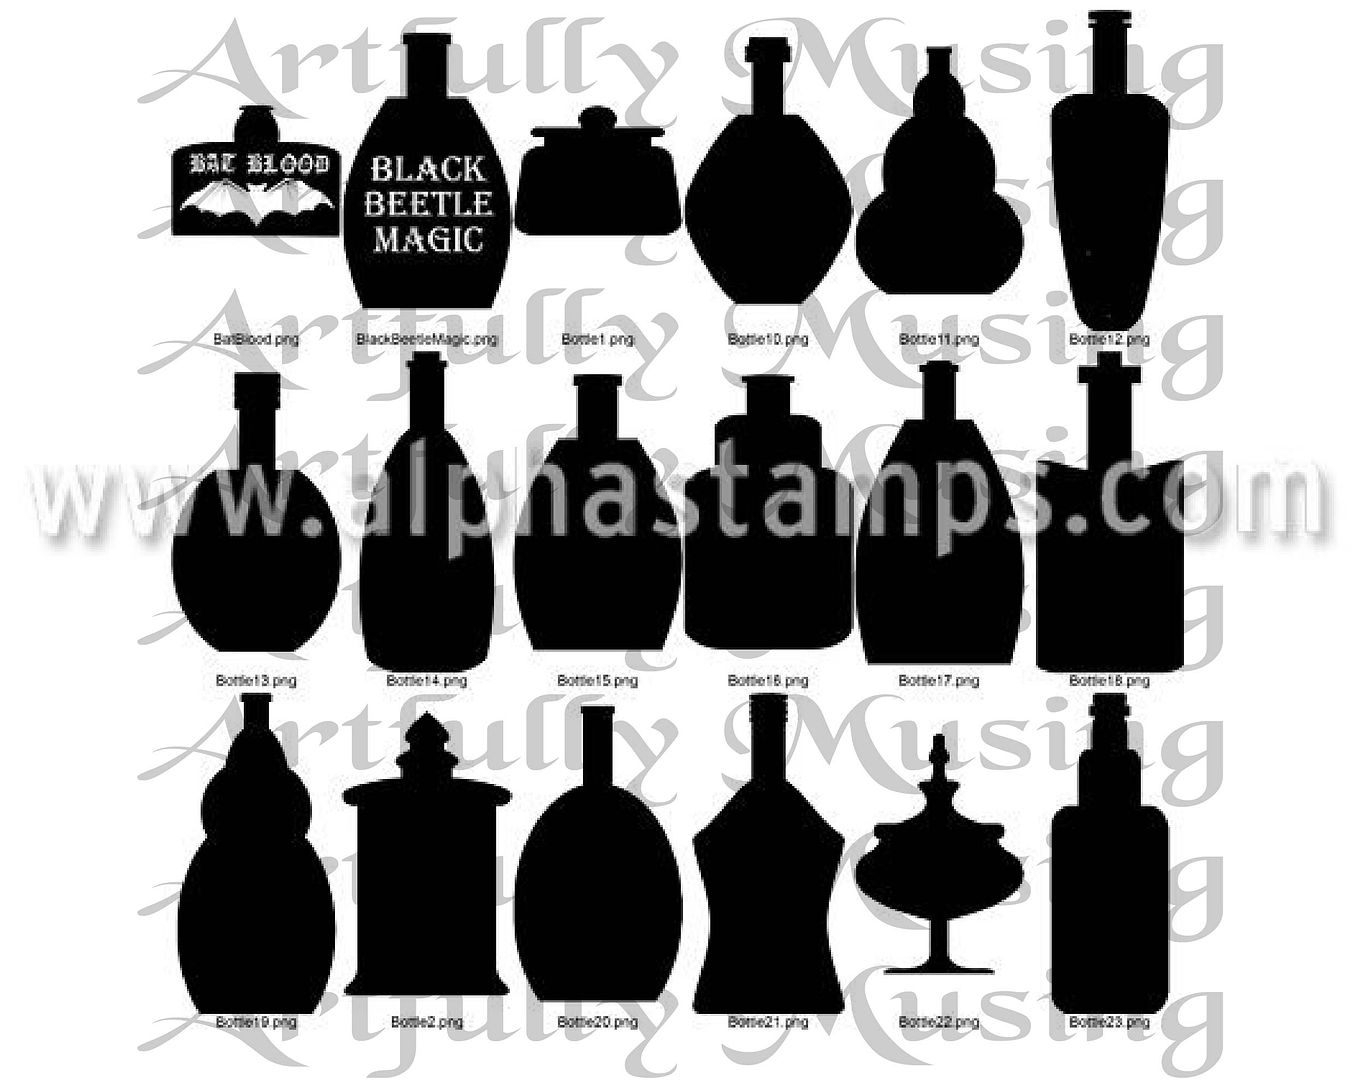
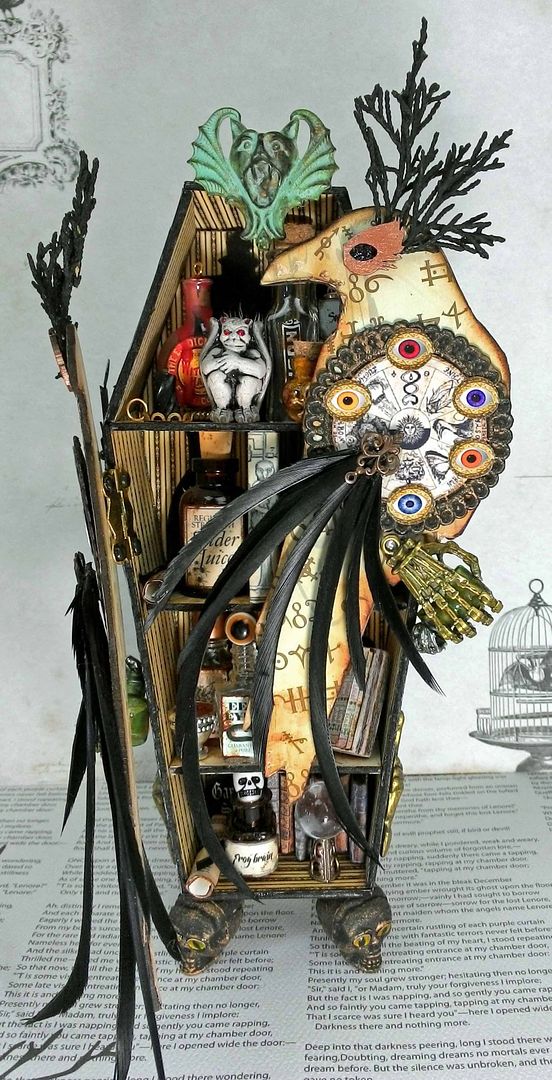
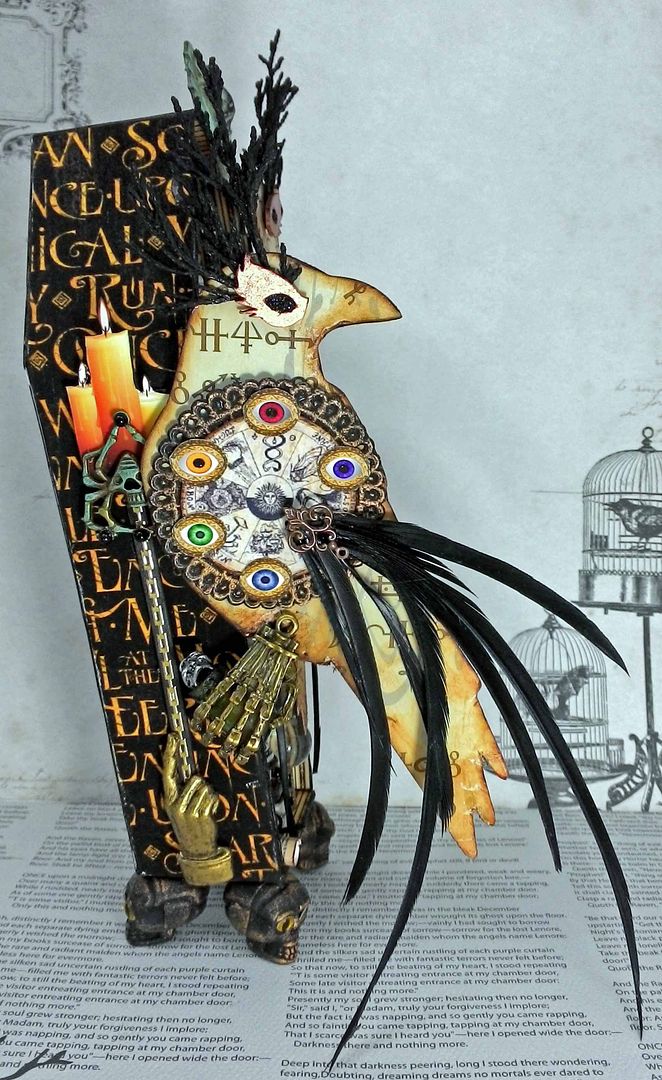
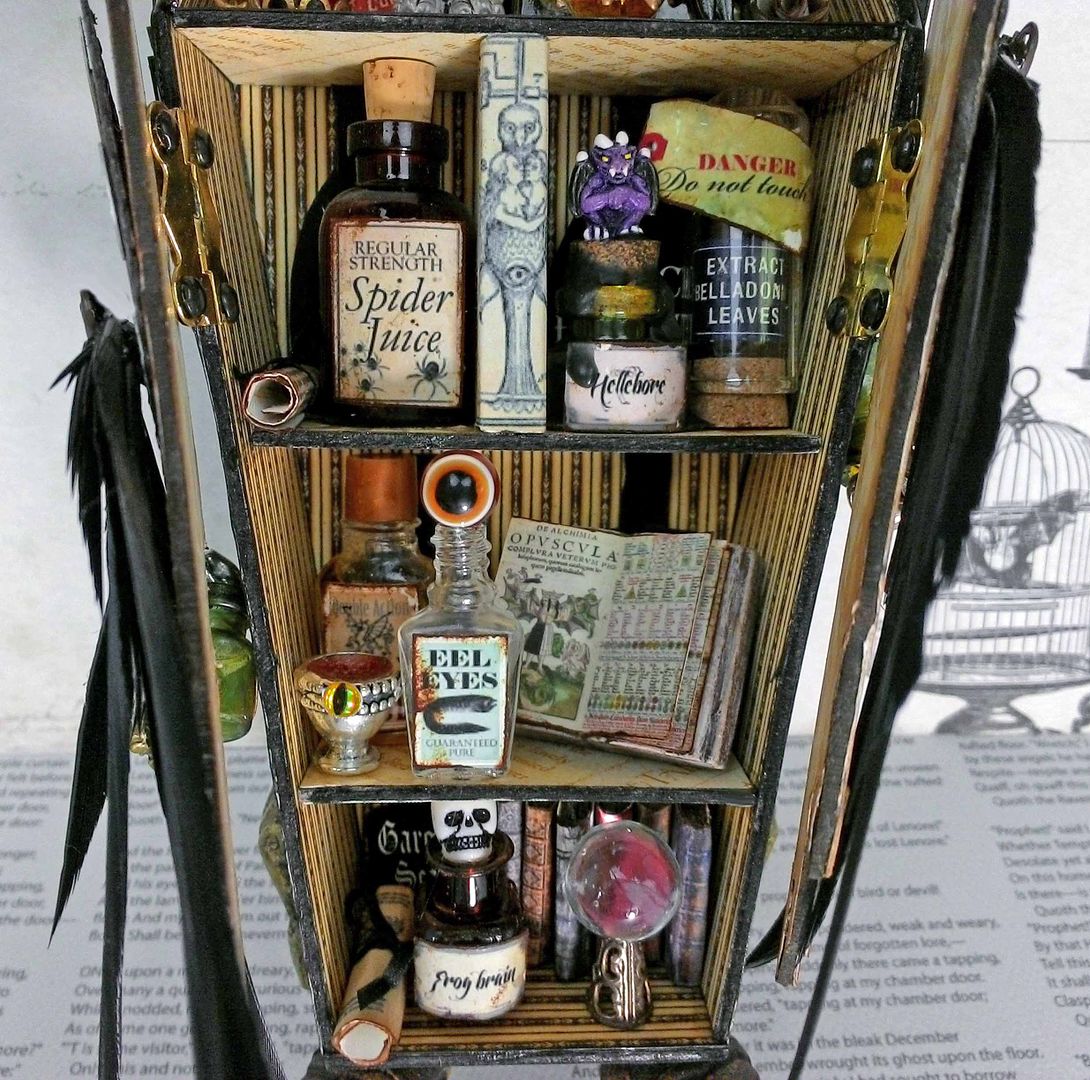
Oh how I love apothecaries!  This year I’m ratcheting up the creep factor with a coffin shaped apothecary that has ravens for doors.  The project includes a video tutorial where I demonstrate how to assemble the coffin using a free coffin template that you’ll find below.  There are also some free images that I used in my apothecary as well as a new Potion Bottles Silhouette collage sheet and a digital image set.
This sheet is filled with potion bottle silhouettes.  Several of the images are sized to fit the coffin apothecary.
The digital image set contains 54 bottle images.  27 bottles have labels (the same as on the collage sheet) and 27 are blank.  Add your own labels to the blank ones, or use them for a different purpose such as perfume bottles, or as a template to cut-out a piece of chipboard.
TUTORIAL
COFFIN TEMPLATE AND IMAGES
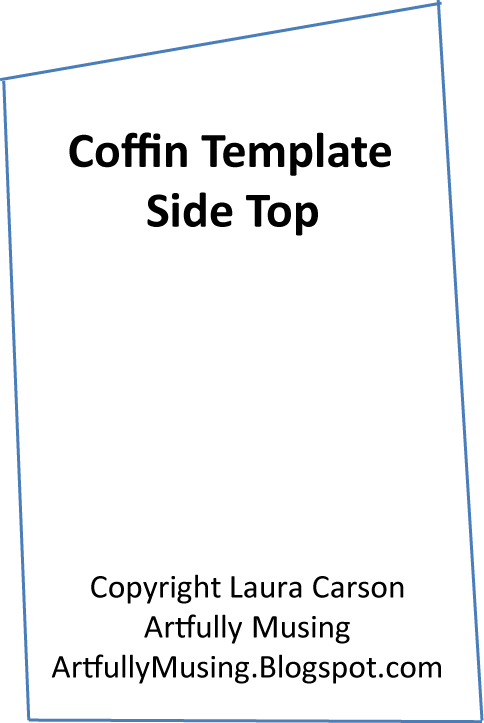
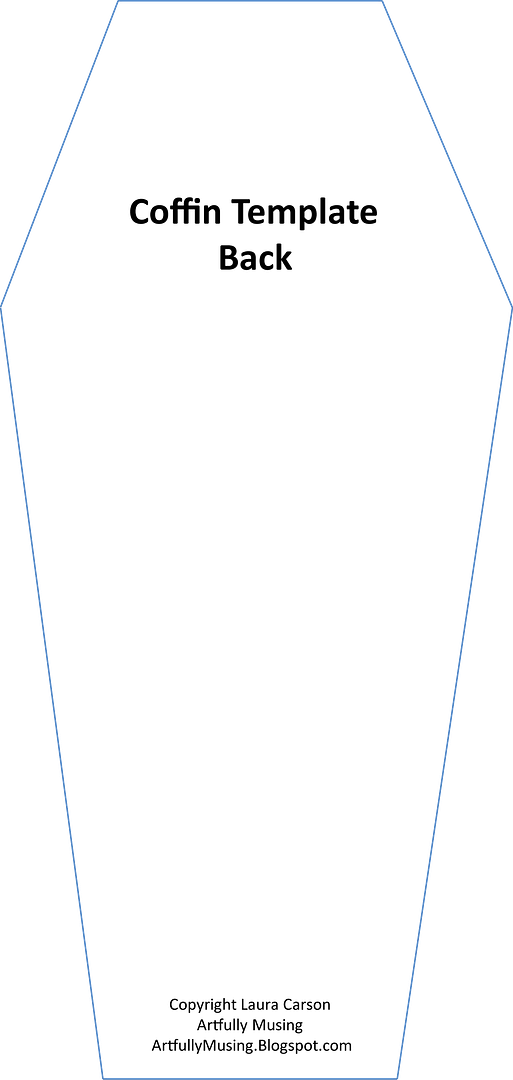
To download the template and images, click on the image to expand it, right-click and select Save As.
If you wish to enlarge the template beyond what will fit on a single 8 1/2" x 11" sheet of paper, download the separate template images.


Wednesday, September 10, 2014

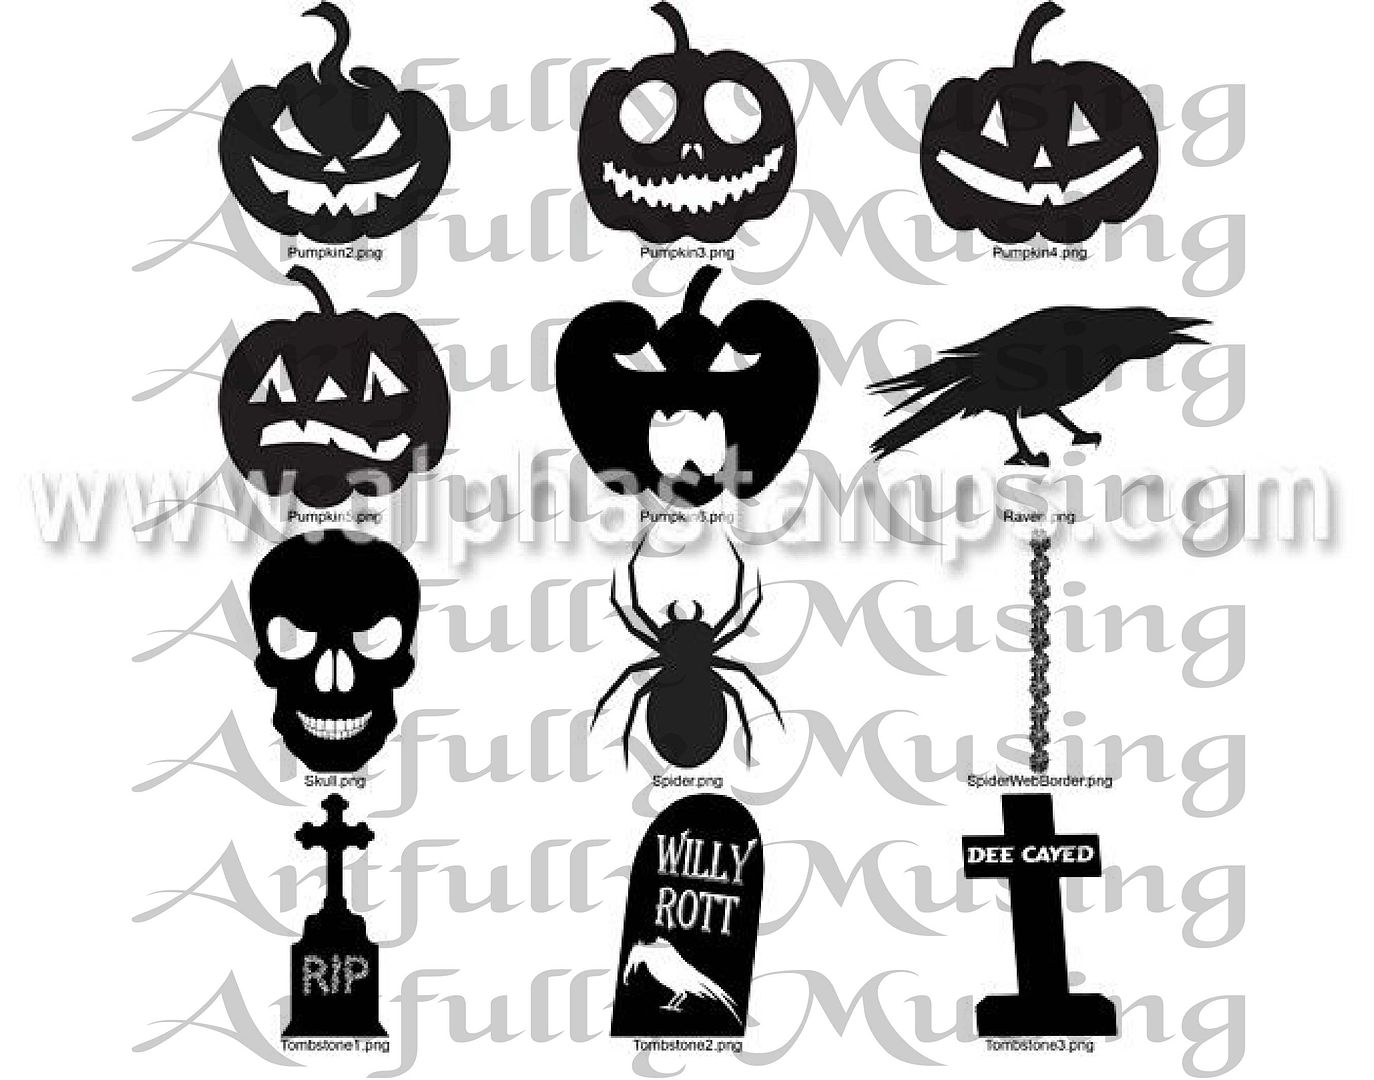
Festive Halloween Votives and Candles – NEW Collage Sheet & Digital Image Set

To kick off the Halloween crafty season, how about decorating Votives and candles for your Halloween displays.  
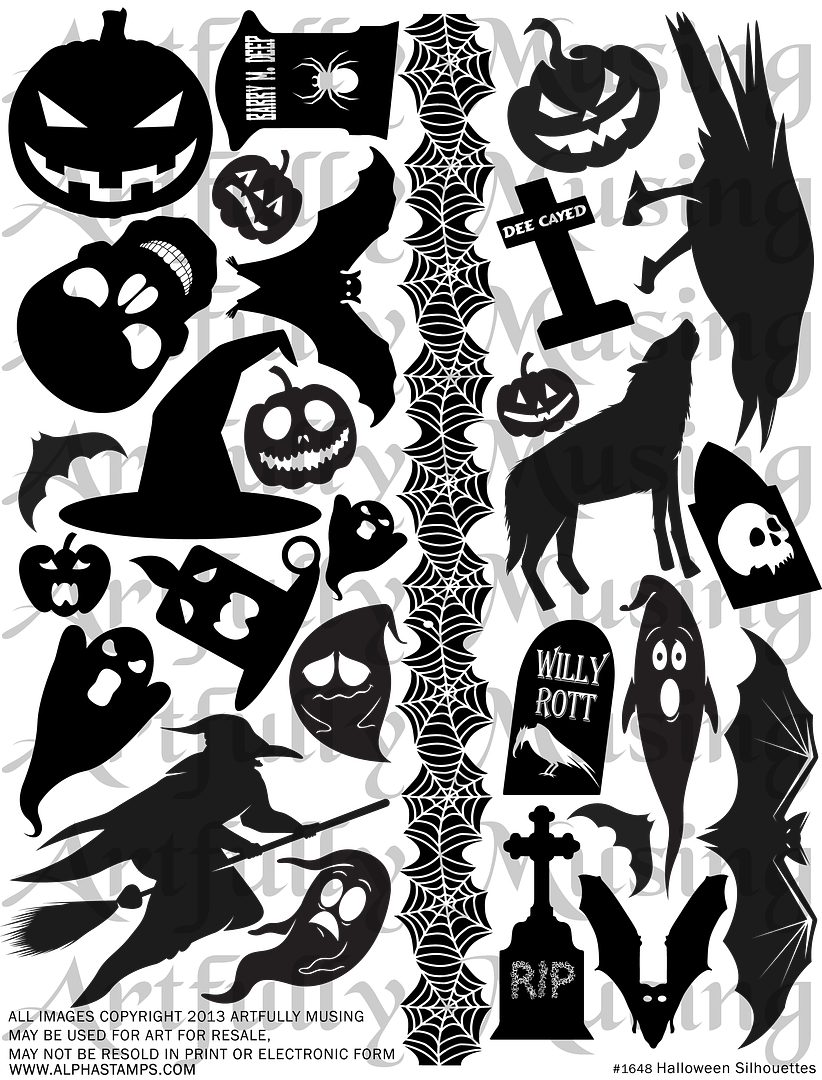
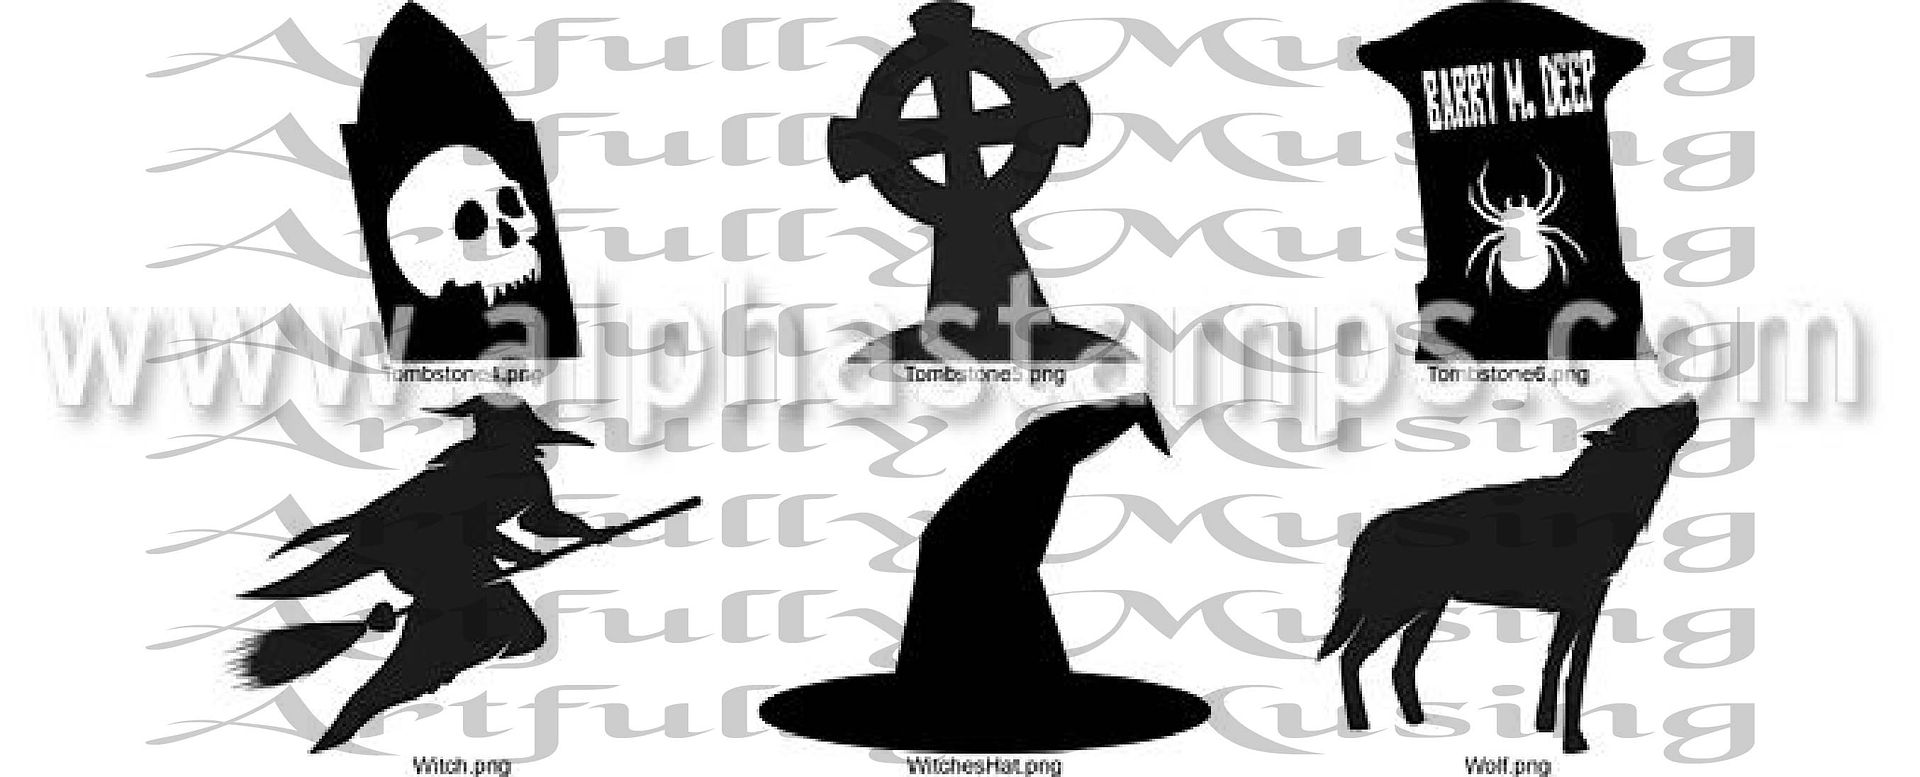
When I created the Pretty Potions & PoisonsApothecary two years ago, you may have noticed that I used decorated candles as part of the overall display.  To decorate the candles I used rub-ons from my stash.  Unfortunately I’ve had a hard time finding good Halloween rub-ons.  Since Alpha Stamps can produce their own sticker sheets from any of the collage sheets they carry, I decided to make a Halloween Silhouette collage sheet that would be east to cut-out and work great for decorating things like Votives, candles, bottles and as backgrounds for layered artwork.  And in case you want to take the images in some other direction or scale them up for really large projects I have also created a digital image set of the images.


NEW Collage Sheet & Digital Image Set
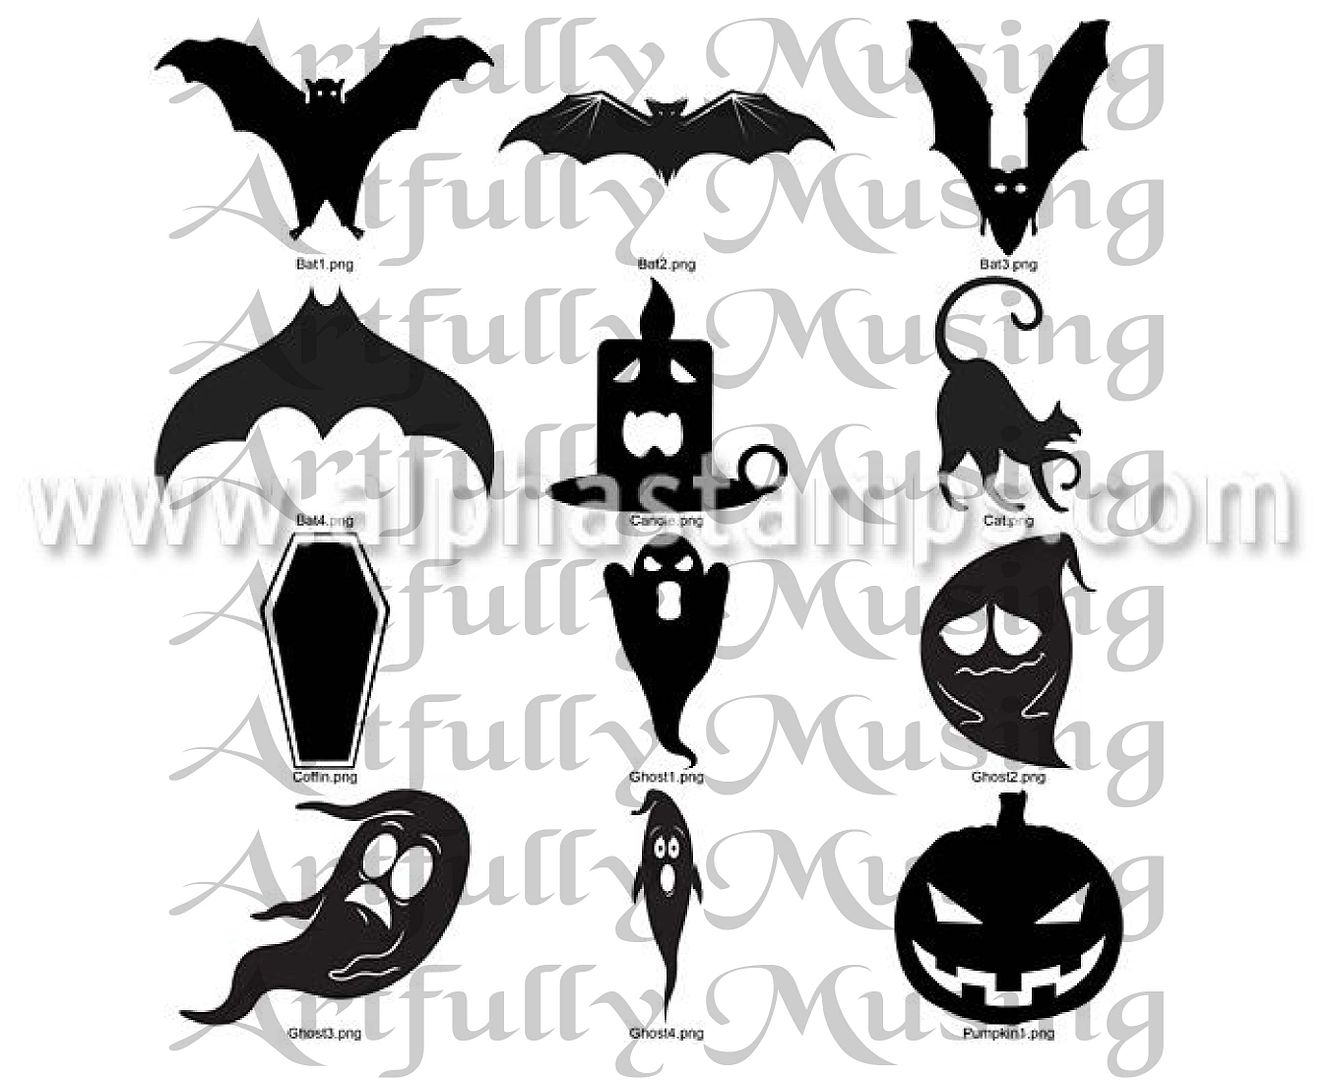
This sheet is filled with spooky silhouettes.  Many of the images are sized to fit the Votives. 
The digital image set contains all the images from the collage sheet plus 4 more images (cat, coffin, spider & a different tombstone).
The Details
For all of the samples I used the sticker sheet version of the collage sheet.  Cut the image out from the sheet and carefully separate the sticker from the backing as to not damage the ink on the image.  Apply the sticker and smooth to remove any bubbles.

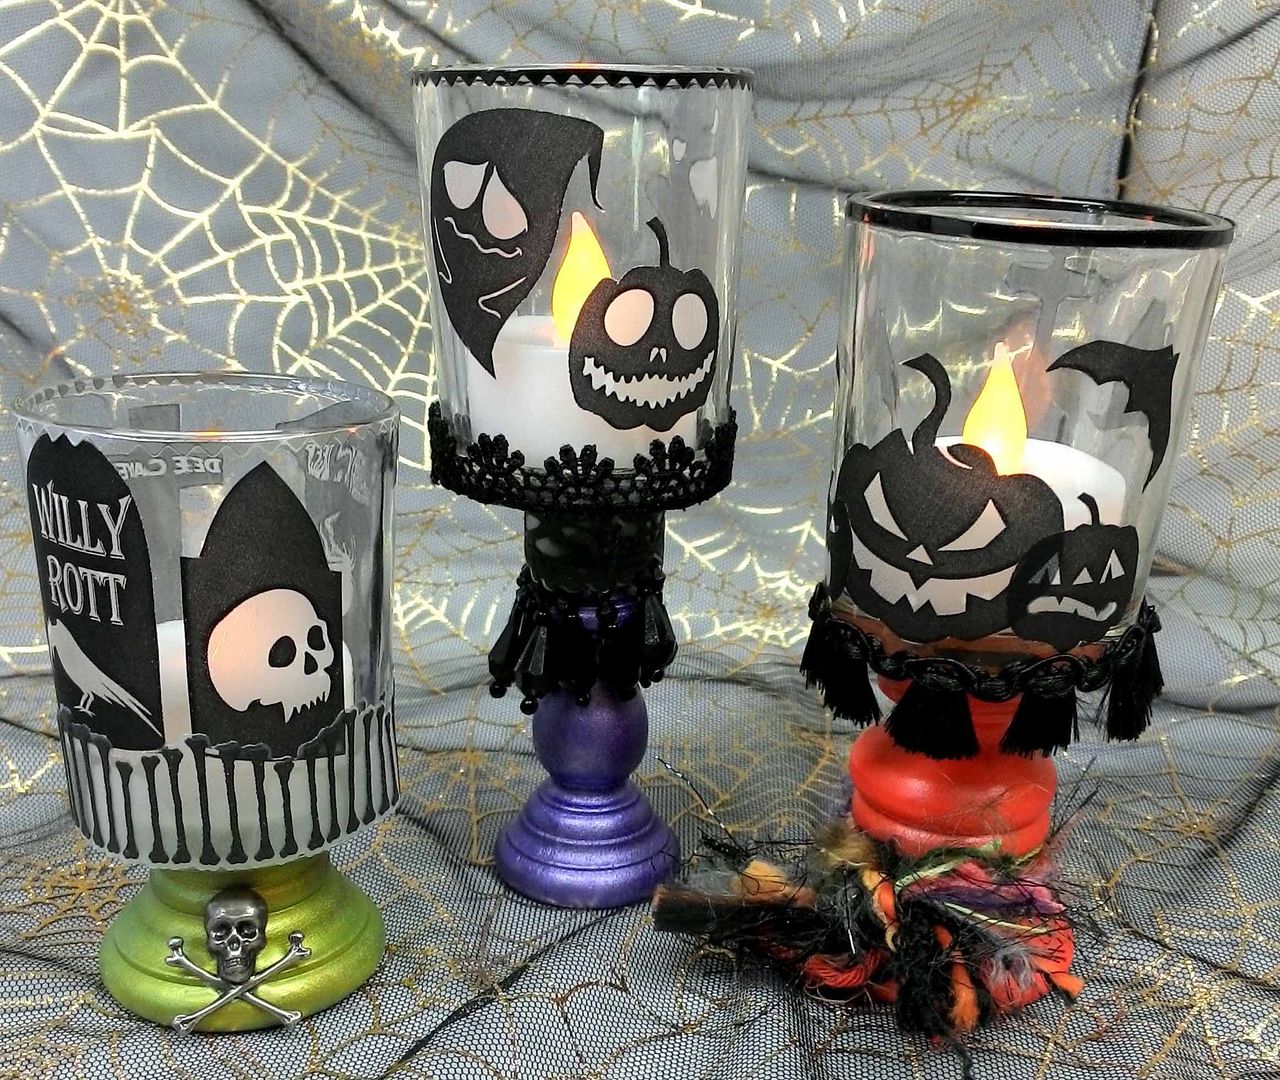
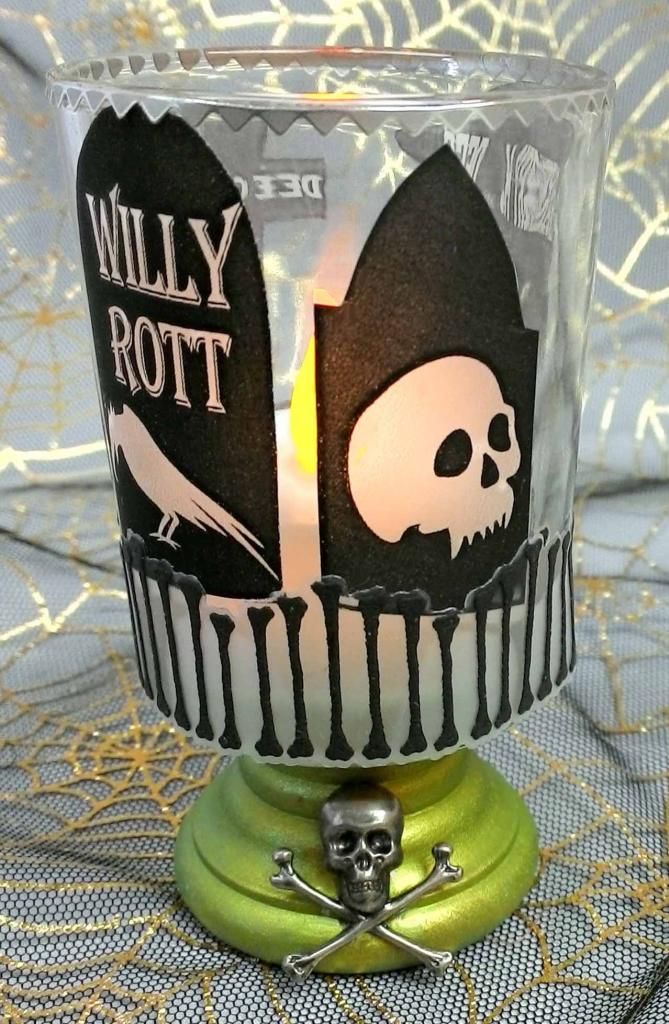
You’ll notice all the Votives are on stands as I think it dresses them up and it looks more interesting for them to be at different heights..
The bone trim around the bottom of the green Votive is from a Gothic Lace Border set of stickers.  The image of the bones is raised from the transparency to give it dimension.  The base of the votive is made from a wooden egg cup.
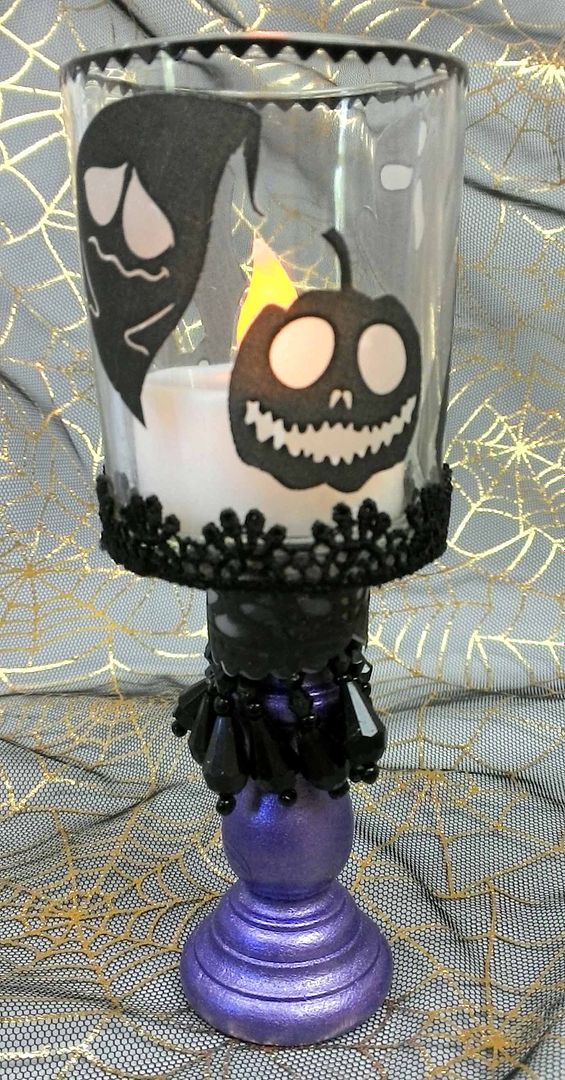
On the purple votive, I have used black lace to trim the bottom and a wood candlestick holder as a base.  The holder is trimmed with beaded fringe and another of the gothic lace borders.
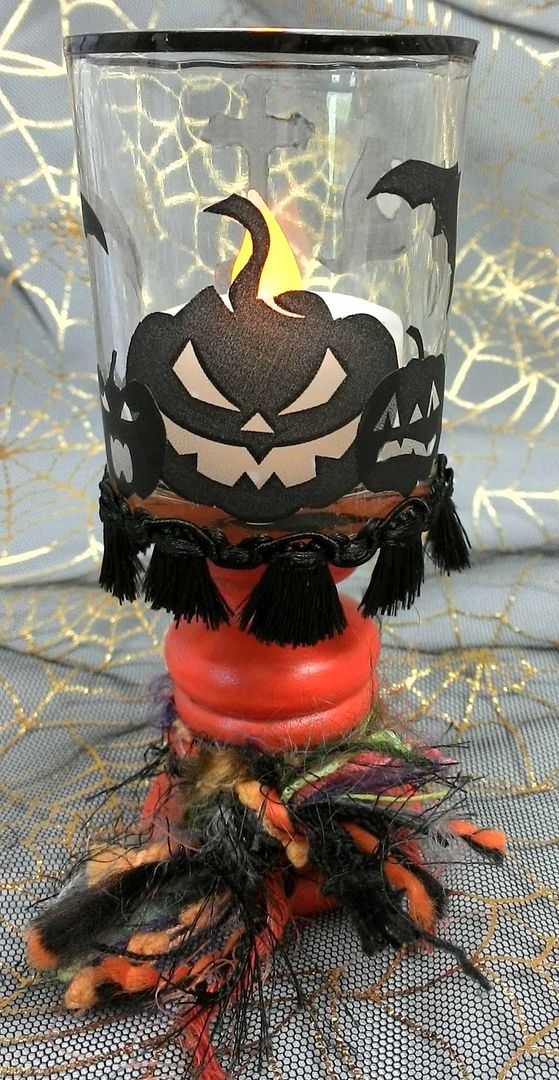
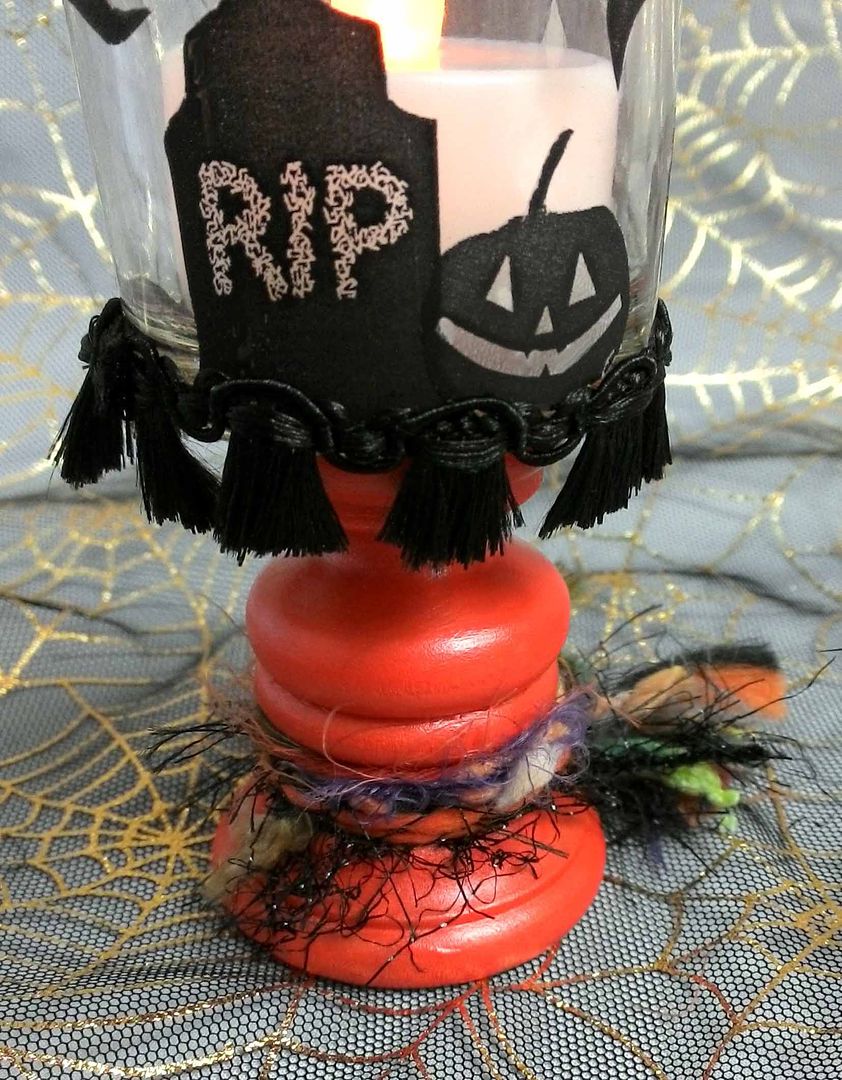
For the orange Votive, I trimmed the bottom in sweeper fringe.   The base is made from gluing a wooden knob into the grove of an egg cup.  The knob fits perfectly into the grove.
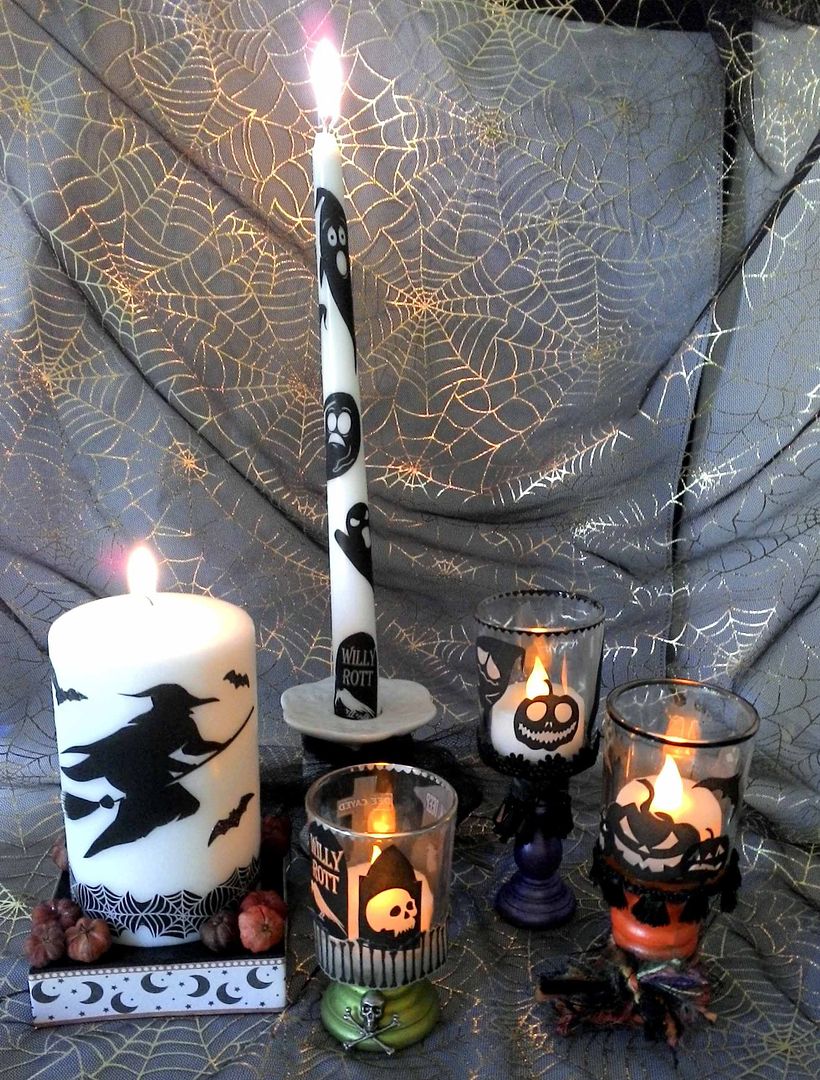
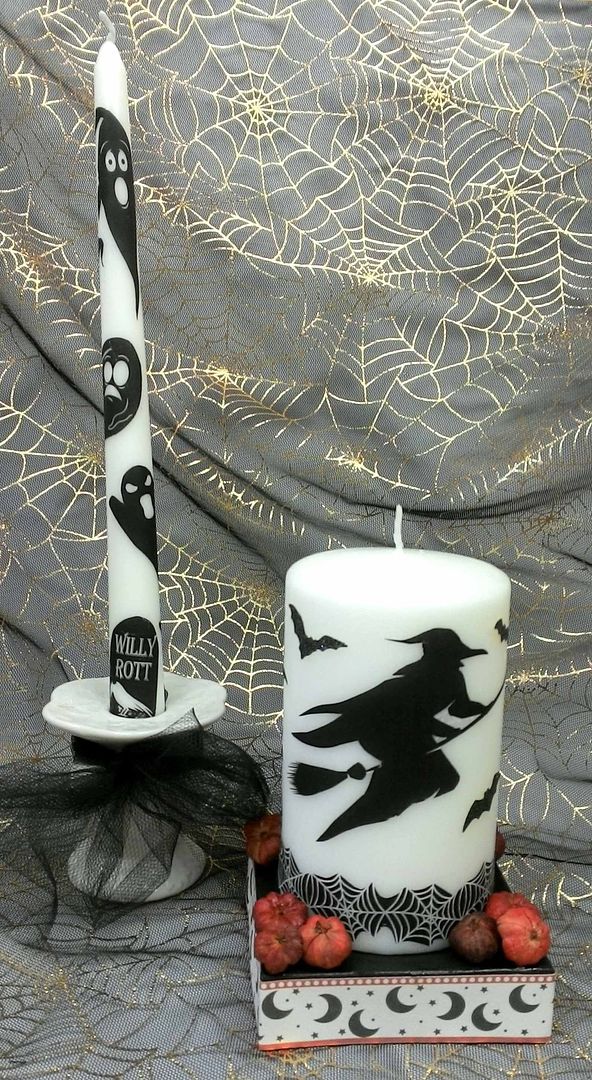
Another option for the sticker version of the sheet is to apply them to candles.  I used the ghost images on the tall candle and a couple of the tombstones at the bottom.  I tied black tulle around the base of the candle holders.  For the larger candle, I used glitter bat stickers in addition to the images from the collage sheet.  I used a box top as a stand decorated with paper and pumpkin pods.

Monday, September 1, 2014

Over the Summer Sea

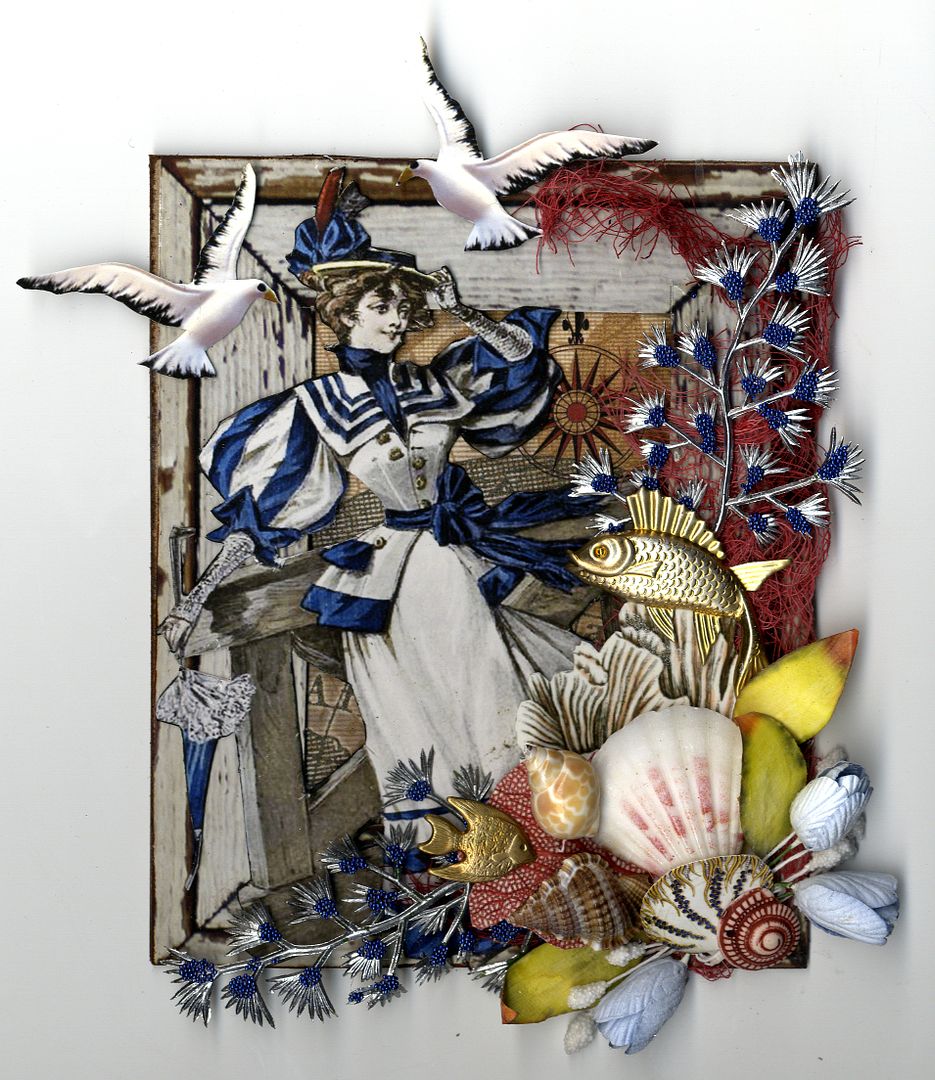
To wrap up the summer, and before I start throwing Halloween projects your way, I have a collage piece to share with you. 

The red netting is made from cheesecloth died with Red Pepper Alcohol inks.  The silver leaves were originally part of a huge green spray of leaves I purchased at the craft store.  The leaves are very tiny so I thought they would be a perfect size for small projects.  I spray painted the leaves silver and added blue Microbeads. 
Other embellishments include paper leaves, real seashells, and brass fish from my stash.  I also added blue mulberry paper tulips and white foam stamen.

Collage Sheet and Digital Images I Used:
BeachBabes – Sea Gulls
The Sea Calls to Me – Victorian Woman
The Deep Blue Sea – Coral and Sea Shell
Frames & Borders – Weathered Blue Frame