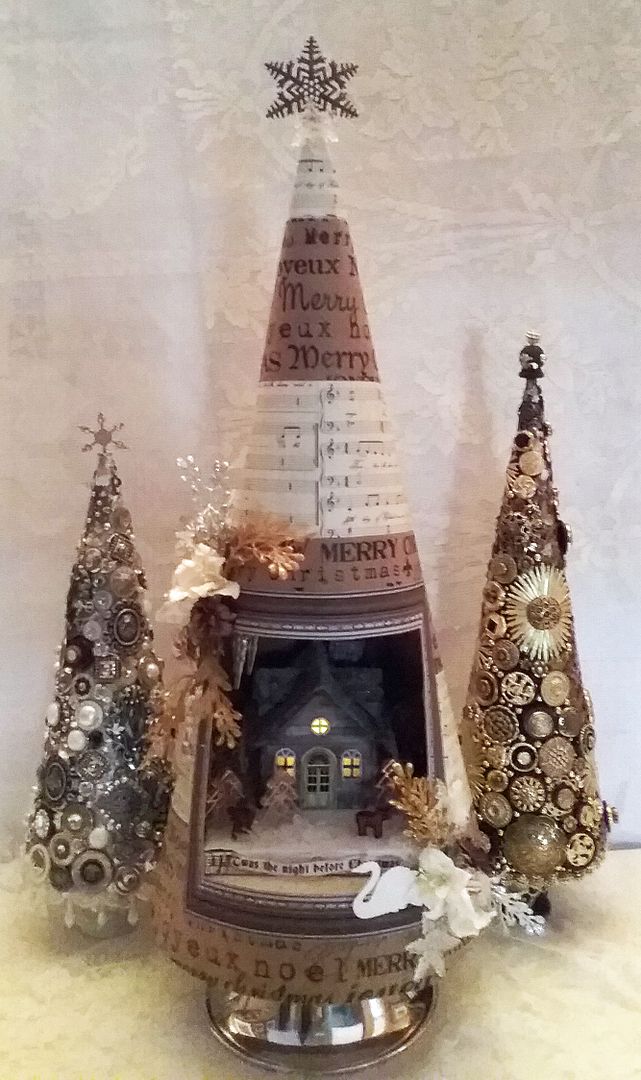
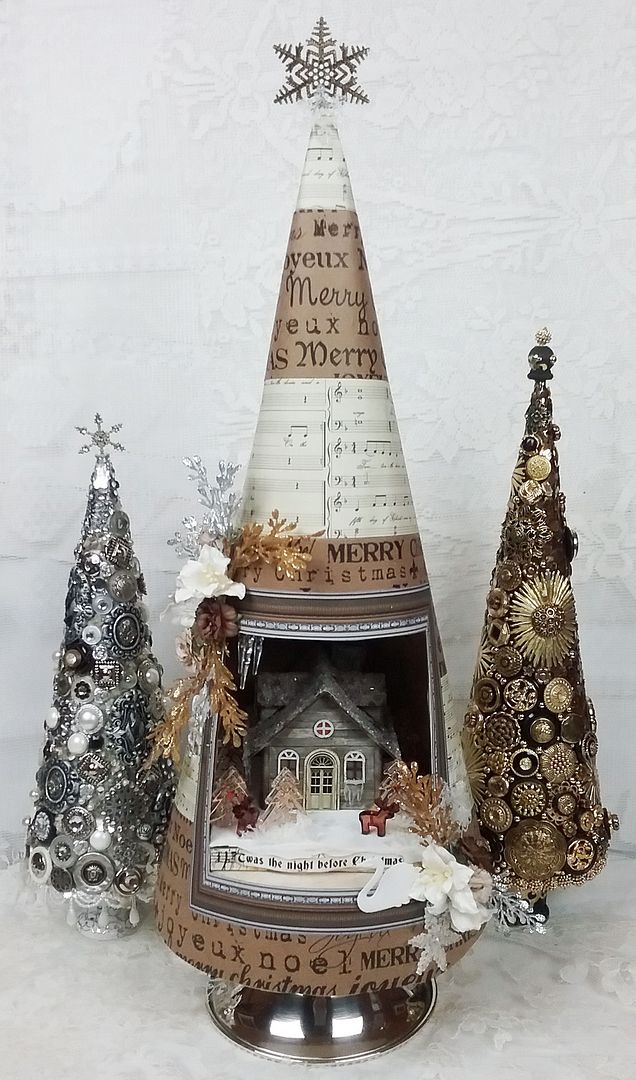
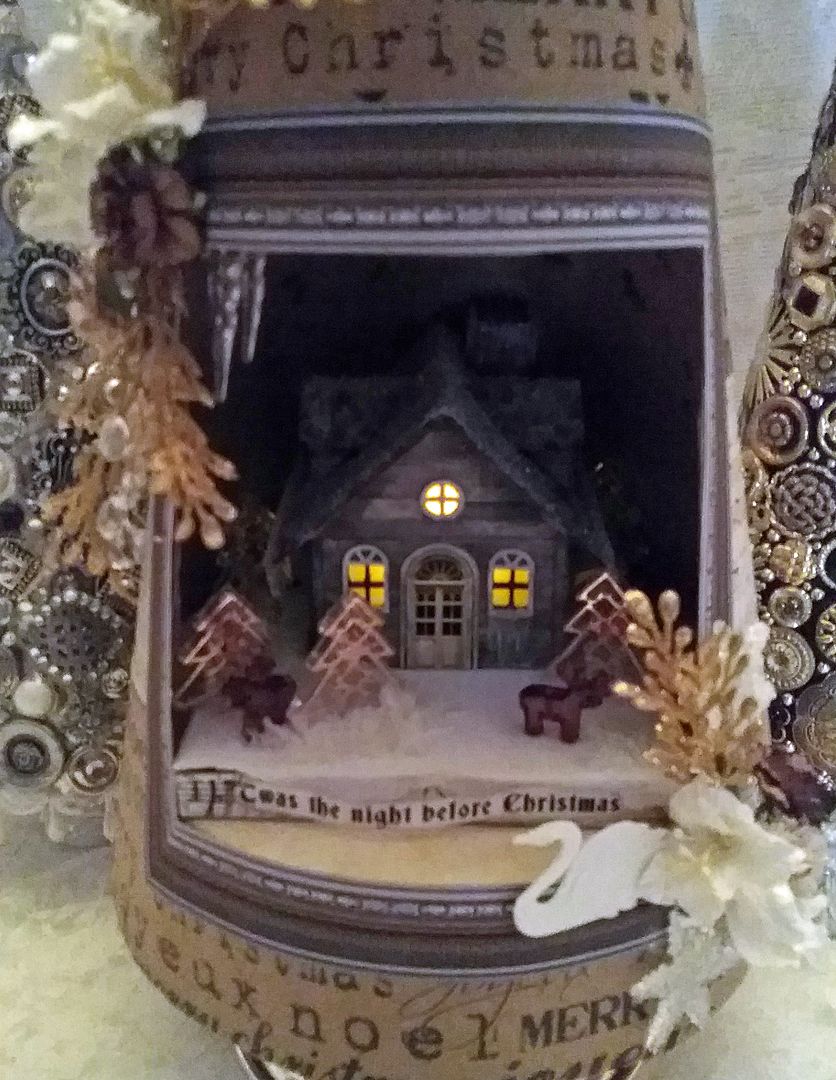
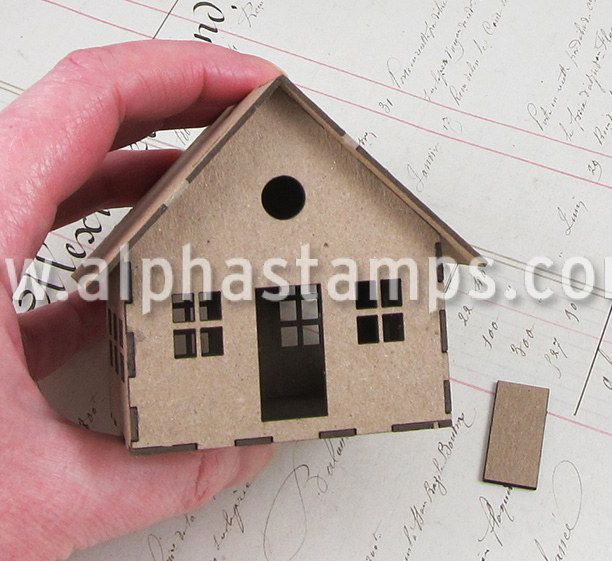
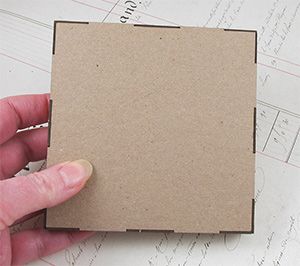
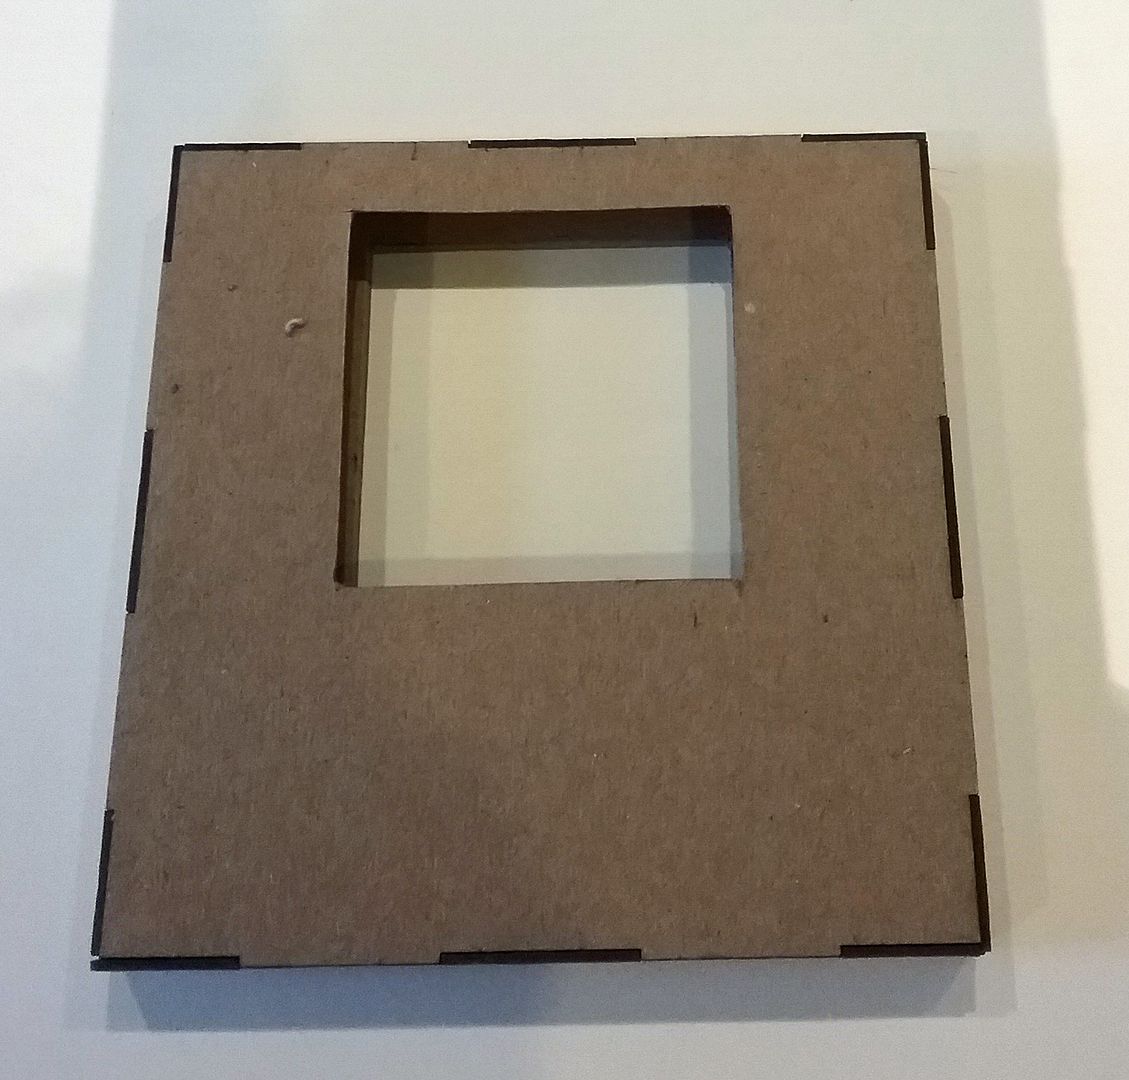
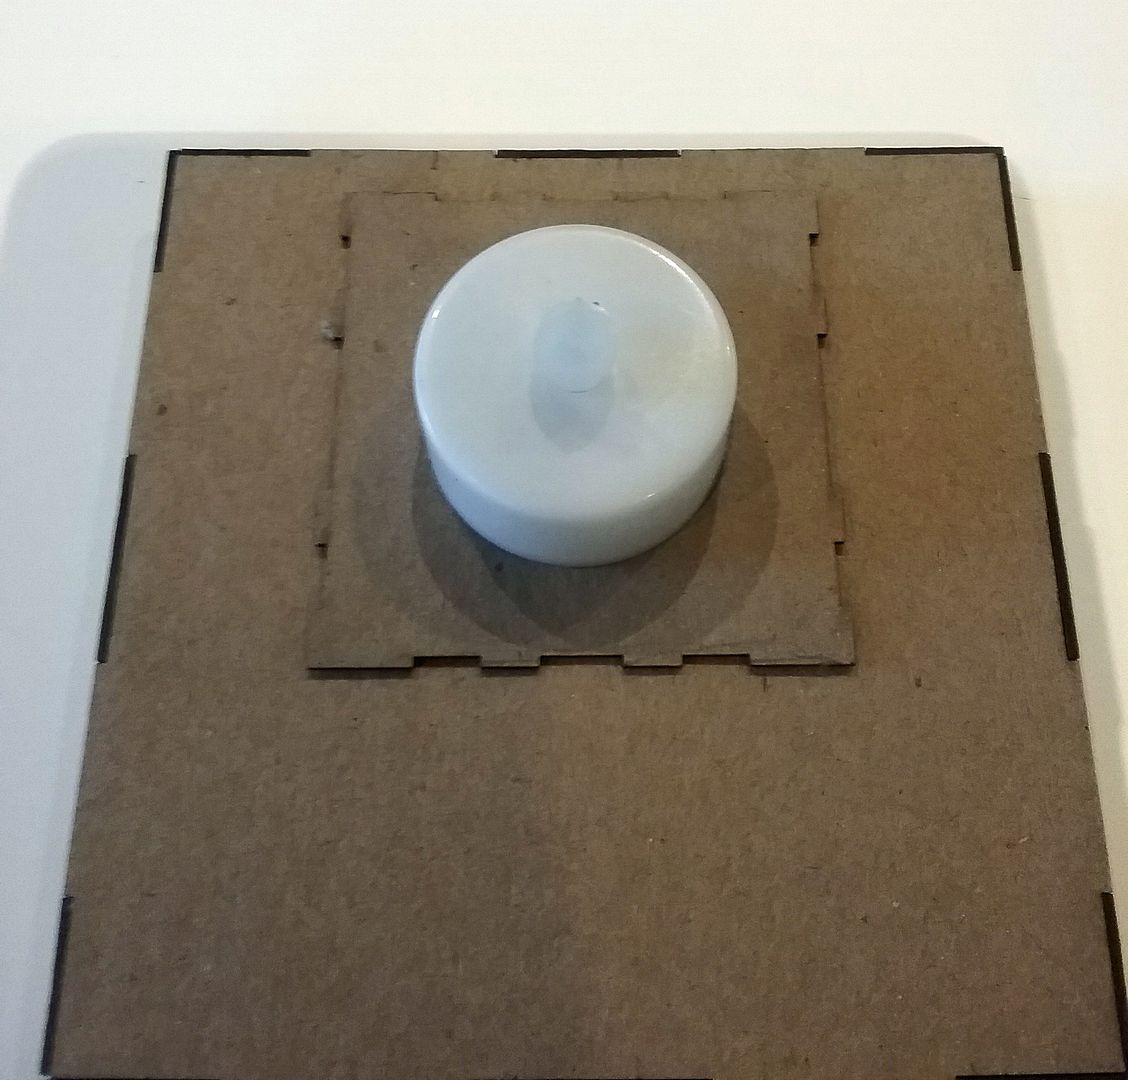
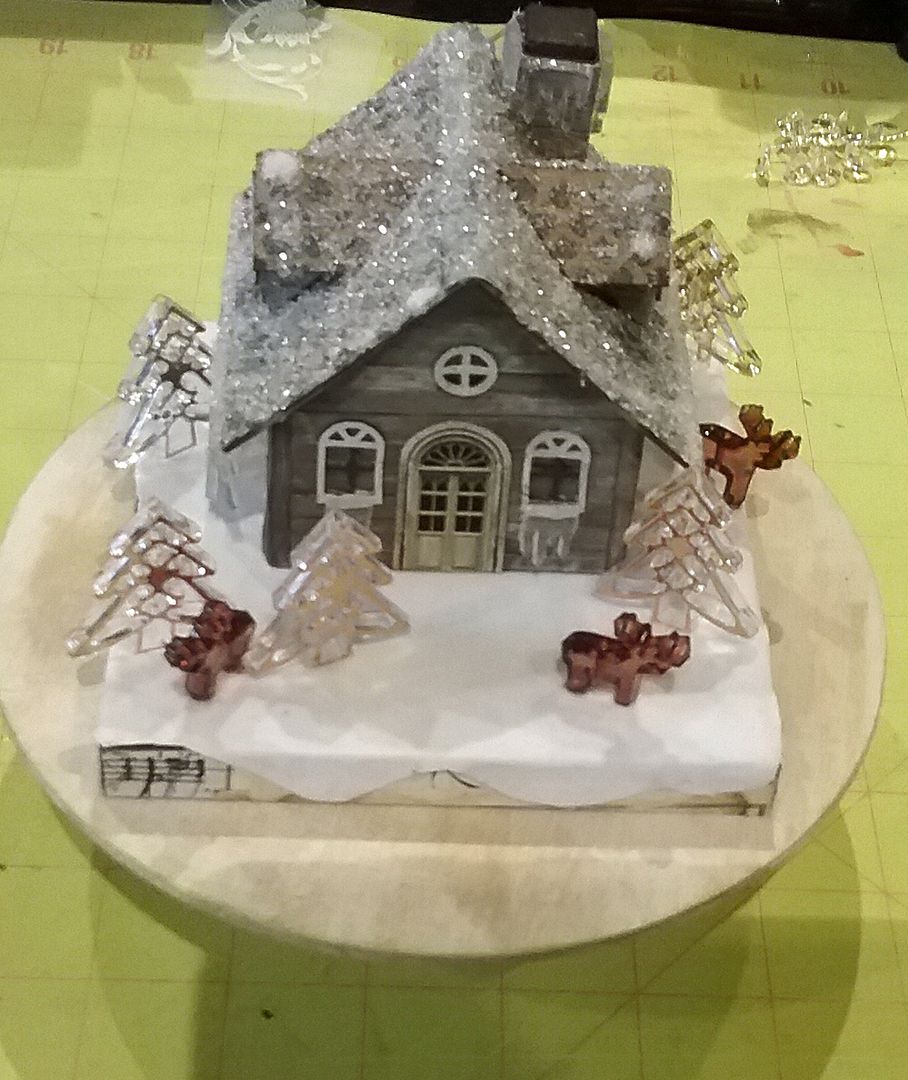
The first thing I need to work out was adding the tea light. Many times I work with sample kits that may be slightly different than the final version. This was the case with this house, as the final version has a trap door on the floor, so you don't need to make a hole like I did to accommodate the light.
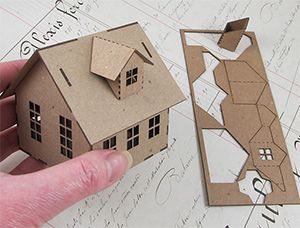
In the picture above, you can see the kit and the trap door, which replaces what I did in the picture below.
If you want to use the base with a tea light and are gluing the house to the base, then you need to cut holes in the top and bottom of the base in order to reach the tea light switch and replace the battery.
For my house, I glued the tea light to the floor of the house (over the round hole). After I finished decorating the base and the house, I glued the house to the base with the tea light over the square holes. This gave me access to the tea light from under the base and house.
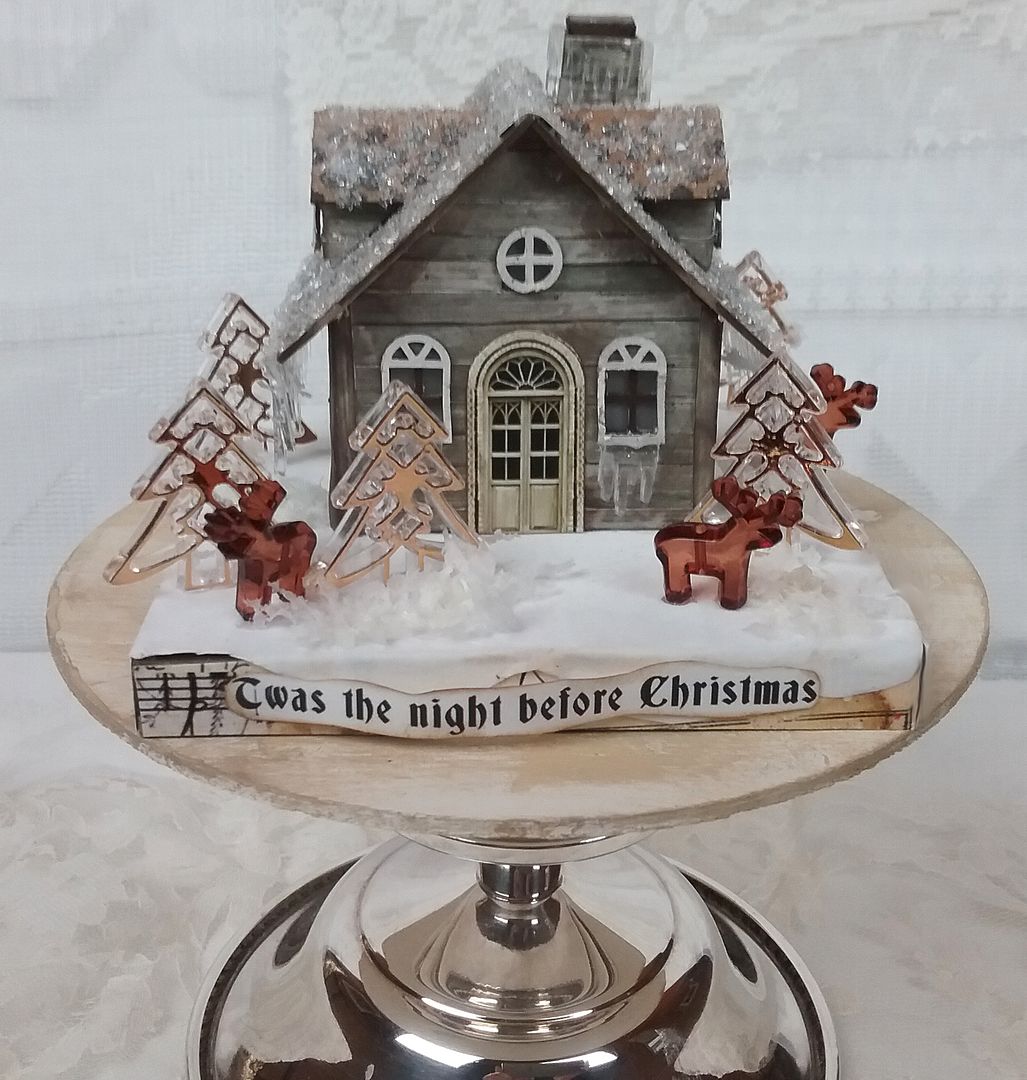
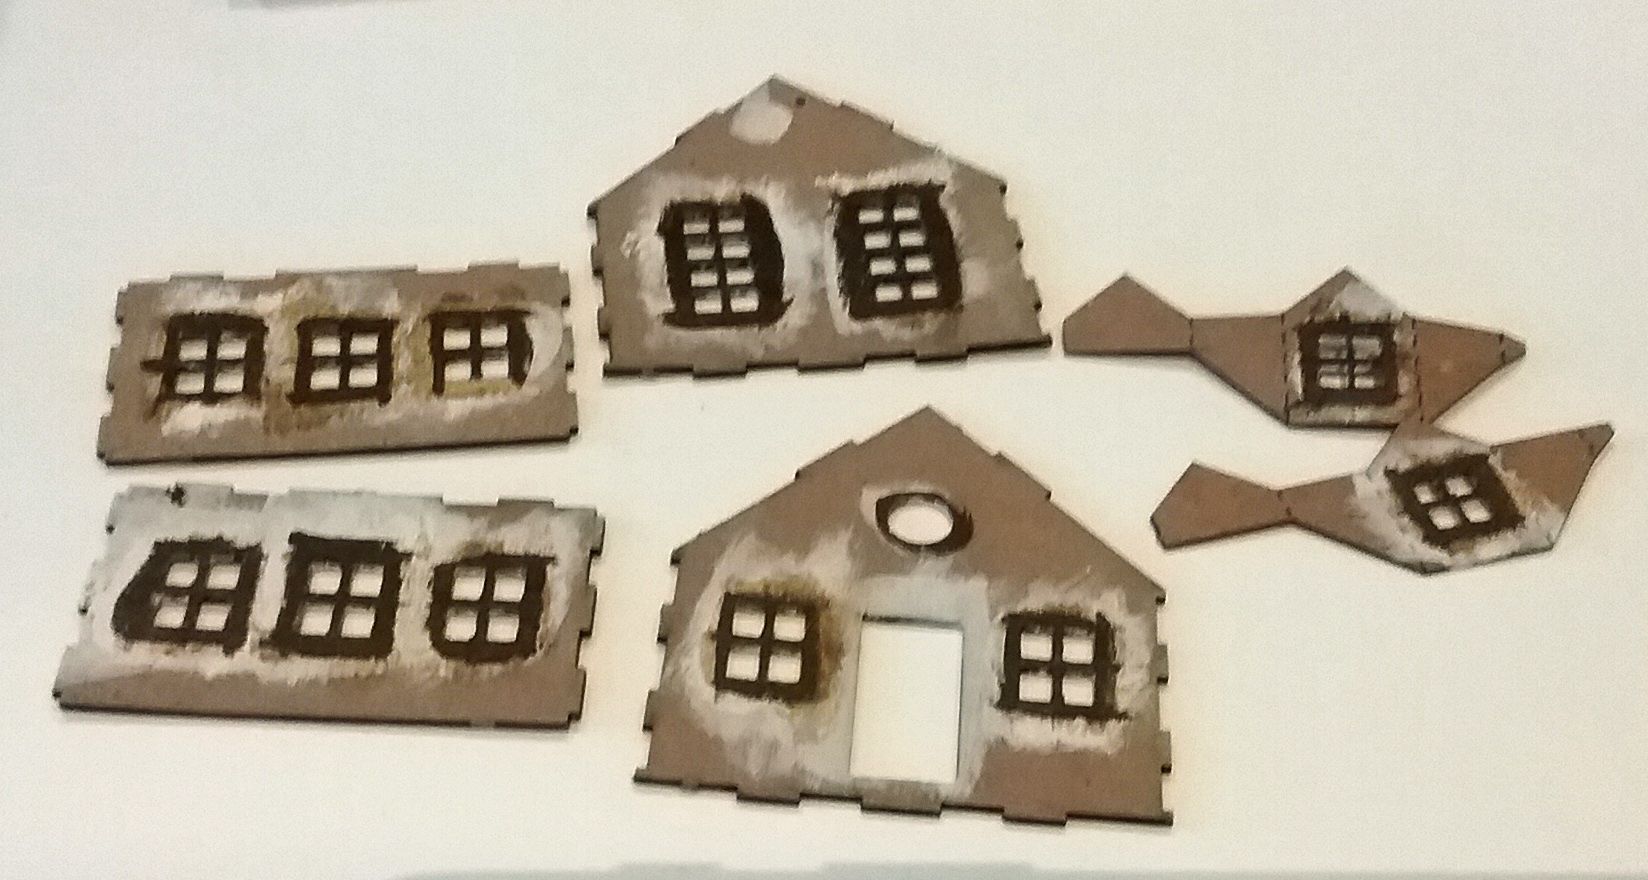
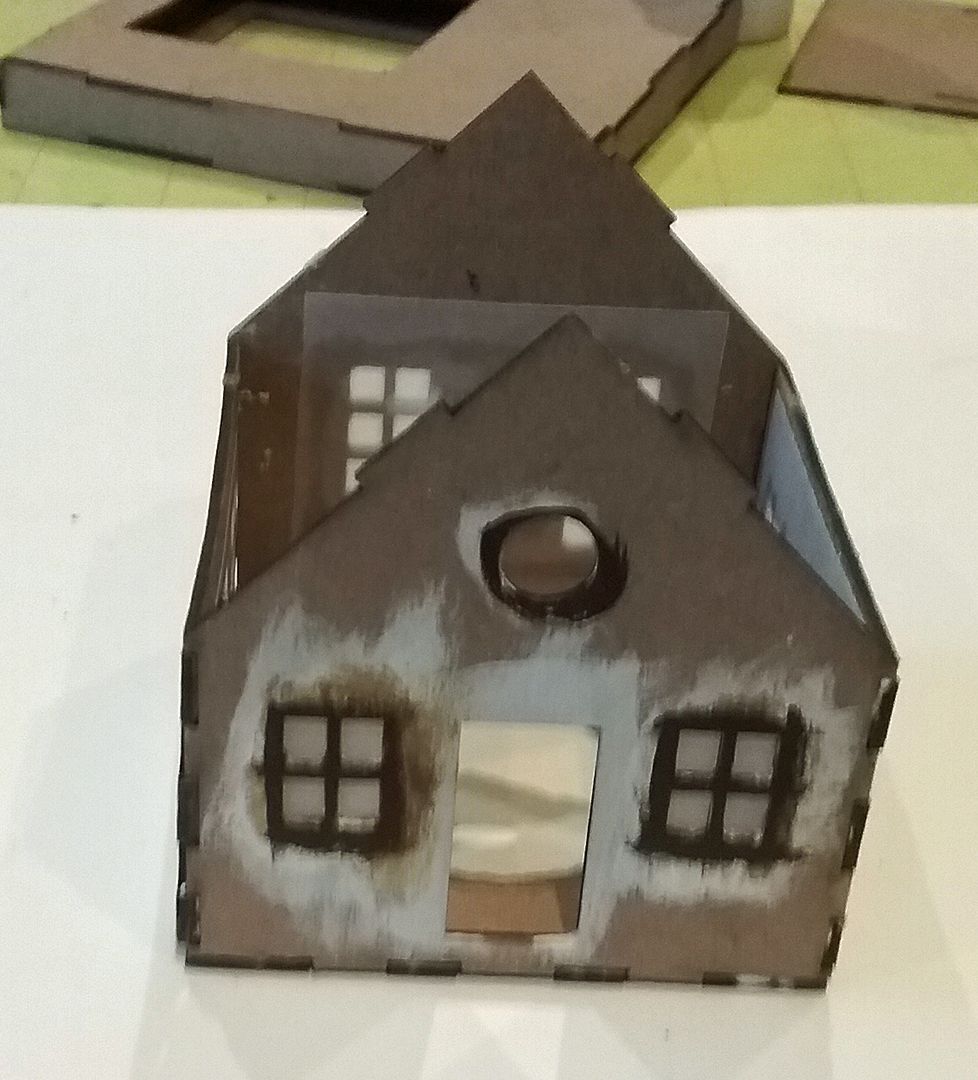
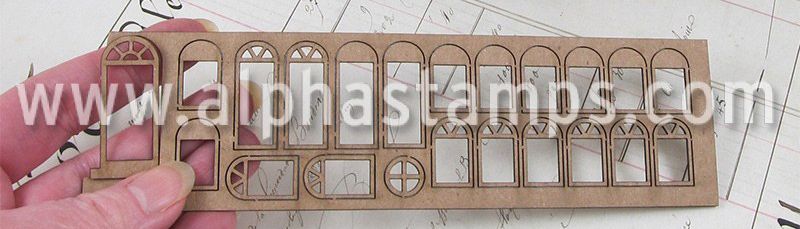
I painted all of the windows. You see two different colors (cream and brown) because I changed my mind. The cream was too light against the paper I was going to use on the sides.
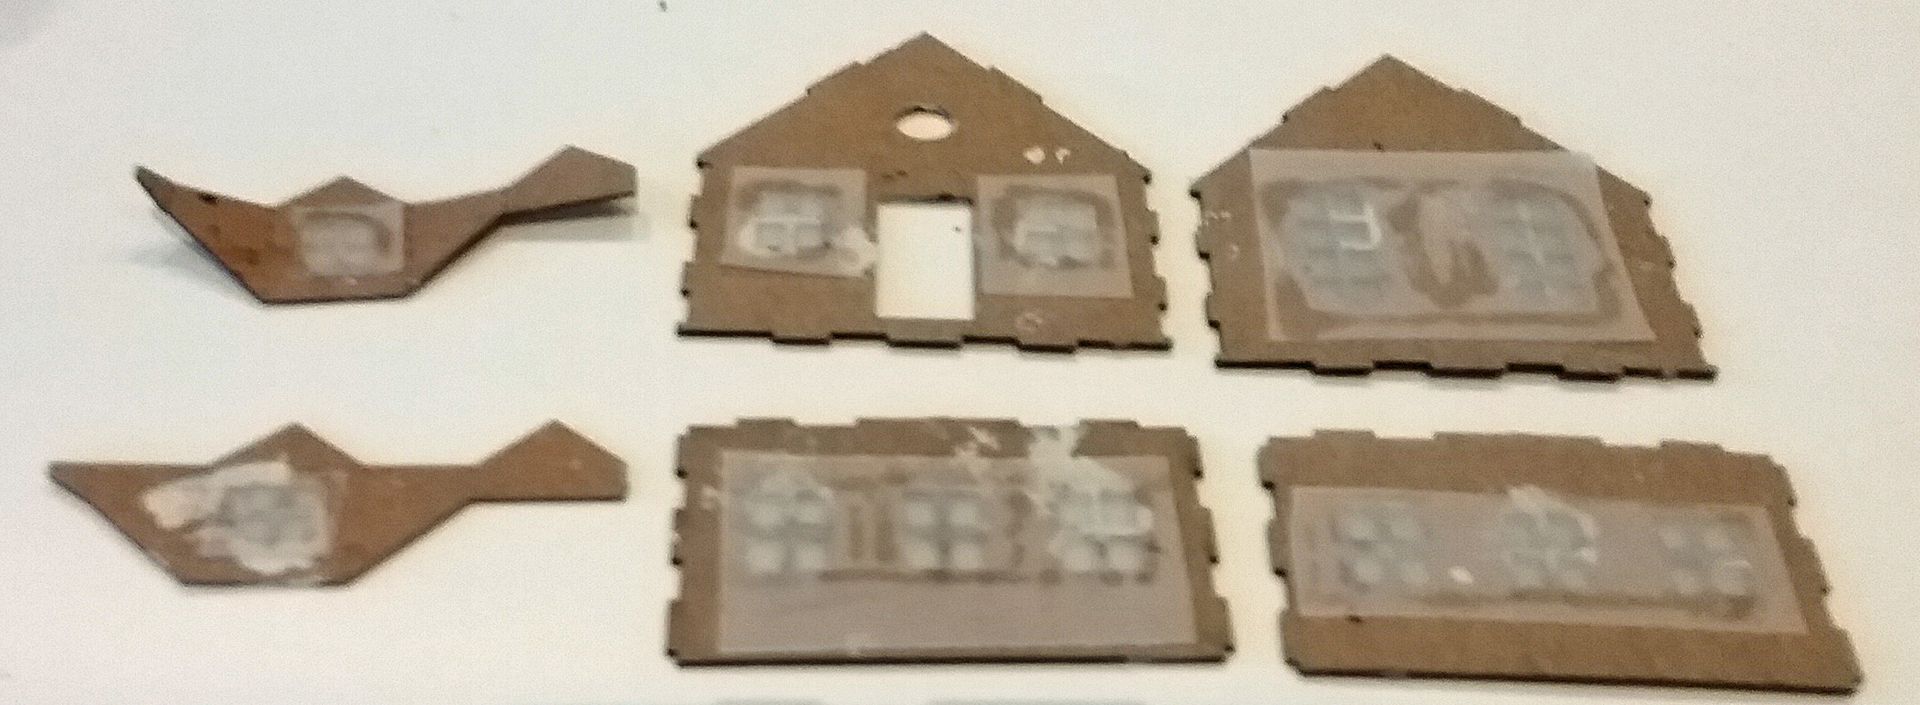
Next, I glued pieces of vellum to the backs of the windows.
I then glued the front, back, and sides to the base (with the tea light already glued in place).
1. The size of the base (round wood base) is a guide to the width of the bottom of the tree.
2. The tree needs to be tall enough to accommodate the opening and the base and look balanced.
3. The opening needs to be large enough to see the house and remove it (if you need access to the light).
TREE BASE WIDTH
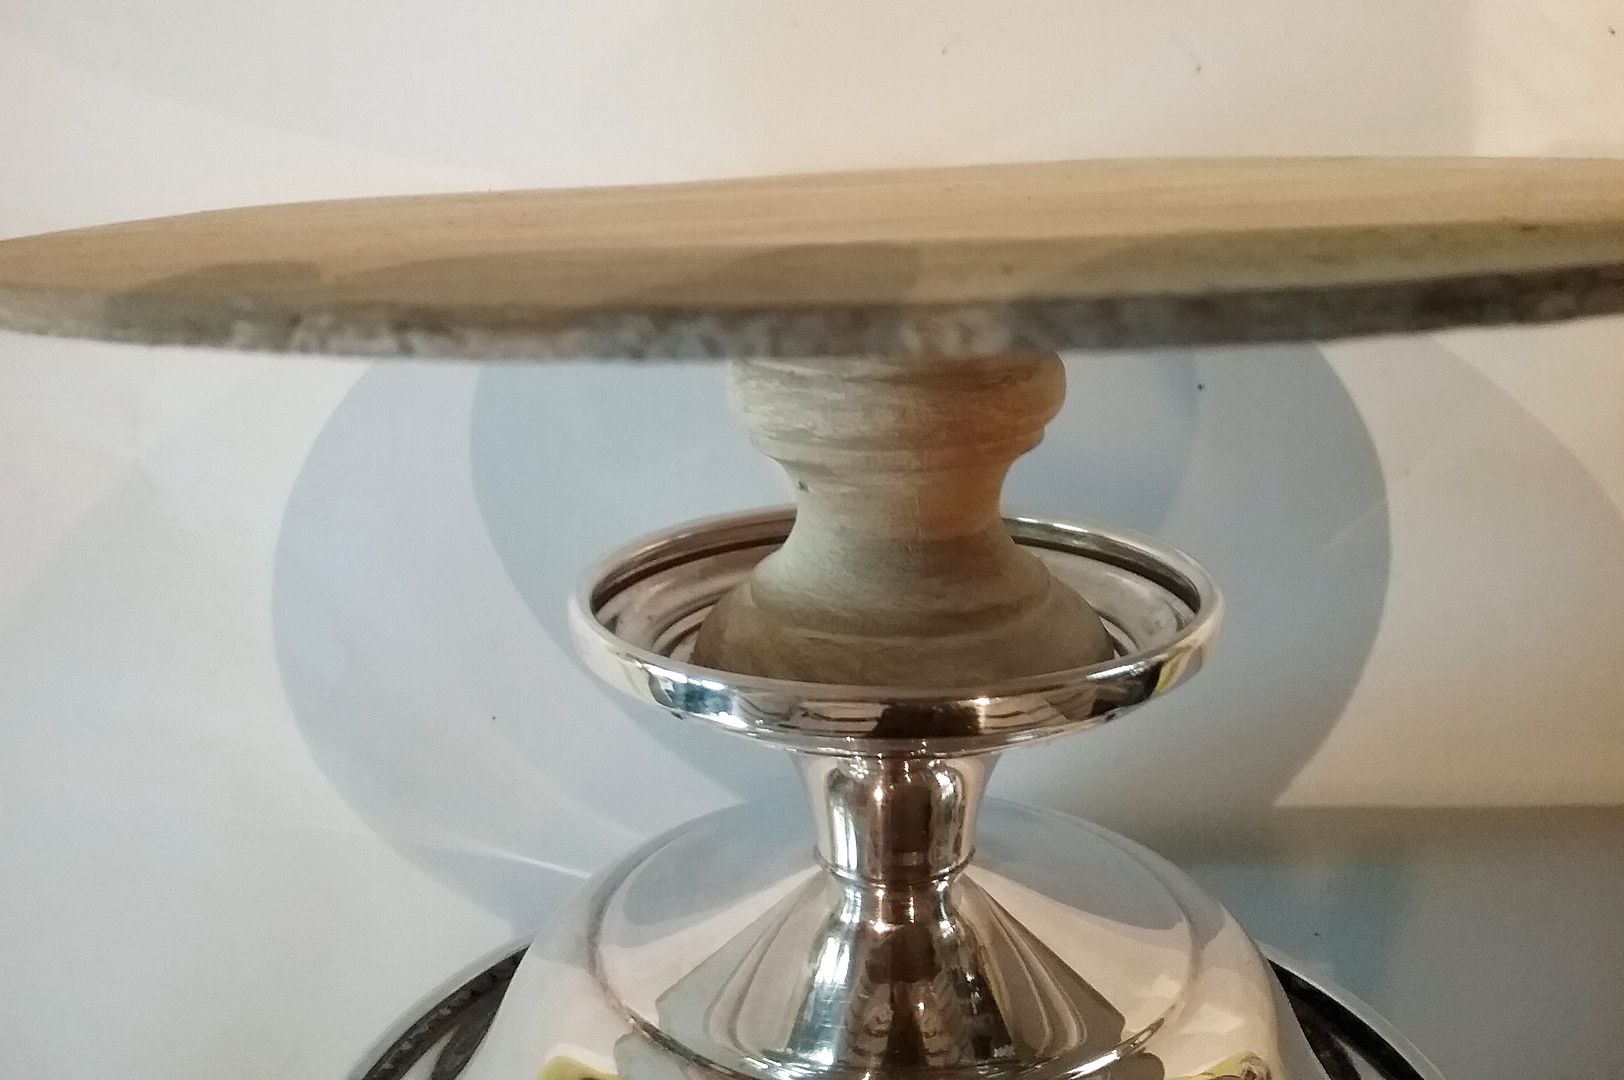
The circumference of my round wooden base is 21”. You'll want to add extra for wrapping and gluing the edges. Better to have the base too wide than too narrow, as you can overlap the edges more when gluing them together. Also, the tree gets narrower as it goes up from the bottom, so it has to be large enough that when you insert the wooden round base inside, it will fit. The round wooden base will be a few inches up inside the tree, which is narrower than at the base.
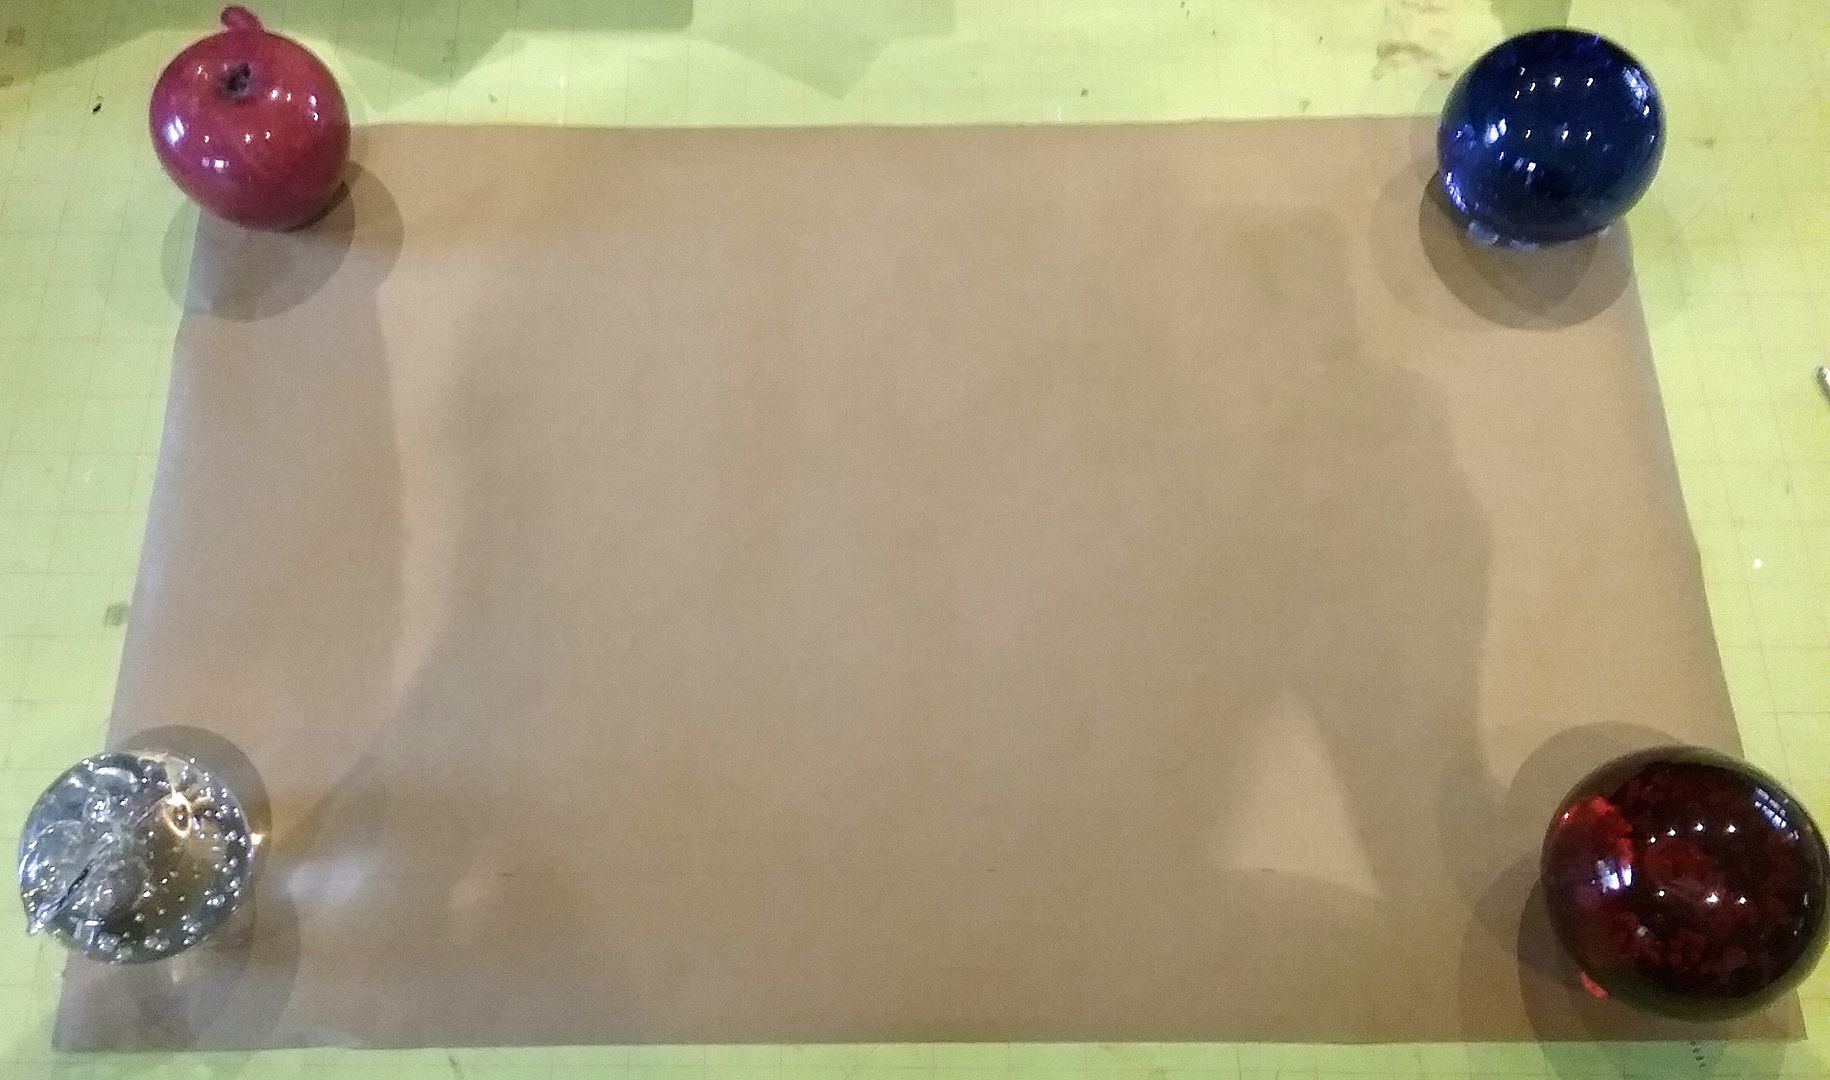
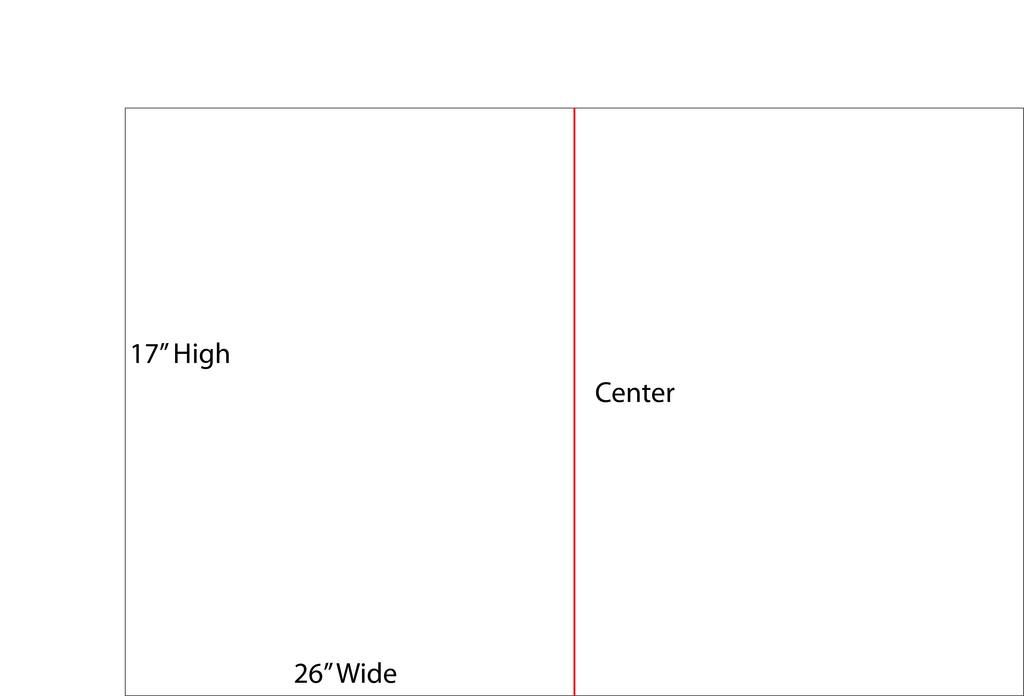
I cut out a piece of wrapping paper that was 26” wide. The height of the paper at this point didn’t matter as the paper was more than high enough.
HOLE DIMENSION
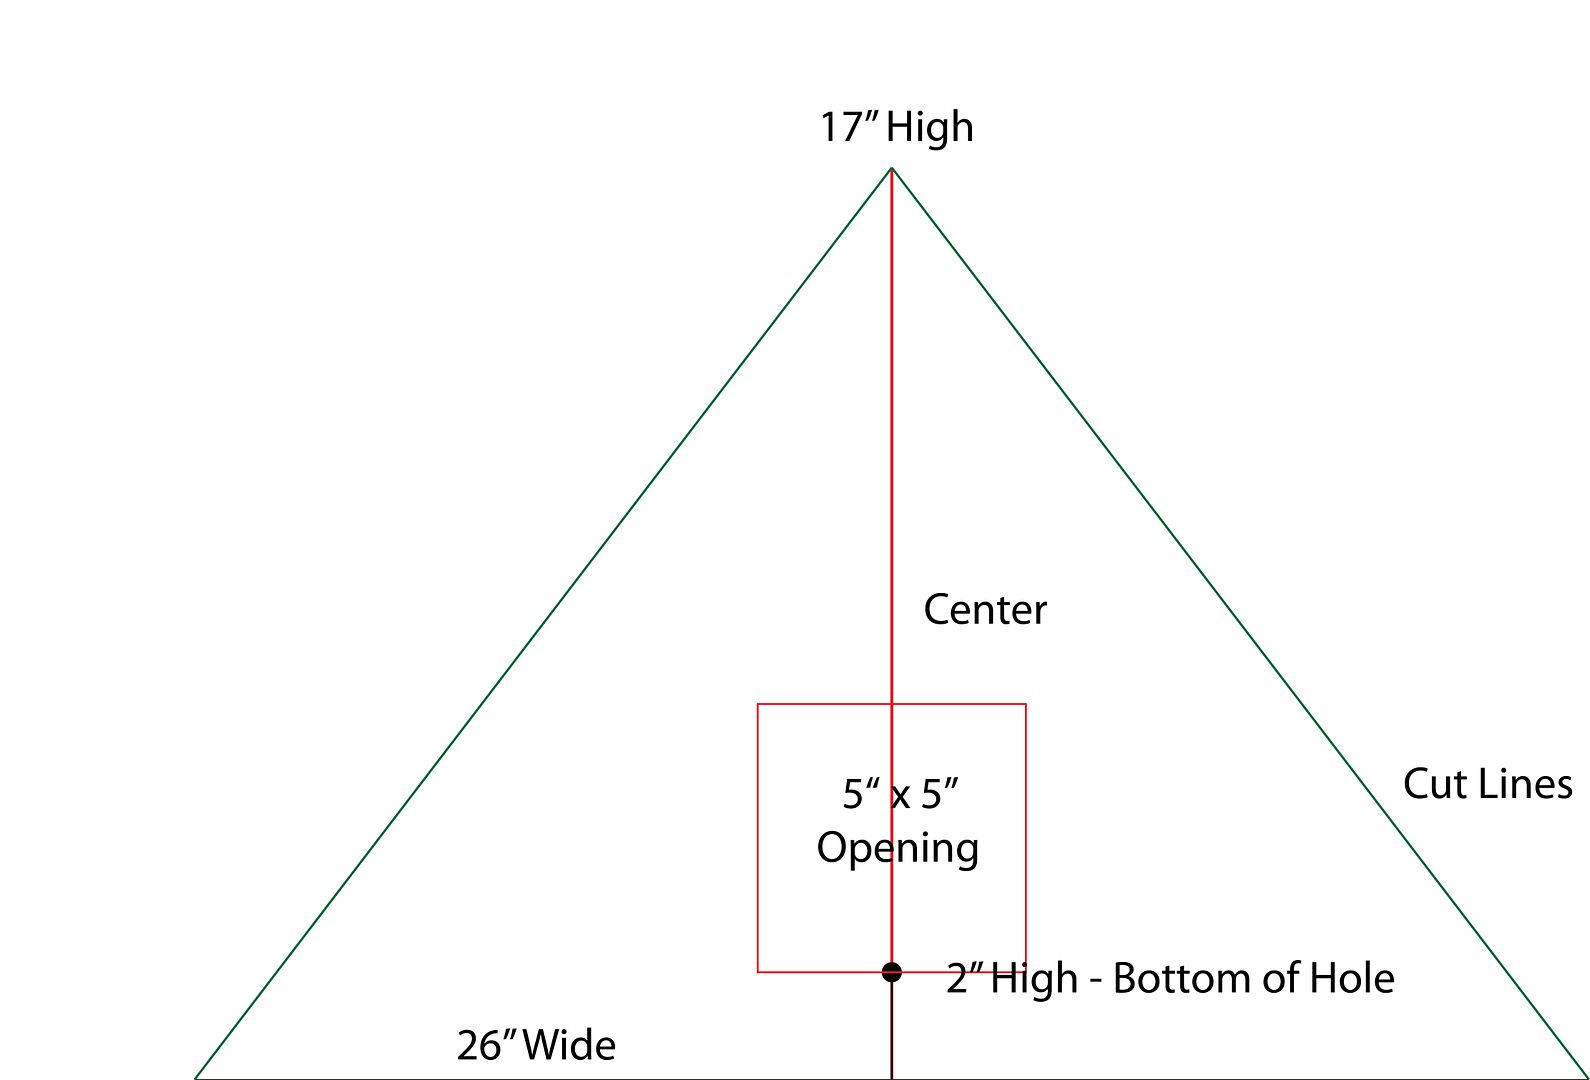
For the opening measurement, I used 5” by 5” large enough to see the scene and remove the house and chipboard base to access the light.
HOLE PLACEMENT
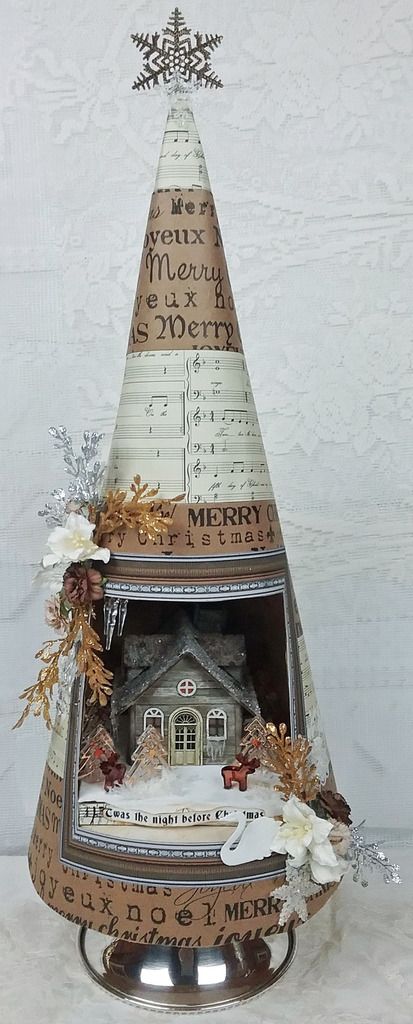
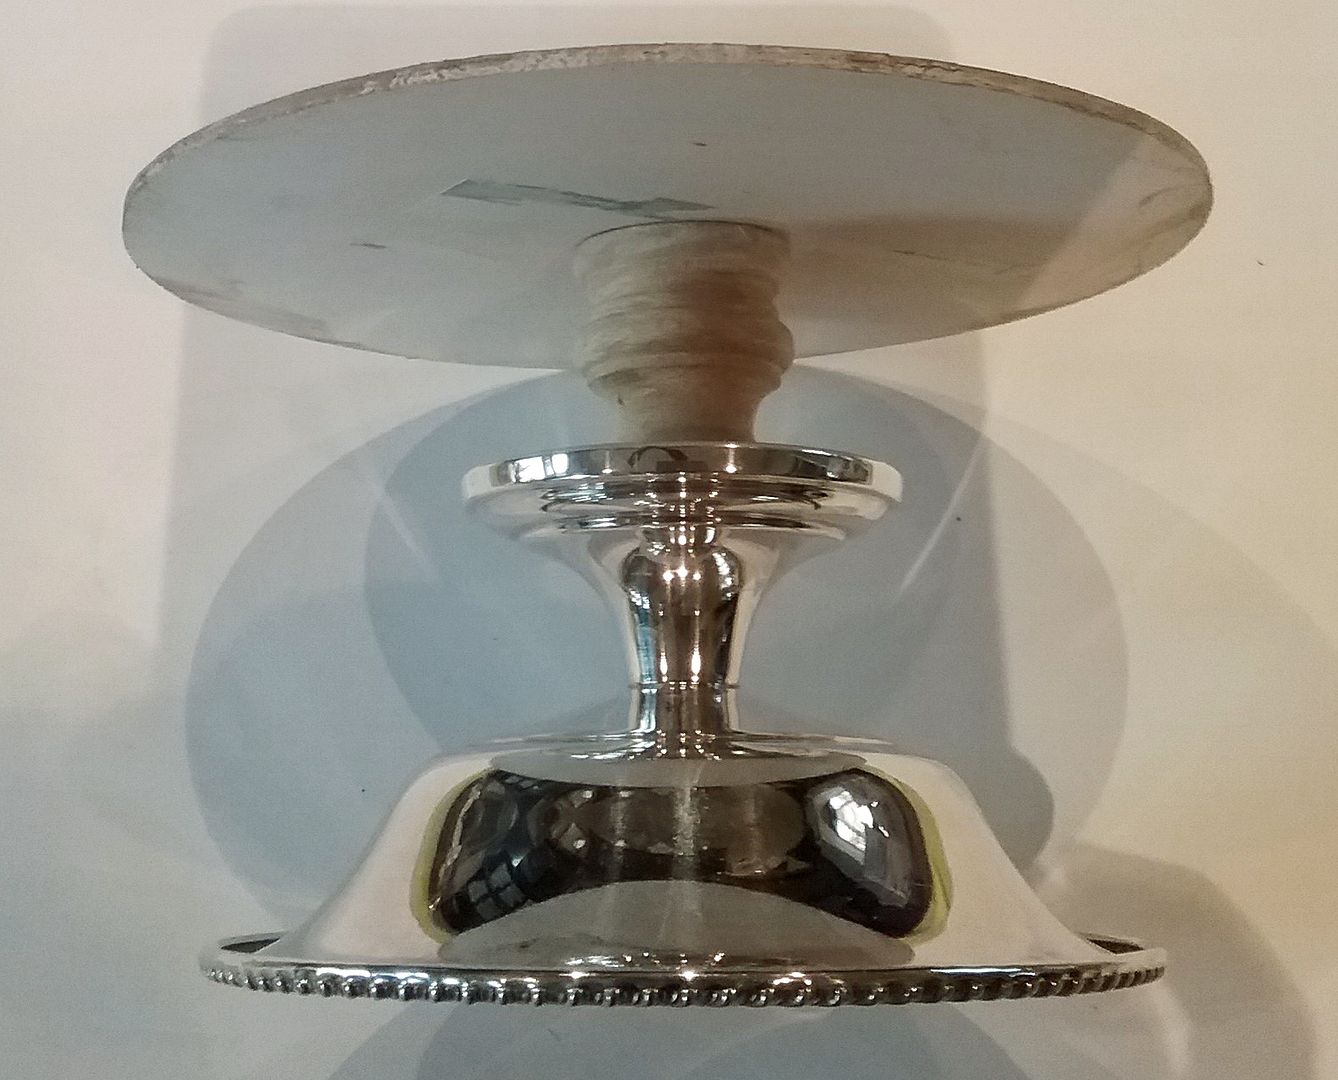
The size of the hole and its placement are factors in determining the tree's height. I decided I wanted the hole to start 2" above the bottom of the tree. The round wooden base will be glued inside the tree just a little bit lower than the bottom of the opening. The 2" of the tree at the bottom covers the candlestick holder and the very top of the silver bowl. See in the picture below where the hole will be. Also, notice how the hole is centered.
TREE HEIGHT
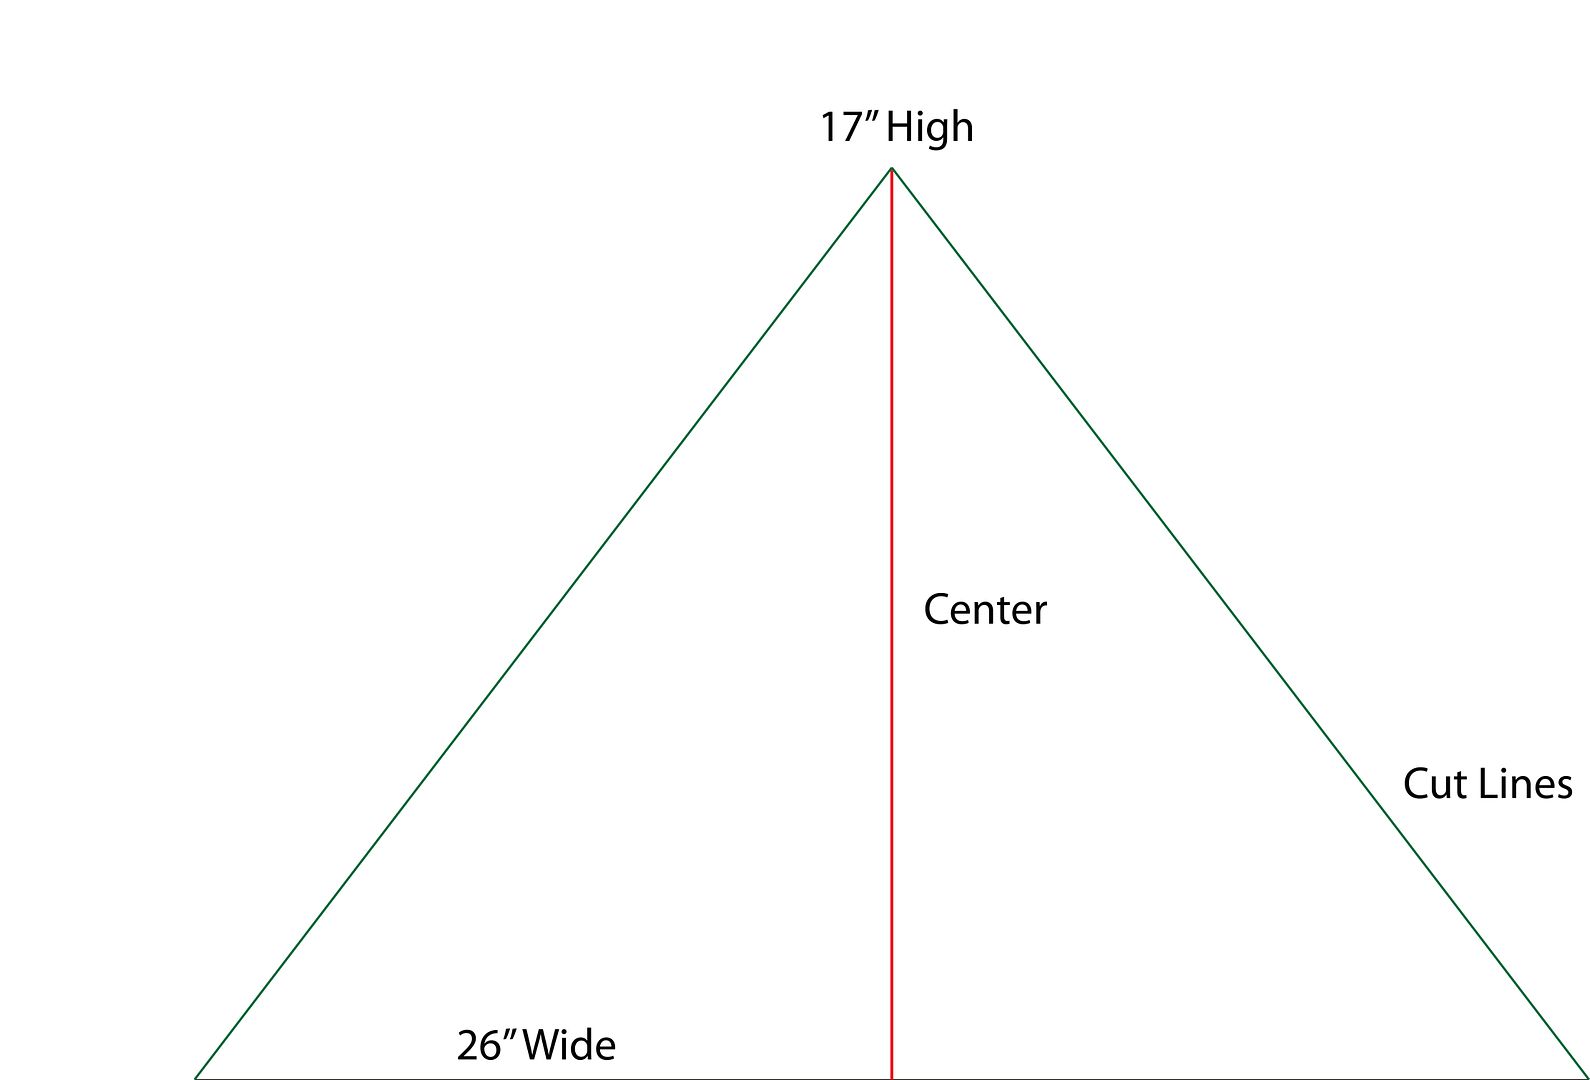
I decided to use 17” for the height by kind of trial and error method. I had allowed 2" for the bottom plus 5" for the hole, which was a total of 7". To determine how much more to add to the height, I rolled the paper into a tree shape and decided what height looked the best. Too short and you won’t have enough room in the tree for the house; too tall and the piece looks unbalanced (too much tree above the opening). I decide to add another 10" to the tree height, which gave me a total of 10".
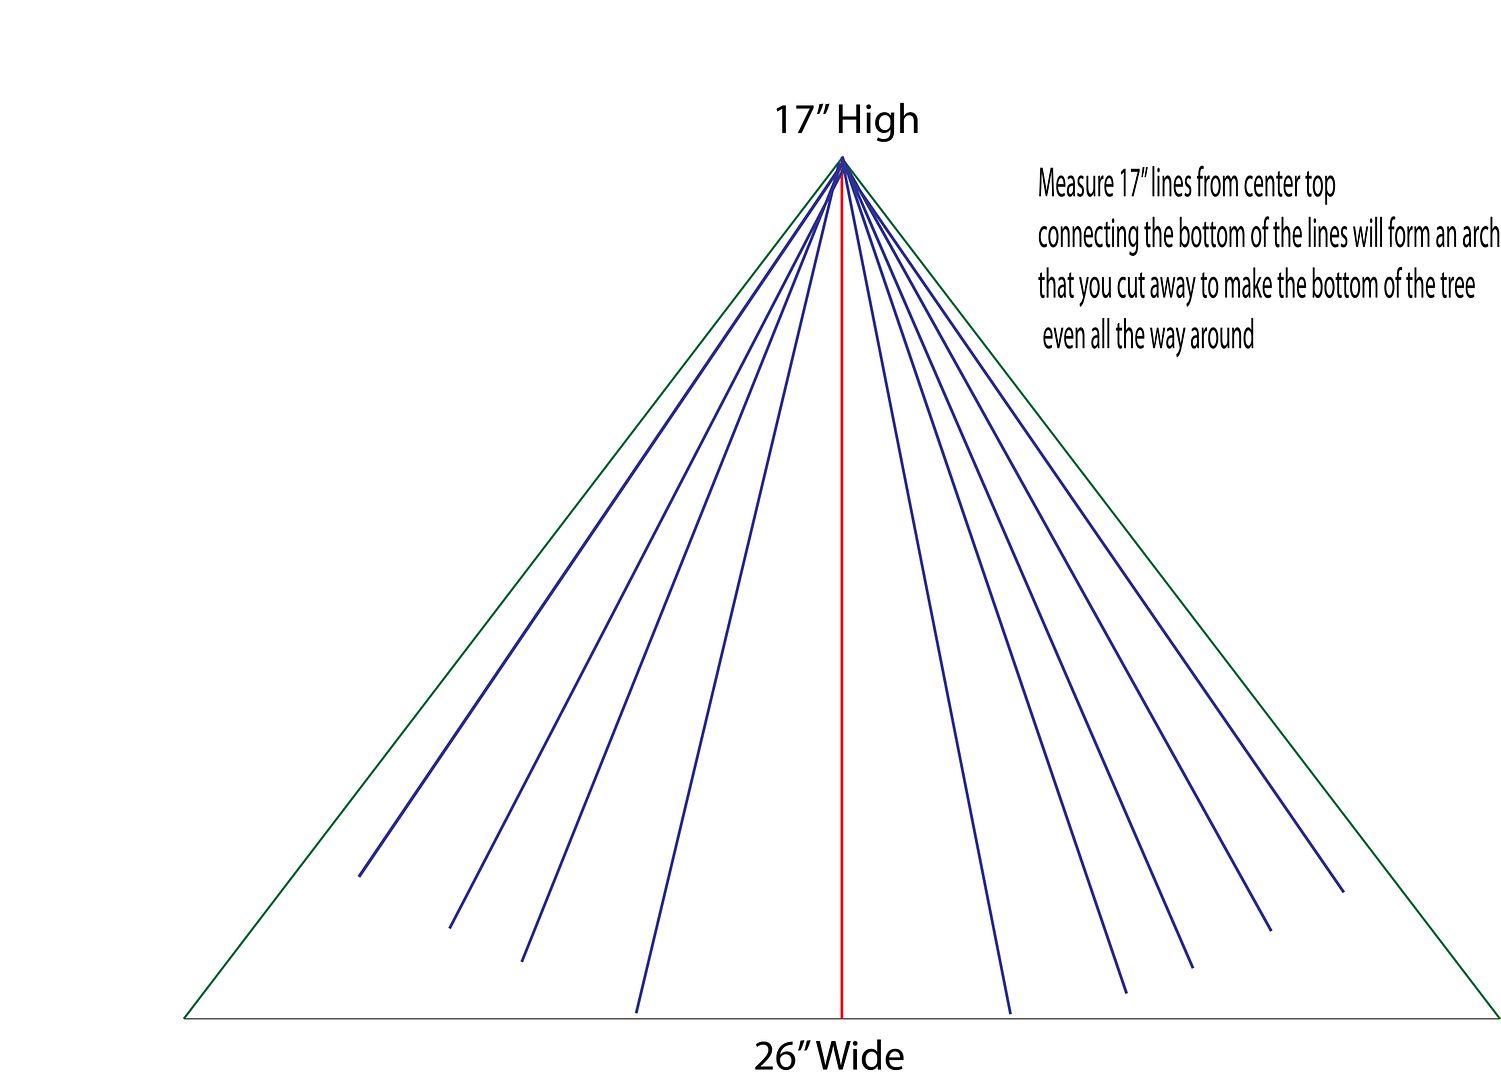
Next, I cut out a triangle. From the center of the base, measure up 17" and mark.
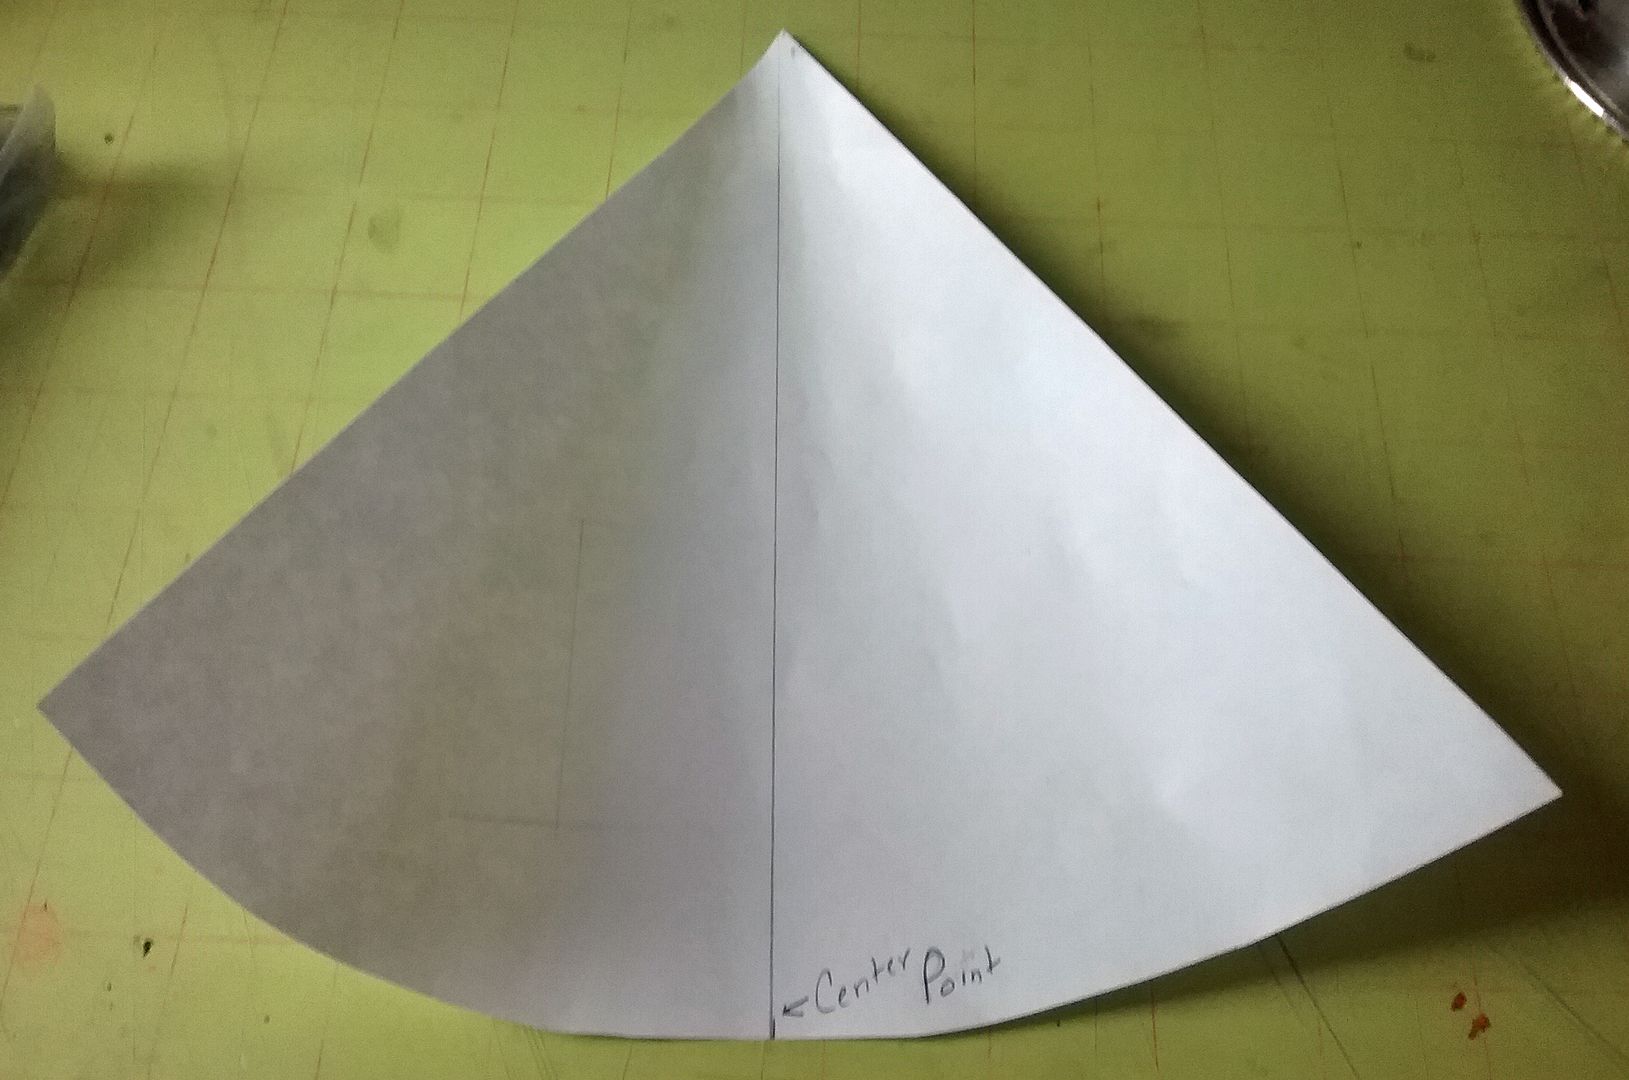
Next, draw a line from the mark at the top to each edge of the base (green lines). Cut along the lines, and you have your triangle.
ADD DECORATIVE PAPER
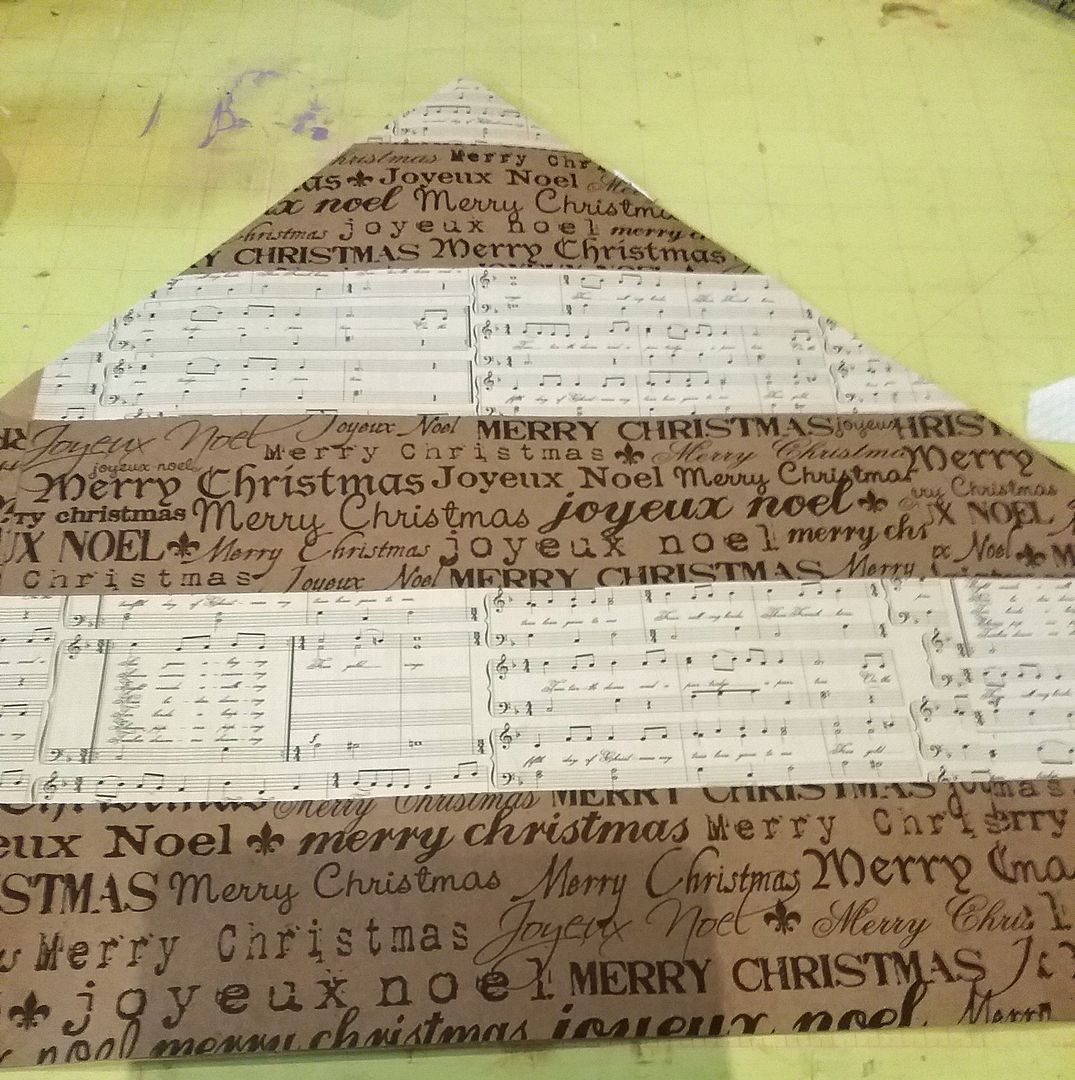
I decided to cut 2 different papers into strips and glue them to the wrapping paper at an angle.
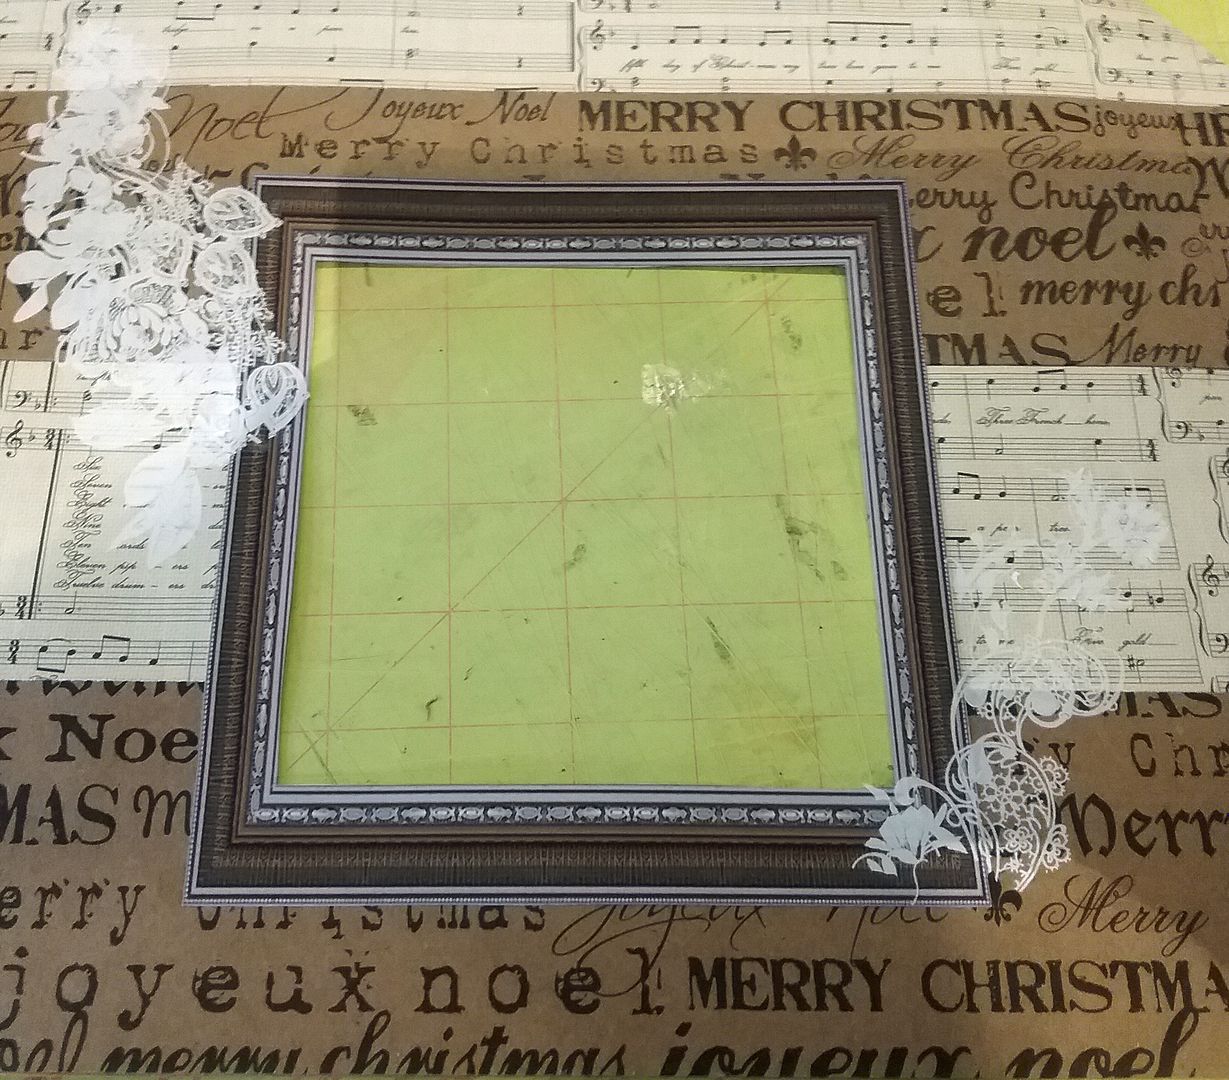
I marked and cut open the hole (see the diagram below), then glued the frame from the Vintage Frames download set over the hole. Since the frames are .png files, you can size them to fit your hole.
Next, I applied some white rub-on from my stash to the sides of the opening.
MAKING THE BOTTOM OF THE TREE EVEN
Before gluing the tree edges together into a cone shape, you need to level out the bottom of the tree, as it will not be even on the bottom. The bottom of the triangle shape needs to be rounded. Using the height measurement (17”), measure from the top point to the base and mark, moving along the base marking 17" inch or so. Once you have marked the entire bottom of the tree, use those marks (blue lines below) as a guide to cut away the paper, and you will have a rounded bottom which will be even when you glue the edges together.
PUTTING THE TREE TOGETHER AND ADDING EMBELLISHMENTS
Glue the edges of the tree together (they should overlap), forming a cone shape. Being mindful of the diameter of the base. I suggest checking that the base will fit in the bottom before gluing, in this case, 2" up from the bottom (I clipped and marked mine before gluing). Remember that 2" up in the cone it is not ad large around as it is in the base. In the case of my tree, the round wooden base was 21" around, but my base at the bottom is bigger, so 2" up, it is 21" around.
I added more of wrapping paper to the inside of the tree to cover the seam where the sides are glued together. The color of the wrapping paper worked fine for the color scheme I was using. I also glue gold and silver stars to the inside of the tree.


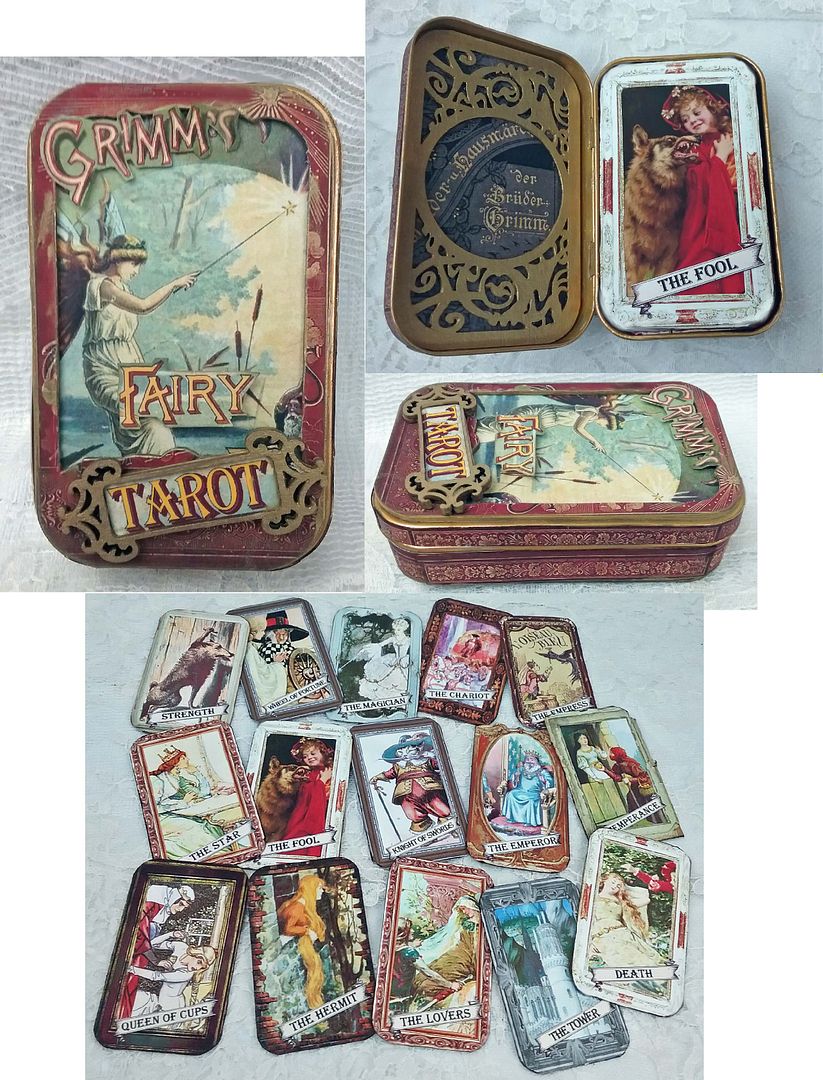
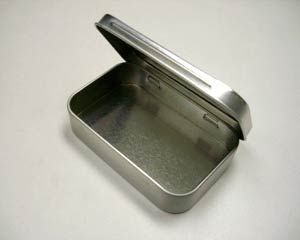
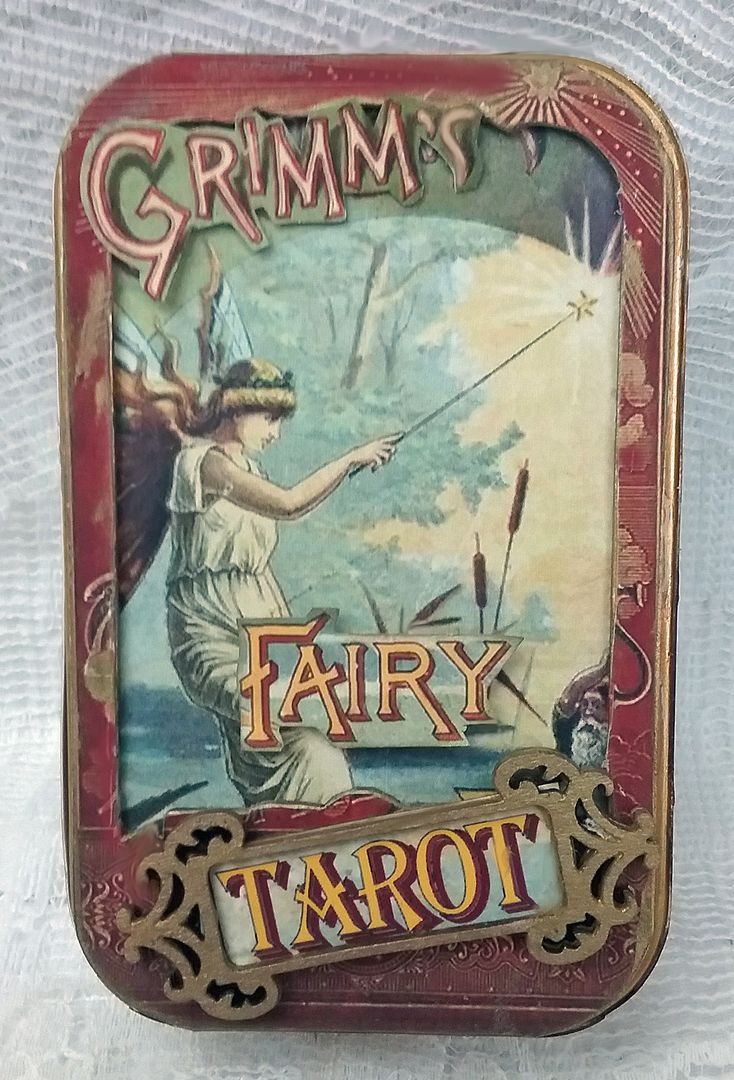
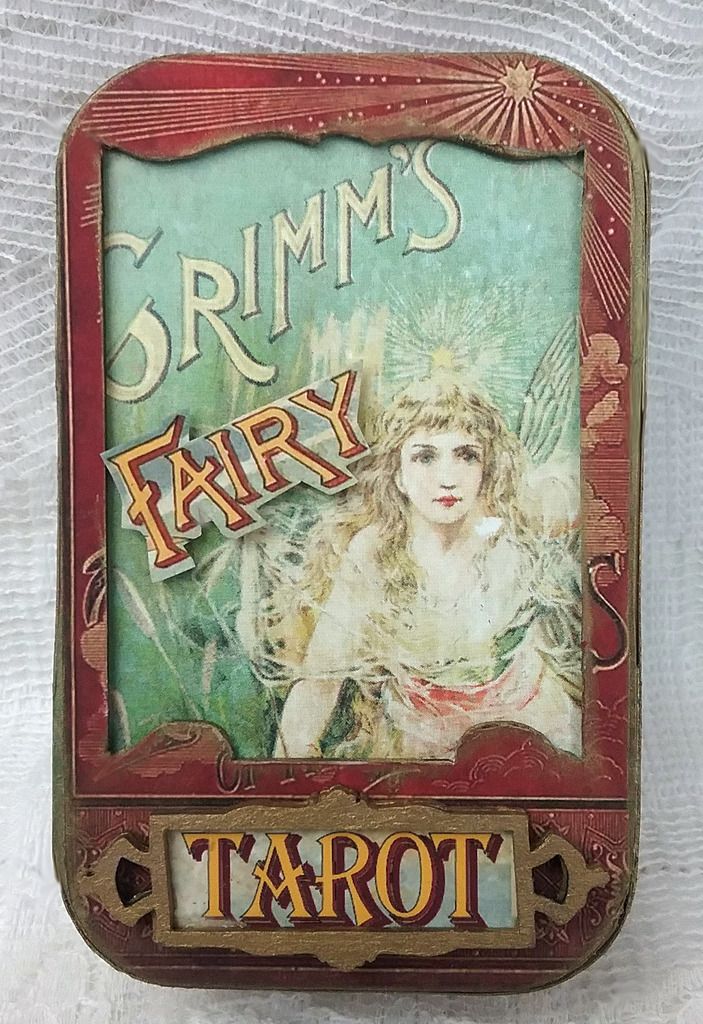


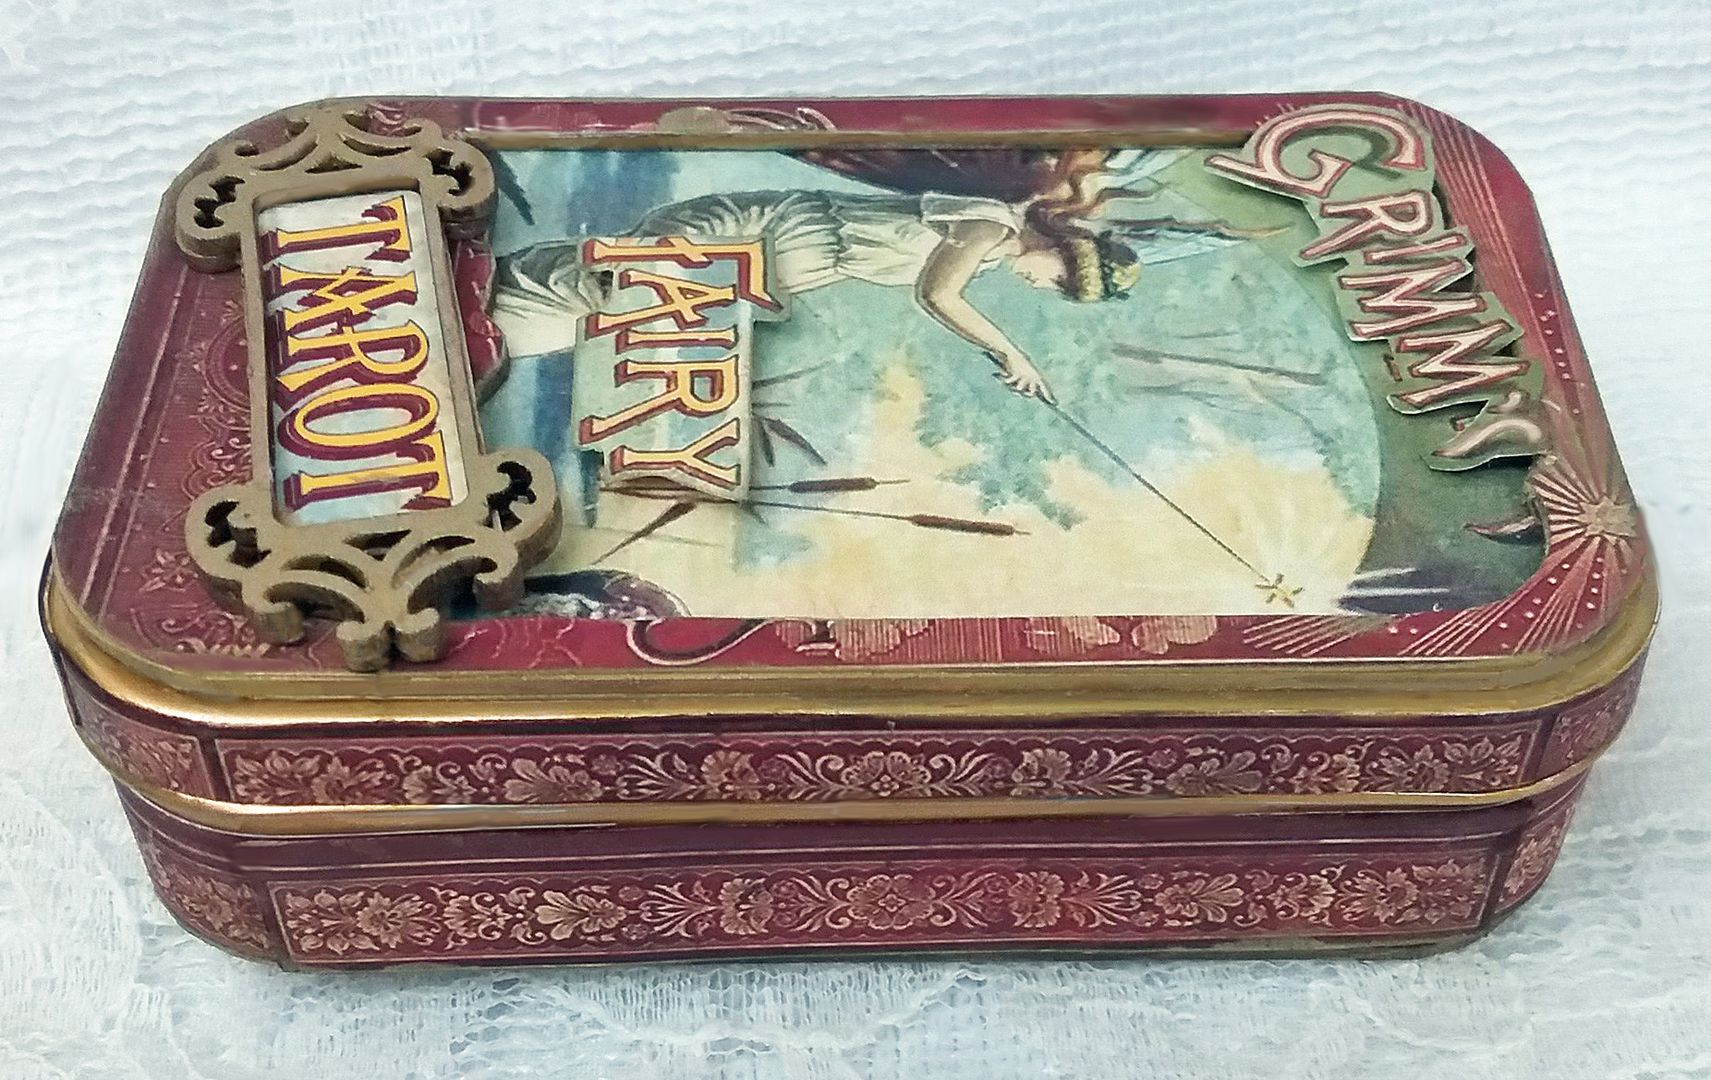
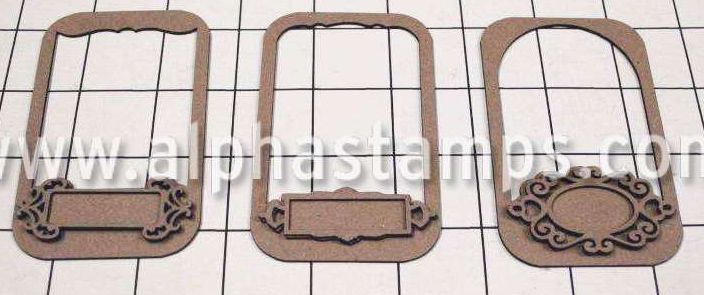
 I used Victorian Gold Metal Patinas to paint the parts of the tin that were not going to be covered with paper. While covering the tin with paper, I made sure that I didn't paper anywhere that would prevent the tin from opening and closing. I painted areas like the lid's inside lip, and the bottom's outside edges because paper adds too much bulk, and you won’t be able to close the tin.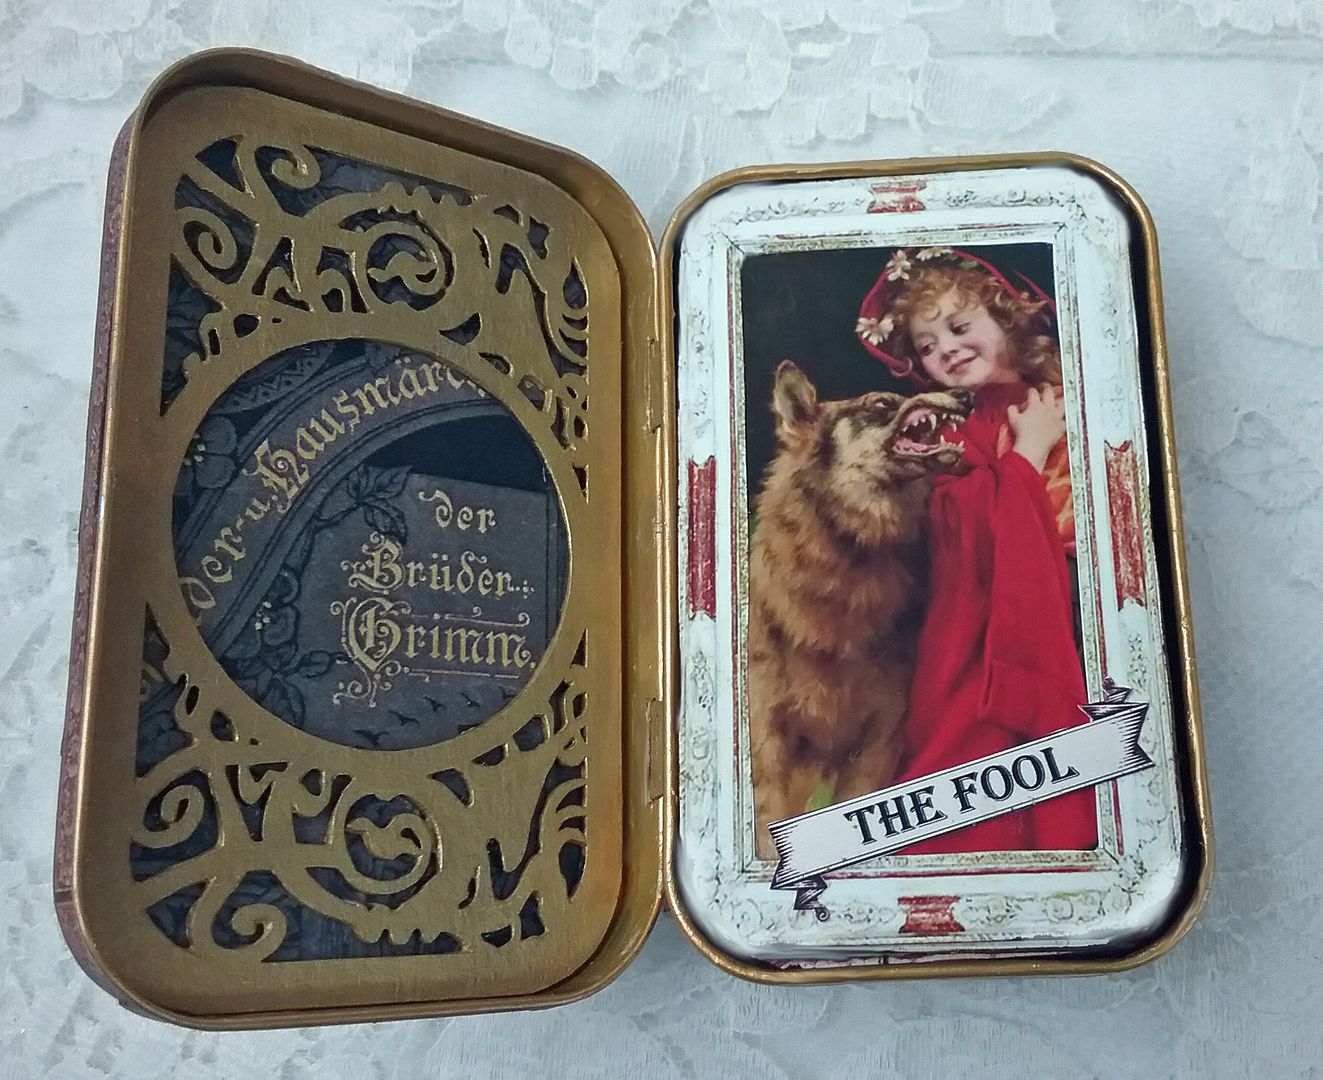

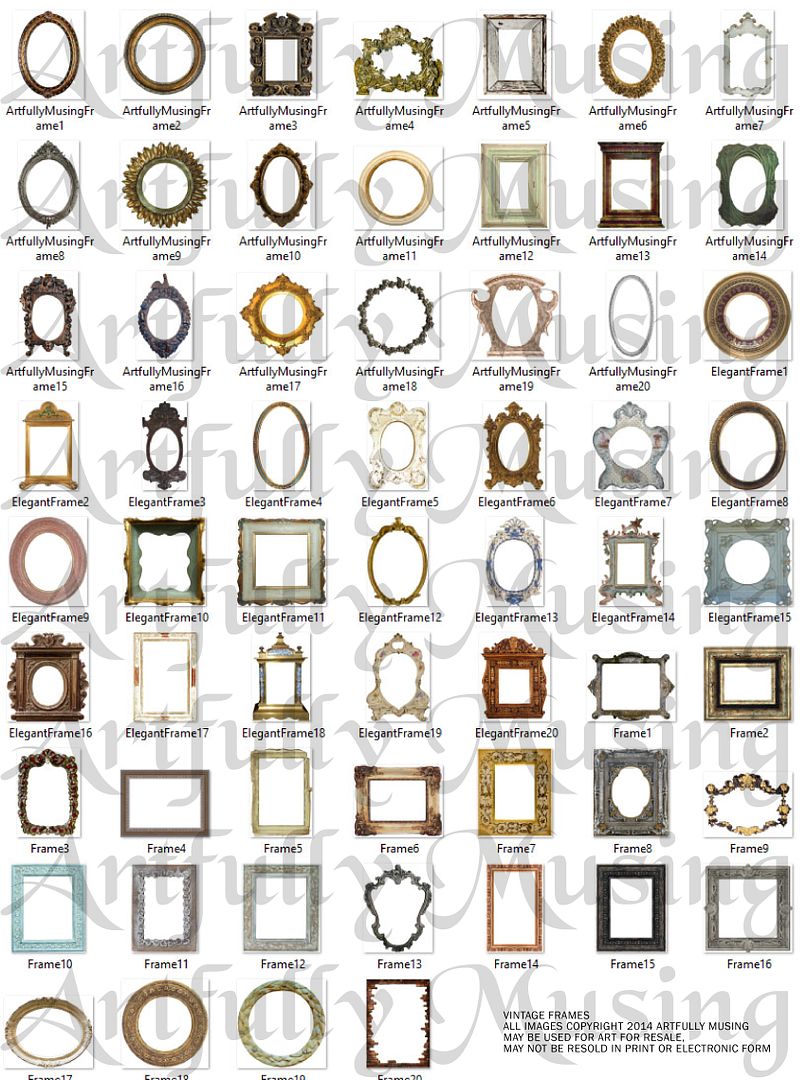
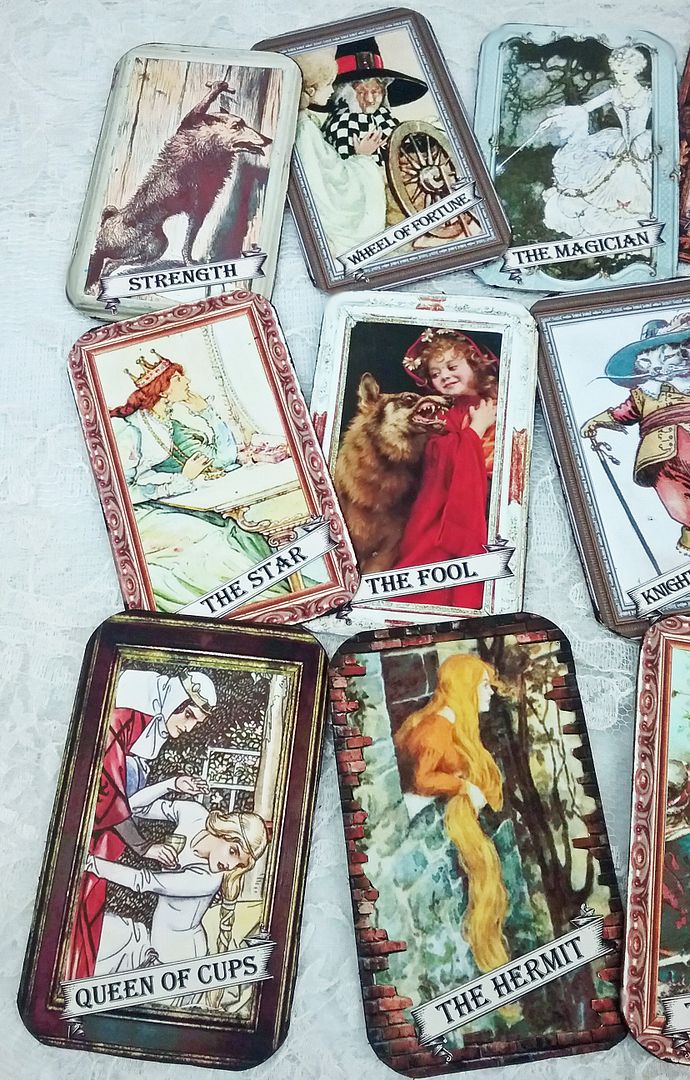
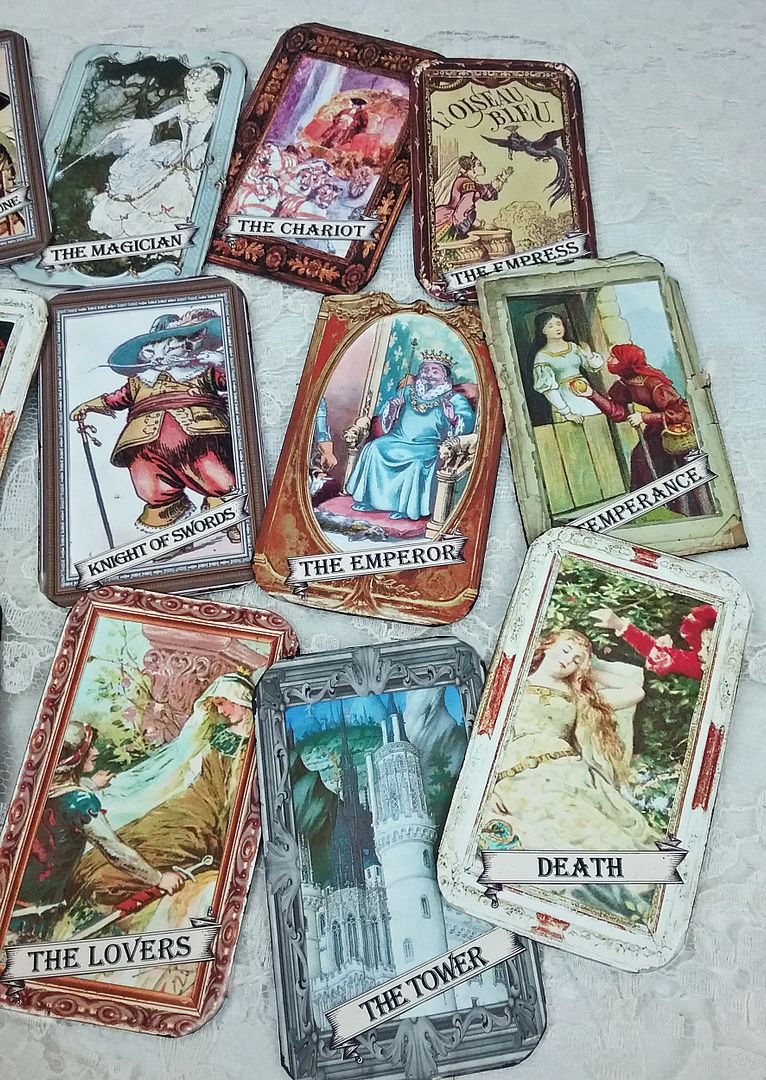
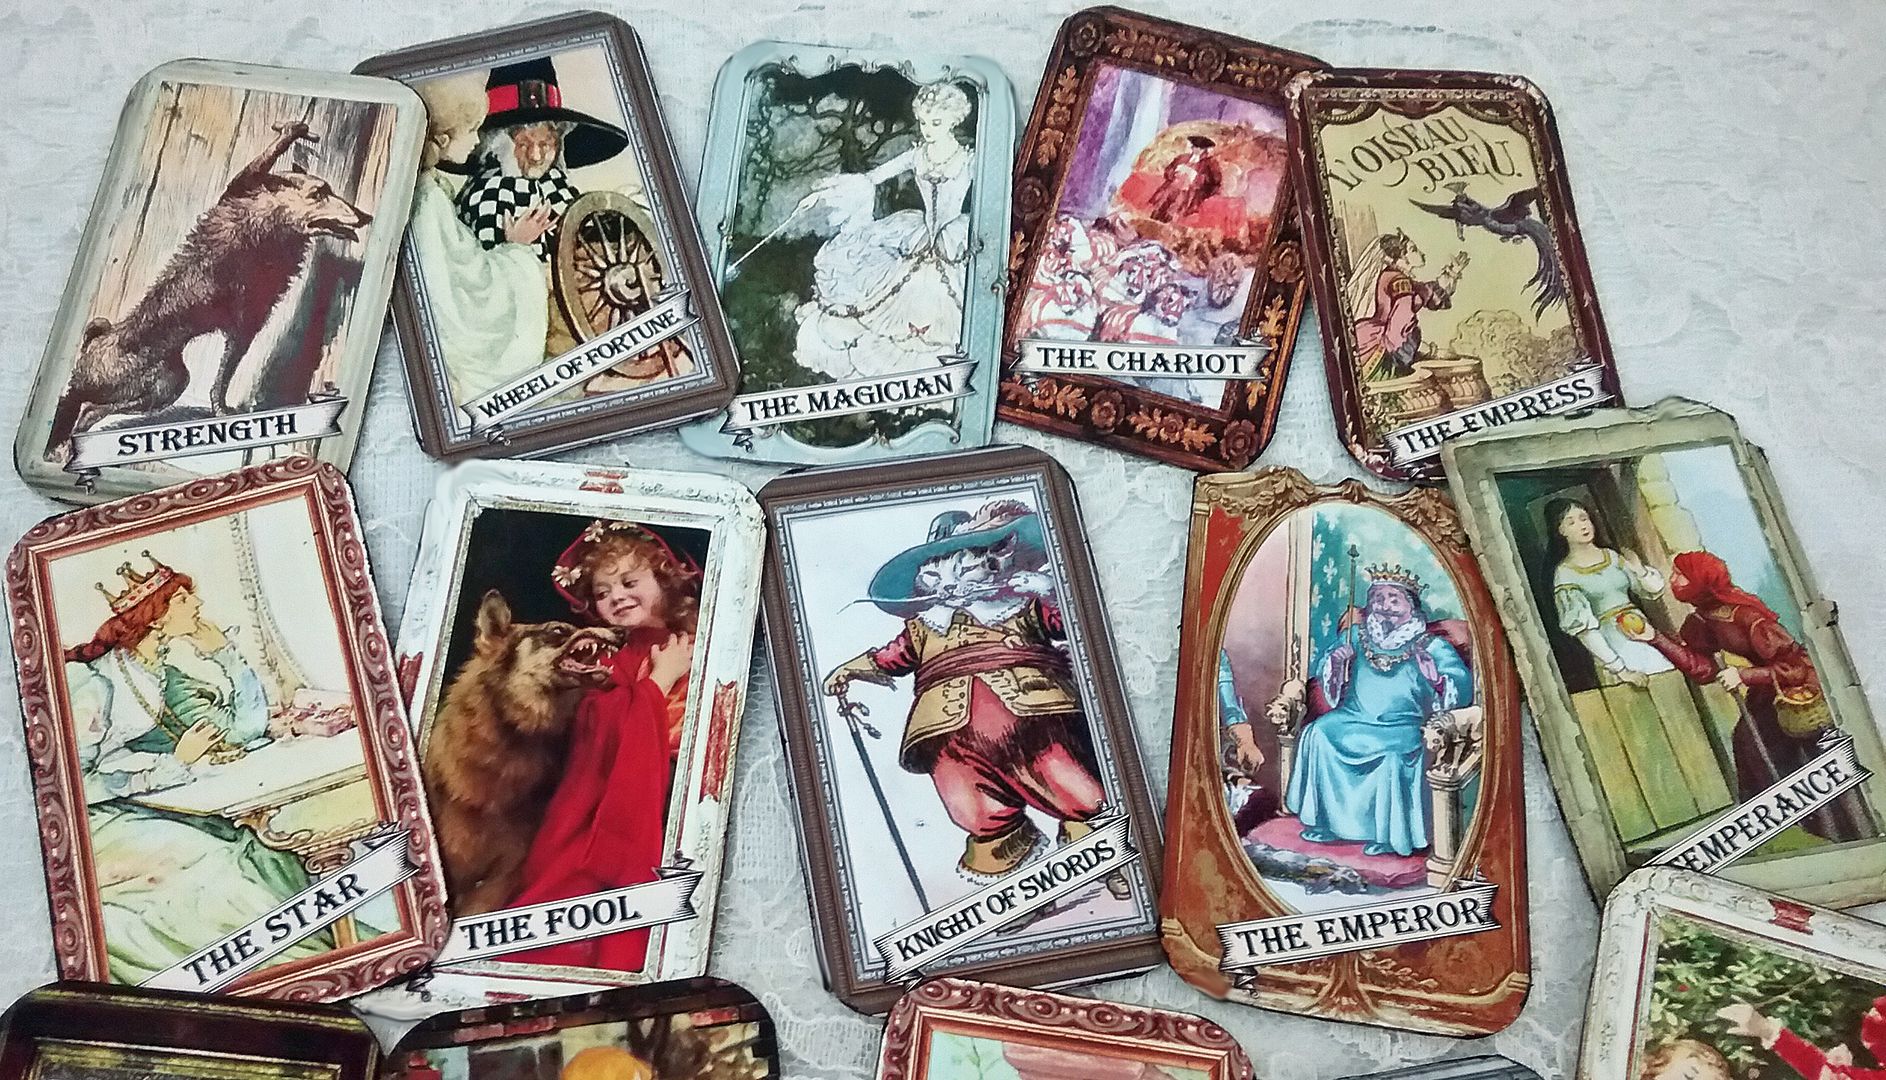
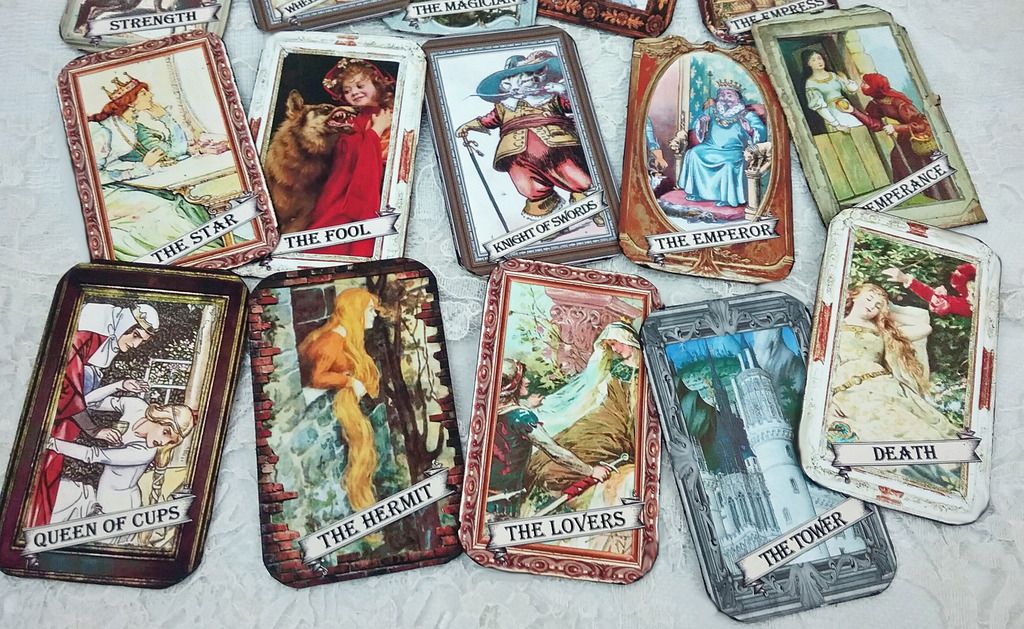
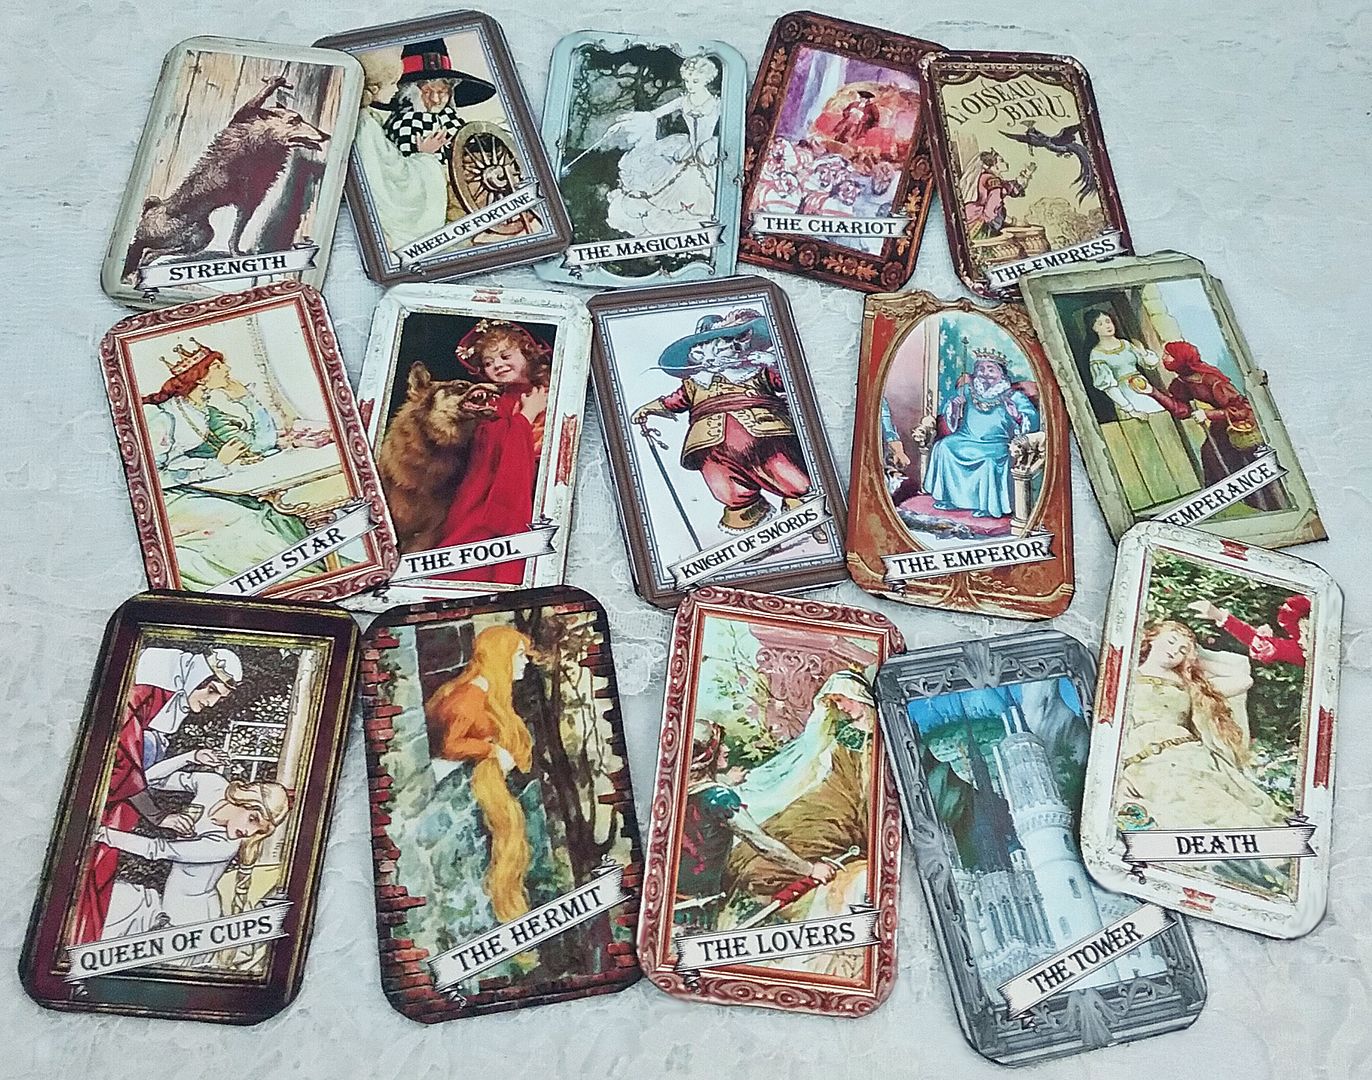
 Each card measures 3 1/2" by 2 1/8". I glued the image behind the frame and then used a corner punch to round the corners. By rounding the corners I could use a larger card, as square-cornered cards would need to be smaller to fit into the rounded corners of the tin.