-->

Welcome

I love answering your questions. If you ask them in the comment section, I have no way to answer you (if you haven't heard from me, that is why). If you use the "EMAIL ME" in the left column of this page, I will be able to respond to you. You can also use it if you want to be added to my newsletter. Laura

Wednesday, February 1, 2017

ROMANTIC STATIONERY CADDY - NEW COLLAGE SHEETS & DIGITAL IMAGE SET

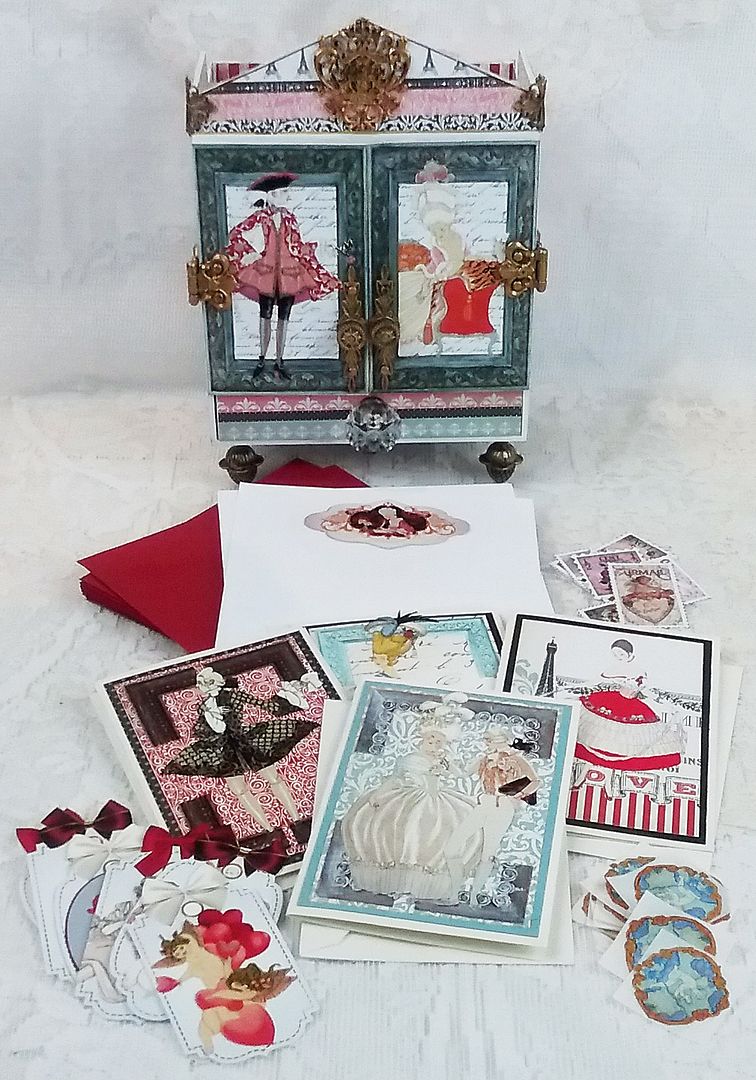
Every once in a while, I like to make something that is both lovely and functional.  When I saw this House Shrine with Doors kit, I thought it would make a great stationery caddy that you could keep for yourself or gift to a loved one or a special friend.
With Valentine's Day right around the corner, I chose to go with a Rococo-period romantic theme.  The images I’ve used are from my NEW Amour Collage Sheets.  There is also a NEW companion Digital Image Set which contains all of the images from the collage sheets and more.  The beautiful papers that so perfectly complement the image's color scheme are from the Amour 6 x 6 Paper Pad and some of the Amour Scrapbook Papers.
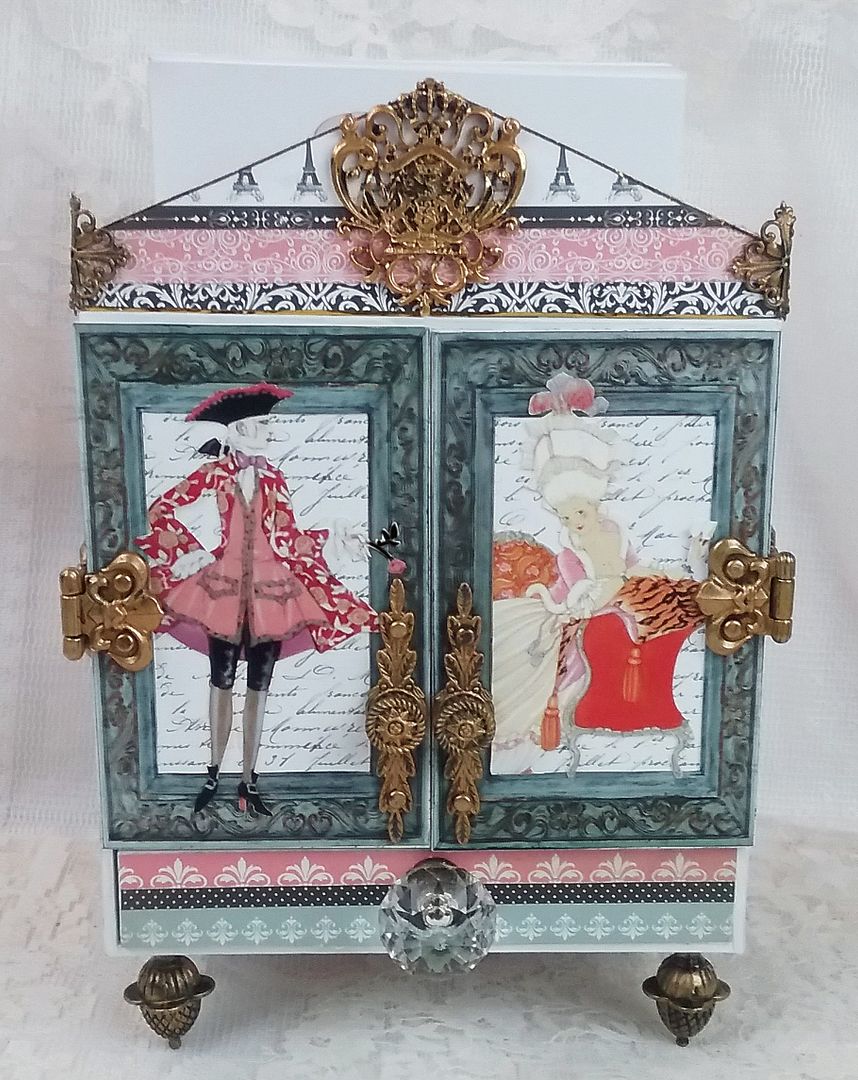
 
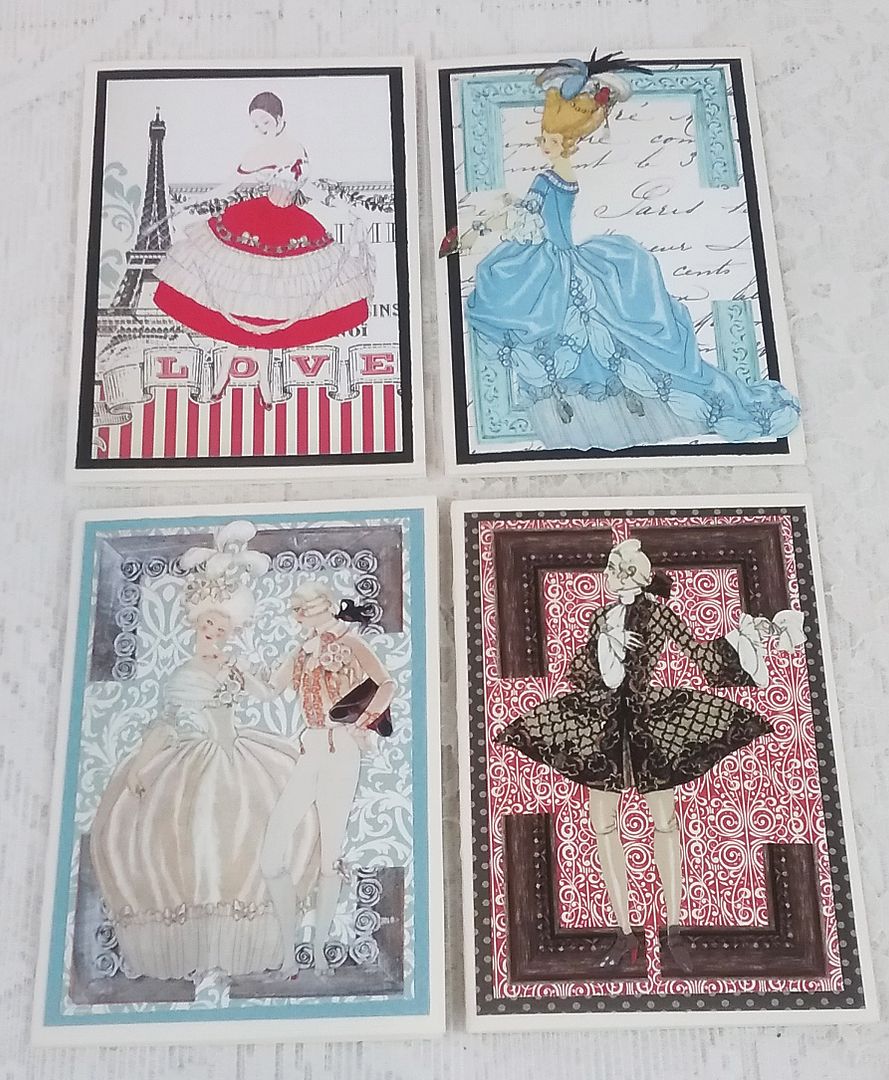
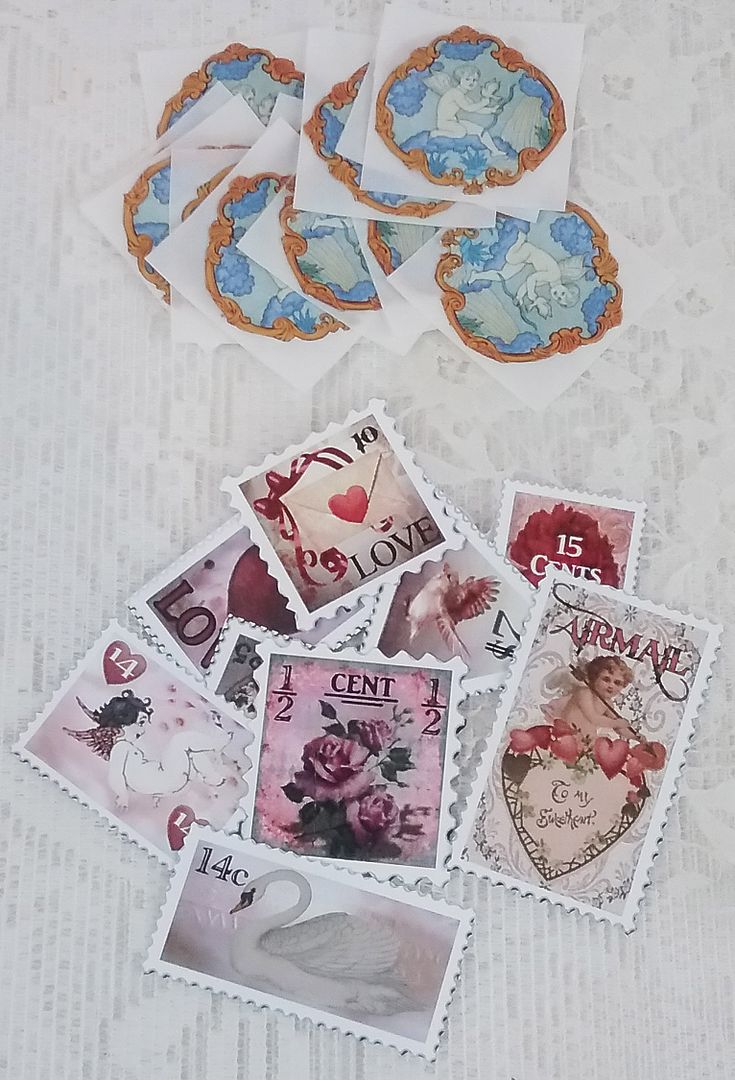
I’ve filled the cabinet with custom paper, envelopes, handmade cards, gift tags, envelope seals, and faux postage stamps.  You could also add real postage, address labels, and a pretty pen.
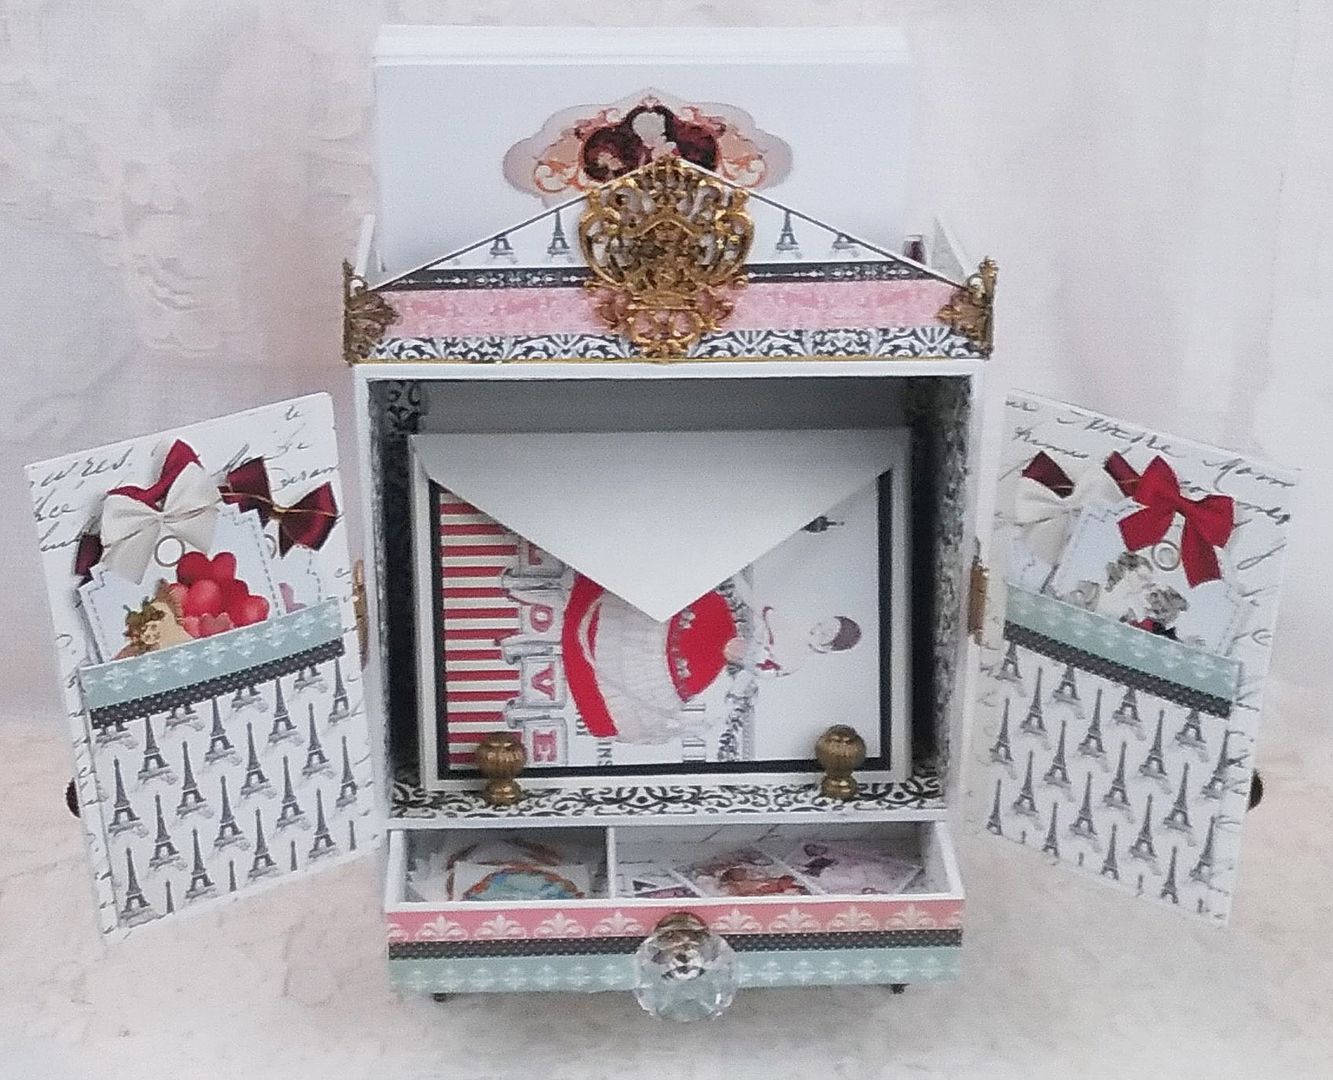
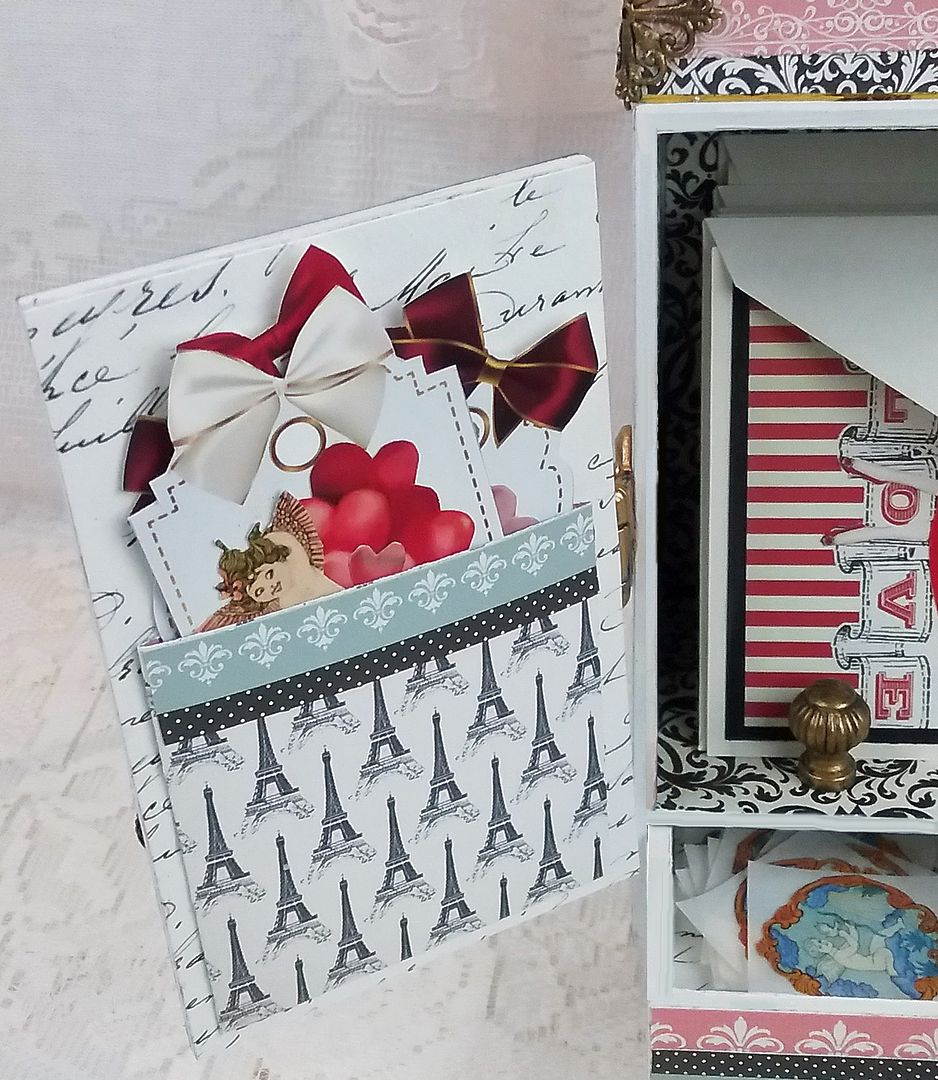
I added a bin to the back and pockets inside the doors to expand the storage space.  I used the bin to store the custom stationery and envelopes.  The pockets inside the doors were perfect for storing gift tags.
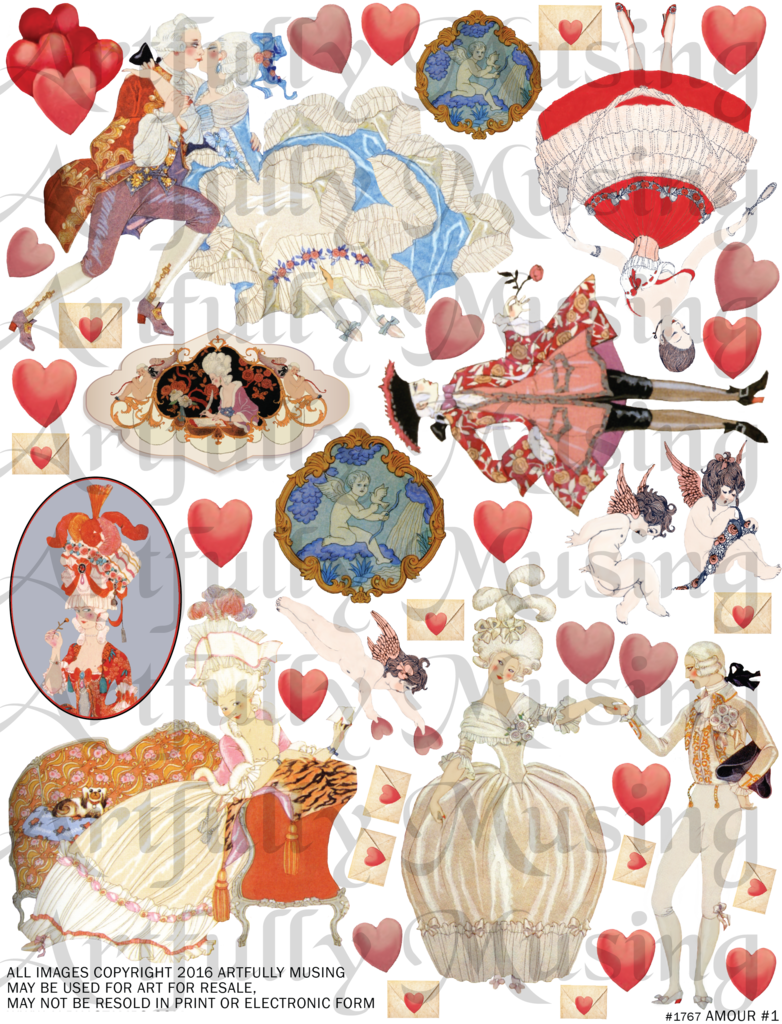
The seals are made using an image from the Amour #1 Collage SheetAfter cutting out the image, I ran it through my Xyron machine to turn it into a sticker.  You could also use the hearts on the collage sheet to make additional seals.
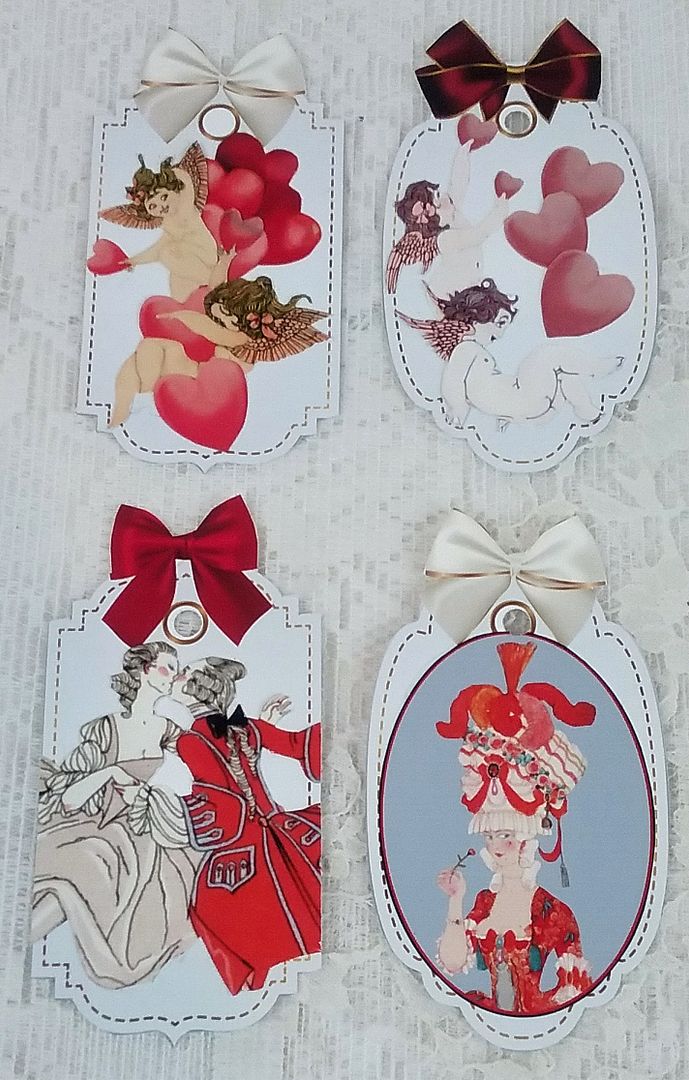
The gift tags are a combination of the new images and the Tag collage sheet. You'll find this FREE SHEET at the bottom of this post. 
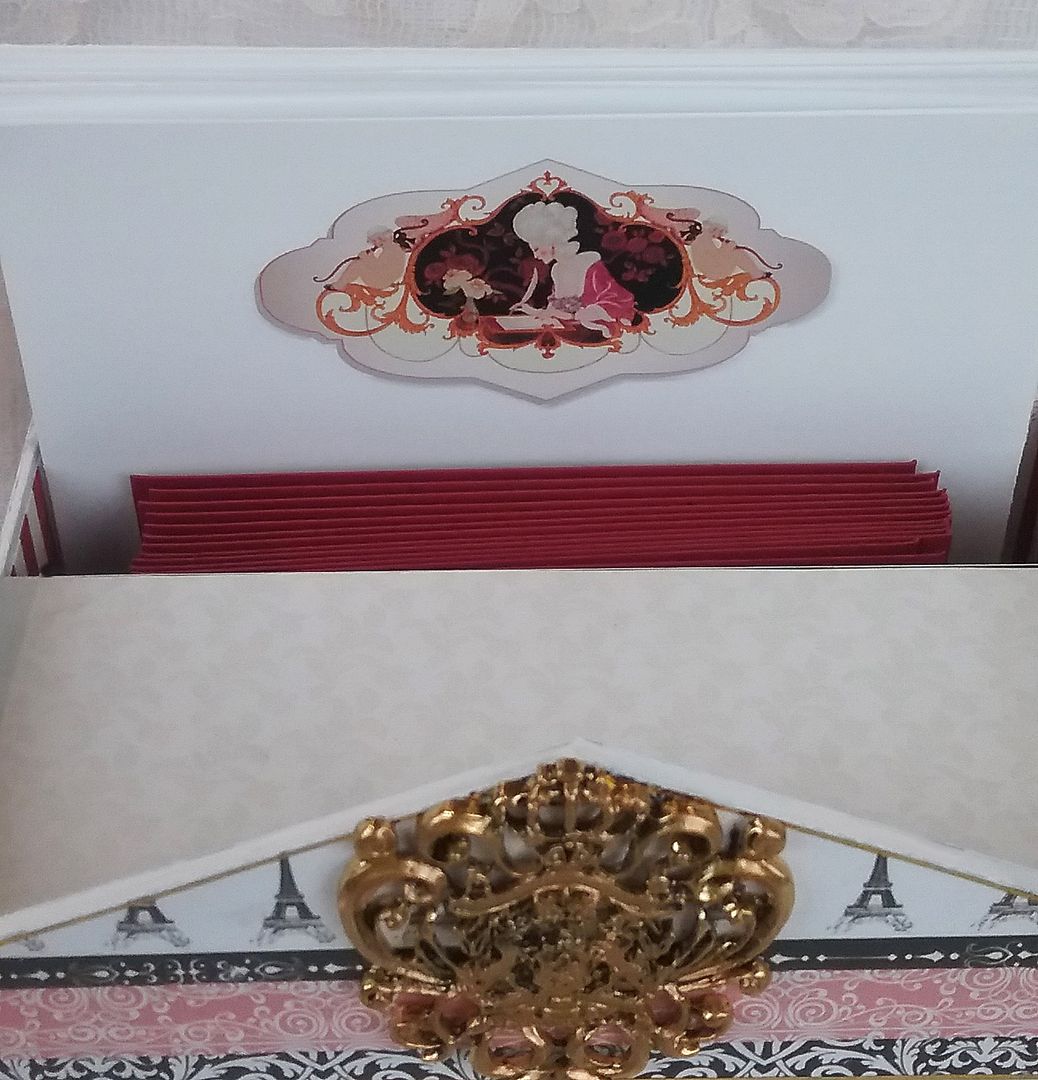
The custom stationery was made by printing one of the panel images from the new sheets onto paper.  Another option would be to cut the image out and glue it to the paper.

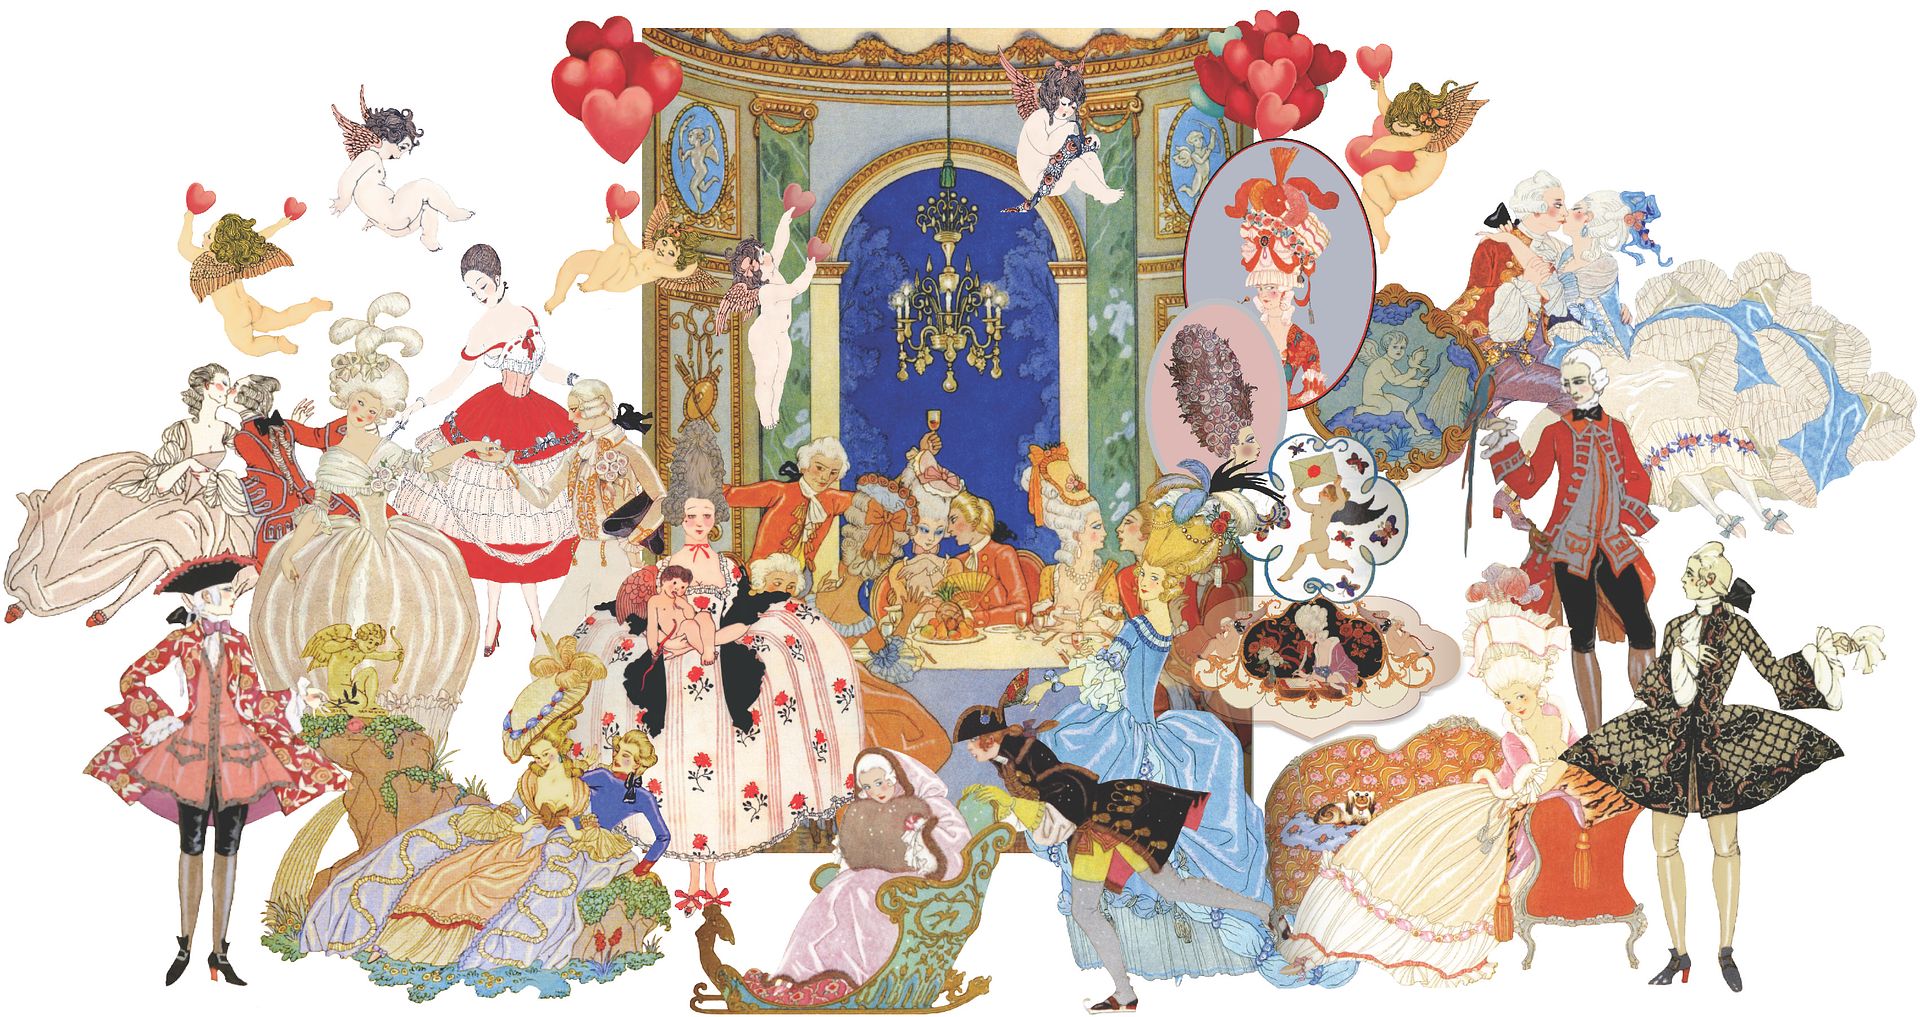
This sheet is packed with romantic Rococo period images.  Couples, women, men, cupids, and other complementary embellishments are included.
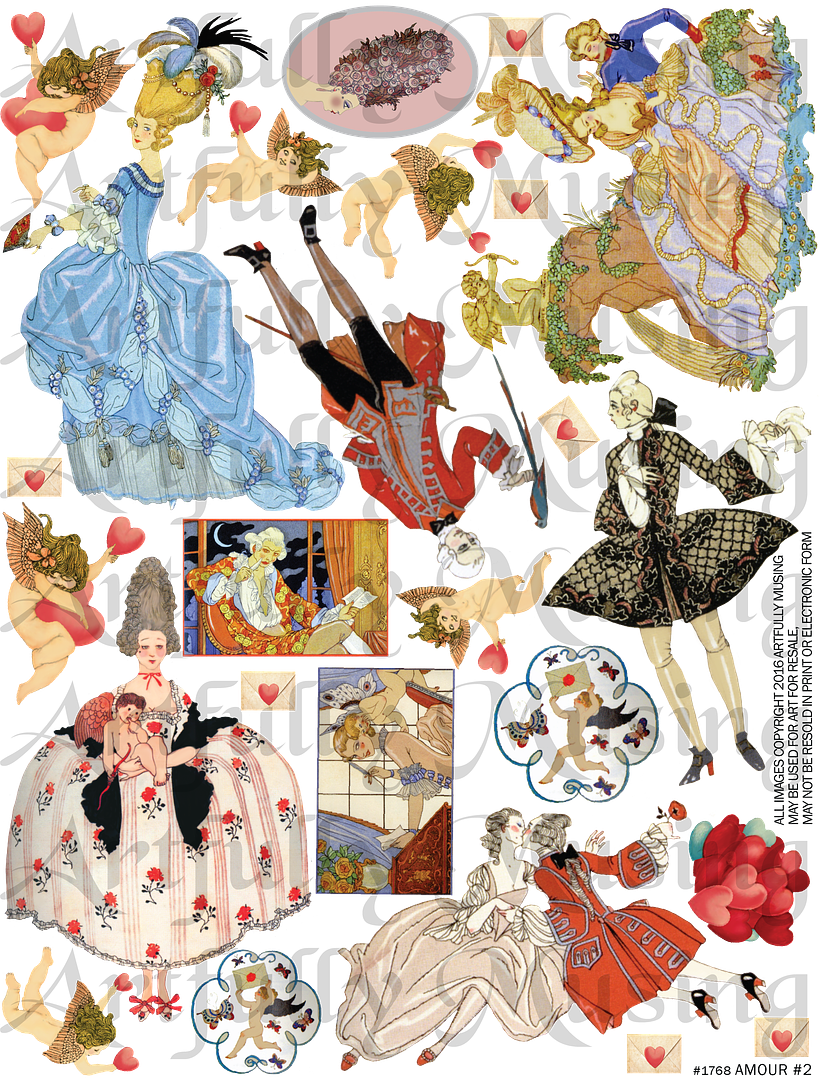
Just as with the Amour #1 collage sheet, this sheet is packed with more romantic Rococo period images.  Included are couples, women, men, cupids
 and other complementary embellishments.
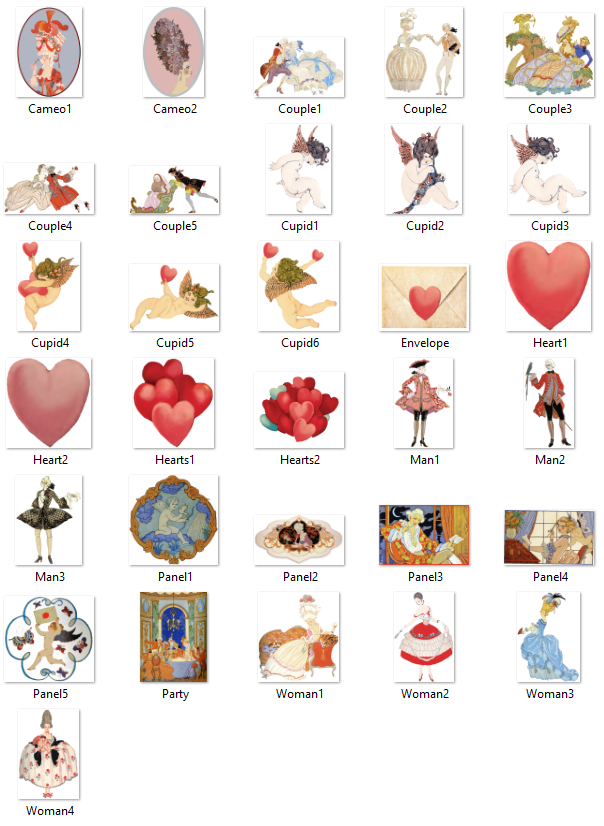
This romantic Rococo period set includes all of the images from the Amour #1 and the Amour #2 collage sheet, plus a few extra images.  Included are: 2 Cameos, 5 Couples, 4 Women, 3 Men, 6 Cupids, 5 Panels, 4 Hearts, a Party Scene, and an envelope for a total of 31 images. 

All of the images in the set can be re-sized for your project as they are high-resolution (300dpi) PNG formatted images.
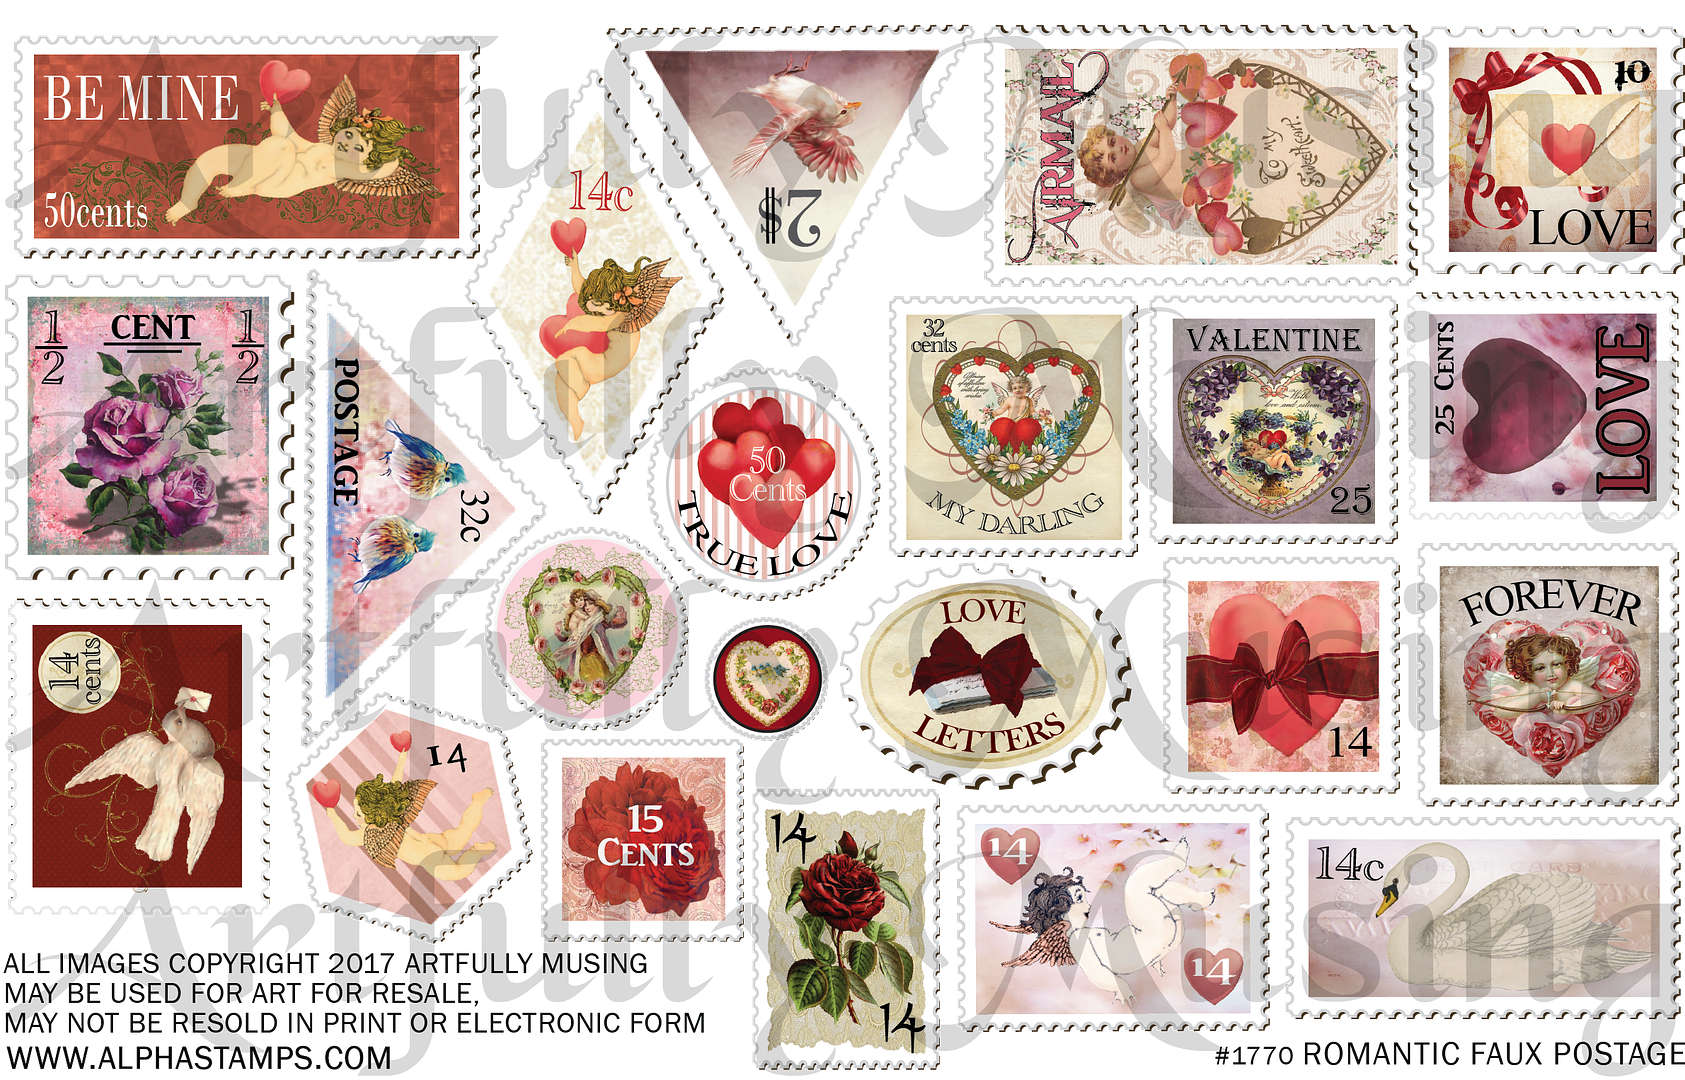
This sheet has 23 faux stamps.


THE DETAILS
THE CABINET

I started by assembling the main cabinet, pediment, and drawer.  I painted all of the edges inside and out white.  I then covered all of the surfaces with the Amour papers, with the exception of the inside of the doors and the inside side panels.  I left these areas uncovered until after I added the hinges and handles so that I could hide the prongs on the brads, which are used to attach the hardware.
THE BIN
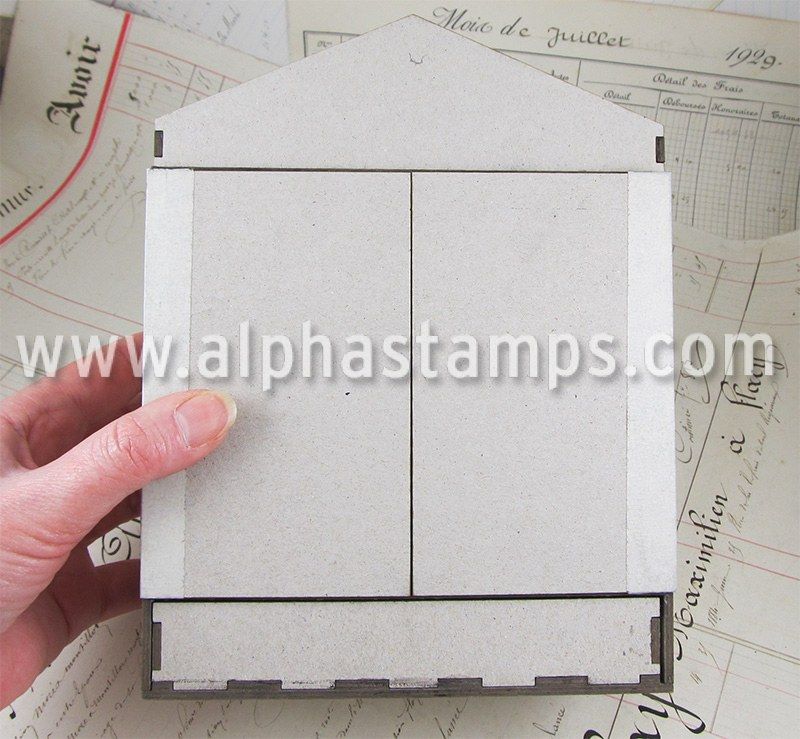
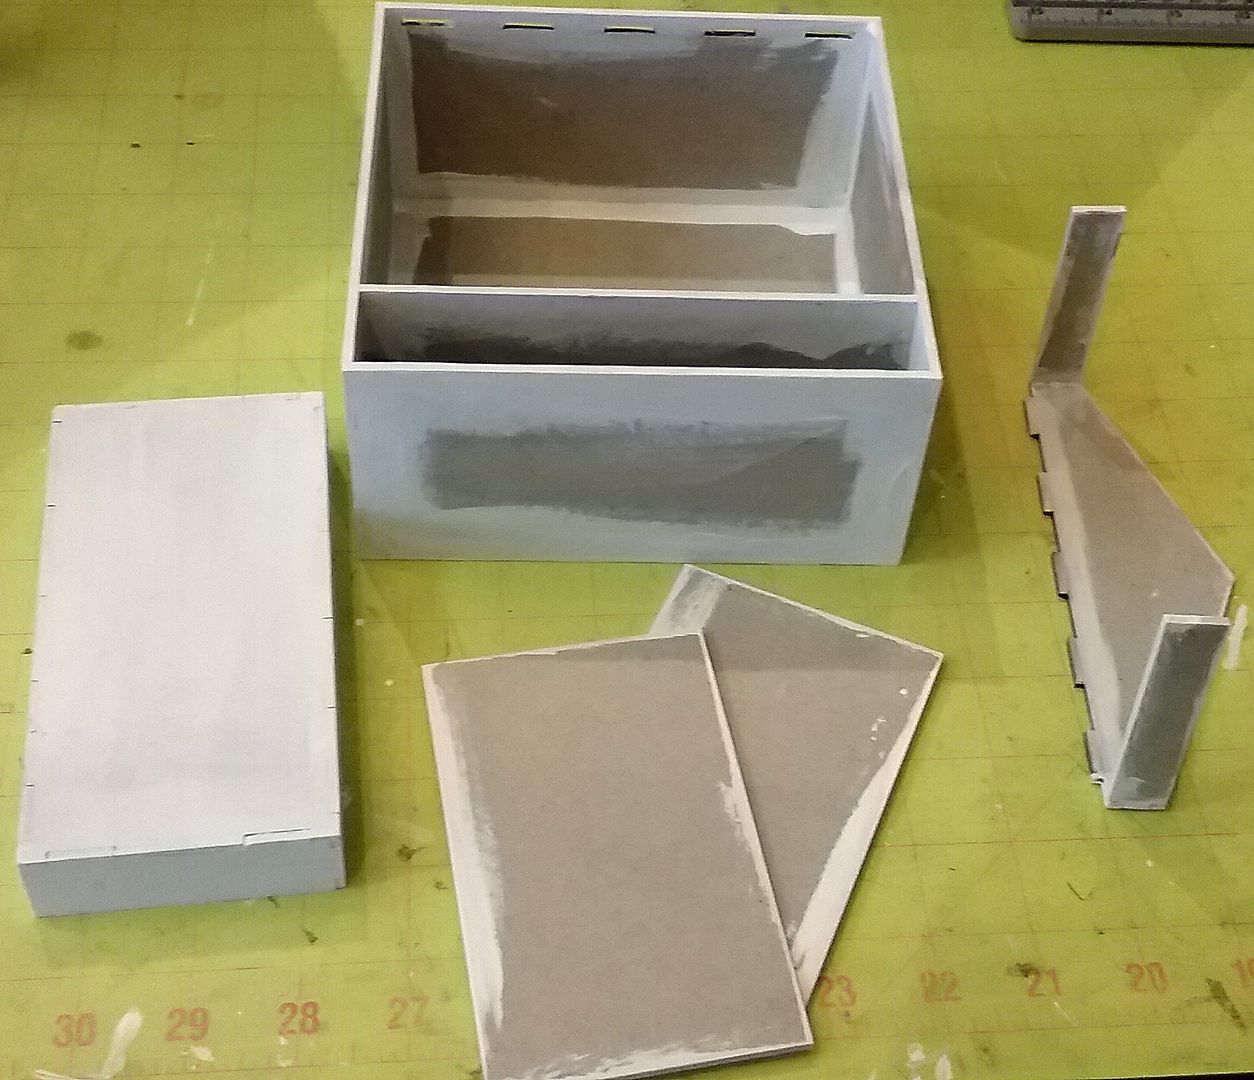
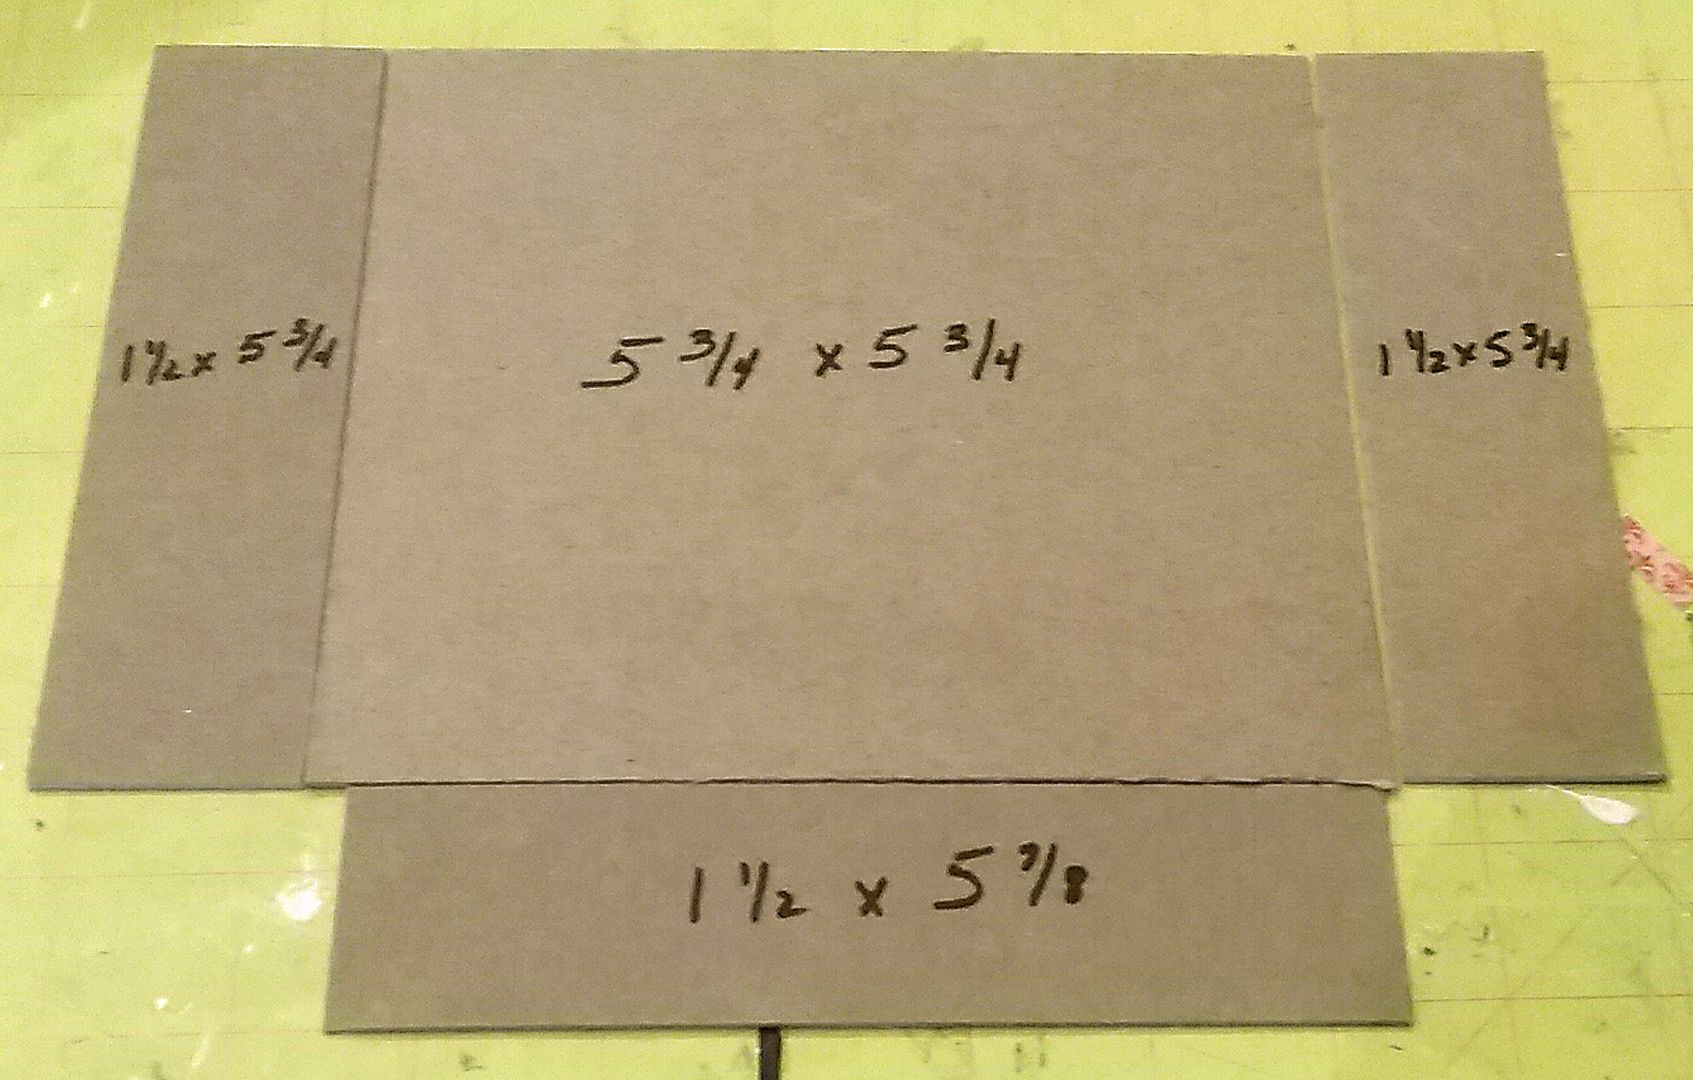
To make the bin that is attached to the back of the cabinet, I cut 4 pieces of heavy chipboard and glued them together.  You can see the measurements of each piece in the picture below.  The bottom piece is slightly longer as the total width is longer when you attach the side pieces to the back.

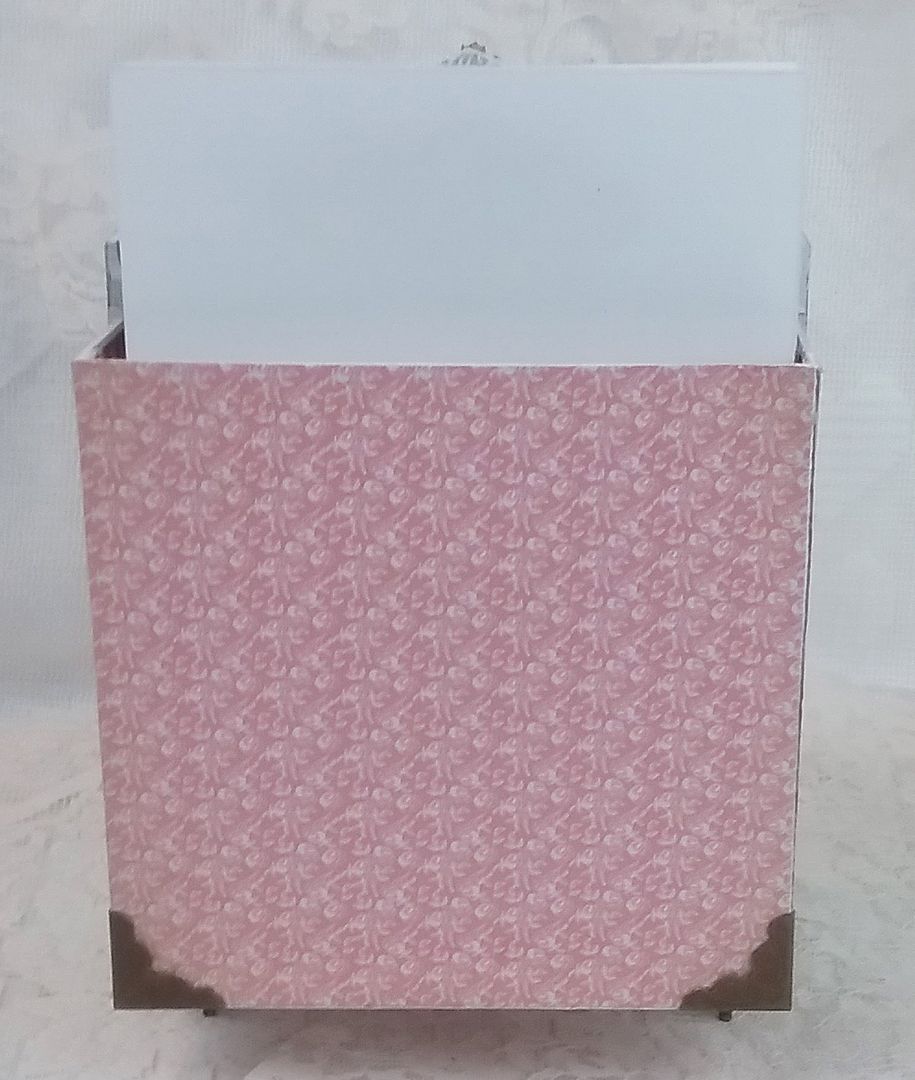
I then covered the bin with paper and attached embossed metal box corners for decoration and support.

The bin is then glued to the back of the cabinet using E6000 glue.
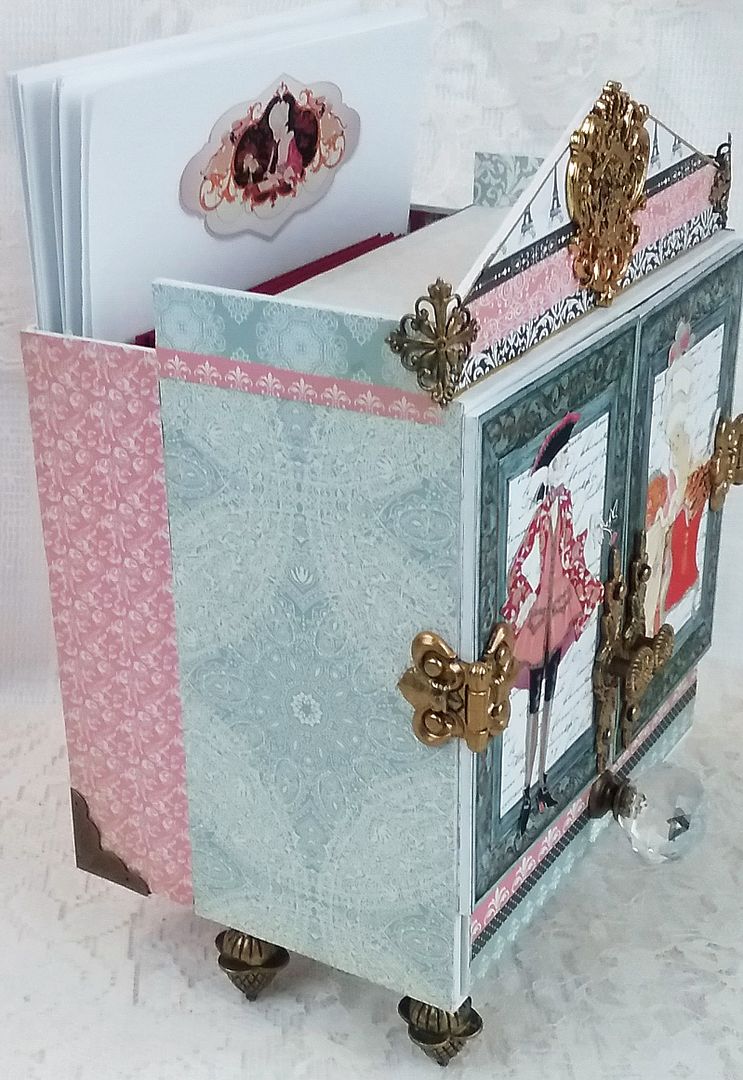
You could add bins to the sides if you need more storage space.
CARD STORAGE
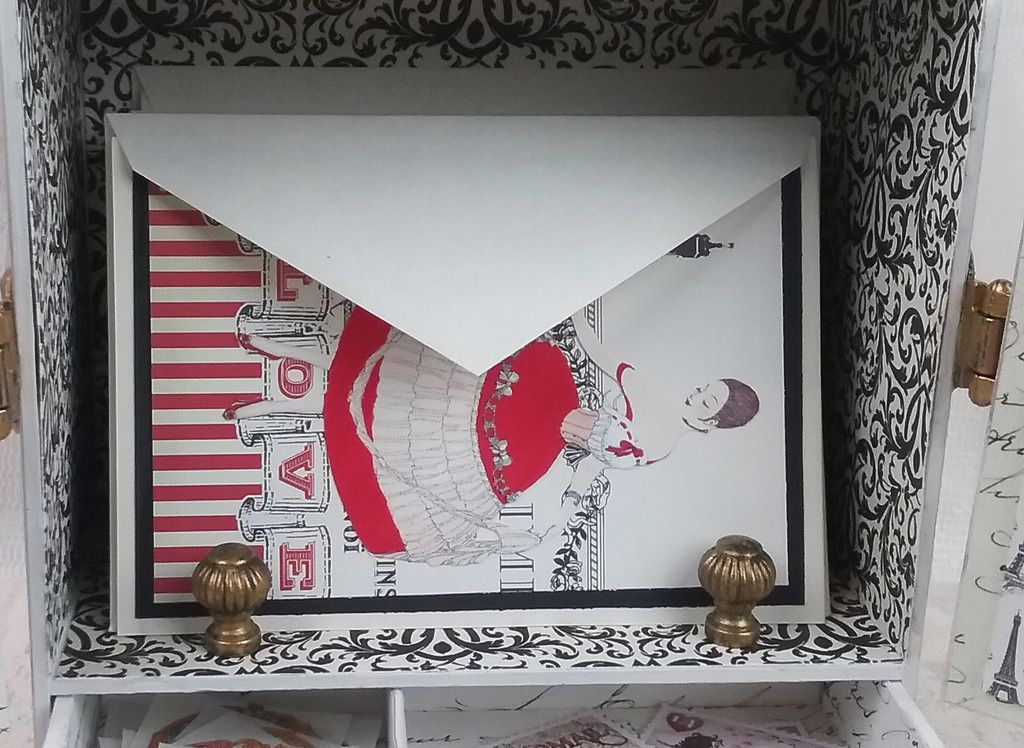
The handmade cards are stored in the main area of the cabinet.  I added two metal drawer pulls to keep the cards from falling out.
THE PEDIMENT
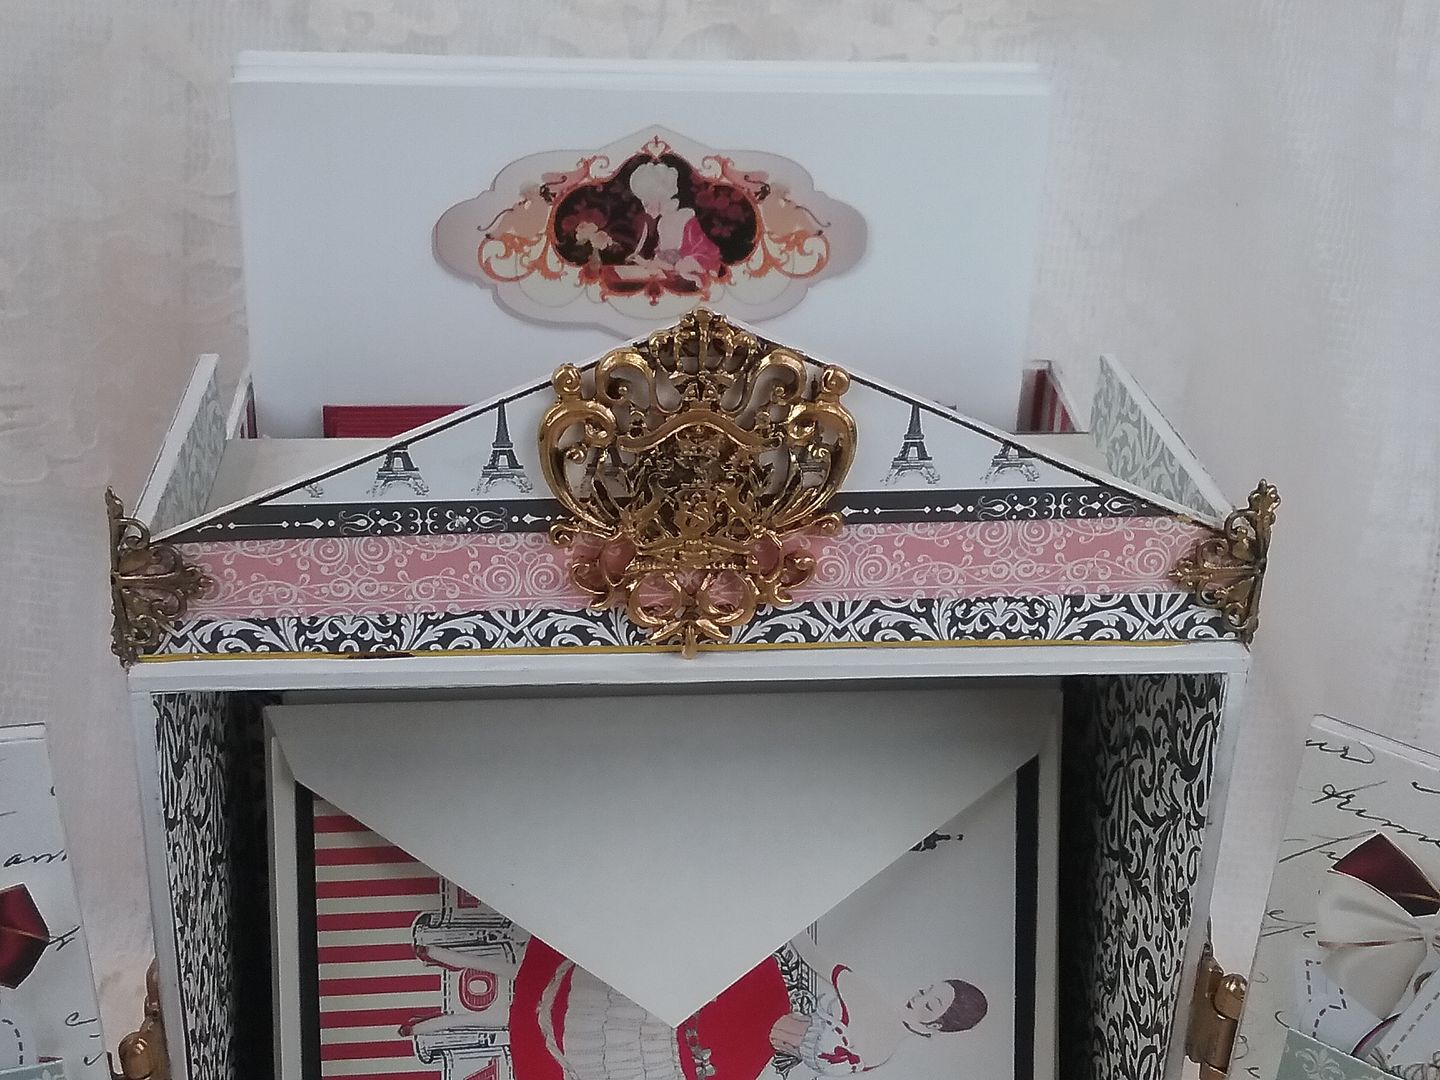
To dress up the pediment, I added a filigree crest and filigree squares which I bent and attached to the corners.  I trimmed the edges of the pediment with tiny gold line stripped tape.  So that all of the hardware I used in the project would match, I painted it with Metal Patina Paint.
DOORS
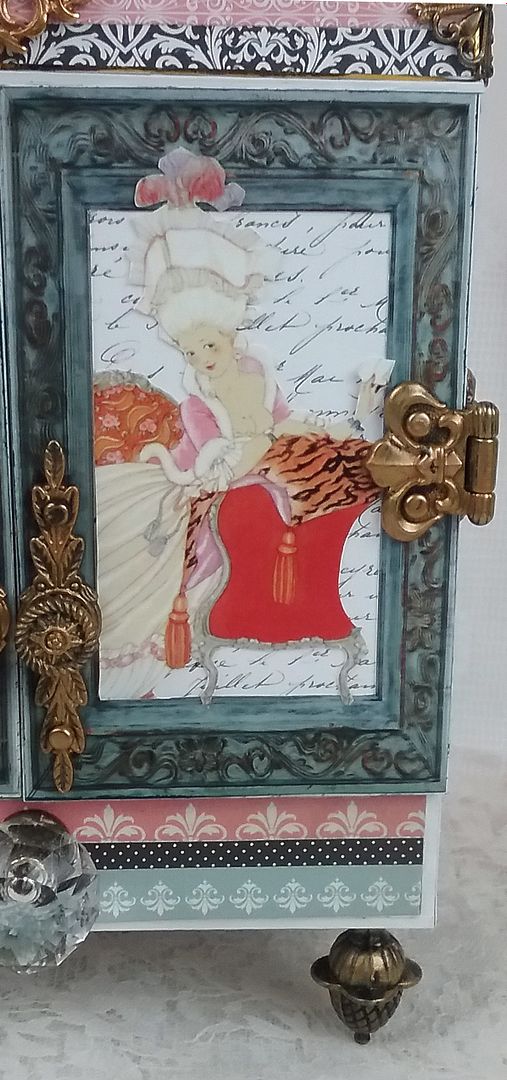
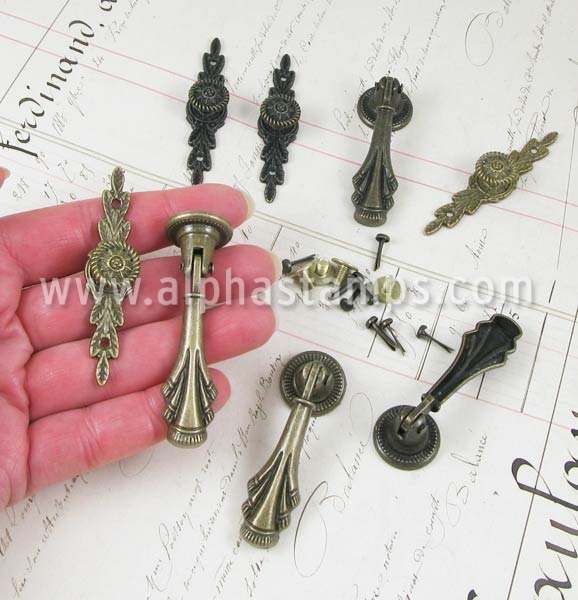
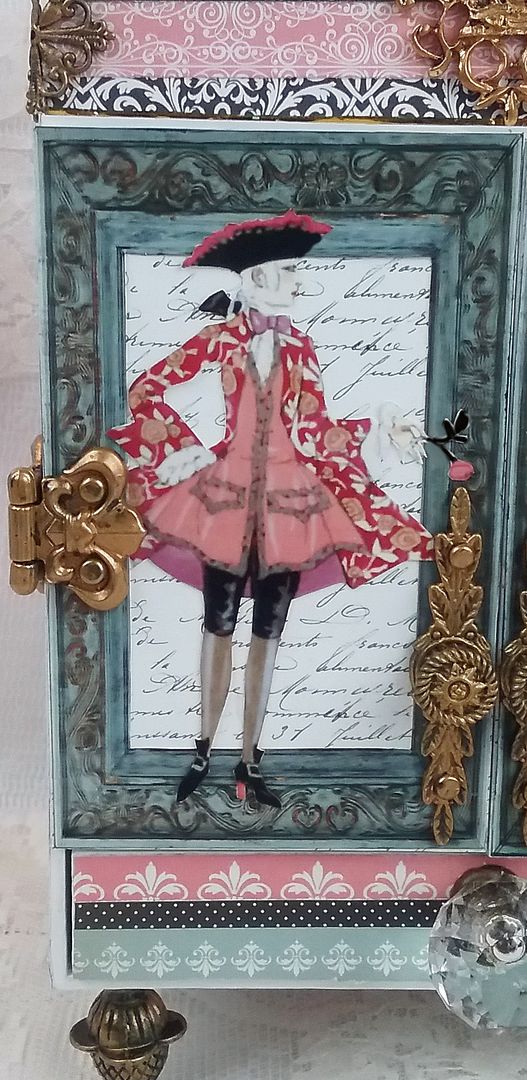
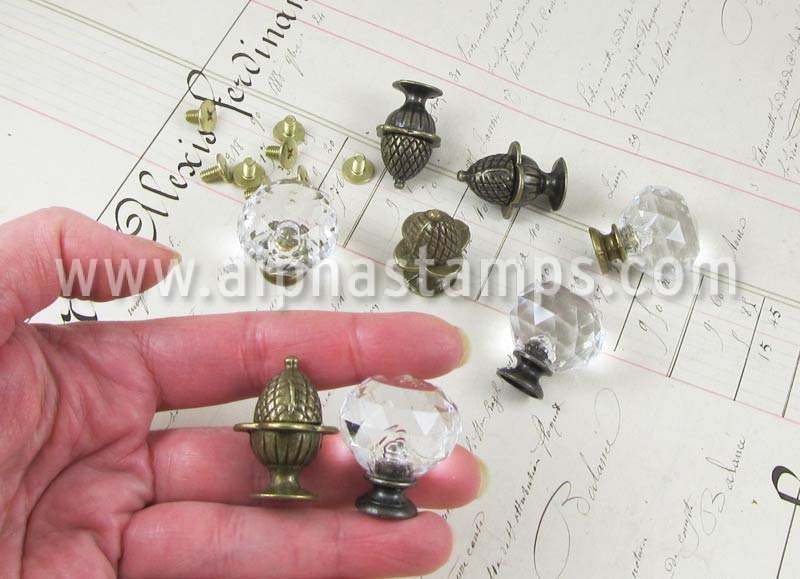
The frames around the doors are from my Vintage Frames digital set.  I attached the doors using brads which fit through the holes on the hinges.  The handles are from the set pictured below.
THE POCKETS
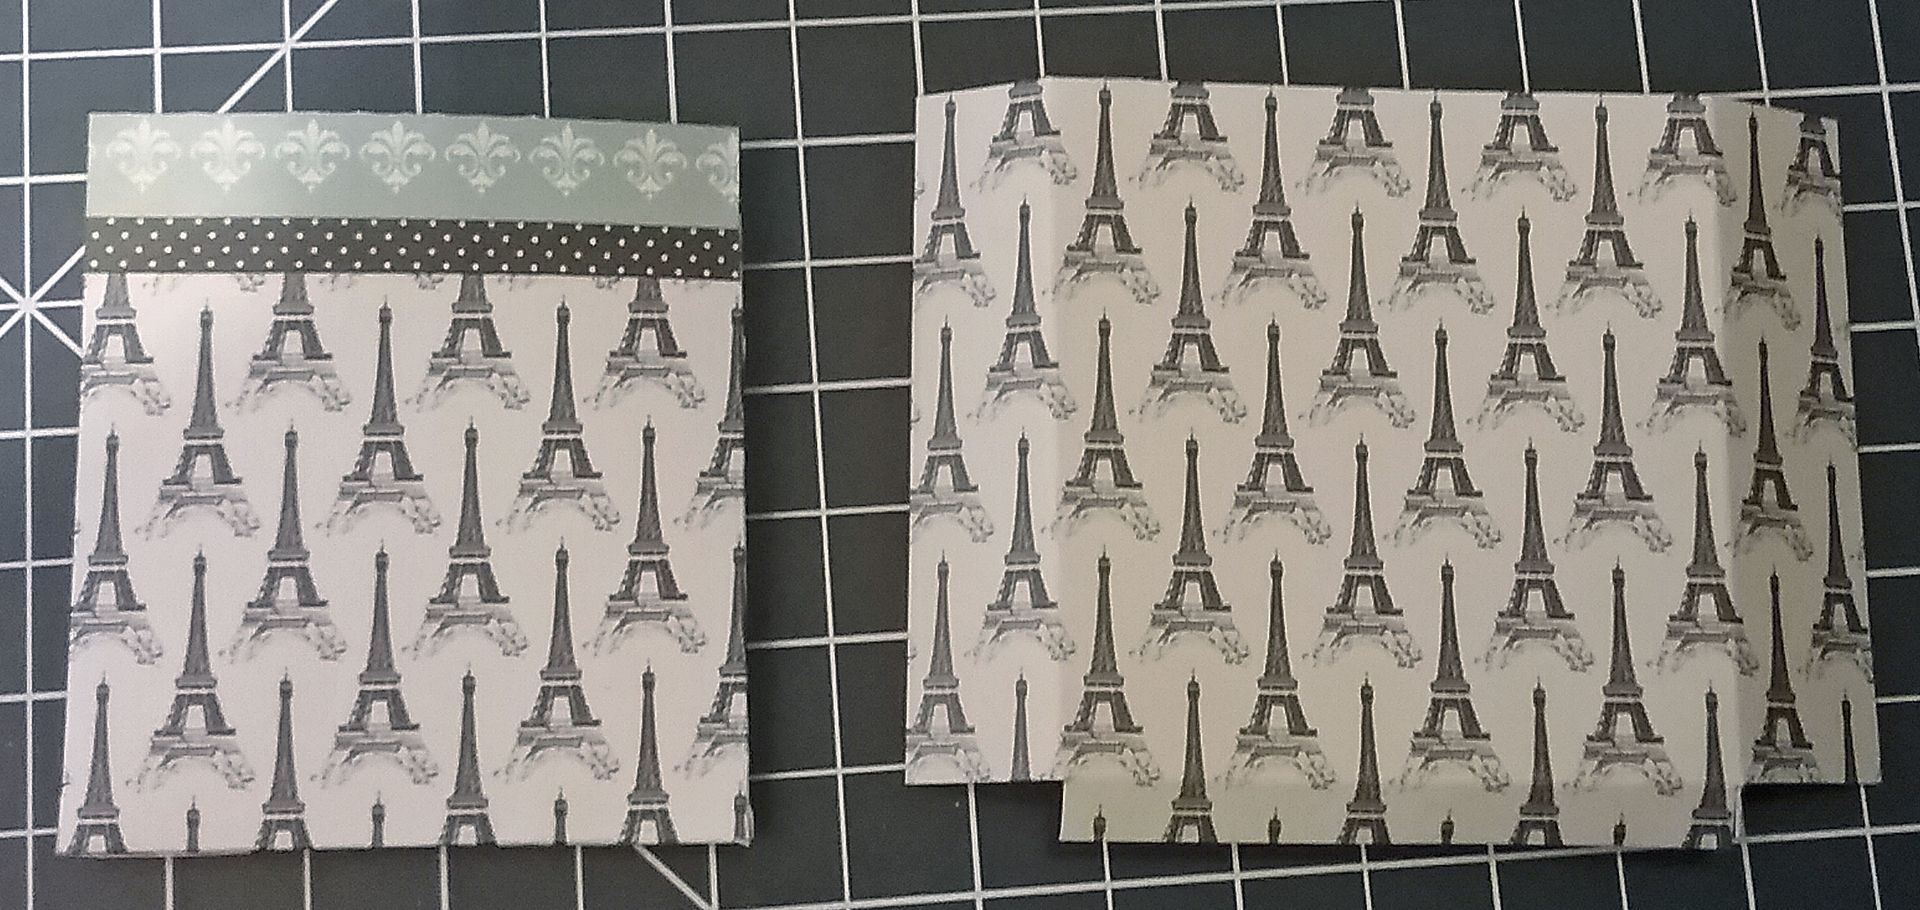
I used some of the Amour paper to create pockets to store the tags.  In the picture below, you can see how I cut the paper for the pockets.
THE DRAWER & FEET
TIP: I rubbed Anne Sloan Soft Furniture Wax on the sides and bottom of the drawer to protect the paint when sliding the drawer in and out. I used a piece of chipboard to divide the drawer into sections for the envelope seals and the faux postage.  I did not paper the drawer's sides, back, and bottom (I used paint for these areas).
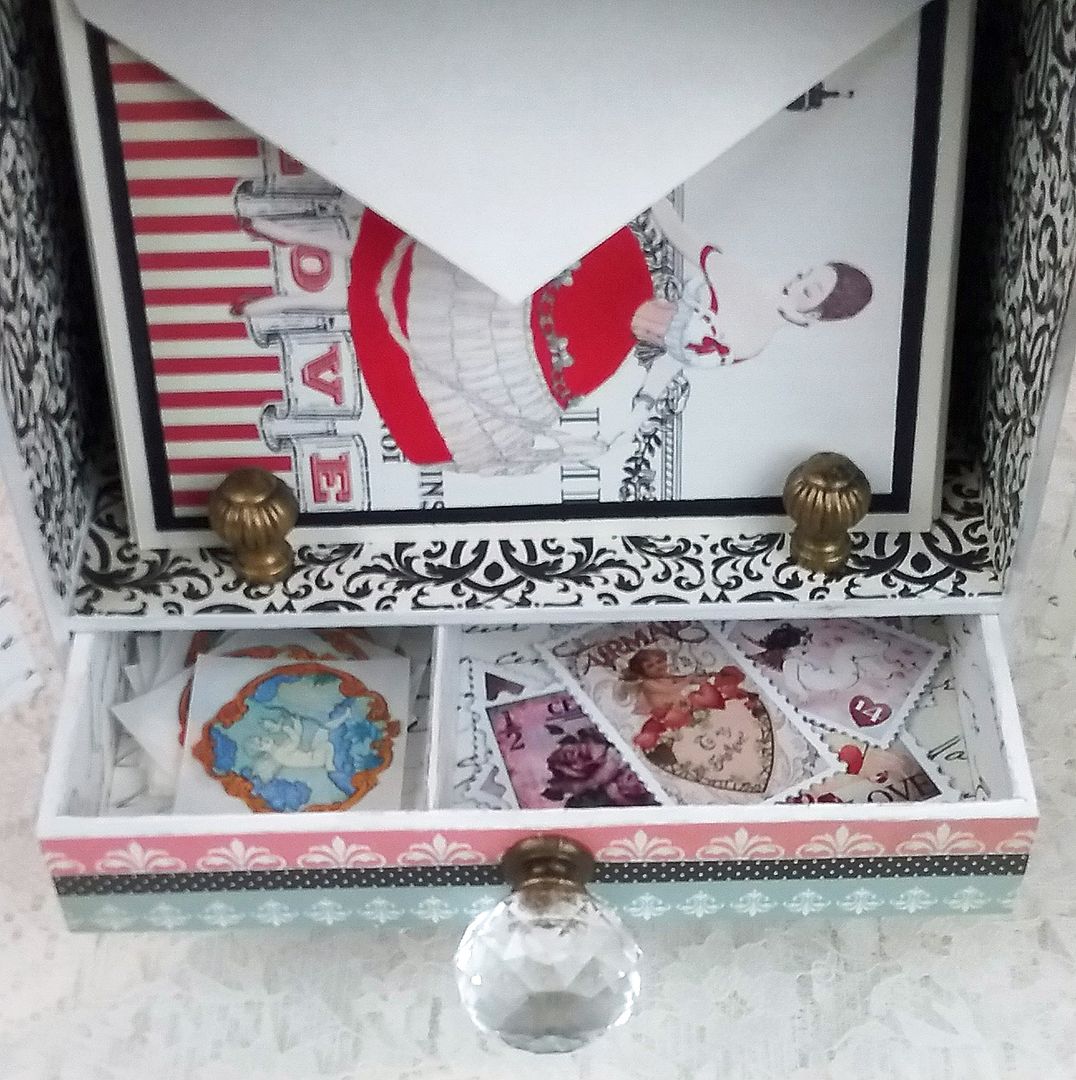
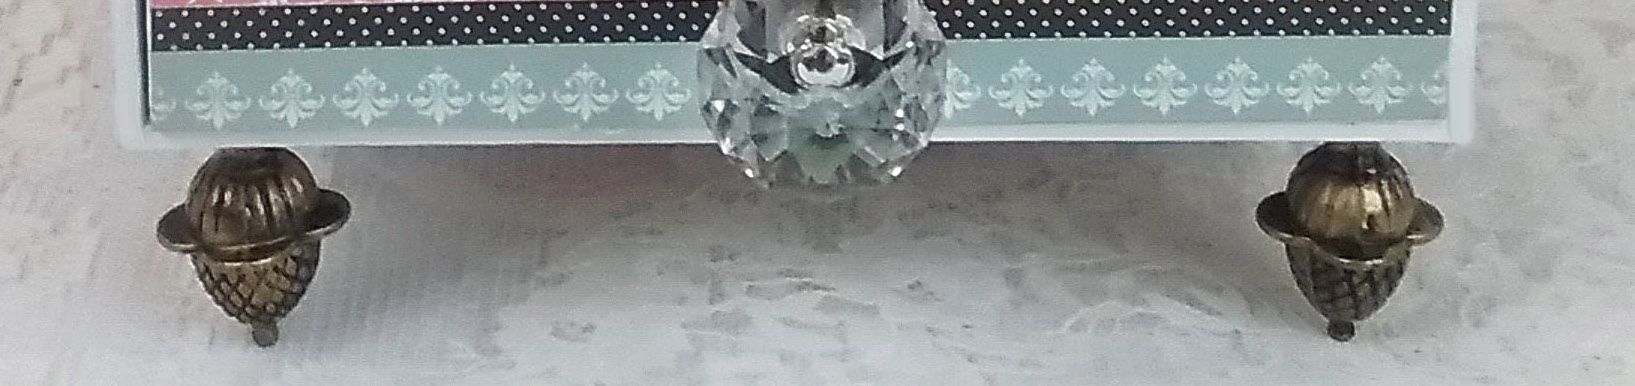
The crystal knob is from a set of antique knobs pictured below.  I also used knobs from this set as feet for the cabinet.


DETAIL SUPPLY LIST
COLLAGE SHEETS / DIGI SETS

PAPER & CHIPBOARD
Amour 6x6 Paper Pad
Amour Border Strips Scrapbook Paper
Amour Tender Hearted Scrapbook Paper
House Shrine with Doors - Medium

HARDWARE
Orleans Antique Knobs Set
Chambery Antique Drawers Pulls Set
Hinges with Brads
Crowned Crest Filigree - Gold
Embossed Metal Box Corners
19mm Fancy Metal Drawer Pull or Box Feet
Antique Square Open Fleur Filigree

MISCELLANEOUS
Tiny Gold Line Stripe Tape
Metal Patinas – Treasured Heirloom

FREE GIFT TAGS COLLAGE SHEET - FEEL FREE TO DOWNLOAD


Wednesday, January 25, 2017

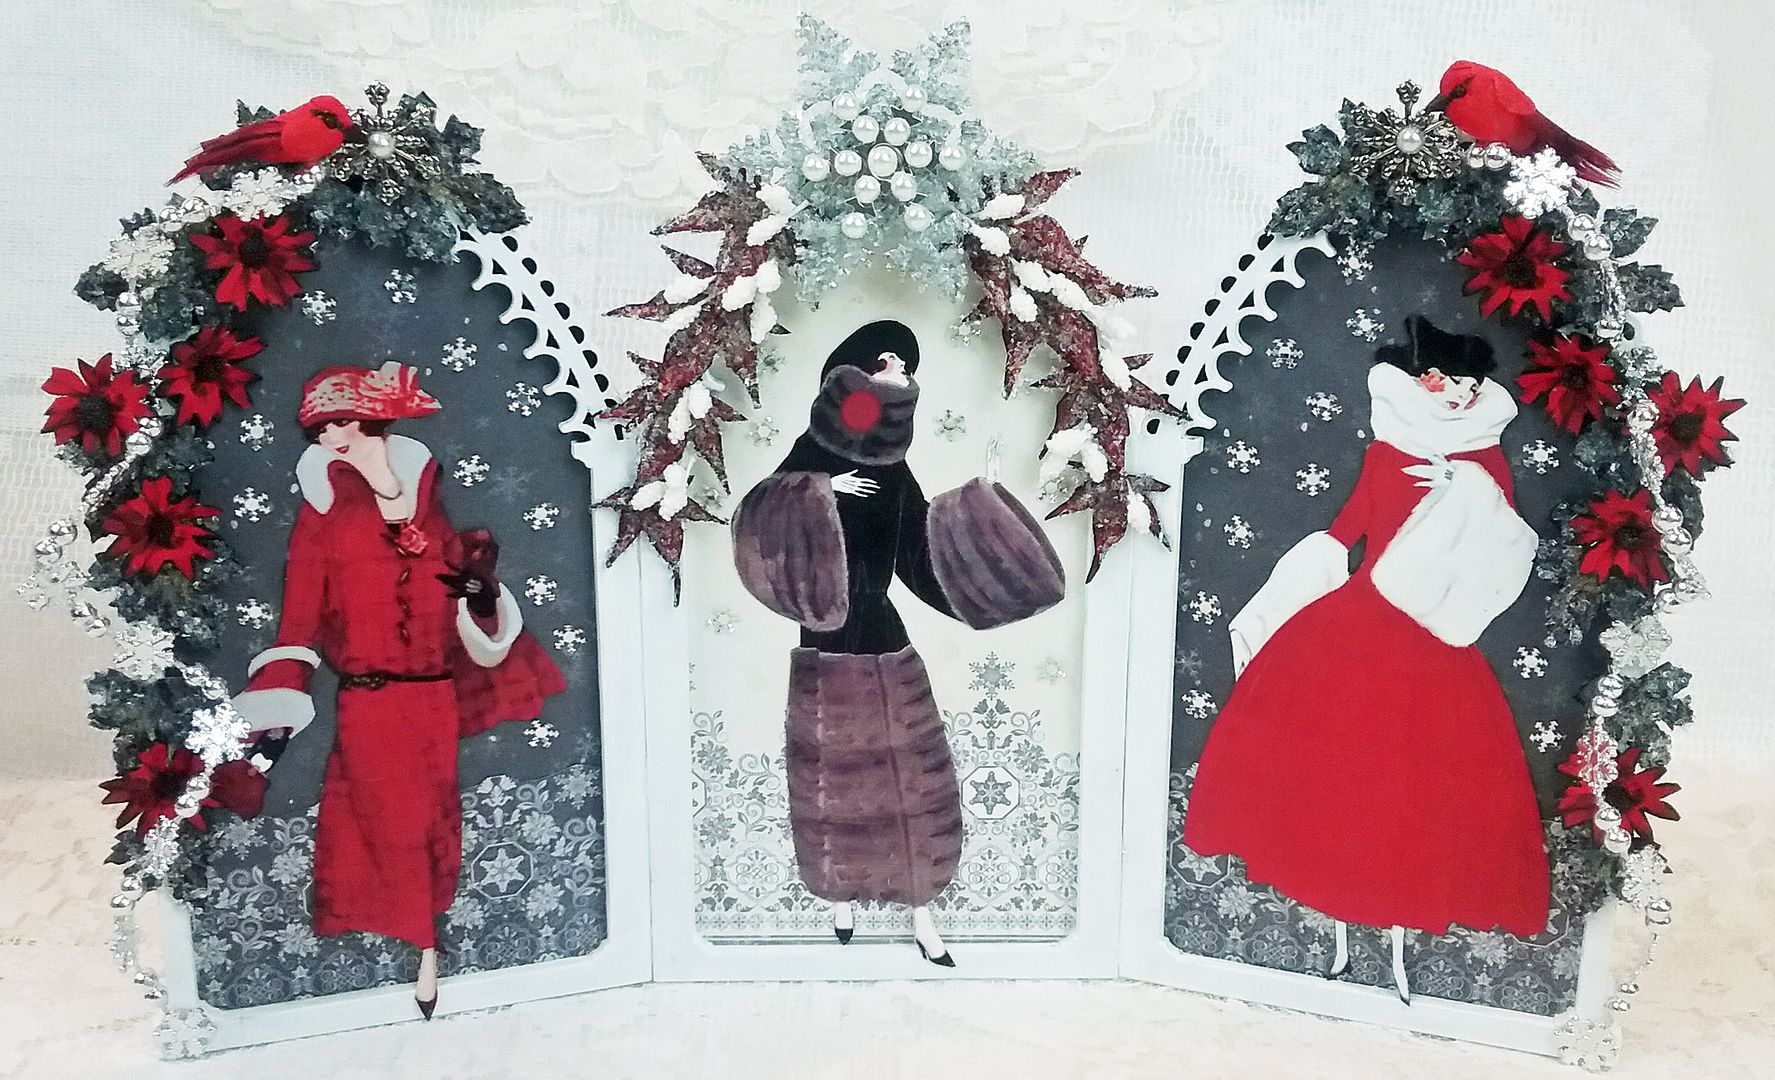
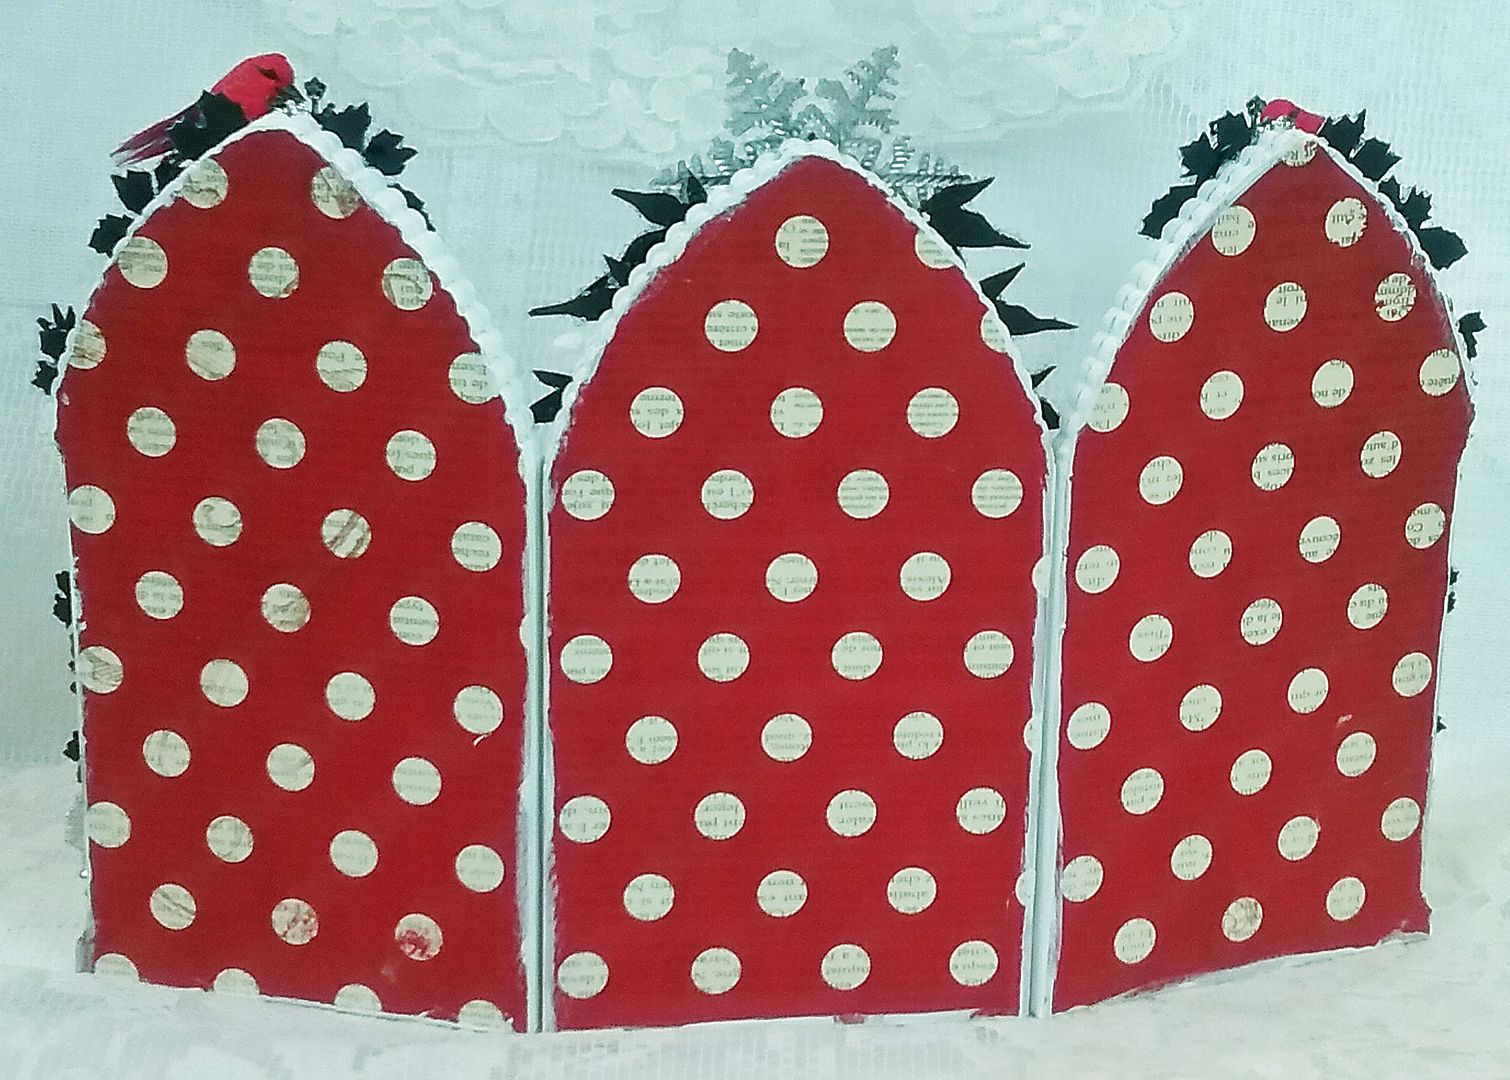
PRETTY IN RED TRIPTYCH - NEW COLLAGE SHEET

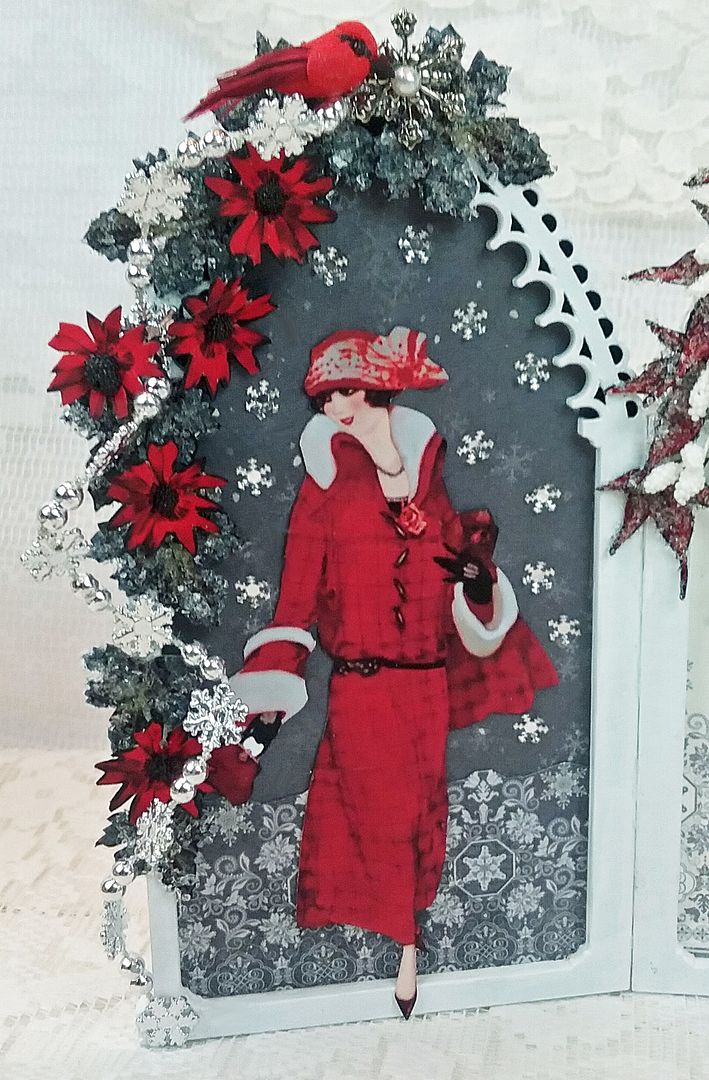
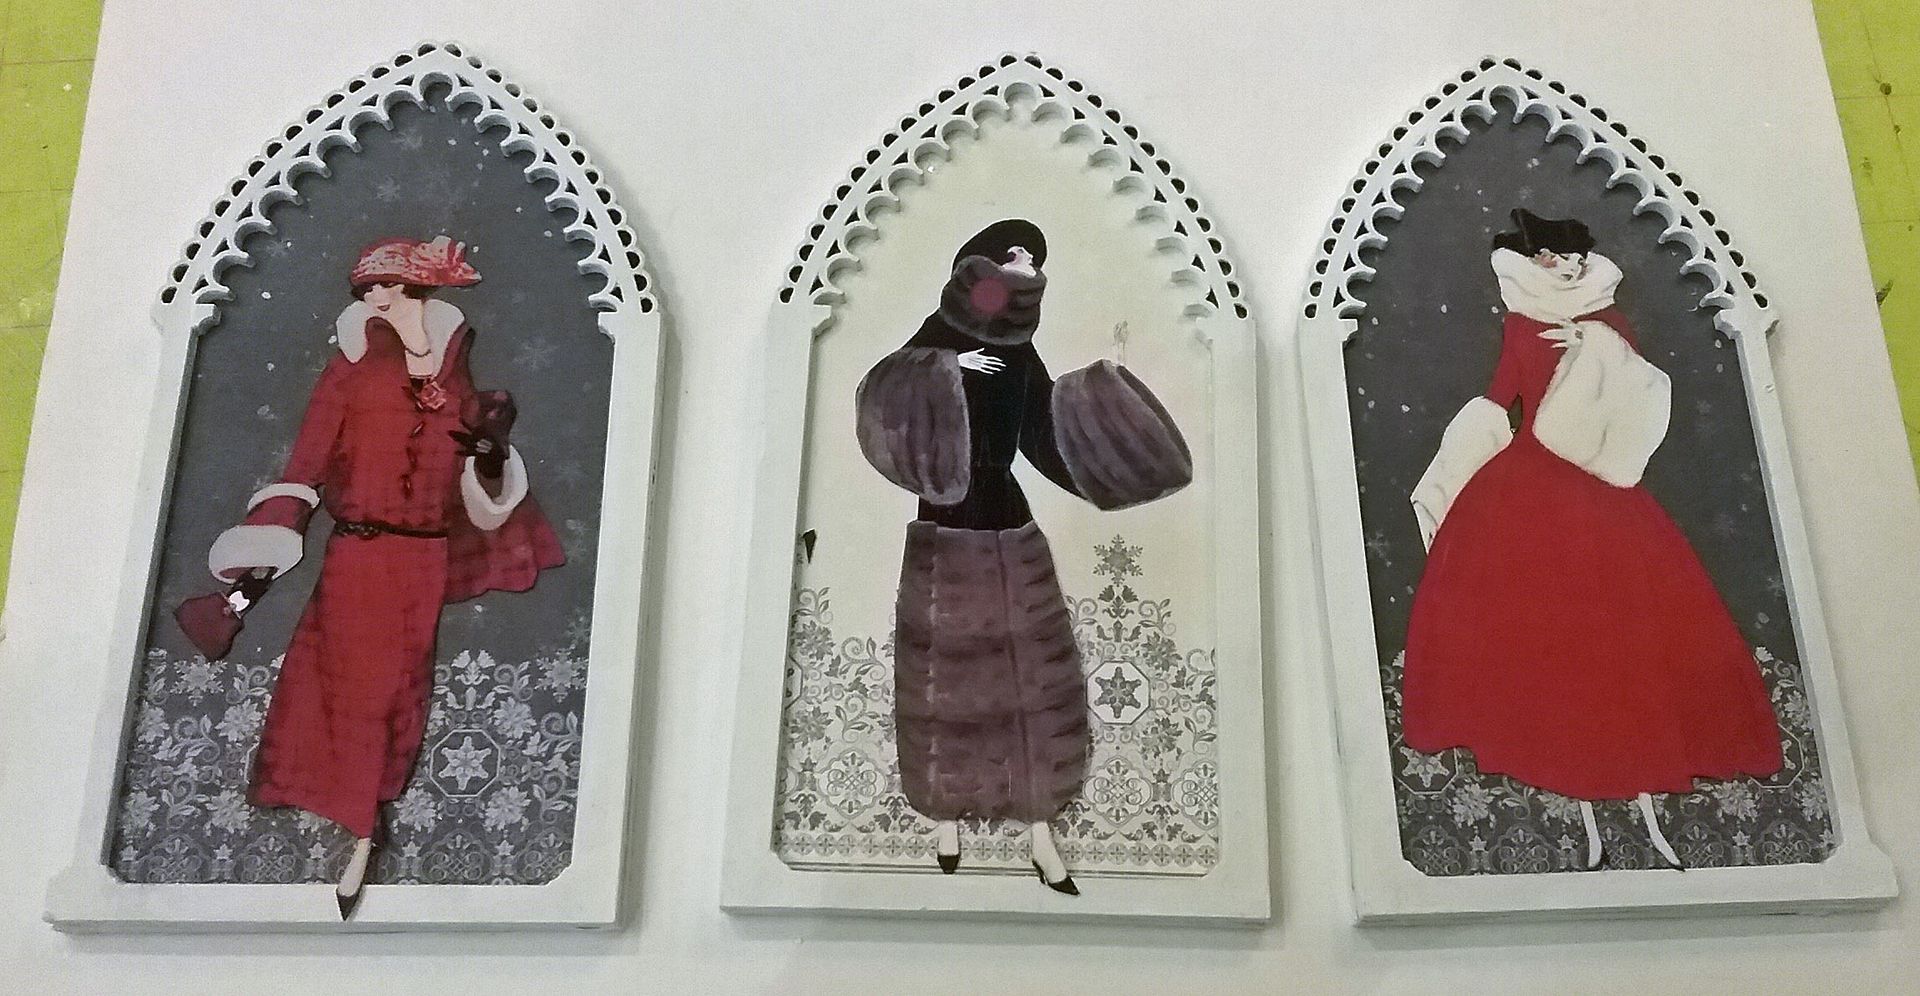
The inspiration for this triptych is lovely ladies dressed for winter, which you will find on my new Pretty in Red Collage Sheet described further down in the post.  The red is a nod to Valentine's.
To complement the color scheme of their coats, I’ve used silver, grey, red and white papers, and embellishments.
In addition to the winter ladies, the new collage sheet also contains coordinating flowers and leaves, which I have used as embellishments.
Just as with the previous Winter Park project, I added lots of icy sparkles using Twinklets Diamond Dust.


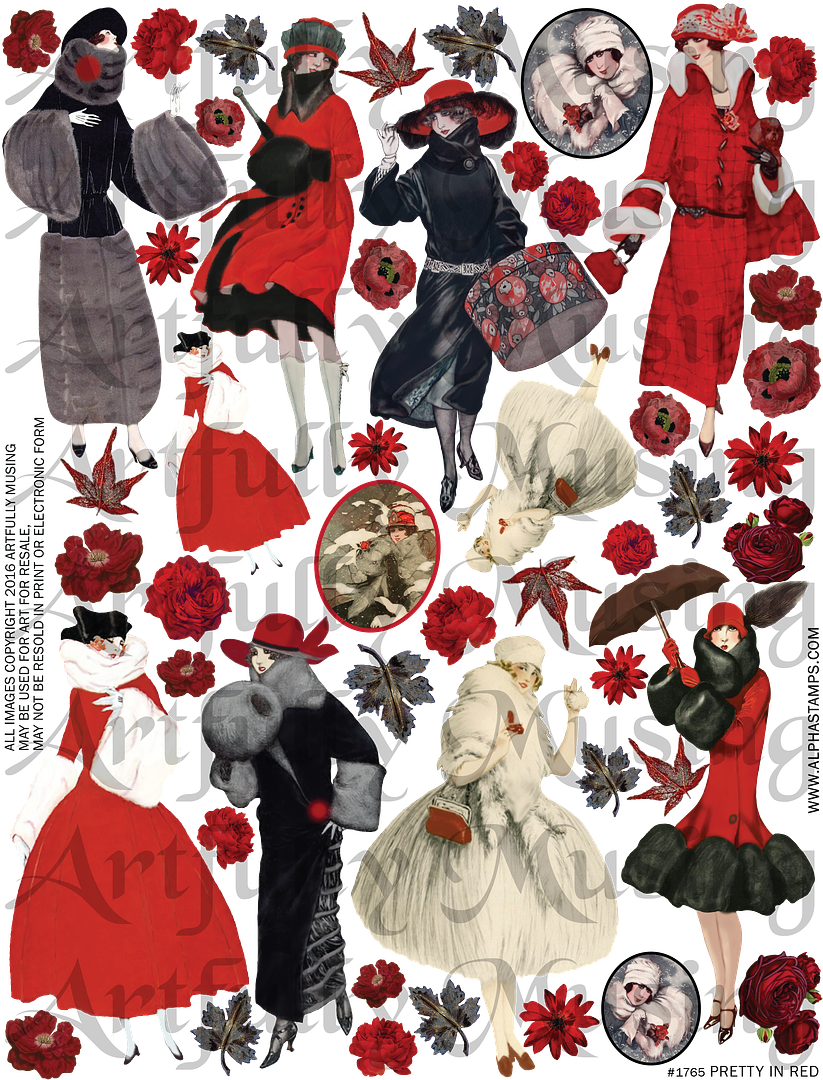
This collage sheet contains 8 large versions of lovely ladies dressed for winter, two smaller-sized ladies, three winter cameos, and a variety of complementary red flowers and leaves.  Click on the image below to purchase this sheet.

THE DETAILS
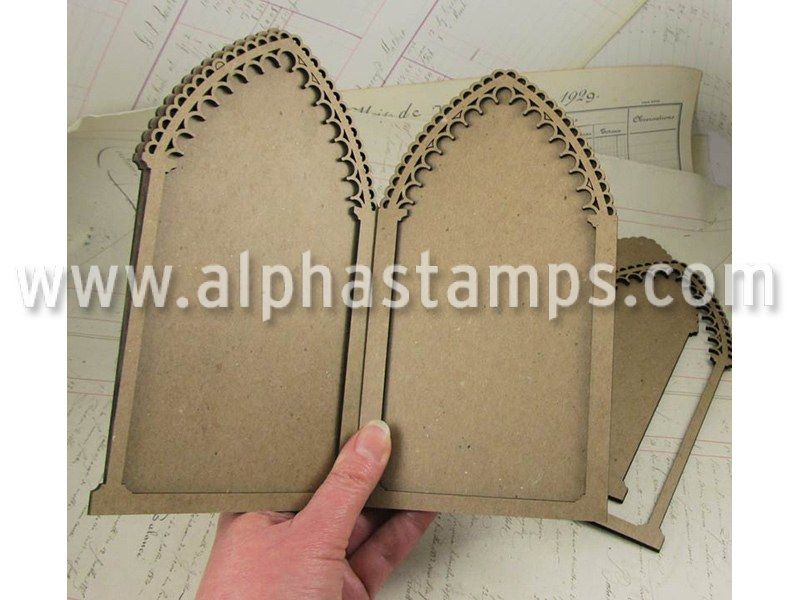
The base of this piece is made from a three-panel die-cut chipboard triptych; for each panel, there is a solid back and a front frame.
I started by painting all of the panel pieces white.  I attached paper from the Winter Wishes 6x6 Paper Pad on the back piece.  In the center of each panel, I attached one of the lovely ladies from my Pretty in Red Collage Sheet.
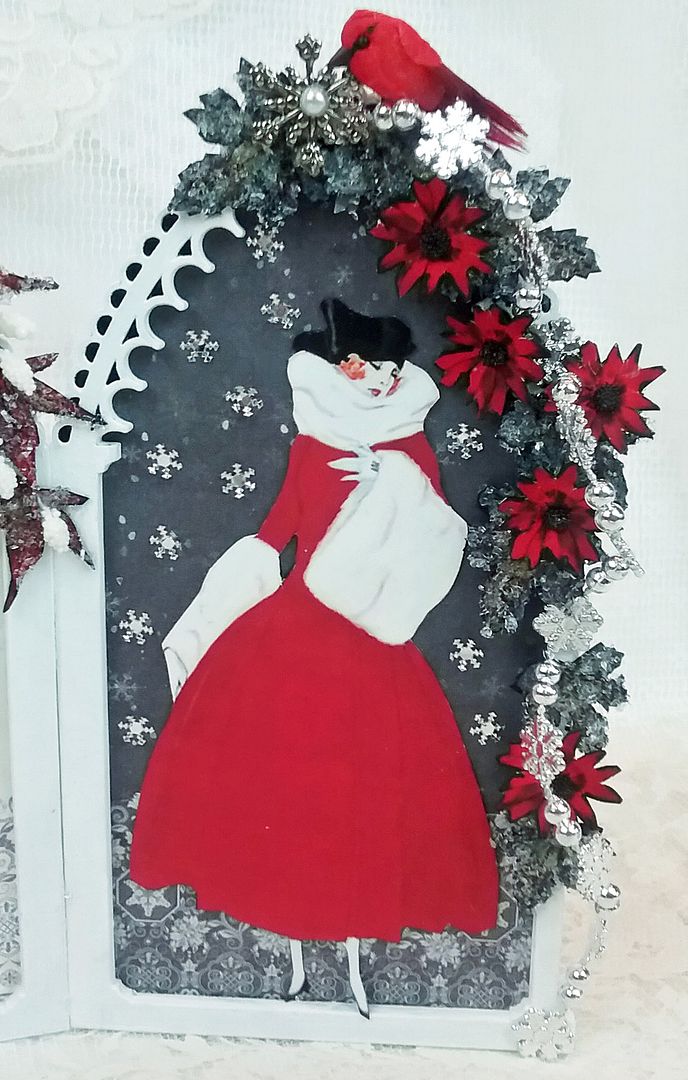
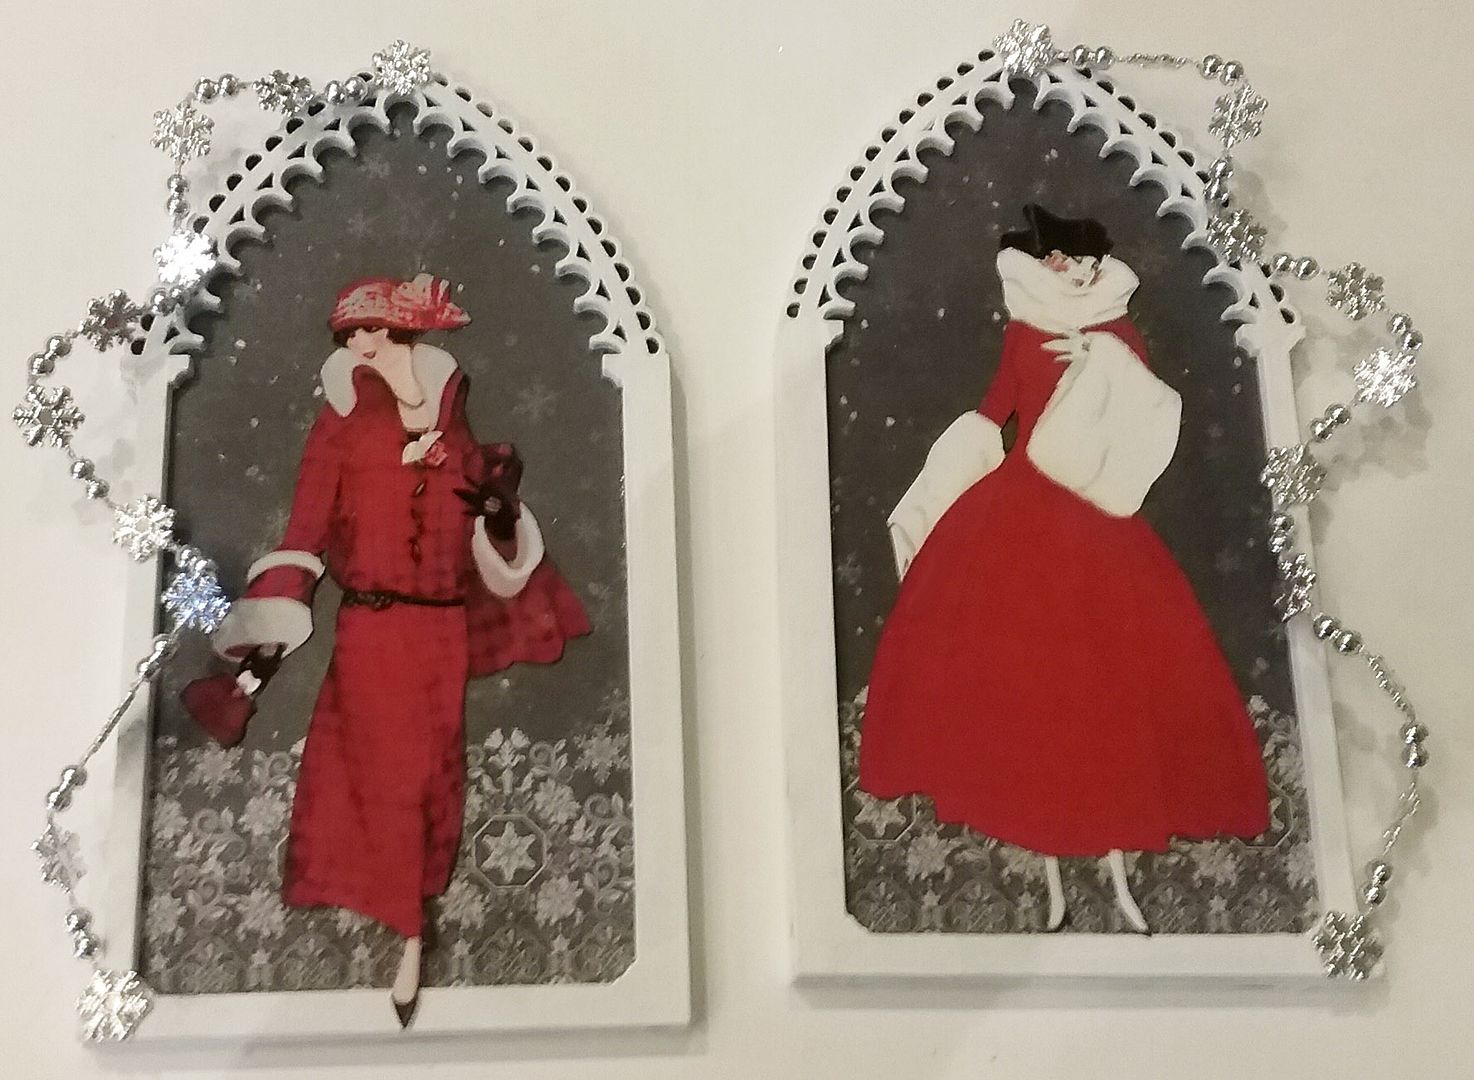
The embellishments on each of the side panels are the same.  I started by attaching a silver snowflake garland (using E6000) from my stash.
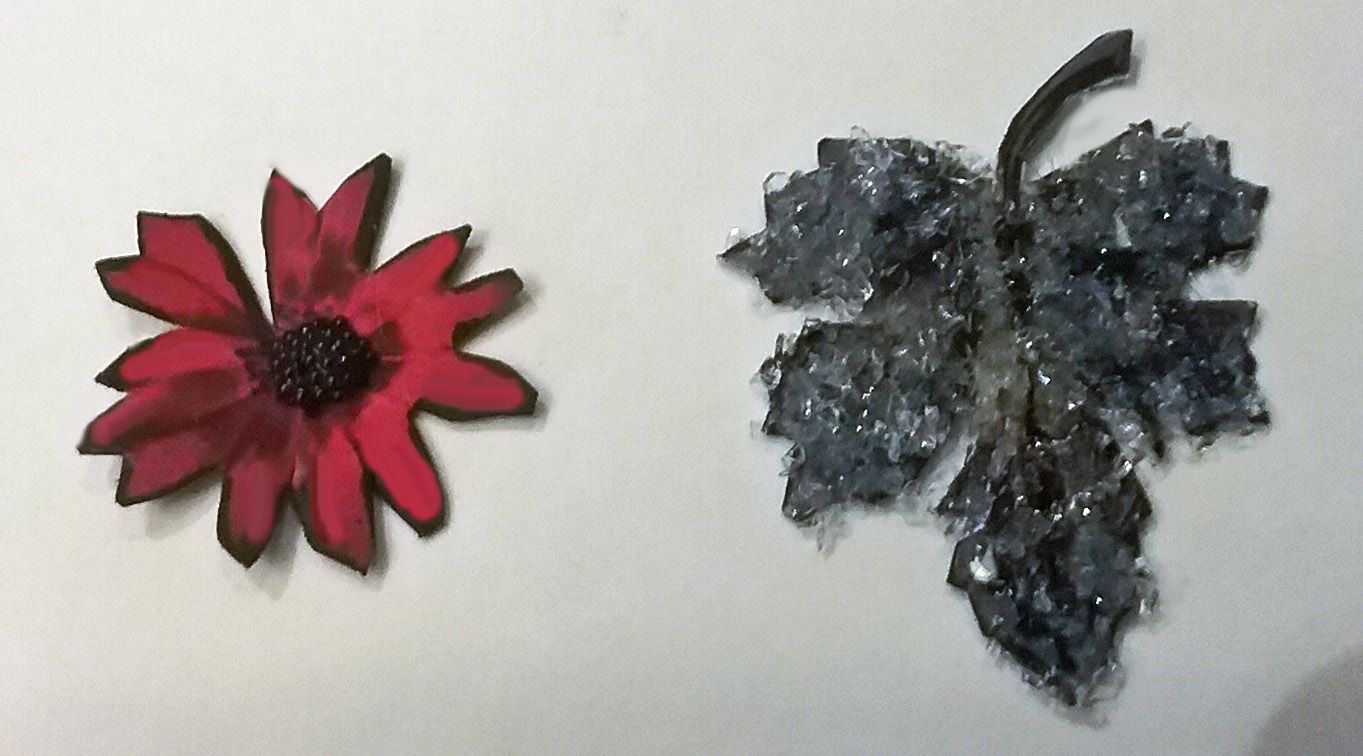
Next, I used flower and leaf images from the Pretty in Red collage sheet, backing them with lightweight cardstock for support.  To give the flowers and leaves more interest, I used black microbeads in the center of the flower and Twinklets Diamond Dust on the leaf (attached with Glossy Accents).
TIP: To create more dimension, fold the petals of the paper flower forward.
At the top, I added a mini cardinal and a silver snowflake charm with a flat-back pearl.
I used thin silver snowflakes on all the panels to dress up the area around the ladies.
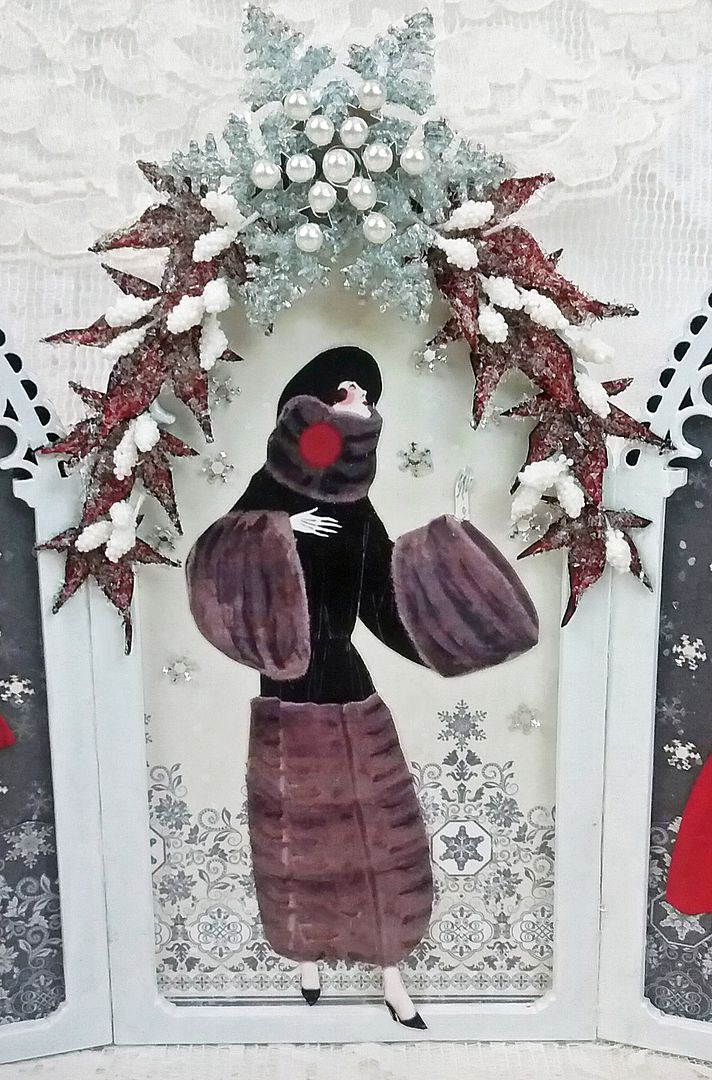
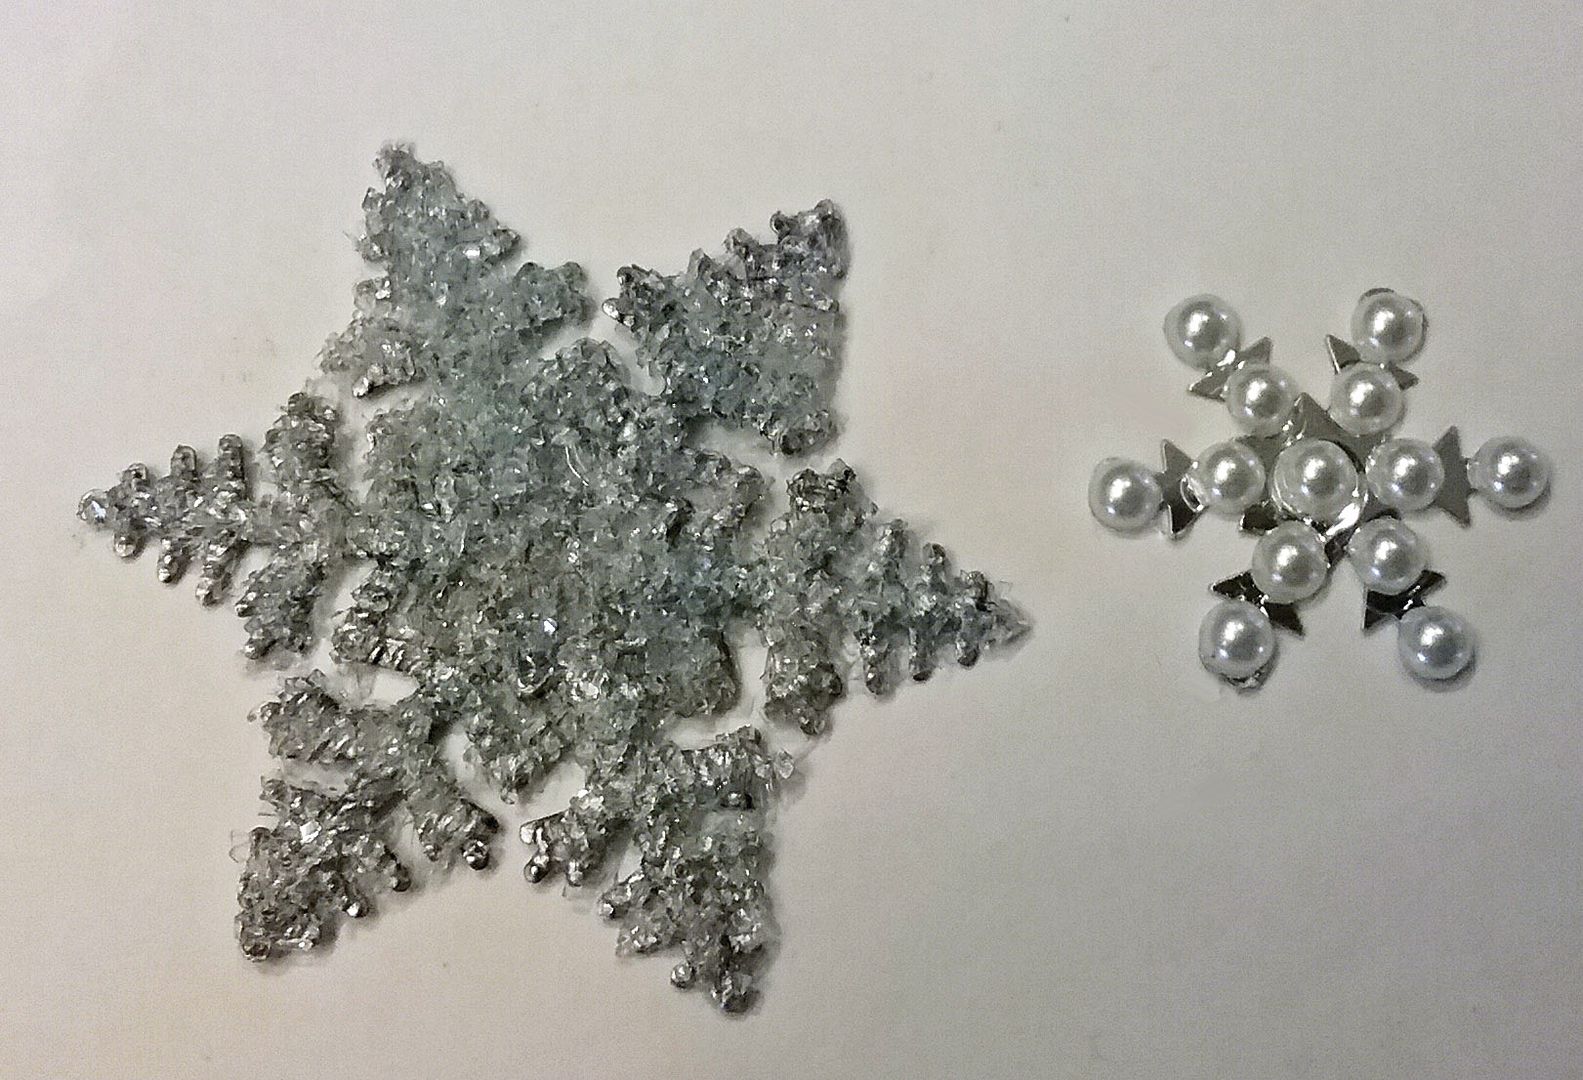
For the center panel, I covered red leaves from the collage sheet with Diamond Dust and made a centerpiece using a giant silver snowflake covered with Diamond Dust.  I then attached flat-backed pearls to a snowflake sequin from my stash.  I layered the sequin on top of the giant snowflake.
I inserted white foam stamen in between the red leaves.
I used E6000 to glue the three panels together.
 
I covered the backs of each of the pieces with Double Dot Chevron scrapbook paper.

DETAILED SUPPLY LIST
Winter Wishes 6x6 Paper Pad
Double Dot Chevron Scrapbook Paper – Wild Berry
Arch Top Reliquary – Large Triptych
Twinklets Diamond Dust
Giant Snowflakes - Silver
Silver Snowflake Charms
5mm Thin Silver Snowflakes
½ Inch Mini Cardinals – Set of 3
Tiny Mixed Sized Flat-Back Pearls
White Foam Stamen

Saturday, January 21, 2017

WINTER PARK - Video Tutorial - New Collage Sheet & Digi Image Set

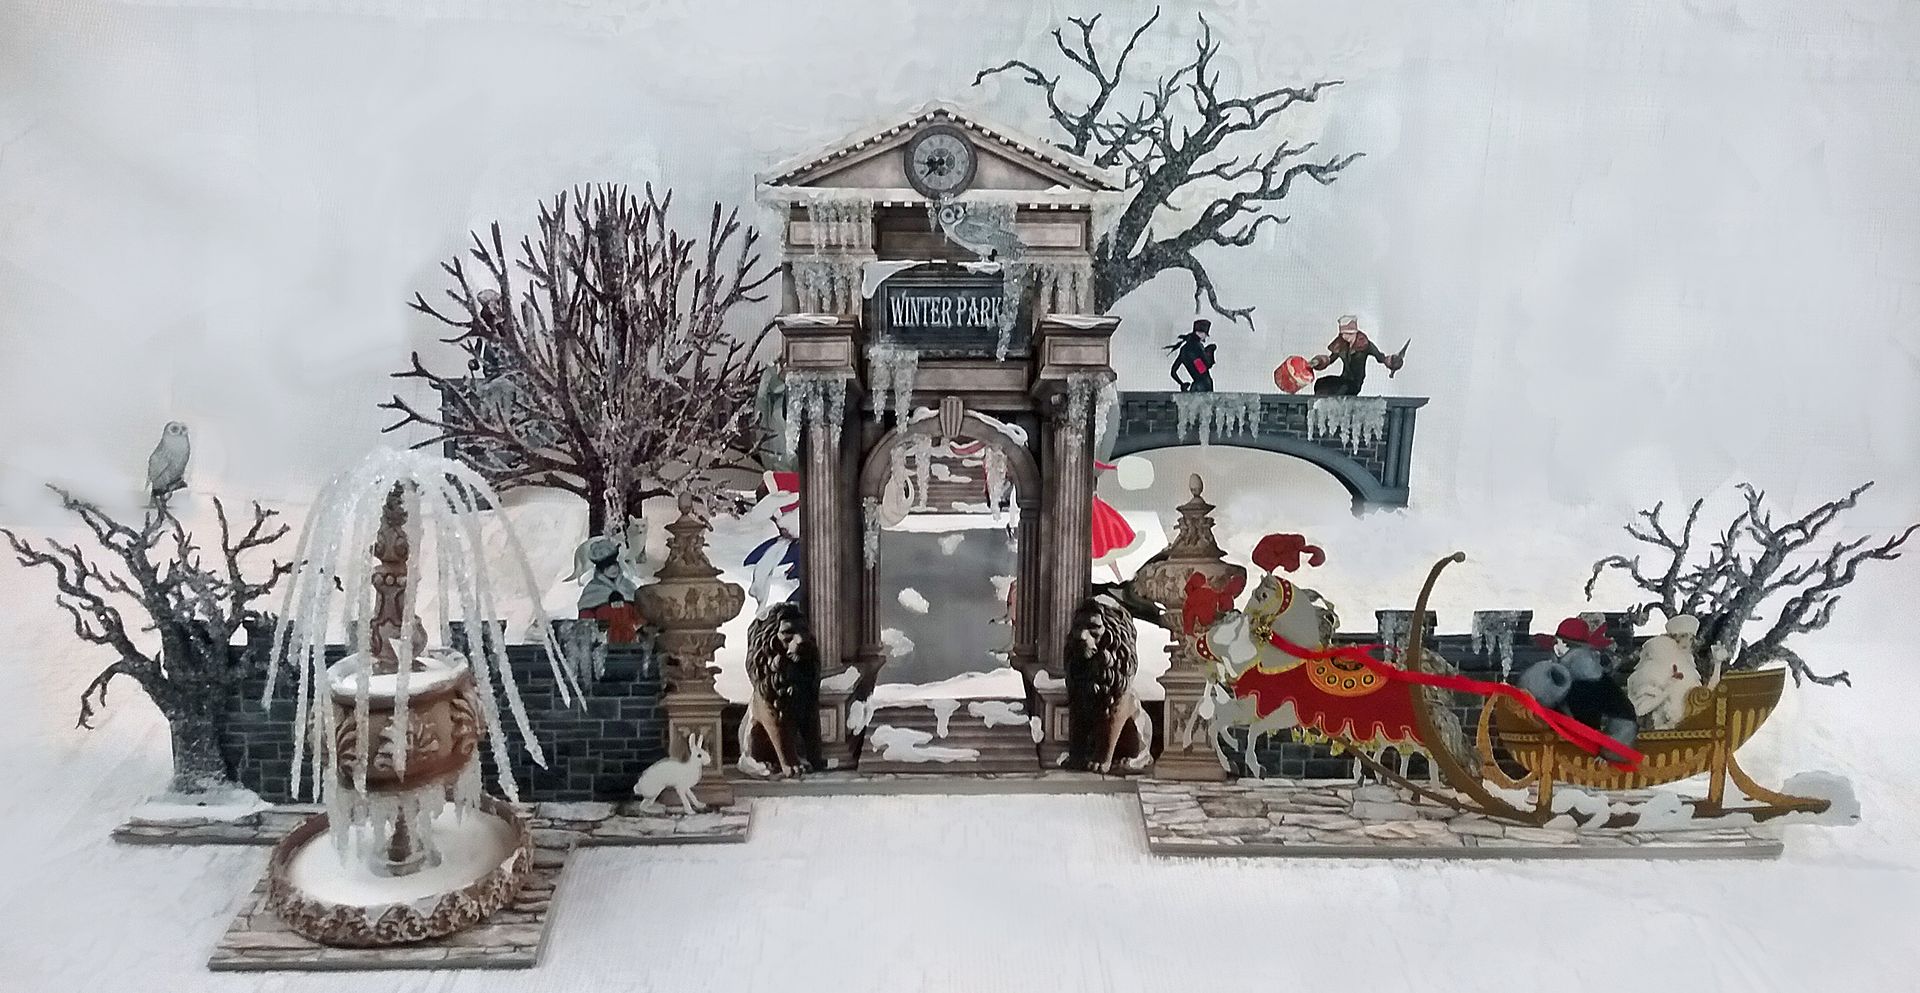
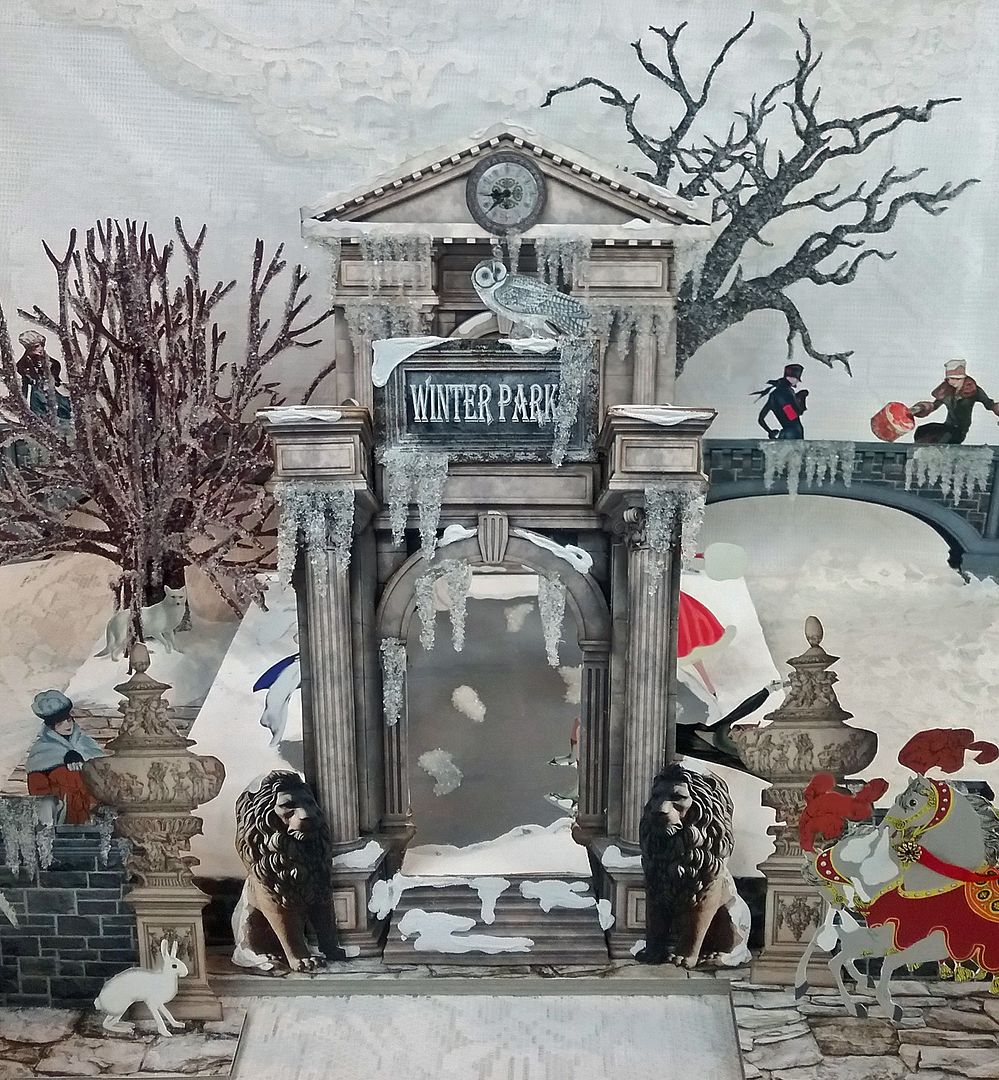
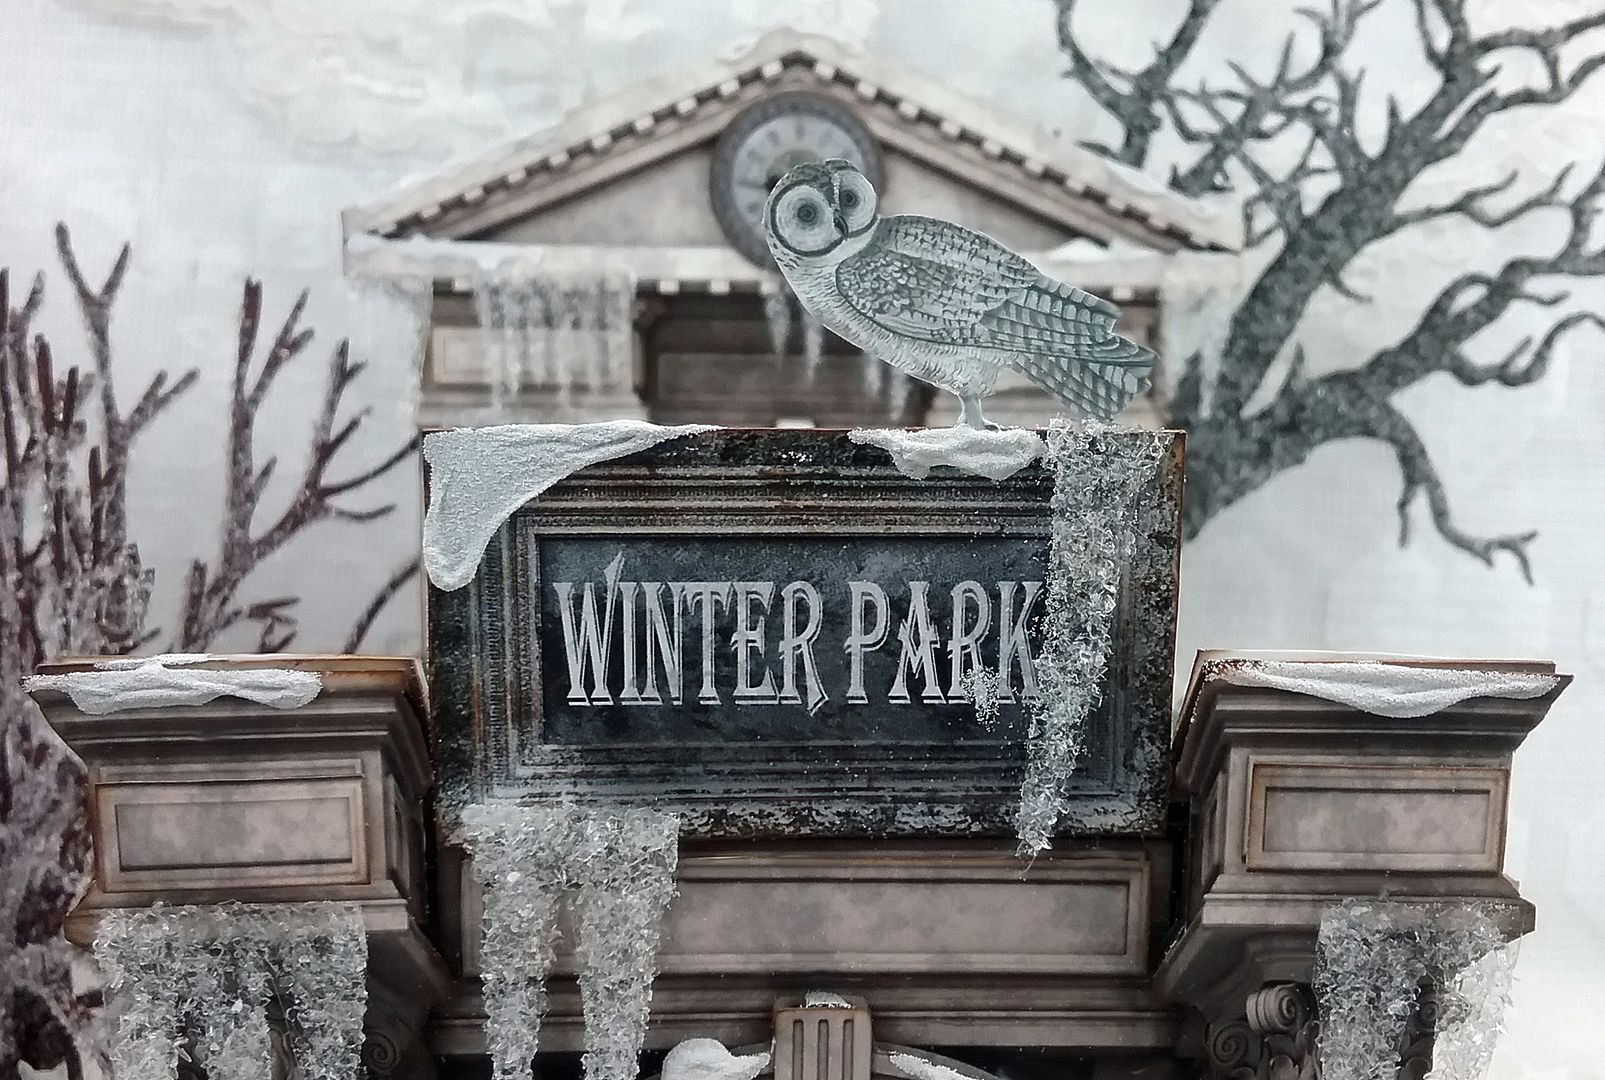
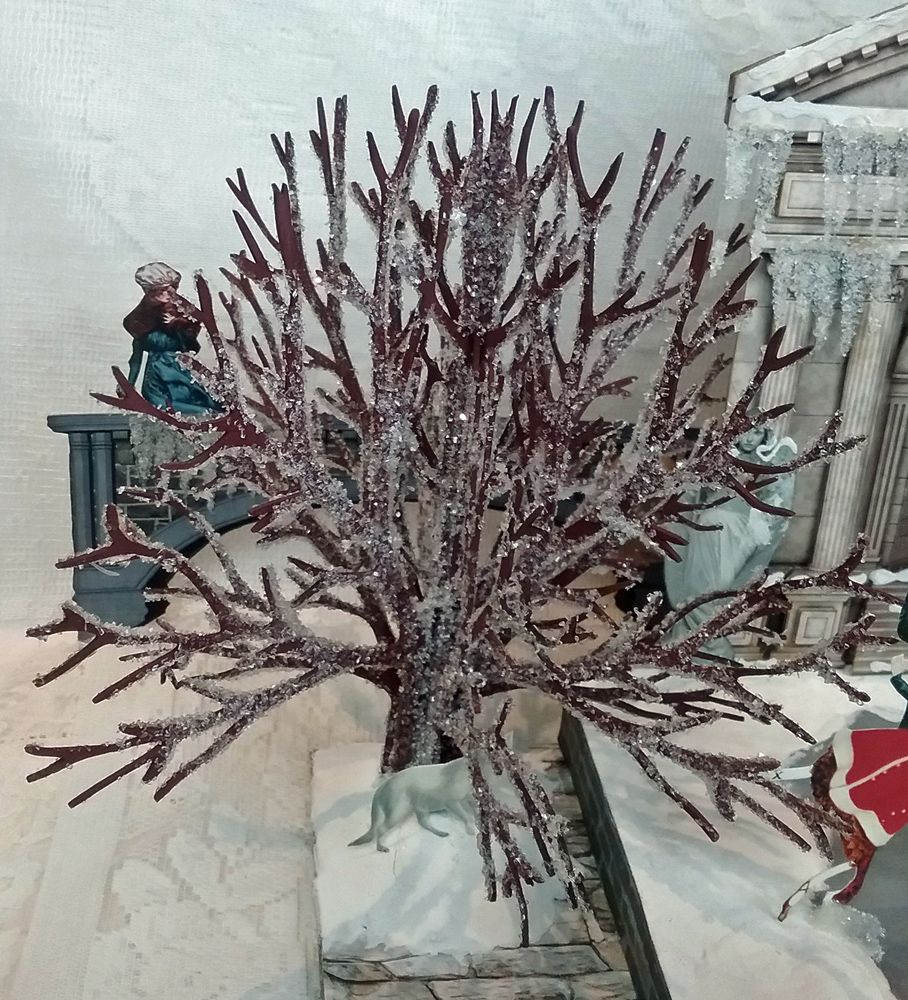
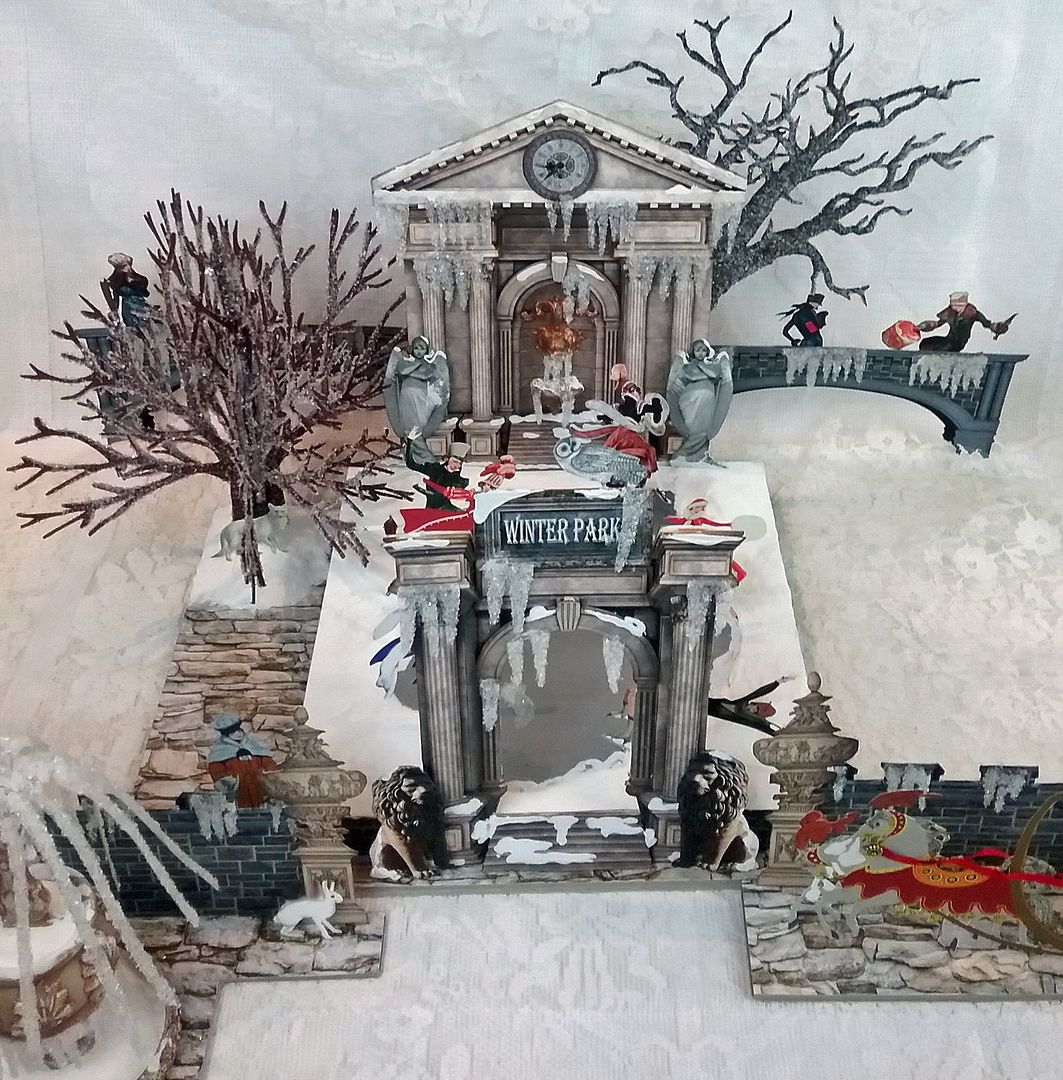
It’s a beautiful day at Winter Park.  The sunshine turns the park into a magical place as the sun bounces off the ice-crusted trees and structures.
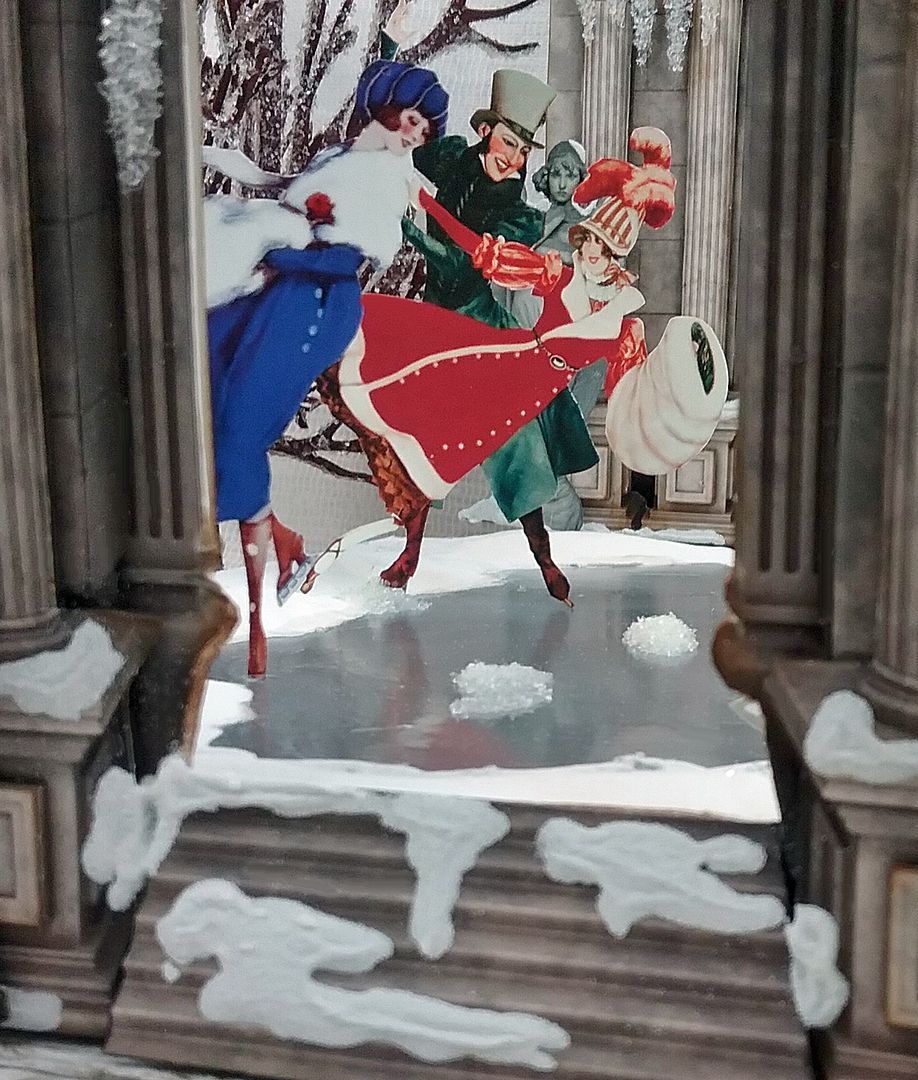
Skaters are taking advantage of the break in the wintry weather and enjoying skating on the park’s frozen pond; some are more graceful than others.
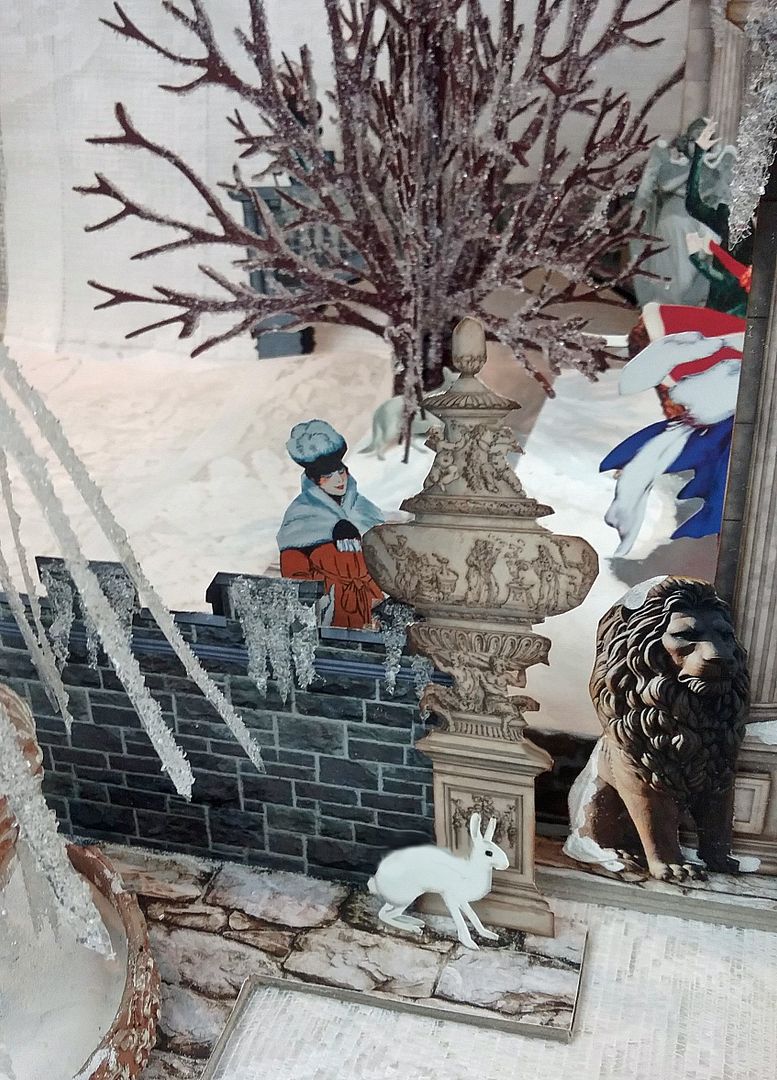
If you look closely, you’ll see small creatures enjoying the beautiful weather.
The fountain's cascading sprays are frozen in place, creating a beautiful ice sculpture, and trees are dressed in glistening ice.
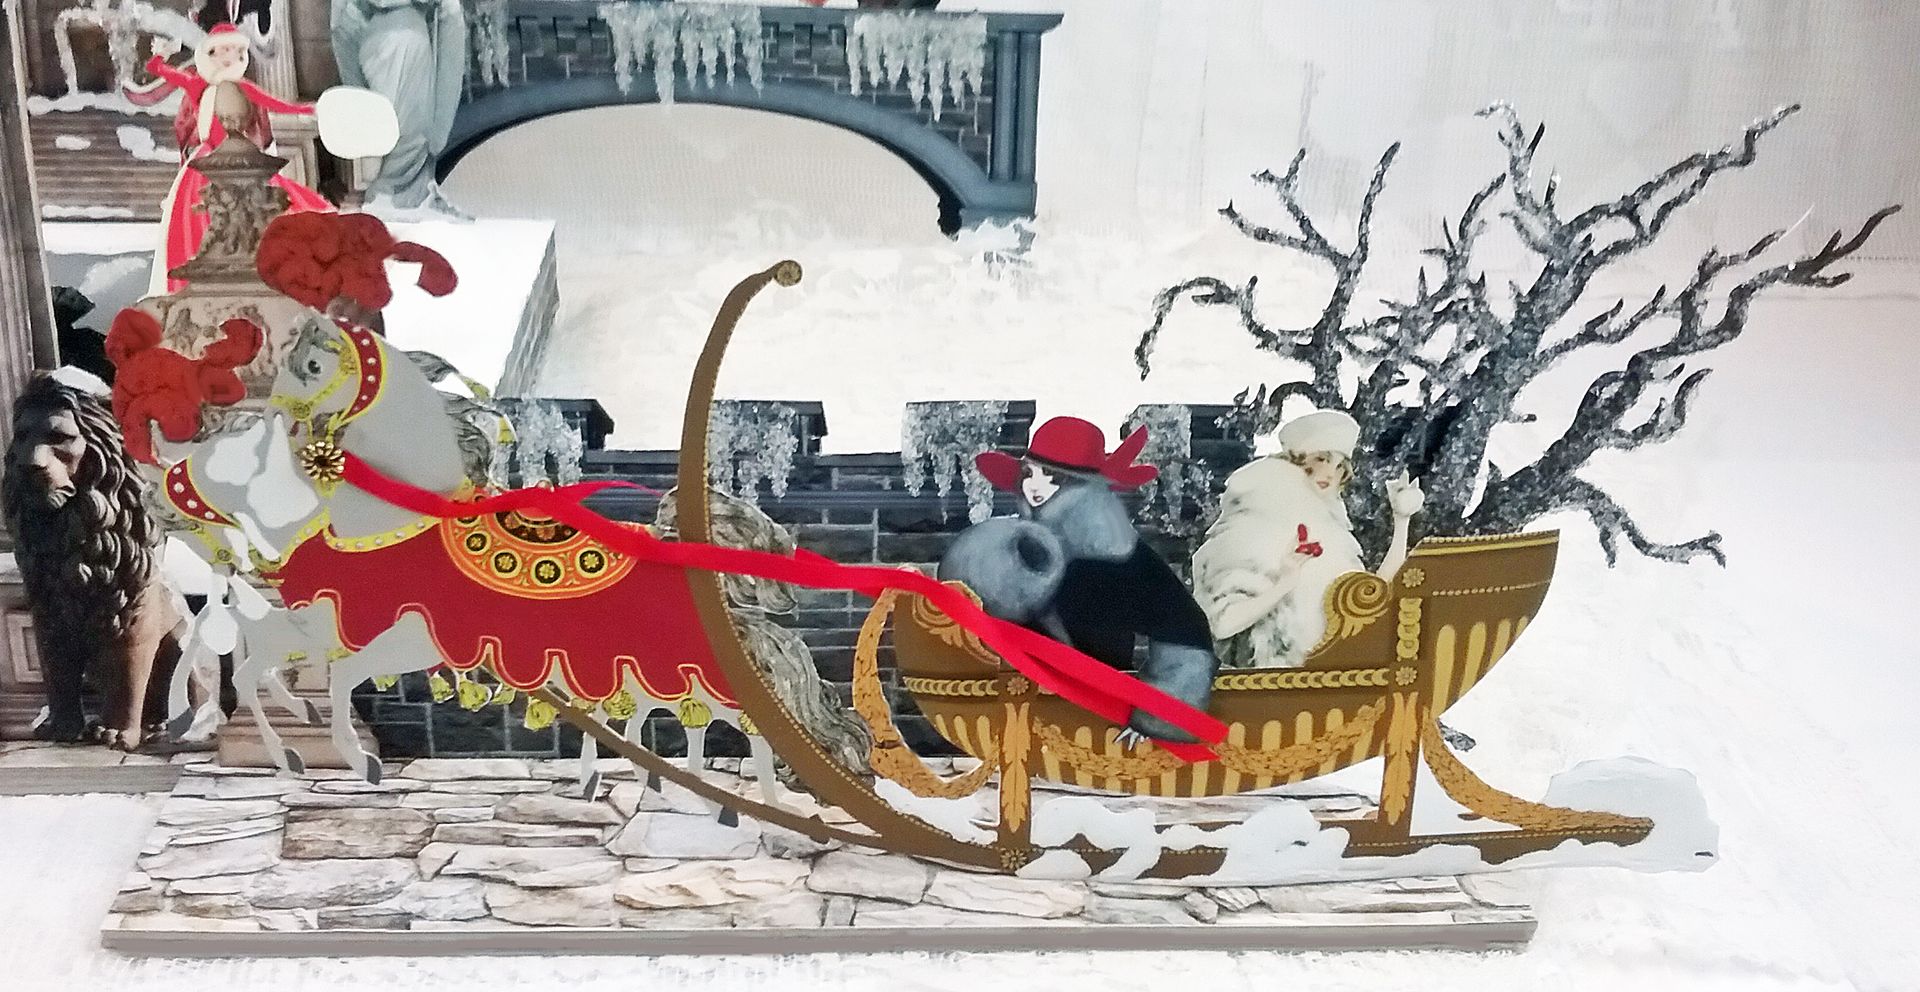
A fancy horse-drawn sleigh chauffeuring fashionable ladies passes by. You’ll find out about these cuties and more in my next project.
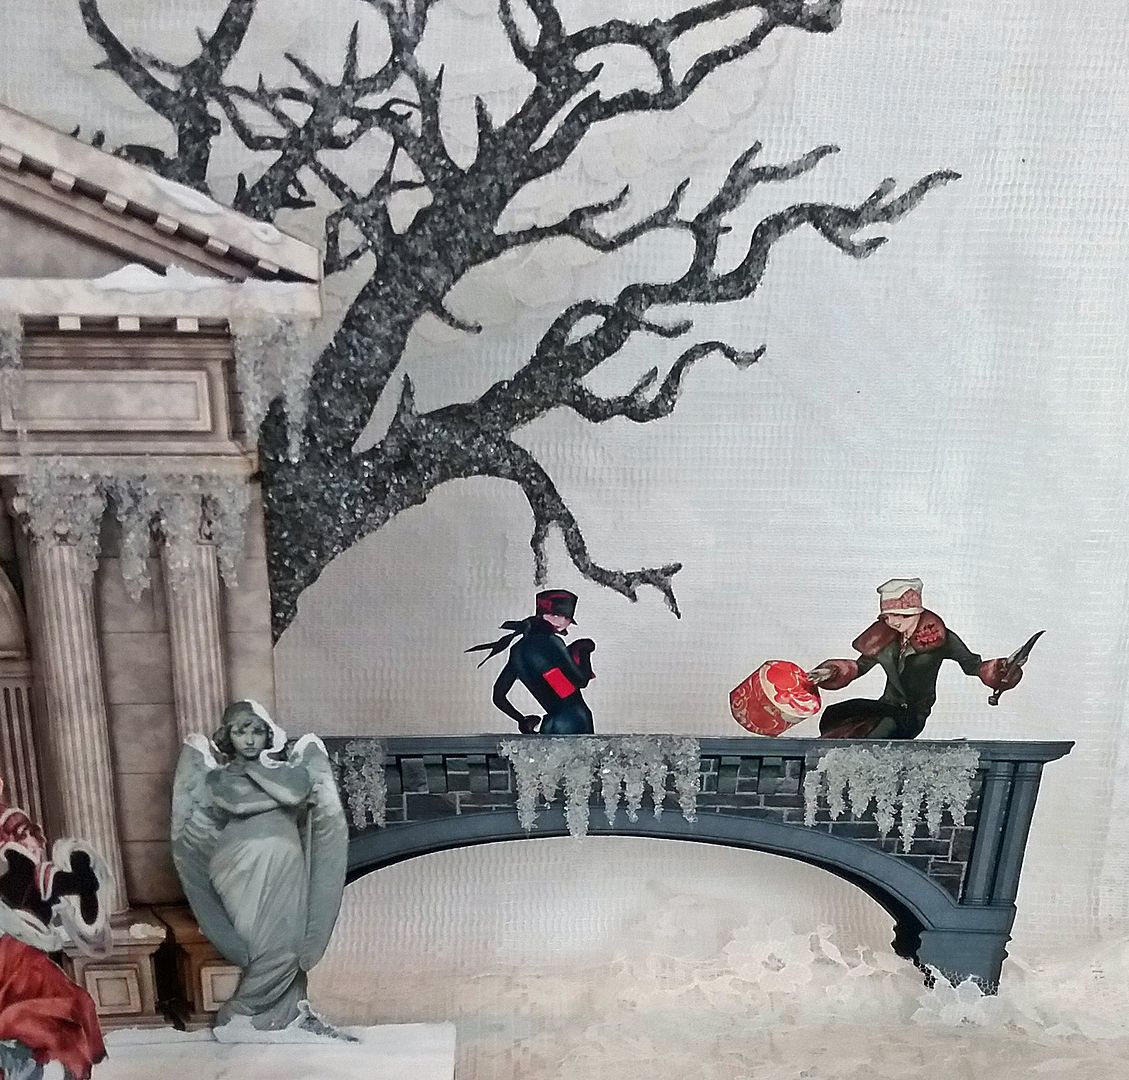
Looks like some have used the break in the weather to shop.

The overall dimension of this piece is 24” x 16”.  You might be thinking that it’s large, but the good news is that it is made of multiple pieces that you can easily store separately.  Because it's modular, it also makes it easy to tackle as much or as little of the project as you like.

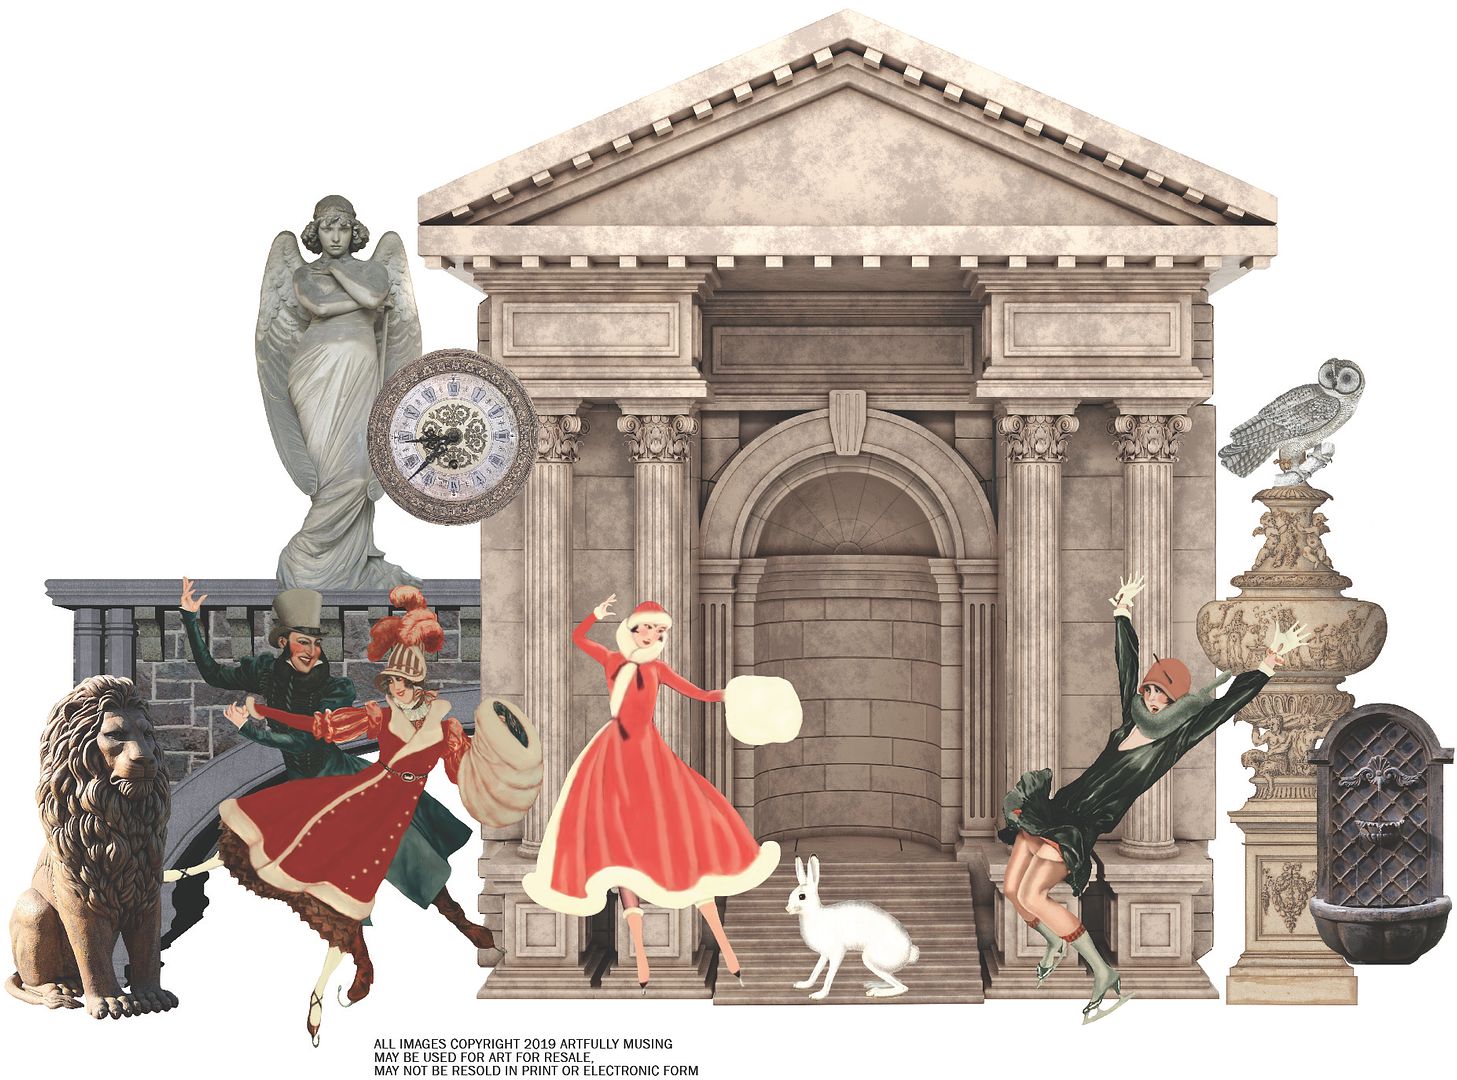
To complement this project, I created a new collage sheet, “Ice Follies,” and a new digital image set, “Winter Park.”

This winter-themed collage sheet contains ladies and a gentleman frolicking on the ice and a beautiful sleigh pulled by horses.  Click on the image below to purchase this sheet.


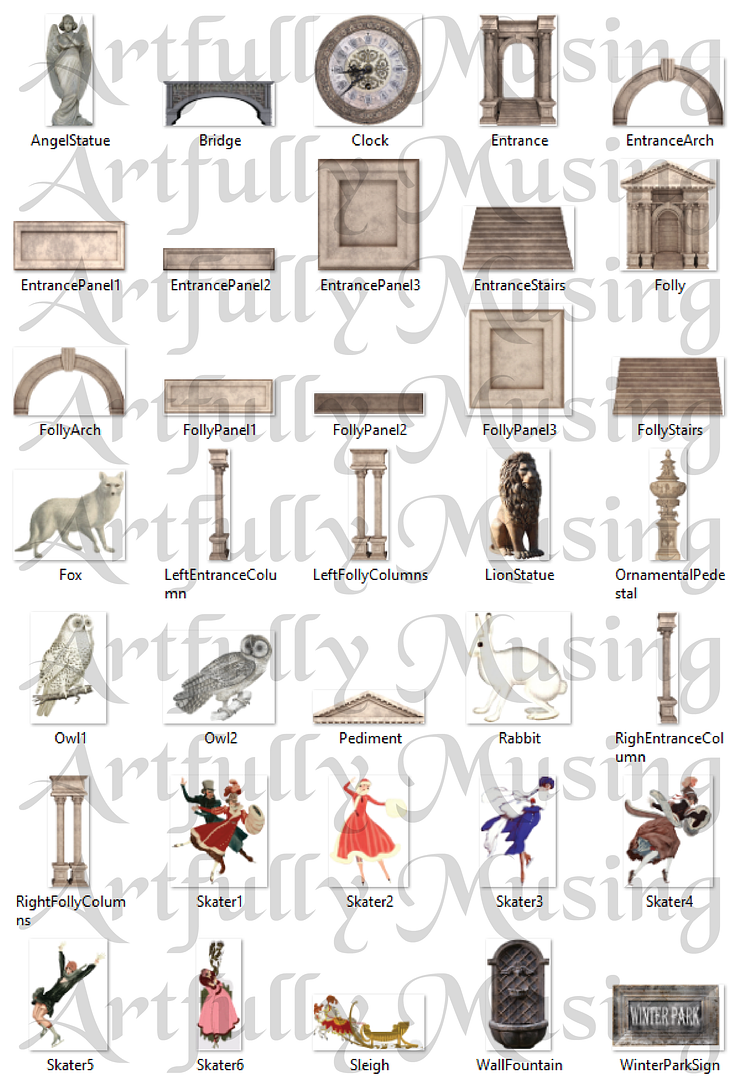
This image set contains architectural pieces that can be used to create a winter park or other outdoor scene.  It also includes the skaters and sleigh found on the Ice Follies collage sheet for a total of 35 images. Click on the image below to purchase this set.

In the video tutorial below, I’ll be covering:
- How to assemble the pieces
- Creating dimension with paper
- How to suspend paper images
- Making Icicles
- Snow
- Frozen pond with skaters
- Building a fountain

VIDEO TUTORIAL


DETAILED SUPPLY LIST
Brick Wall Scrapbook Paper
Provencal Cobblestone Scrapbook Paper
Creepy Tree 8”
Creepy Tree – 5 Inch
3D Chipboard Tree – 6 Inch
3D Chipboard Tree – 8 Inch
Cottage Base – 9x9x1
Twinklets Diamond Dust
Clock, Finial & Borders Silicone Mold
Silicone Mold – Ornaments & Settings
Creative Paperclay – For fountain & snow mounds
Lavabo Fish & Basin Wall Fountain Set
Wood Finial Chess Pawns
Embossed Round Paper Mache Box – 3 Inch – Lid for fountain base
Tiny Wooden Flower Pots – For the top of the fountain
1/8 Inch Red Satin Ribbon
Metal Patinas – Antique Copper
Guilders Paste - Patina