

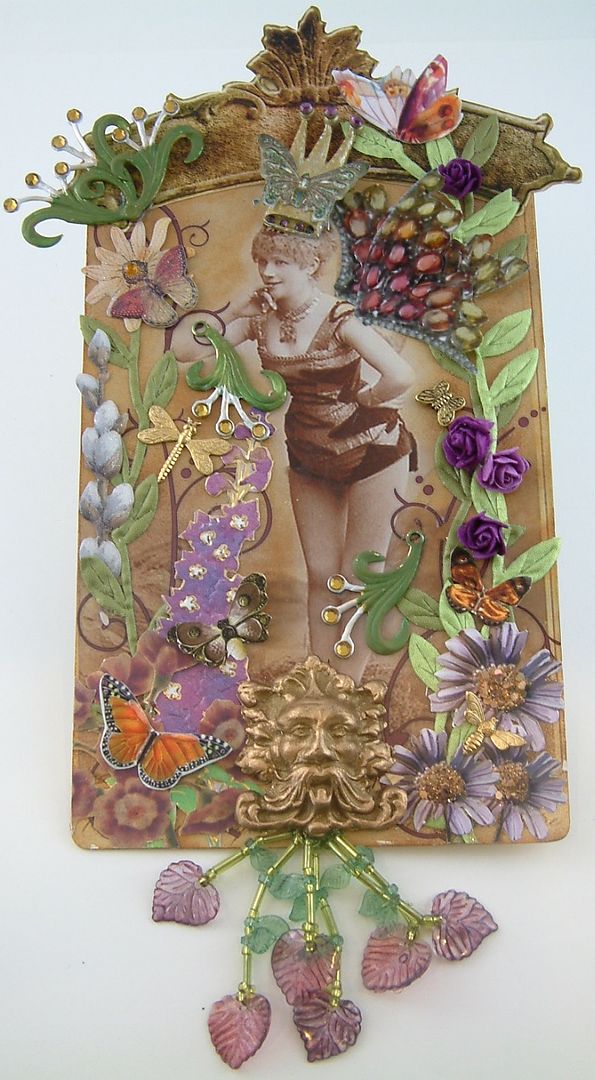
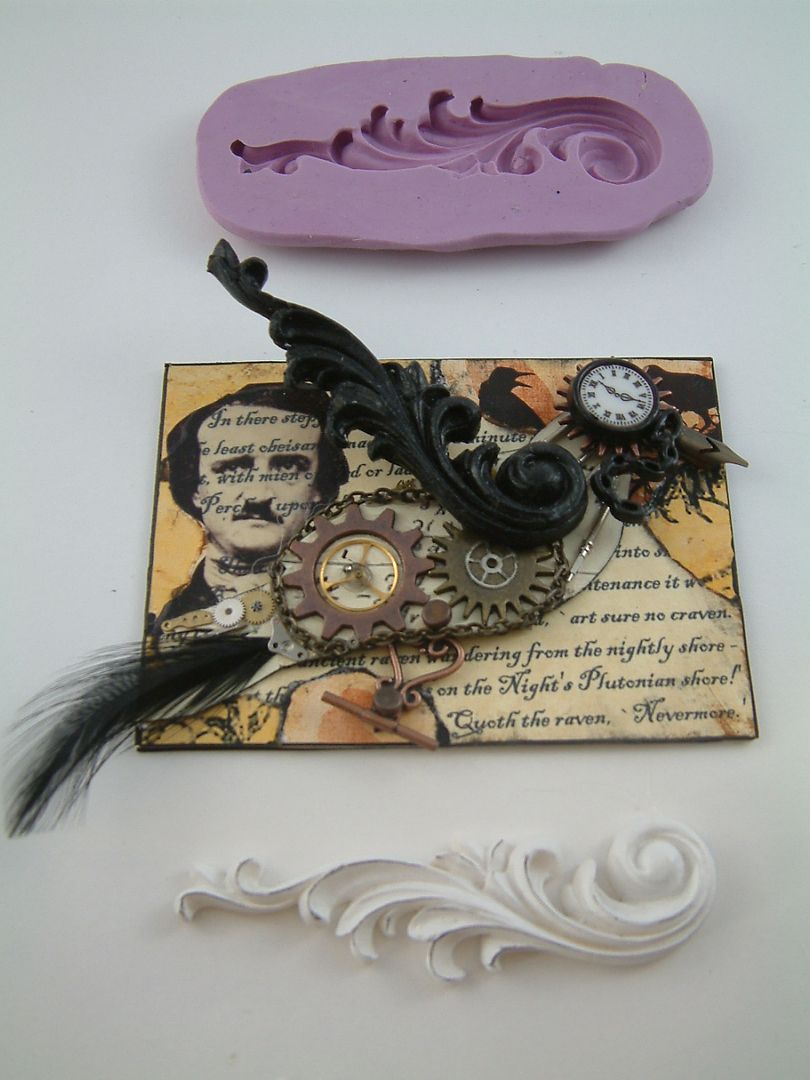
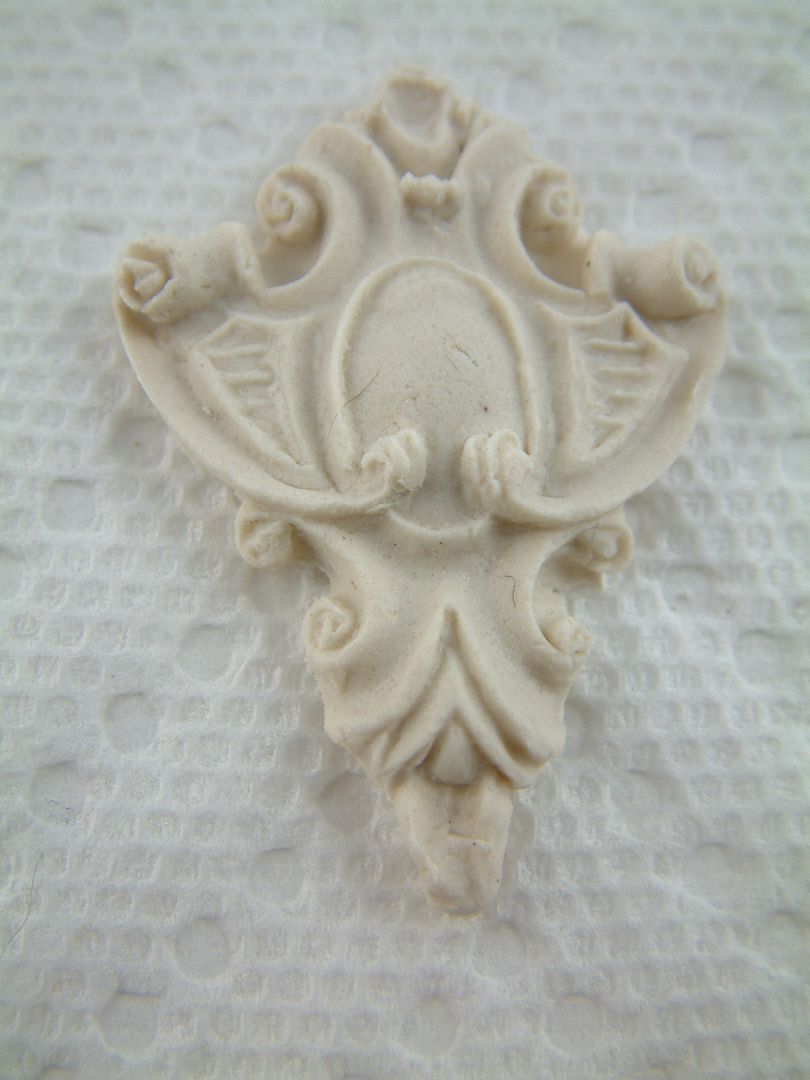
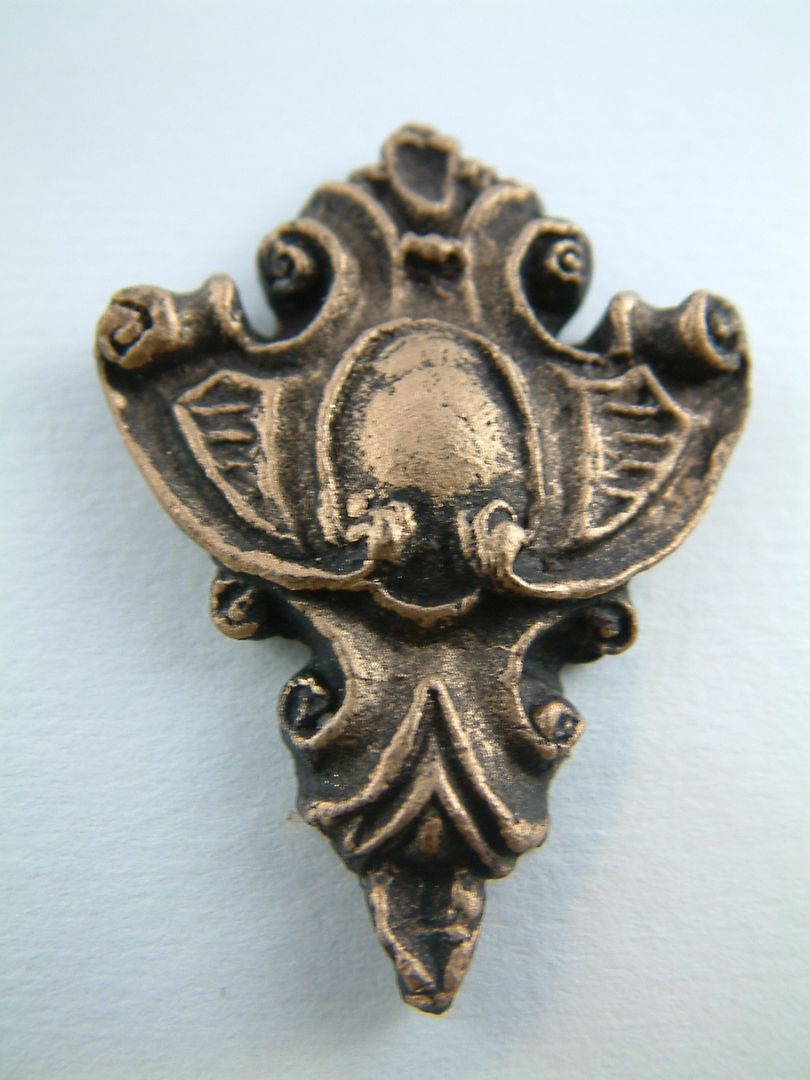
This altered cabinet card is titled “In the Land of the Butterfly Queen”. The garden face at the bottom of the card is made of paper clay.
To save money I often purchase an interesting but expensive piece that I can use to make into a mold, I then create as many pieces as needed. I’ve also made molds of decorative objects in my house. After I create the mold I typically use paper clay to mold the piece. This is because paper clay does not require baking (air dries), can be painted, is easy to trim, is light weight and fairly durable.

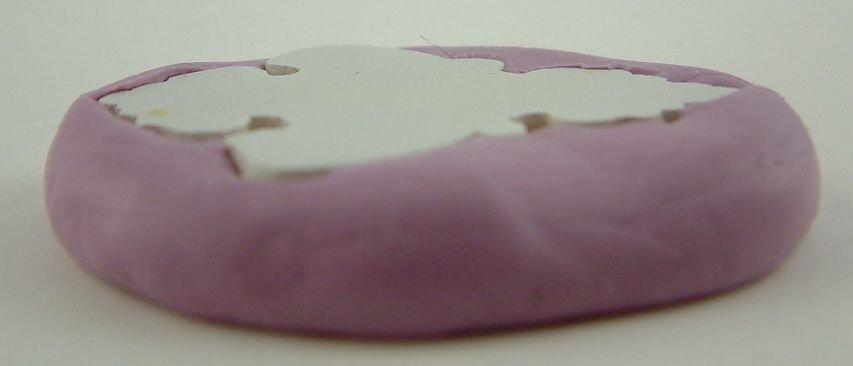
Below you can see the stages of the garden face from brass piece to finished painted paper clay piece.

This tutorial walks you through the steps of making a mold and then molding items using paper clay. You can make a mold from metal or plastic objects and from rubber stamps. The mold you make can be used with a variety of materials including UTEE, wax, soap, and air clay or clay requiring baking. The mold can stand up to the heat of materials such as melted wax. For the purposes of this tutorial I’m going to focus on using the paper clay with the mold because for me it is the most common use molds and it doesn’t require the use of a melting pot or oven.
What You Will Need
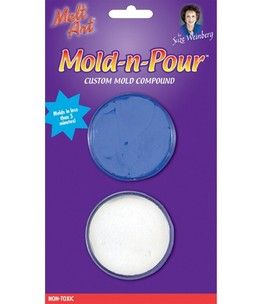
Mold-n-Pour – In the US you can find this at both Michaels and JoAnn craft stores. Other crafts stores may also carry it. On-line you can purchase it from Amazon.com, Createforless.com, Overstock.com and a huge variety of other on-line stores.
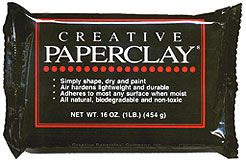
Creative Paper Clay – You can find this product in pretty much the same places as the Mold-n-Pour.
I recommend reading through the entire tutorial before starting
Making a Mold from a Metal or Plastic Object
Step One – Selecting an Object to Mold
To make it cost effective, I try to choose objects that I think I will want to repeatedly mold. You’ll want to select a dimensional object and one that does not have too much detail with too many holes. It is difficult to get a good mold if there are lots of holes and once you mold the piece it is hard to clean it up.
The objects below are bad choices as there are lots of holes and detail.
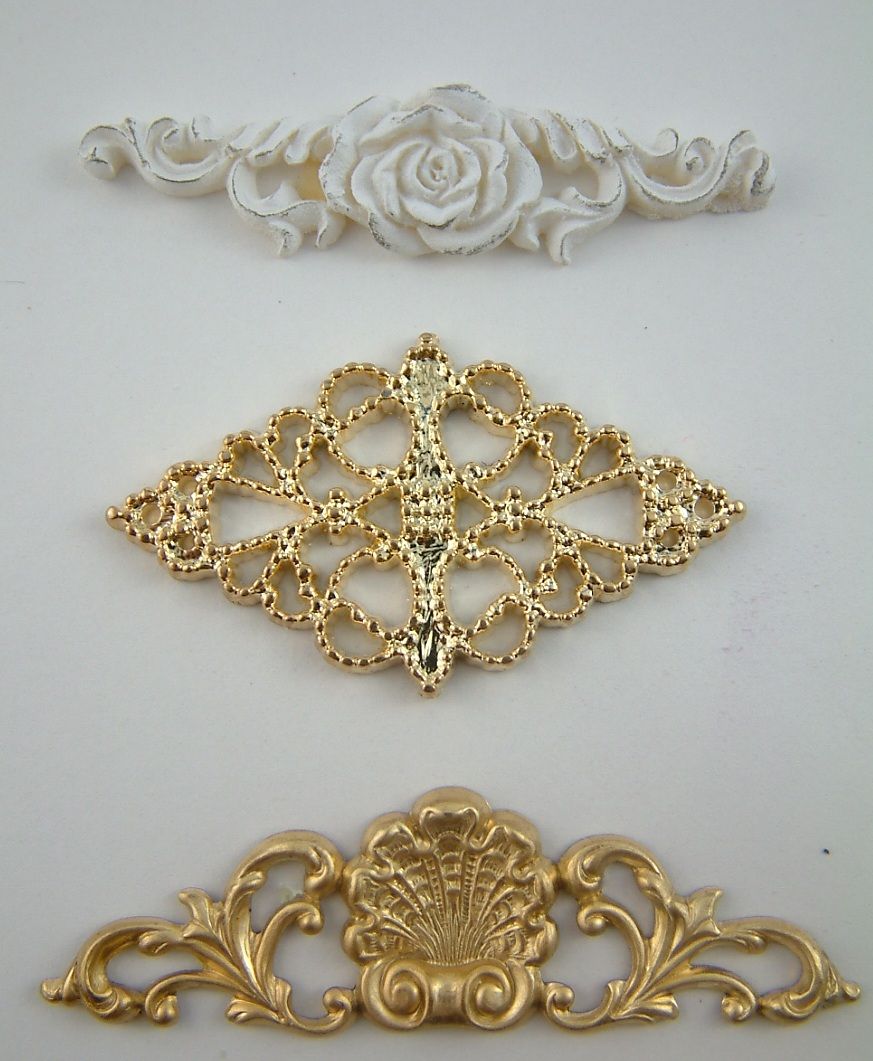
Here are a few good examples of objects I’ve molded.
Architectural details make good molds. In the card below I used the top and bottom of one column and the top of the other. Using paper clay made it easy to cut the columns in half so I could use both ends.

I molded a resin flourish to create a wing.
I made a mold of a plastic fleur de lyse that you see on the glass slide card below.

Step Two - Prepping the Molding Material
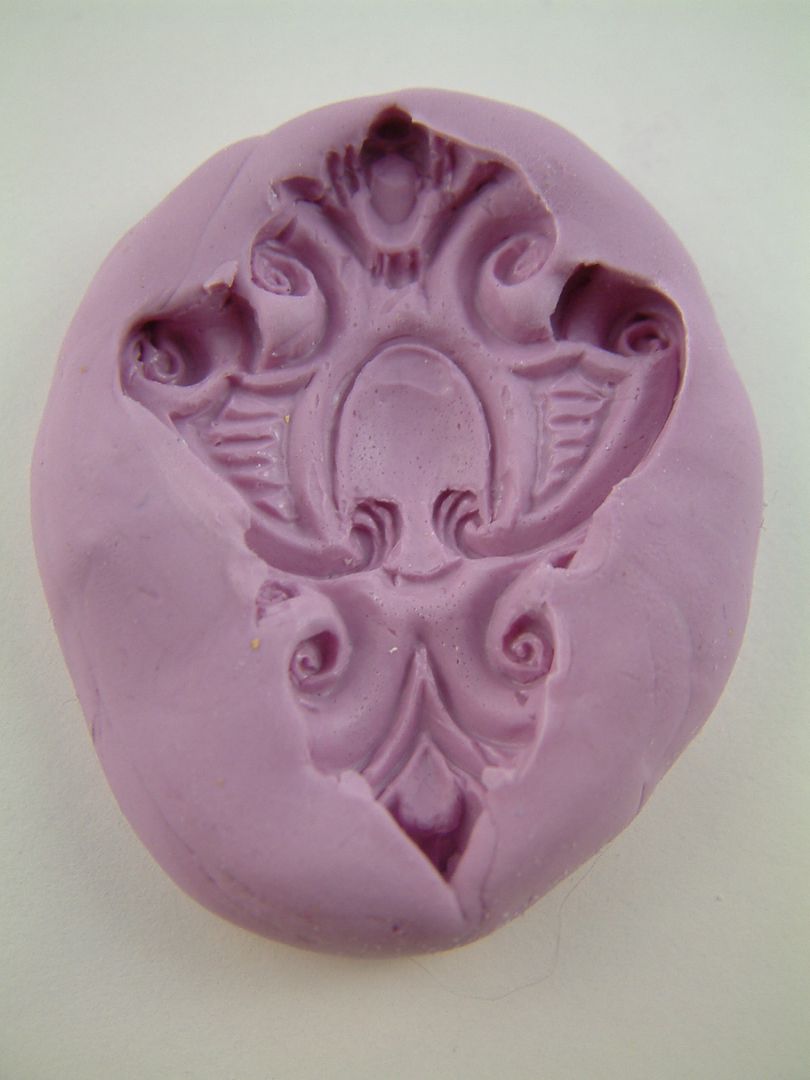
In this tutorial I’ll be creating a mold of the resin piece in the picture below.
Combining the materials from the two containers causes the mold to set. Don’t mix the materials until you are ready. Depending on the dampness of your climate you only have about 5-10 min before the mixture hardens. Only use the amount of material you need. The material in one container will be white and the other will be purple or blue (I think they recently changed the color from purple to blue). For the purpose of this tutorial I’ll start with the colored material.
Remove enough blue or purple material from the container to cover a little more than half of your object. You can stretch the material over the object to determine if you have enough. In the picture below, note how there is enough material to cover a little more than half of the object.
Once you think you have the right amount of material, roll it into a ball. Remove the same amount of white material from the other container and roll it into a ball. Adjust the amount of white material until the balls are equal in size. See below.
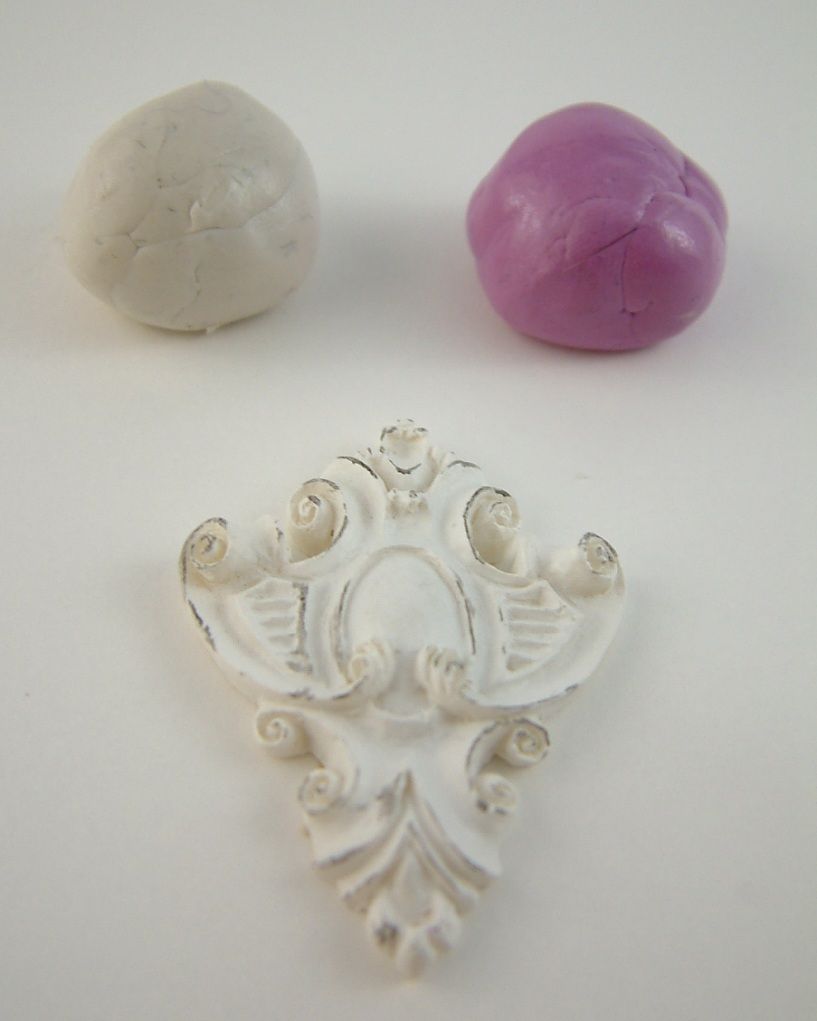
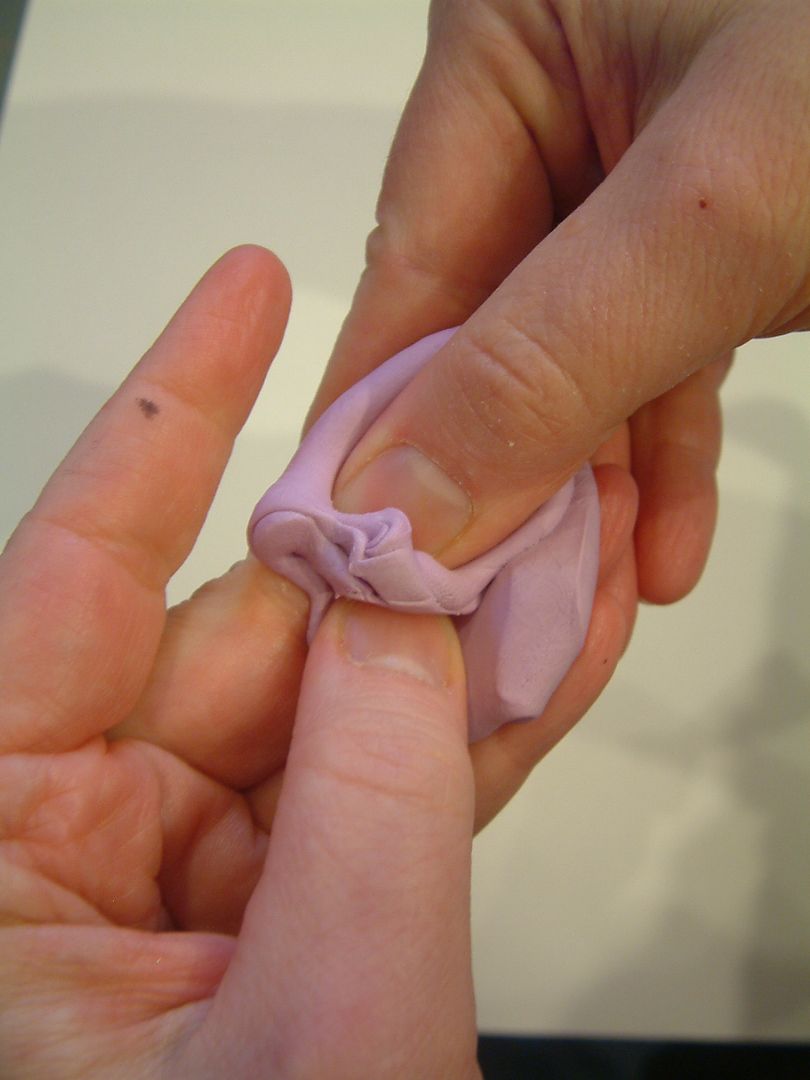
Begin mixing the balls together, quickly kneading and blending them into a single color. Remember once you begin combining the materials, you only have about 5 – 10 minutes before the mixture sets. Knead the material with the tips of your fingers as the heat from your palms makes the molding material set more quickly.

Step Three - Molding Your Selected Object
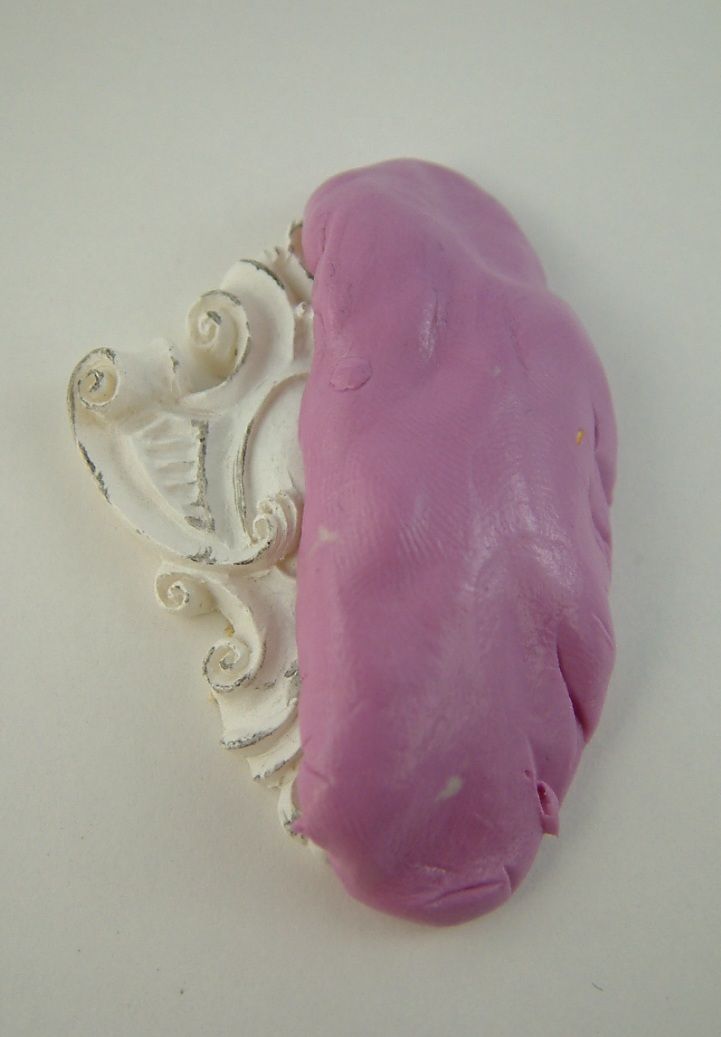
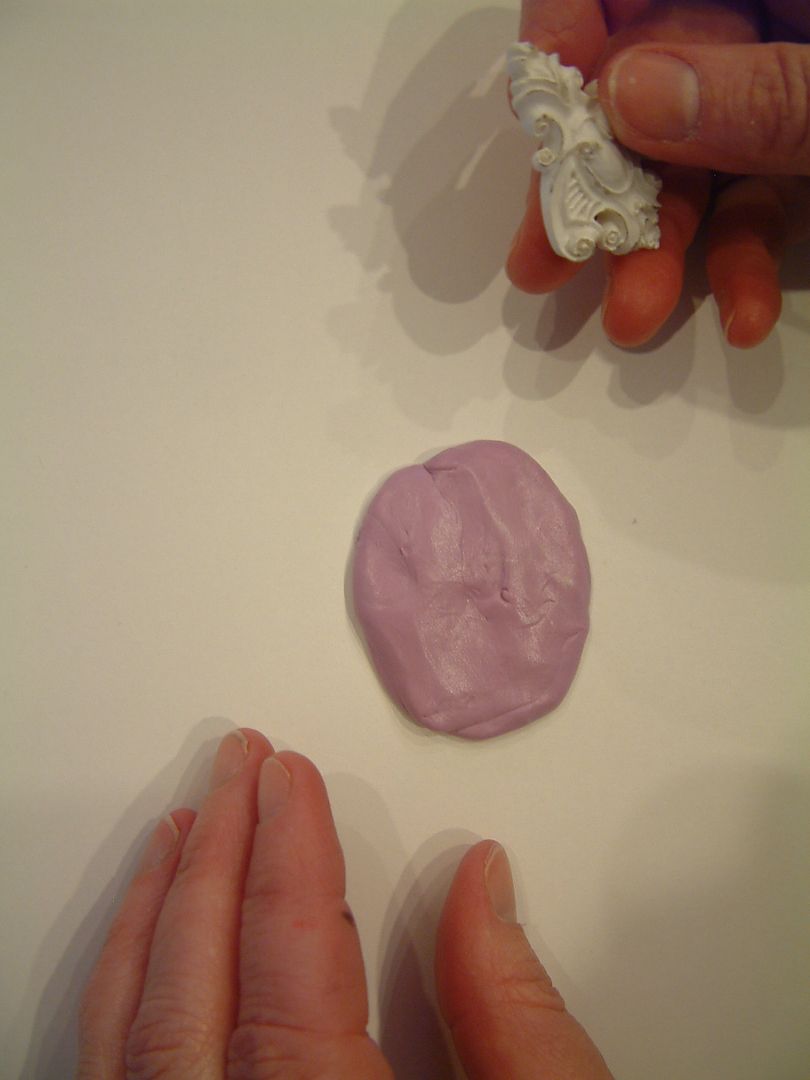
Flatten out your mixed molding material so that it is slightly larger than your object and press your object into the material. Be careful not press the object completely though the molding material. The material should be flush with the sides of the object. You may need to press and adjust the molding material to get it properly around the object.
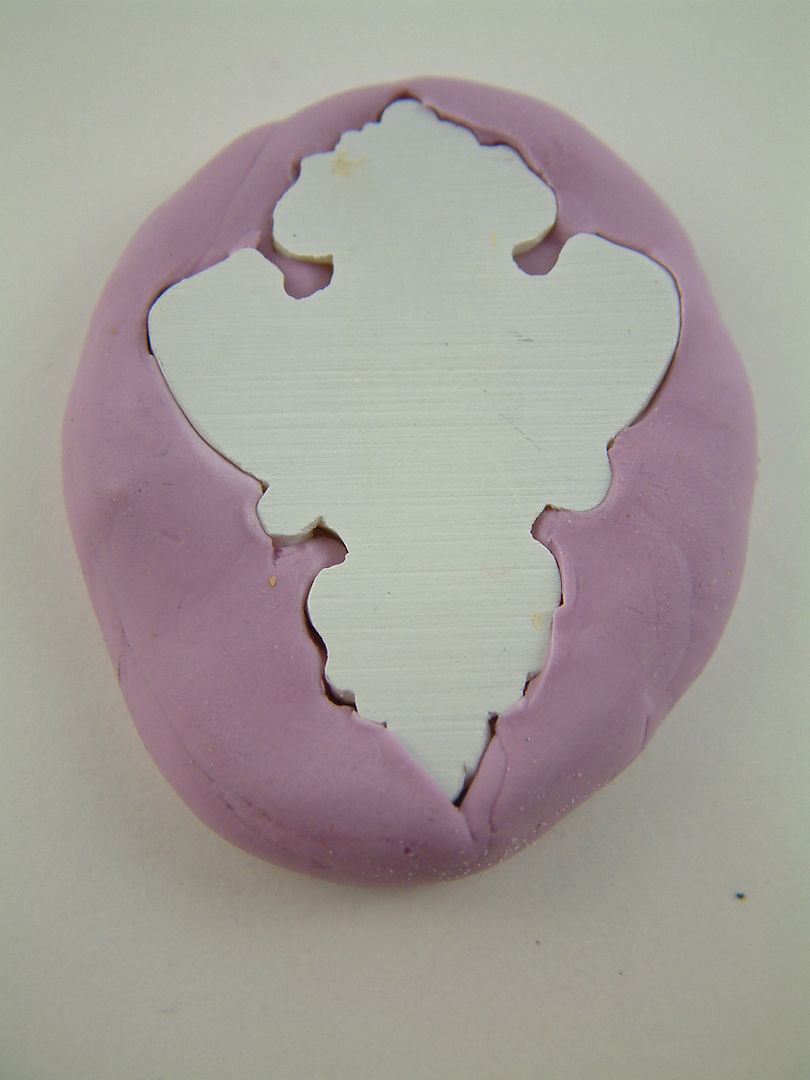
Step Four – Drying
Leave your object in the molding material for about 10 minutes then remove. The mold should be set and ready to use.
Molding with Paper Clay
Step One – Pressing Clay into the Mold
Paper clay is very easy to work with. Remove the amount you think you will need to fill the mold. Knead the clay together so that the texture is consistent. Press the clay into the mold. You want the mold to be filled and the clay to be flush with the top of the mold. Remove any excess clay.
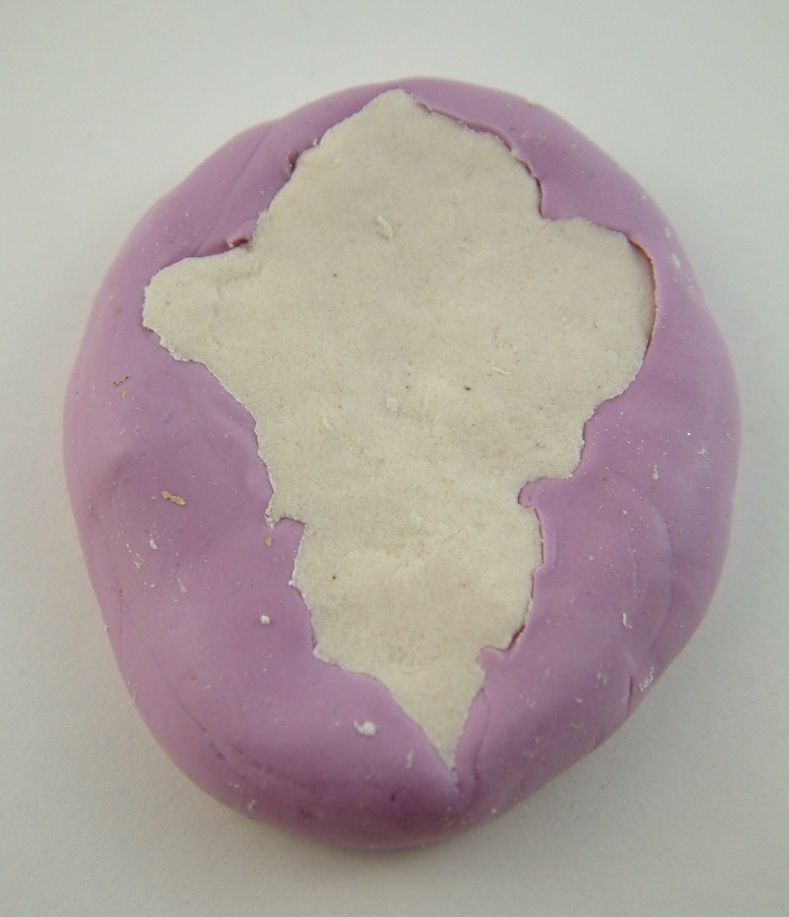
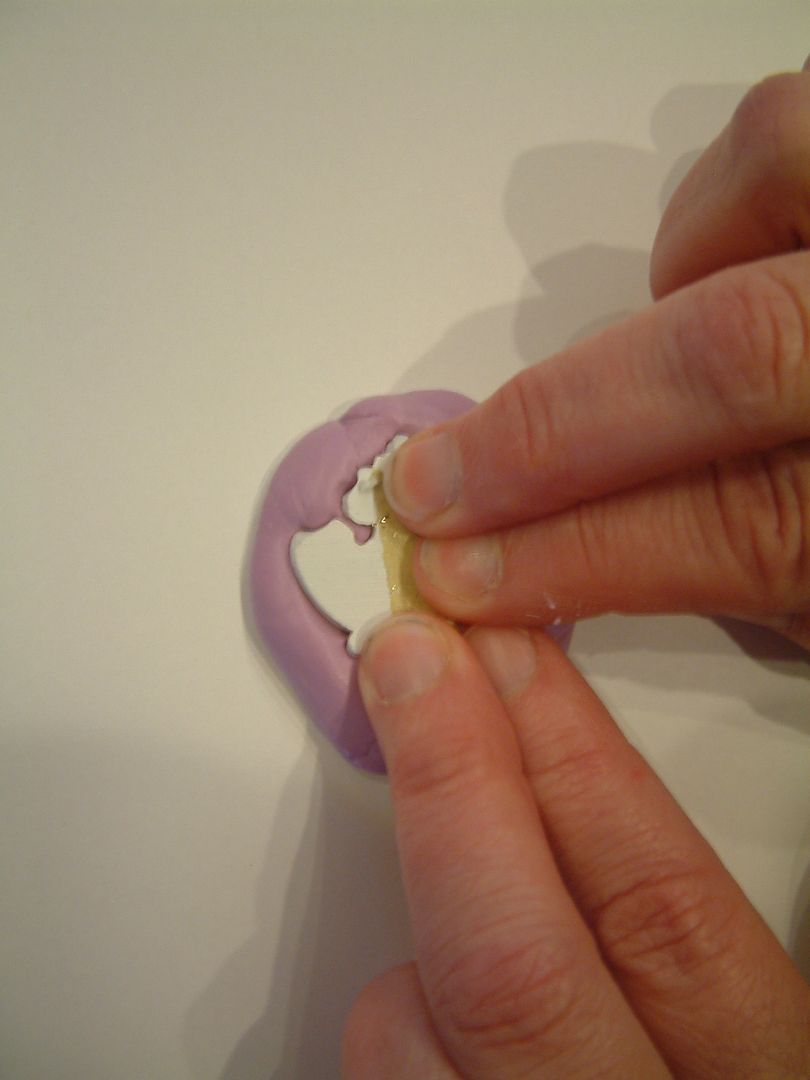
Step Two – Removing the Molded Clay
Leave the clay in the mold to dry for about an hour. In this allows the clay to dry just slightly which makes it easier to remove without damaging the design. Carefully remove the molded clay and place it on a paper towel. The towel helps draw the moisture out of the clay.
Step Three - Drying the Clay
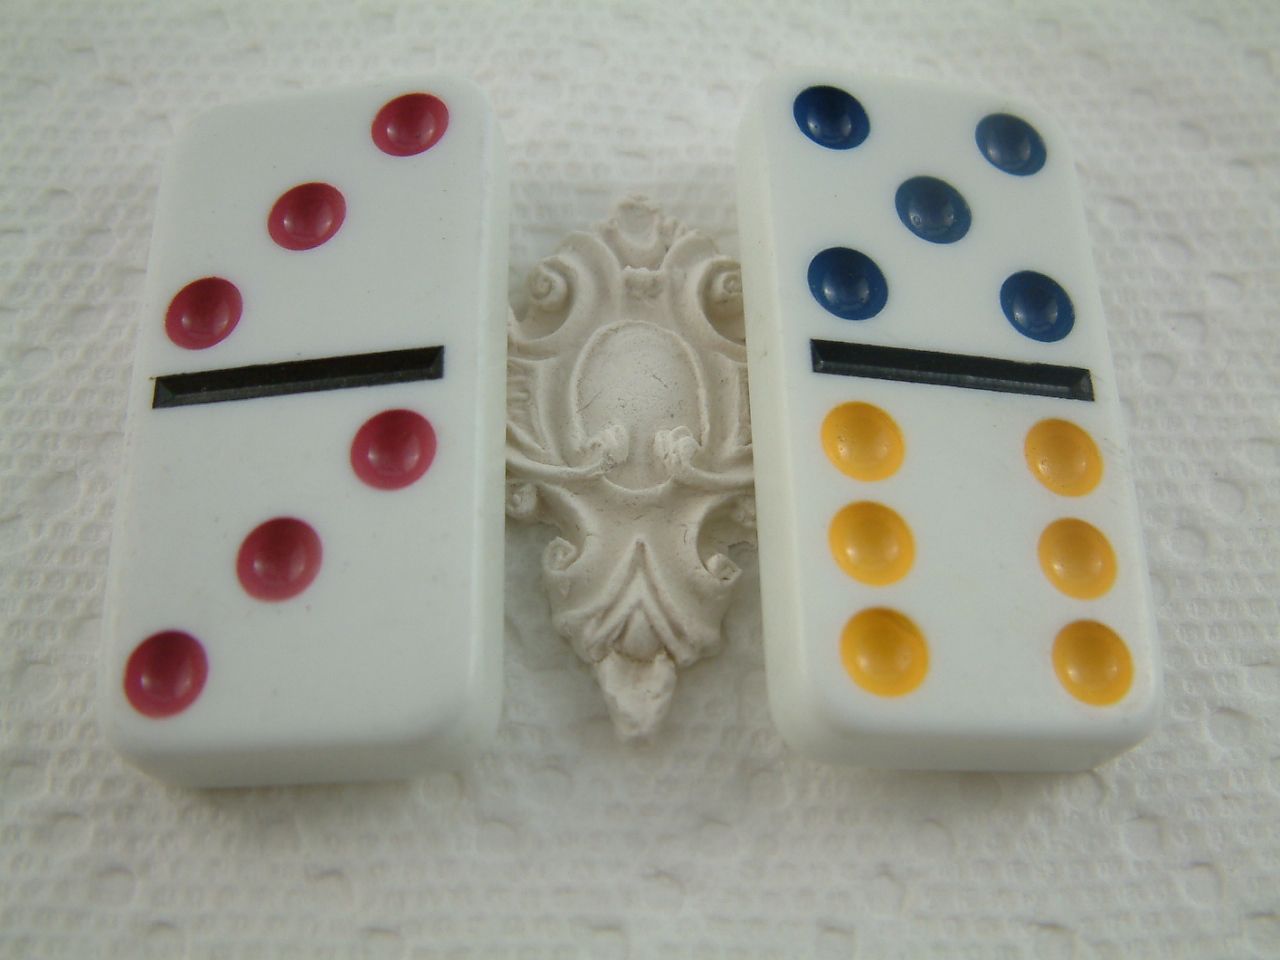
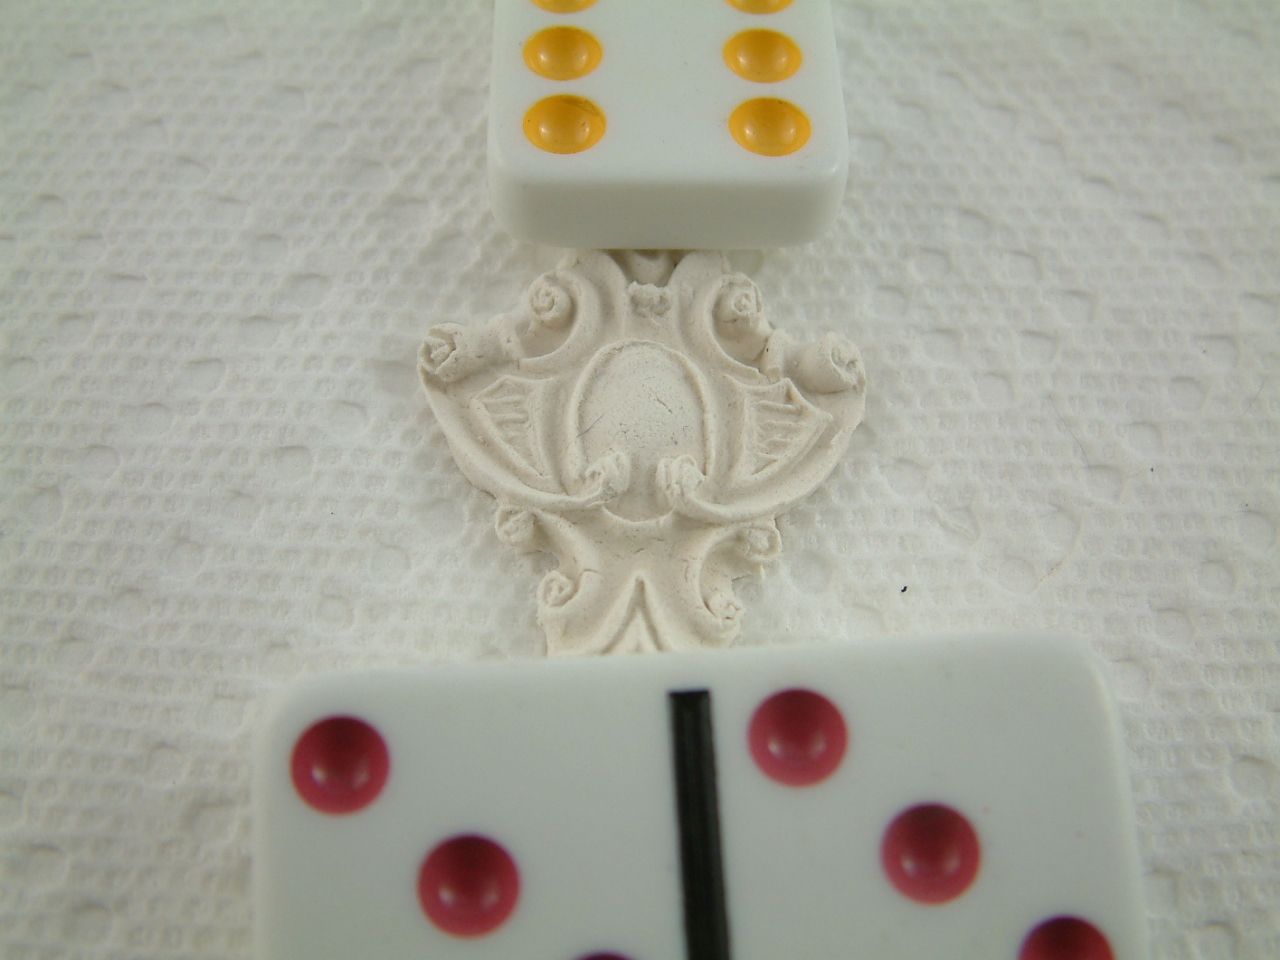
Paper clay takes a long time to dry and the drying time will vary with the dampness of your climate. It could take as long as a day for it to get completely dry. During the drying process you should occasional move the molded clay to a different spot on the paper towel. Paper clay likes to curl as it dries so once the outer surface is just a little dry apply some weight to the molded clay to prevent curling. You can see below I placed dominos on the edges of the molded clay to add pressure. As the clay dries it will turn from an off white color to white and become rigid. The clay may seem dry on the surface but it may still be wet in the middle.
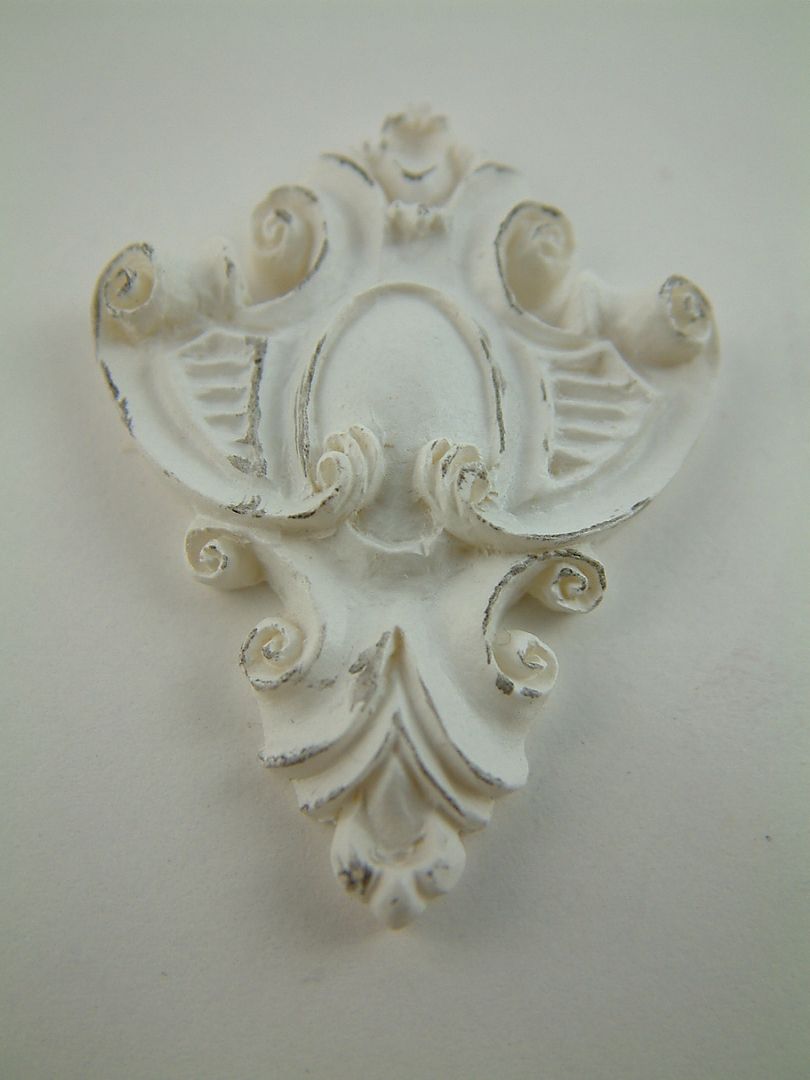
Step Four – Trimming
You may need to trim or cleanup your dry molded clay piece. You can trim up your molded piece with scissors, sandpaper, or precision filing tools. Here is the link for information on precision filing tools http://artfullymusing.blogspot.com/2010/11/cool-tool-precision-file-set.html
You are now ready to decorate your molded piece.
Making a Mold from a Rubber Stamp
The steps for making a mold from a rubber stamp are exactly the same as for a metal or plastic object. The only difference is to make sure that you have enough molding material than when mixed, covers the raised part of the rubber stamp. Instead of pressing an object into the molding material press the rubber stamp into the molding material. Leave the rubber stamp in place for 10 minutes and remove when the mold is set. When choosing a rubber stamp, too much fine detail does not make a good mold. For this card titled “Le Jardin” I wanted to create a topiary, so I made a mold from a garden urn rubber stamp.

Storing Paper Clay
To keep your paper clay moist, seal the package in a plastic bag. Next, place the plastic bag in another plastic bag. Drip some water into the second bag and seal it. Because you sealed the clay in the first bag the water won’t come in touch with the clay but will evaporate in the second bag and keep the air moist around the first bag. And as you know, no bag is completely airtight. If you don’t do this your clay will dry out. This is also a great trick for keeping brown sugar moist.
18 comments:
hey Laura :)
thank you so much for sharing your work and tips with us!! and taking the time to write and take all those pictures :) such a detailed tutorial, with excellent photo illustrations. i am one of those who needs to see to understand :) too many words make me fuzzy ... that's why i never read manuals!! I love the way you antiqued that moulding too :)
Thank you so much for your tutoial I have just brought some of this to make my own molds but wasn't sure what to do .....thanks to you I can now have a go, just need to find some of the lovely pieces you have managed to find, I love the columns
hugs
I have never used paperclay. I'll have to give it a try.
Very good tutorial, Laura. I know it took you a lot of time and effort to make it. Thank you for sharing your talents!
Great tutorial, thank you so much for spending all that time and effort on preparing it. I so want to have a go at this.
This has been a wonderful tutorial, thanks so much for sharing....
Thanks so much for taking the time to put this tutorial together, it's outstanding. Can't wait to give it a try! Your pieces look amazing.
Hugs,
Robin
Hi Laura -
Thank you so much for this great tutorial. I am going to give this a try.
Elaine Allen
This post is a great reminder..did these with buttons some time ago ..and it is time to make some of these other mold too. TFS!!
Terrific tutorial ! Thank you so much for sharing! I have never had much luck with paper clay! Never could figure out what i was doing wrong! I love the new ATC!
This is such a great idea. 3D pieces add so much dimension to the usual ATC. Also, you're amazing at making the cast pieces look antiqued!
Wow, what a fabulous tutorial! Thanks so much for all the attention to detail and the little tips to keep us from making "rookie" mistakes. Love it, and have downloaded the PDF. Thank you, thank you, thank you!
UH OH! This looks addicting! But I'm gonna have to try it anyhow. Didn't expect to go to the craft store this week but now I just HAVE to get some of this stuff and try it! Thank you so much for introducing me to another new addiction! lol
You are the kind of artist I need that put's it in a photo tut to learn from..
I am a very visual person. (being a photographer).
Thank you for your helpfulness here..you create beautiful art.
Have joined your blog..don't want to miss anything that I think I can accomplish. Never have been a crafter, but I am very intrigued by the process.
Many hugs,
Rose
Wow, this is so excellent...I've always wondered how to do this...never took the time to buy and try. Thank you so much for this great tutorial. Very clear instructions and I feel like your just right there telling me how...in such a kind voice..thank you! ;-)
I have been looking for scrolls etc just like those can you tell me where you got yours.
Hi-great tuts...Ty! Was wondering what type of printer and software you'd recommend to get the most out of collage sheets (just bought your eggs and bejeweled!). Ty!
Thanks so much, your tips are wonderful. I have tried doing this on my own and had unsatisfactory results. I love this idea, and now, I will try again with your tips, they were just what I needed! Thanks for your time.
Awesome, I never really consider this type of medium before. I want to go larger scale, I want to make Large skeleton. Would there be some type of medium that would work for larger pieces. I already have some skeletons I could mold from.
Post a Comment