

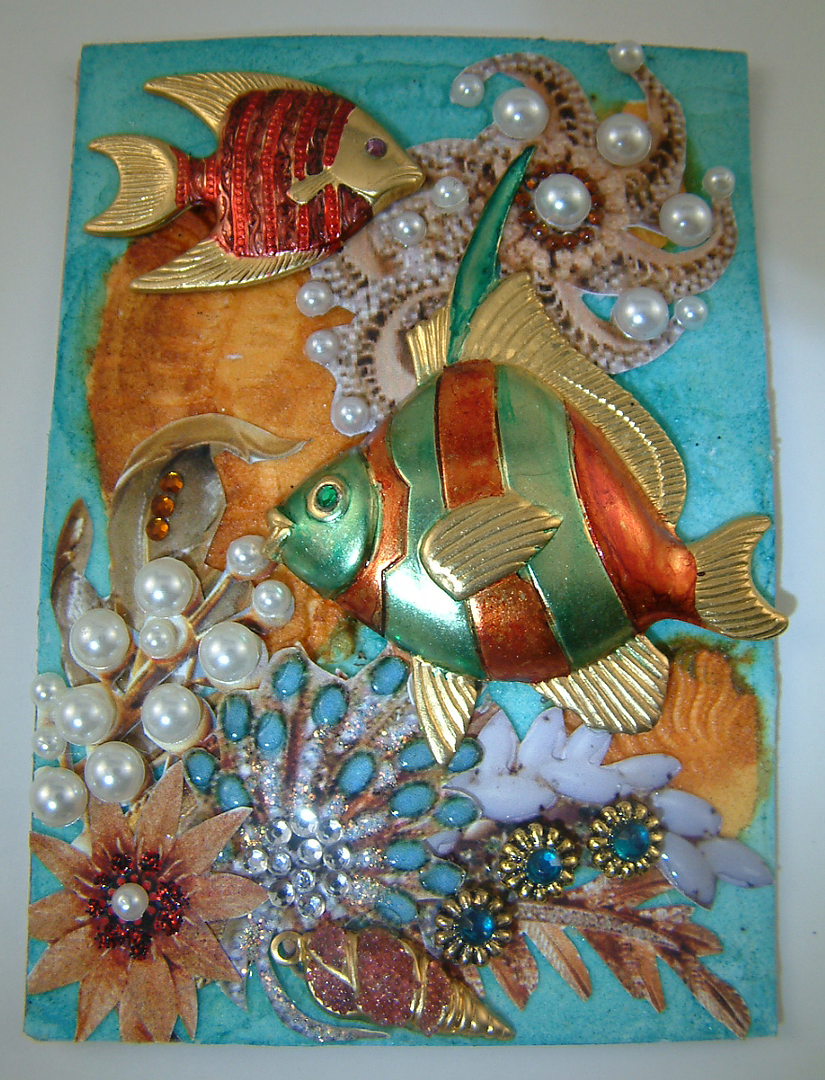
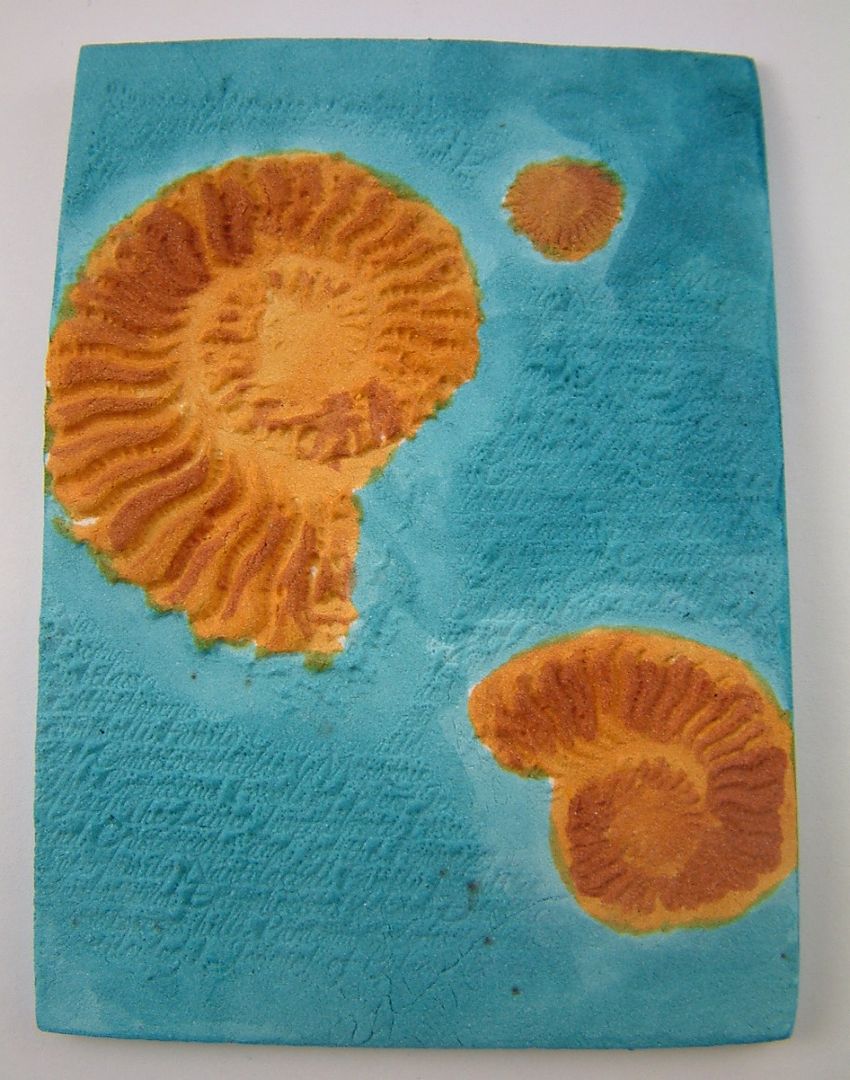
Stamping in paper clay is a great way of creating all kinds of dimensional embellishments and backgrounds and gives you another way to use your stamps. The background of the collage piece below is paper clay that has been pressed with a rubber stamp and painted with alcohol inks. In this tutorial I’ll take you through the steps of creating backgrounds and other embellishments using paper clay and rubber stamps.
You can use any type of clay for this tutorial but if you don’t have a lot of experience with clay, and don’t have a dedicated machine to bake clay, you might find paper clay easier. Paper clay is easy to work with, does not require baking (air dries), can be painted, is easy to trim, is light weight and fairly durable.
If after reading the tutorial on “How to Make Your Own Molds and Molding with Paper Clay”, you made an investment in paper clay, stamping clay is another way to use your supply.
What You Will Need
Rubber Stamps or Acrylic Stamps (foam stamps won’t work)
Nonstick Surface such as a nonstick craft sheet, wax paper, parchment paper etc.
Some type of tool to roll out the clay like a rolling pin, brayer, or drinking glass.
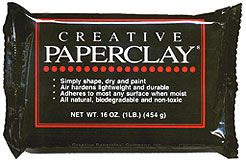
Creative Paper Clay – In the US you can find this at both Michaels and JoAnn craft stores. Other crafts stores may also carry it. On-line you can purchase it from Amazon.com, Createforless.com, Overstock.com and a huge variety of other on-line stores.
I recommend reading through the entire tutorial before starting
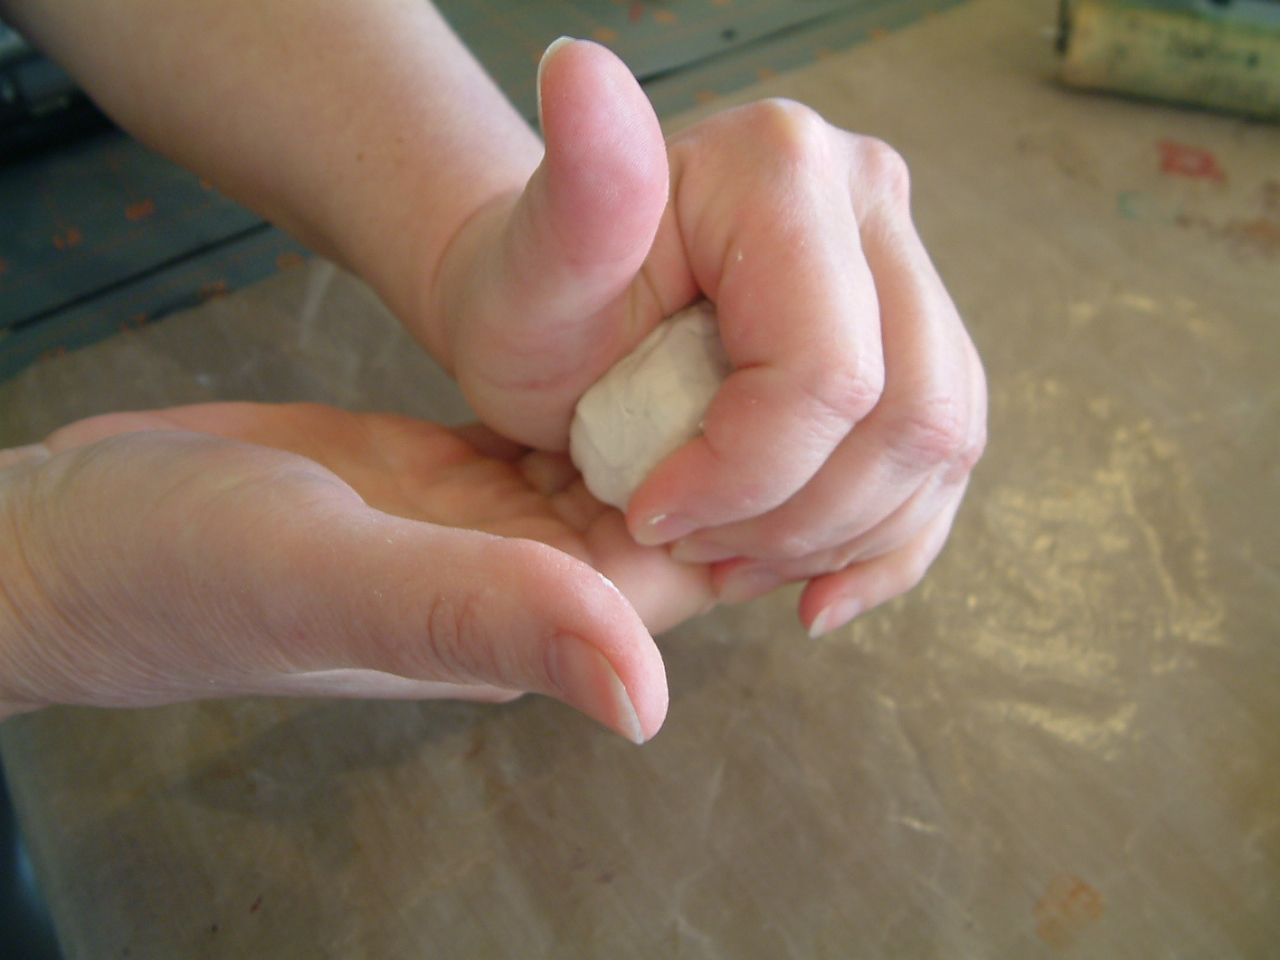
Step One – Condition the Clay
First choose a stamp. You need to use either a rubber or acrylic stamp as a foam stamp is too soft. The design on the stamp I chose was almost the size of a standard ATC (2 ½” x 3 ½”).

Remove the amount of clay you think you will need. You should remove enough so that once the clay is rolled out it is slightly larger than the stamp and is the thickness you desire. Since the example is an ATC I used enough clay so that when rolled out the clay was approximately 1/8” thick. For an ATC base I wouldn’t go any less than this as the clay will shrink slightly when it dries. Knead the clay together so that the texture is consistent.
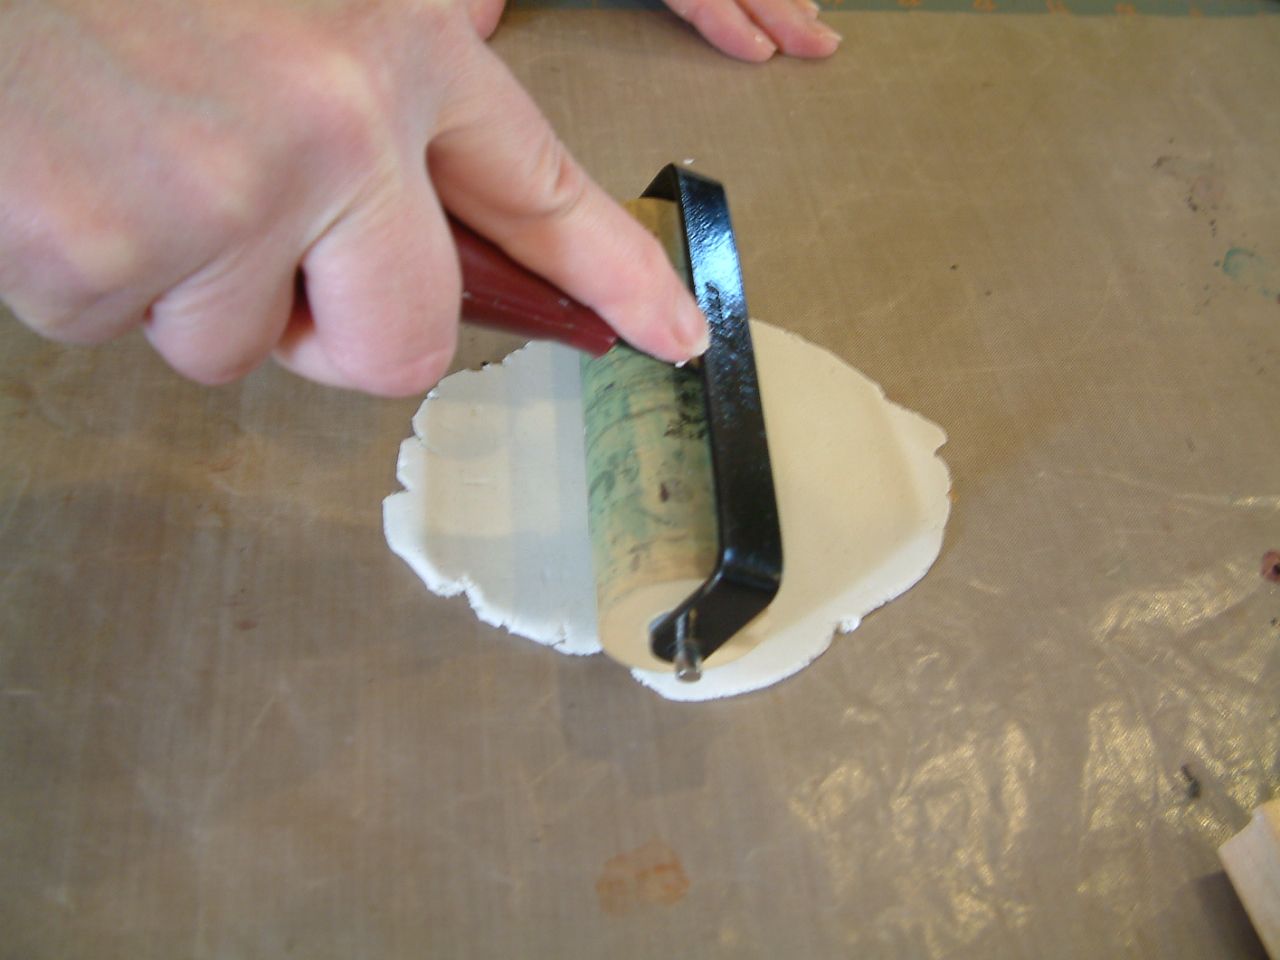
Step Two – Rollout the Clay
Fatten your conditioned clay and place it on your non-stick surface. Use some type of tool to roll out your clay. I used a brayer. Roll the clay out so that it is slightly larger than your stamp or the image on your stamp. Try to keep the thickness consistent.
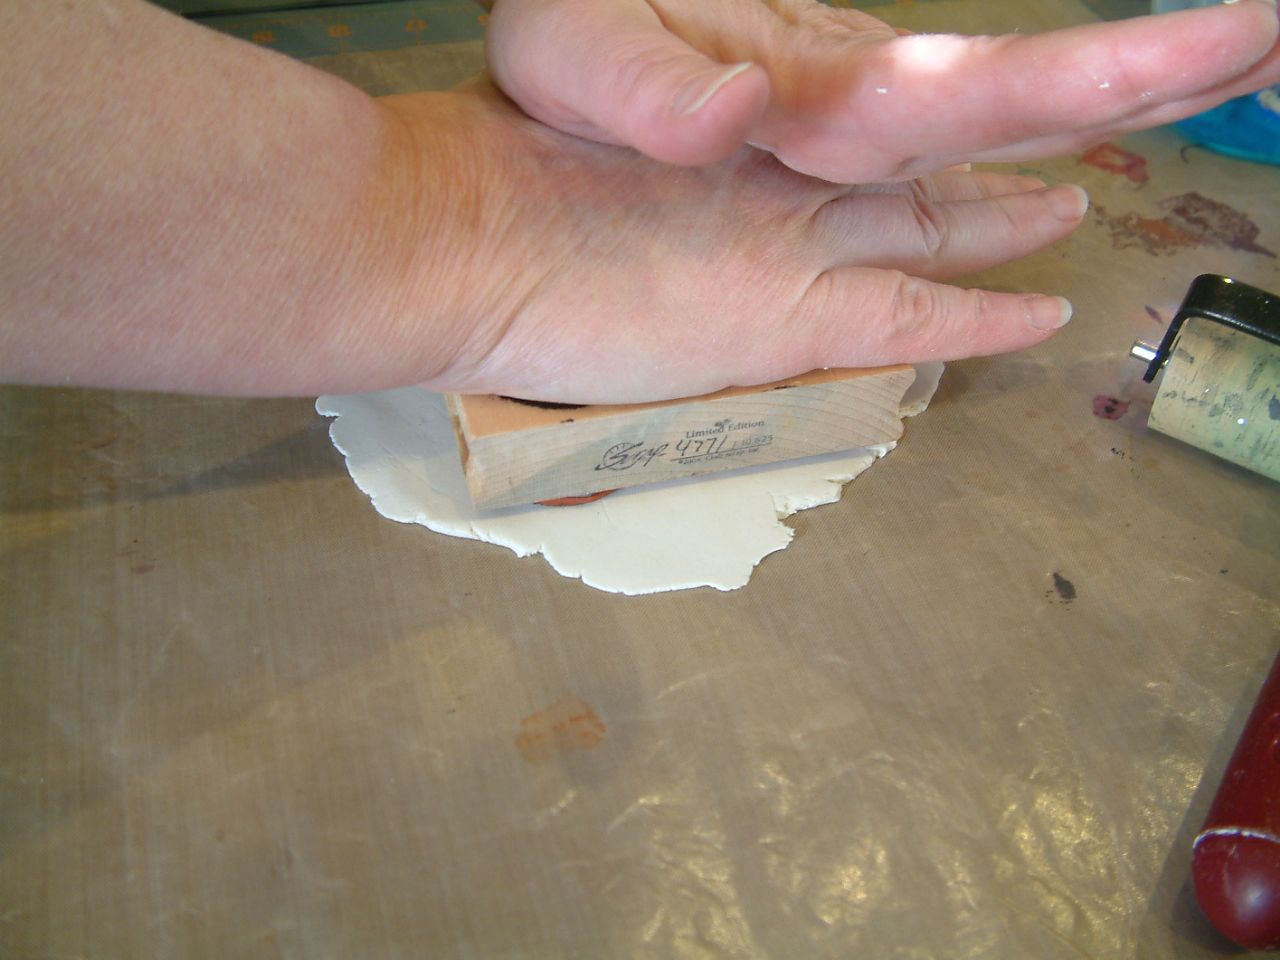
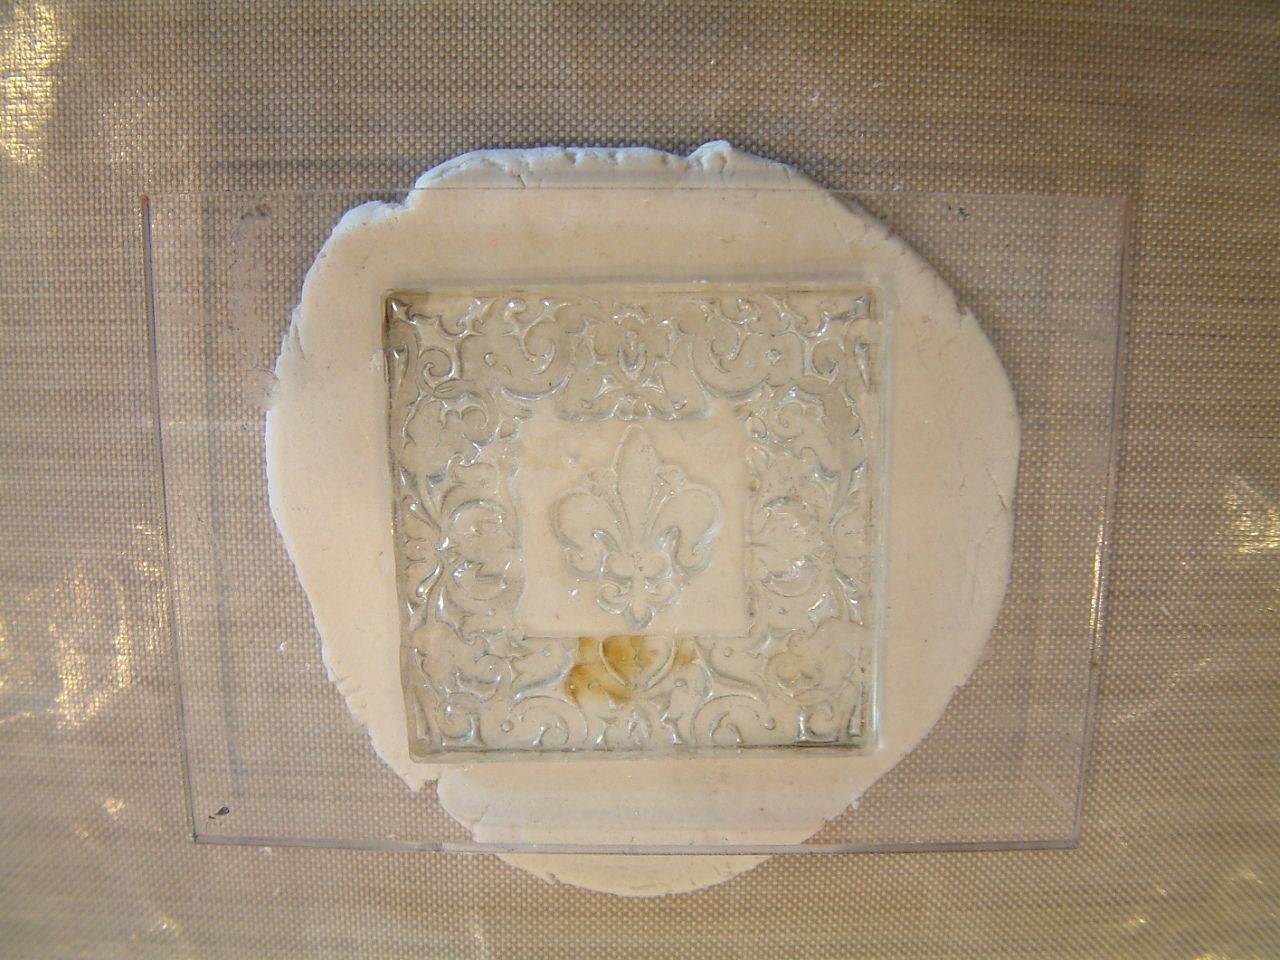
Step Three - Stamp the Clay
Firmly press your stamp into the clay. You don’t need to spray the stamp with a release as the stamp won’t stick to the clay.
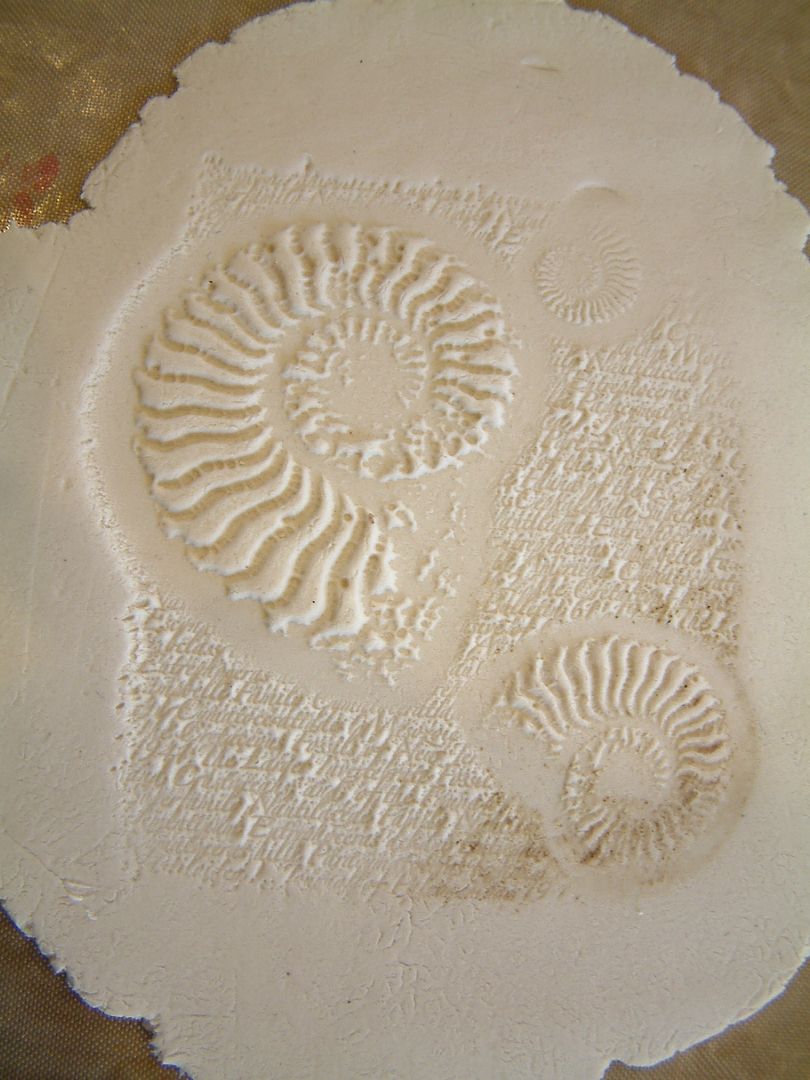
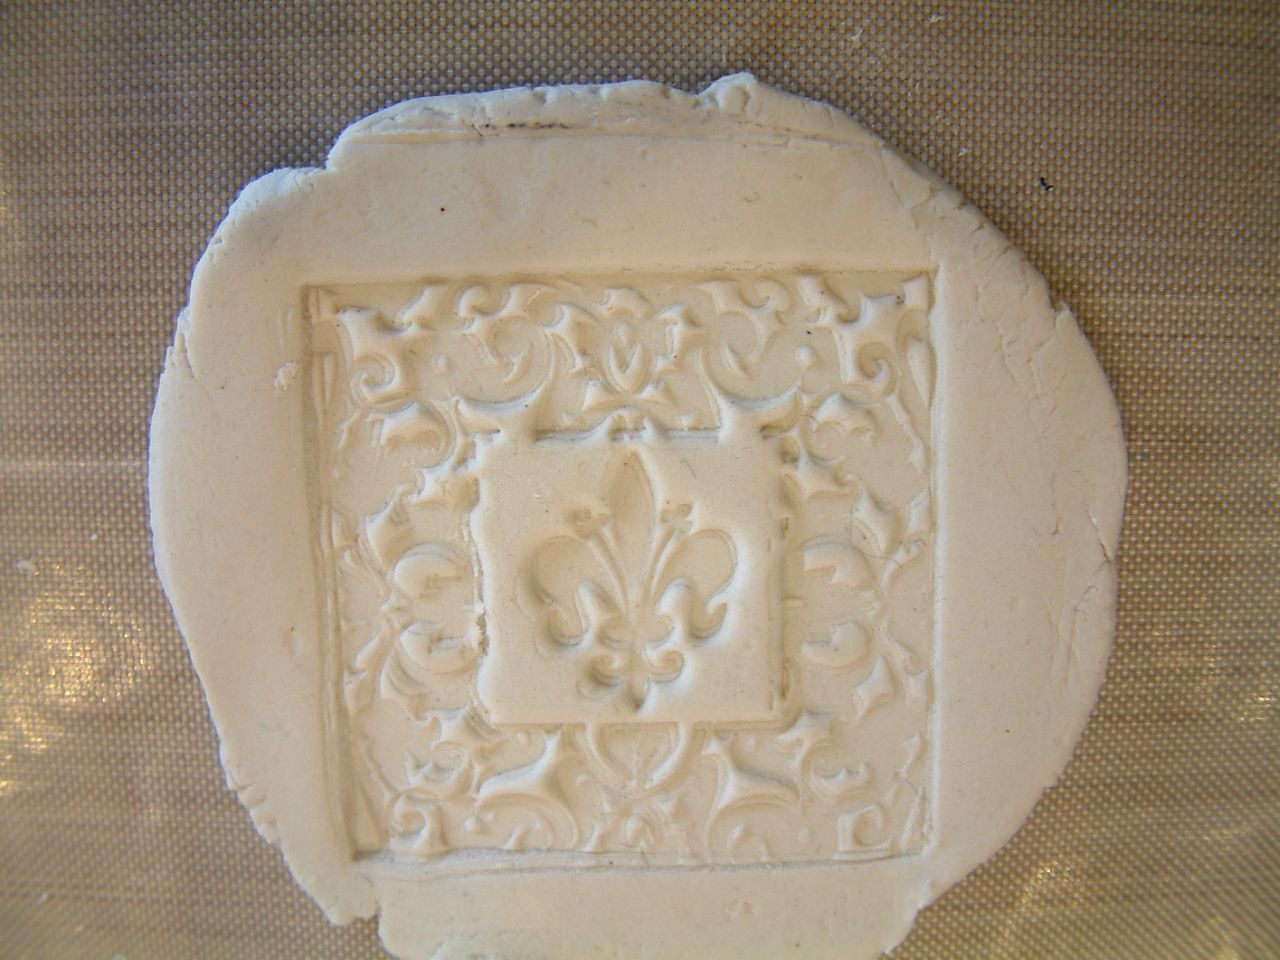
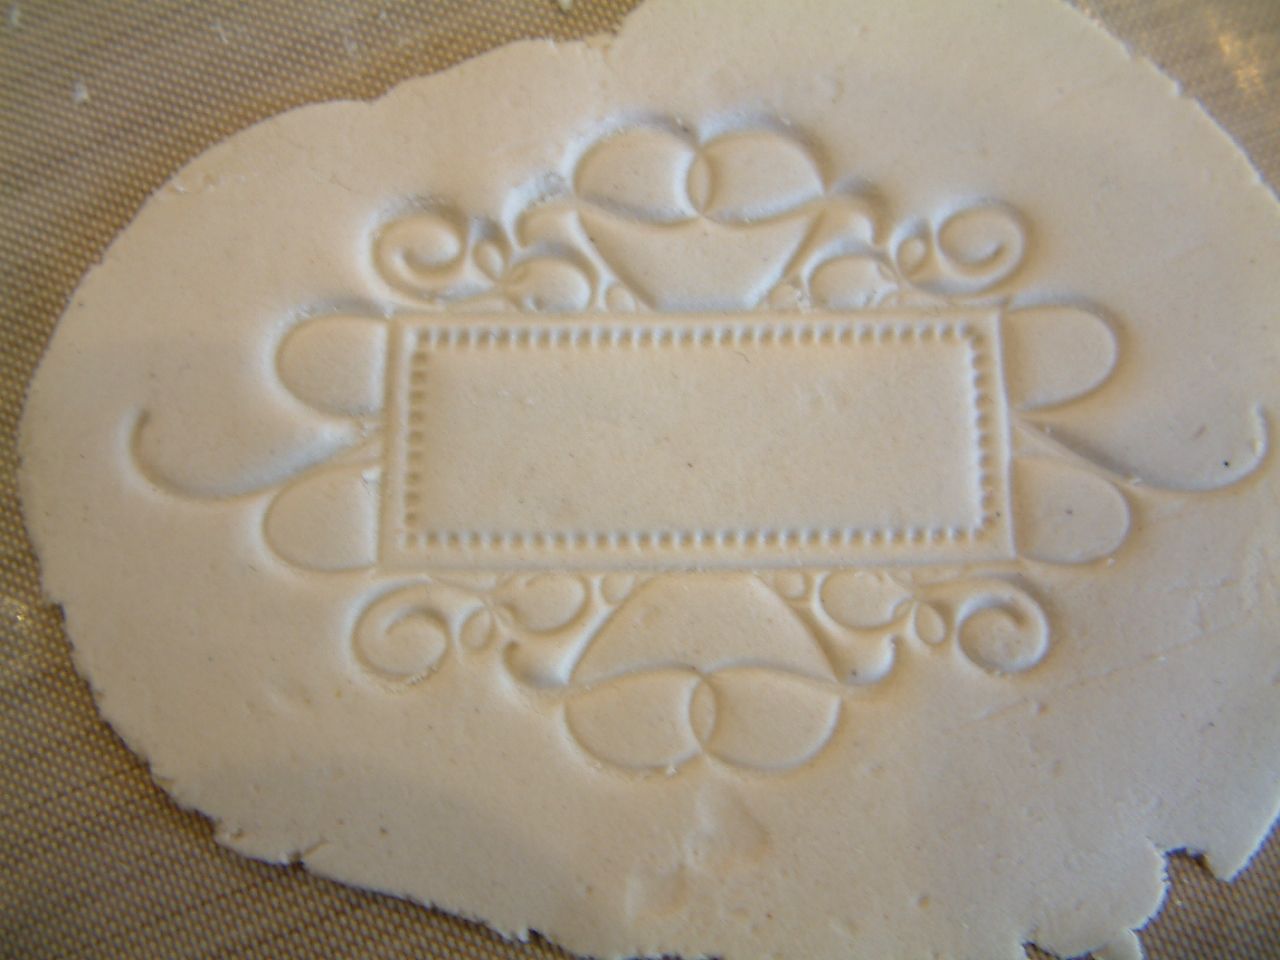
Remove the stamp from the clay. If you didn’t get the result you expected just start again by conditioning the clay and rolling it out again.
Step Four - Trim the Clay
Since the example is for the background of an ATC I need to trim the clay. You could choose not to trim your stamped clay if you were using it on the cover of an altered journal or book and you wanted the edge to have a rough look.
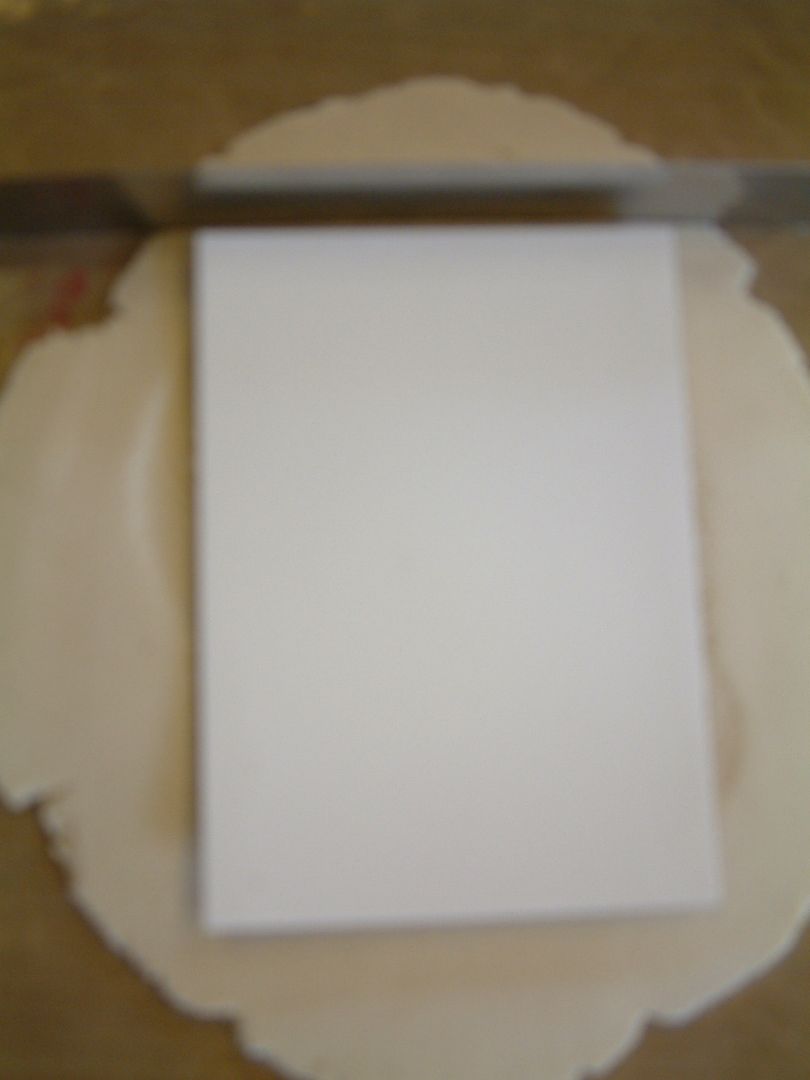
I use a long blade that is made to cut clay. You could also use a knife or the edge of a metal ruler if it is thin. Paper clay will shrink as the water evaporates so if the finished size of the dried clay piece is important, trim the piece slightly larger than what you need. Since the example, when dry, needs to be the standard ATC size I trimmed my clay slightly larger. I placed a piece of cardstock the size of an ATC on the clay and used it as a guide.

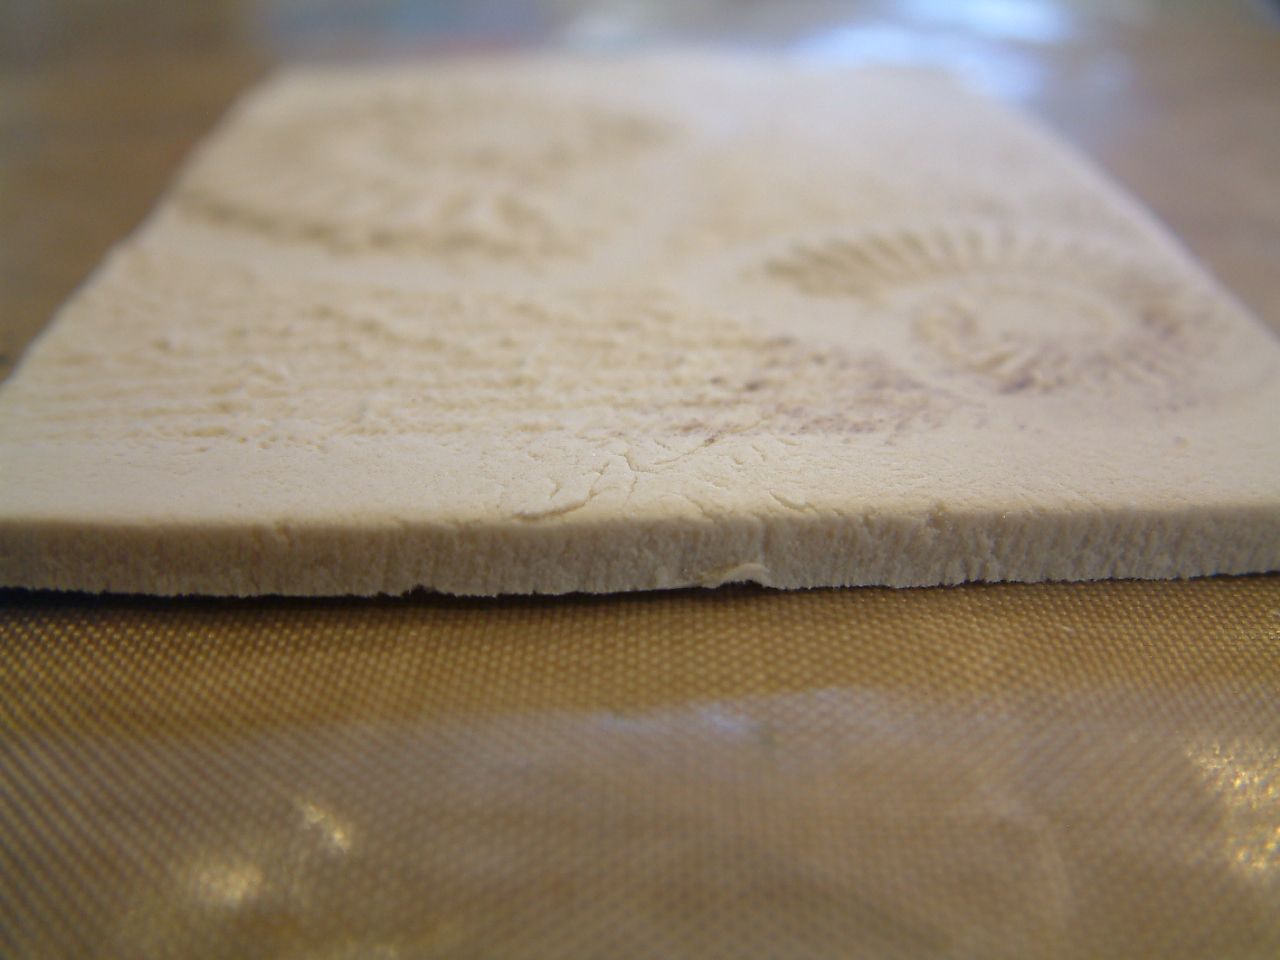
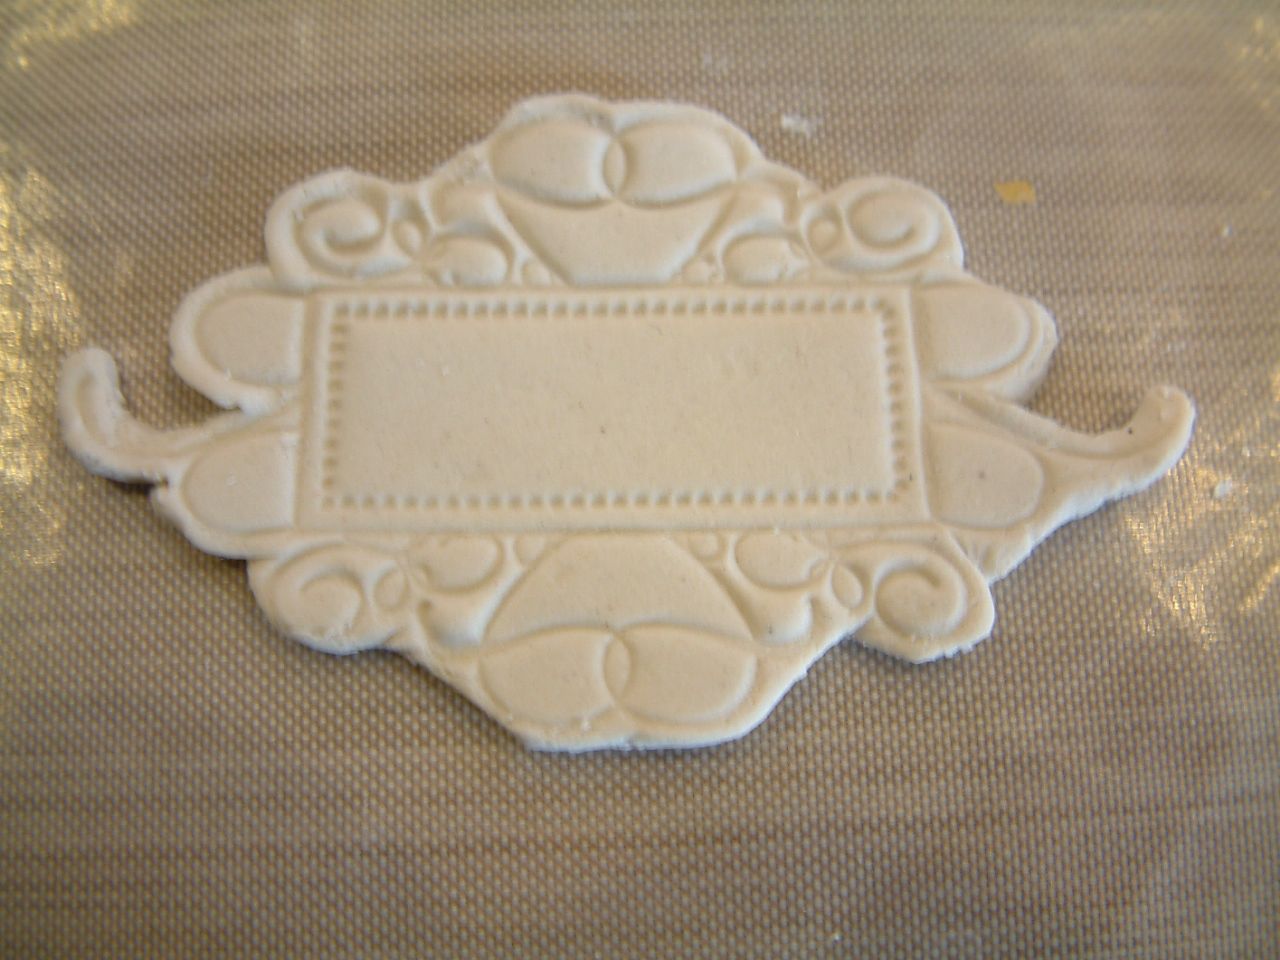
Below is the finished trimmed ATC background.
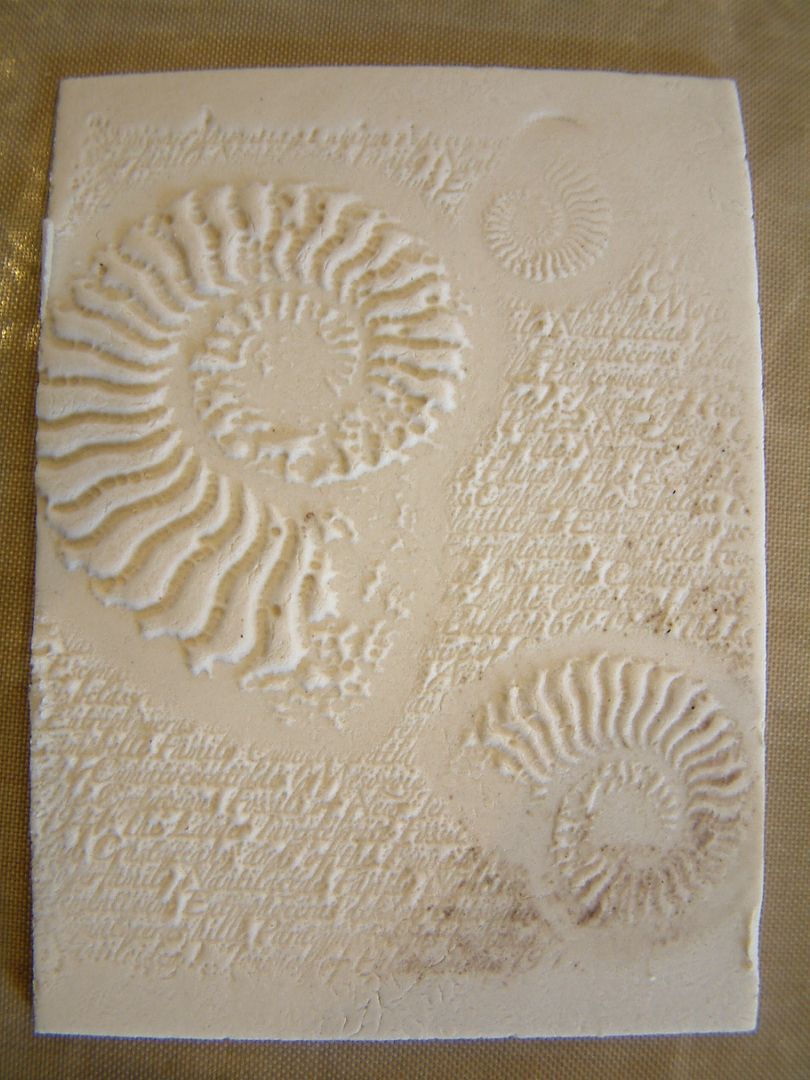
In the image below you can see the thickness of the piece.
Step Five - Drying the Clay
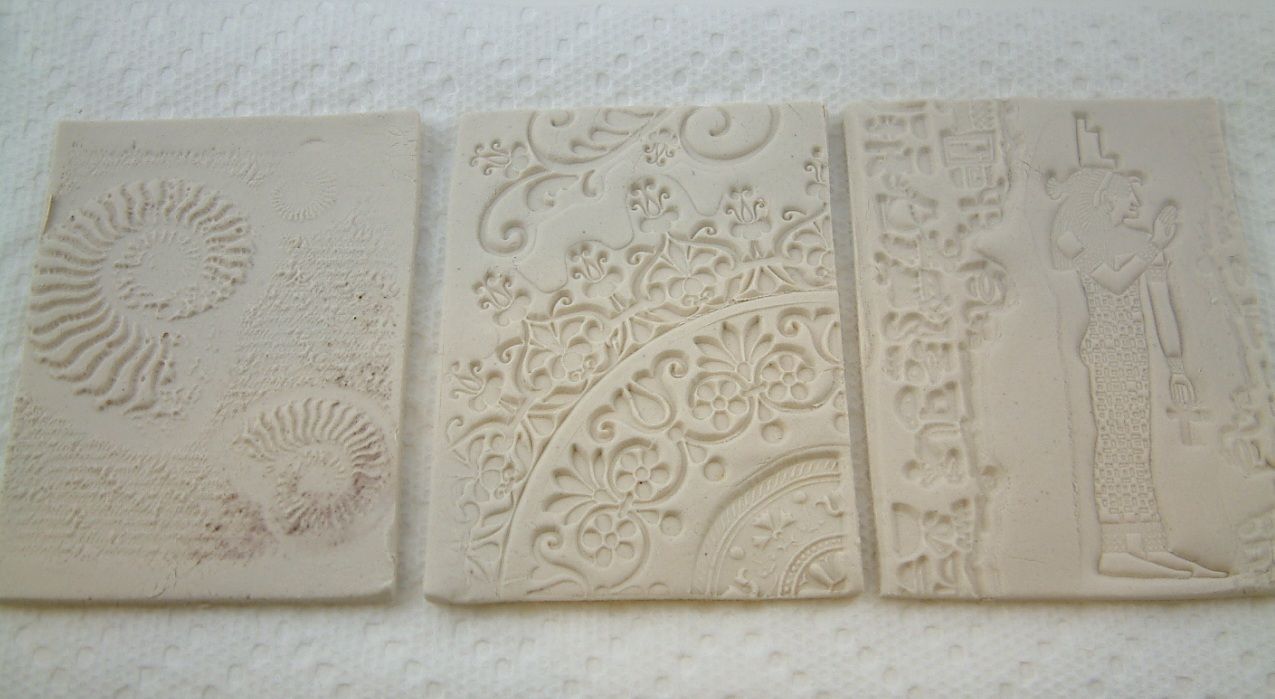
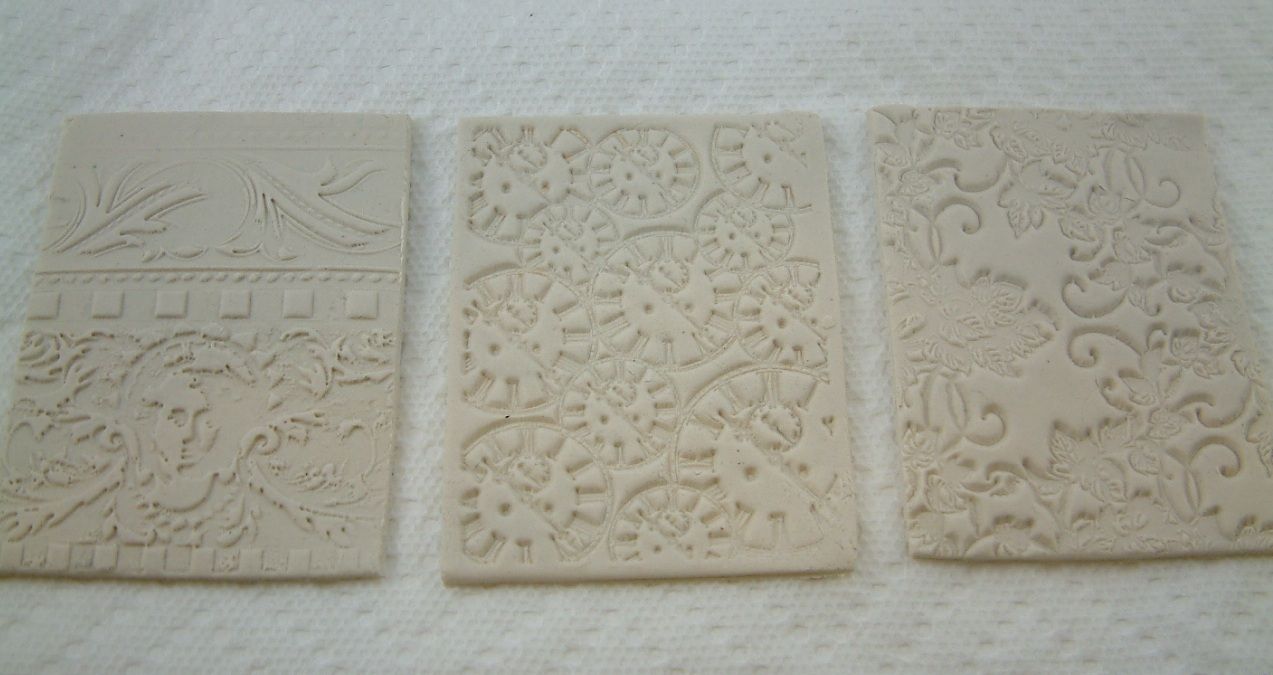
Carefully remove the stamped clay from your non-stick surface and place the clay on a paper towel. The towel helps draw the moisture out of the clay. When I work with clay I usually stamp several pieces. In the images below you can see all of the ATC backgrounds I stamped.
Paper clay takes a long time to dry and the drying time will vary with the dampness of your climate. The key to getting a good result is to control the drying process. I can’t stress this enough. Paper clay likes to curl as it dries. The larger and thicker the piece the longer it will take to dry. For a piece as large and thick as the example piece, it took 3 days. The reason it took that long is that I controlled the drying process. If you just left the clay lay in the open air it will dry overnight but it would be warped and not flat.
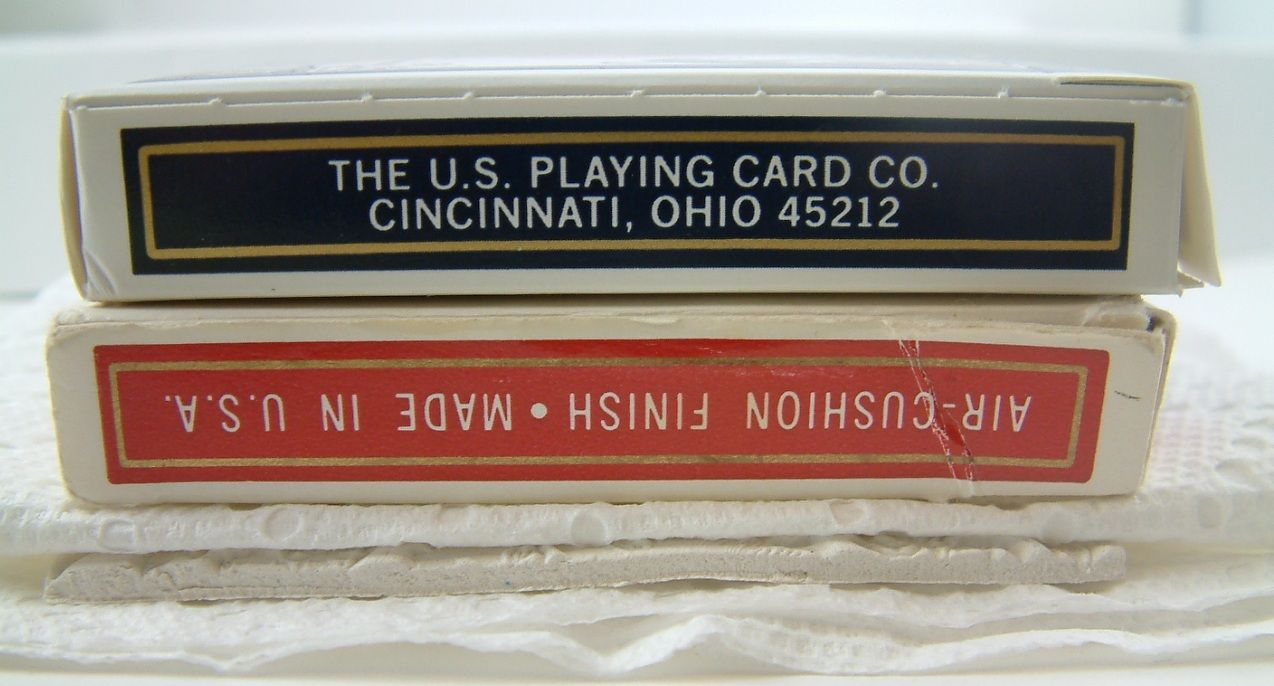
To control the drying process I first placed the clay pieces on a paper towel. I turned the pieces over every hour or so and flattened them if they were starting to warp (you can adjust them as long as they are still wet). If I could not monitor them I placed them in between sheets of paper towels, and place weight on them (like at night when I went to bed). I kept repeating this process until they were dry. Smaller pieces take much less time to dry. For ATC sized pieces I use decks of cards as weights.
Note: When the clay dries it changes from an off white color to white. The outside will look dry but the inside might not be. When the piece is dry it will be very stiff. If there is any flexibly then the piece is not dry and you need to insure that it does not warp.
Step Six Four – Final Touchup
Once your piece is dry you made need to make some final adjustments. Once the example piece was dry it was slightly too large so I used sandpaper to remove just a little from the sides of the piece. If you are touching up smaller more intricate pieces you can use precision filing tools and or small scissors in addition to sandpaper. See the link below for information about precision filing tools http://artfullymusing.blogspot.com/2010/11/cool-tool-precision-file-set.html
You are now ready to paint and embellish your stamped clay piece!!
NOTE: When gluing objects to paper clay you can use any glue that you would use with paper.
NOTE: When gluing objects to paper clay you can use any glue that you would use with paper.
I used alcohol inks to paint the example piece. I chose ink because it is translucent so you can still see the texture of the clay and it is easy to create dark and lighter areas with the same color ink.
Here Are Some More Examples of Stamped Pieces
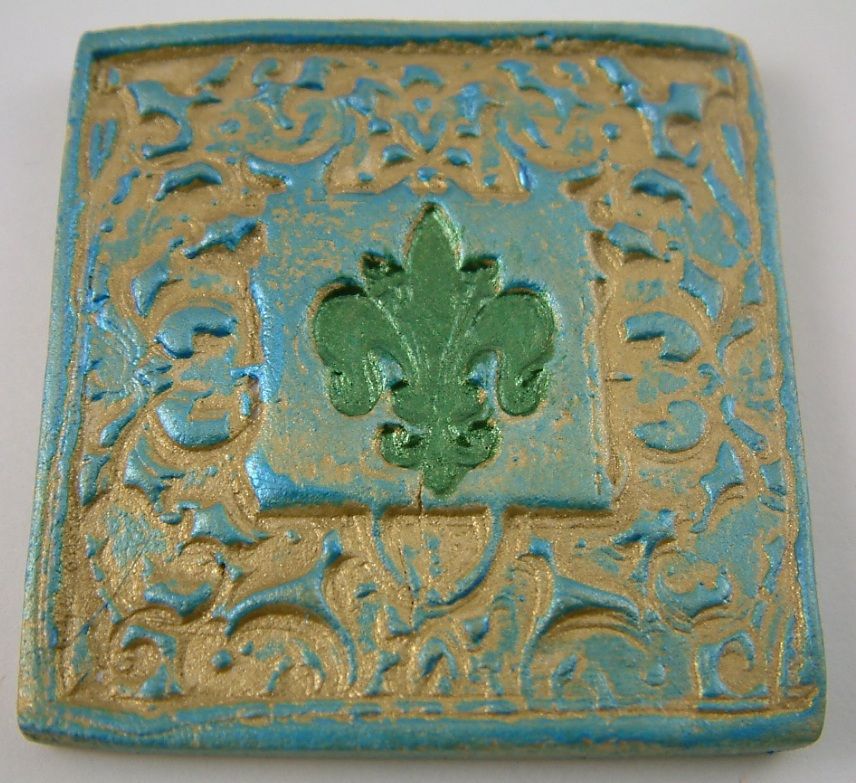
In the example below I used an acrylic stamp to create a 1 ¾” x 1 ¾ embellishment. Small embellishments that you are going to glue onto another surface don’t need to be as thick as the ATC backgrounds.
First, I painted the piece with gold paint. Next, using my finger I lightly brushed on teal metallic paint to just the raised surfaces. Finally, using a brush I painted green metallic paint on the fleur de lis design.
Below I used an acrylic stamp to create a 3” x 1 ¾” piece. I carefully trimmed the wet stamped piece with scissors before starting the drying process.

Storing Paper Clay
To keep your paper clay moist, seal the package in a plastic bag. Next, place the plastic bag in another plastic bag. Drip some water into the second bag and seal it. Because you sealed the clay in the first bag the water won’t come in touch with the clay but will evaporate in the second bag and keep the air moist around the first bag. And as you know, no bag is completely airtight. If you don’t do this your clay will dry out. This is also a great trick for keeping brown sugar moist.
18 comments:
Thank you for a great tutorial. Loving your makes. Have a smashing week, Annette x
Thanks so much for the tutorial. I've seen paper clay in Michaels and wanted to try but didn't quite know how to use it. This is perfect! Thanks again.
Laura,
Thank you for the great tutorial on the paper clay. Also love the new header creation! Do you have a tutorial on how you do those?
Yours is my favorite blog.
Do you realize that you are making my "I Want to Try That" list longer and longer? lol
Thanks for another excellent tutorial, Laura.
Thank you for this wonderful tutorial, Laura!
Hugs,
Julia
great tutorial Laura, thank you will have to check out to see if my locl shop sells this clay
hugs
This is wonderful. Great TT and the finished ATC looks worth the wait ;0)
Love Dawn xx
Awesome!! Thank you!!!
That undersea life ATC is awesome. I'm just back from terrific snorkeling in Hawaii and would love to make something like this. Now I have an example to use. Thank you!
Laura -
Thank you so much for the wonderful tutorial. I've seen Creative Paperclay in the stores but hesitated buying it. Now that I know what to do with it, I'll be picking up a package.
Elaine Allen
Great tute
Thanks :)
Wow, what a fantastic tutorial and your pieces look wonderful. Thank you!
Thank you so much for this tutorial! It is incredibly helpful...
It would be awesome if you could post a tutorial on the coloring process of the 1 ¾” x 1 ¾ embellishment...the beautiful teal and gold really piqued my interest!
As well, what would you use to adhere the clay to the ATC?
Again, thank you! I love it when artists provide technical how-tos for folks like me, who just don't know "how to do it."
what a great tutorial! thanks for sharing this!
Oh how cool! Thanks so much for the tutorial!
wow I have to try this one, great tut. Thanks as always xoxoxox
Annette from Texas.
This is wonderful and i have added it to my next month budget..lol,all your art is wonderful and i love the sharing and deep thoughts I fall into looking at all you do.
hugs,
susan salyer
Post a Comment