Here comes a tutorial just in time to have fun for the weekend. First, I must give credit to Holly Moore whose blog is Paper Pieces of Me. Holly hosted a domino book swap in the Marie Antoinette Mail Art group and that’s where I learned to make these books.
Two dominos. In the example my dominos measured 1” x 2”.
Thin ribbon or lace
Cardstock or heavy decorative paper.
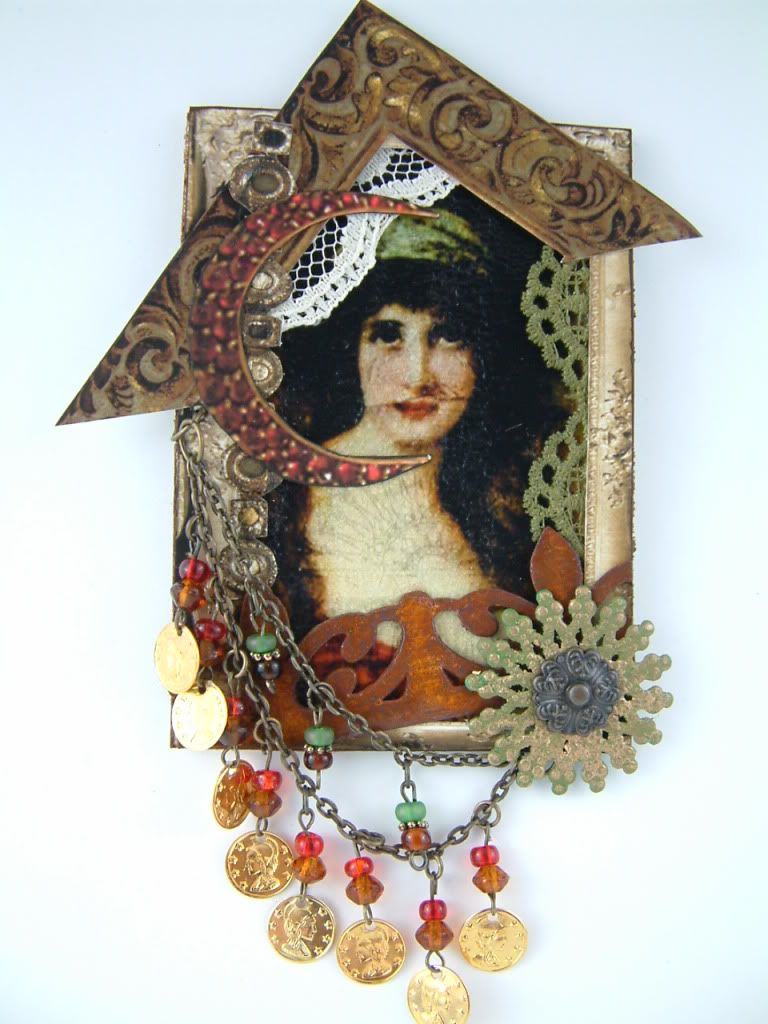
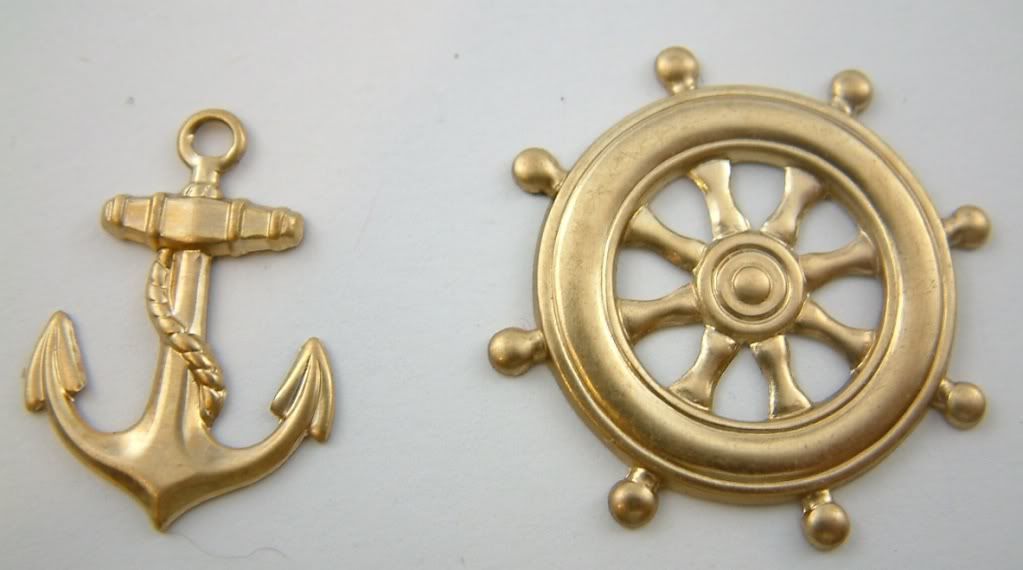
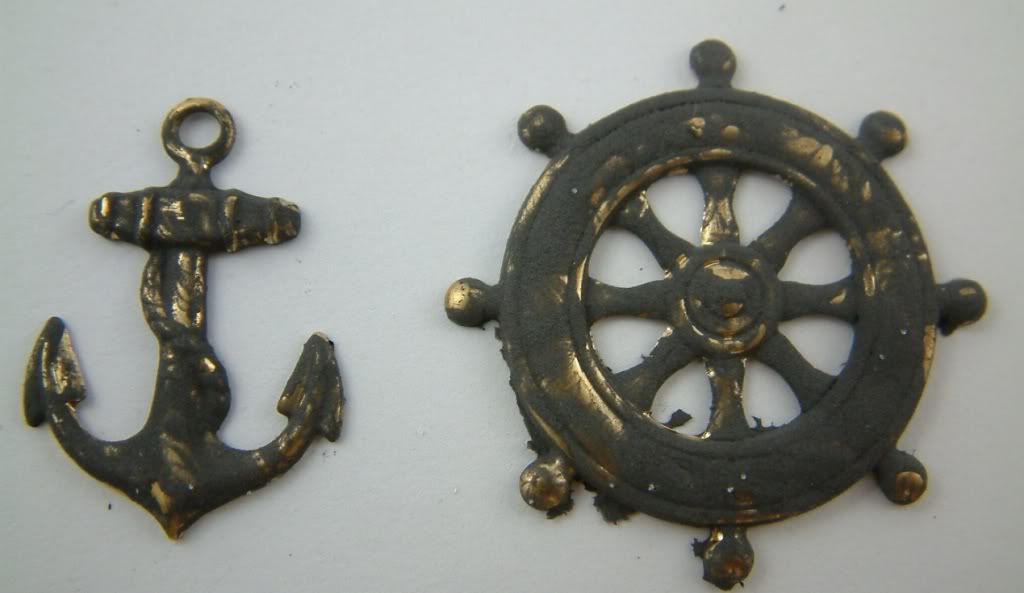
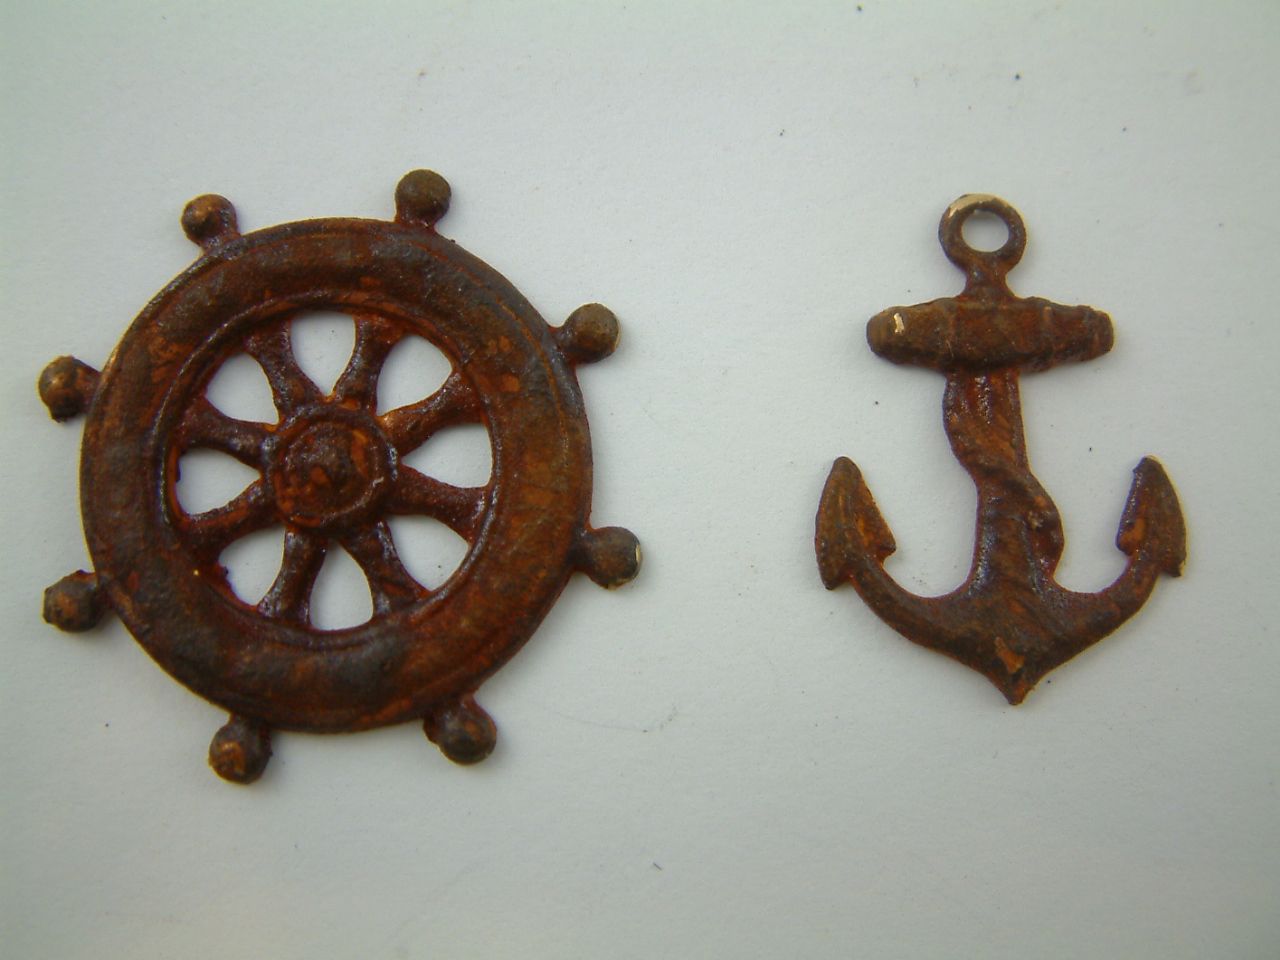
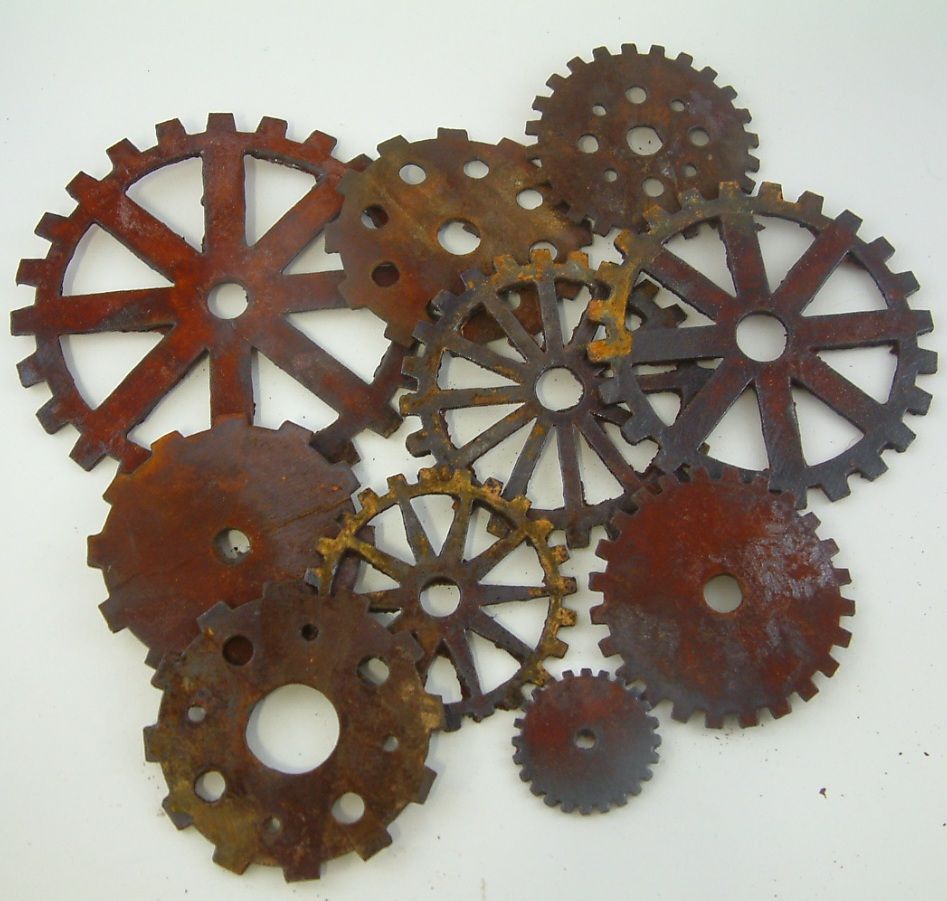
Embellishments (for the dominos)
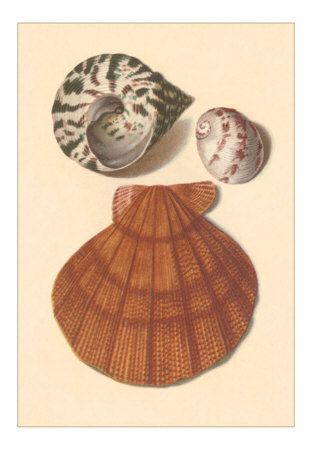
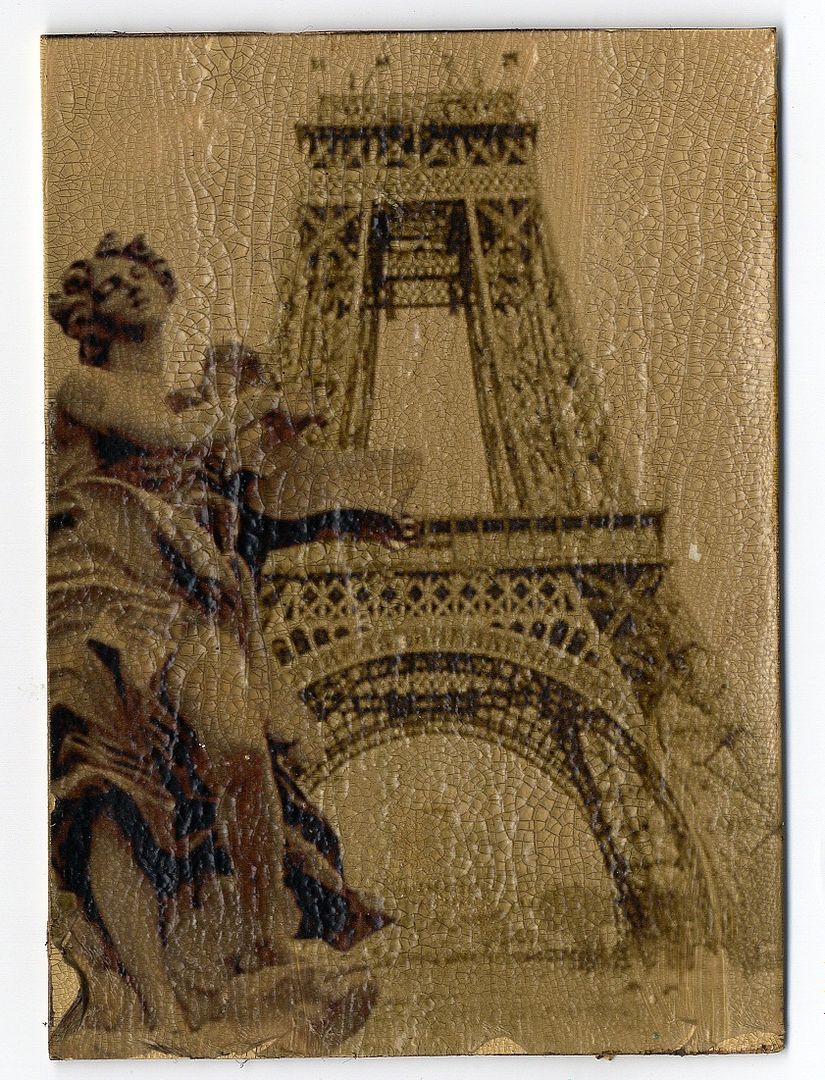
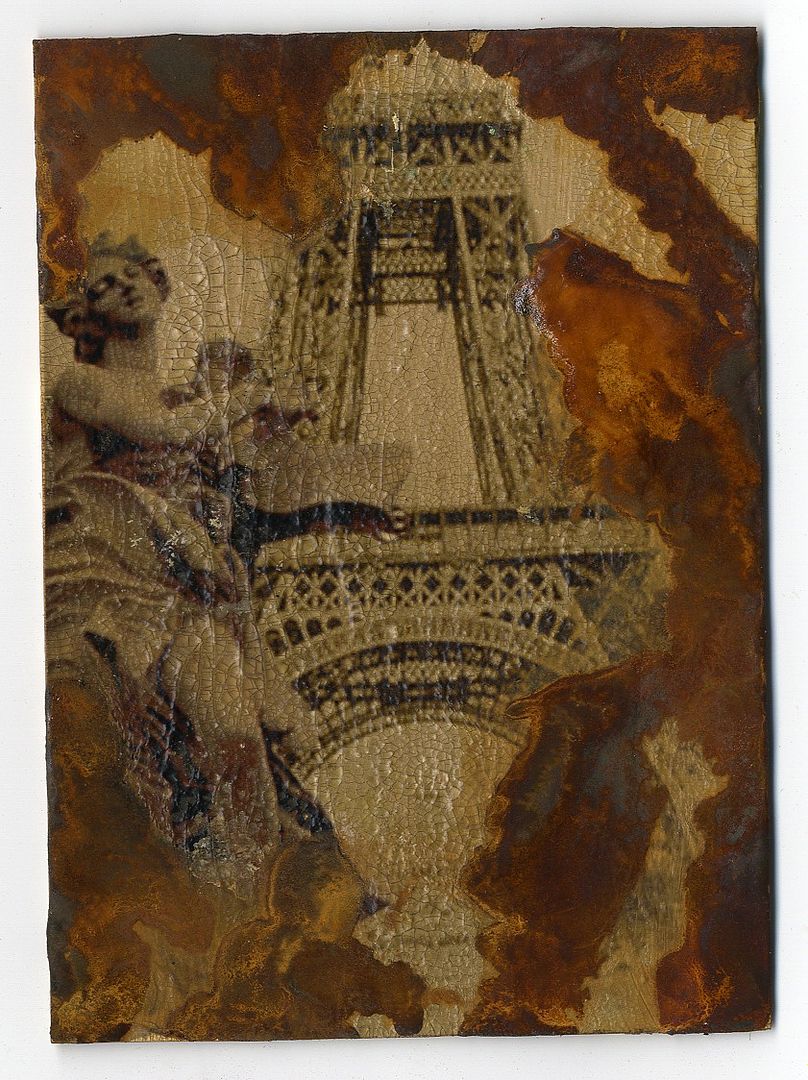
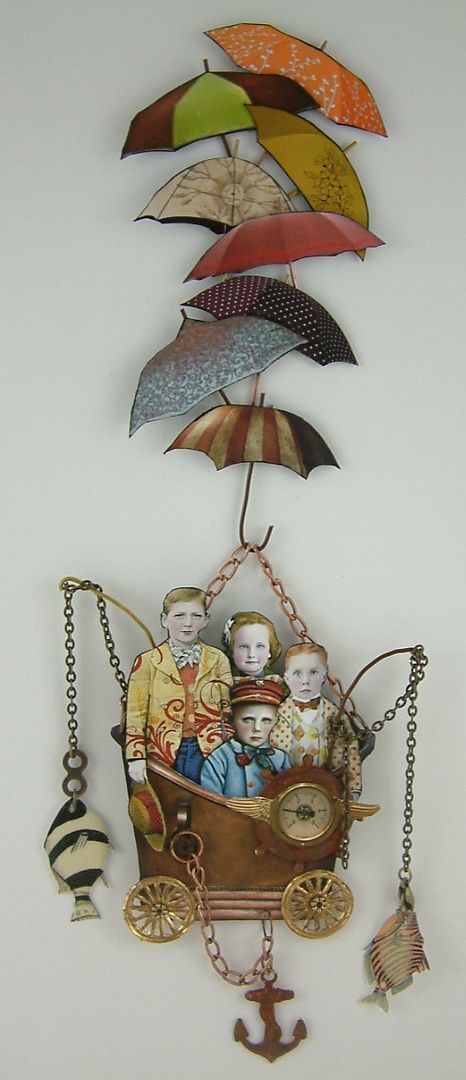
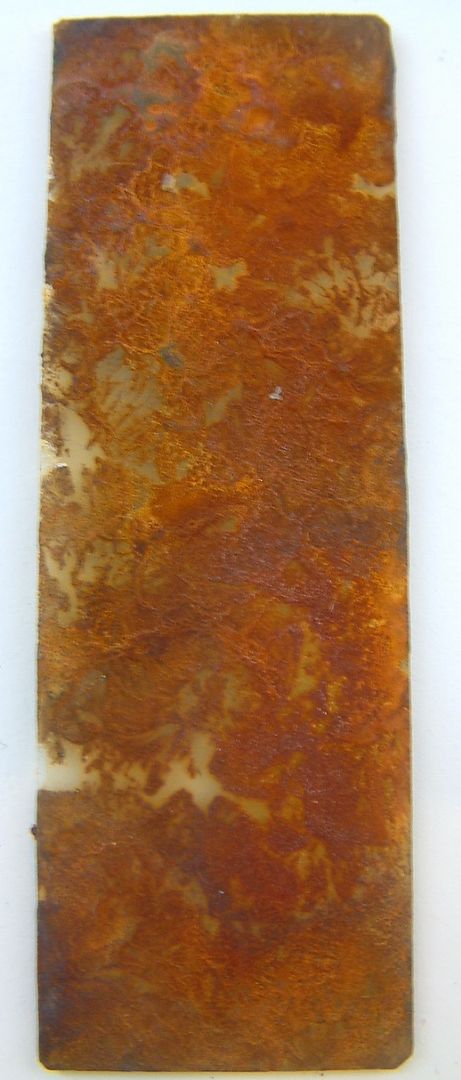
Paper images
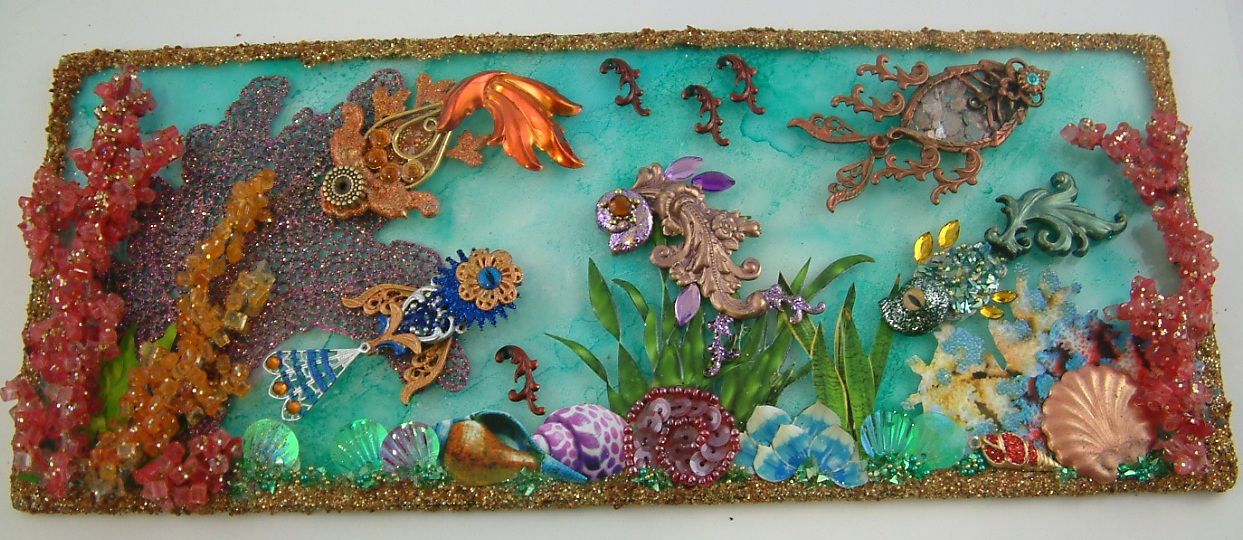
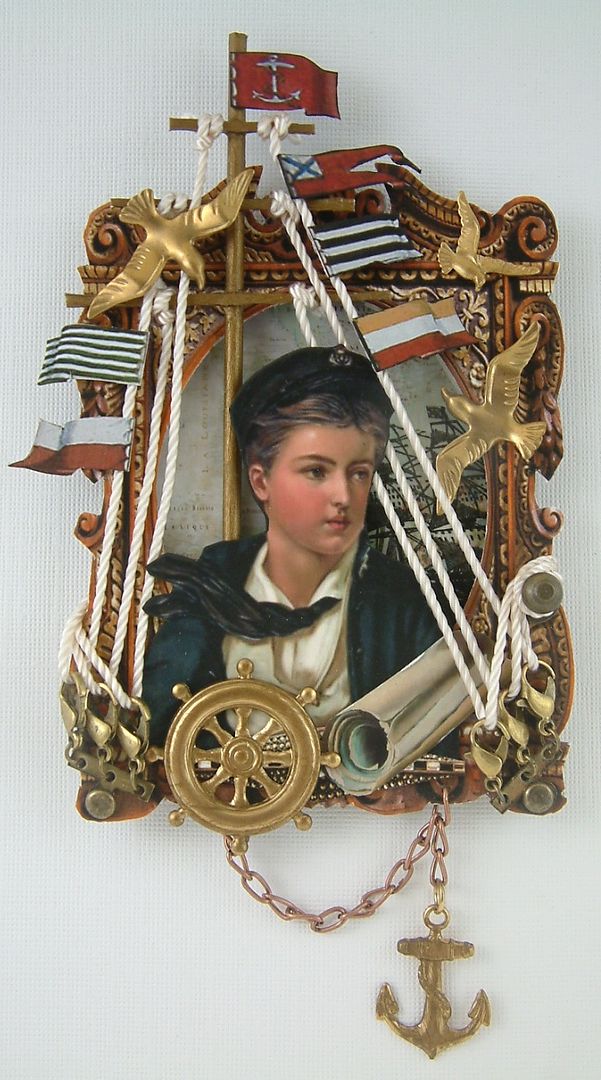
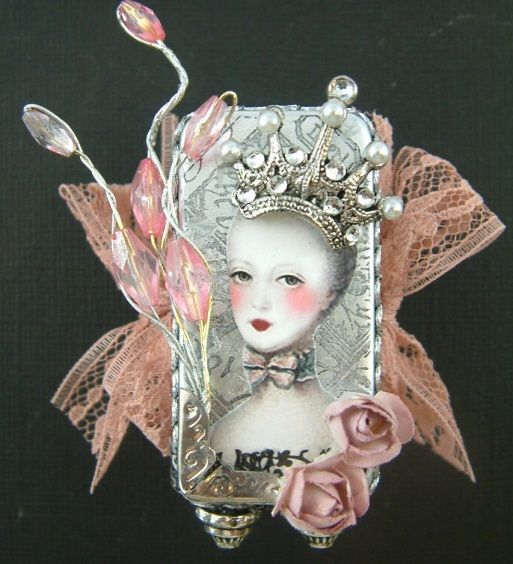
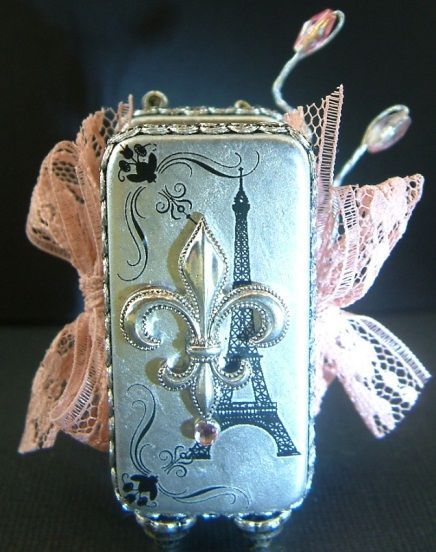
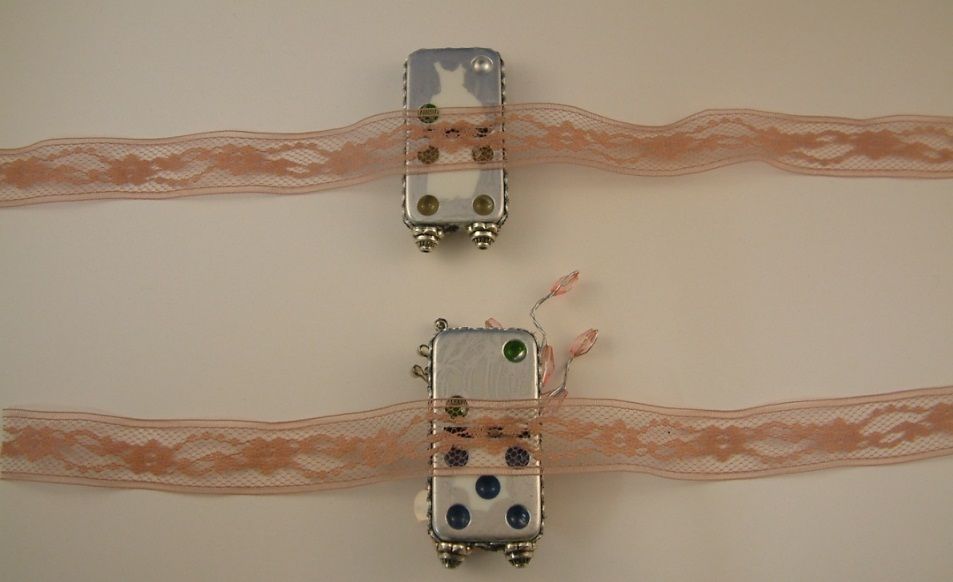
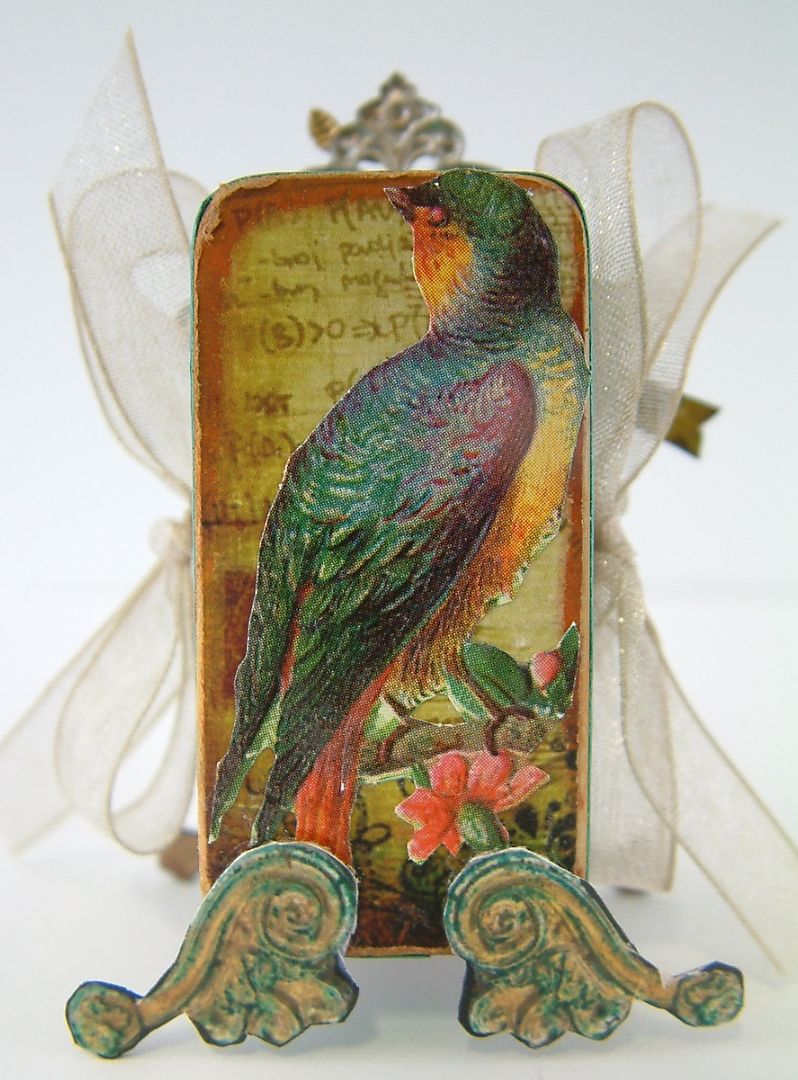
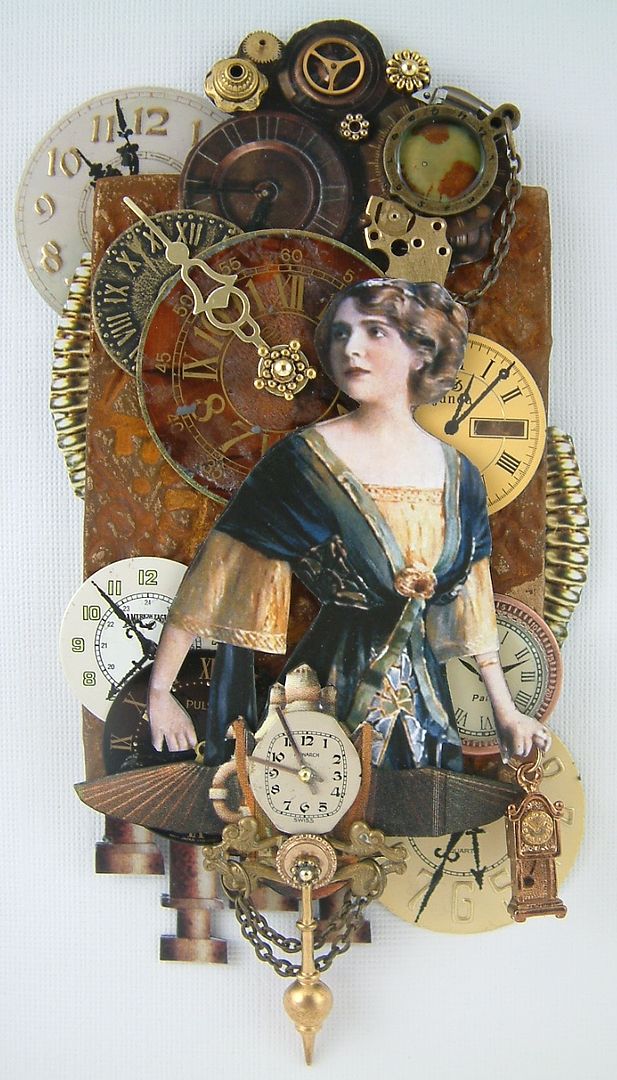
Front of the finished book
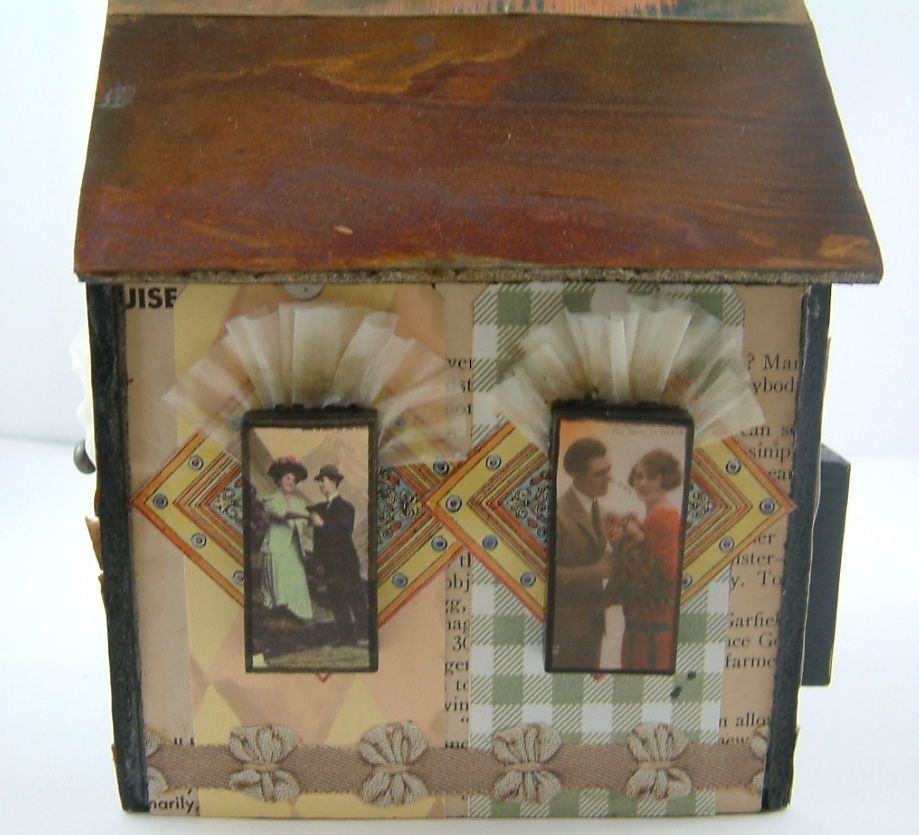
Back of the finished book
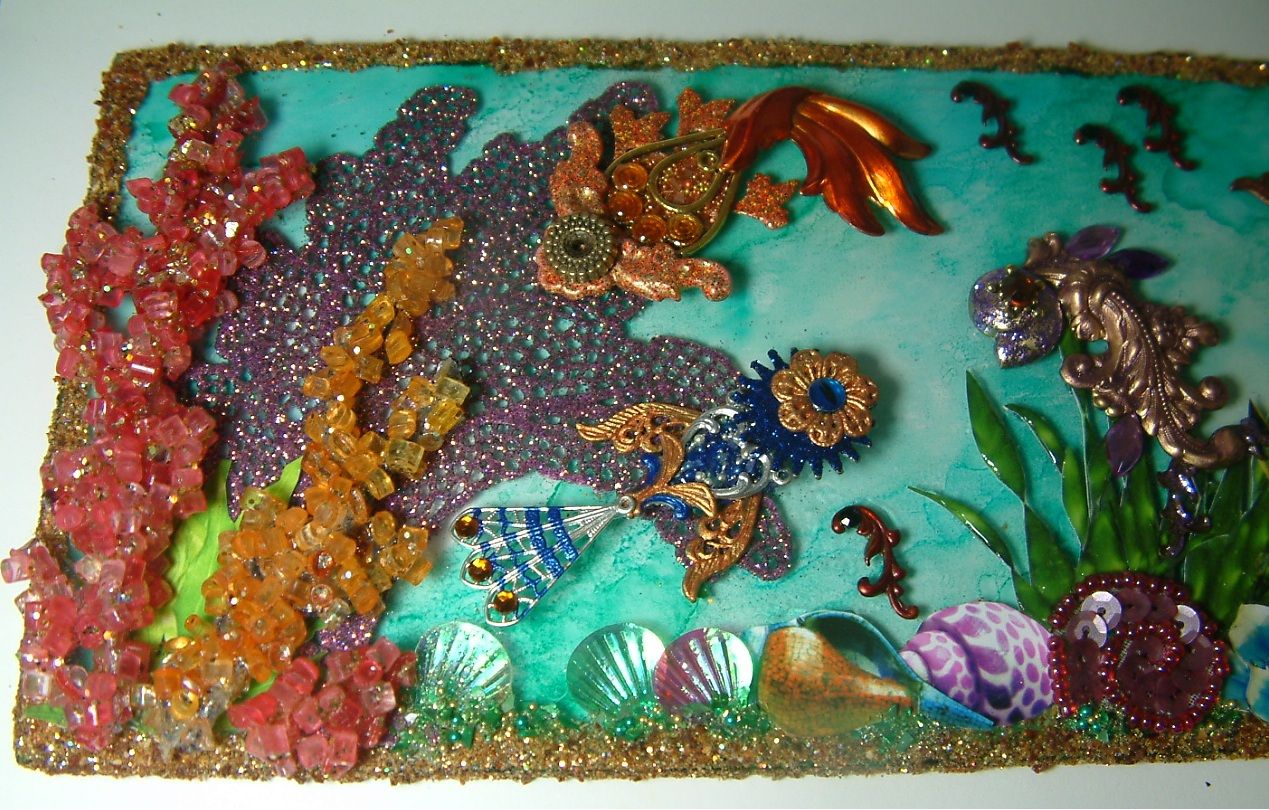
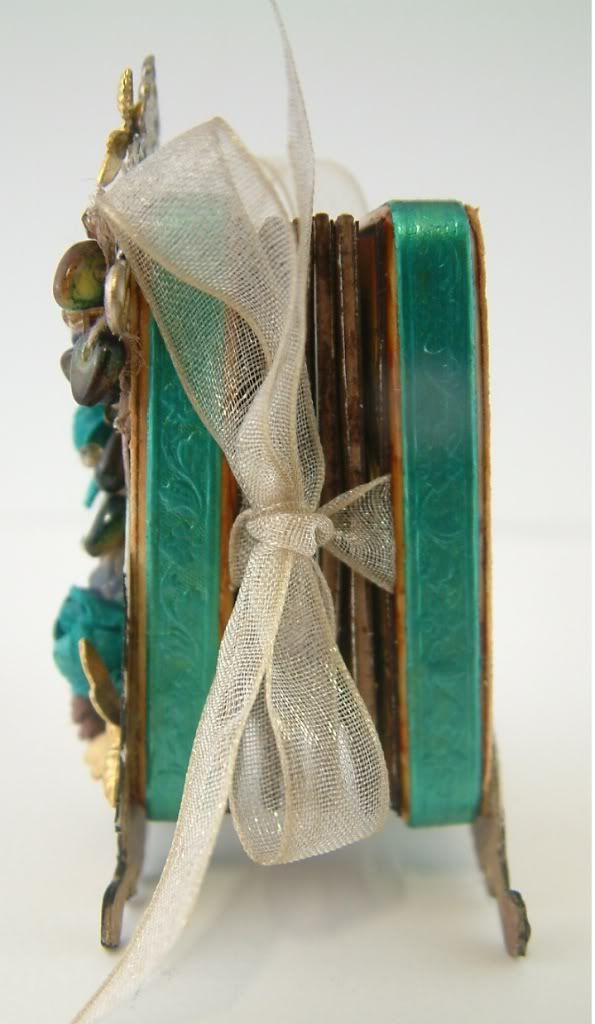
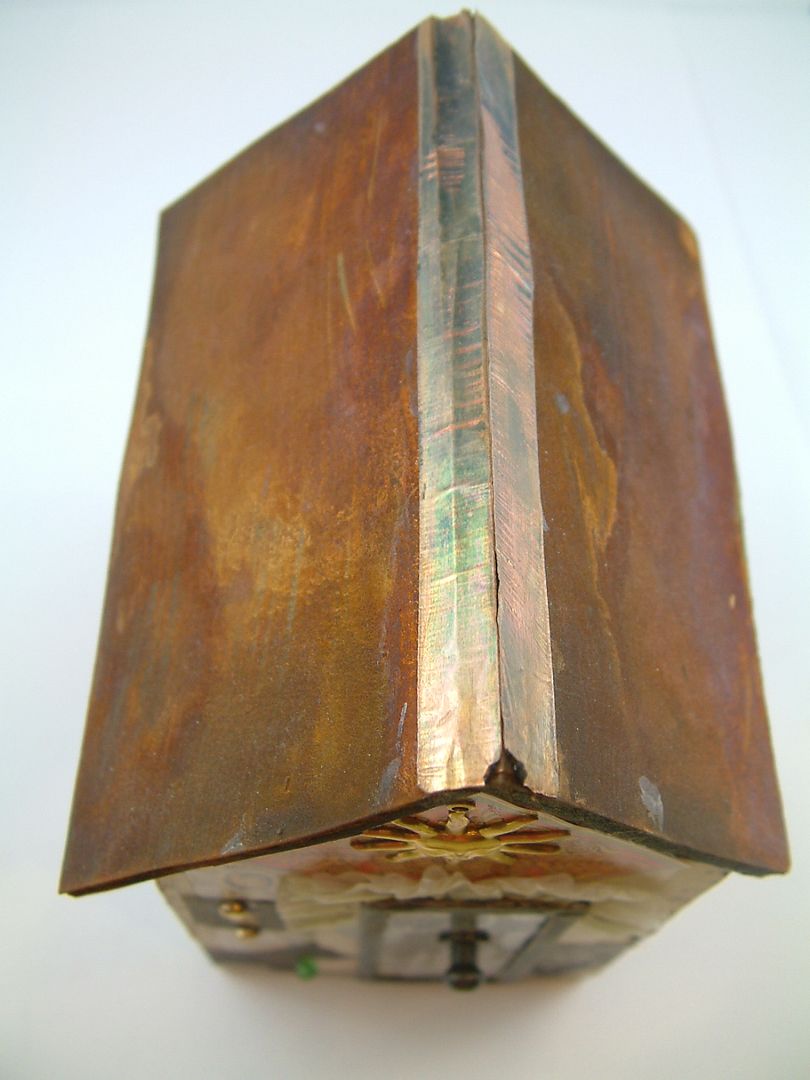
Side of the finished book
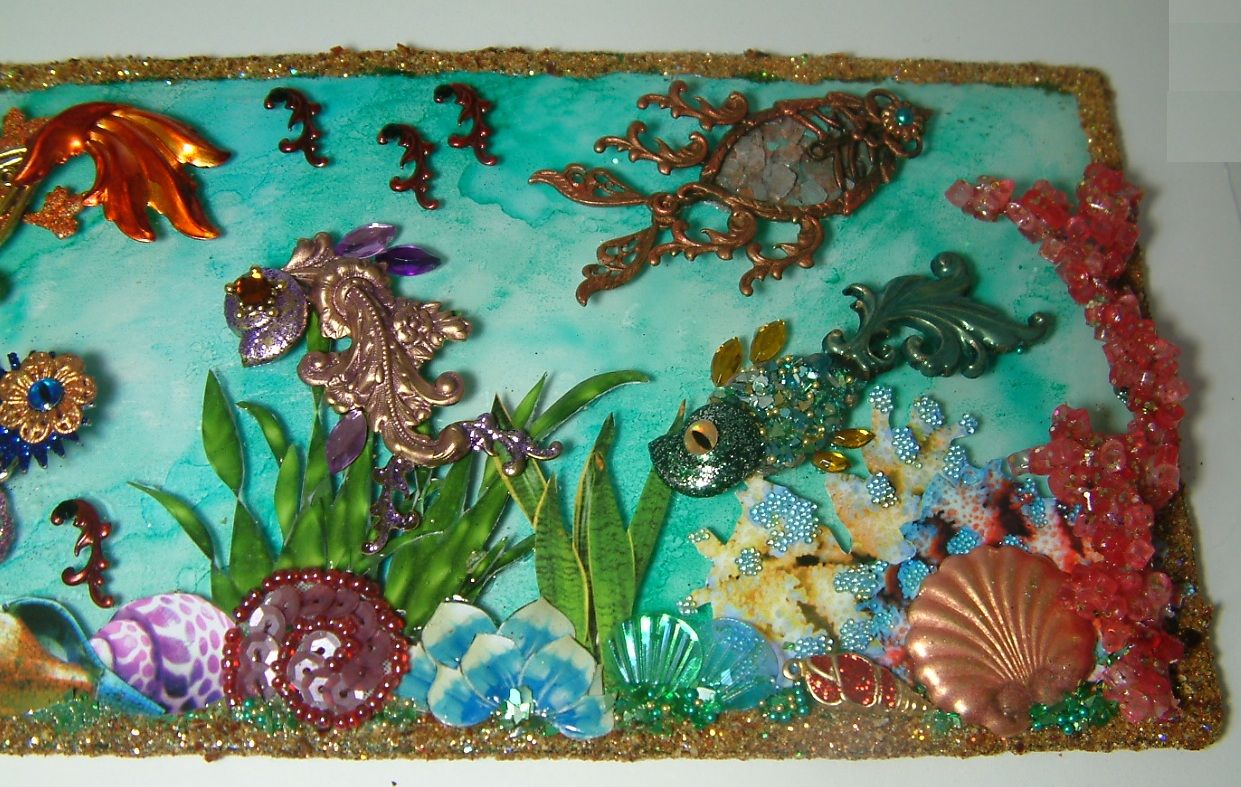
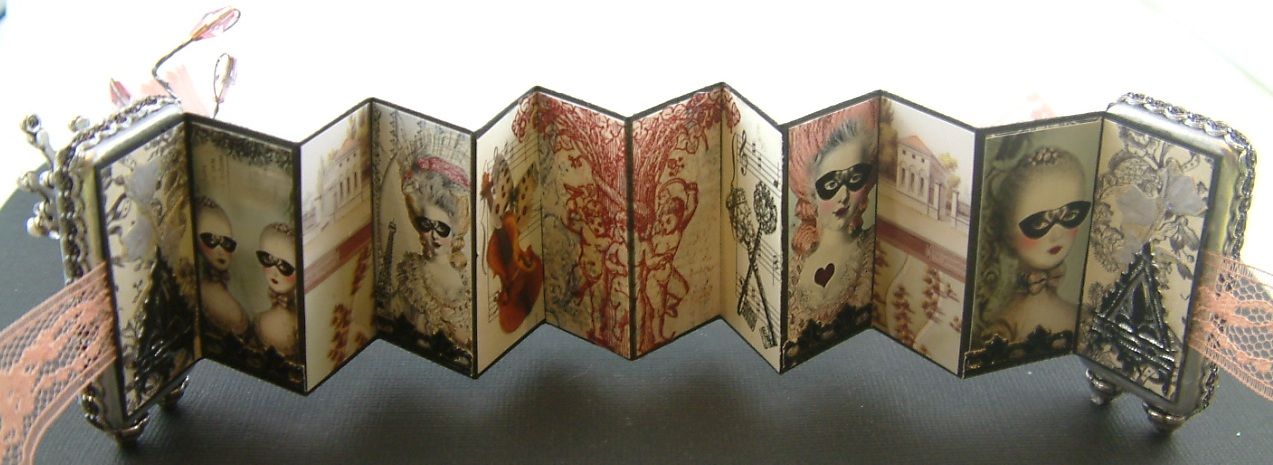
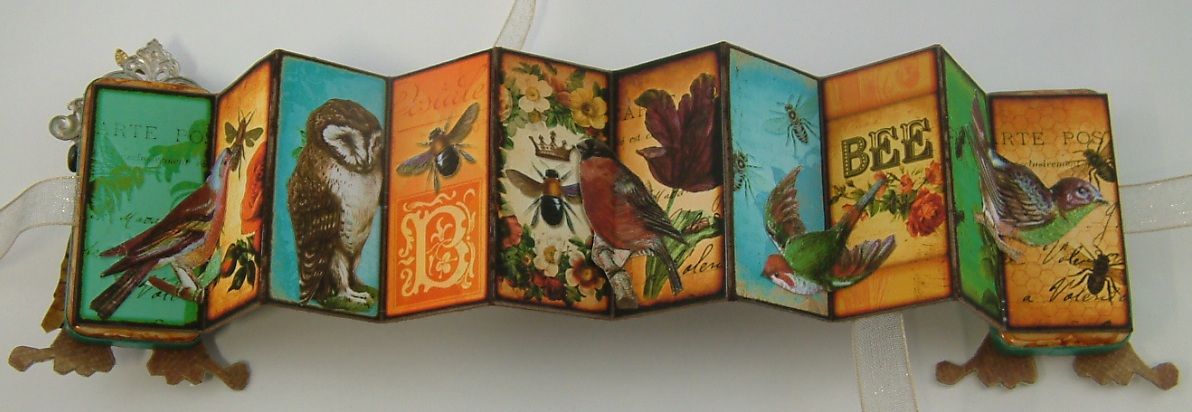
Inside of the finished book
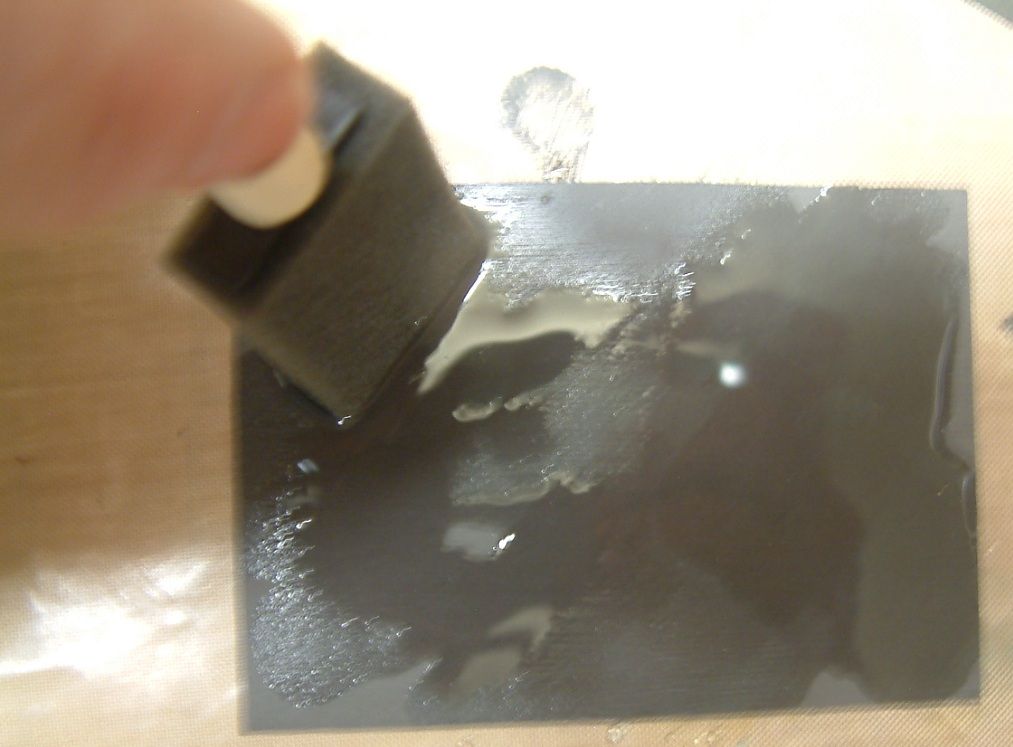
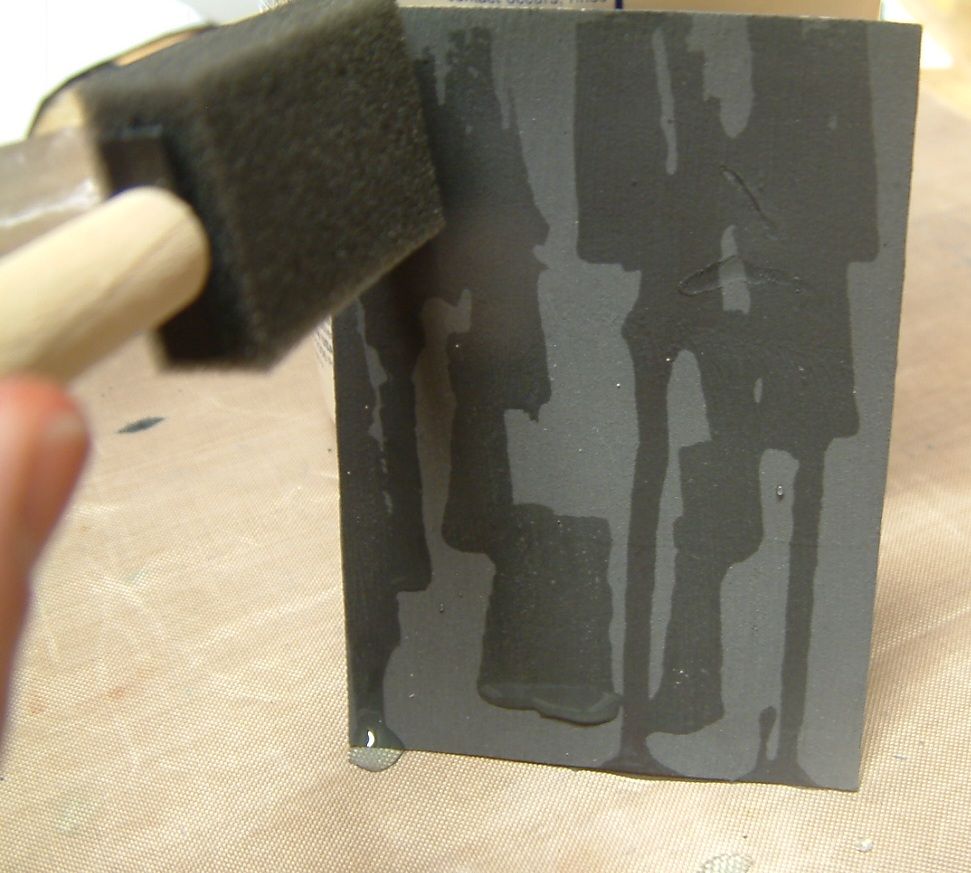
Step 1
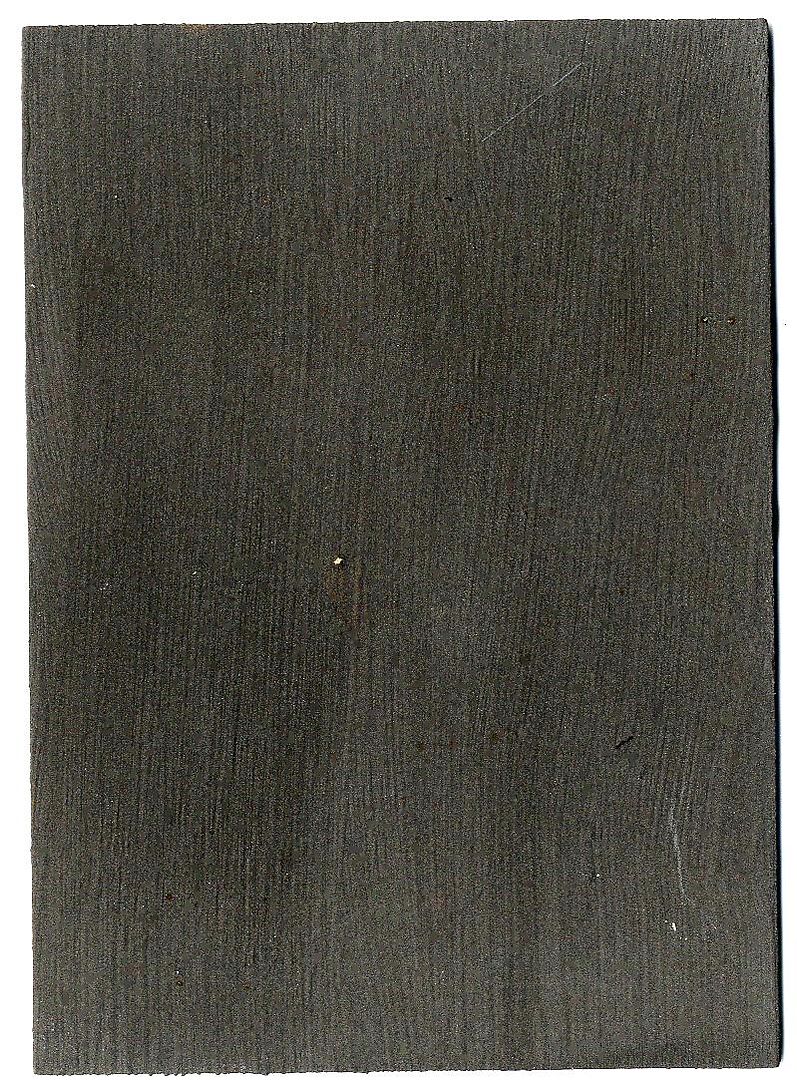
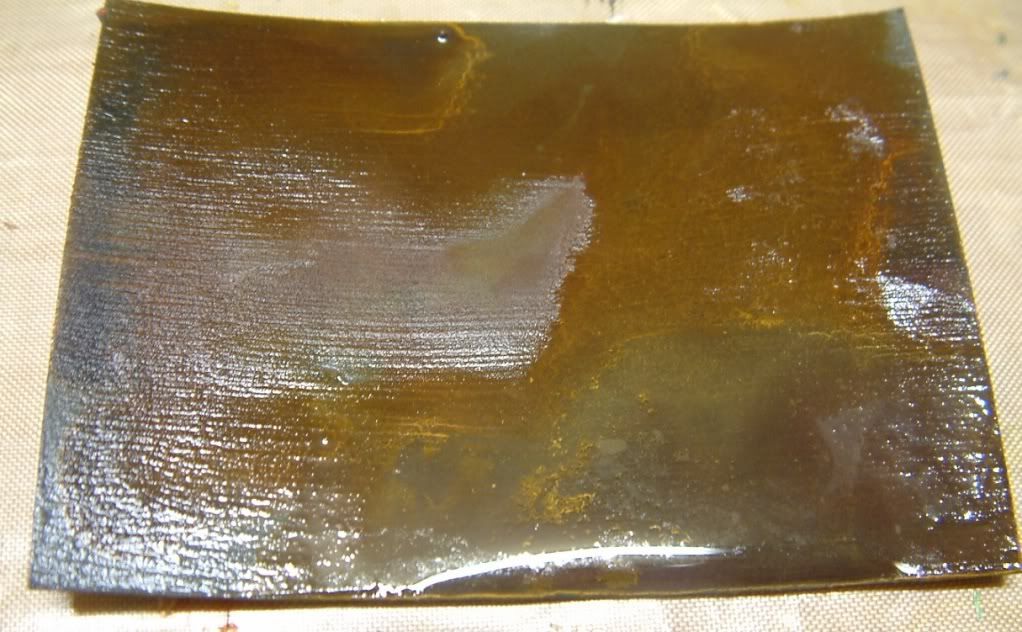
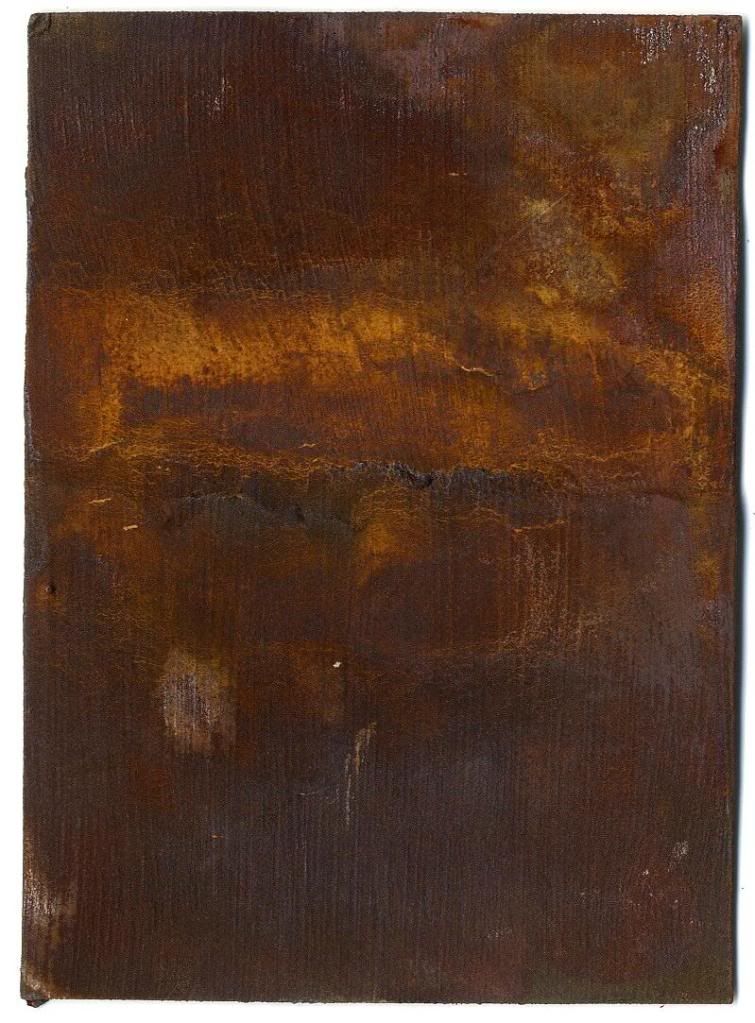
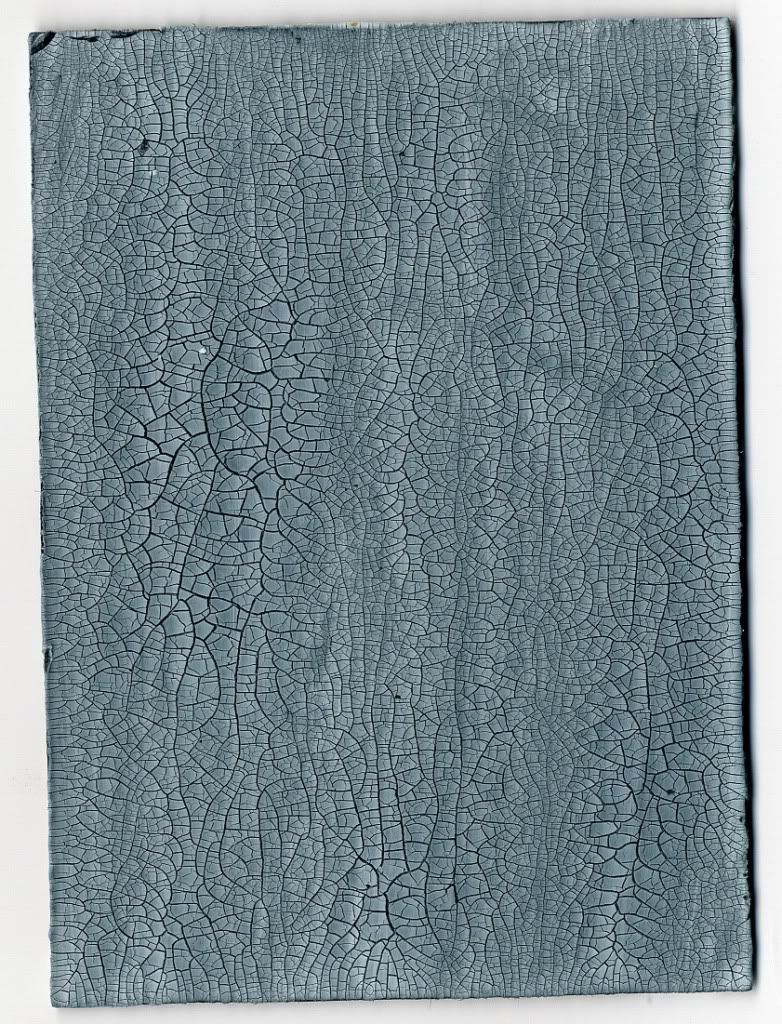
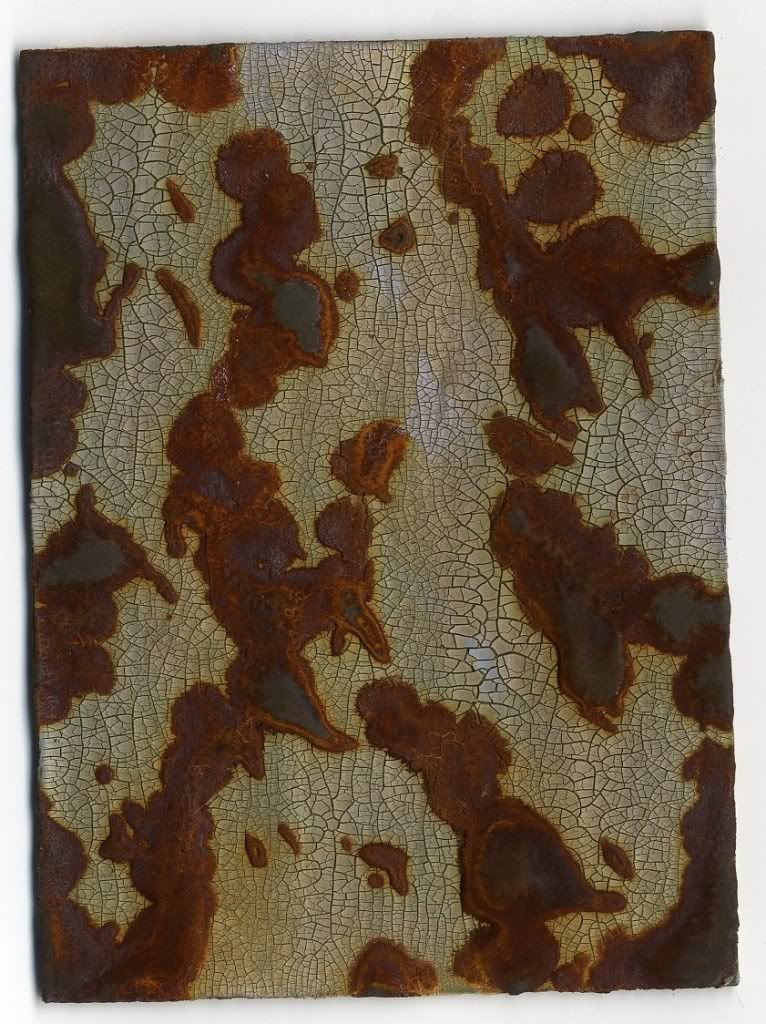
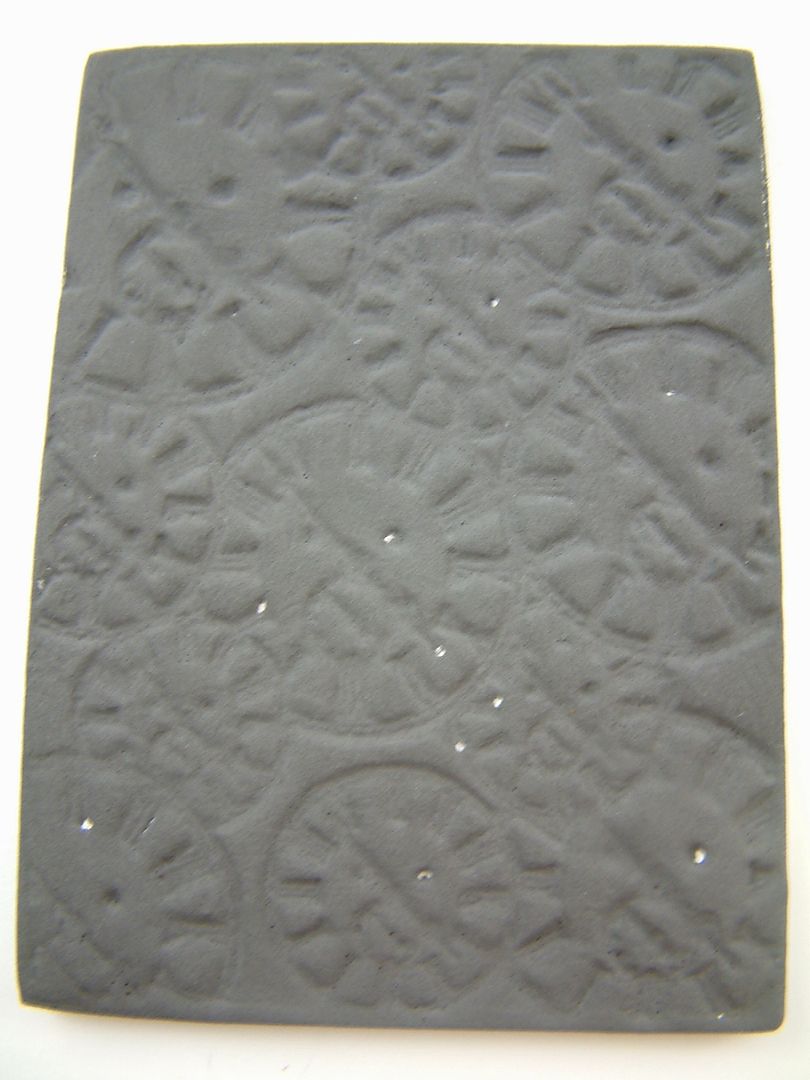
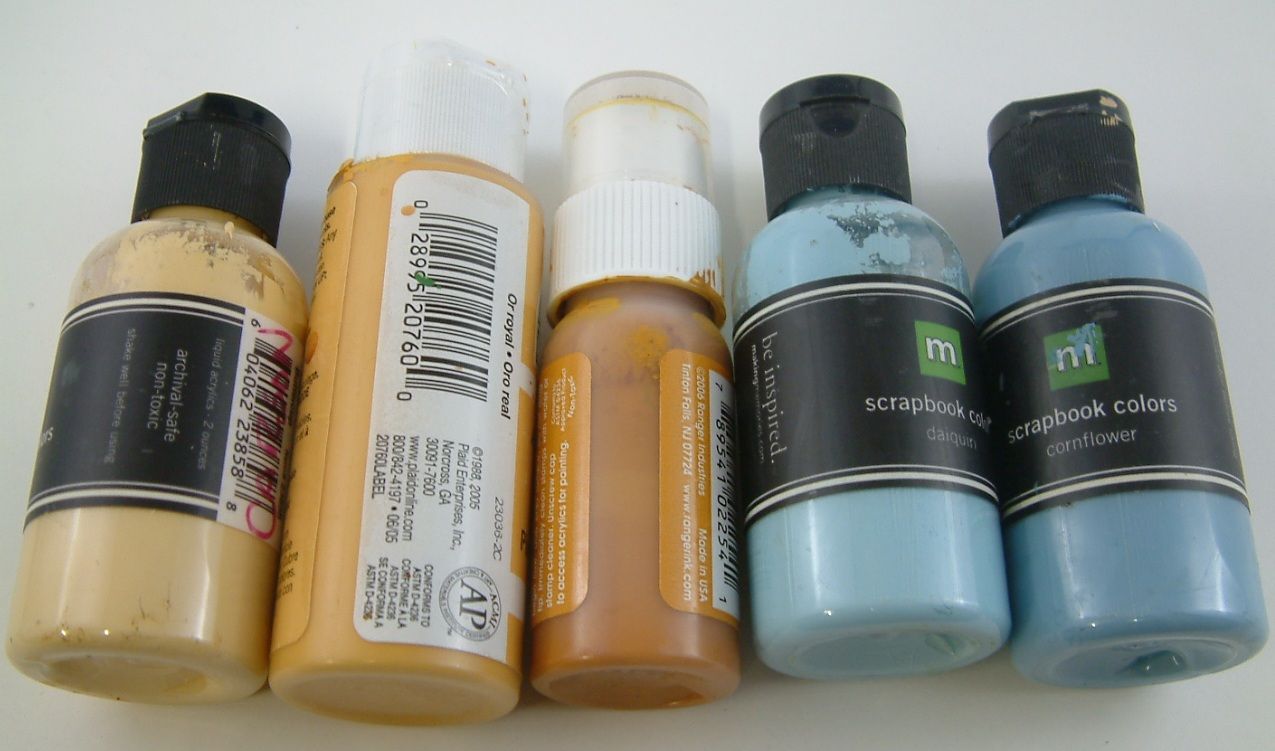
Decorate the fronts and sides of your dominos (not the back). You can use alcohol inks, Staz-On ink, paper, ribbon, trim, rub-ons and anything else that will stick to a domino. In the example I painted my dominos with silver alcohol ink. If you are painting your dominos, be sure to paint the edges and a little bit of the back side. I then stamped my dominos, applied rub-ons and paper. Lastly, I glued on my dimensional embellishments and trim around the edges.
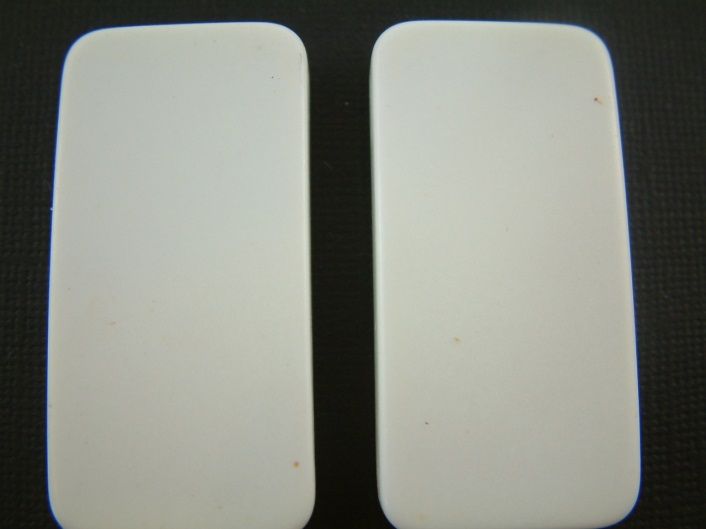
Blank Dominos
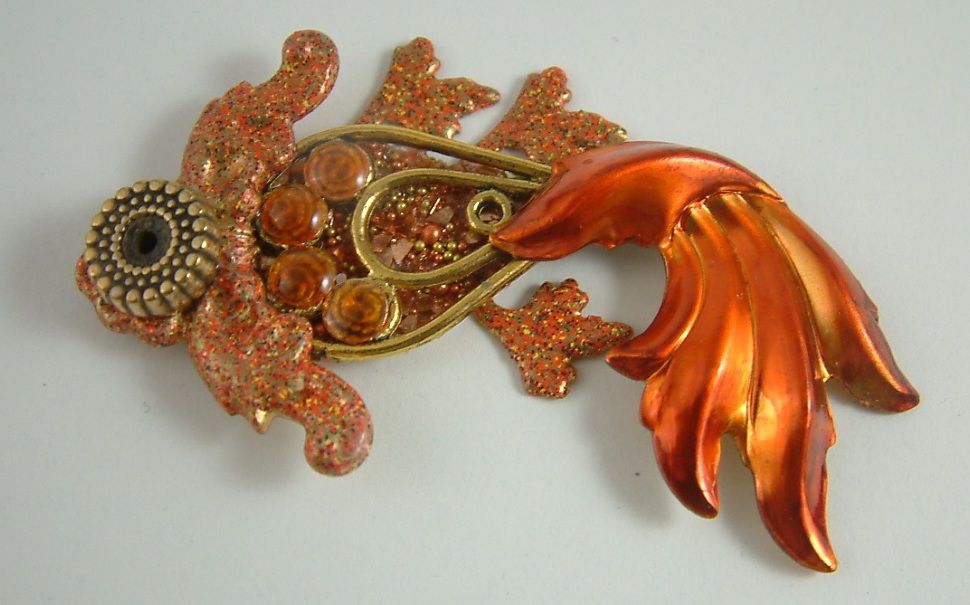
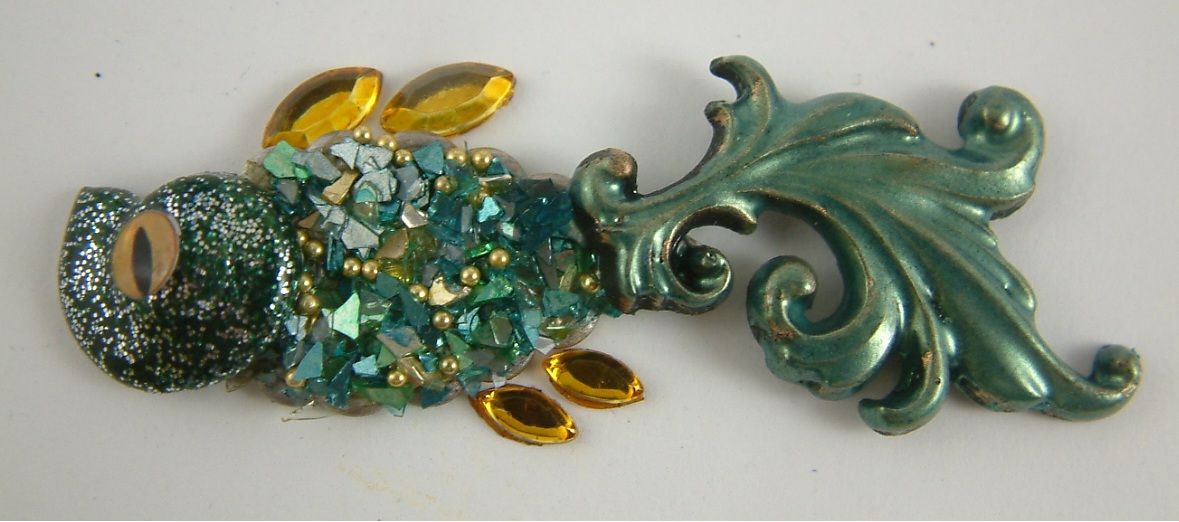
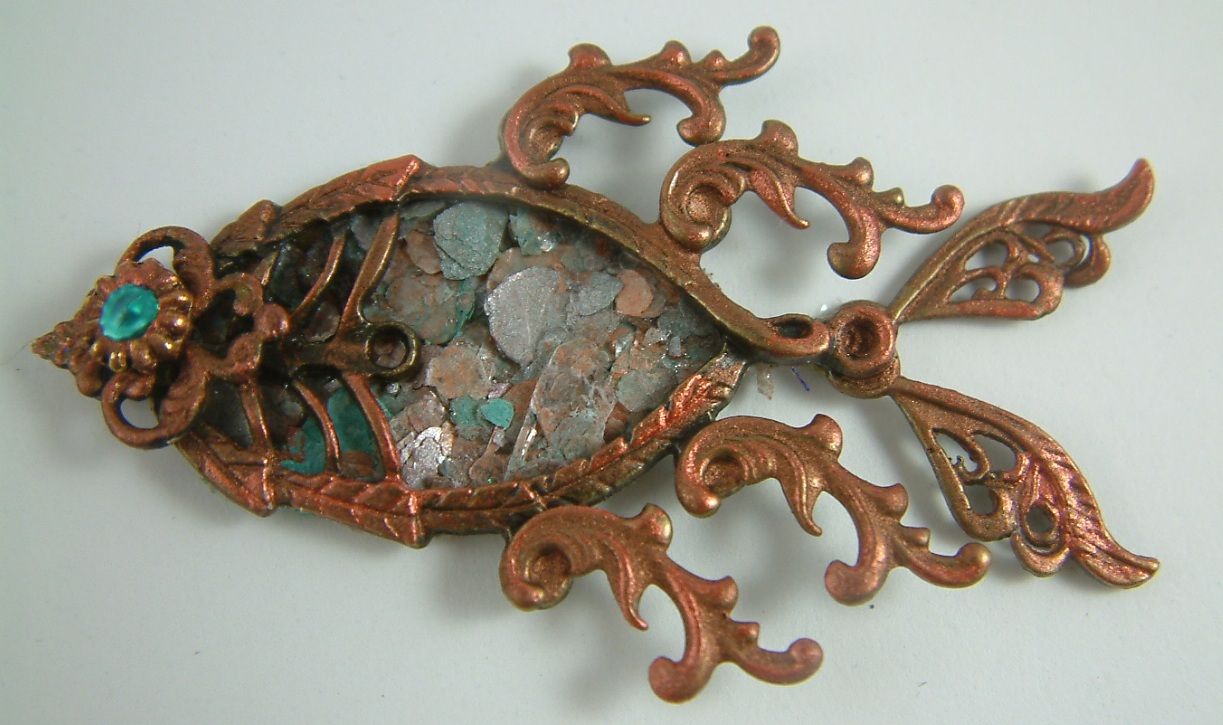
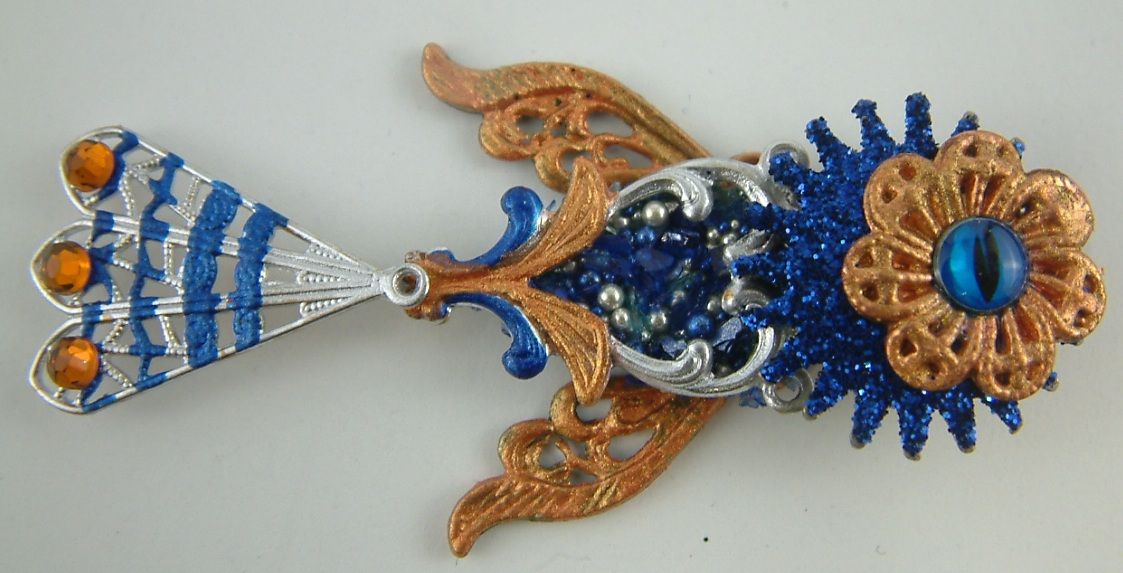
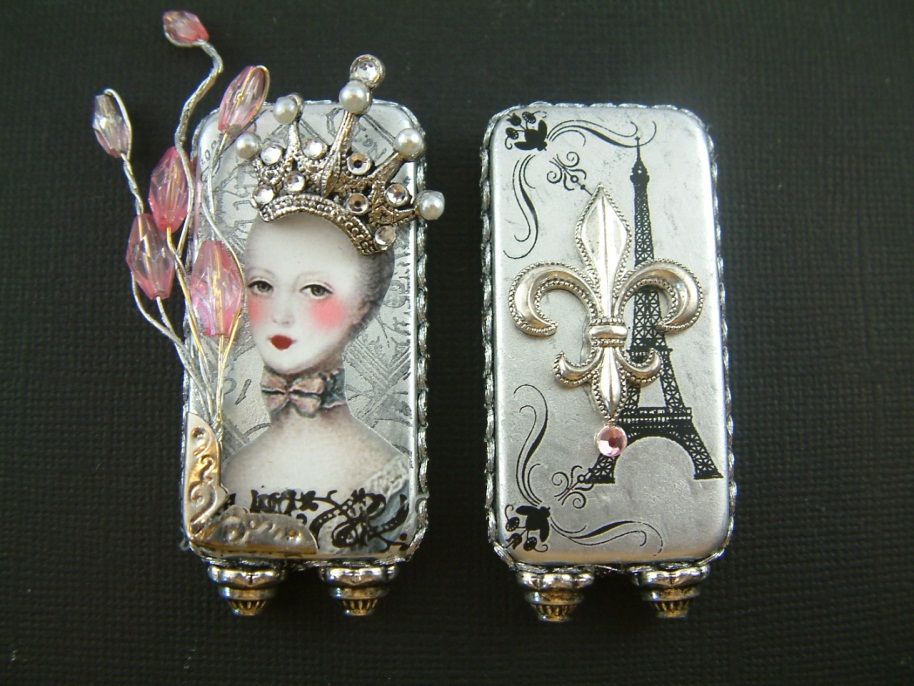
Decorated Dominos
Step 2
Glue a strip of ribbon to center of the backside of each domino. The ribbons are used to tie the book closed. I used extra ribbon then trimmed the length after tying the book closed.
Step 3
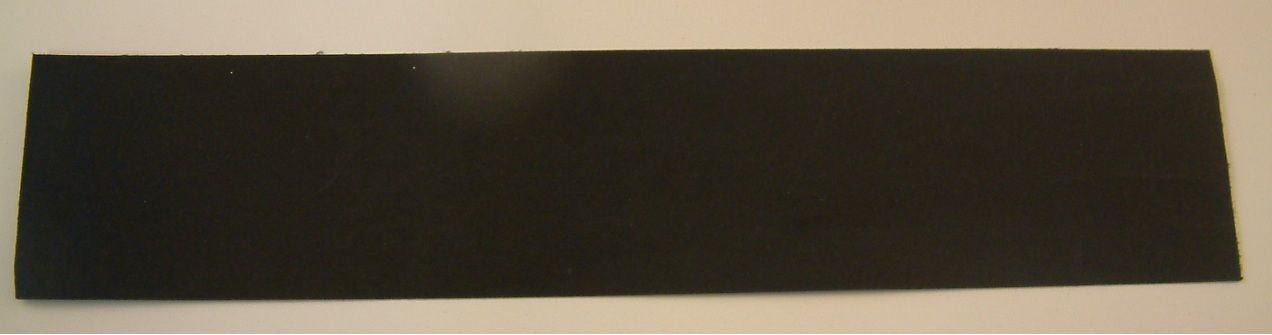
Cut a strip of cardstock or heavy decorative paper 1 7/8” x 9”. This measurement is based on dominos that are 1” x 2”. If your domino measurements are different you will need to cut your paper a different size. The point is to cut the height 1/8” shorter than the height of the domino and long enough to fold the strip into 10 sections so that each folded section is 1/8” shorter than the width of the domino. The purpose of deducting a 1/8th of an inch is to keep the folded book from hanging over the edge of the dominos.
Strip of cut cardstock
Step 4
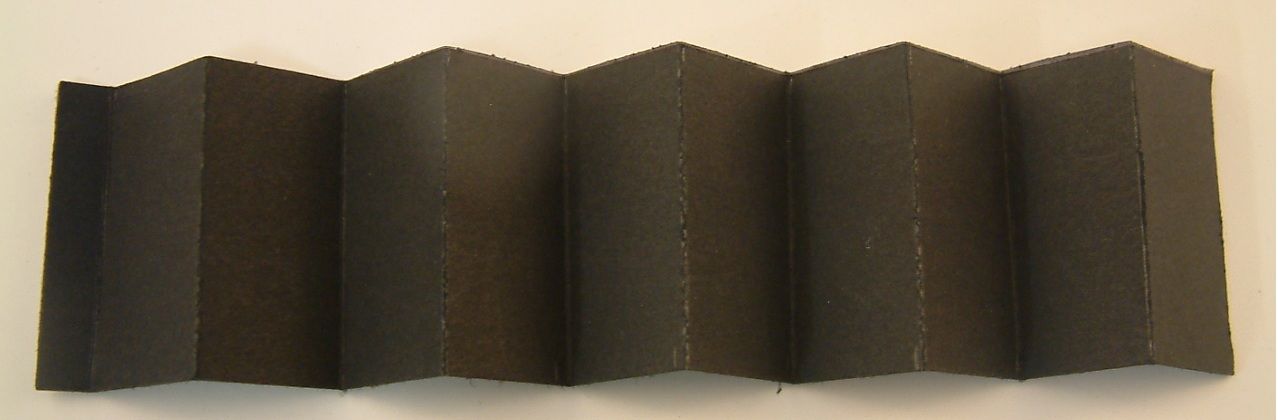
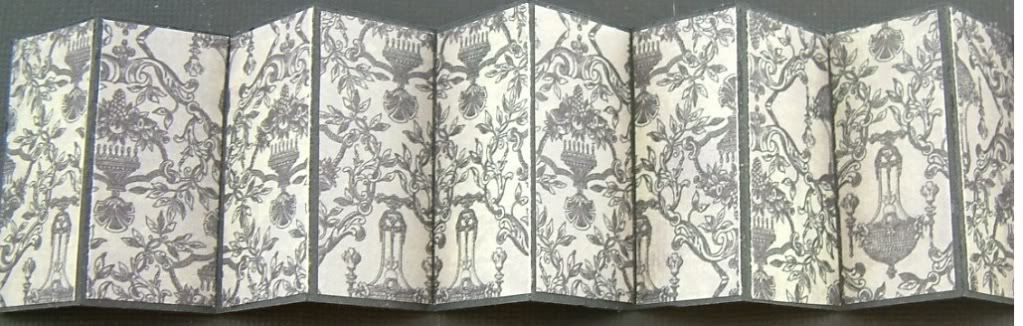
Score the paper every 7/8” (this assumes the domino is 1” wide). This is to help you fold the paper like an accordion. You should be able to score the paper 10 times. Fold the scored paper. You should have 10 panels with a little bit extra on one end. Cut off the extra bit. Decorate the front and back. Don’t use bulky embellishments or the book will be hard to close.
Strip of cardstock scored and folded (be sure to cutoff the extra at the end).
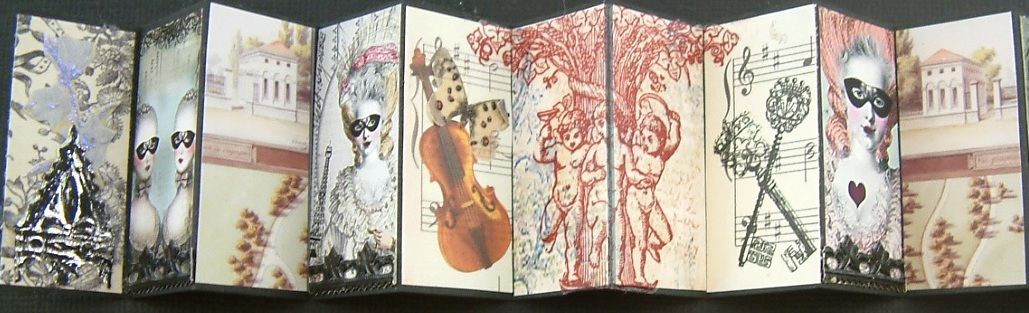
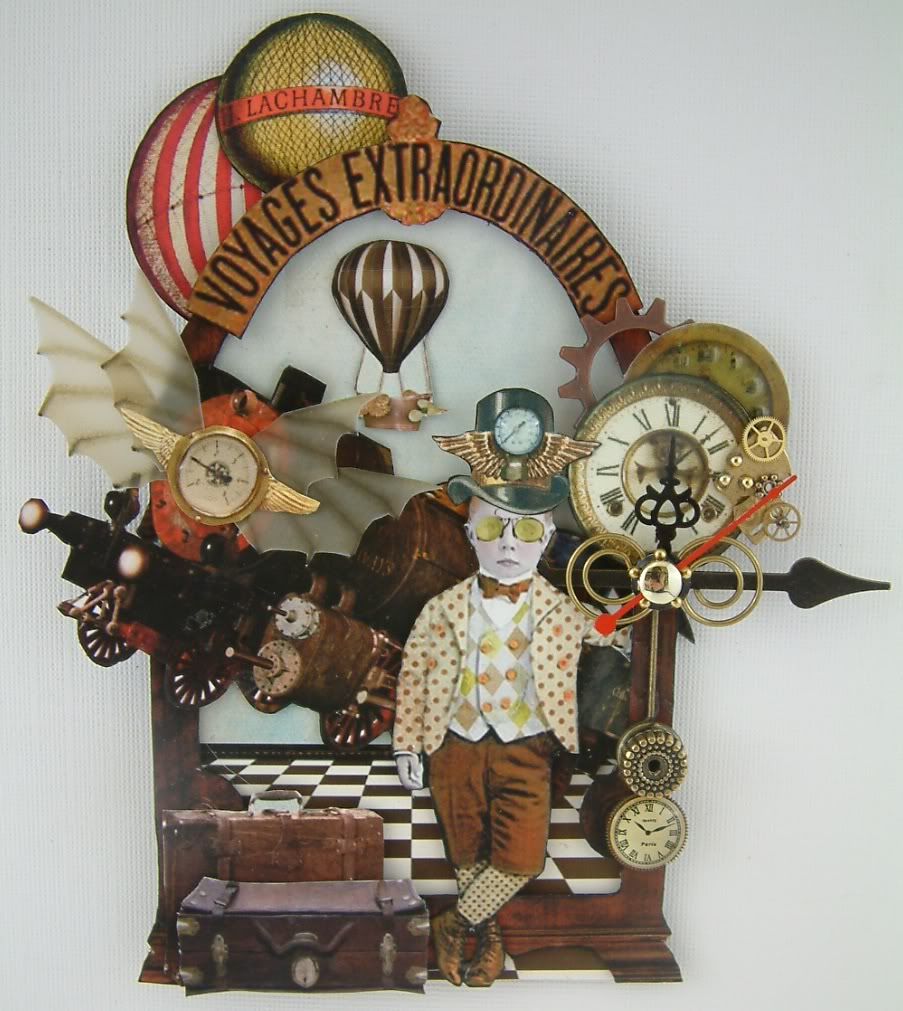
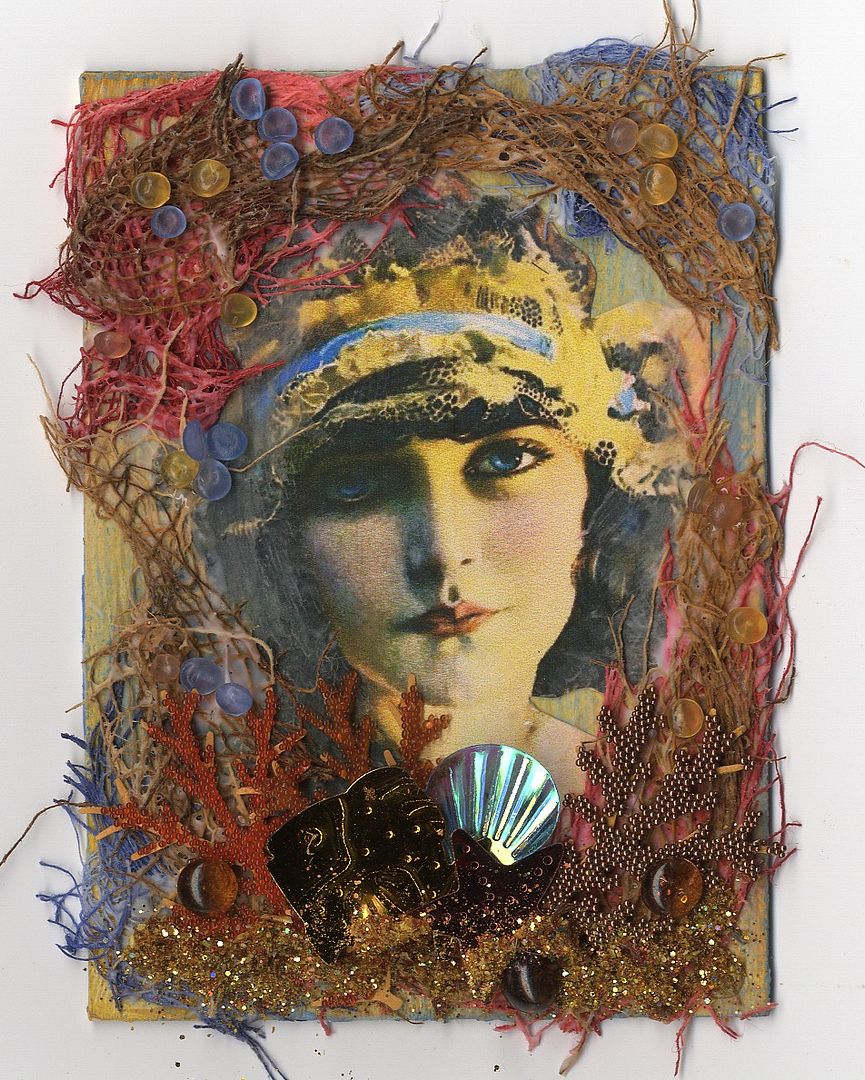
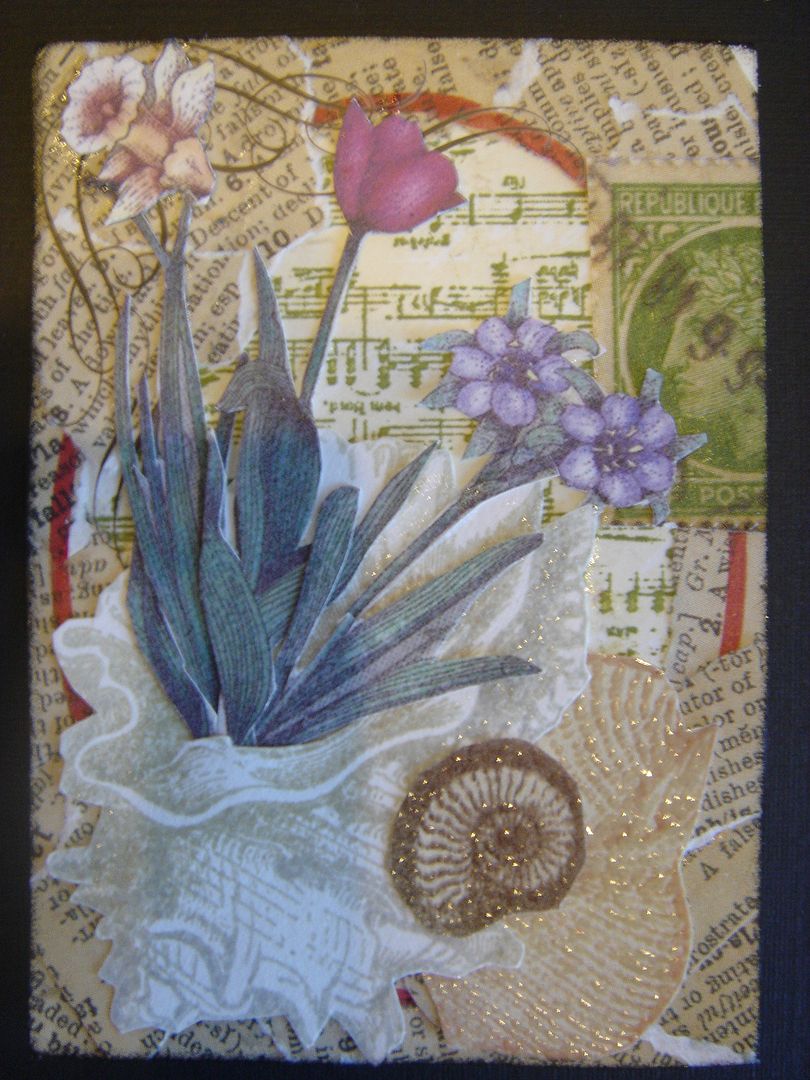
Front or inside decorated
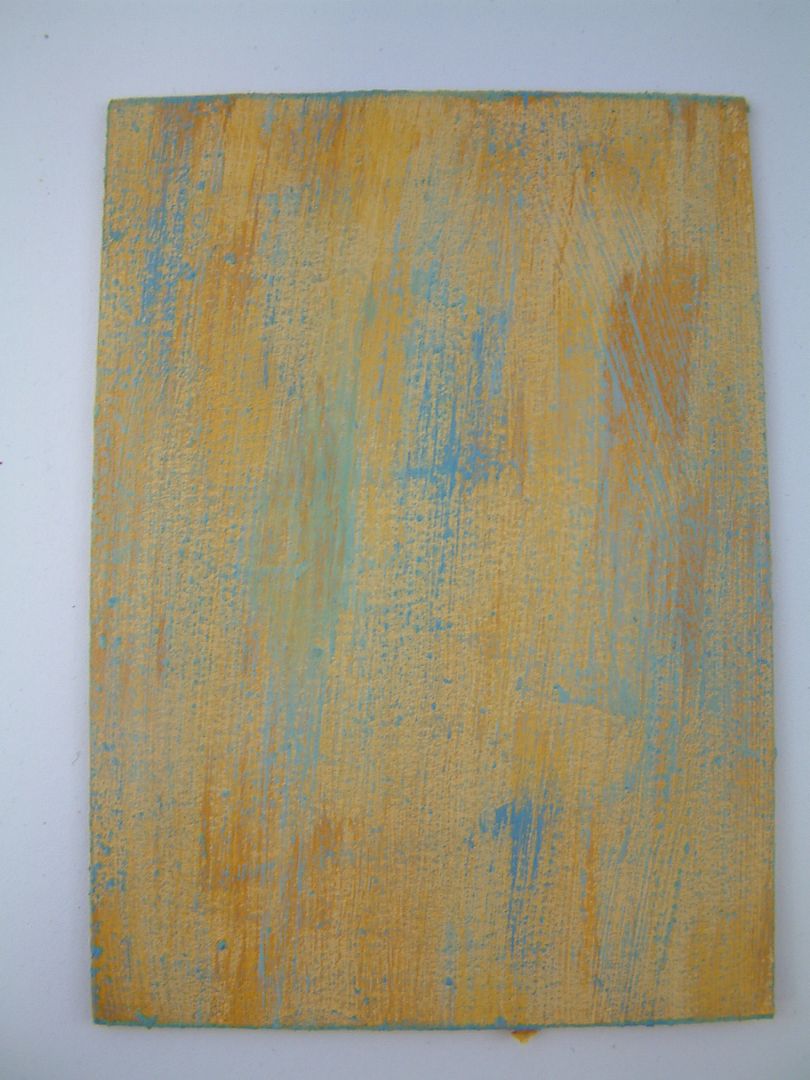
Back or outside decorated.
Step 5
Glue each end of the accordion folded paper to the inside of each domino (on top of the ribbon.
Close and tie your book and you are finished!