

Come with me and sail the seas,
On a dream boat of paper and string.
Adventures abound and wondrous things found,
Where mermaids ride waves and sing!
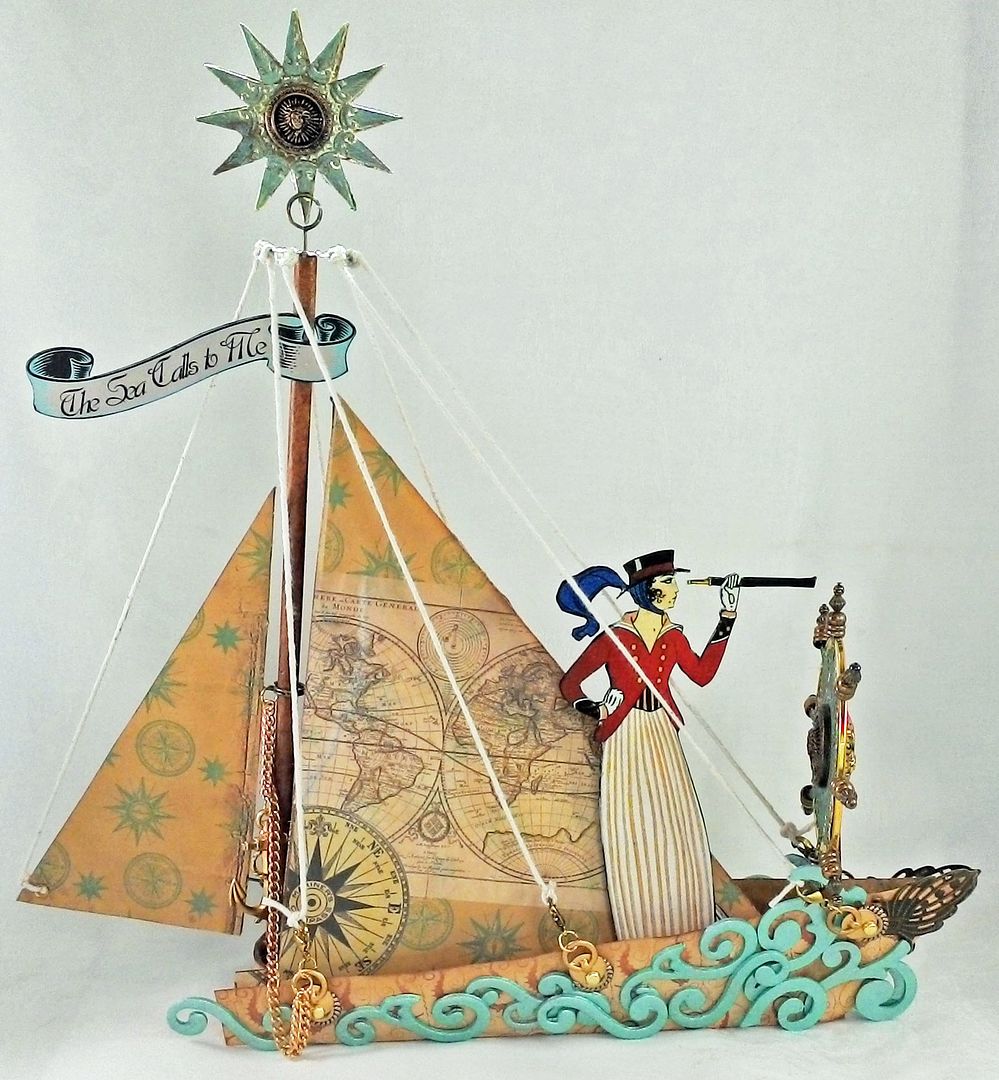
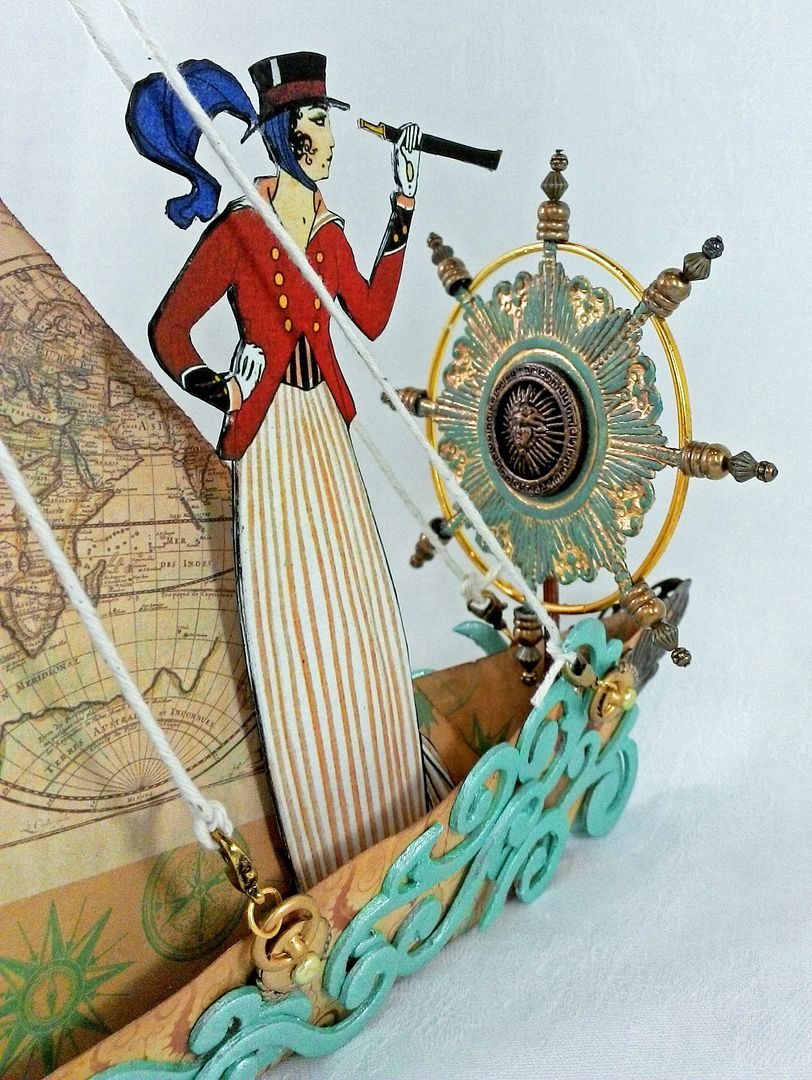
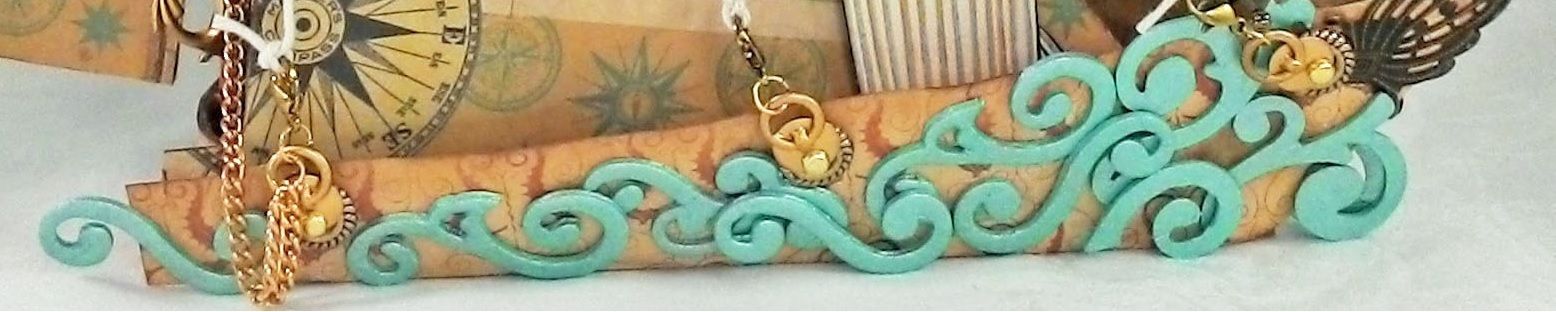
The teal
swirls along the sides of the boat represent the boat slicing through the
waves.

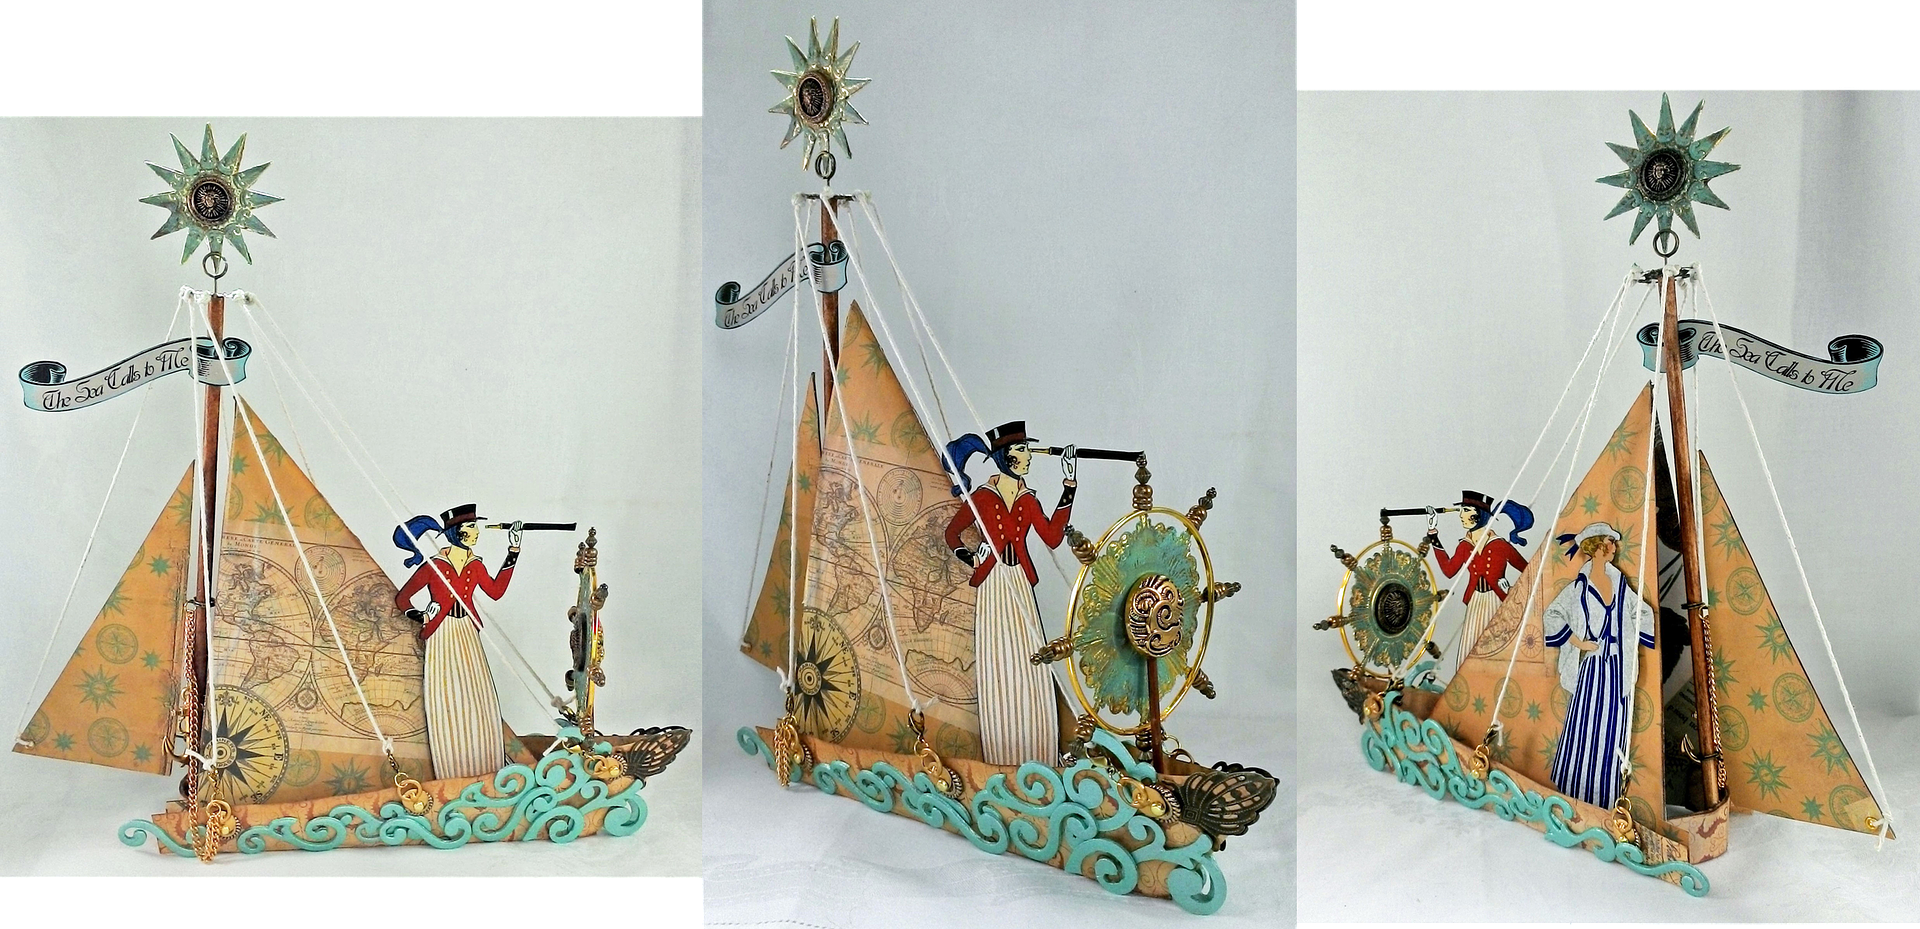
The adventurous
ladies on the boat are from my “TheSea Calls to Me” collage sheet.

TUTORIAL
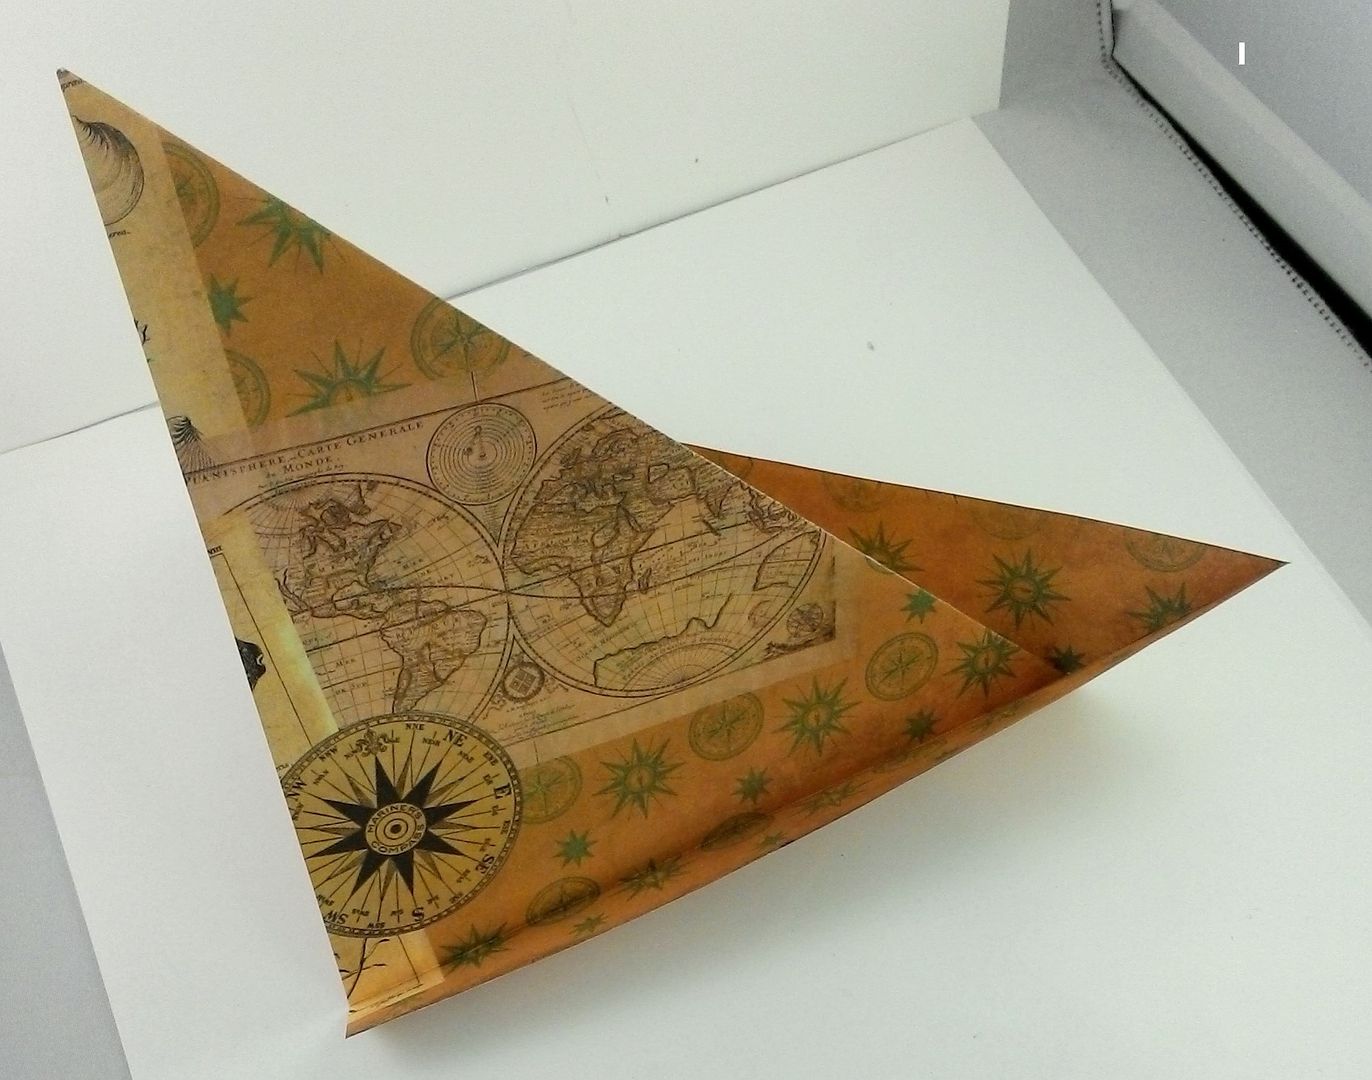
The
base of the boat is a paper sailboat which is super simple to make. I viewed several how-to videos on YouTube looking
for just the right sailboat. I wanted something
that was not complicated and that had a tall sail. The video below by Tavin fit the bill. With 3 folds you can create this boat. After watching the video continue through the
tutorial where I will cover the rest of the steps.
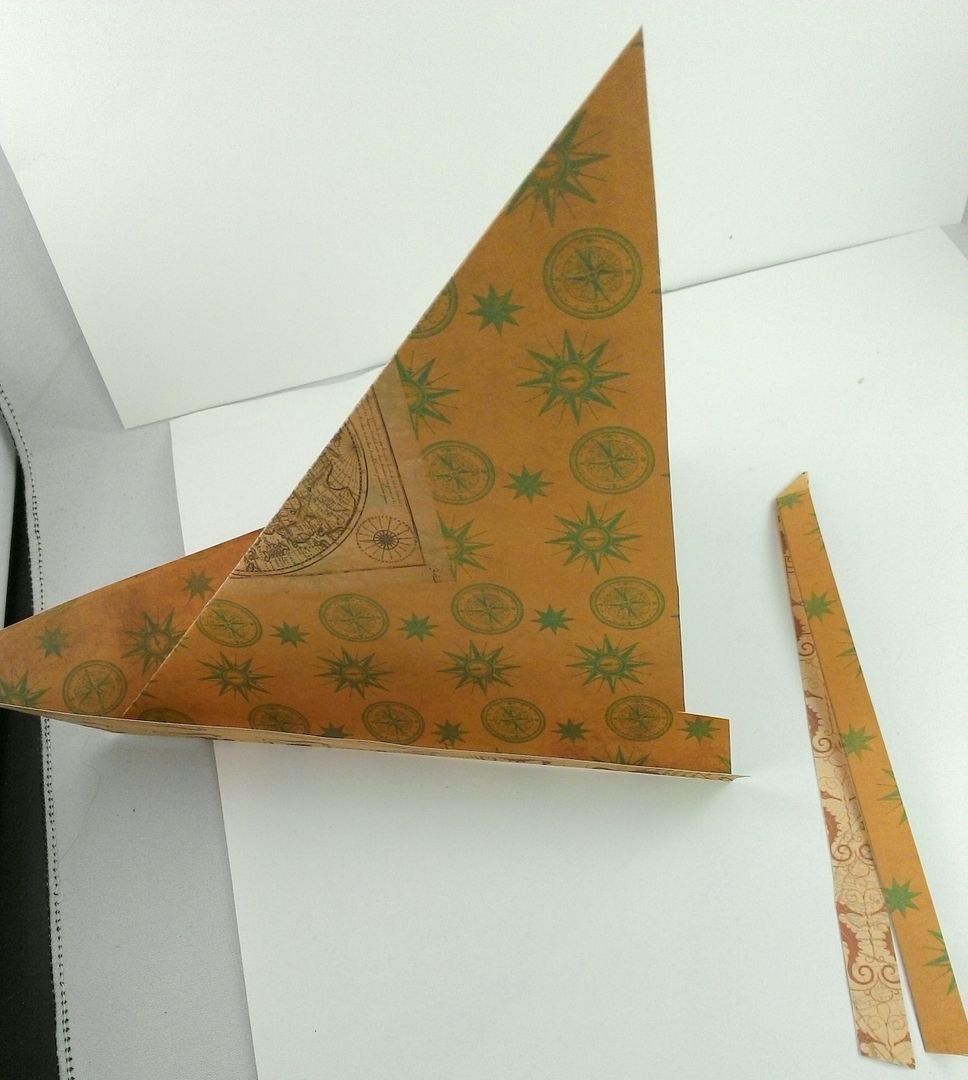
Once the
boat was folded I removed some of the paper from the back of the sail. I did this to accommodate an additional sail
on the back and the mast.
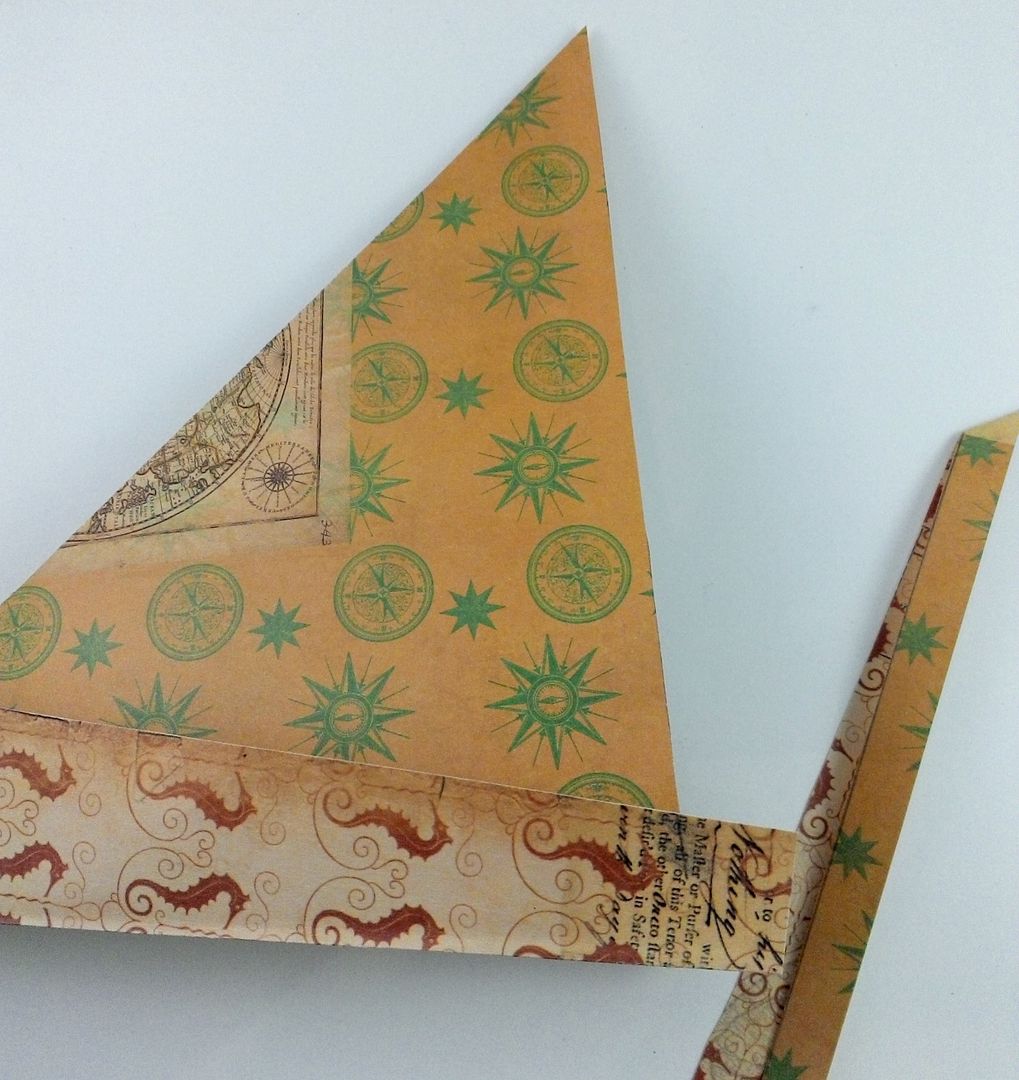
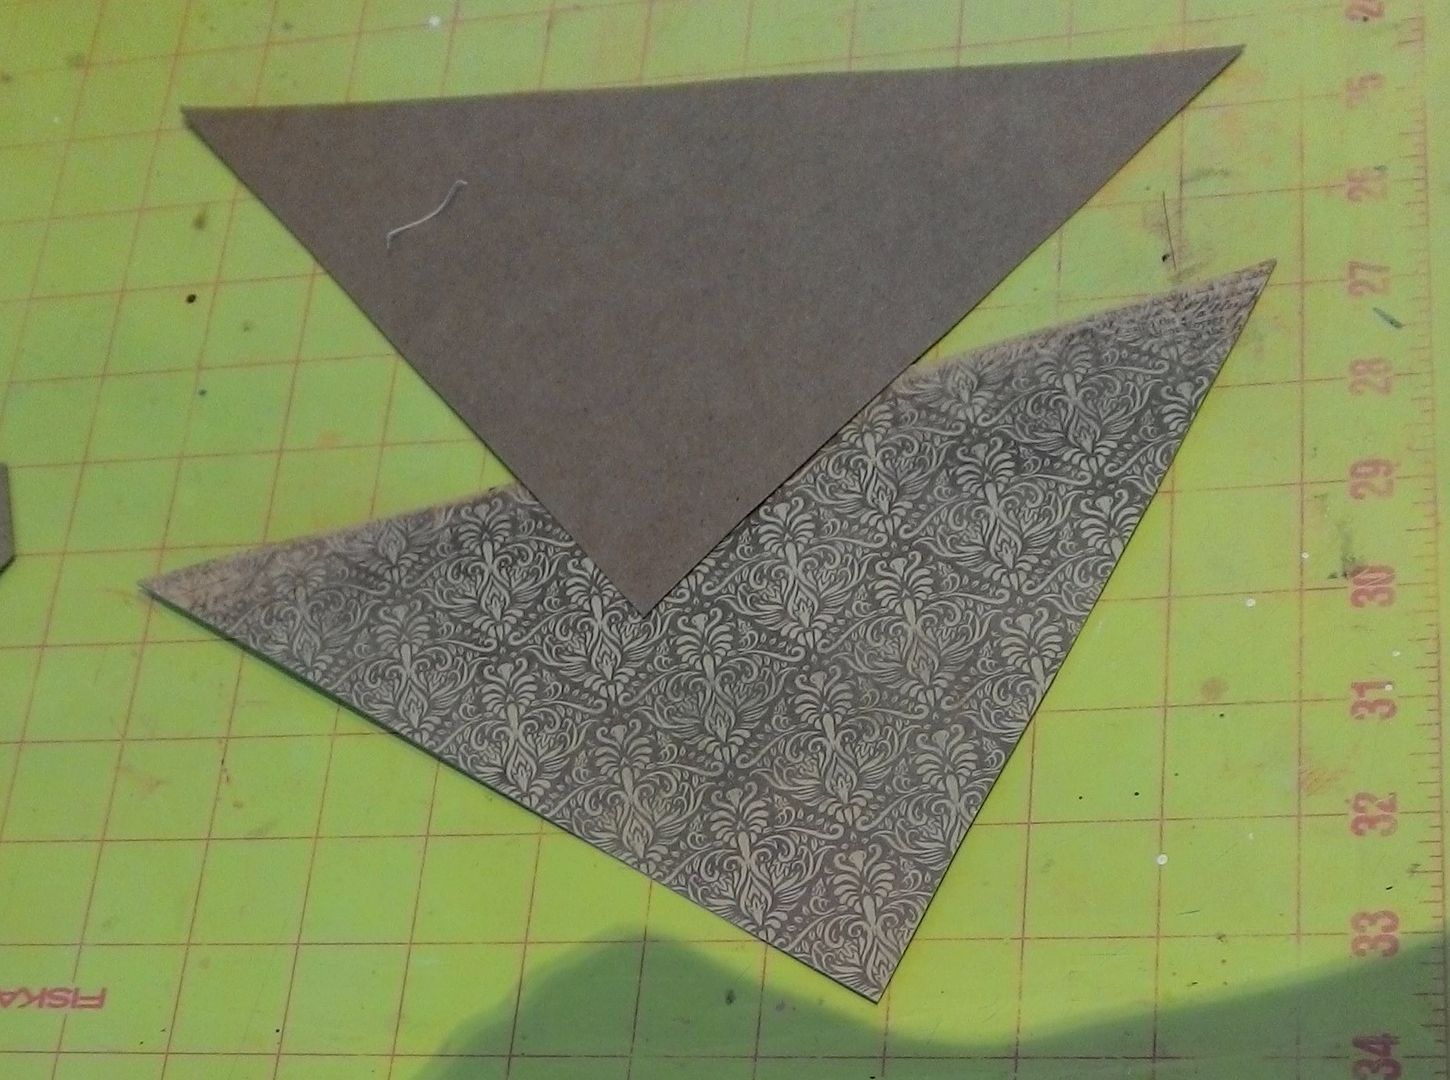
To make
the boat sturdier, I added pieces of thin chipboard to the insides of the
sail. On one side of the chipboard, I
added decorative paper. I used the sail
as the pattern and cut the chipboard slightly smaller so that it would fit
snugly inside the sail.
Below
you can see how I flattened the boat out and glued the chipboard in place.

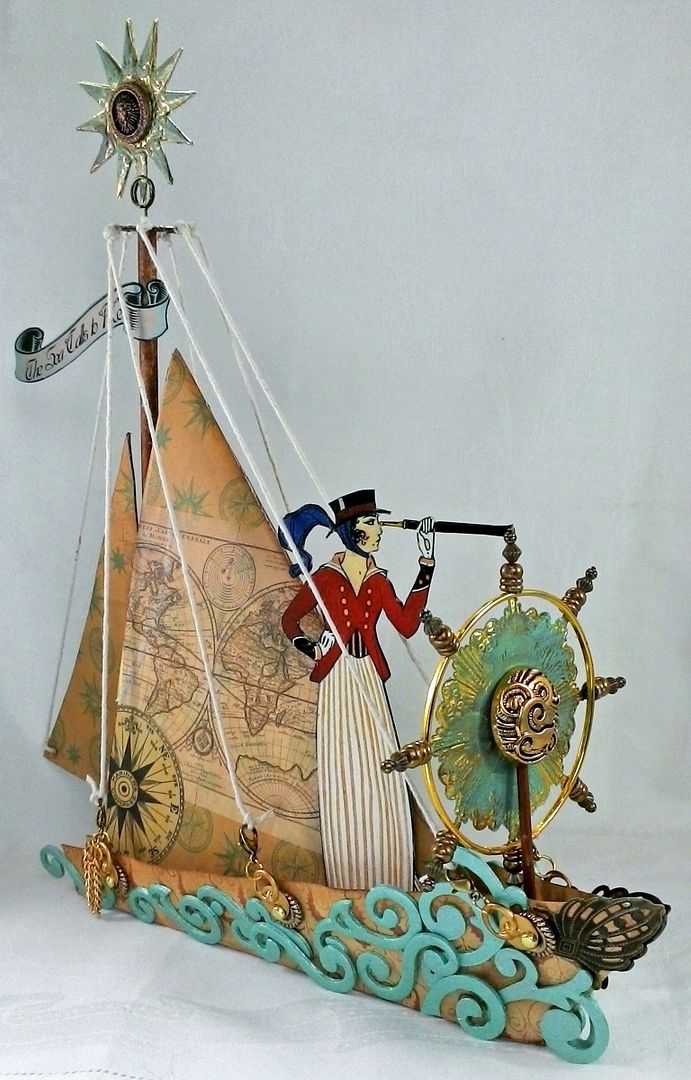
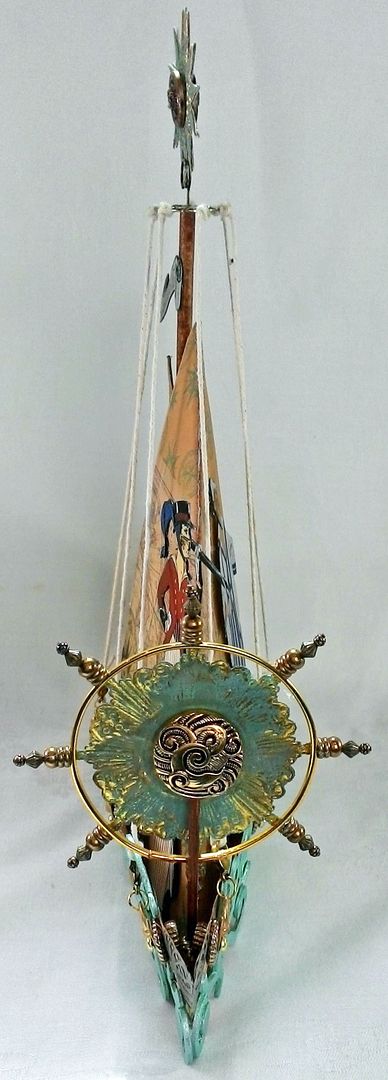
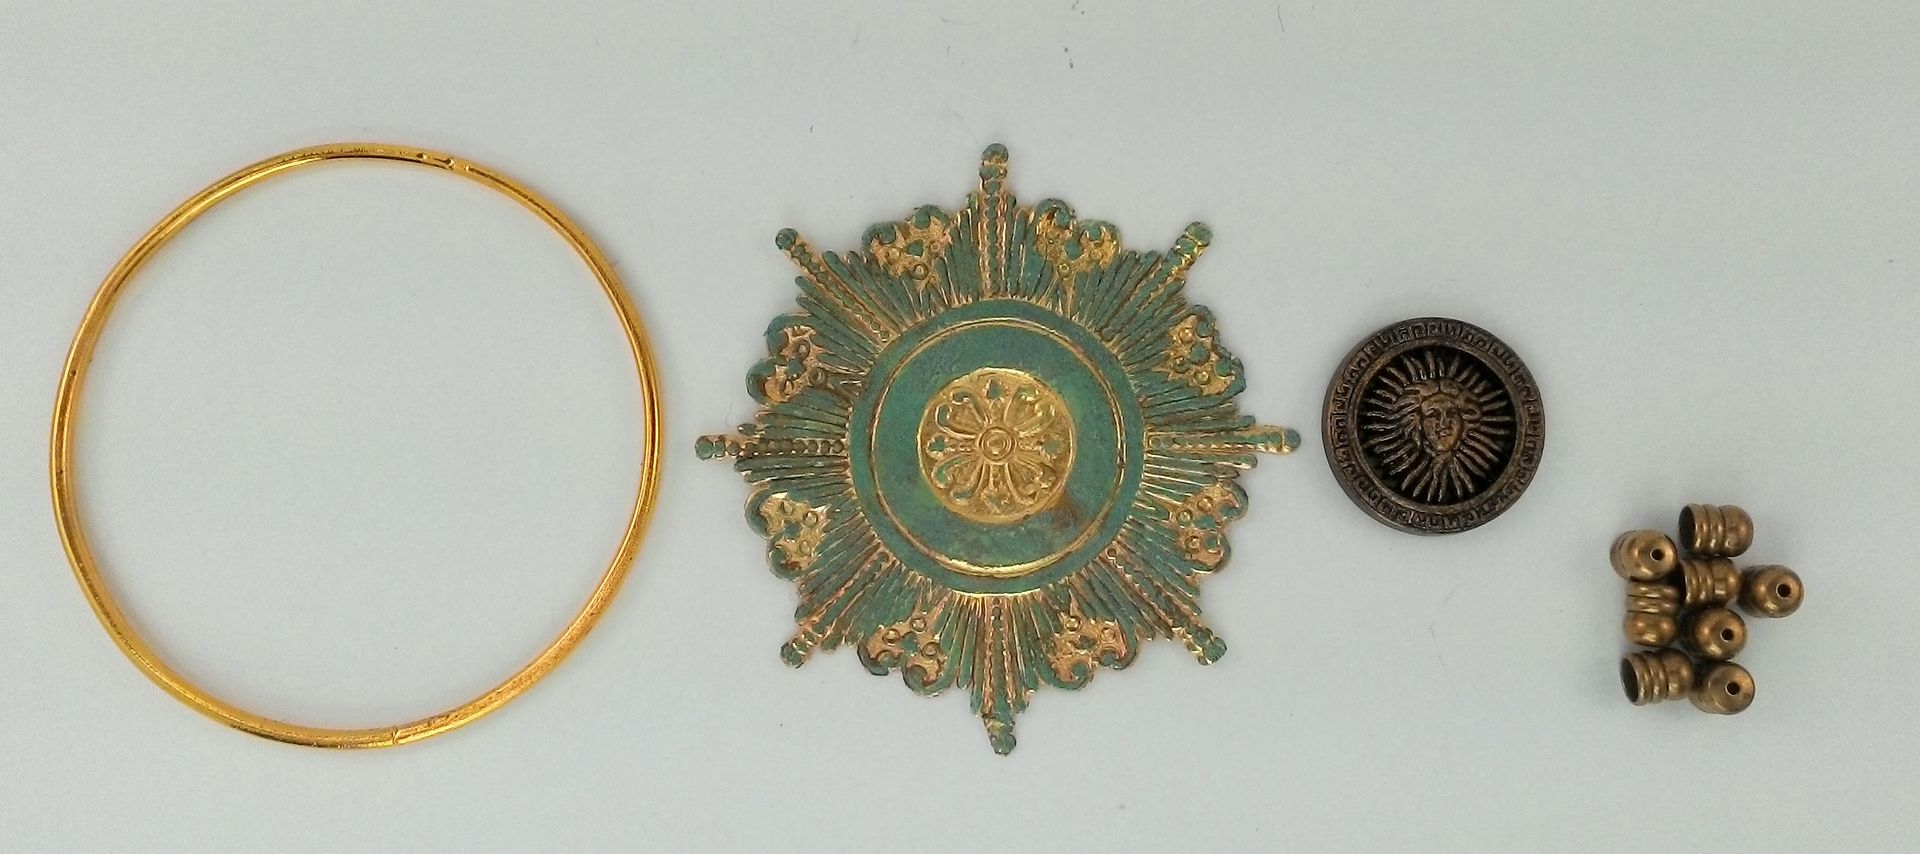
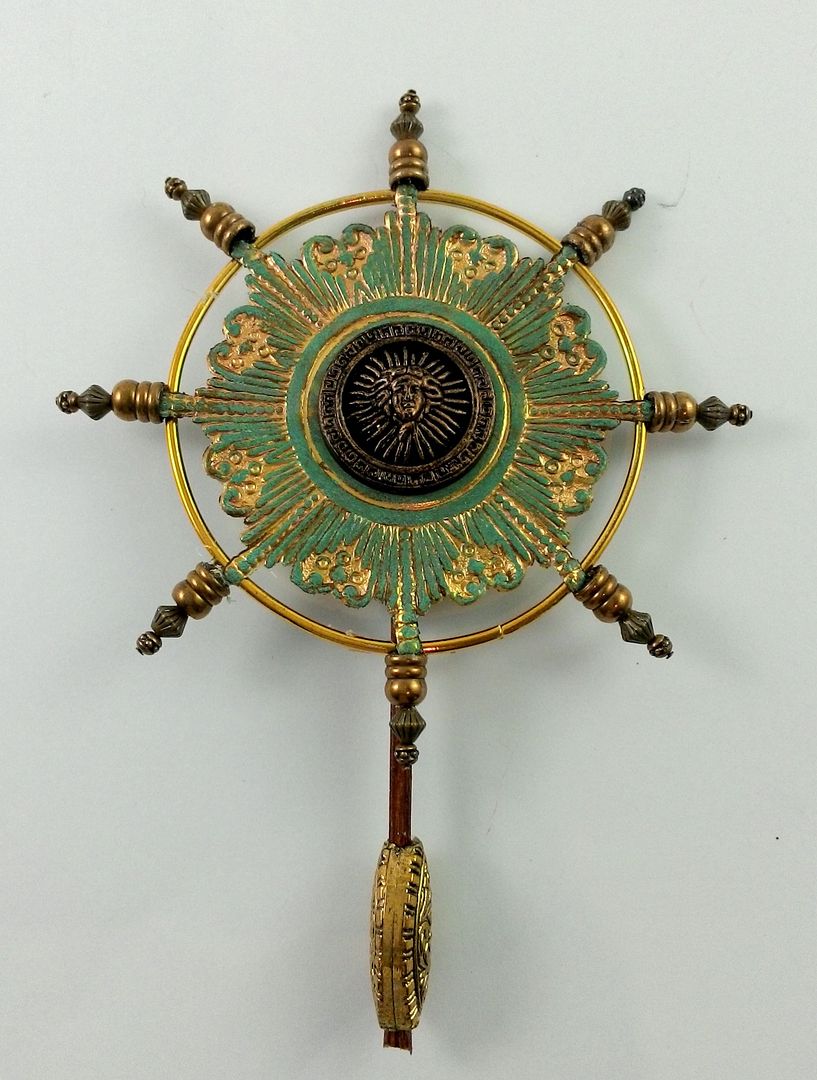
To
create the ship's wheel, I used a combination of a gold bangle, a gold Dresden Medallion, buttons, and other brass bits.
There is a complete list of the items I used at the bottom of the
post. The medallion is colored with
Patina Gilder’s Paste. The button is
painted black and then colored with Inca Gold Gilders paste( to make the design
pop).
I
attached the ship's wheel to a wooden skewer and then added a bead to the
bottom. The bead gives me a larger
surface area to glue the ship's wheel in place.
Next, I
made a mast with a second sail.
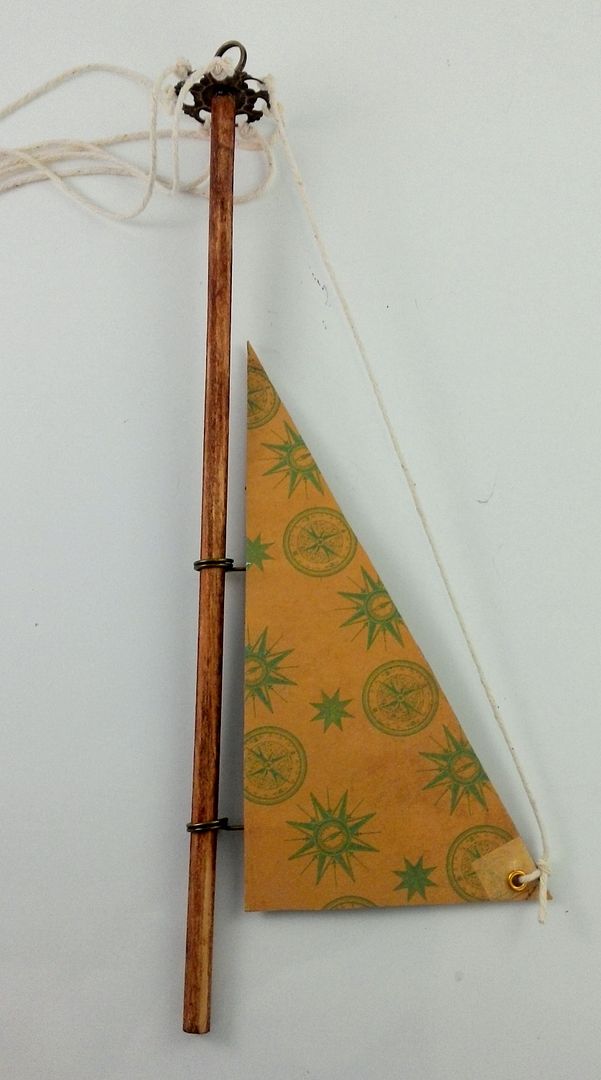
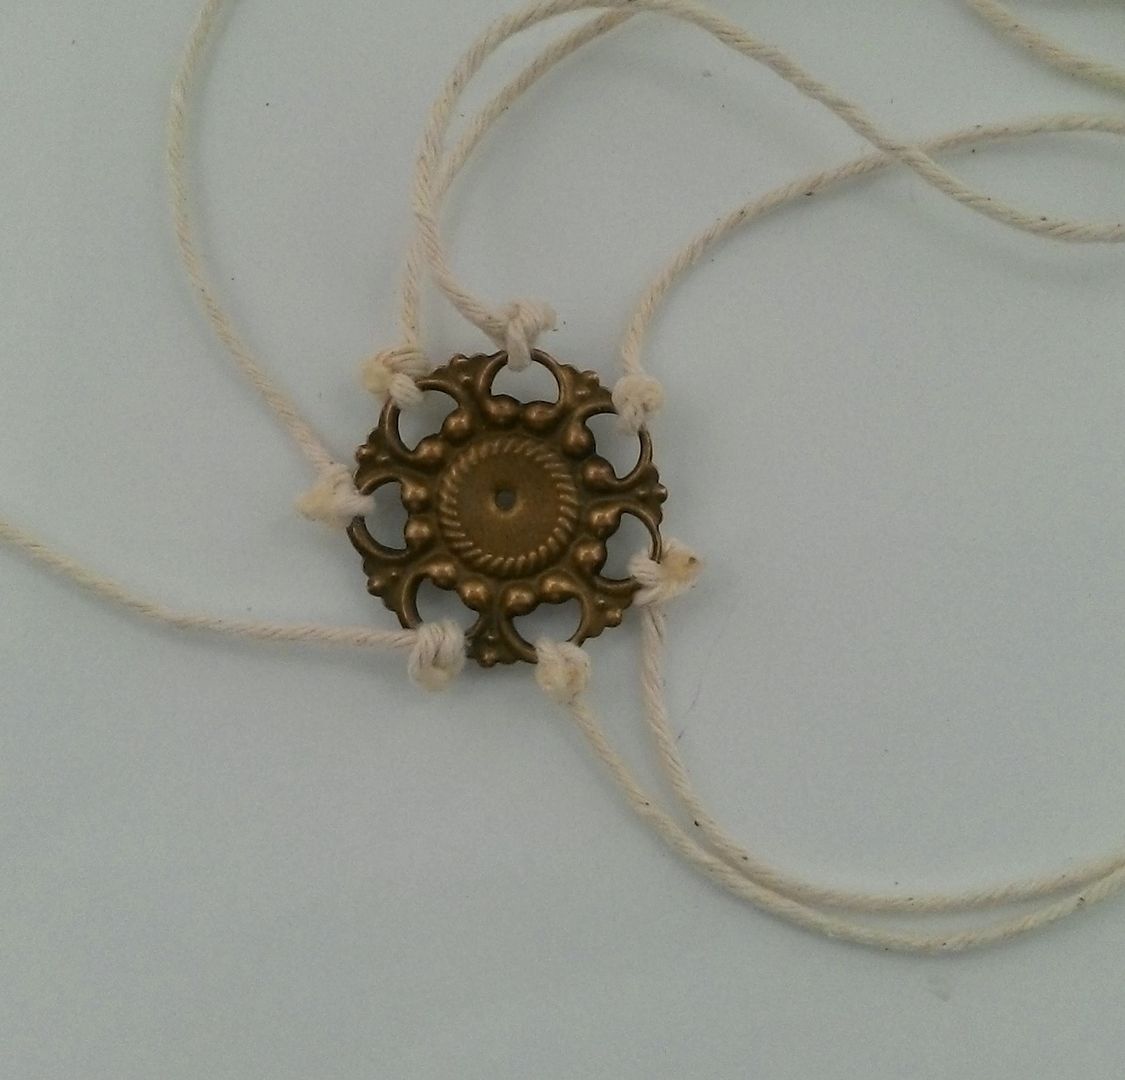
To accommodate
the string, I used a piece of brass with holes.
I tied 7 strings to the brass; 6 that attach to the main boat and one that
holds the small sail in place.
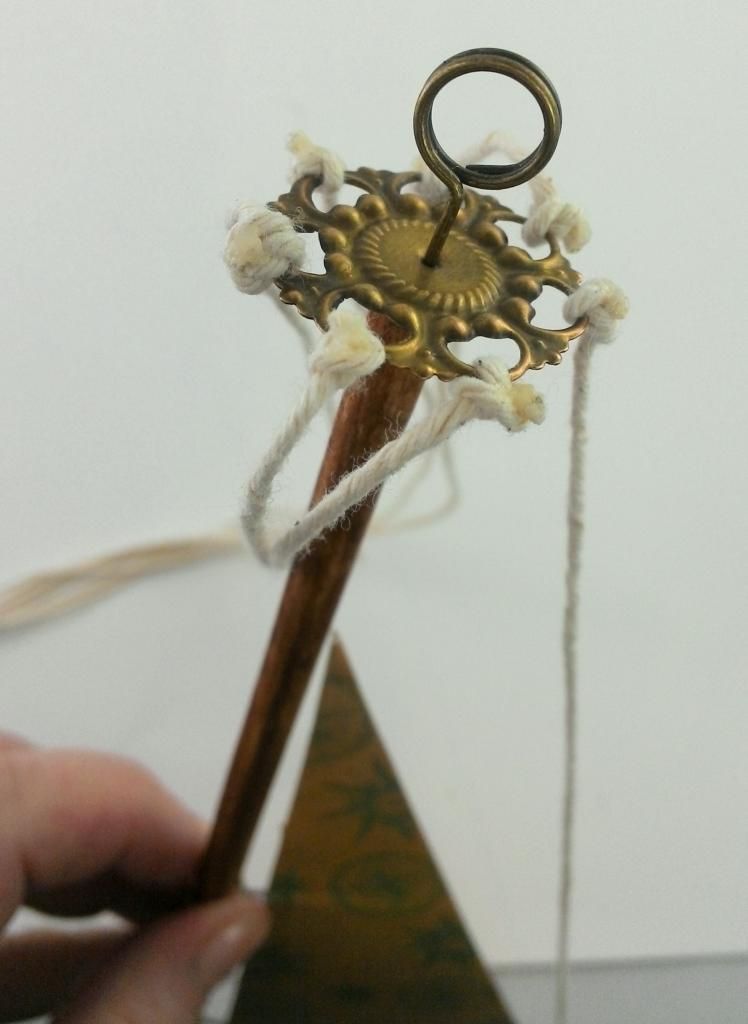
I used
a memo pin and glue (E6000) to attach the brass piece to the top of a wooden
dowel. I cut my dowel to 9”. I pre-poked a hole in the dowel before
inserting the pin. The dowel is stained
with Vintage Photo Distress Ink.
The
sail is made from two pieces of decorative paper glued together with two memo
pins glued between them. The loop of the
memo pin slides onto the dowel. I
punched a hole in the sail and added an eyelet.
One of the strings from the top is inserted through the eyelet. The string keeps the sail in place and the
sail is free to move from side to side.
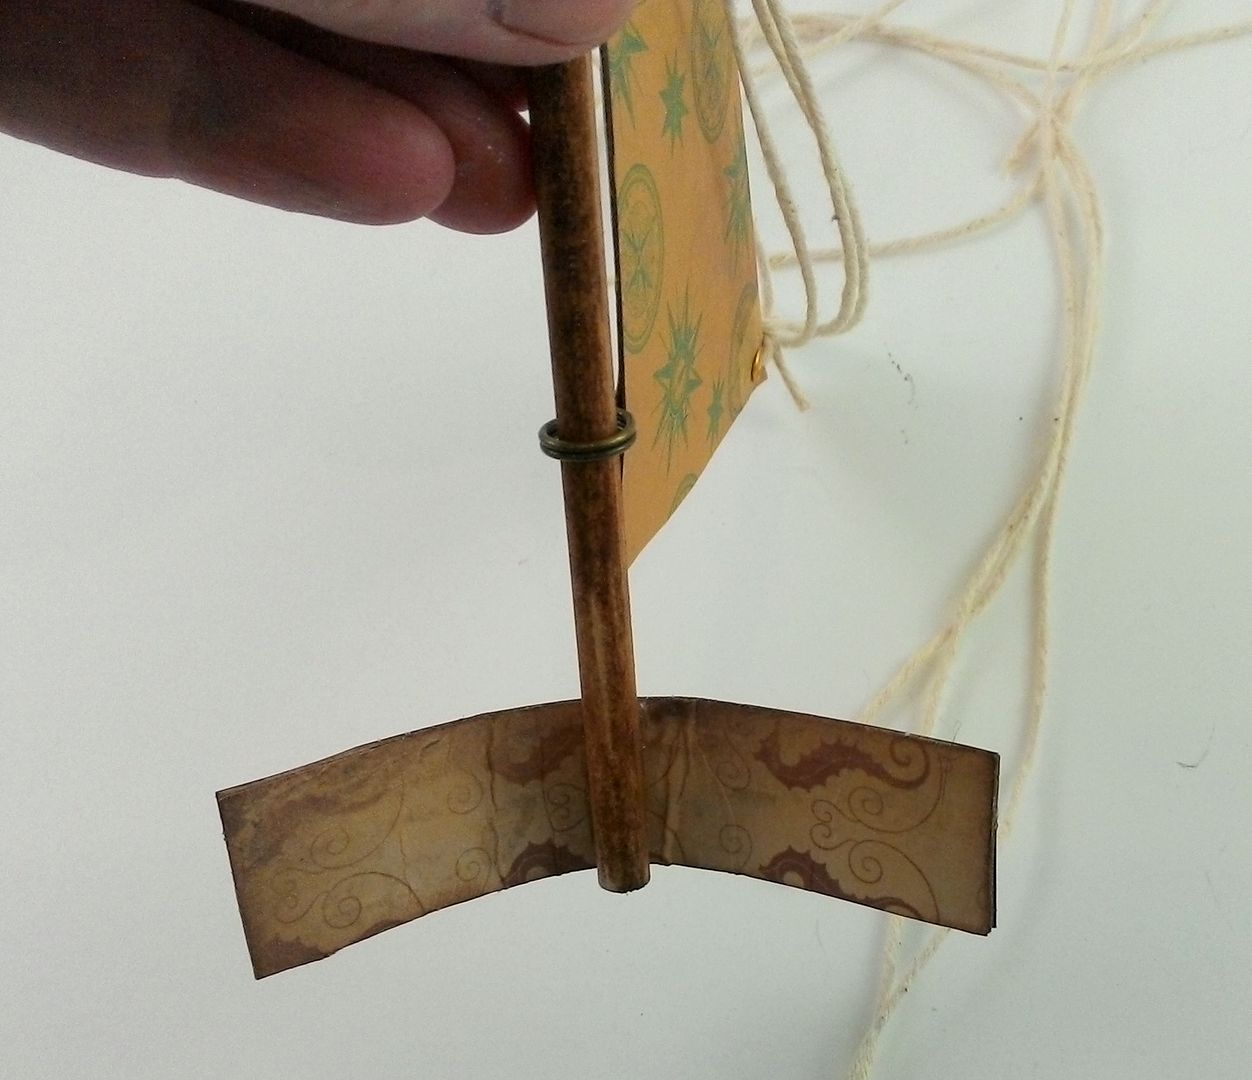
To the
bottom of the wooden dowel I glued a piece of light chipboard covered with
decorative paper.

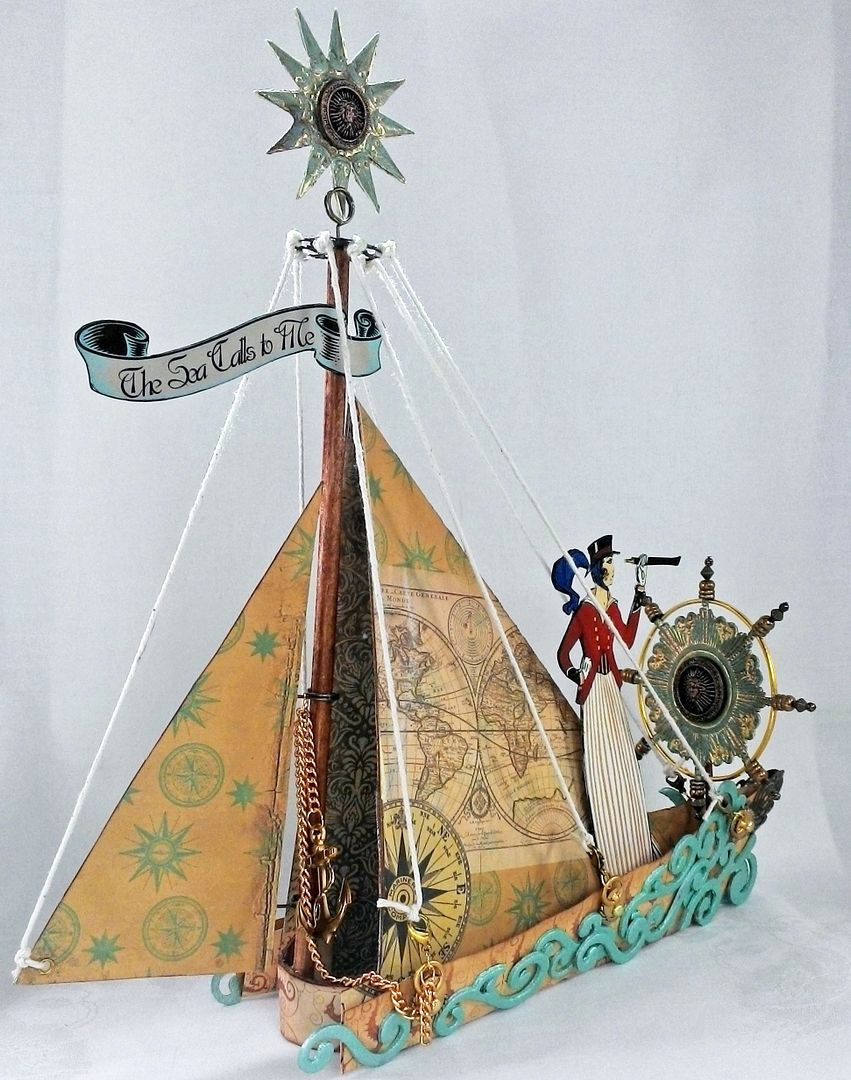
One of
the great things about memo pins are that they gave me a way to attach the
Dresden Star to the top of the mast. I
glued two stars together and colored them with the Patina Gilders paste. Glued in the center of the stars is a button
colored in the same manner as I colored the buttons on the ship's wheel. The double-sided banner is glued to the mast.

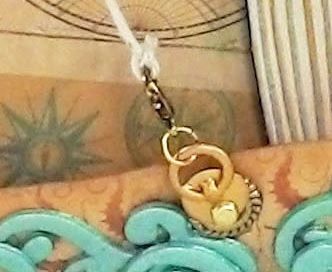
To accommodate
the other six strings which make up the mainsail rigging, I punched 3 holes on
each side of the boat. I glued a rondelle
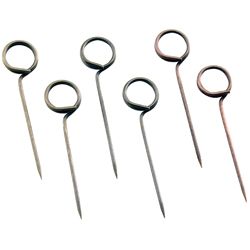
on top of each hole. Using a brad, I
attached ring handles. Doing it this way
means that the ring handles are free to turn making it easier to attach the
string and to get the string taut. I
attached lobster claw clasps to the ring handles using a jump ring and then
tied each string to the lobster claw.
The string not only visually looks like rigging but also functions like
rigging to keep the mast and small sail in place and straight.
Along
the bottom of the boat I used chipboard swirls (you’ve seen me use these on
lots of projects) to add the sense of the boat slicing through waves. I used filigree pieces to dress up the front
of the boat..
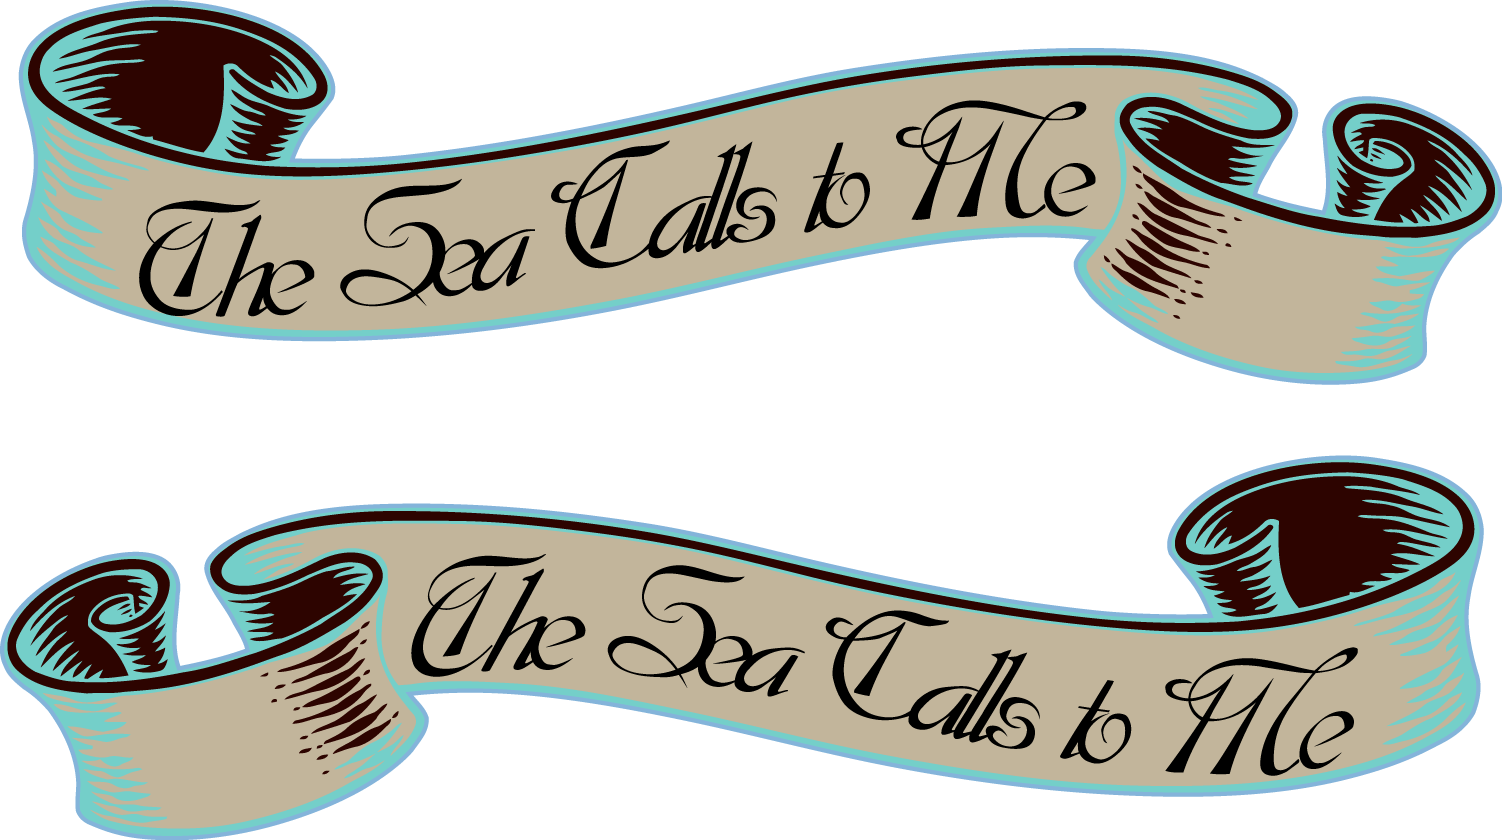
Below
is the banner I cooked up for this project.
There are two so that they can be glued together to make a double-sided
banner. Feel free to use them in your
art.
11 comments:
My word this is beautifully done Laura. Love all the embellishments and a great step by step too. Thanks for sharing. Karen.x
This is incredibly beautiful and intricate and amazingly crafted. Love it! Anne, yourmainestamper
Very cute boat, ready for transatlantic!!! LOL
Hugs and kisses
what a good idea
Gorgeous! Love the mix of paper with metal. Beautifully designed.
WOW Gorgeous!
What an amazing piece! Your creativity and ingenuity in figuring out all of the embellishments boggles my mind! Thanks for sharing. I think you must be an engineer as well as an artist. Linda
This is Fabulously CUTE!!!! I want to make it!!!!
What a fantastical voyage. All aboard.
Oh Laura.. I'm speechless, this is absolutely amazing and so perfect!!!! Many thanks for the video & free banner, and this fabulous tutorial once again!! this new creation is fantastic!!! Bises. Coco
Dear Laura, your Paper Sailboat is FABULOUS in every way! The creativity of design and the idea are really superb. Congratulations on your wonderful artwork!
Have a wonderful week, my dear.
Hugs and wishes
MARTINA
Post a Comment