

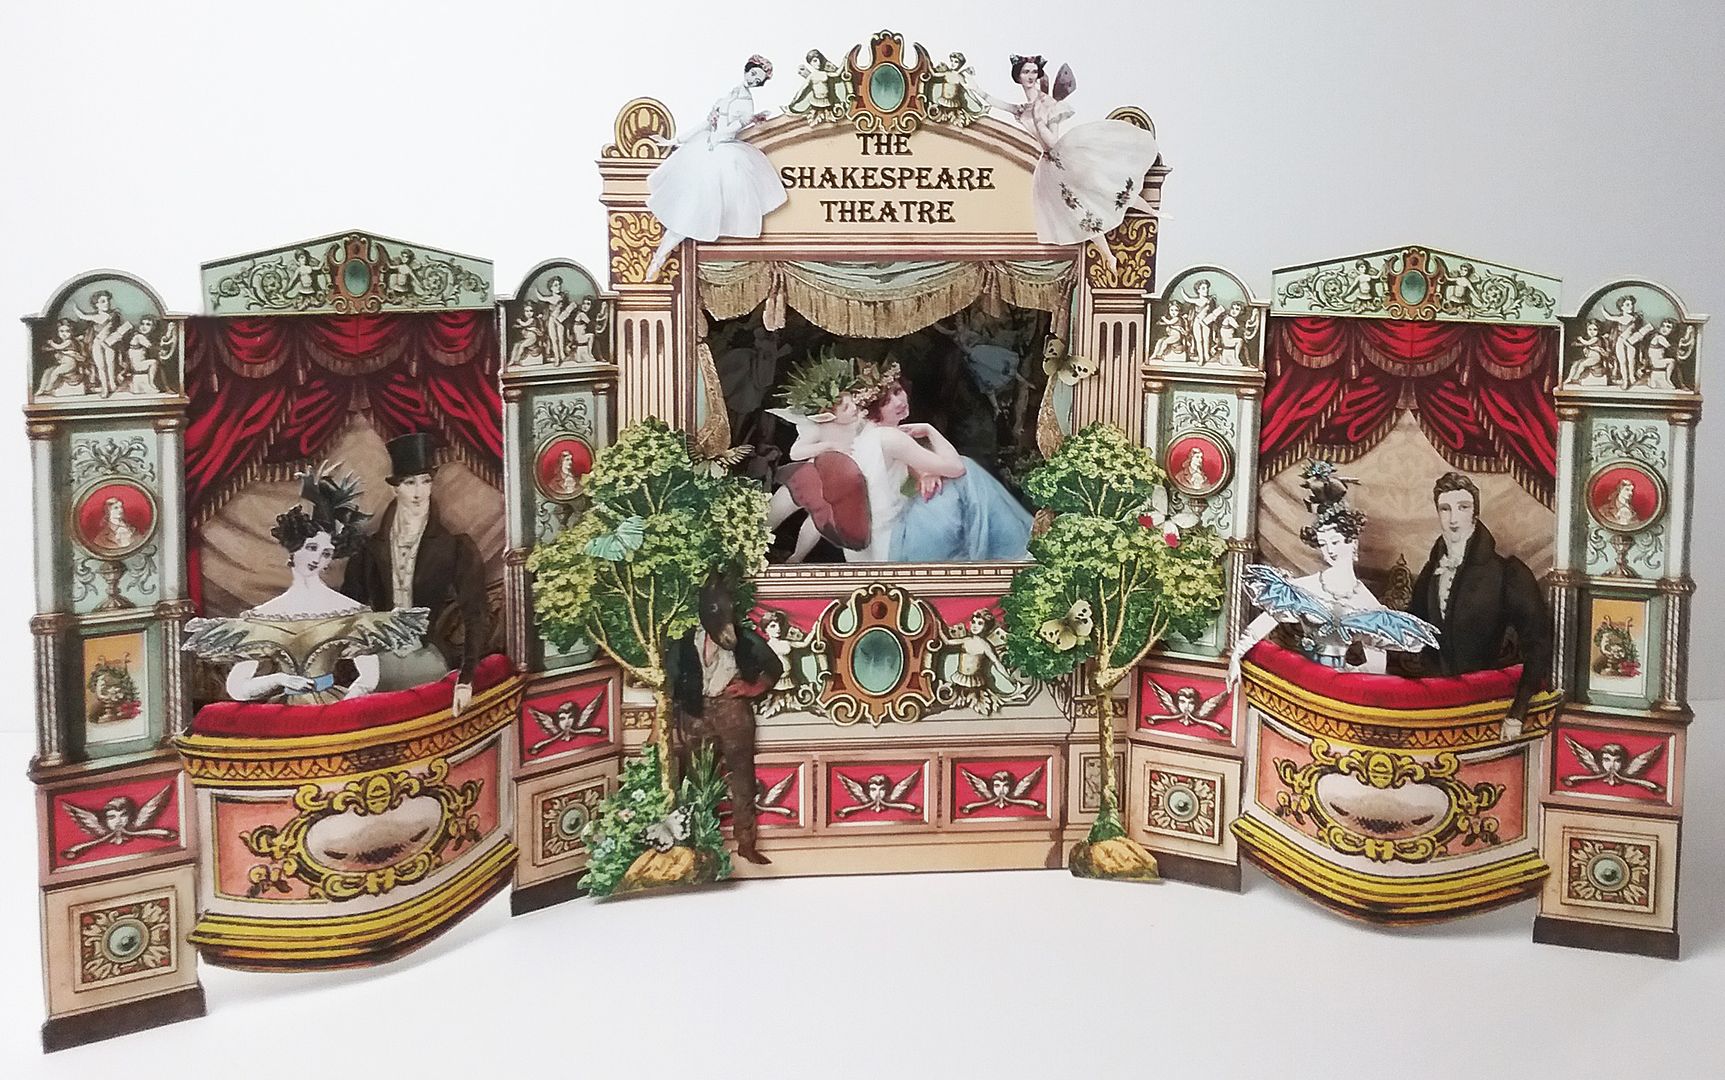
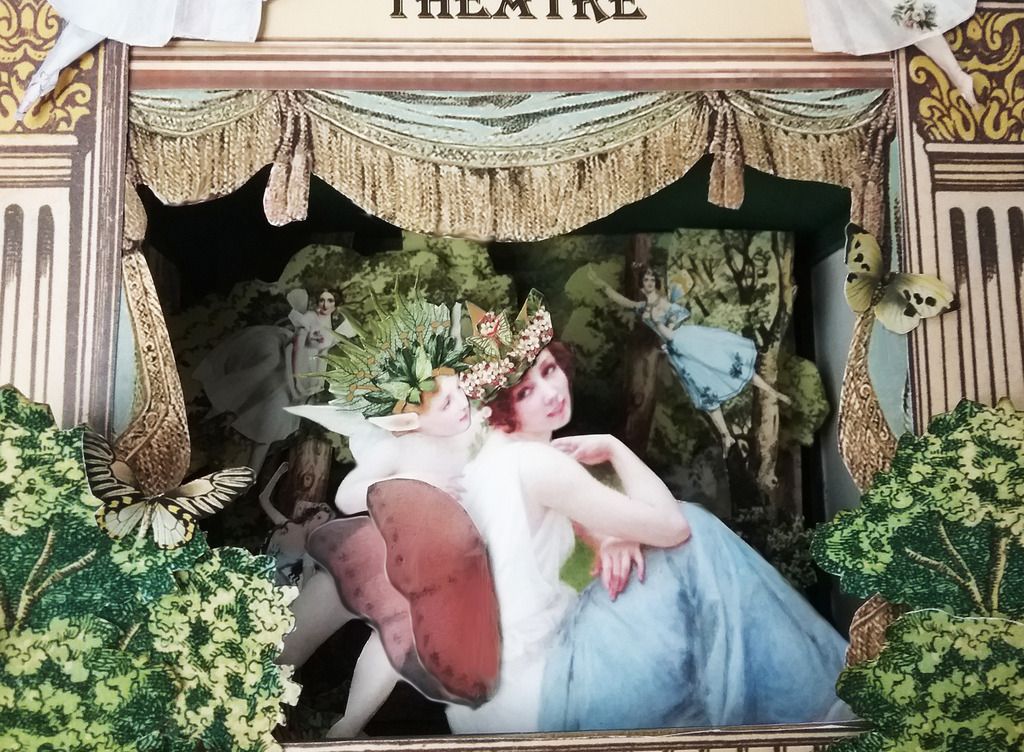
This month’s theme at AlphaStamps is Theaters. For my theater, I chose to portray a scene from Shakespeare’s A Midsummer Night's Dream.
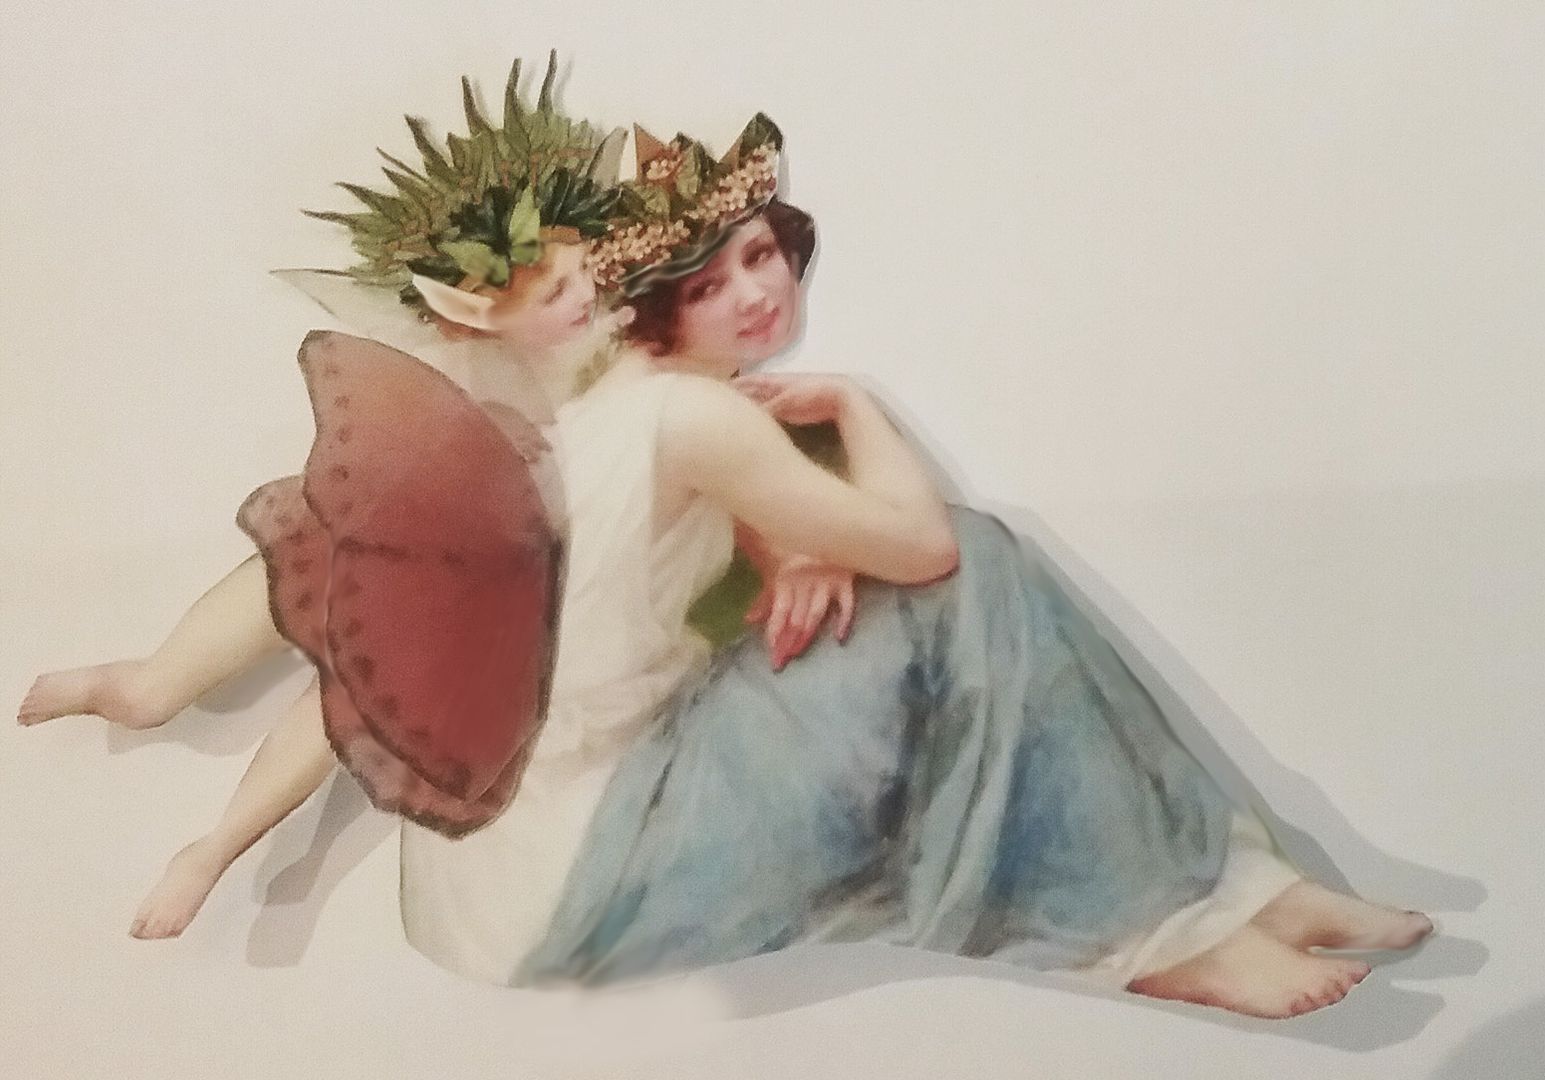
At center stage, is Titania (Fairy Queen) and Puck (a fairy or sprite) sitting in the woods.

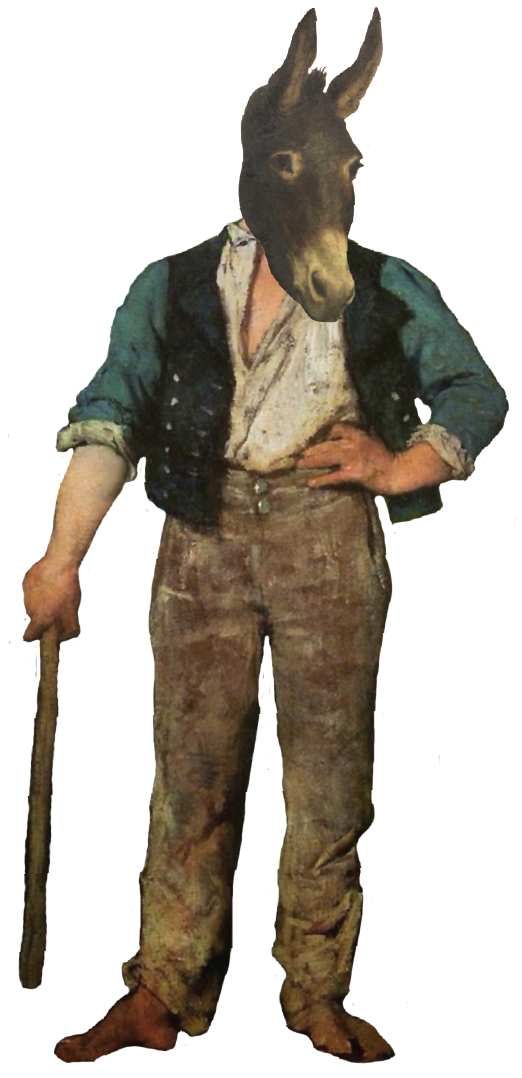
Down below, Bottom (whose head has been turned in to an ass by Puck) is lurking in the trees.
Within and around the center stage, are all kinds of woodland fairies.
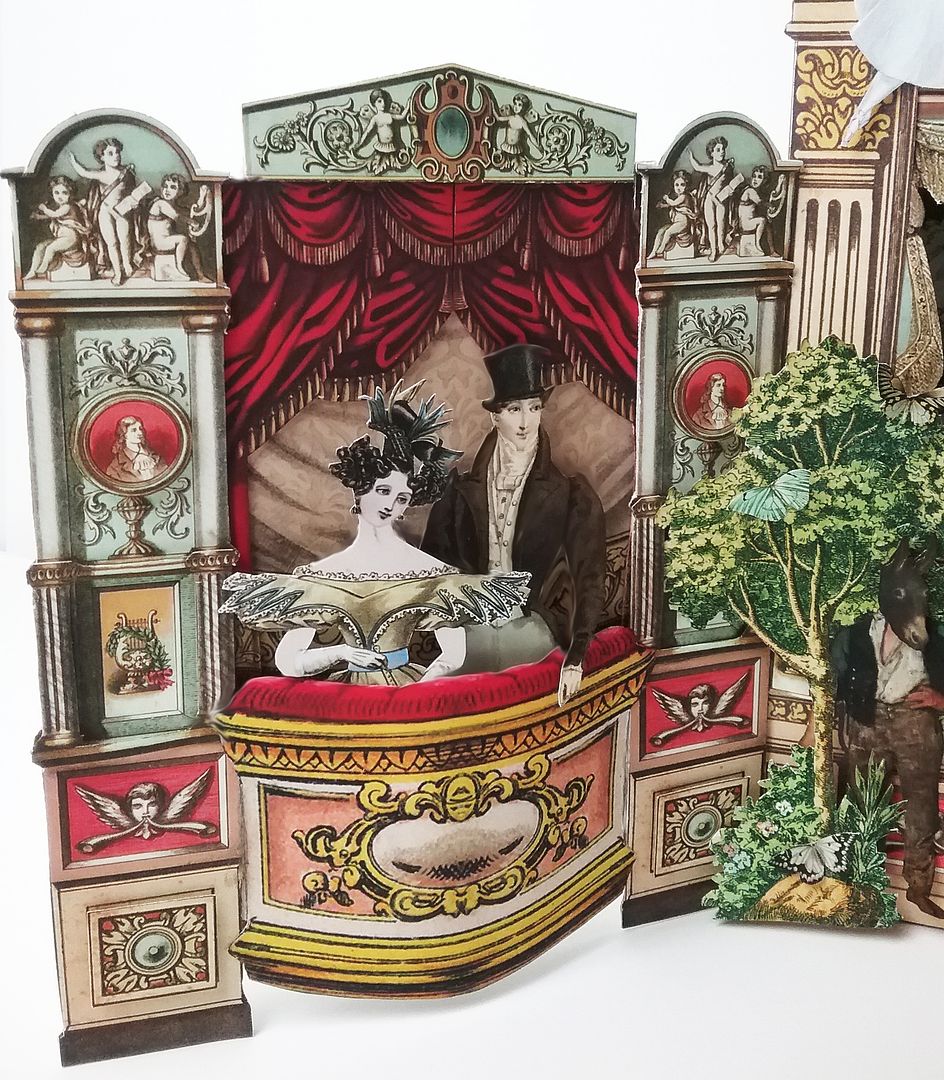
You can see the audience avidly watching the play from their box seats.

THE PROJECT DETAILS
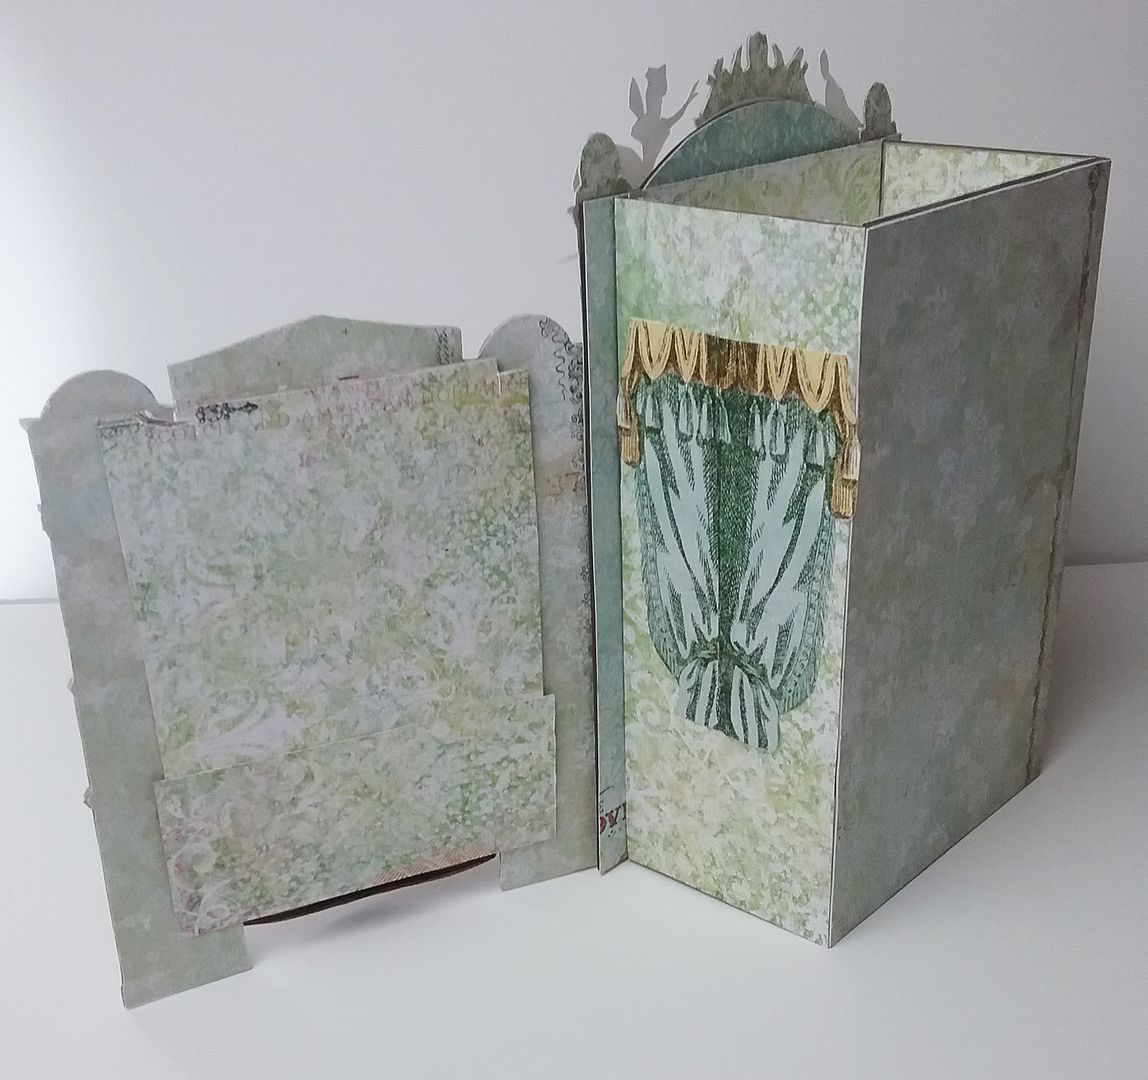
The center of the theatre is made from the Punch & Judy Theatre chipboard kit.


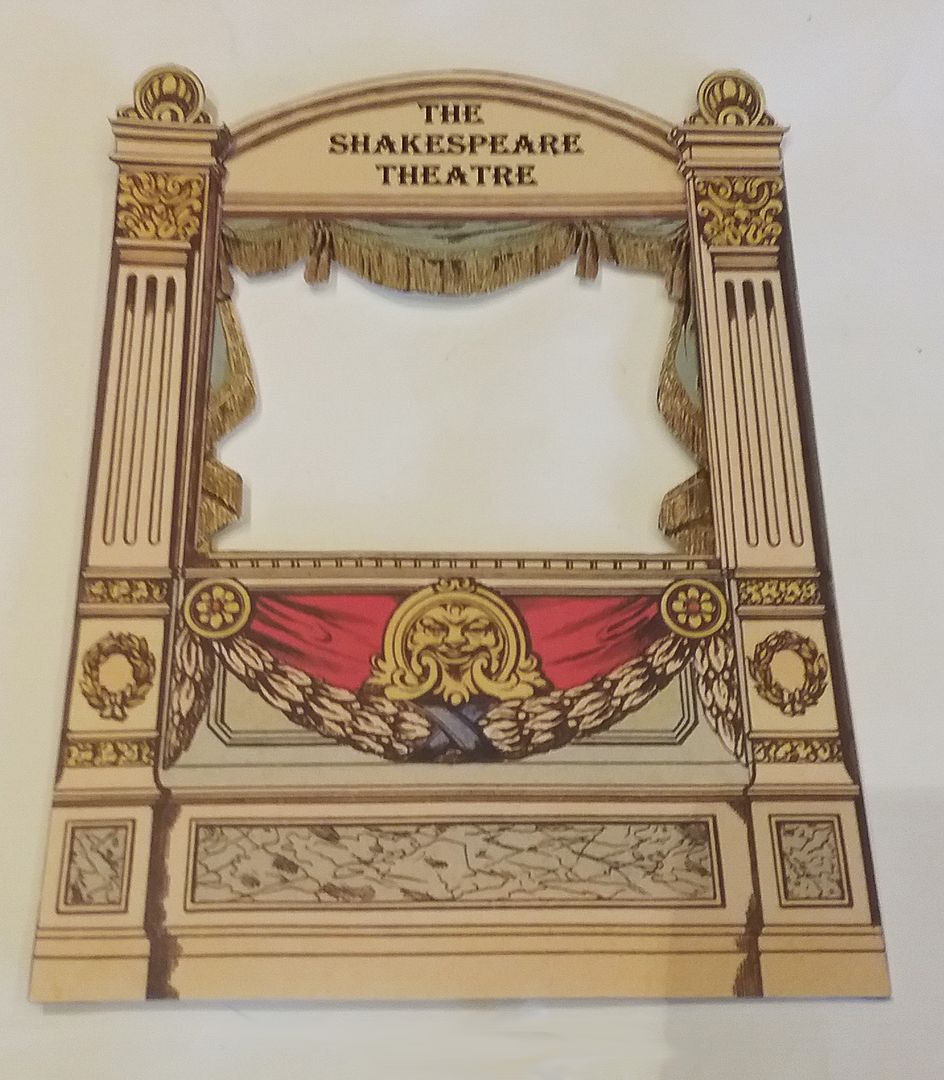
To further embellish the front, I added curtains, and at the top and bottom, bits of the pediment image from the Large Theatre Curtains, Columns & Box Seat Set of digital images.
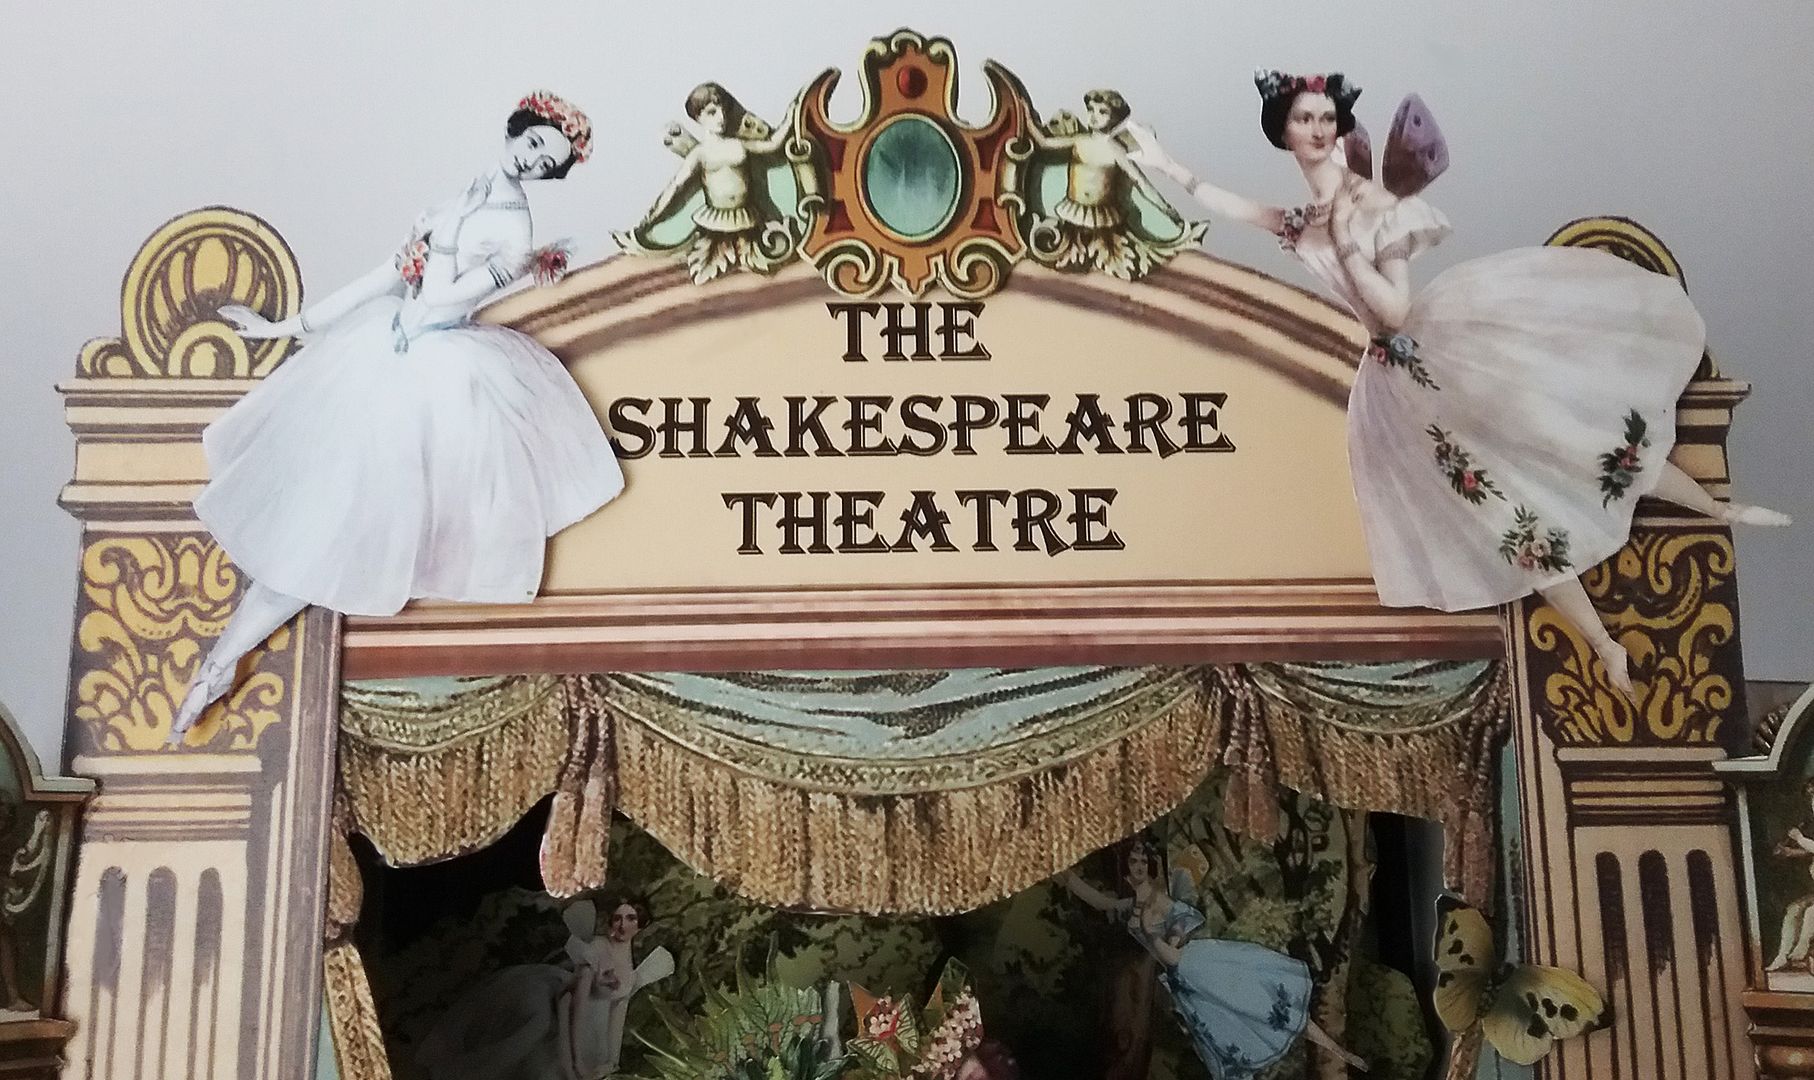
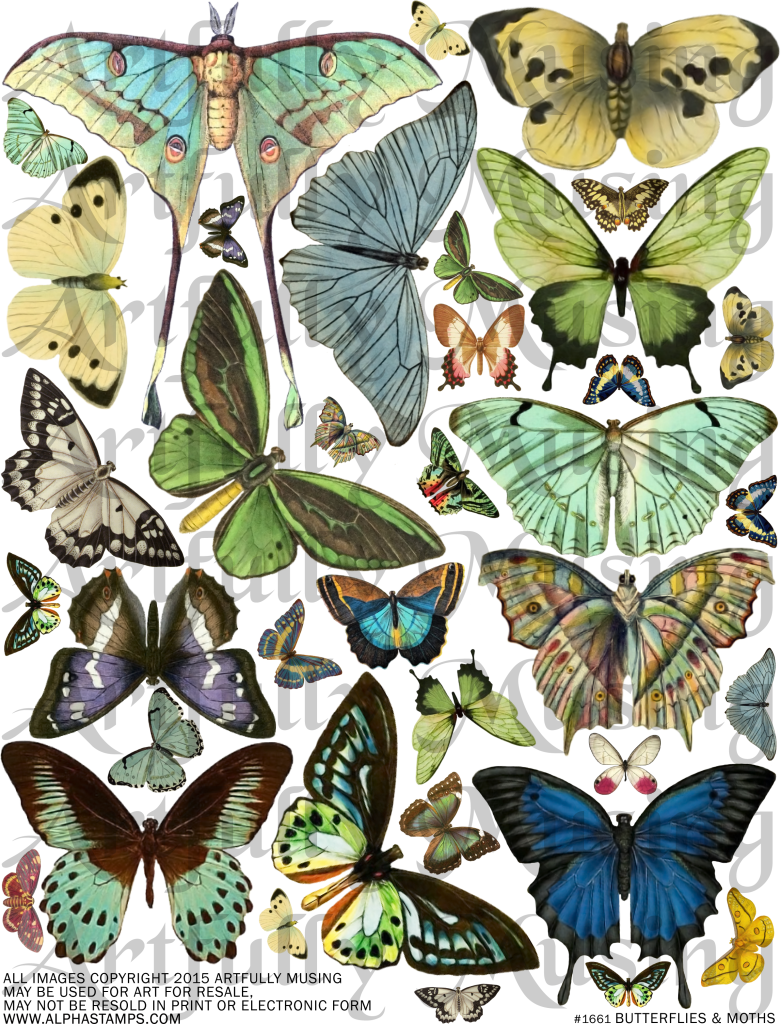
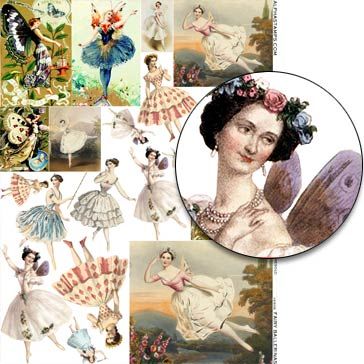
All of the images of fairies you see in the opening of the theatre and around the outside are from the Fairy Ballerinas Collage Sheet. And the butterflies are from my Butterflies & Moths Collage Sheet; you'll also find them in the digital kit version.
The image of the character “Bottom” peaking out from behind the tree is from my stash. You’ll find it further down in the post, so feel free to download it and use it for your art.
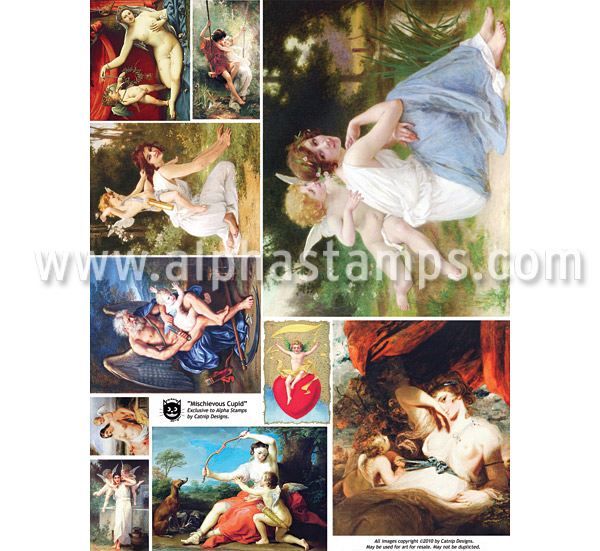
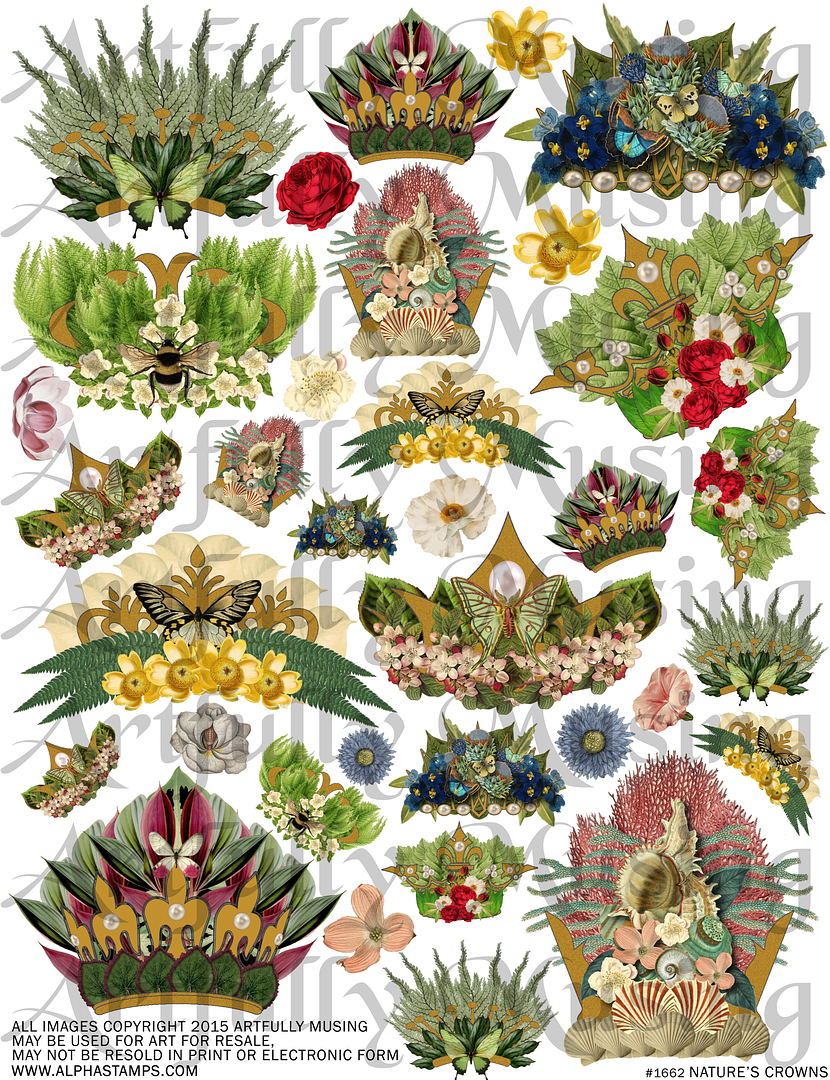
Inside the theatre opening, I added an image from the Mischievious Cupid Collage Sheet and dressed them up with crowns from my Natures Crowns Collage Sheet, then added wings from my stash. I added an ear to Puck to make him look more elvish or sprite-like as opposed to a cherub.
I glued a bead on the bottom back to give me something to attach the image to the floor of the opening.

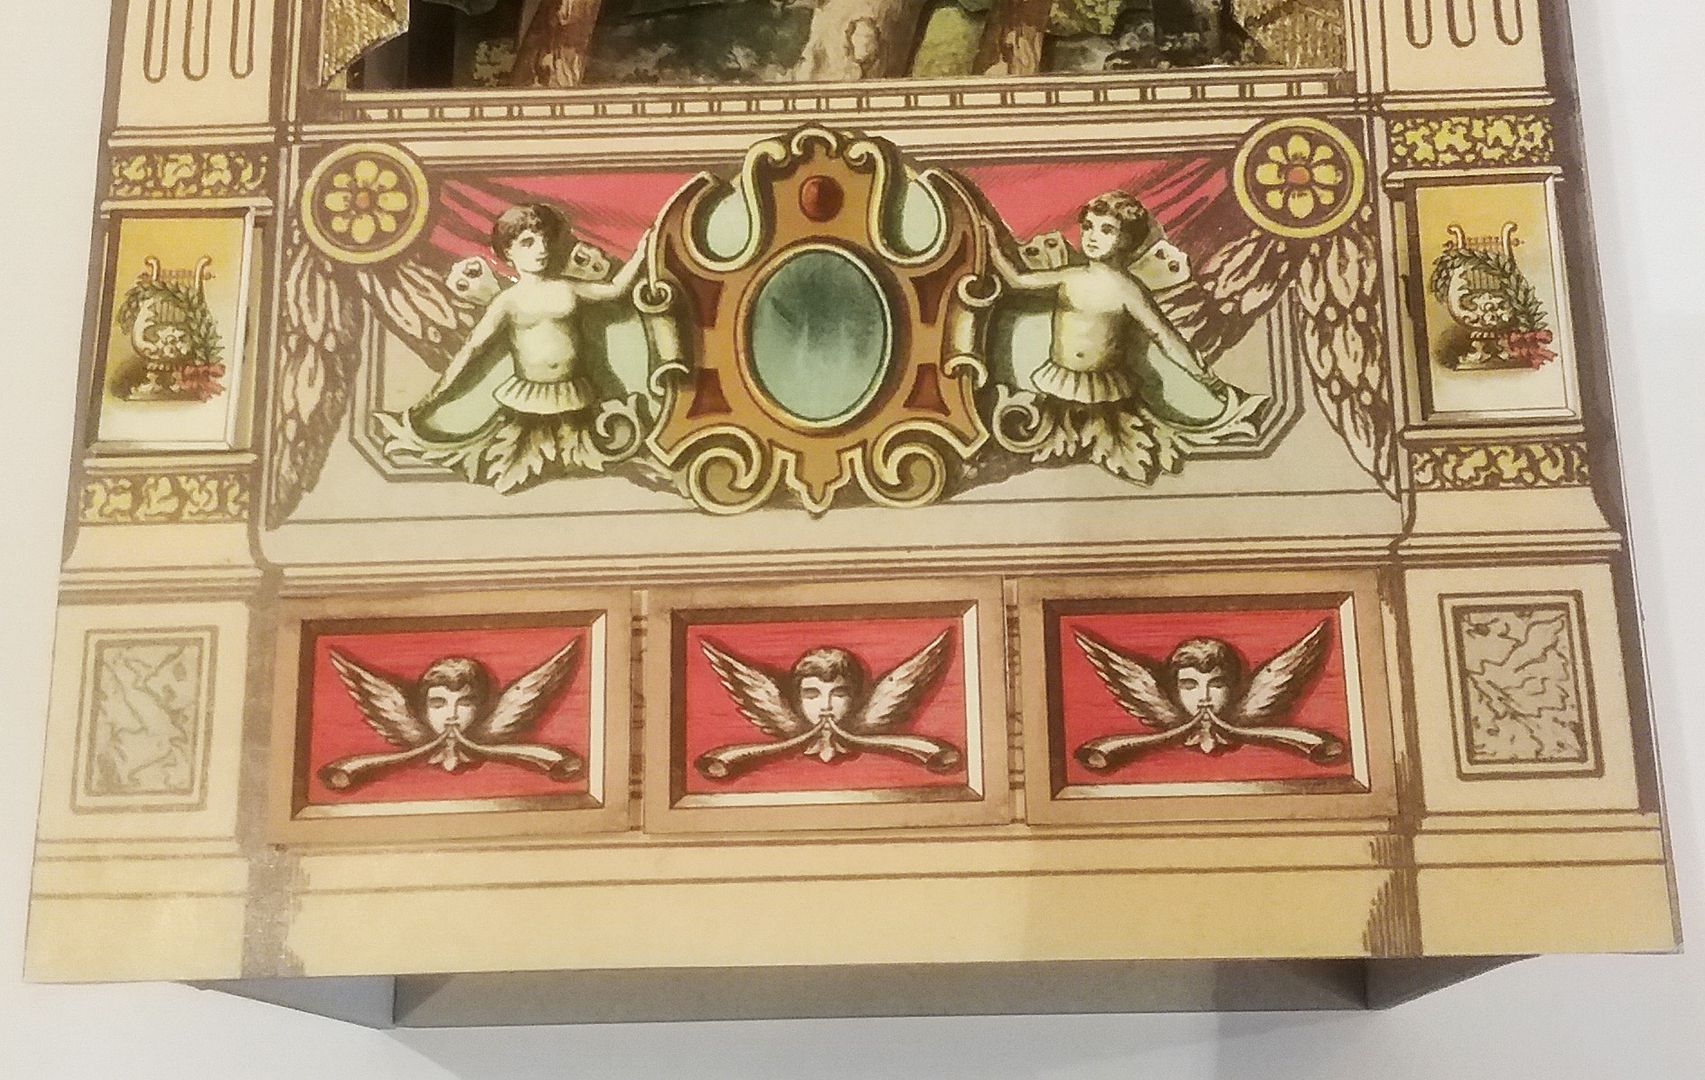
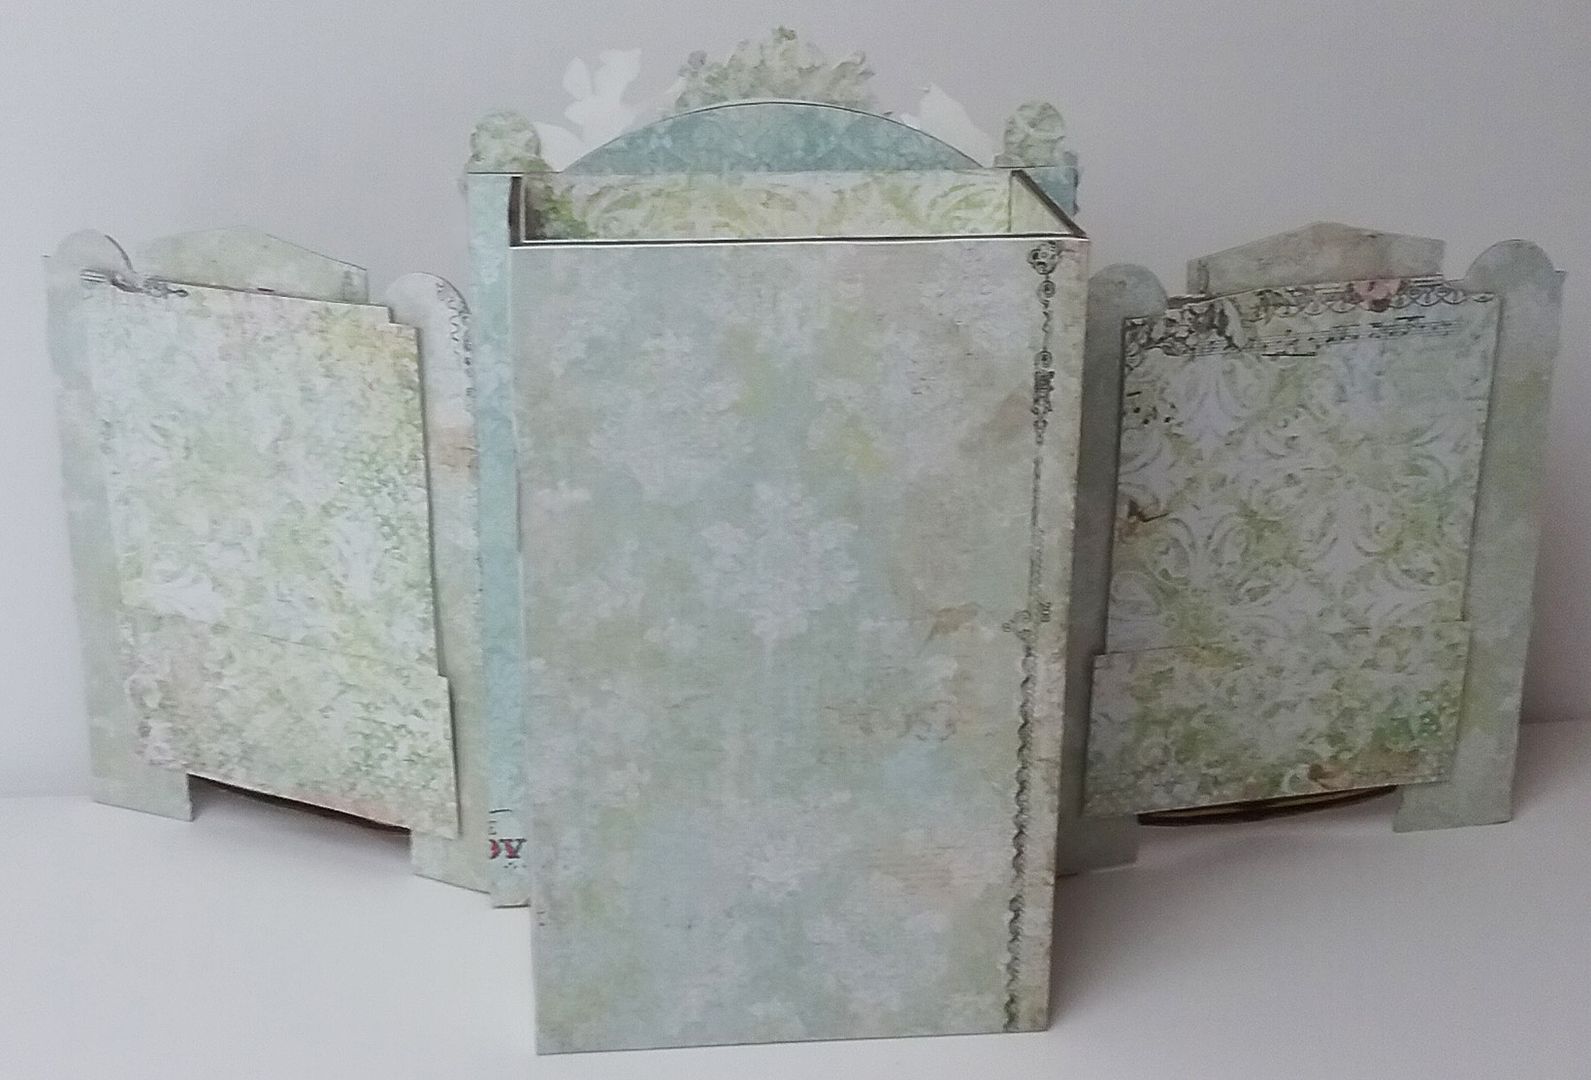
I printed the columns multiples times so that I could cut out bits of the image and layer them on top of the original to create a 3D look.
I had some of the column bits left over, so I added them to the center section to tie the center and the sides together.
I made the column area narrow enough so that I could make the box bow out making it look 3D.

Feel free to download the images below and use them in your artwork.
DETAIL SUPPLY LIST
Punch & Judy Theatre
Arched Top Theatre Façade
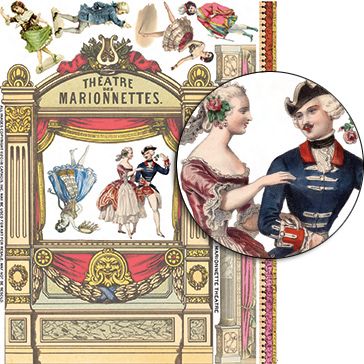
The Marionettes Theatre Collage Sheet
Large Theatre Curtains, Columns & Box Seat Set Download
Gatefold Square Shrine Curtains Collage Sheet
Or
Fairy Ballerinas Collage Sheet
Mischievous Cupid Collage Sheet
Forest Theatre Backdrops Collage Sheet
Rustic Trees & Foliage Collage Sheet
Heartland Scrapbook Paper – Red Rose Ball
Blush Scrapbook Paper – Devoted
Heartland Scrapbook Paper – Love Song Serenade
5 comments:
Laura, I already commented on the Alpha Stamps blog about this piece, but I had to head over to look at more pictures.
You are still my mini-theatre and vignette idol!
Absolutely superb little scene - and such marvelous use of the collage sheets in the way you've cut, diced, spliced and reimagined them!
Brava!
excellent! thank you for sharing
hugs
So lovely Laura!! You always take us to a place of peaceful fantasy. Thank you xoxo
Absolutely, positively Amazing! Laura, you are the queen of vignettes!
Jackie xo
So beautiful!! You mention beads a few times - “ To create a 3D effect, I layered the images using double-stick tape and beads”, and using them behind cut-outs - what size and type of beads? Perhaps this is obvious but I’m confused. Thanks!
Post a Comment