-->

Welcome

I love answering your questions. If you ask them in the comment section, I have no way to answer you (if you haven't heard from me, that is why). If you use the "EMAIL ME" in the left column of this page, I will be able to respond to you. You can also use it if you want to be added to my newsletter. Laura

Saturday, March 4, 2017

BEAUTY & THE BEAST TRIPTYCH

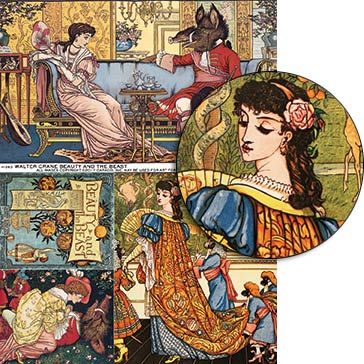
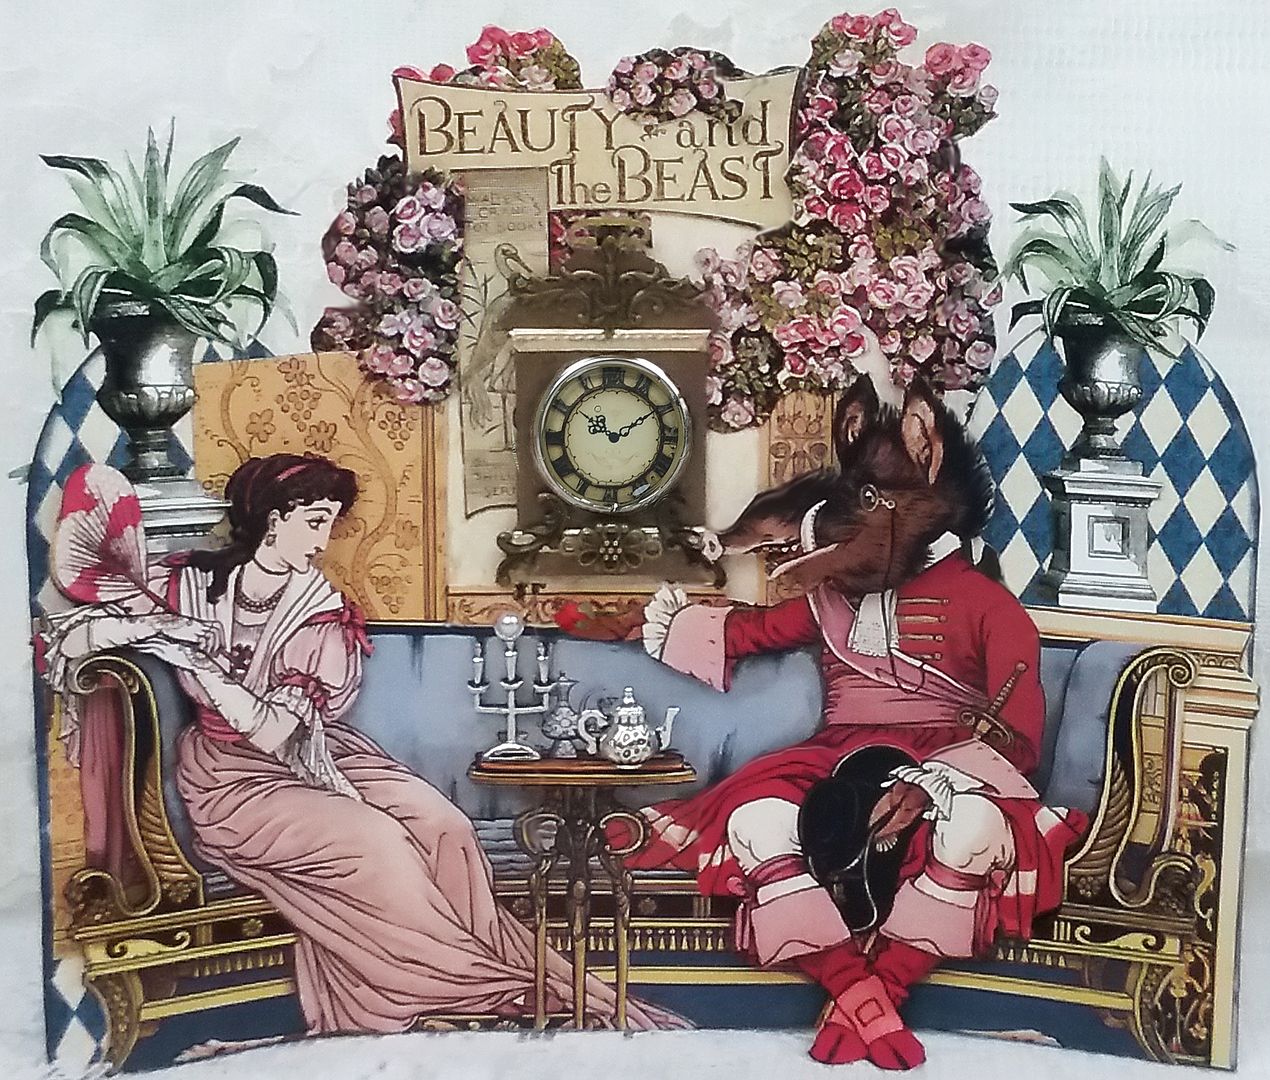
This month’s theme at Alpha Stamps is “Beauty and the Beast,” which fits in nicely with the upcoming remake by Disney.  I’ve chosen to illustrate the story using a chipboard Taj Mahal Folding Card and collage various decorative papers and collage sheet images.  The general pictorial inspiration comes from AlphaStamps new Walter Crane Beauty and the Beast collage sheet, which if full of colorful illustrations.  
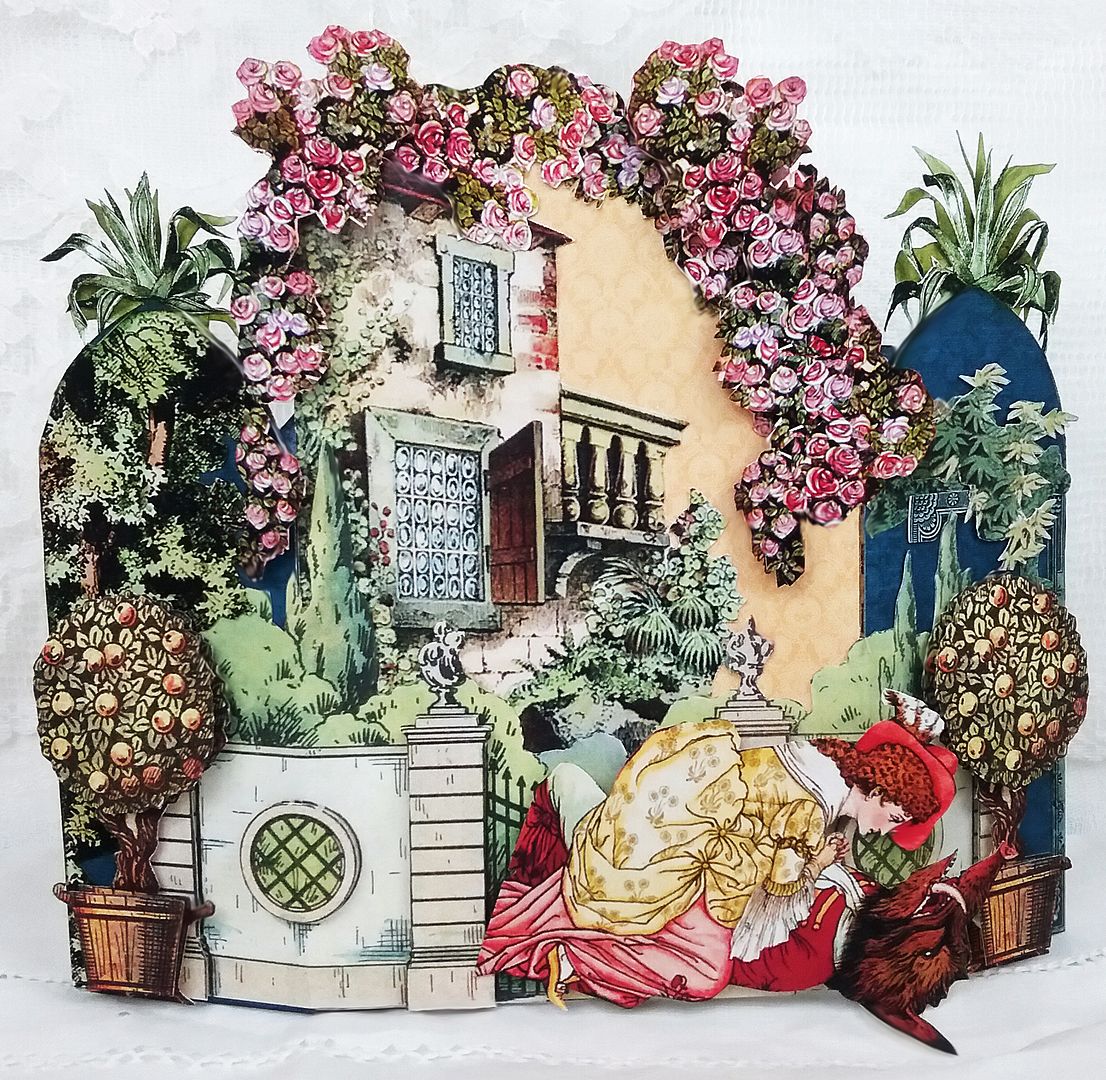
I’ve also used other collage sheets for greenery and architectural details.   Although most of my piece is paper, I’ve incorporated a few charms, a chipboard clock, and pieces of filigree. 

THE DETAILS


THE FRONT
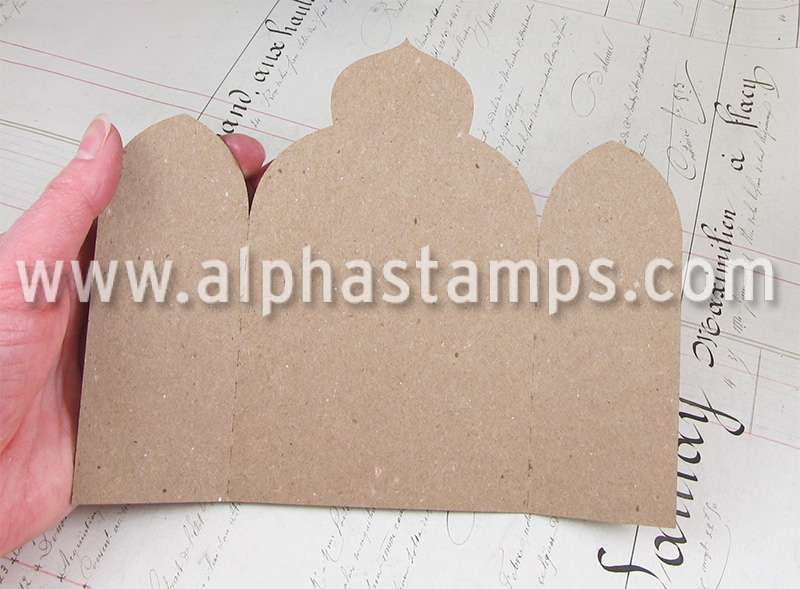
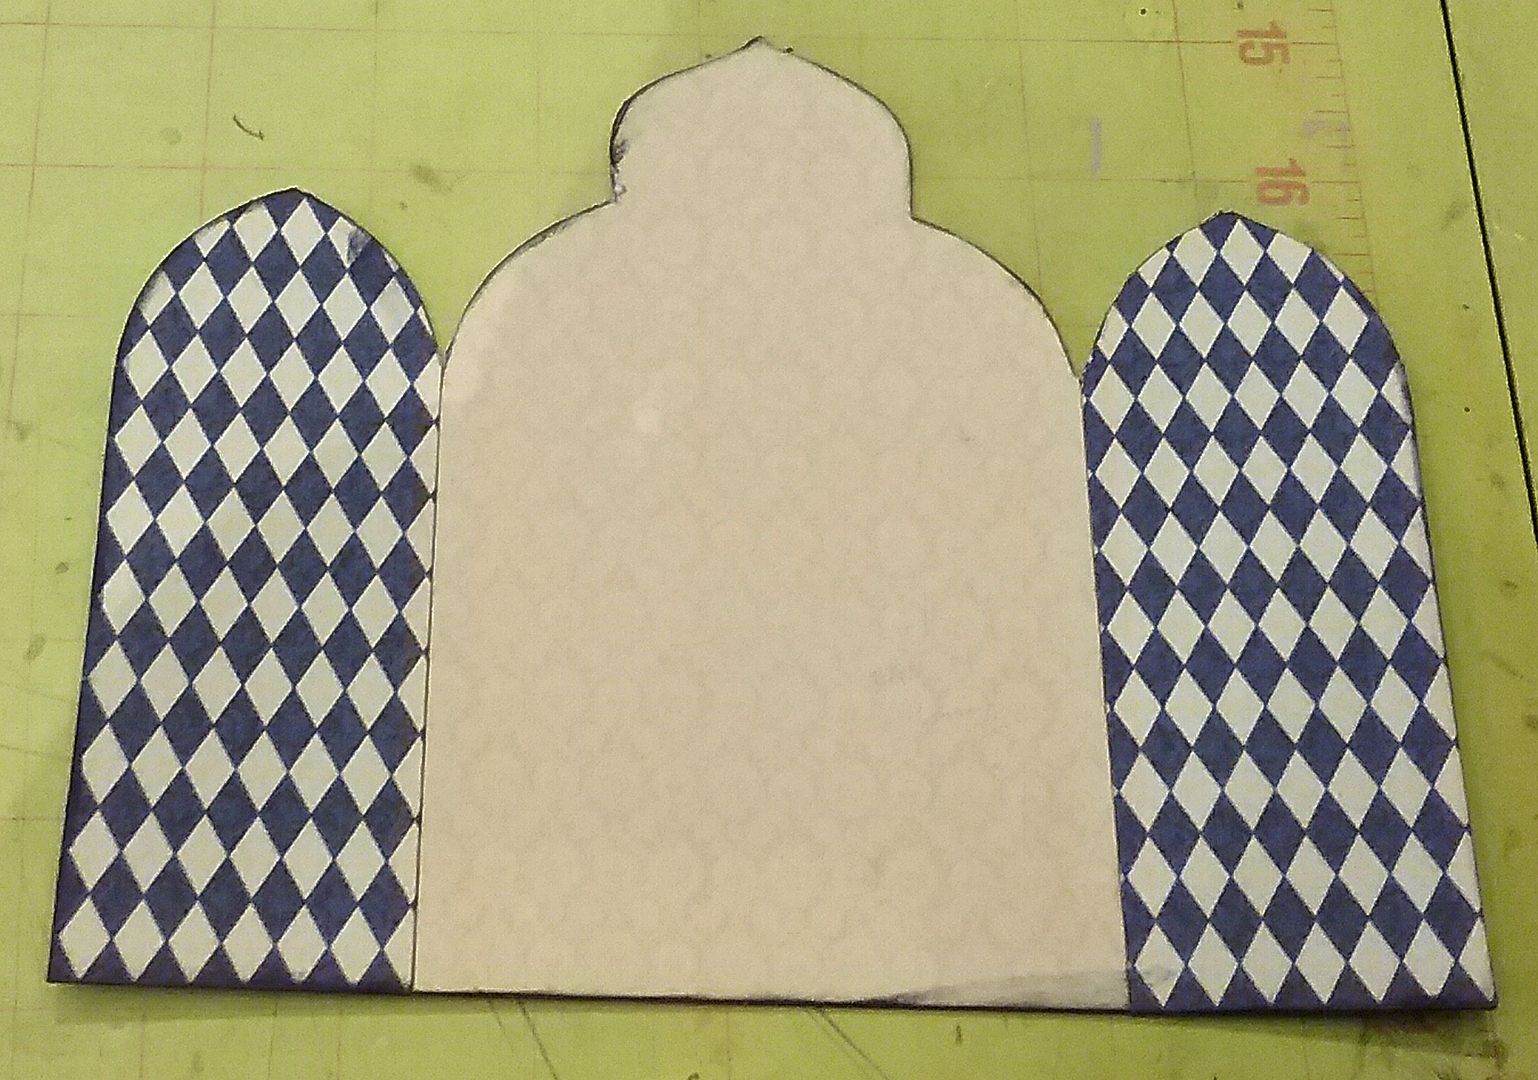
I started by adding decorative paper from the Midnight Masquerade 12x12 Patterns & Solids Pad to the front and back of the folding card.
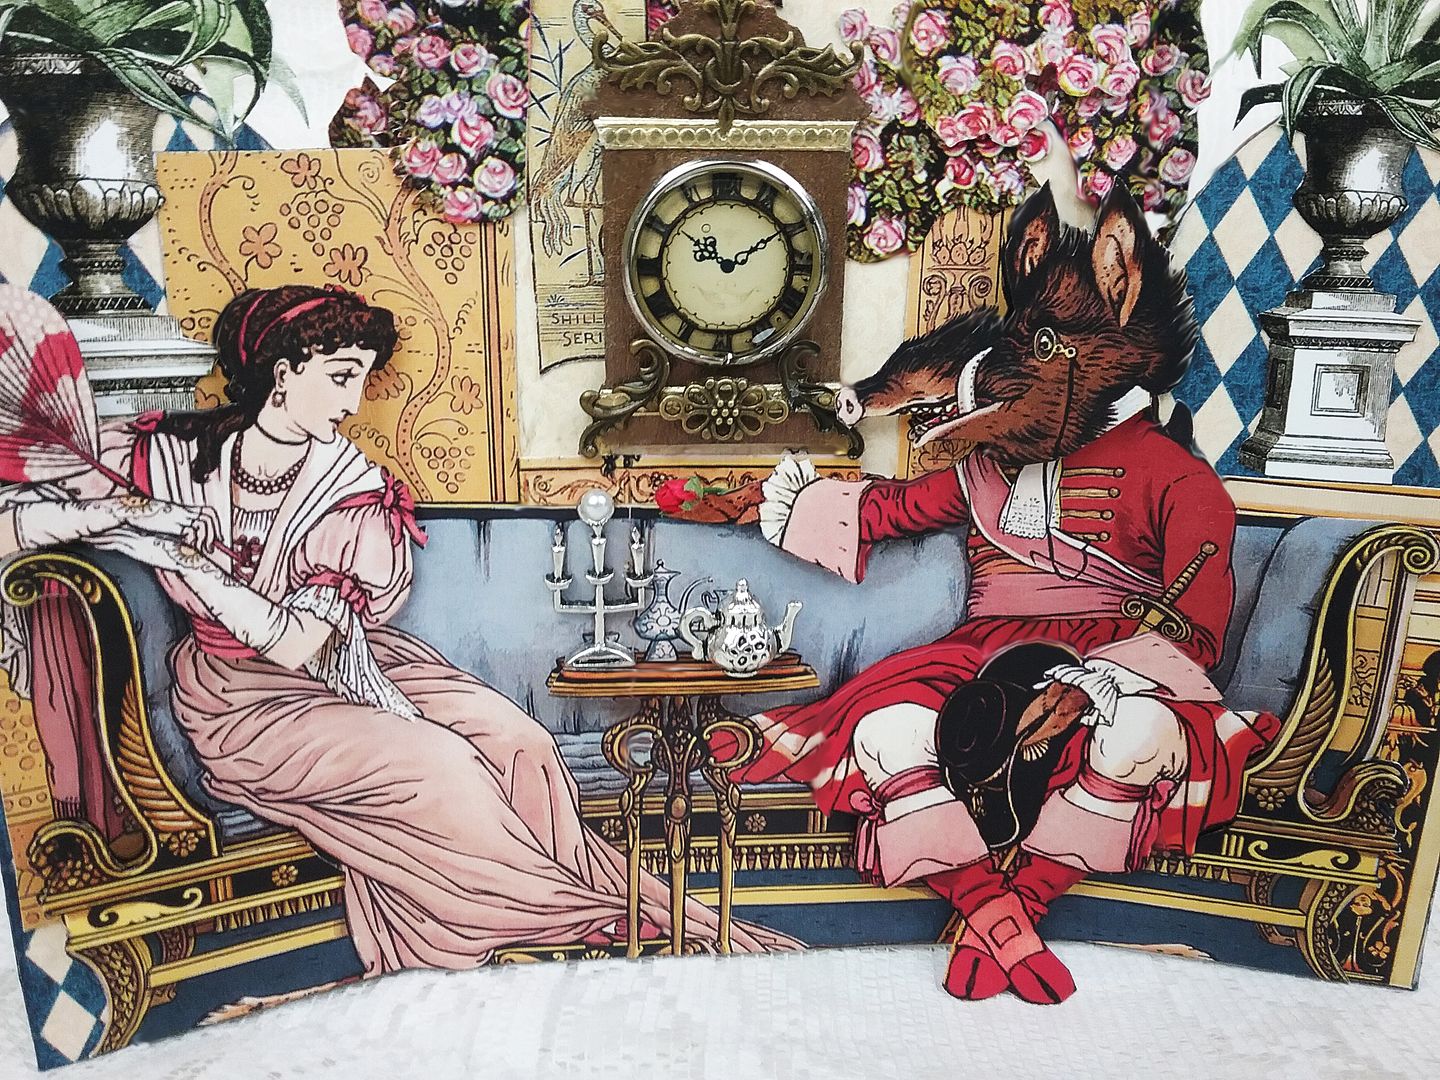
I then began building a scene using images from the Walter Crane Beauty and the Beast collage sheet.  
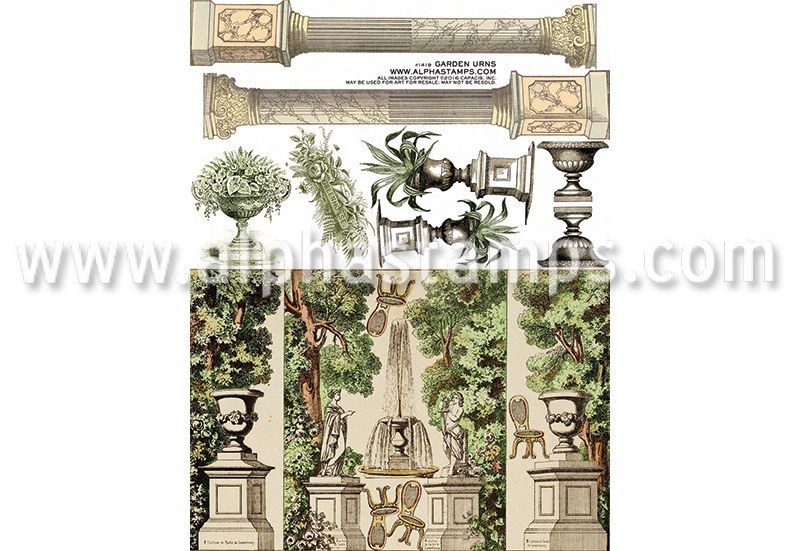
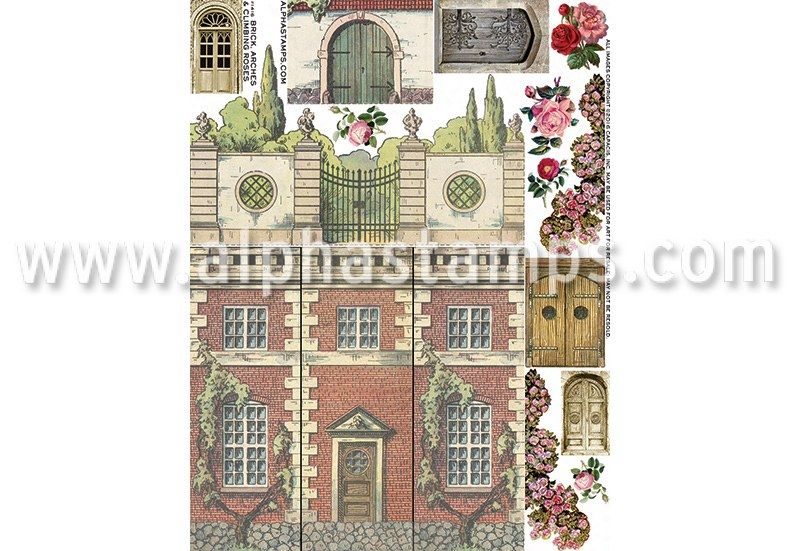
The urns with plants and the roses are from the Bricks, Arches & Climbing Roses and the Garden Urns collage sheets.  
To create more dimension, I popped up layers of some of the images, such as:
  • The top of Belle’s body
  • The arm, head, and bottom half of the Beasts body
  • The scrollwork on each side of the couch
  • The top of the table
  • The roses
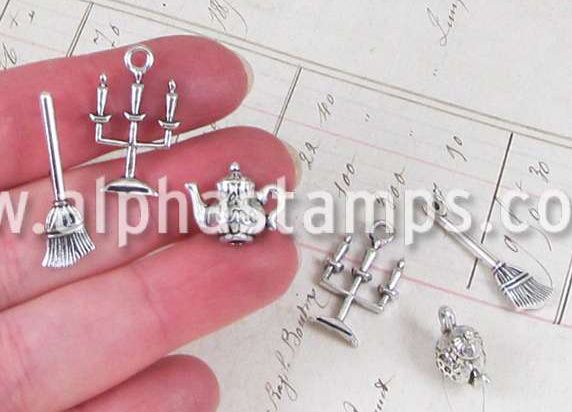
I used multiple layers of double-sided foam tape to pop the table up far enough that I could set the candelabra and teapot on the table.
The clock is die-cut chipboard that I painted, then added Dresden and pieces of filigree.  The silver ring is from my stash, and I used Glossy Accents on the clock face to make it look like glass.
THE BACK
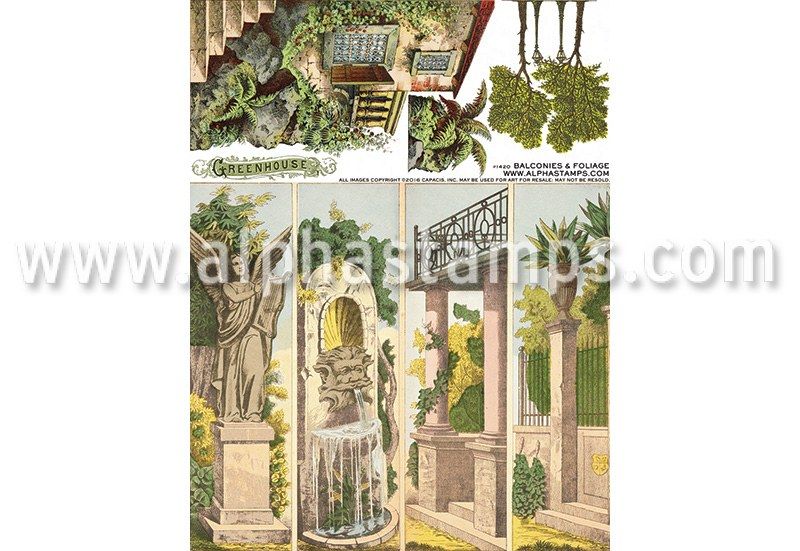
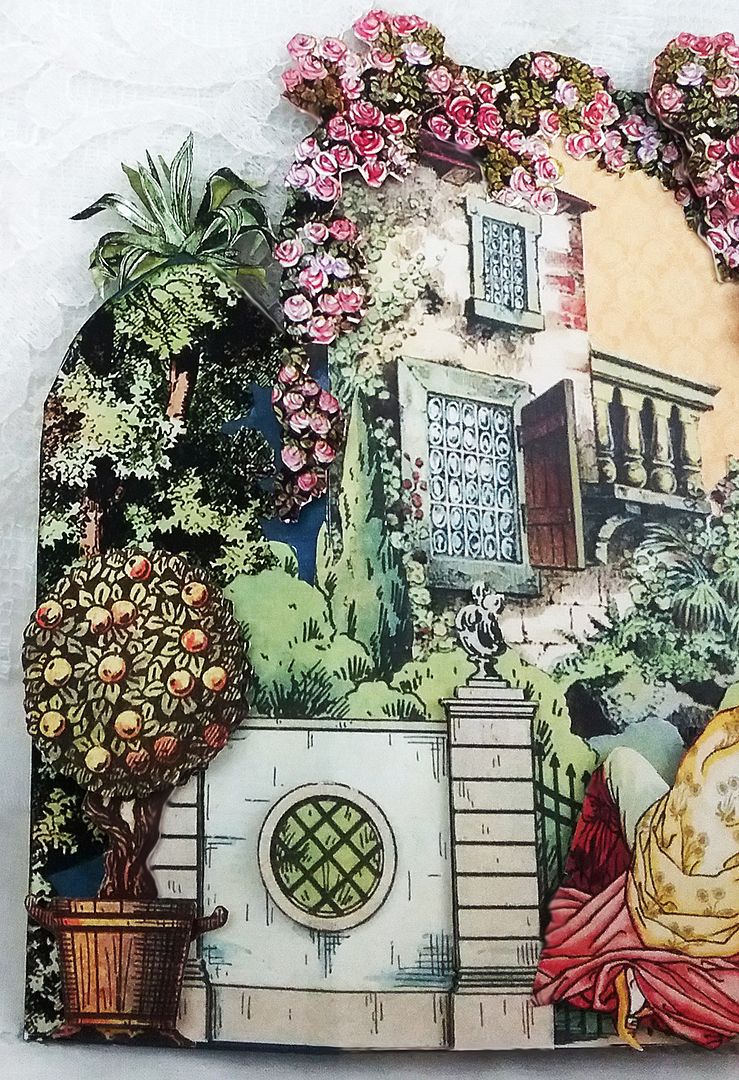
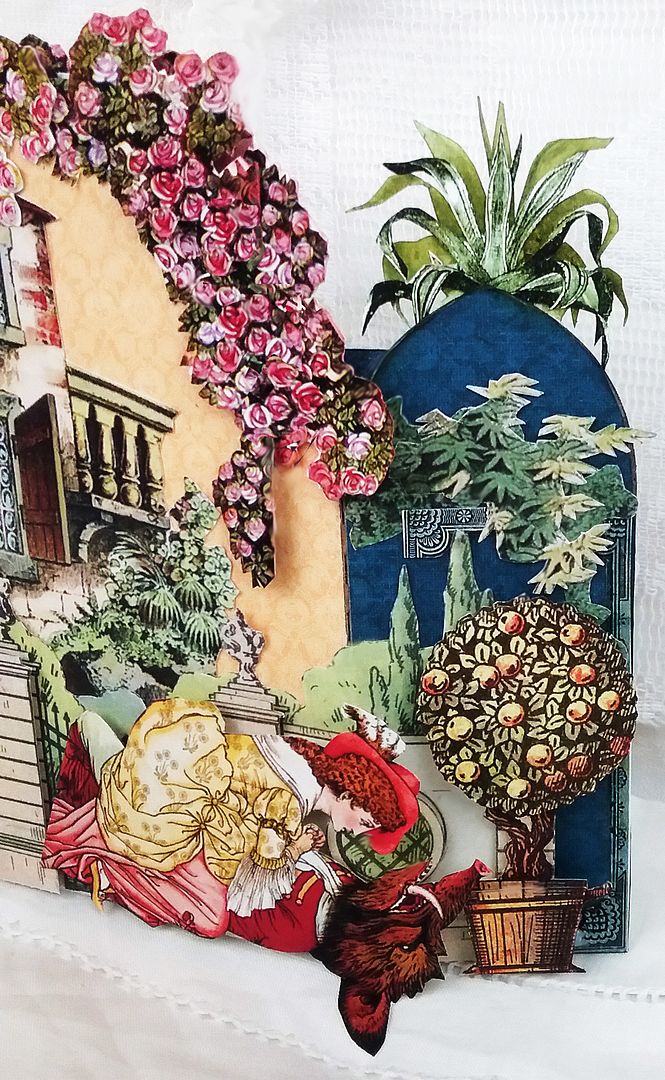
On the back, I used architectural pieces such as the balcony from the Balconies & Foliage collage sheet and the wall with a gate from the Brick, Arches & Climbing Roses collage sheet.
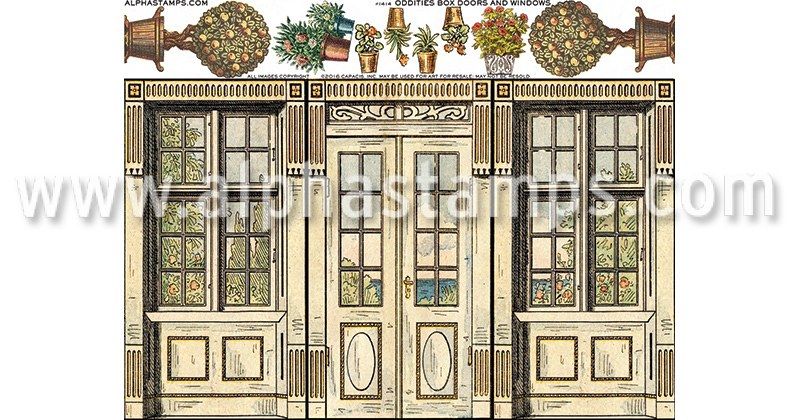
The tree and urns with green leaves are from the Garden Urns collage sheet, and the urns with fruit trees are from the Oddities Box Doors & Windows collage sheet.
To give the scene on the back more dimension, I popped up:
  • The columns and round decorative ironwork on the fence
  • The fruit trees and their pots
  • The roses
NOTE:  As I added layers of images to the front and back, I would re-bend the folding card.  I also attached the images with the card partially folded. If you don’t fold it as you add images, it might not bend when you are done.
DETAIL SUPPLY LIST
Taj Mahal Folding Card
Walter Crane Beauty and the Beast Collage Sheet
Oddities Box Doors & Windows Collage Sheet
Brick, Arches & Climbing Roses Collage Sheet
Garden Urns Collage Sheet
Balconies & Foliage Collage Sheet
Midnight Masquerade 12x12 Patterns & Solids Pad
3D Silver Tea Time Teapot Charm
Silver Candelabra Charm
Tiny Dot Dresden Borders - Gold
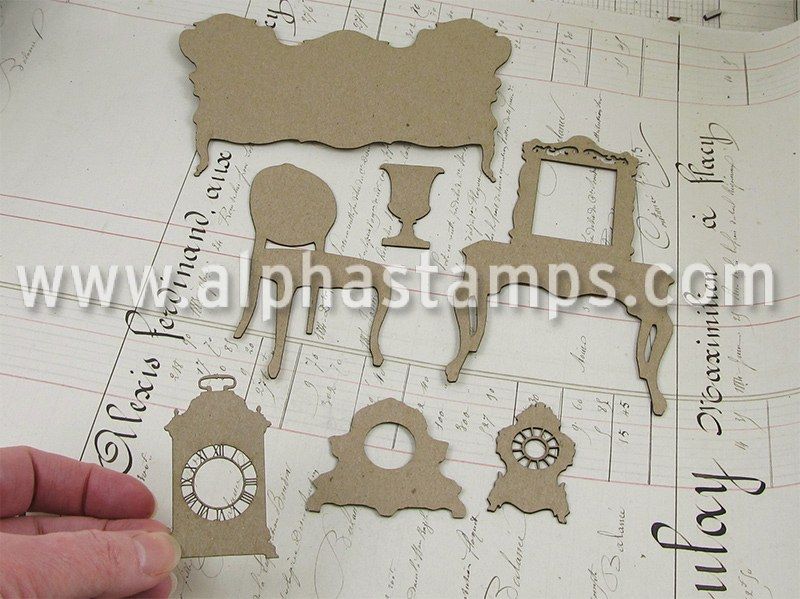
Victorian Furniture Chipboard Set 1 – Sofa
15mm Filigree Connector – Antique Bronze
Fancy Leaf Header Filigree
Raw Brass Flourish
Mini Rose Buds - Red
Wednesday, February 22, 2017

3D CINDERELLA COACH - PERFUME OR ALTERED BOTTLE CADDY

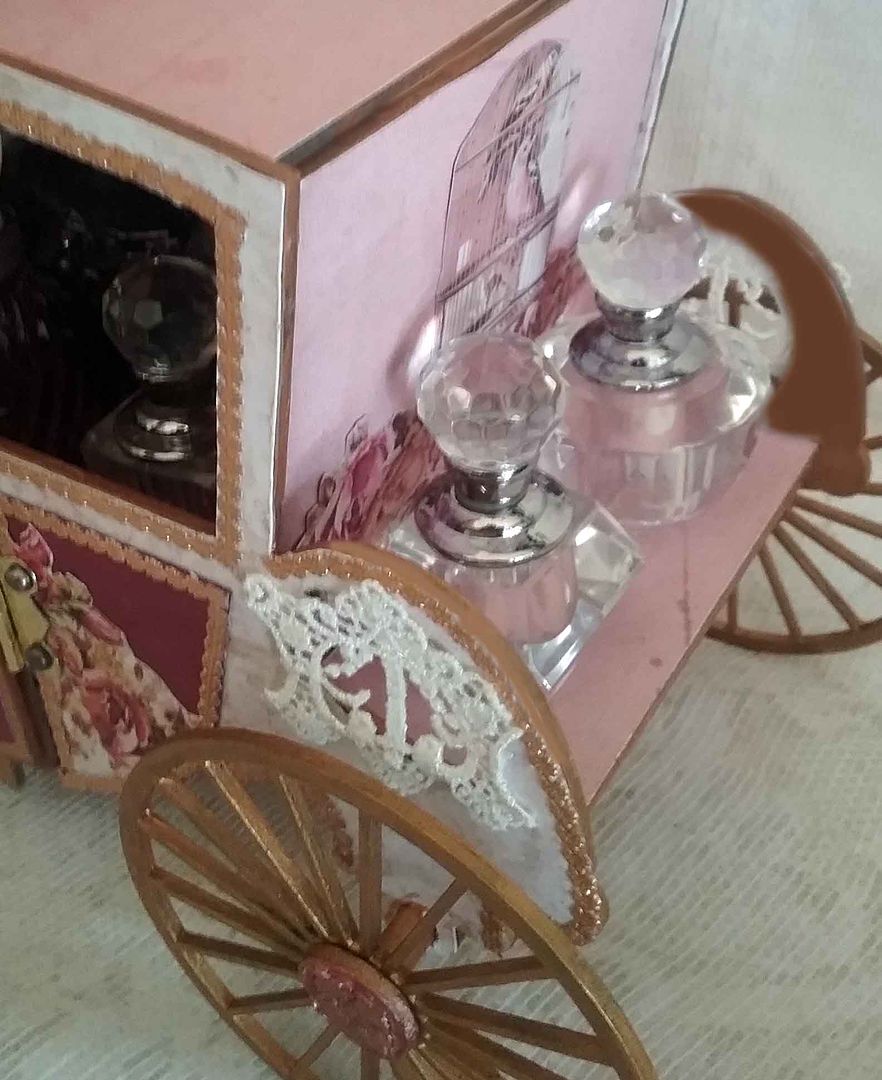
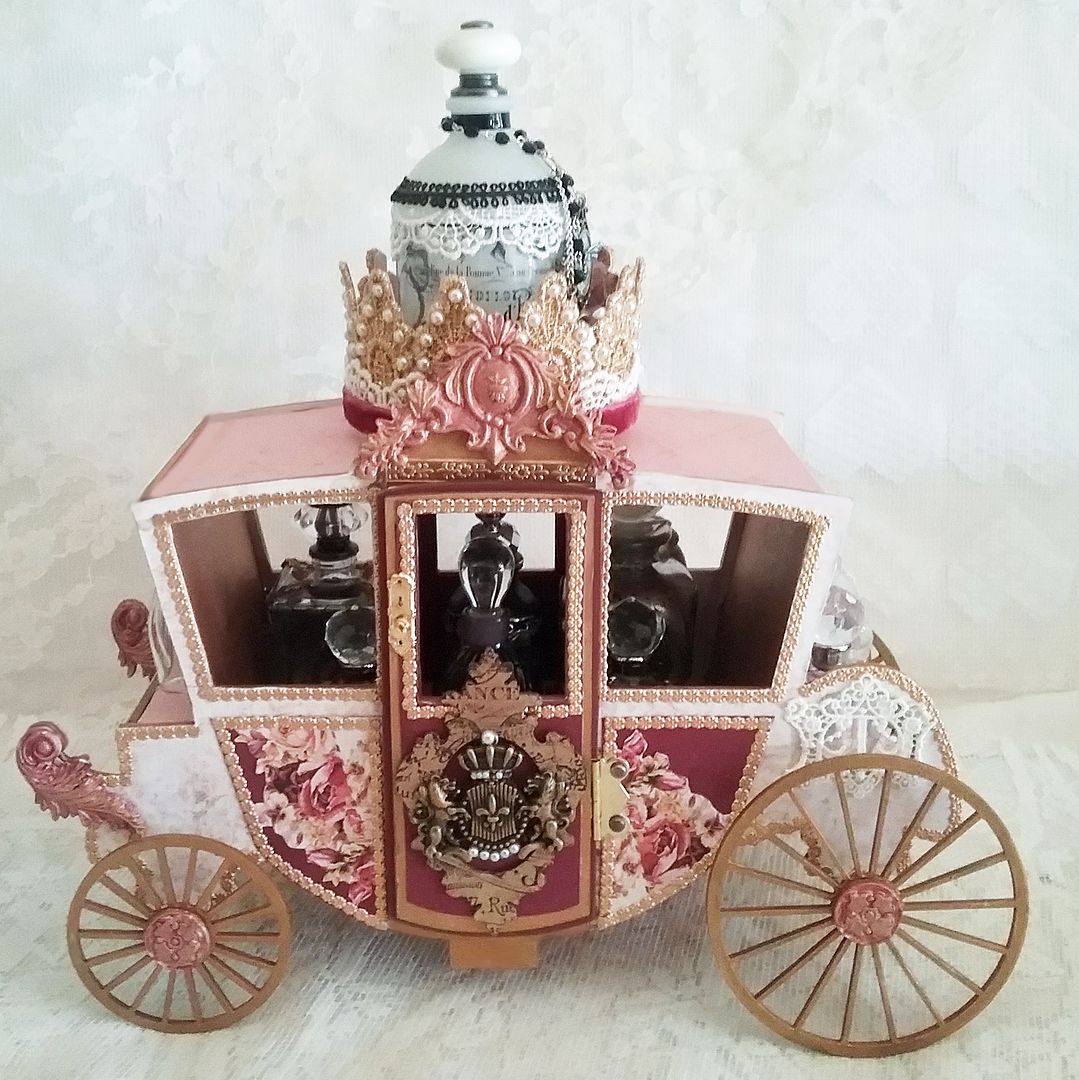
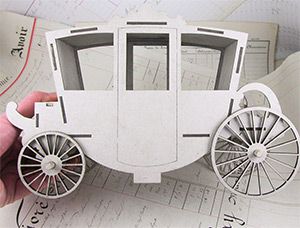
This month’s theme at Alpha Stamps is Cinderella.  As I’m still on my kick of creating beautiful and useful items, I decided to decorate a 3D coach fit for a queen that doubles as a bottle caddy.  
The project is made easy by using the 3D chipboard coach kit pictured above.
The door opens, giving you access to the inside of the couch where I placed 6 perfume/altered bottles. 
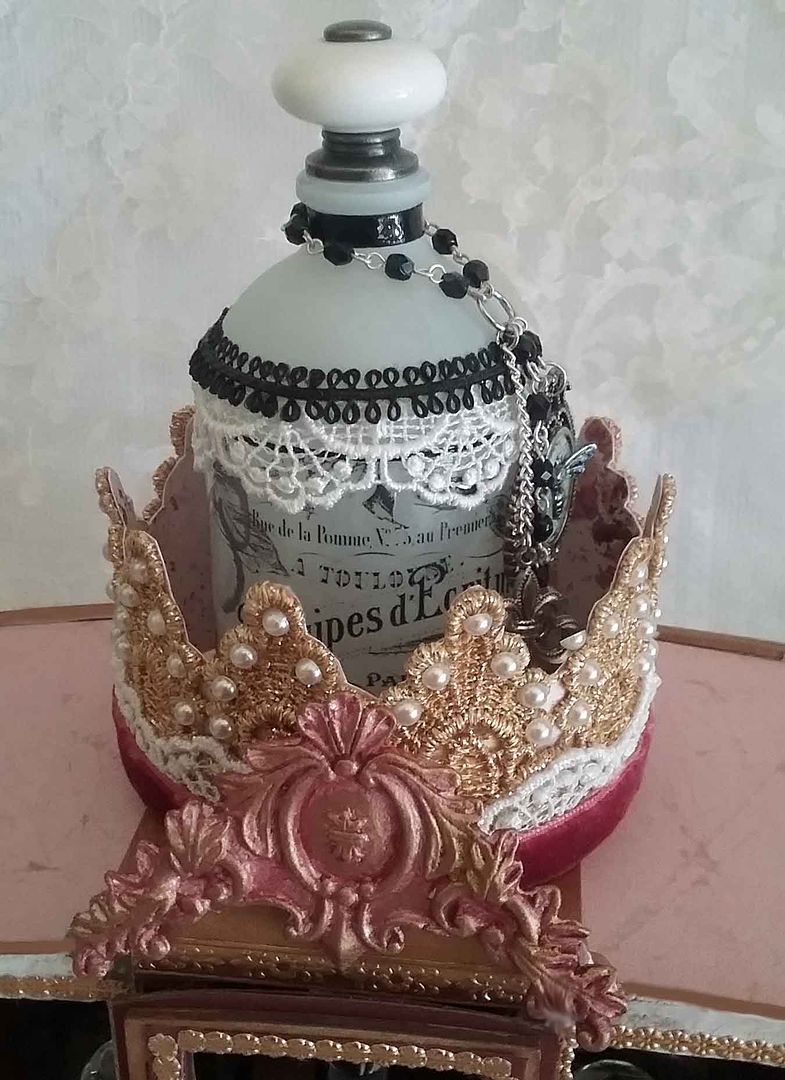
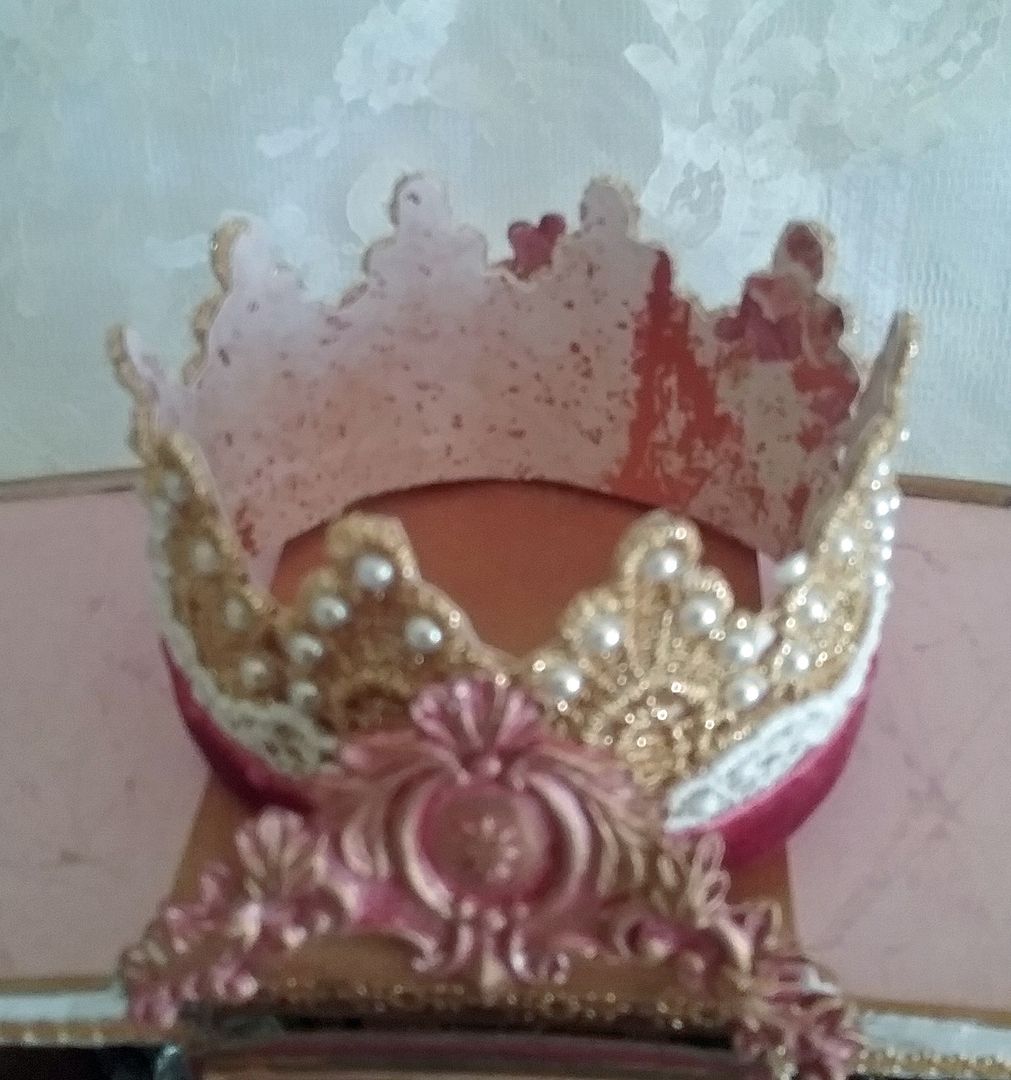
At the top of the couch is a crown made from paper and lace in which I have placed a larger bottle.

On the front and back of the coach, there is even more room for small bottles. 
THE DETAILS

DECORATING THE COACH
  • I started by painting all of the pieces in the coach kit gold.
  • Next, I decorated the side pieces by adding decorative paper, Dresden, cardstock, and images cut from the decorative paper.

  • Only the door on one side of the coach opens.
  • Both sides of the coach are decorated the same.
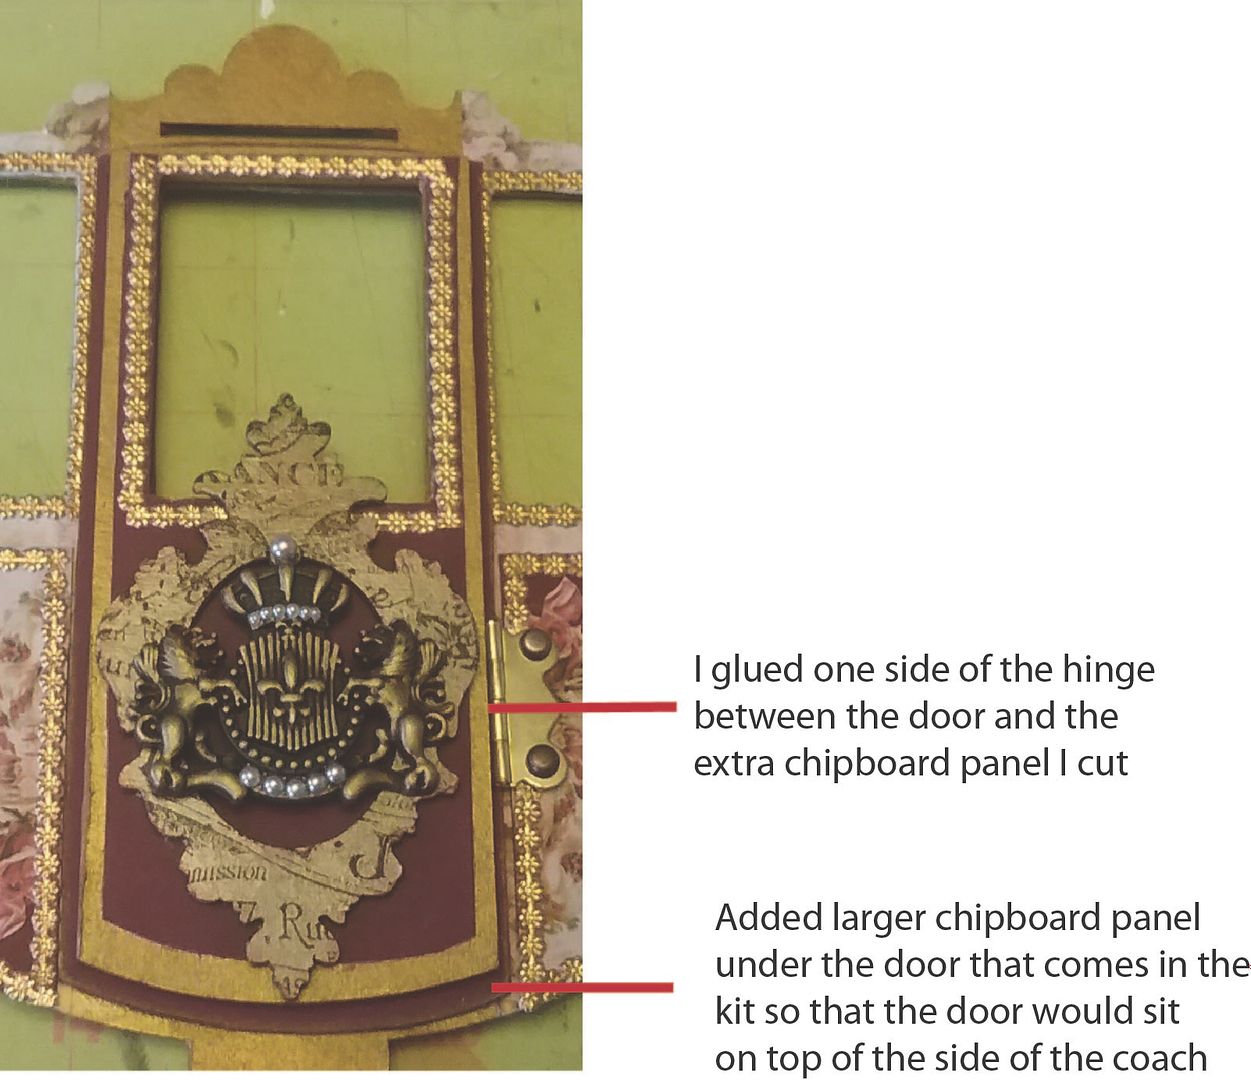
  • To the door, I added a door handle, a chipboard frame painted gold and stamped with a French-themed rubber stamp, and a bronze crest decorated with flat-back pearls.
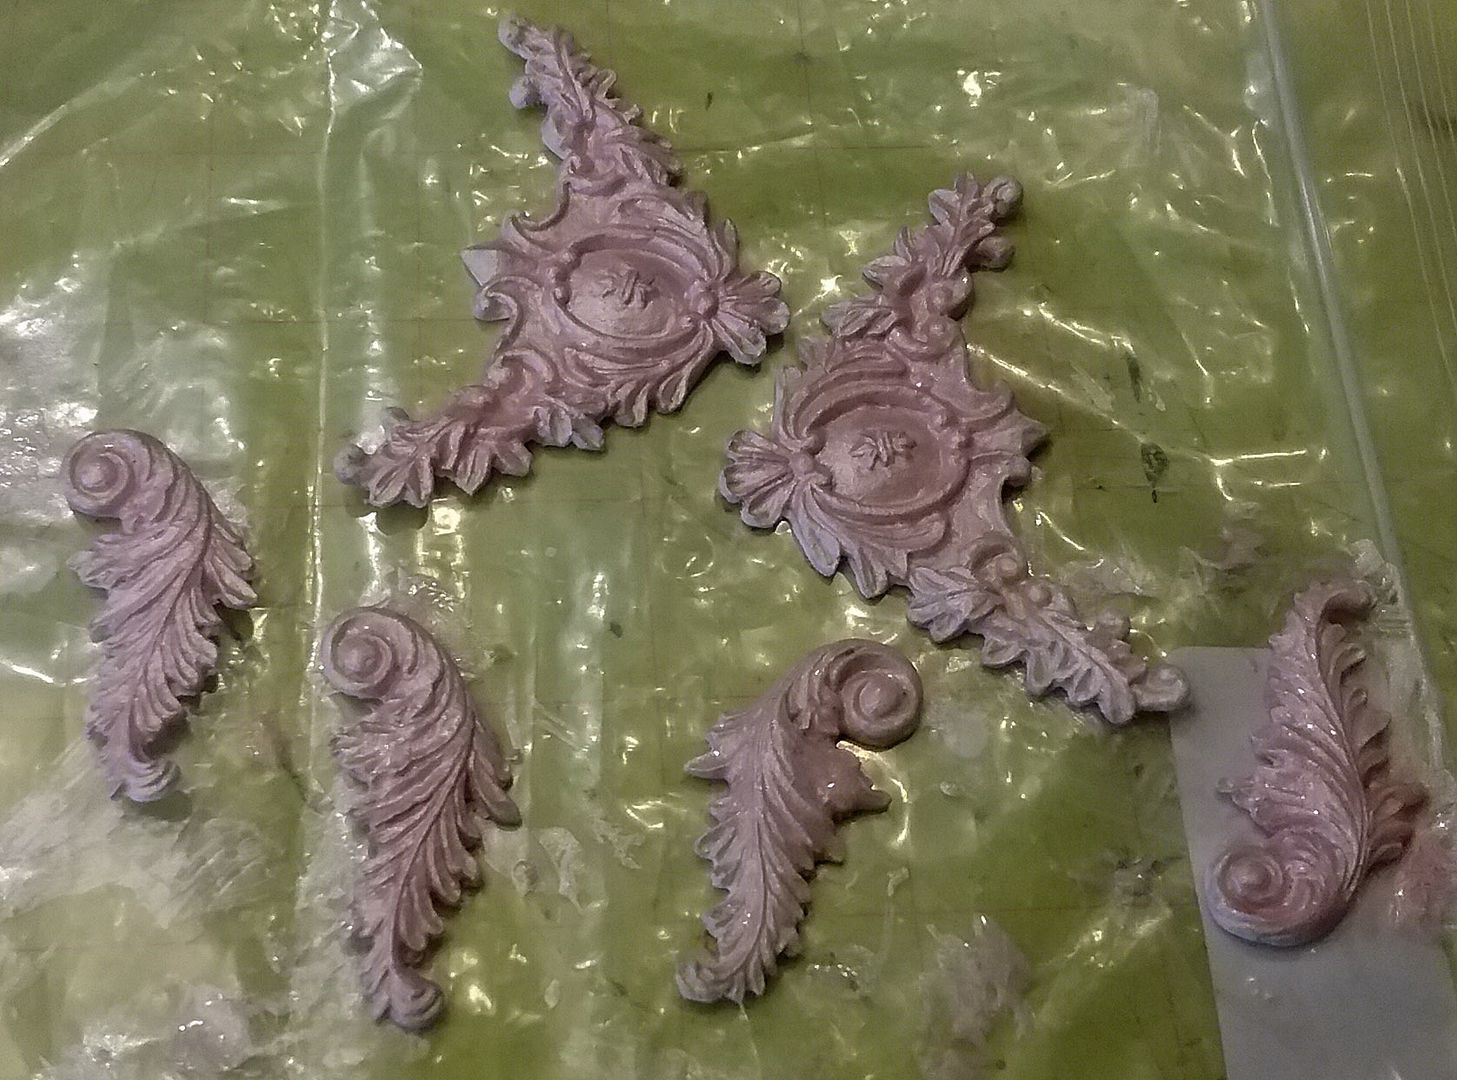
  • To the top, I added a paper clay decorative piece.
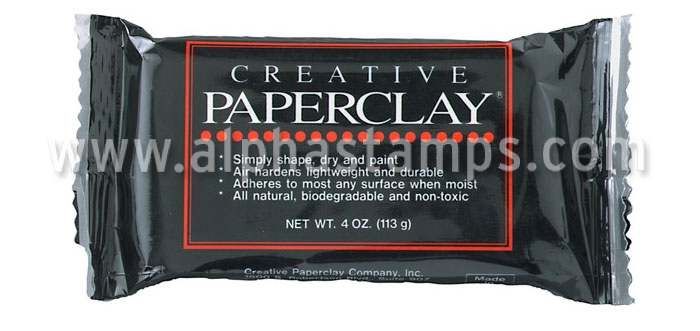
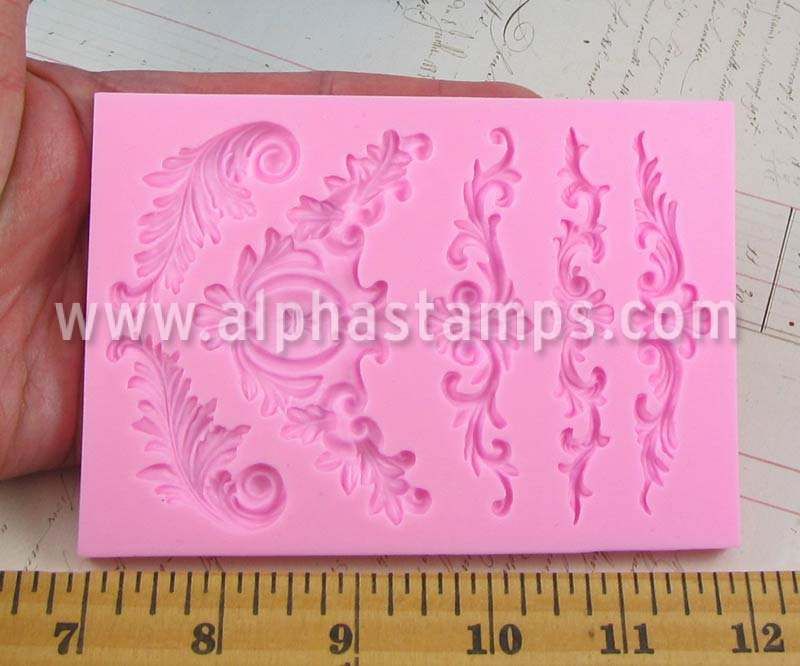
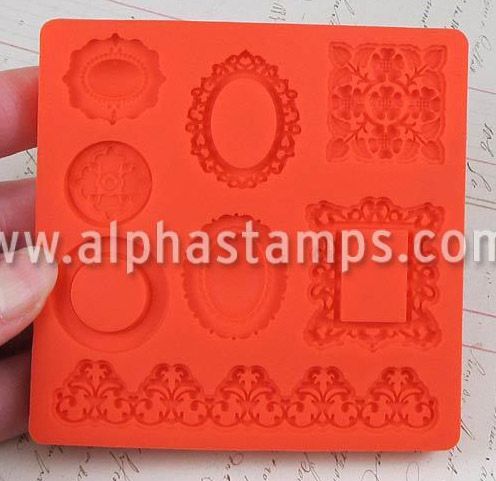
I used paper clay and molds to create the decorative pieces on top of the doors, the flourishes on the front of the coach, and the round decorative pieces on the wheels.
I colored the clay with pink paint, burgundy paint, and Inca Gold Gilder’s Paste
THE DOOR
To the door that comes with the kit, I added a larger chipboard panel so that the door would sit on top of the side of the coach.  This is the only door that opens.

I glued the hinge between the door and the extra chipboard panel. 


ASSEMBLING THE COACH
Once the side pieces were finished, I assembled the couch and added decorative paper and images from the paper to the rest of the pieces.  Below is a layout to help you see how the coach pieces fit together.

The last thing I did was add the wheels.  I did not paint the dowels that hold the wheels until they were on the coach and the wheels were in place.  If you paint them before attaching them, they will swell, and you might not be able to insert them through the holes in the sides of the coach or through the holes in the wheels.
MAKING THE CROWN
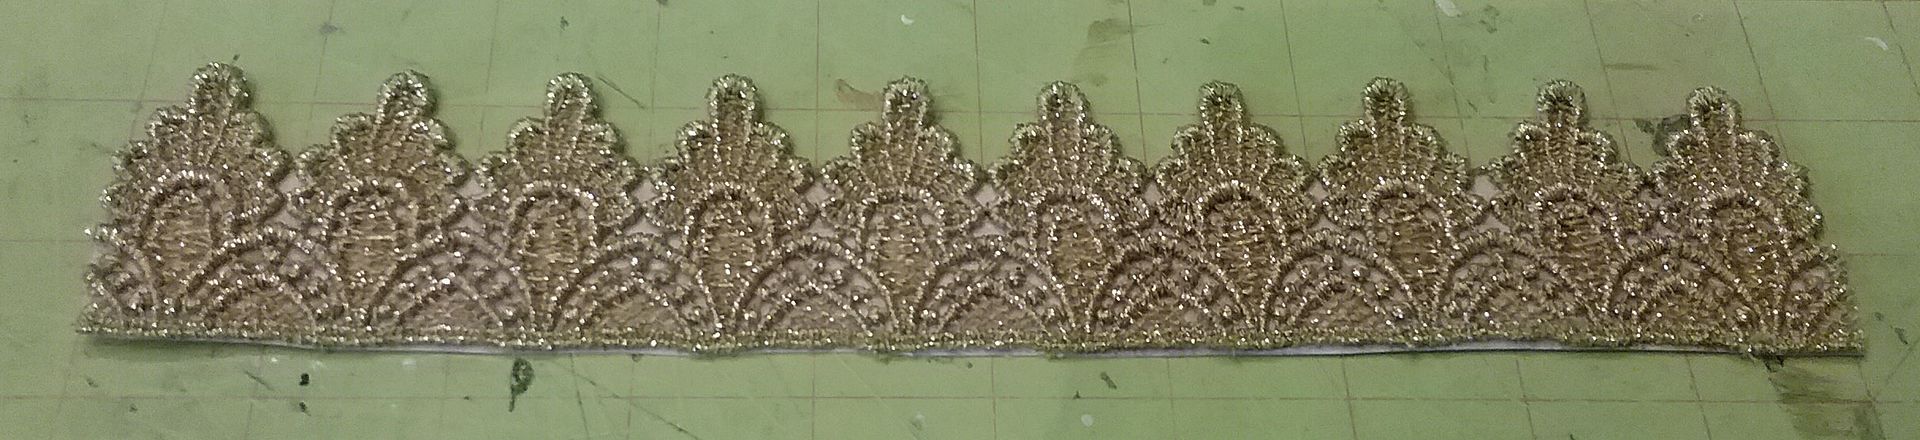
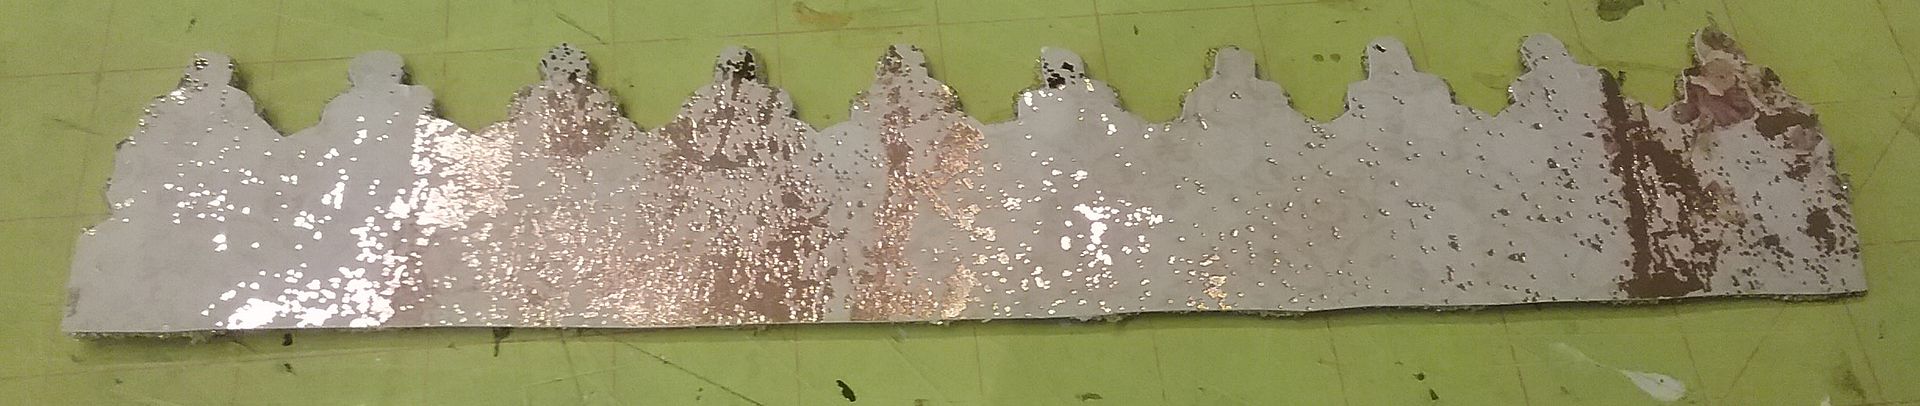
I made the crown by gluing lace to decorative paper.  I glued two pieces of paper together for extra support and then applied glue to the lace by running it through a Xyron machine.  
I cut away the excess paper by following the shape of the lace.
I added more lace, velvet ribbon, and flat-back pearls.


DETAIL SUPPLY LIST
Always & Forever Scrapbook Paper
Love Clippings 8x8 Collection Kit
Bruised Pink Antique Scrapbook Paper
3D Large Coach
7/8 Inch Fancy Fan Ivory Lace
1 ½ Inch Fancy Lace
Bronze Crest with Rampant Lions
Silicone Mold – Architectural Flourishes
Silicone Mold – Ornaments & Settings
Mini Mixed Size Flat-Back Pearls
Flowers & Leaves Dresden Borders – Antique Gold
Gold Mini Rosette Dresden Borders
French Floral Collage Rubber Stamp
Brass Door Handle & Key Sets
Creative Paperclay
Inca Gold Gilders Paste

Wednesday, February 1, 2017

ROMANTIC STATIONERY CADDY - NEW COLLAGE SHEETS & DIGITAL IMAGE SET

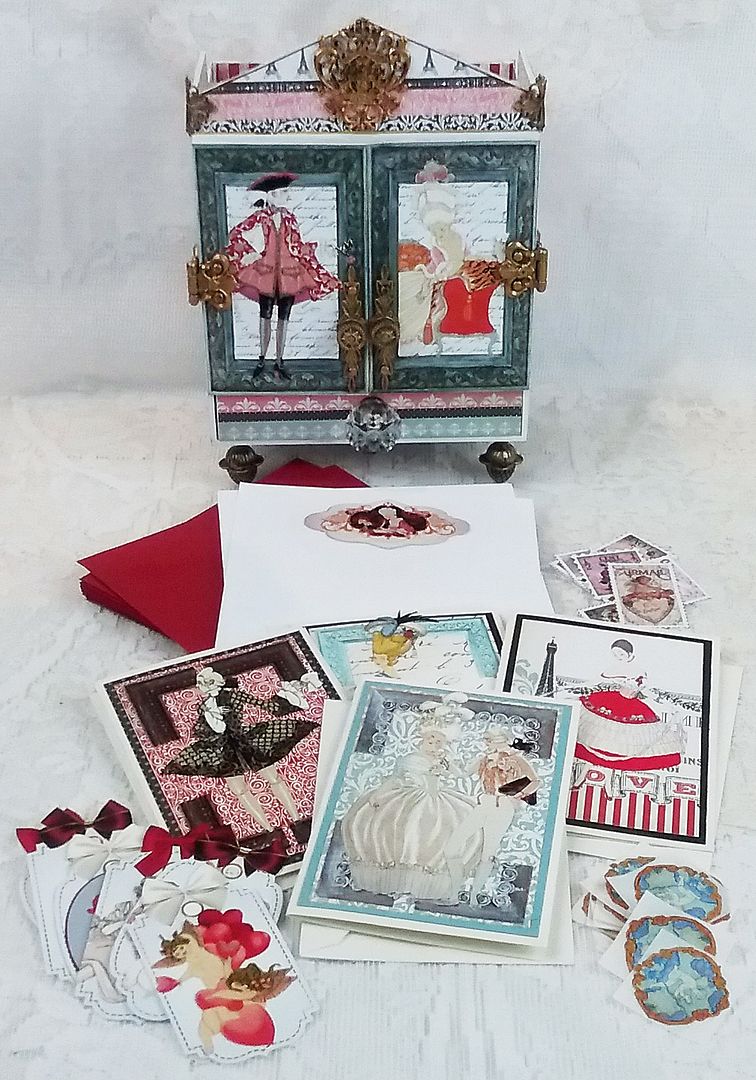
Every once in a while, I like to make something that is both lovely and functional.  When I saw this House Shrine with Doors kit, I thought it would make a great stationery caddy that you could keep for yourself or gift to a loved one or a special friend.
With Valentine's Day right around the corner, I chose to go with a Rococo-period romantic theme.  The images I’ve used are from my NEW Amour Collage Sheets.  There is also a NEW companion Digital Image Set which contains all of the images from the collage sheets and more.  The beautiful papers that so perfectly complement the image's color scheme are from the Amour 6 x 6 Paper Pad and some of the Amour Scrapbook Papers.
 
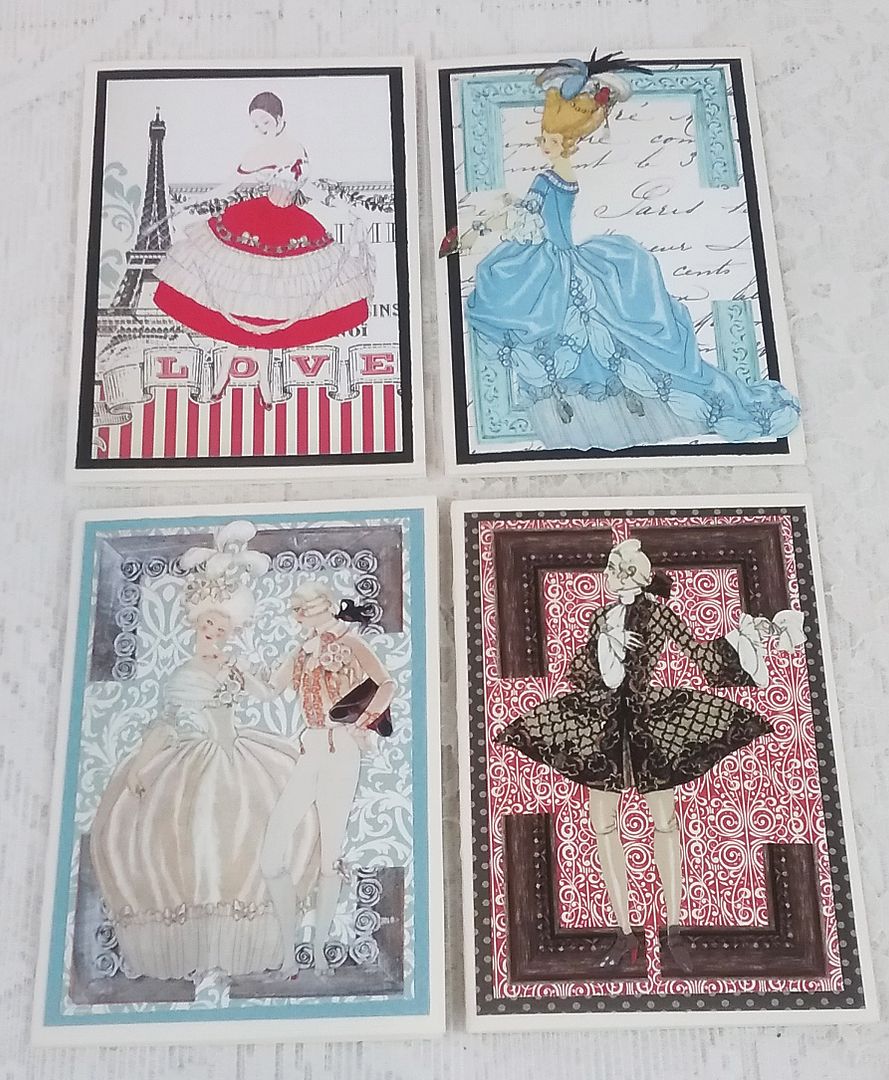
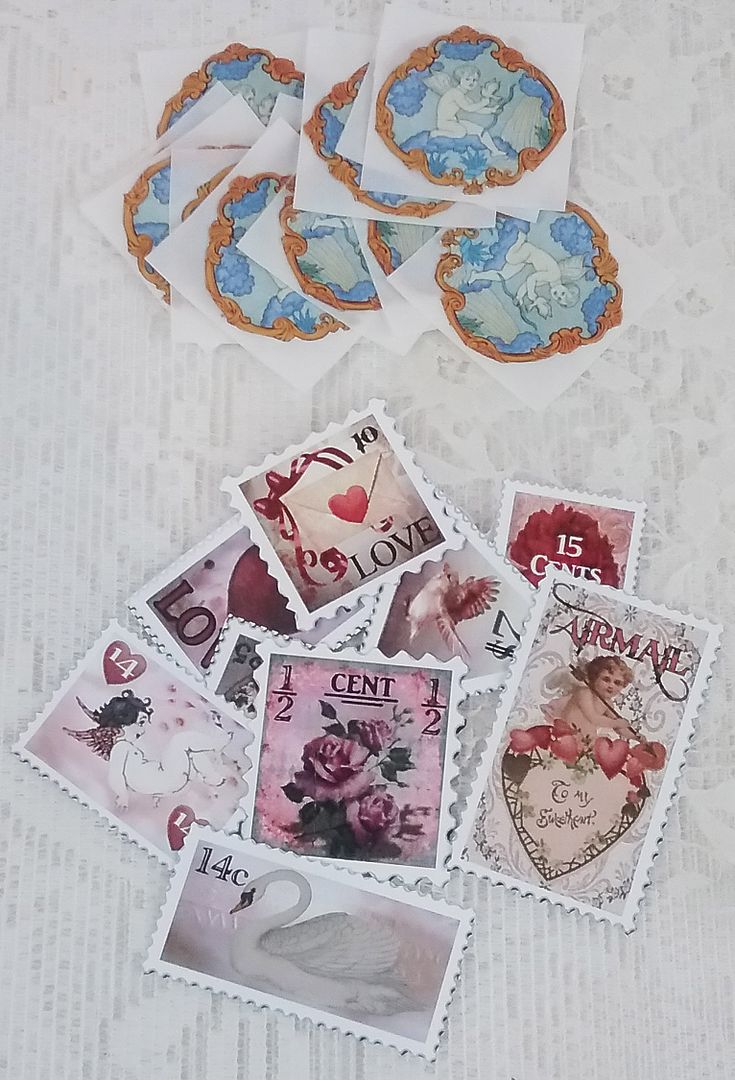
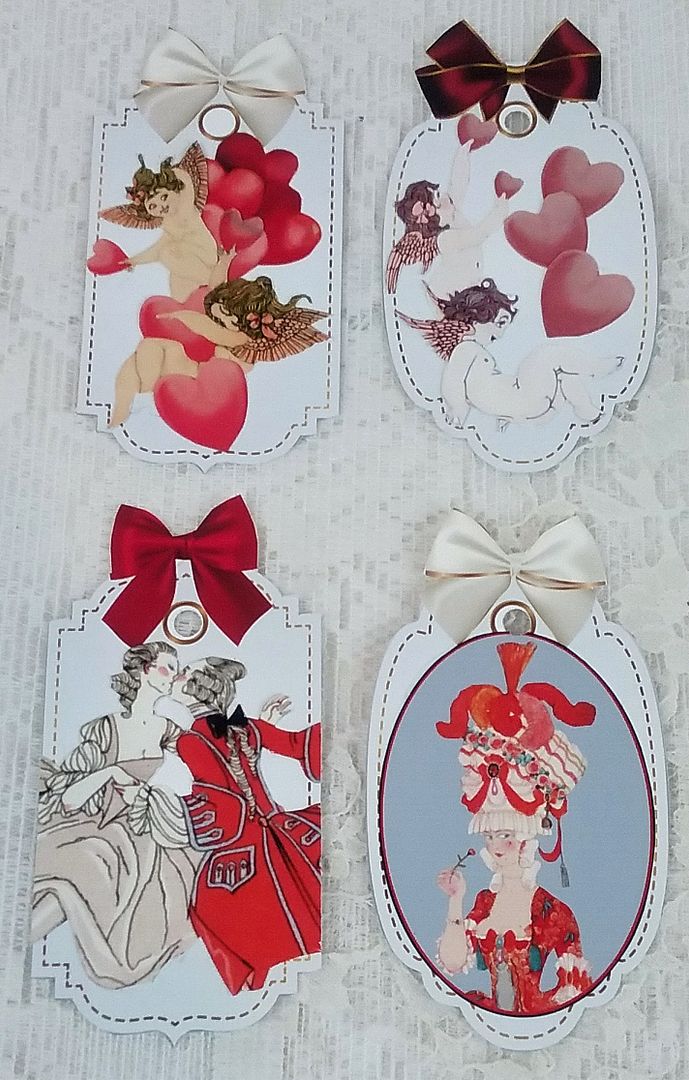
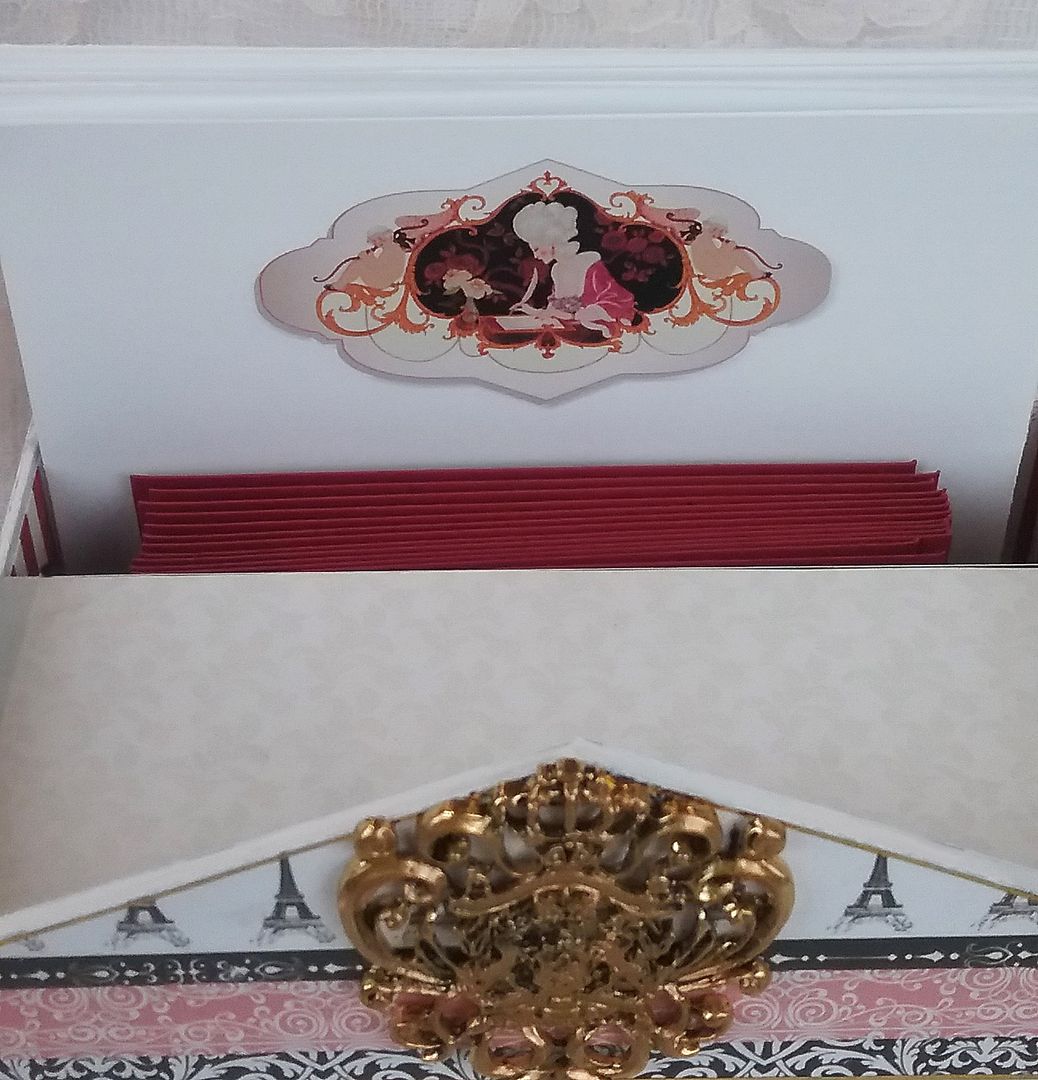
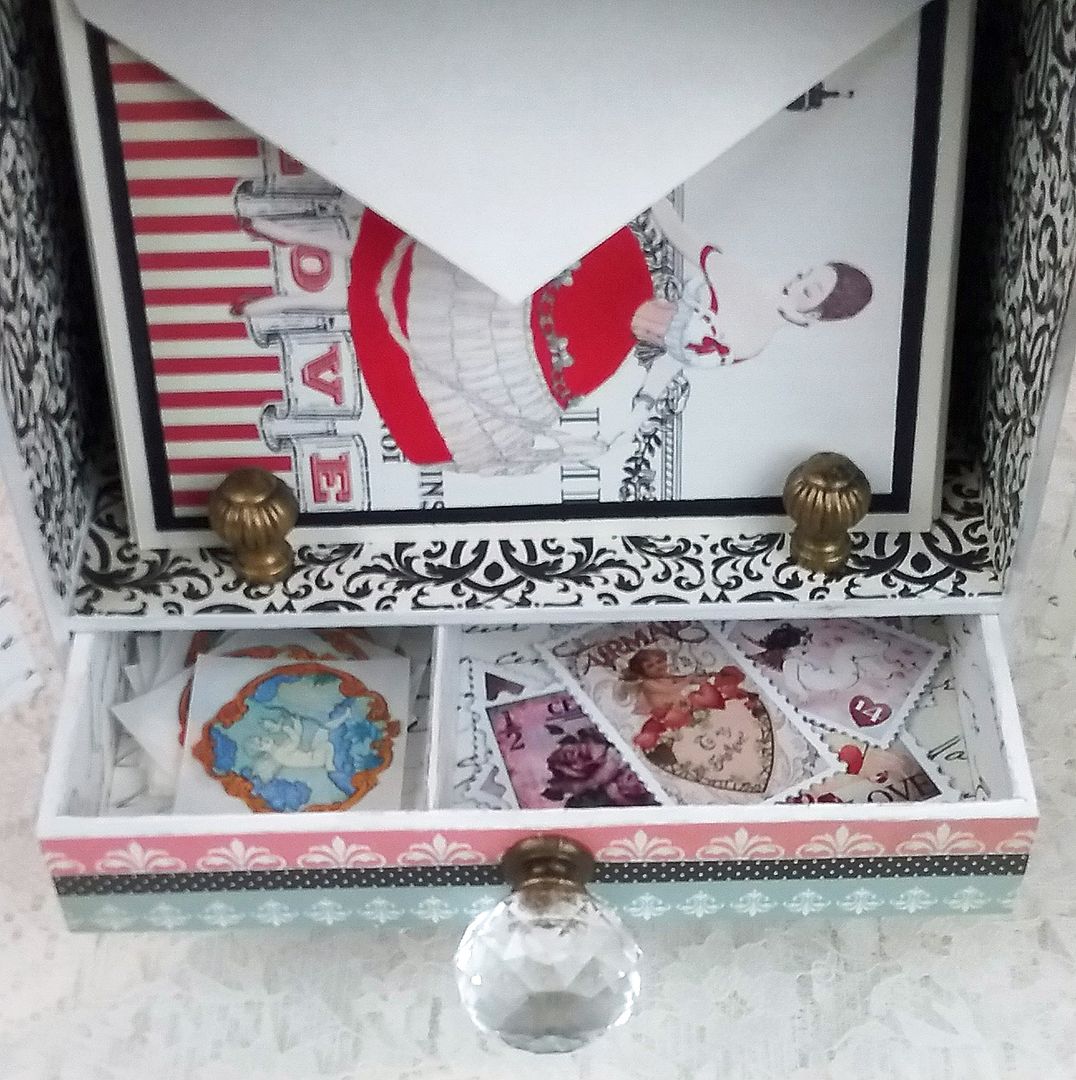
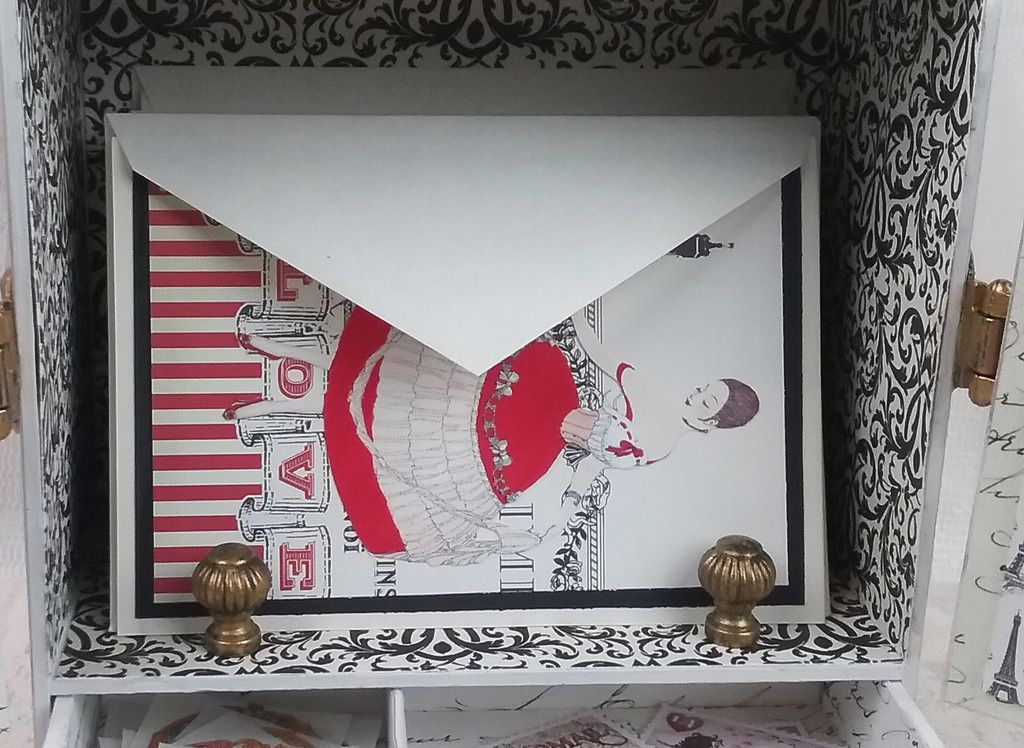
I’ve filled the cabinet with custom paper, envelopes, handmade cards, gift tags, envelope seals, and faux postage stamps.  You could also add real postage, address labels, and a pretty pen.
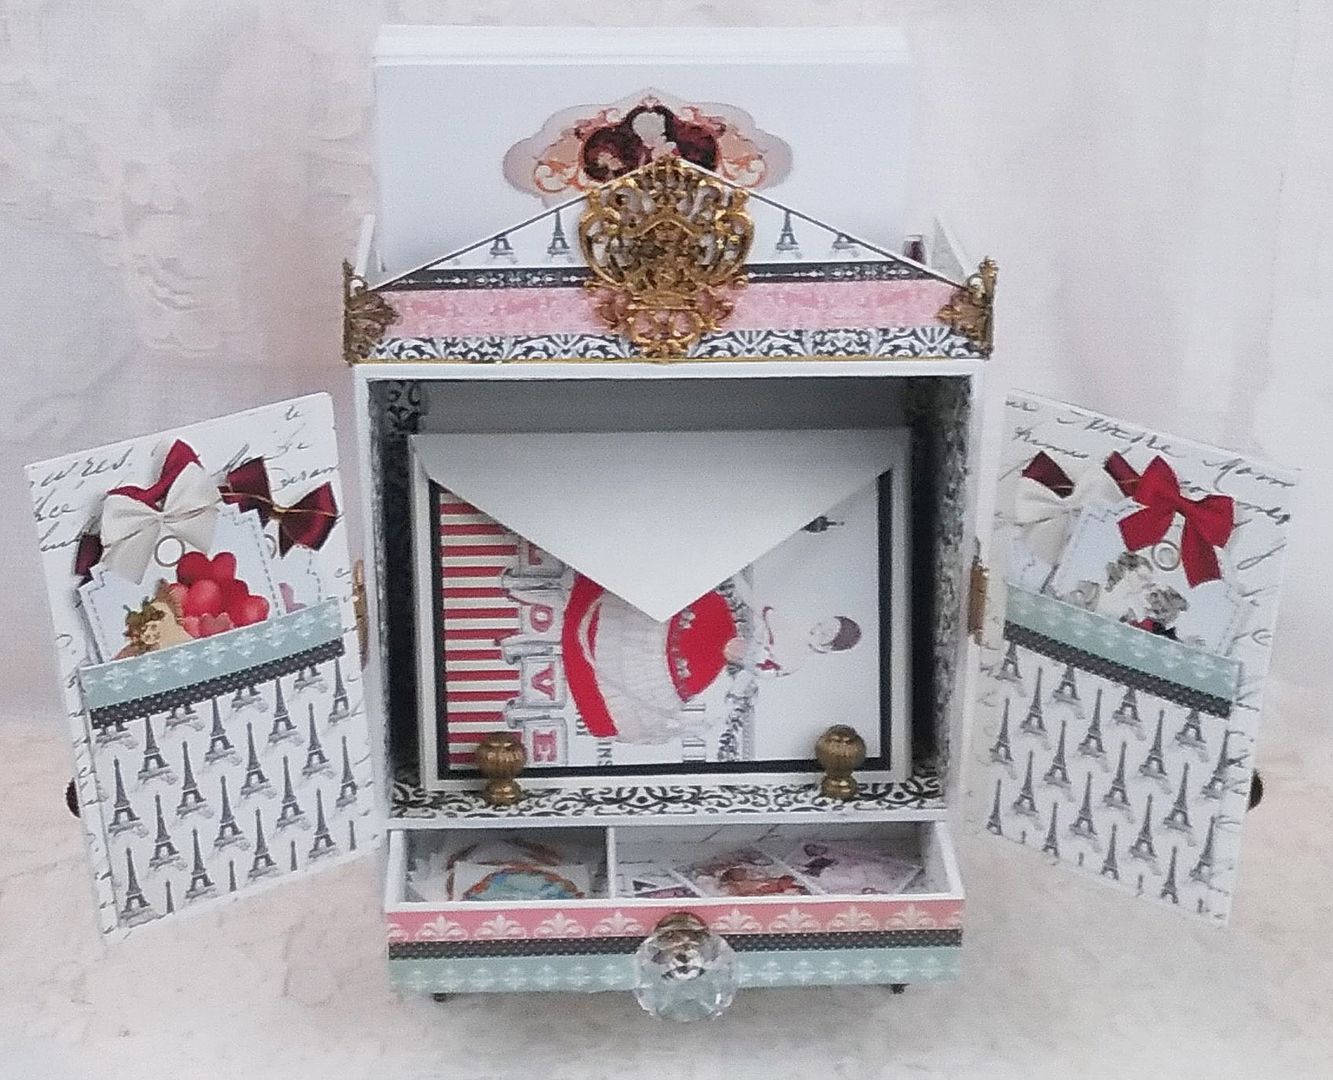
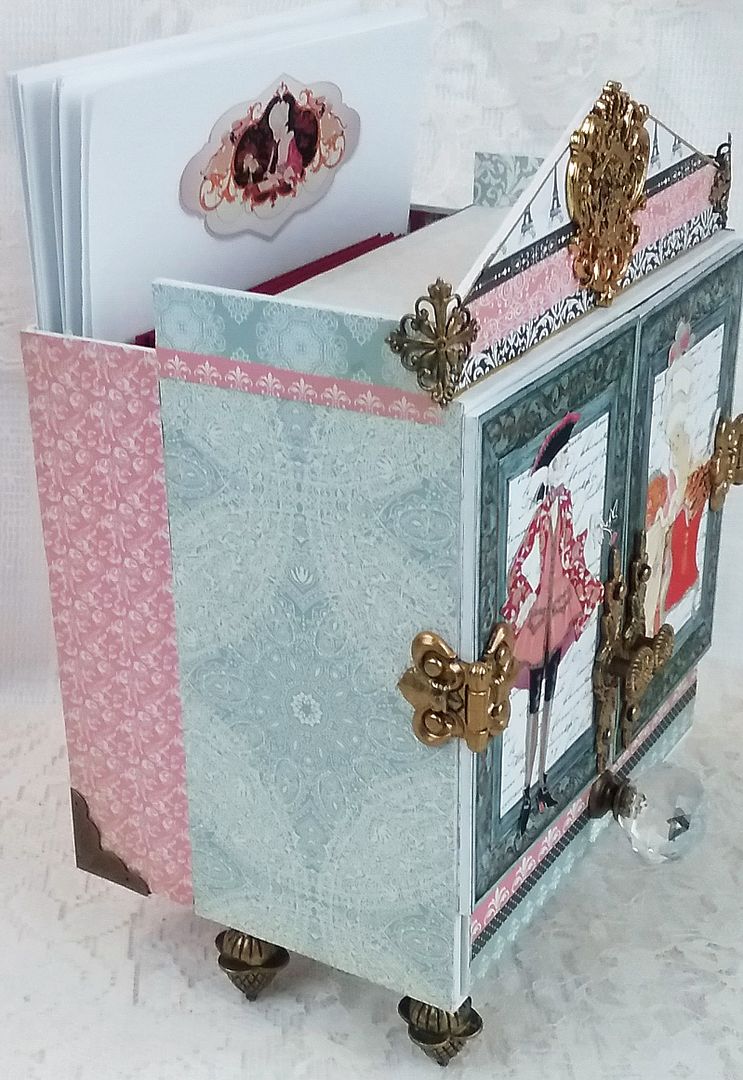
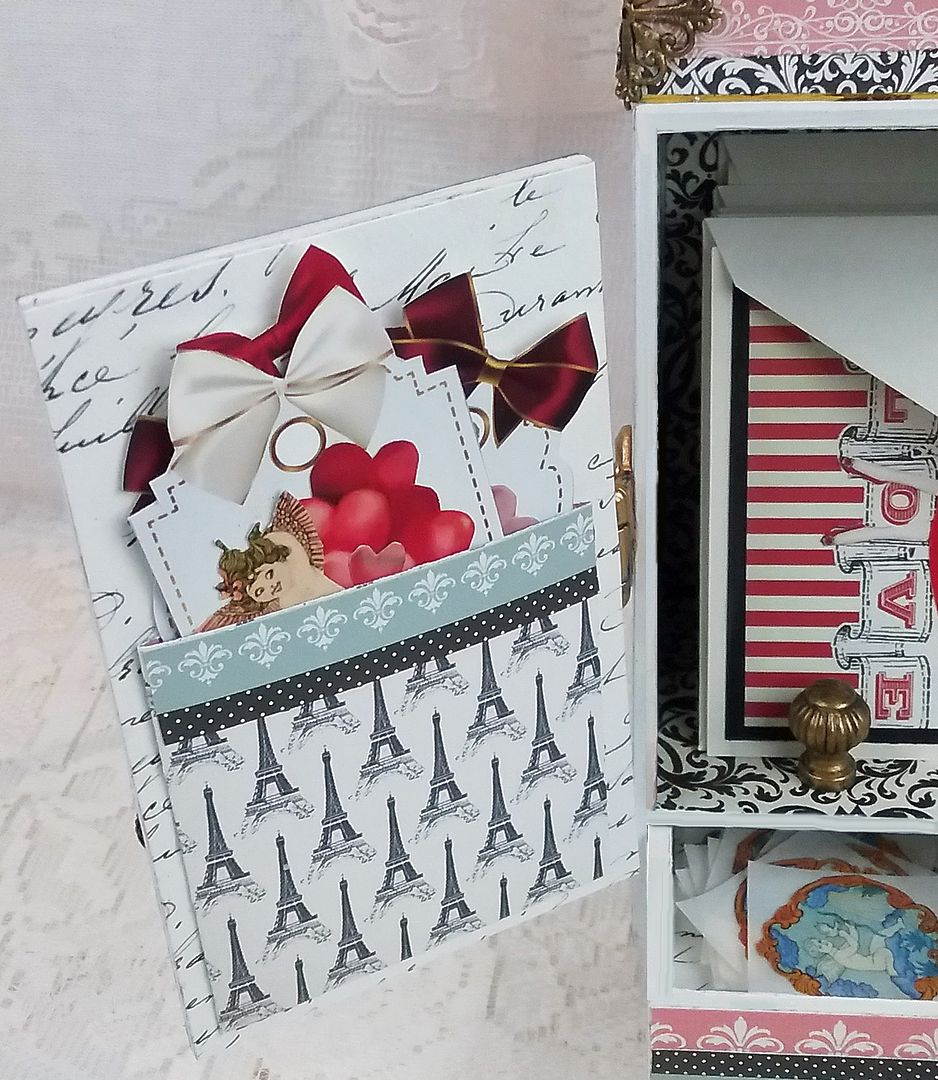
I added a bin to the back and pockets inside the doors to expand the storage space.  I used the bin to store the custom stationery and envelopes.  The pockets inside the doors were perfect for storing gift tags.
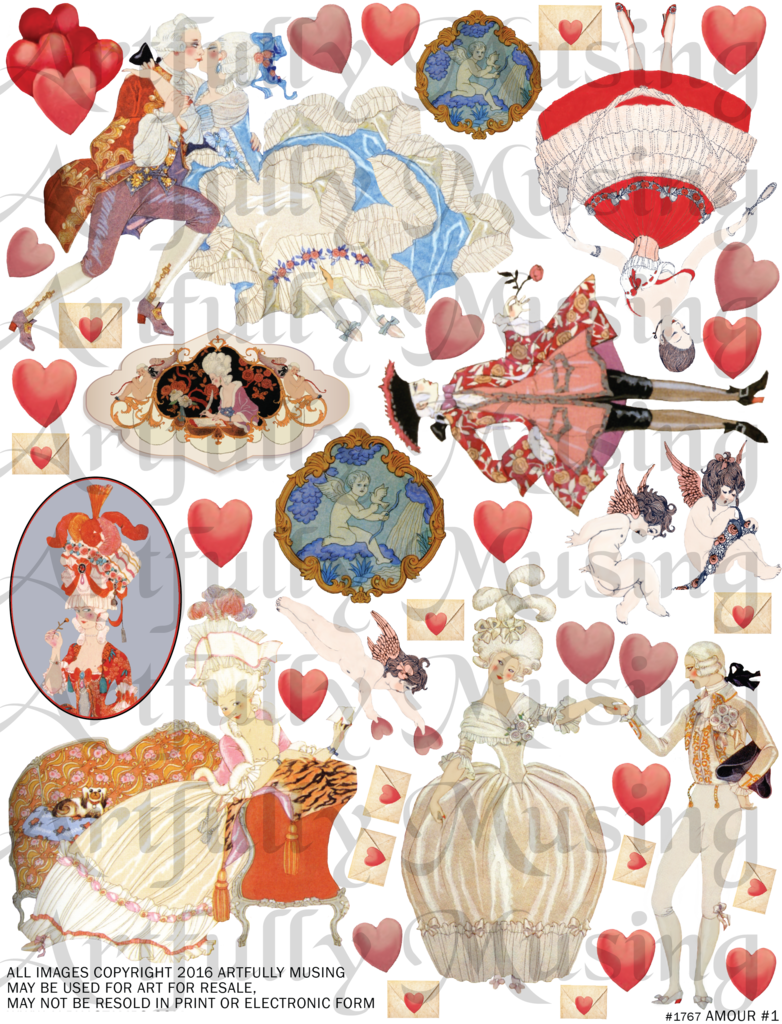
The seals are made using an image from the Amour #1 Collage SheetAfter cutting out the image, I ran it through my Xyron machine to turn it into a sticker.  You could also use the hearts on the collage sheet to make additional seals.
The gift tags are a combination of the new images and the Tag collage sheet. You'll find this FREE SHEET at the bottom of this post. 
The custom stationery was made by printing one of the panel images from the new sheets onto paper.  Another option would be to cut the image out and glue it to the paper.

This sheet is packed with romantic Rococo period images.  Couples, women, men, cupids, and other complementary embellishments are included.
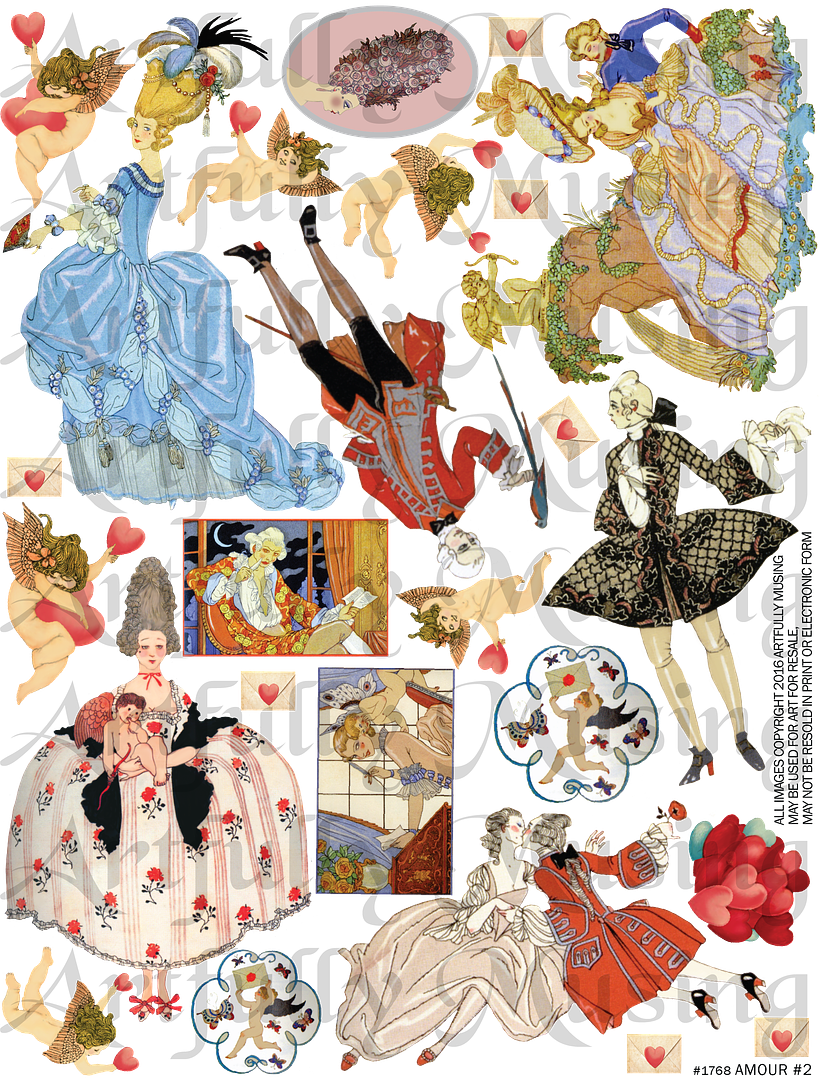
Just as with the Amour #1 collage sheet, this sheet is packed with more romantic Rococo period images.  Included are couples, women, men, cupids
 and other complementary embellishments.

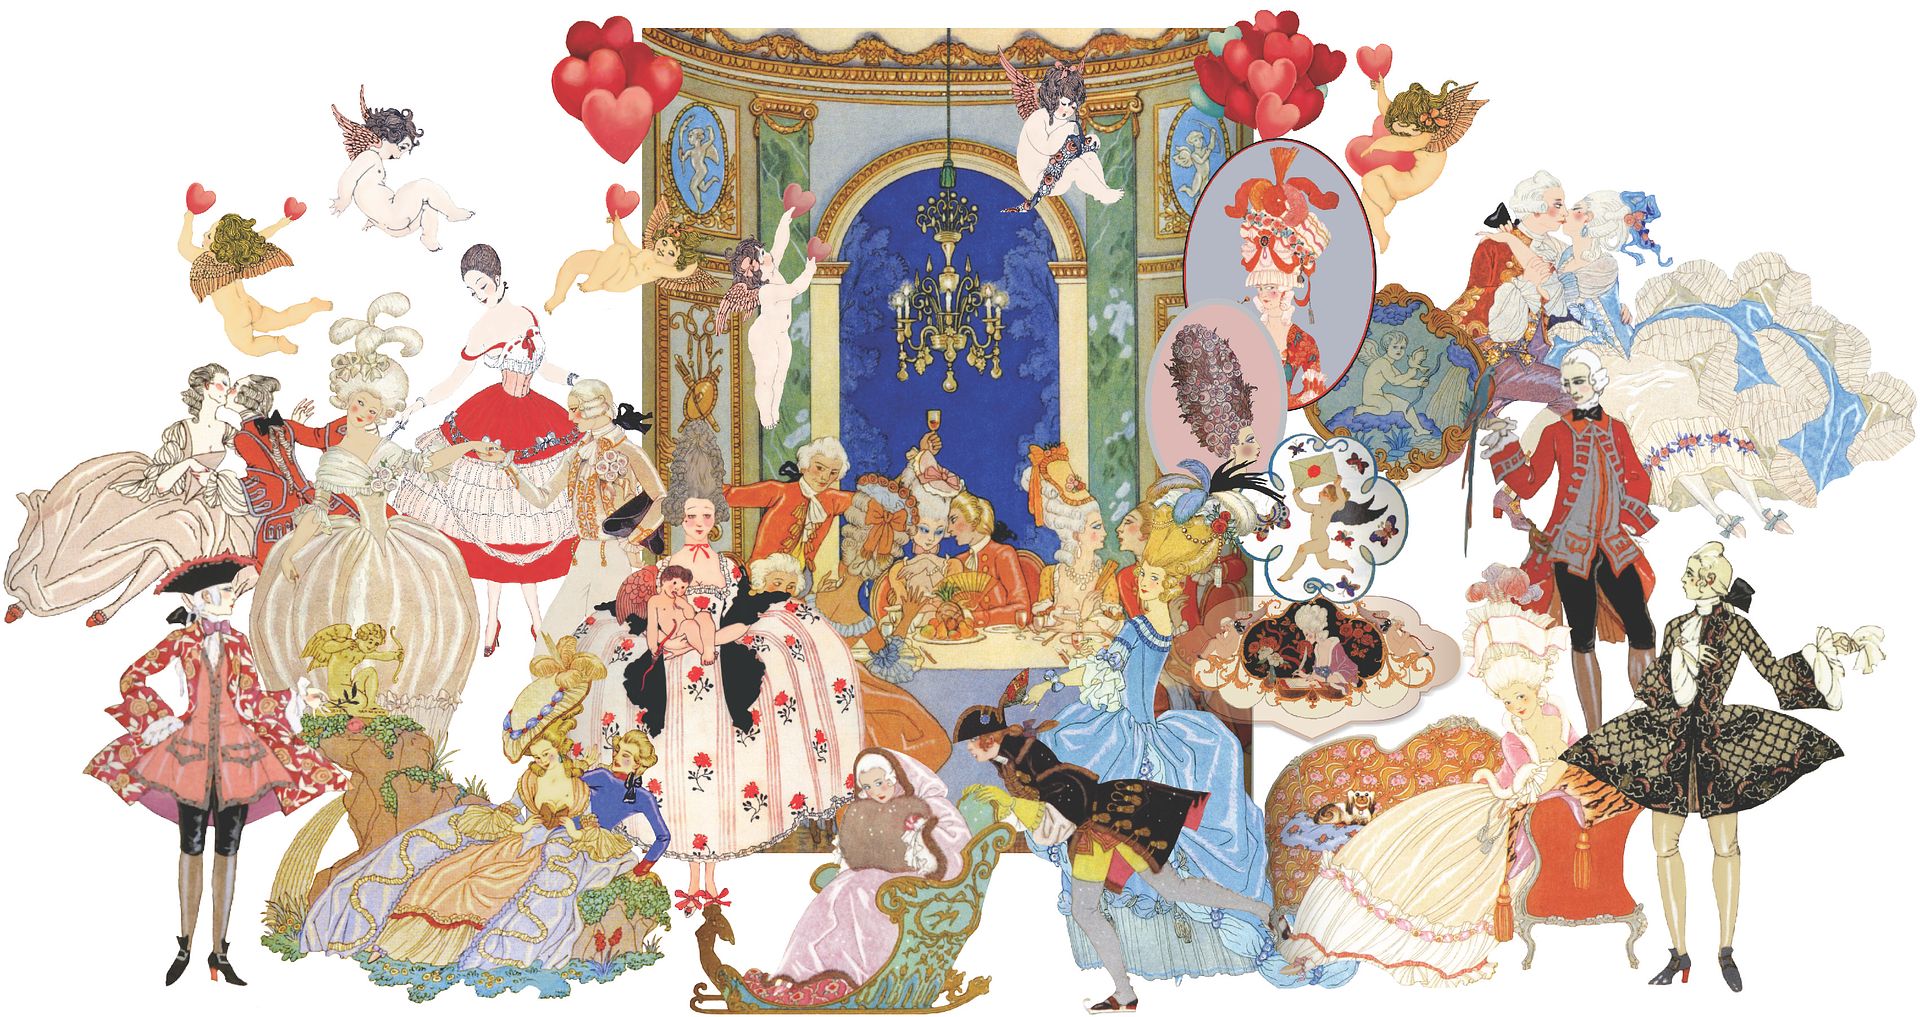
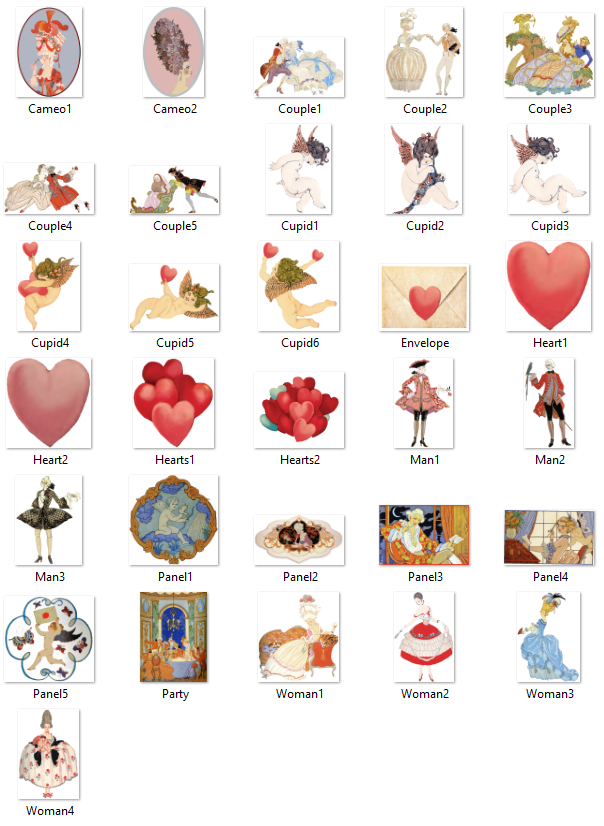
This romantic Rococo period set includes all of the images from the Amour #1 and the Amour #2 collage sheet, plus a few extra images.  Included are: 2 Cameos, 5 Couples, 4 Women, 3 Men, 6 Cupids, 5 Panels, 4 Hearts, a Party Scene, and an envelope for a total of 31 images. 
All of the images in the set can be re-sized for your project as they are high-resolution (300dpi) PNG formatted images.


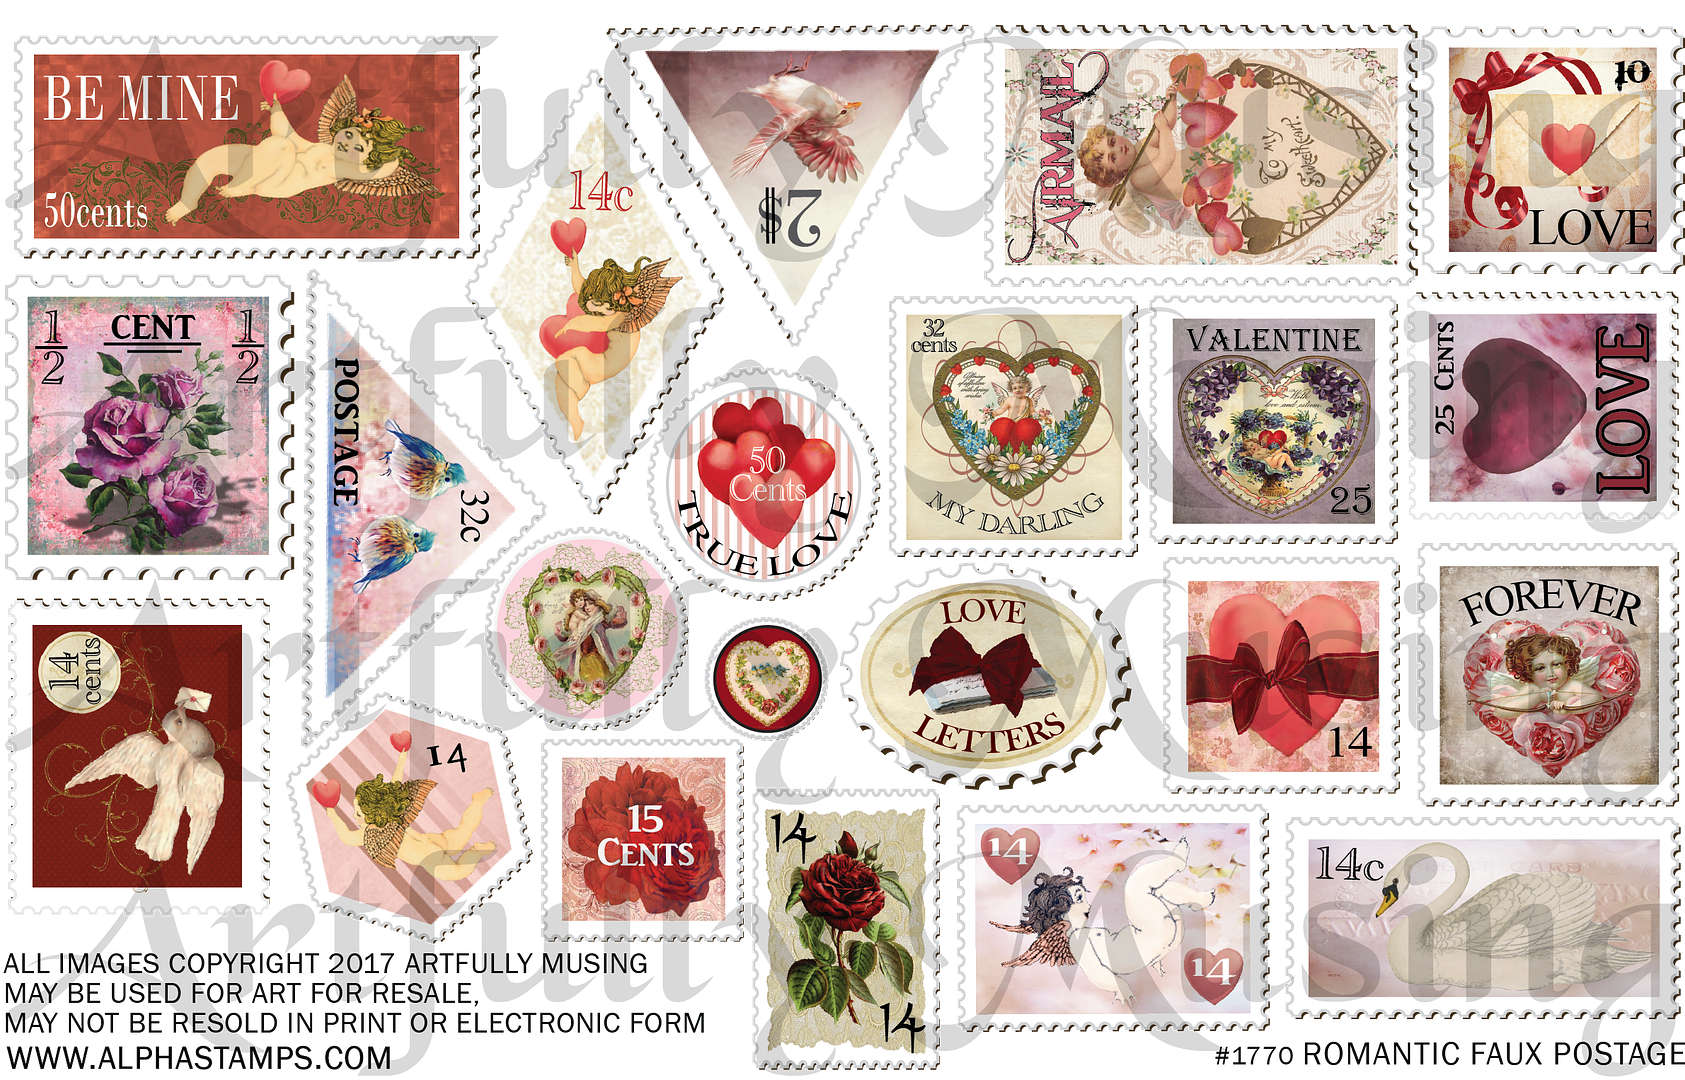
This sheet has 23 faux stamps.


THE DETAILS
THE CABINET

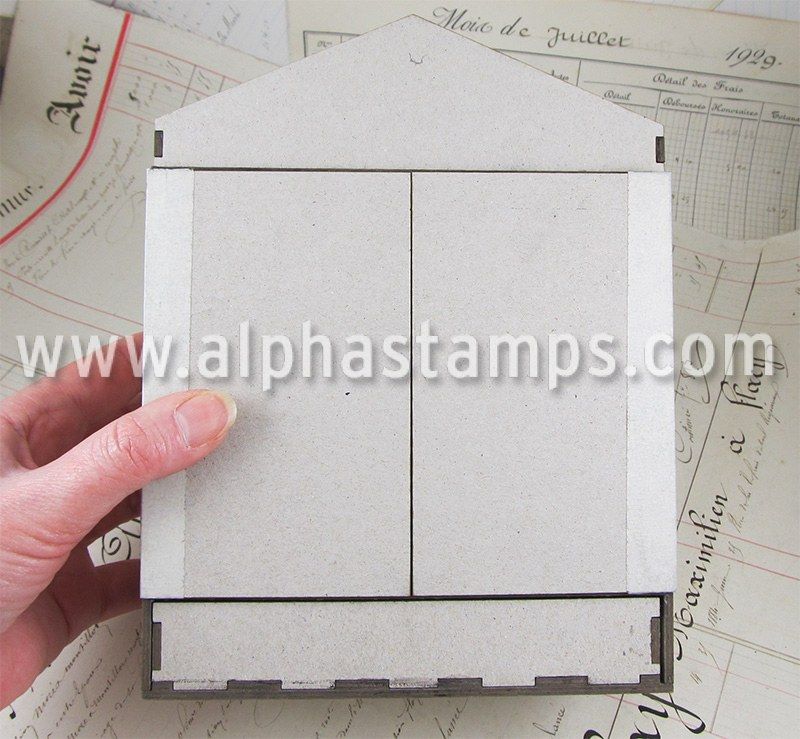
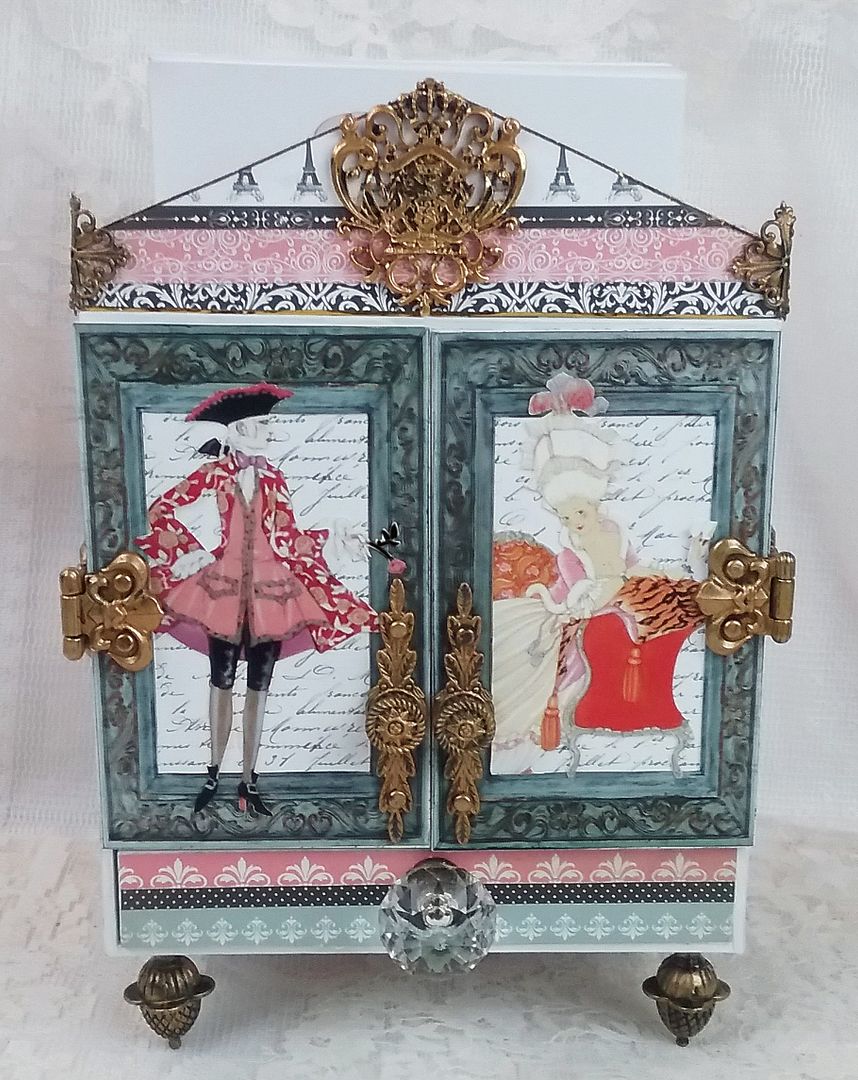
I started by assembling the main cabinet, pediment, and drawer.  I painted all of the edges inside and out white.  I then covered all of the surfaces with the Amour papers, with the exception of the inside of the doors and the inside side panels.  I left these areas uncovered until after I added the hinges and handles so that I could hide the prongs on the brads, which are used to attach the hardware.
THE BIN
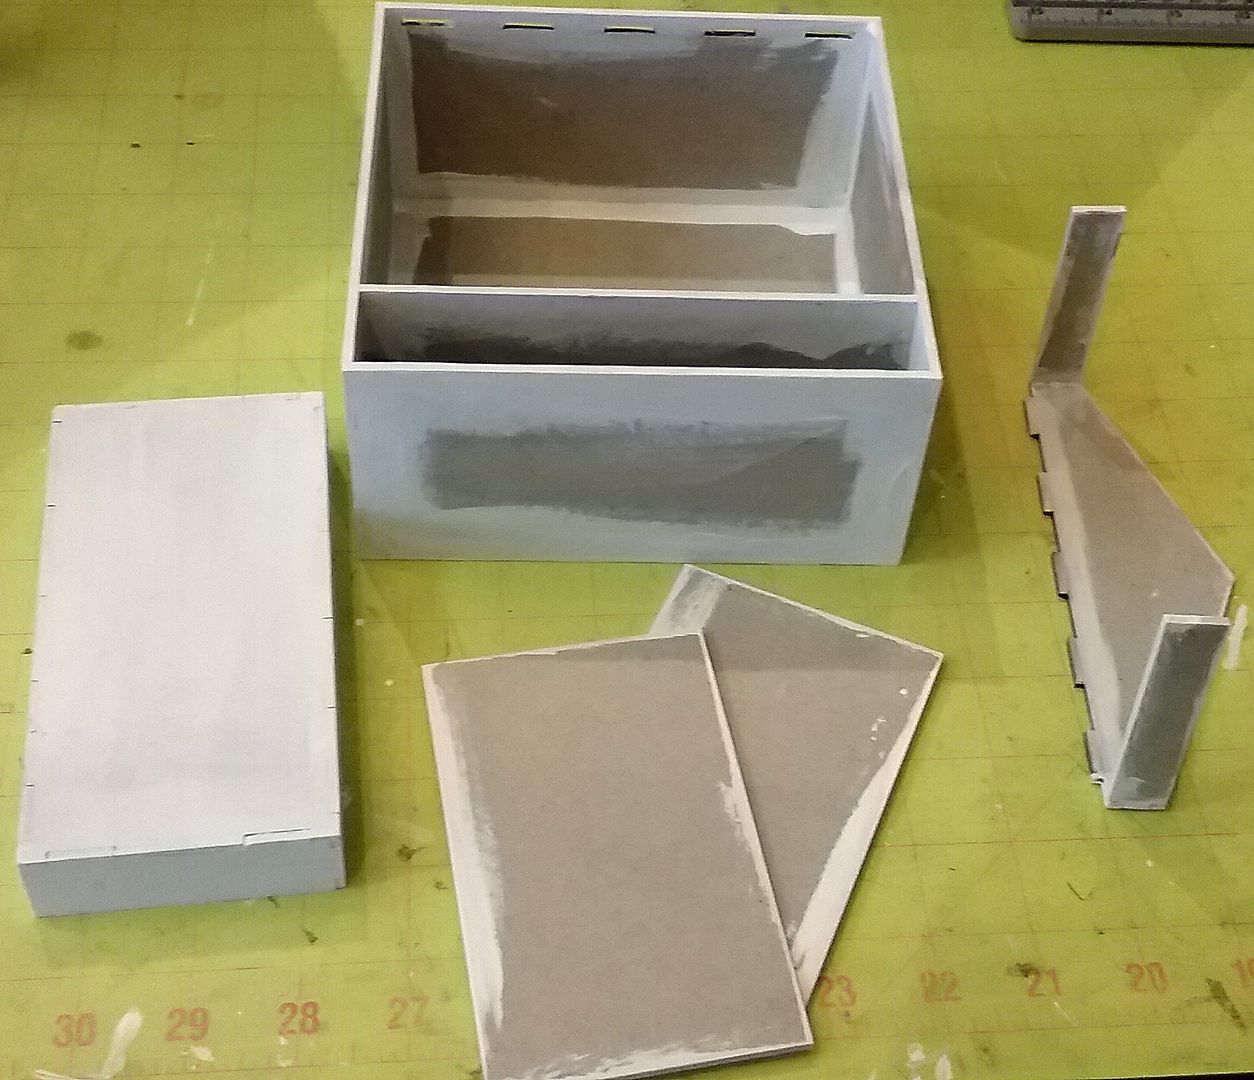
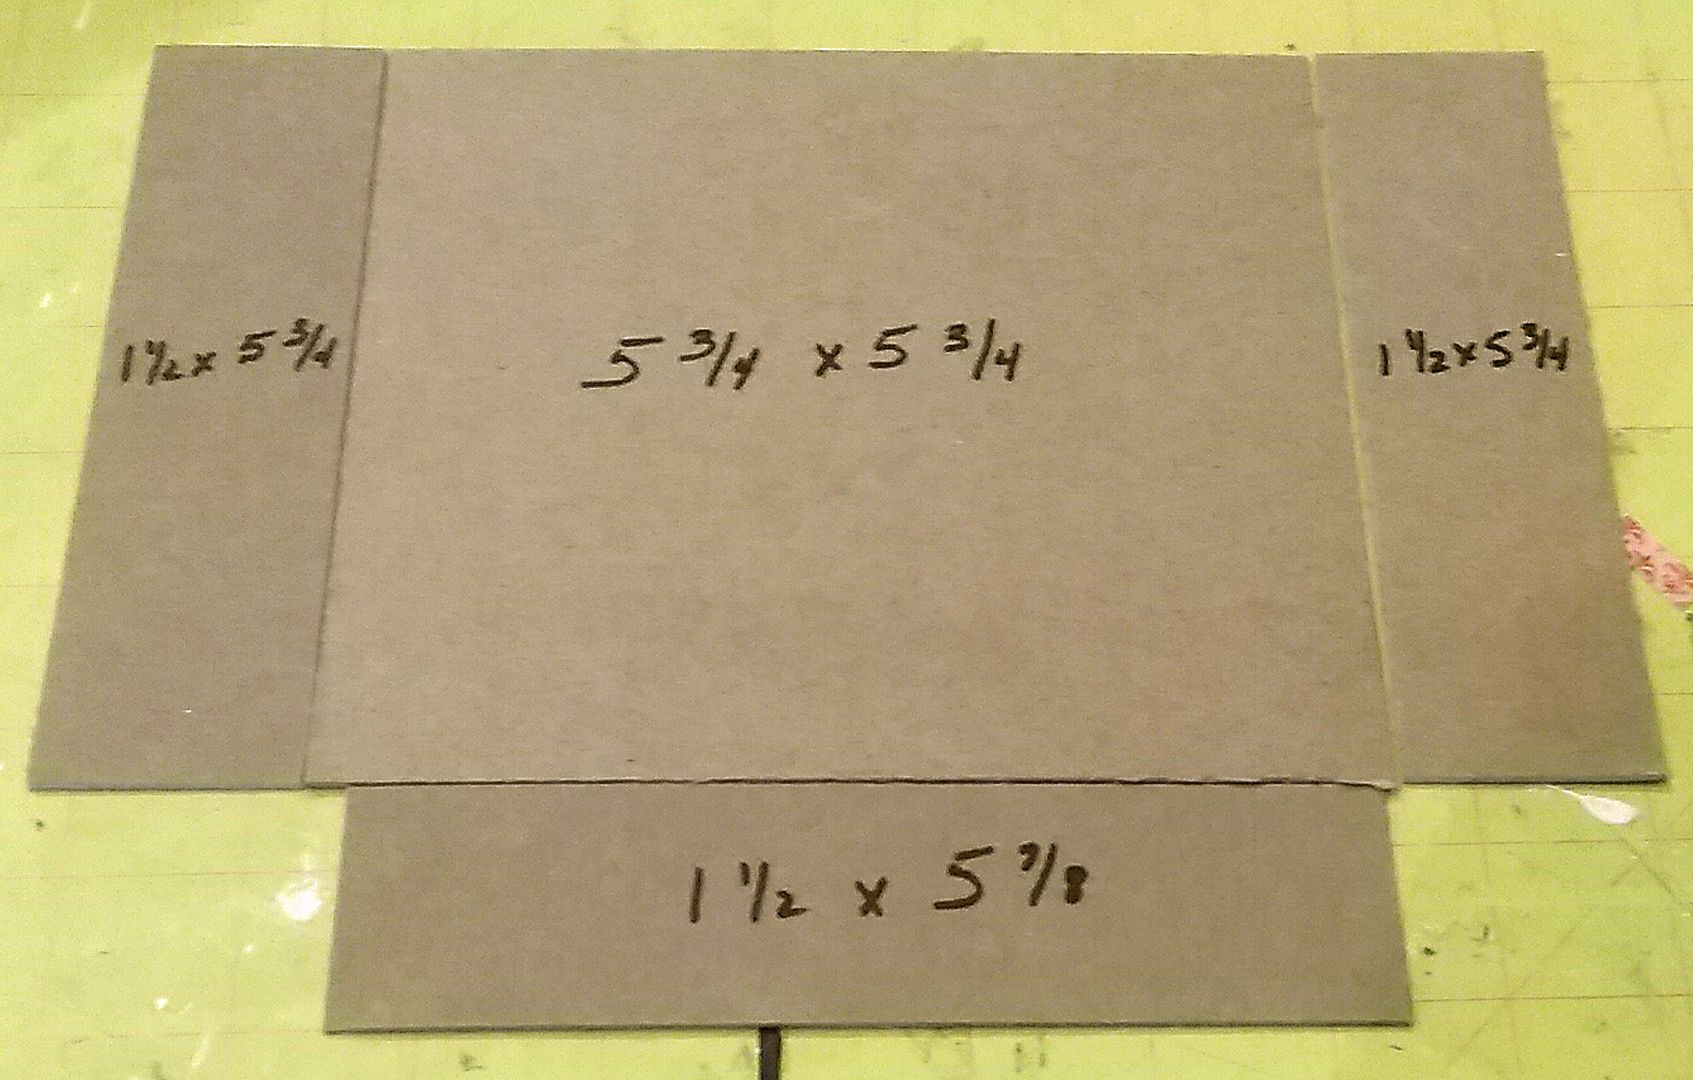
To make the bin that is attached to the back of the cabinet, I cut 4 pieces of heavy chipboard and glued them together.  You can see the measurements of each piece in the picture below.  The bottom piece is slightly longer as the total width is longer when you attach the side pieces to the back.

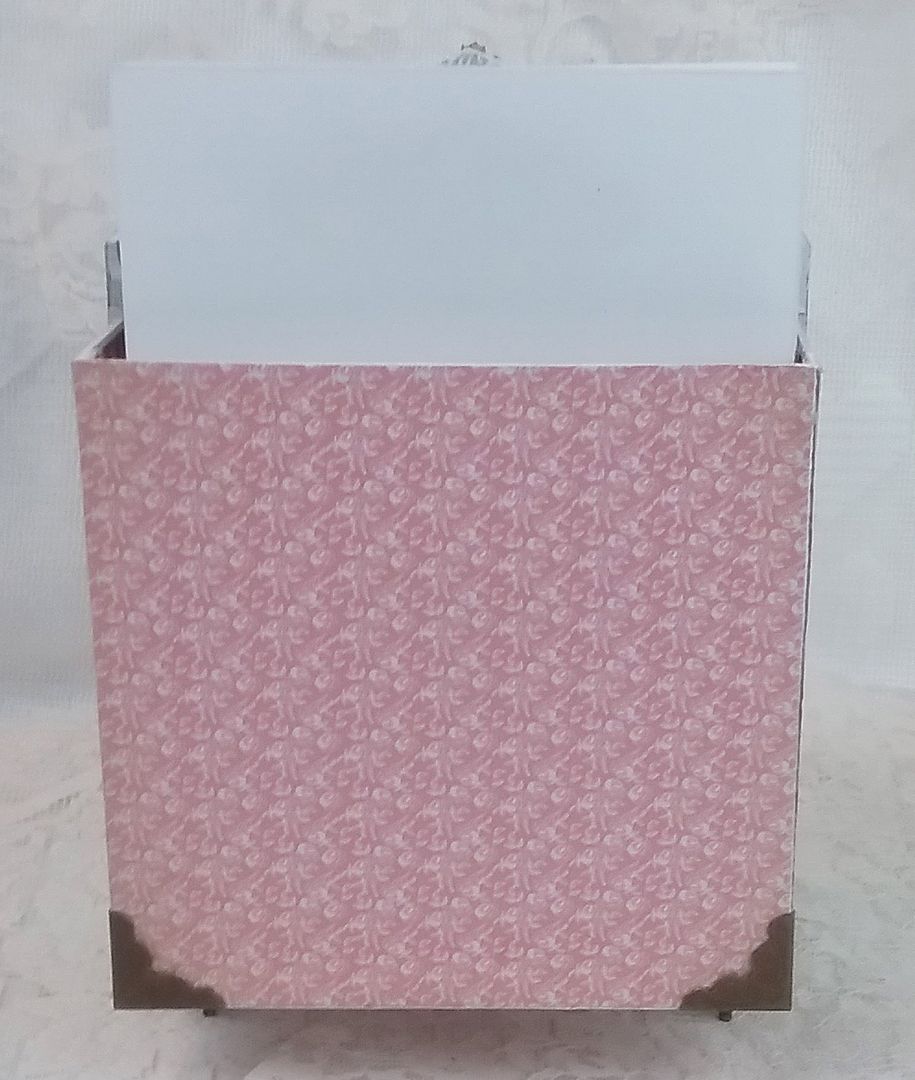
I then covered the bin with paper and attached embossed metal box corners for decoration and support.

The bin is then glued to the back of the cabinet using E6000 glue.
You could add bins to the sides if you need more storage space.
CARD STORAGE
The handmade cards are stored in the main area of the cabinet.  I added two metal drawer pulls to keep the cards from falling out.
THE PEDIMENT
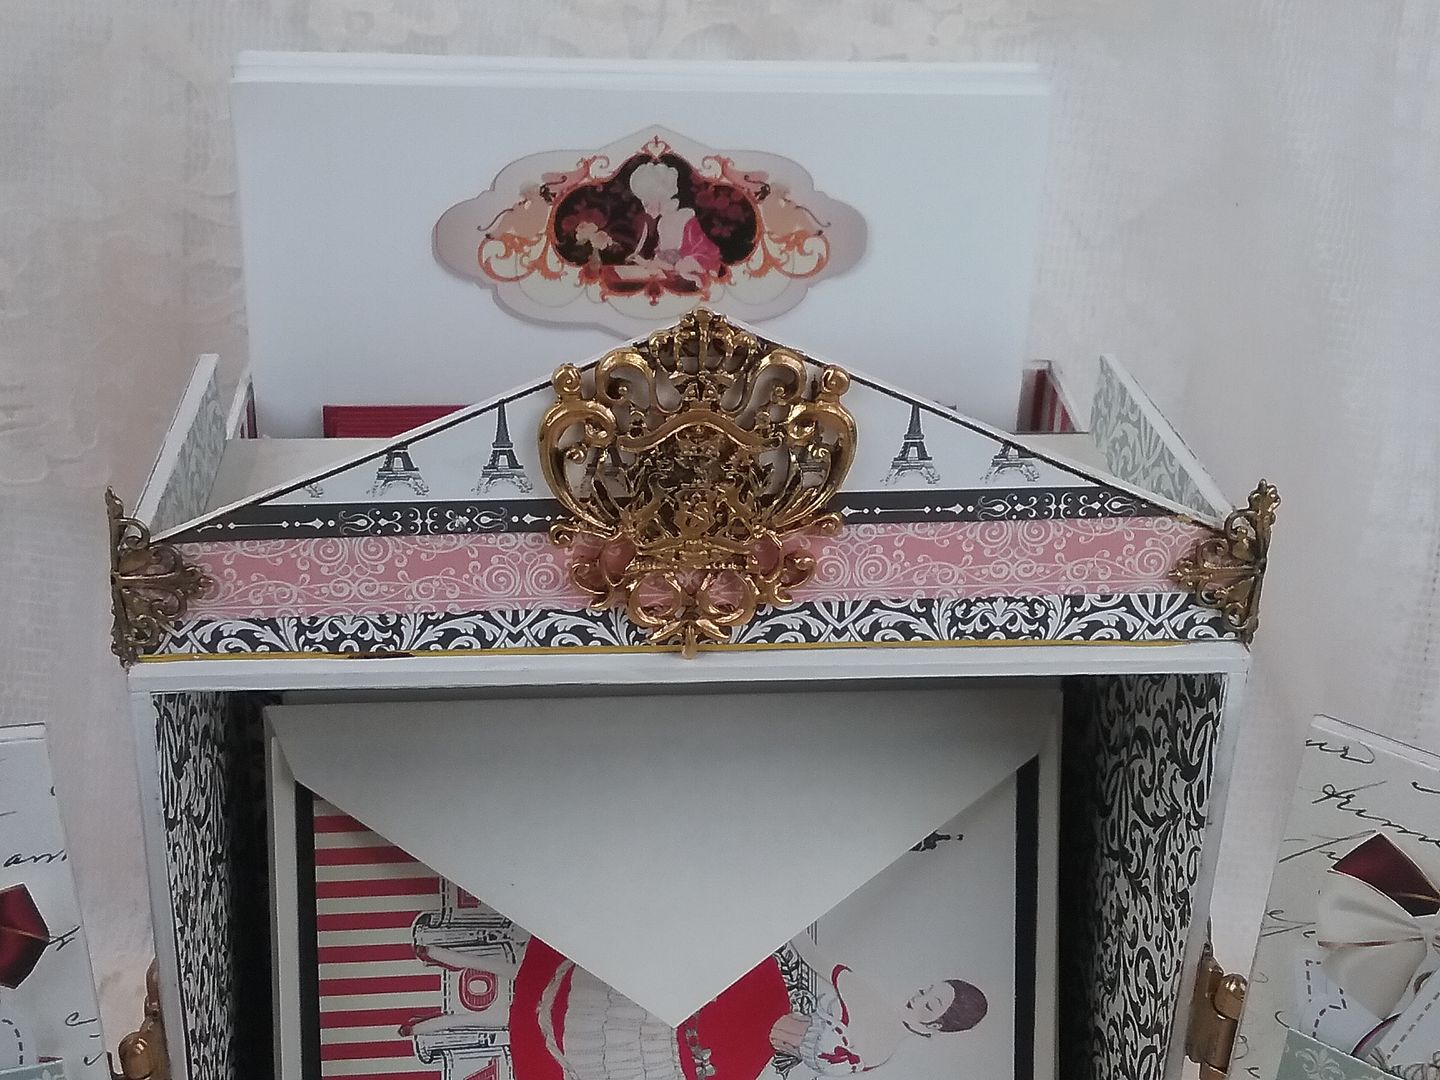
To dress up the pediment, I added a filigree crest and filigree squares which I bent and attached to the corners.  I trimmed the edges of the pediment with tiny gold line stripped tape.  So that all of the hardware I used in the project would match, I painted it with Metal Patina Paint.
DOORS
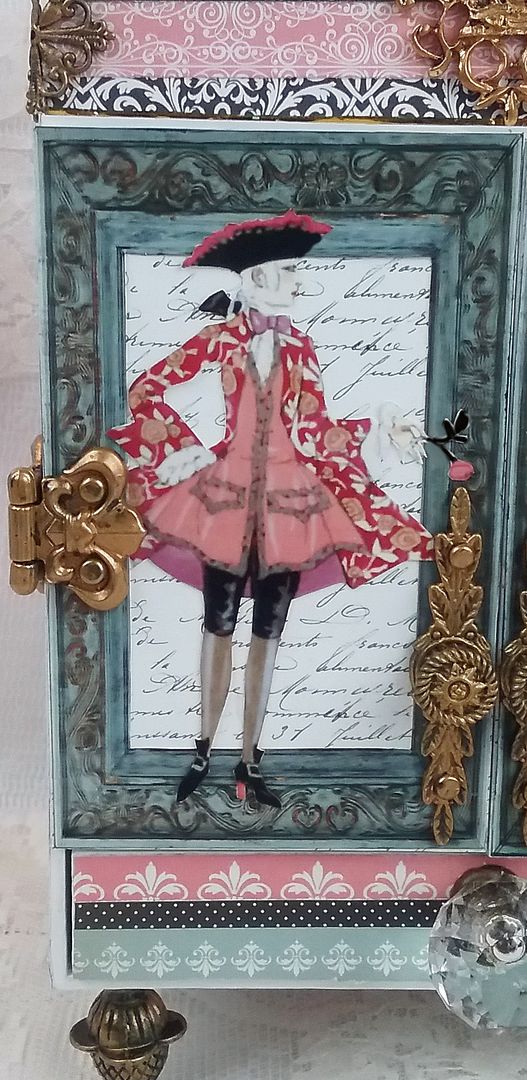
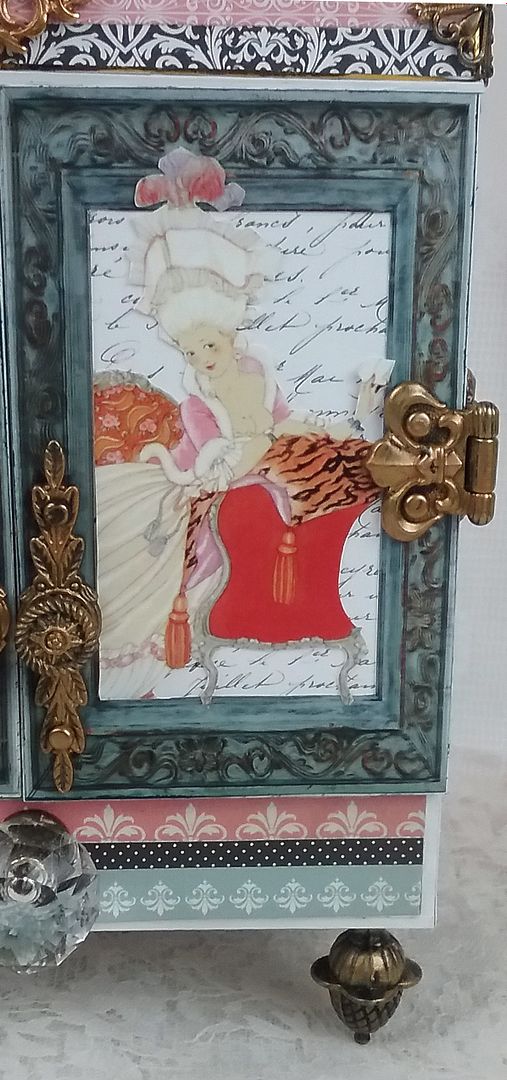
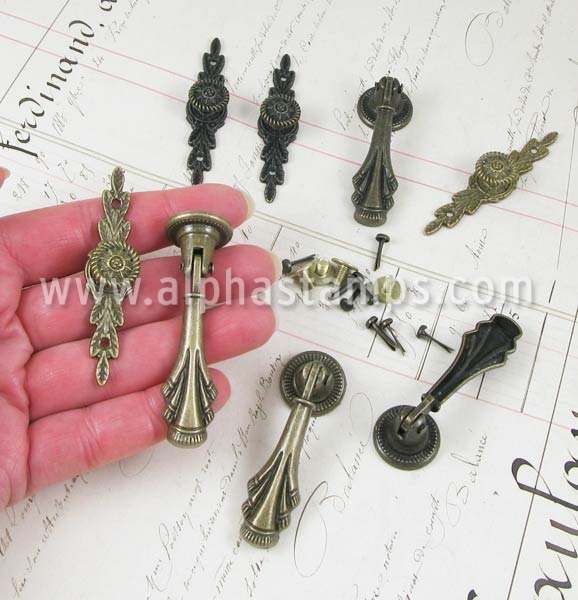
The frames around the doors are from my Vintage Frames digital set.  I attached the doors using brads which fit through the holes on the hinges.  The handles are from the set pictured below.

THE POCKETS
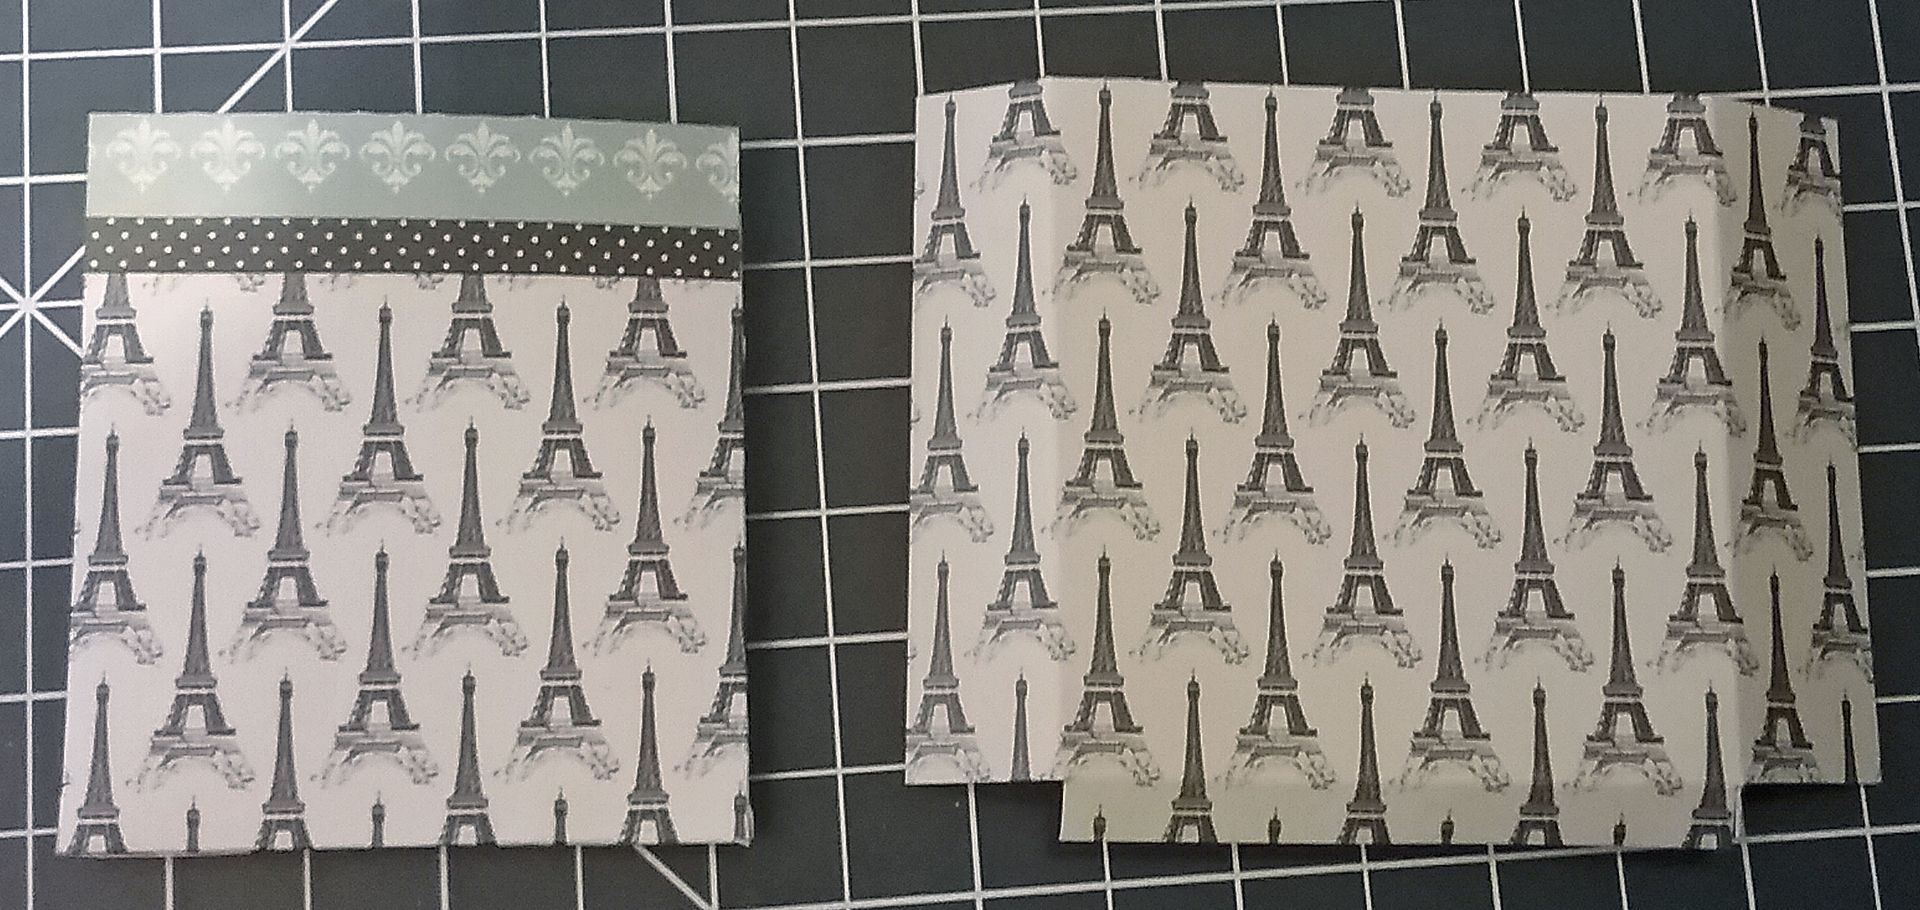
I used some of the Amour paper to create pockets to store the tags.  In the picture below, you can see how I cut the paper for the pockets.
THE DRAWER & FEET
TIP: I rubbed Anne Sloan Soft Furniture Wax on the sides and bottom of the drawer to protect the paint when sliding the drawer in and out. I used a piece of chipboard to divide the drawer into sections for the envelope seals and the faux postage.  I did not paper the drawer's sides, back, and bottom (I used paint for these areas).

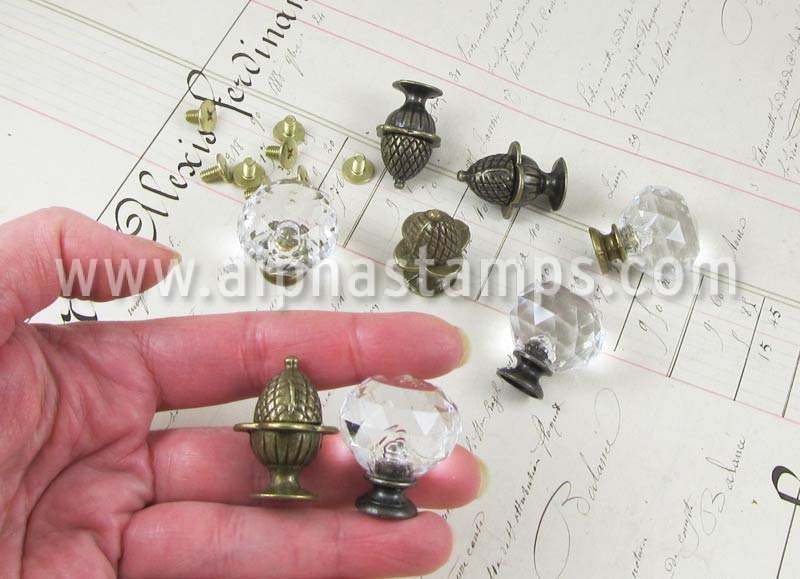
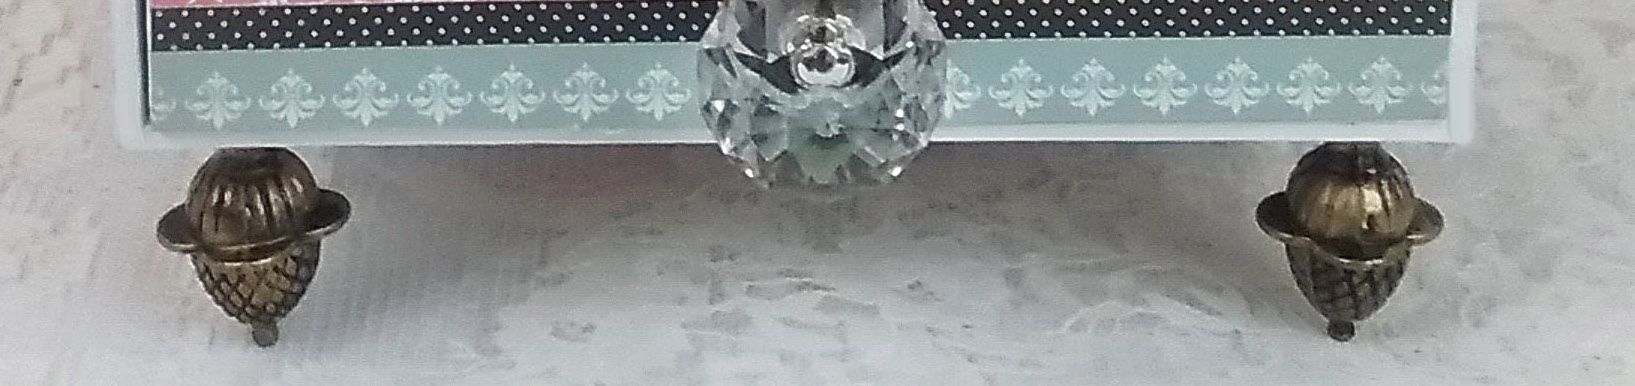
The crystal knob is from a set of antique knobs pictured below.  I also used knobs from this set as feet for the cabinet.


DETAIL SUPPLY LIST
COLLAGE SHEETS / DIGI SETS

PAPER & CHIPBOARD
Amour 6x6 Paper Pad
Amour Border Strips Scrapbook Paper
Amour Tender Hearted Scrapbook Paper
House Shrine with Doors - Medium

HARDWARE
Orleans Antique Knobs Set
Chambery Antique Drawers Pulls Set
Hinges with Brads
Crowned Crest Filigree - Gold
Embossed Metal Box Corners
19mm Fancy Metal Drawer Pull or Box Feet
Antique Square Open Fleur Filigree

MISCELLANEOUS
Tiny Gold Line Stripe Tape
Metal Patinas – Treasured Heirloom

FREE GIFT TAGS COLLAGE SHEET - FEEL FREE TO DOWNLOAD