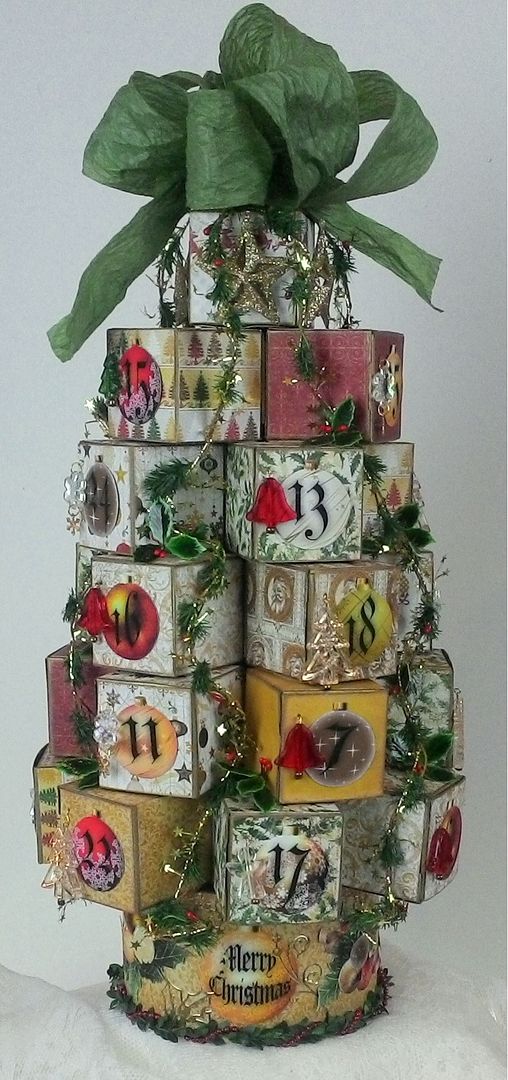
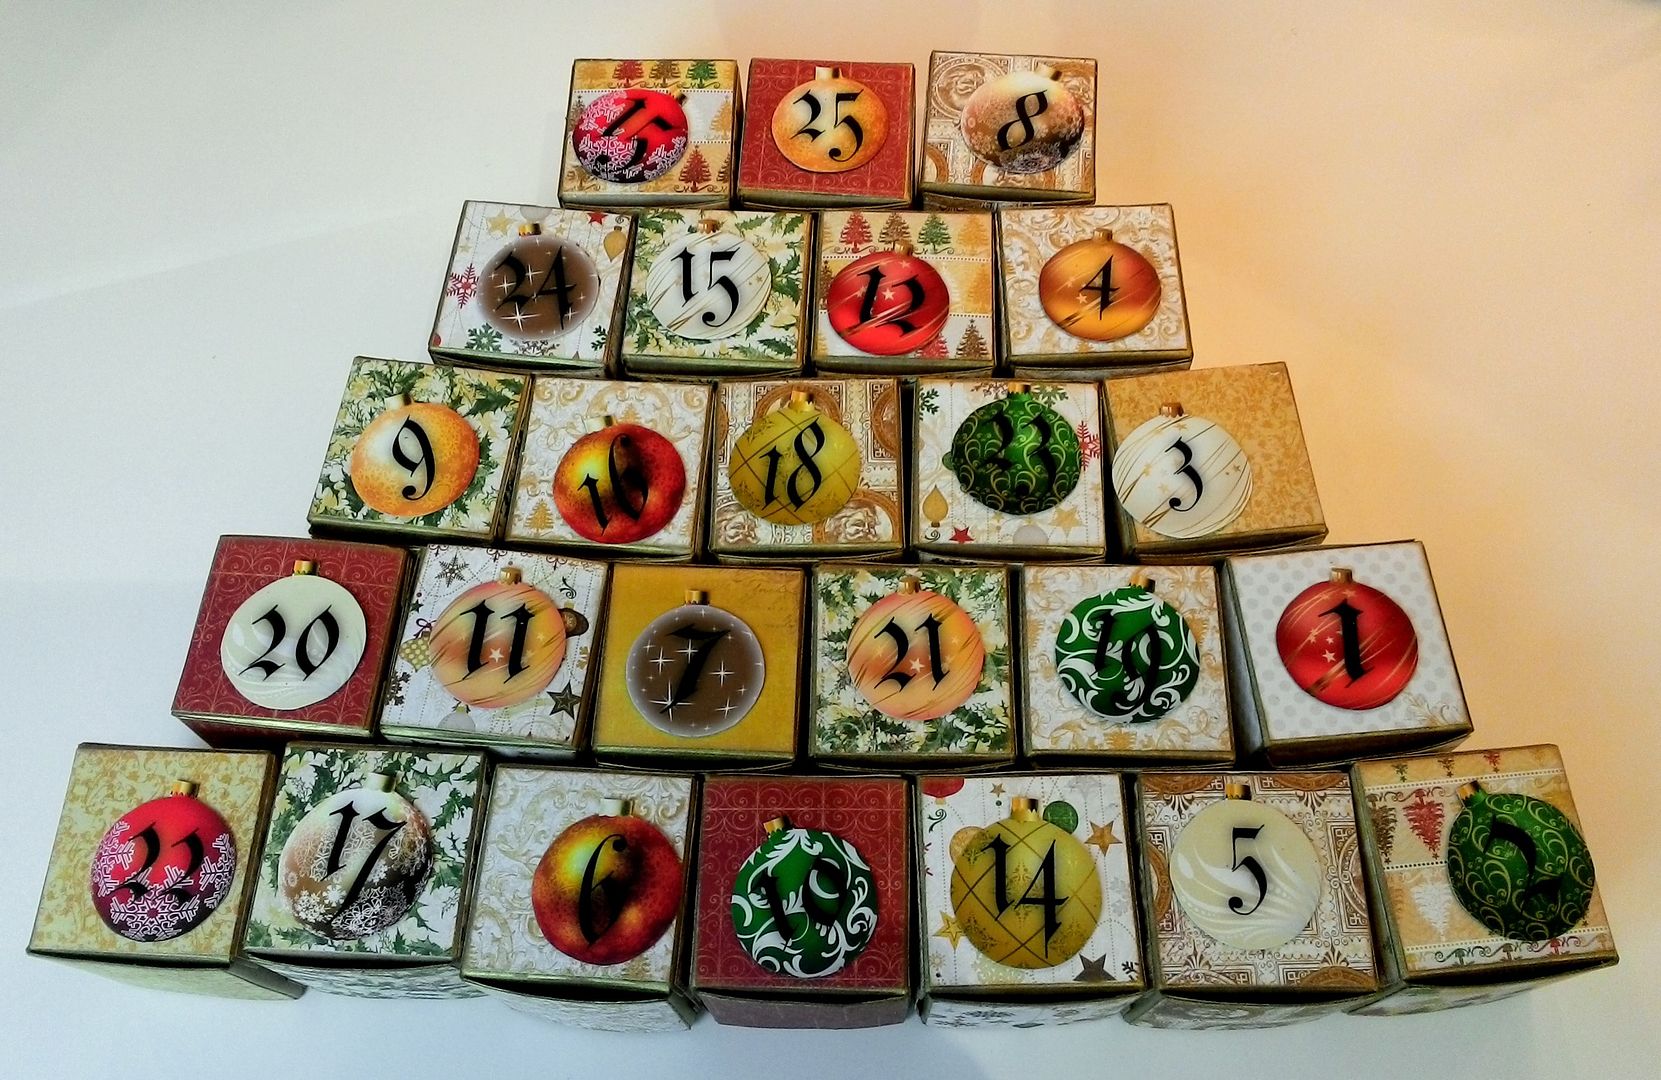
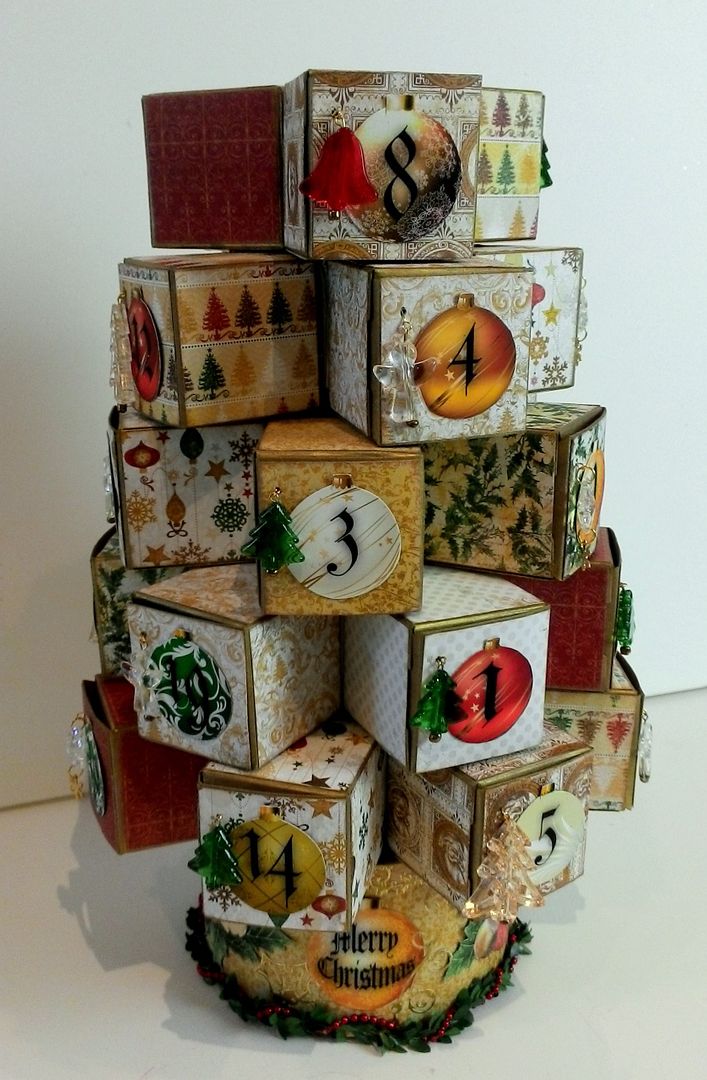
Just in time for this Christmas season is a fun, festive Christmas Tree Advent Calendar project. Last year I showed you how to make an Advent Calendar out of matchboxes, and this year it’s out of chipboard boxes. The boxes are a 2”x 2” cube, which gives you lots of space to fill them with goodies. The overall size of the calendar is 19” tall (with ribbon) and 9” wide.
THE BASE
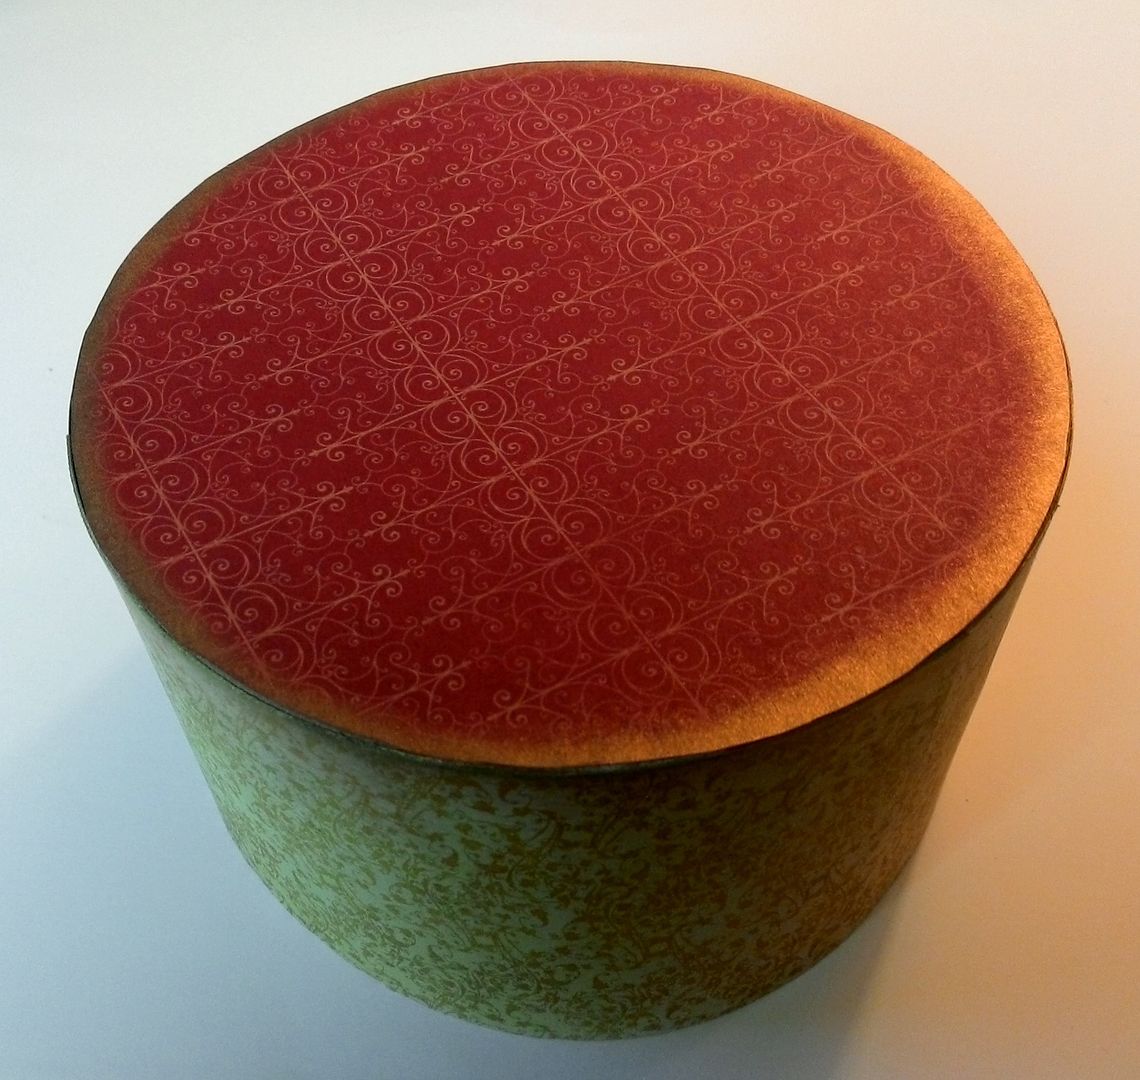
For the base, I used a paper Mache box. This comes from the same set of boxes you saw me use in the Halloween Carnival projects. The boxes come in sets of 3. I used the large one, which is 5 ½” x 3”.
Paint or ink the edges of the box. I used a gold stamp pad to ink the edges. You will be using only the bottom of the box and not the lid.
Cover the box with decorative paper. I used the Silver & Gold 6x6 Paper Pad. I also re-inked the edges after attaching the paper
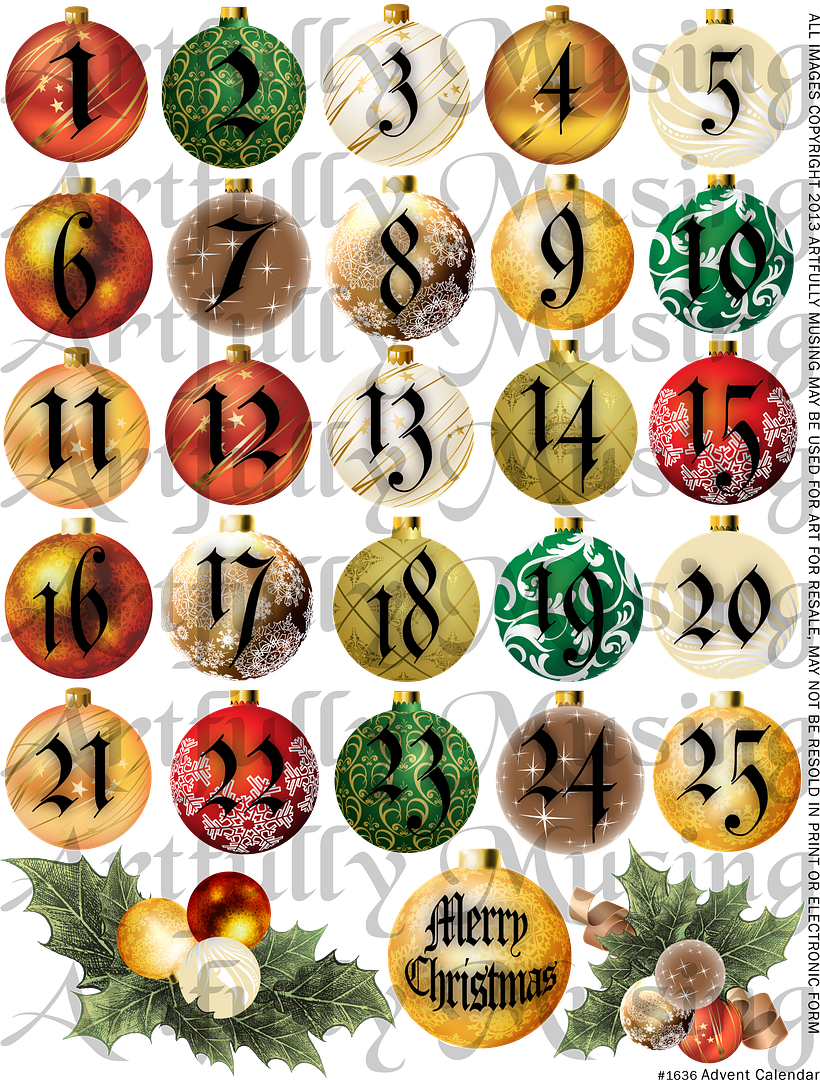
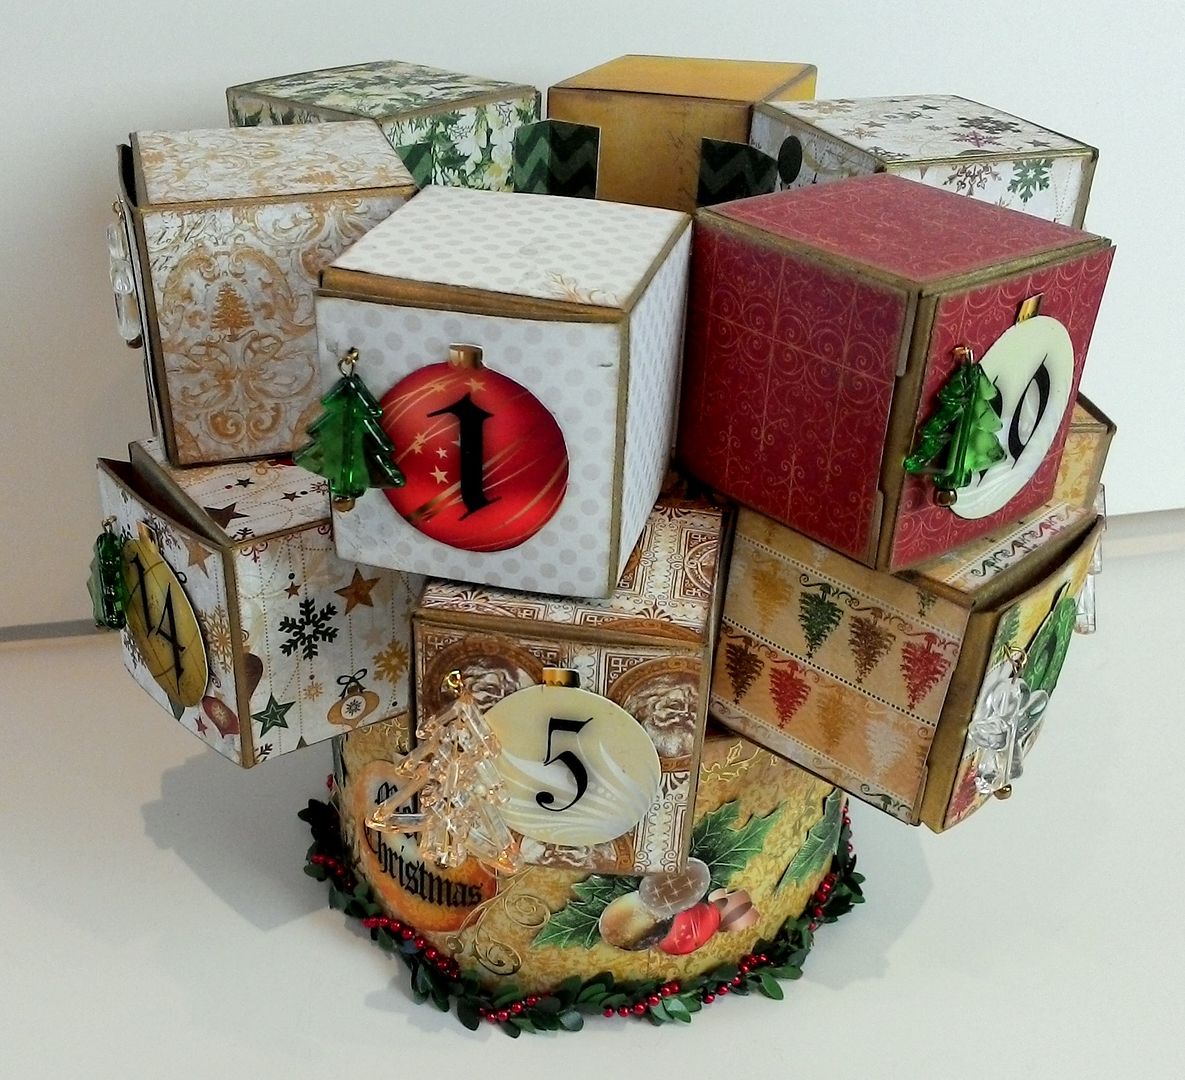
Embellish the sides of the box. I used images from the Advent Calendar Collage sheet to decorate the box. To make the Christmas ornaments look more dimensional, I added Glossy Accents. I used metallic stickers to bring in a touch of gold. Around the base of the box, I added Mini Pine & Berry Garland that I braided with Tiny Red Tree Garland. I used E6000 glue to attach the garland to the box. The pine garland is wired, so it was easy to braid with the red bead garland.
THE BOXES
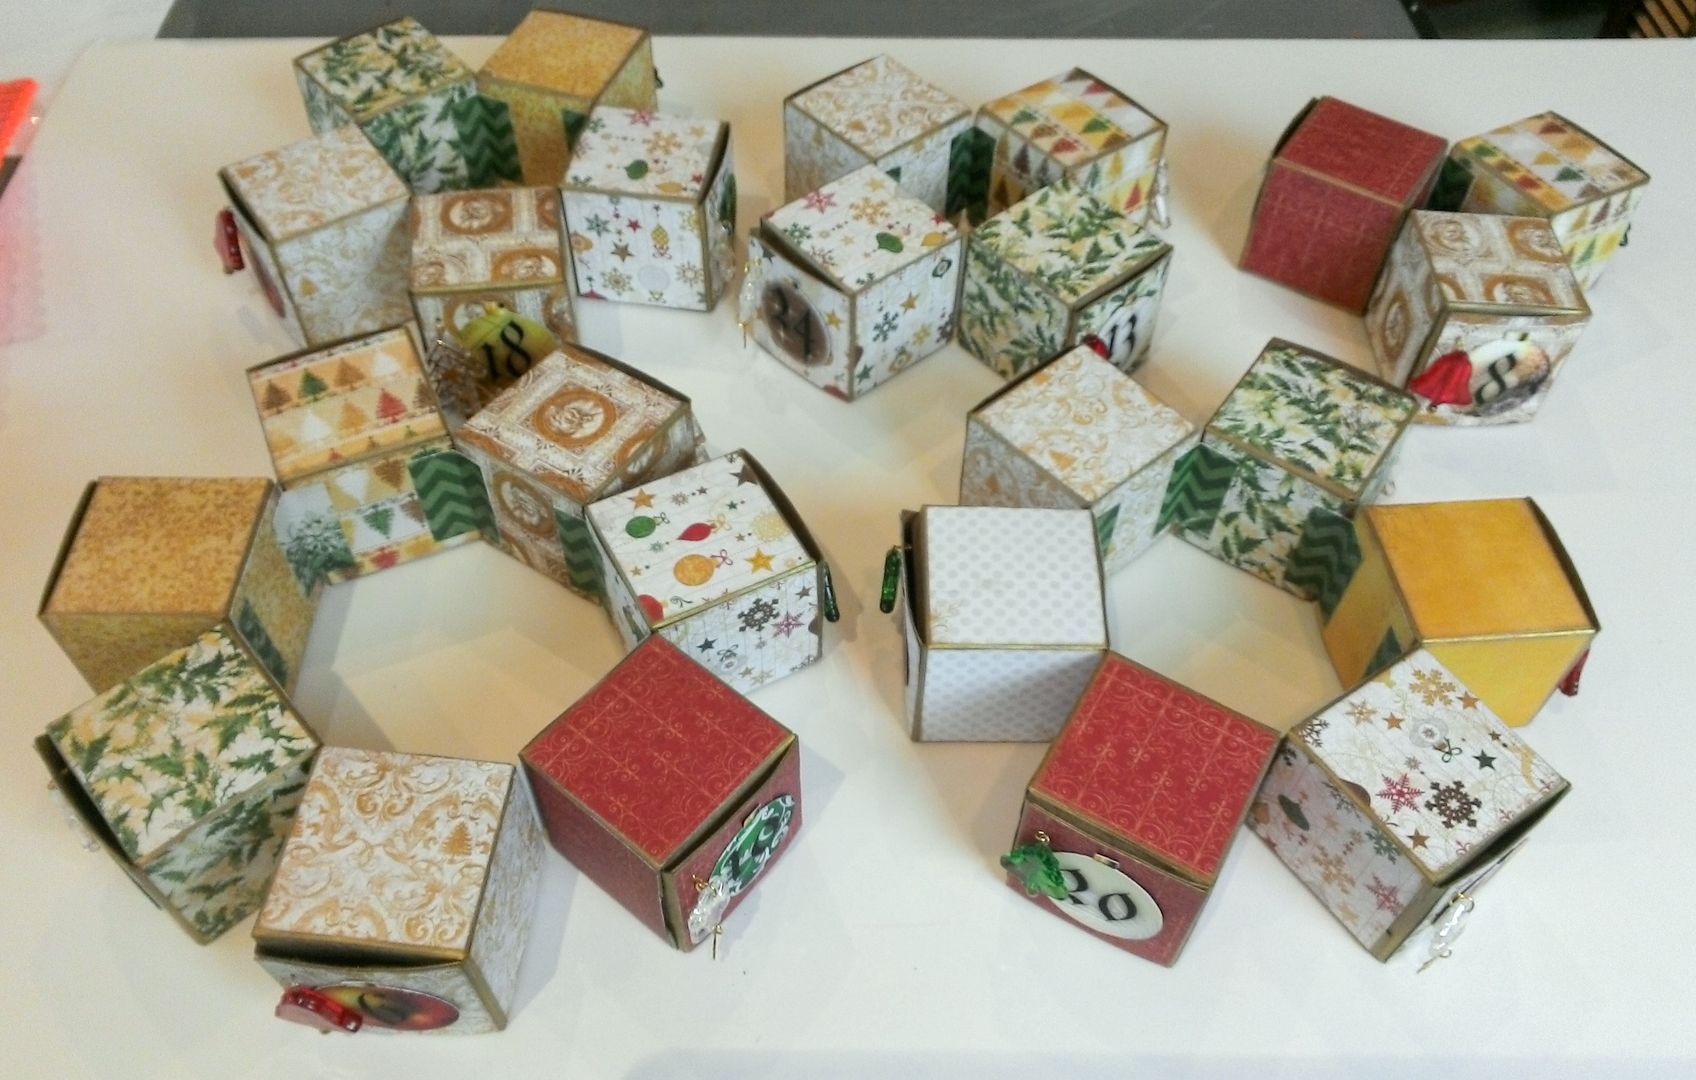
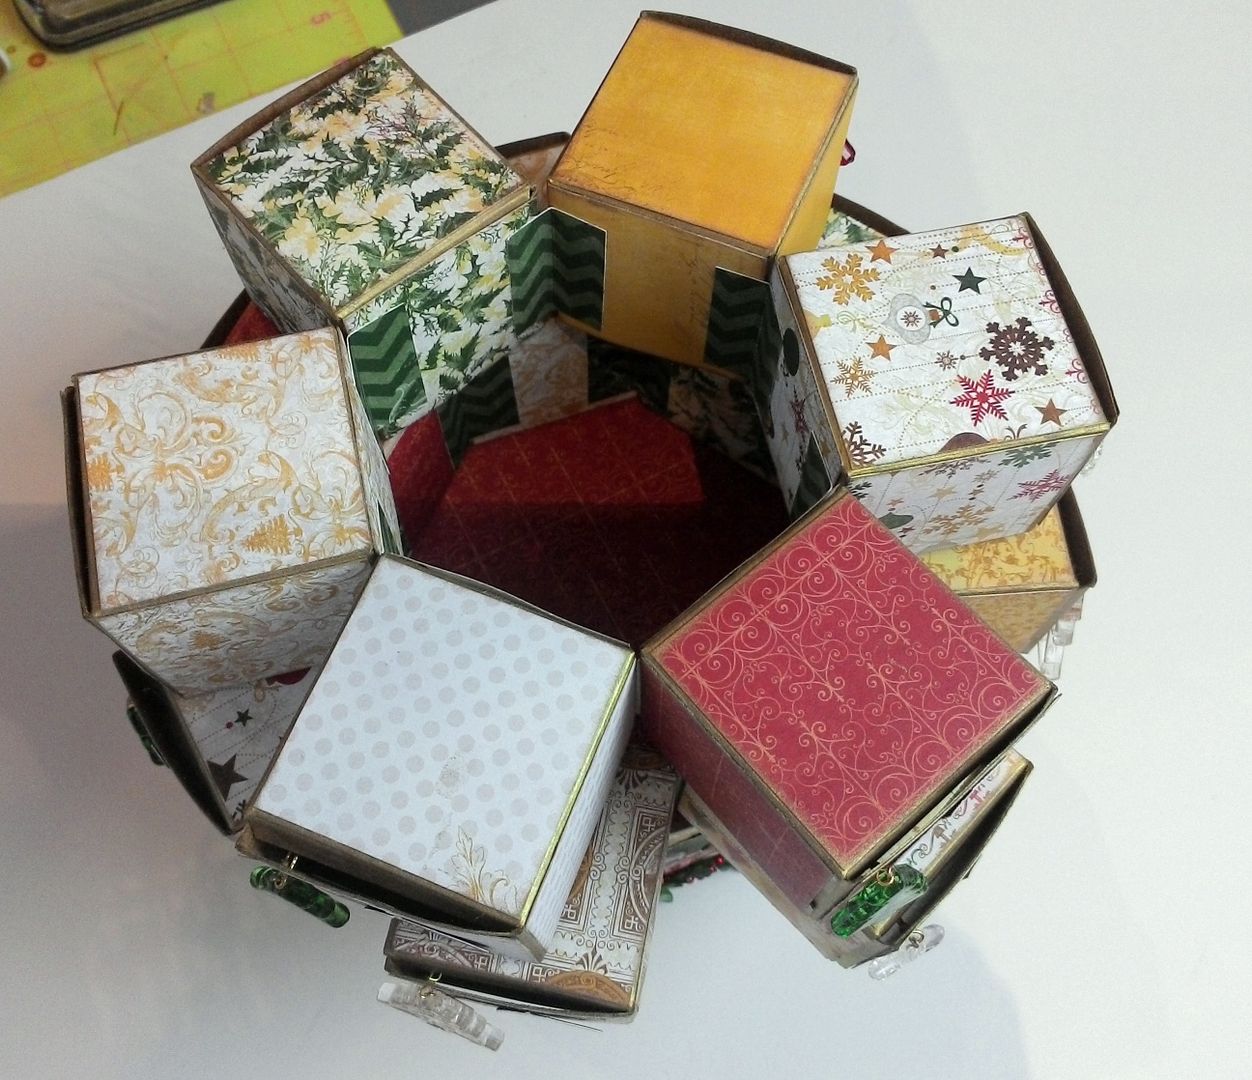
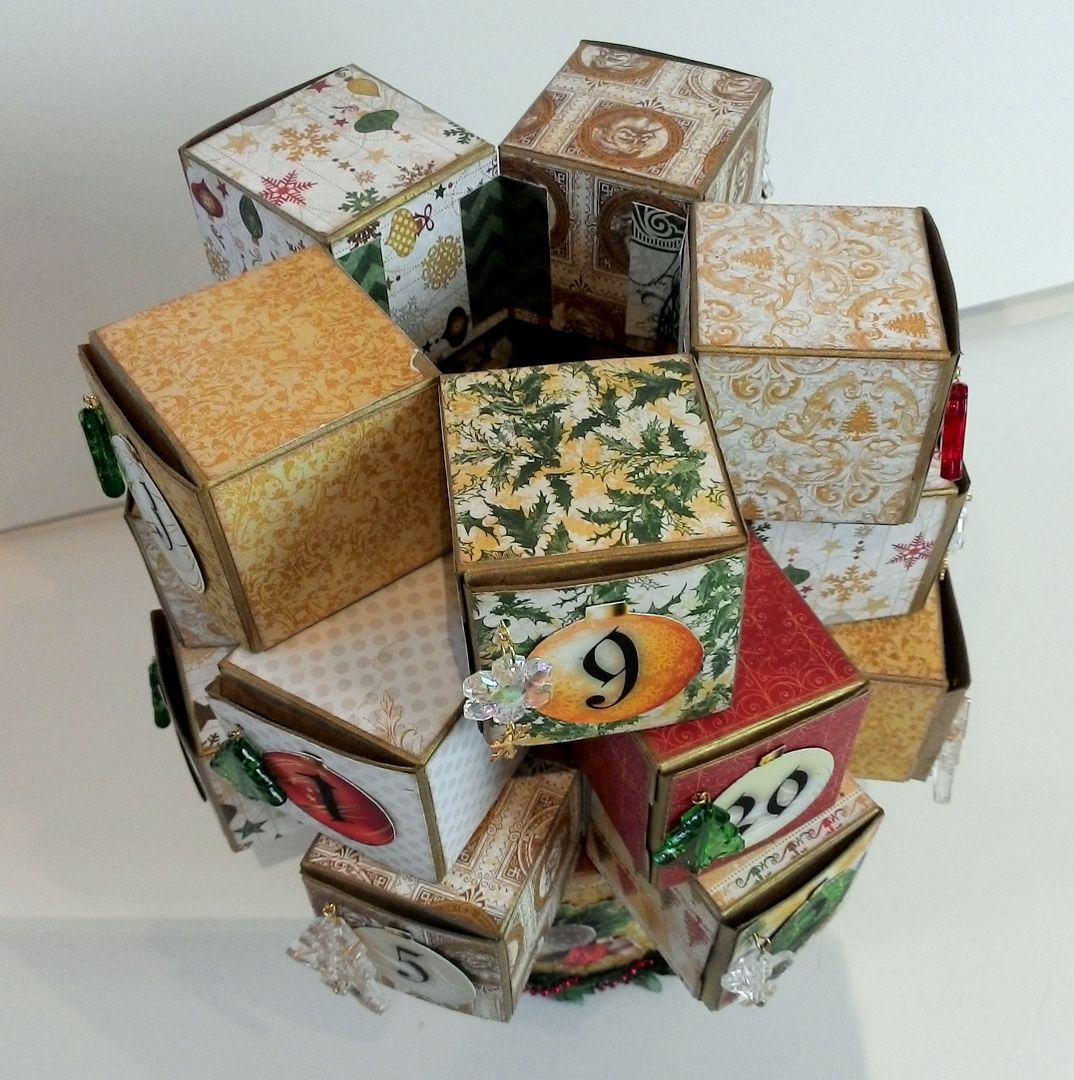
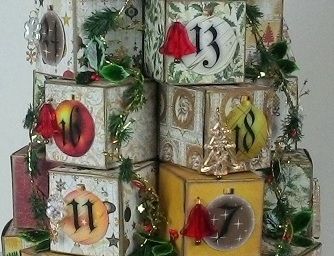
To create a tree shape you will be assembling circles of boxes. The boxes are 2 inches square. Each circle will have one fewer box then the circle before it. The tree is made up of 5 circles with 7,6,5,4, & 3 boxes; adding up to 25 boxes corresponding to 25 days. An additional box on the top makes the tree look symmetrical and accommodates attaching garland.
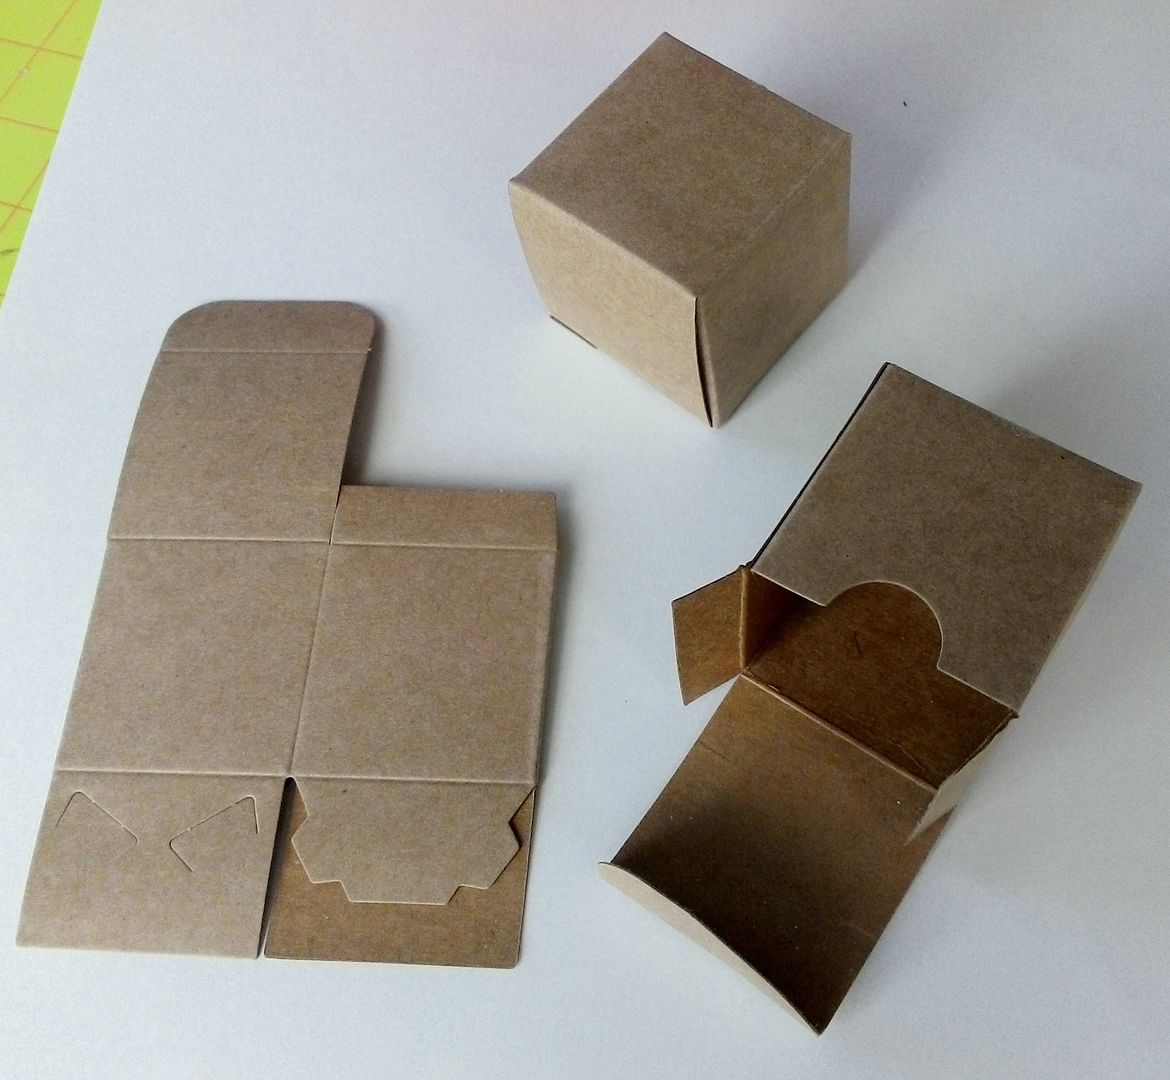
Assemble 26 boxes. 25 for each day and one for the top of the tree.
Decorating the Boxes
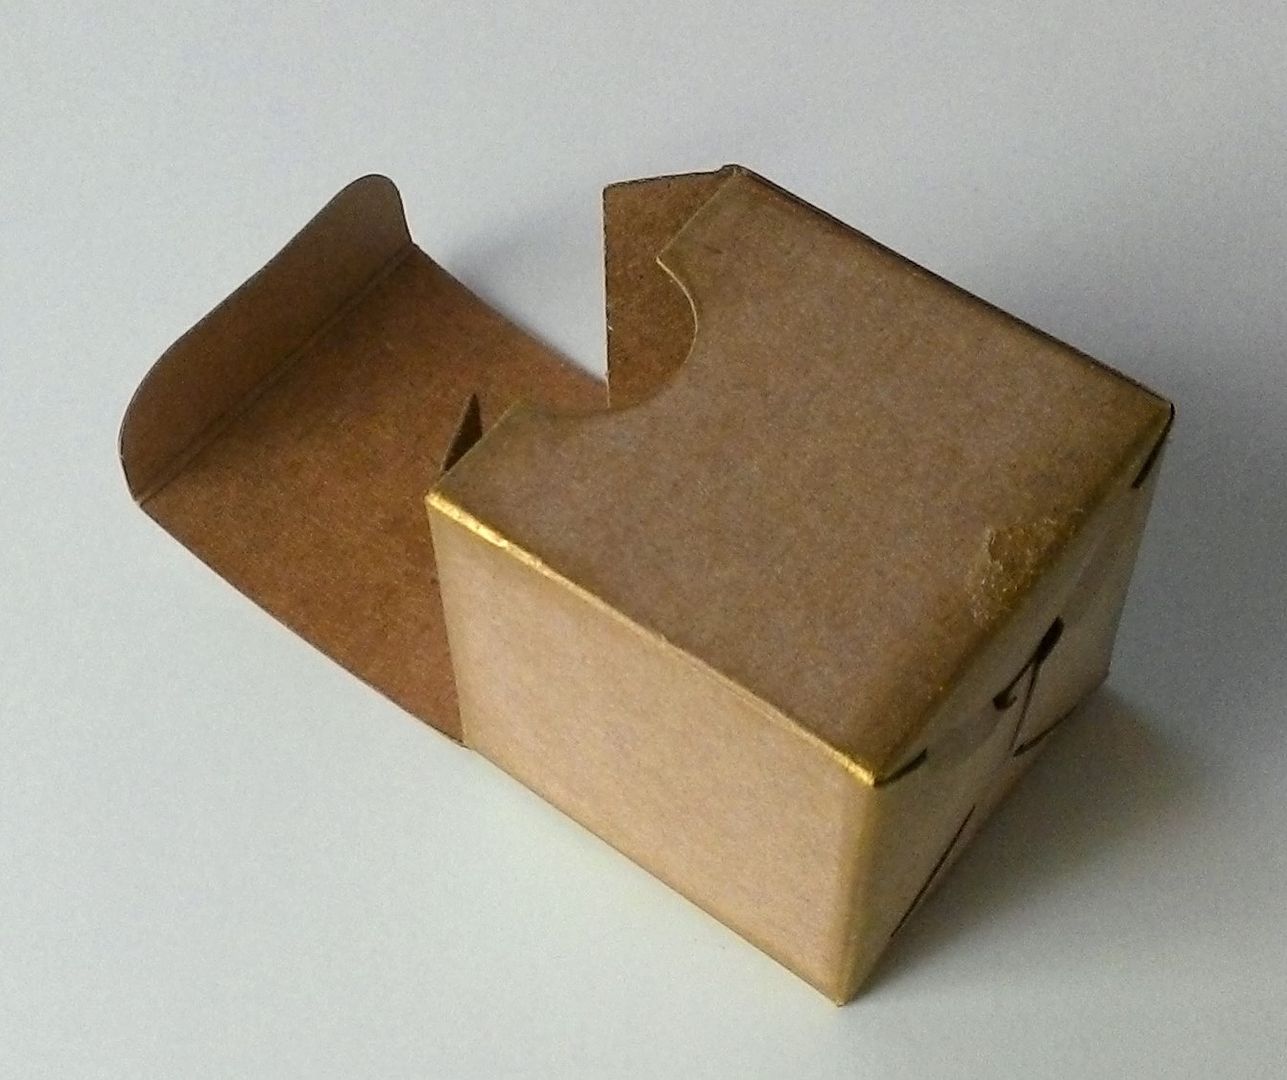
Ink or paint the outside edges of the boxes. I inked the edges with a gold stamp pad as it coordinated with the papers I used. I also inked the main tab on the lid with the gold stamp pad.
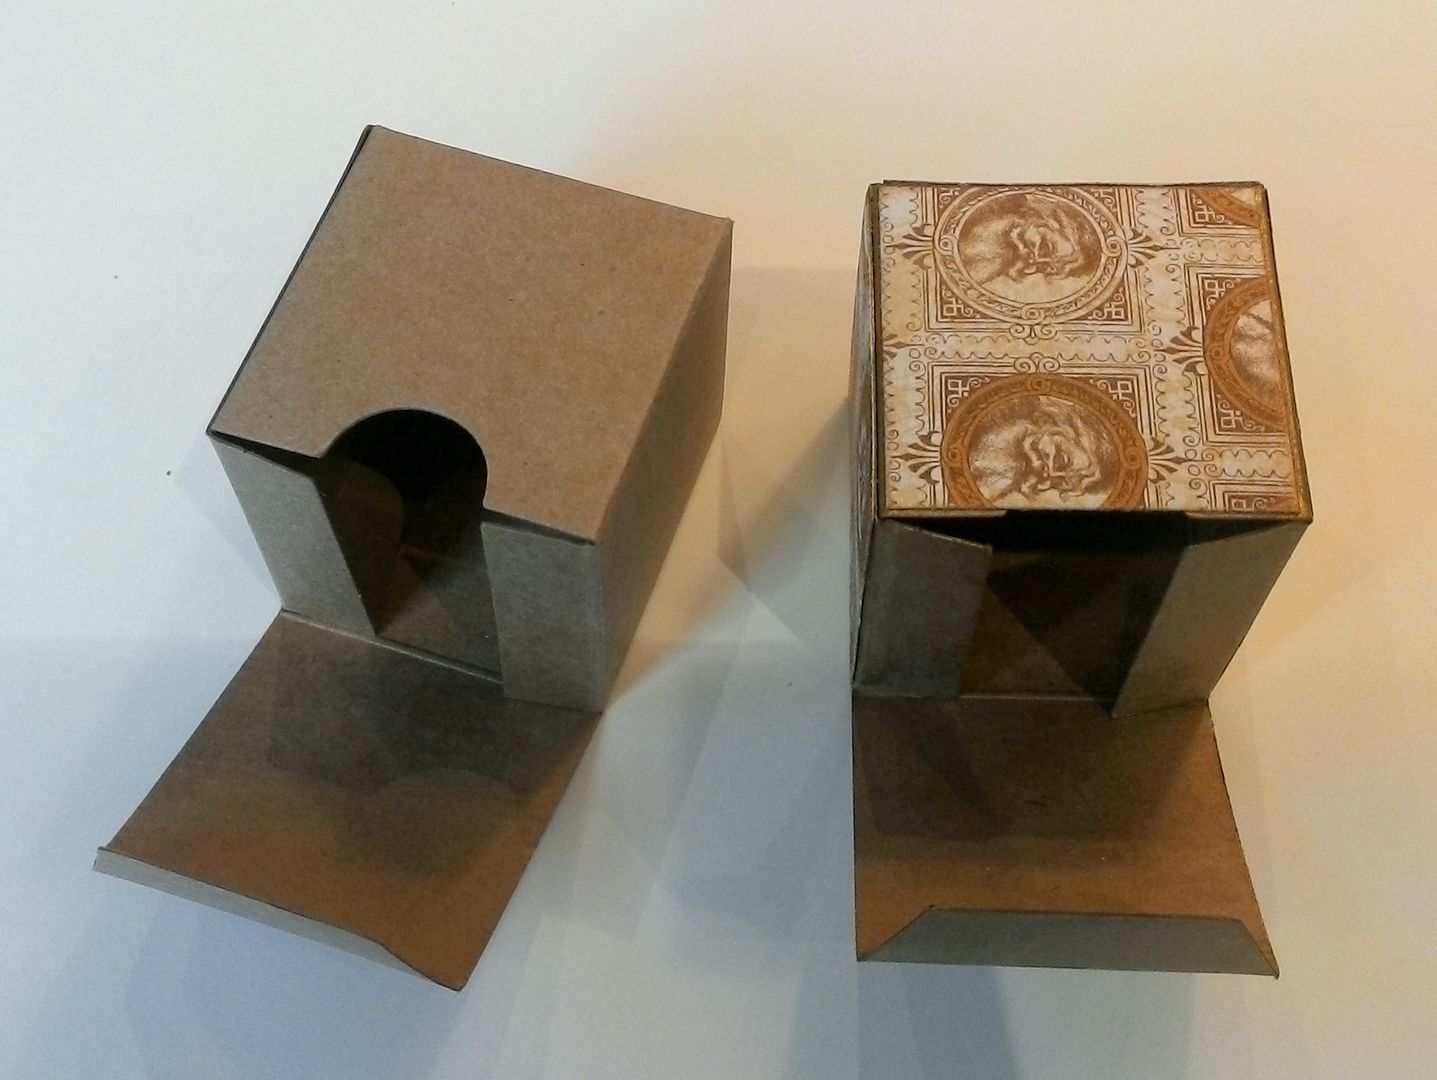
Paper all 6 sides of the boxes. I cut pieces of paper that were 1 15/16” x 1 15/16” so that you would see just a little of the gold inking on the edges. Before attaching the paper, I laid out my boxes to make sure the patterns in the paper would be randomly distributed throughout the tree. If the paper has a pattern with a direction, keep that in mind as you glue the paper to the boxes. I inked the edges of the paper before gluing it to the boxes.
Optional – Paper the insides of the boxes. I decided not to paper the inside as I felt that the color of the box worked well with the papers.
Decided which way you want your boxes to open. They can be all the same or different. I choose to have them open from left to right (since I’m right-handed).
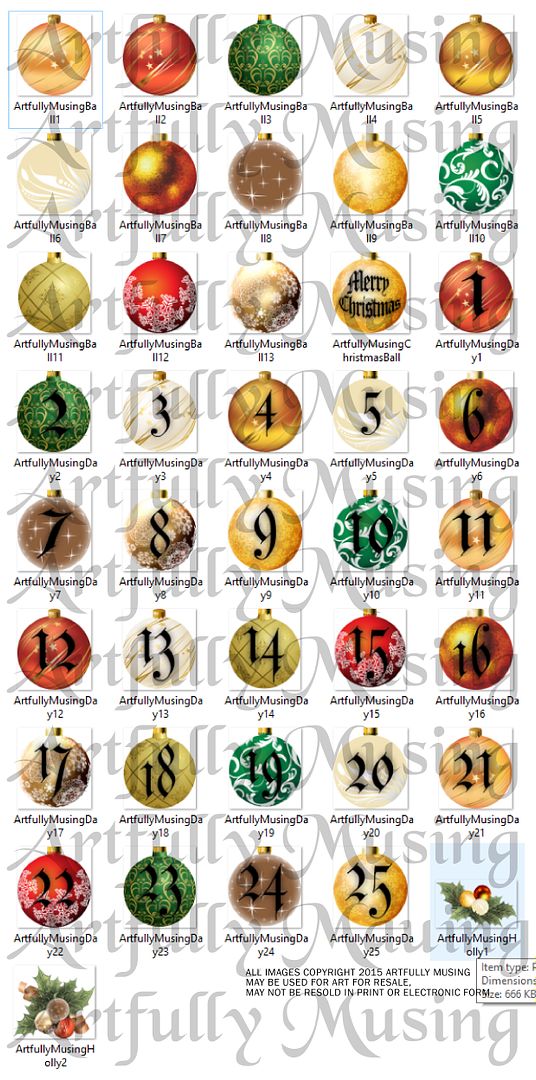
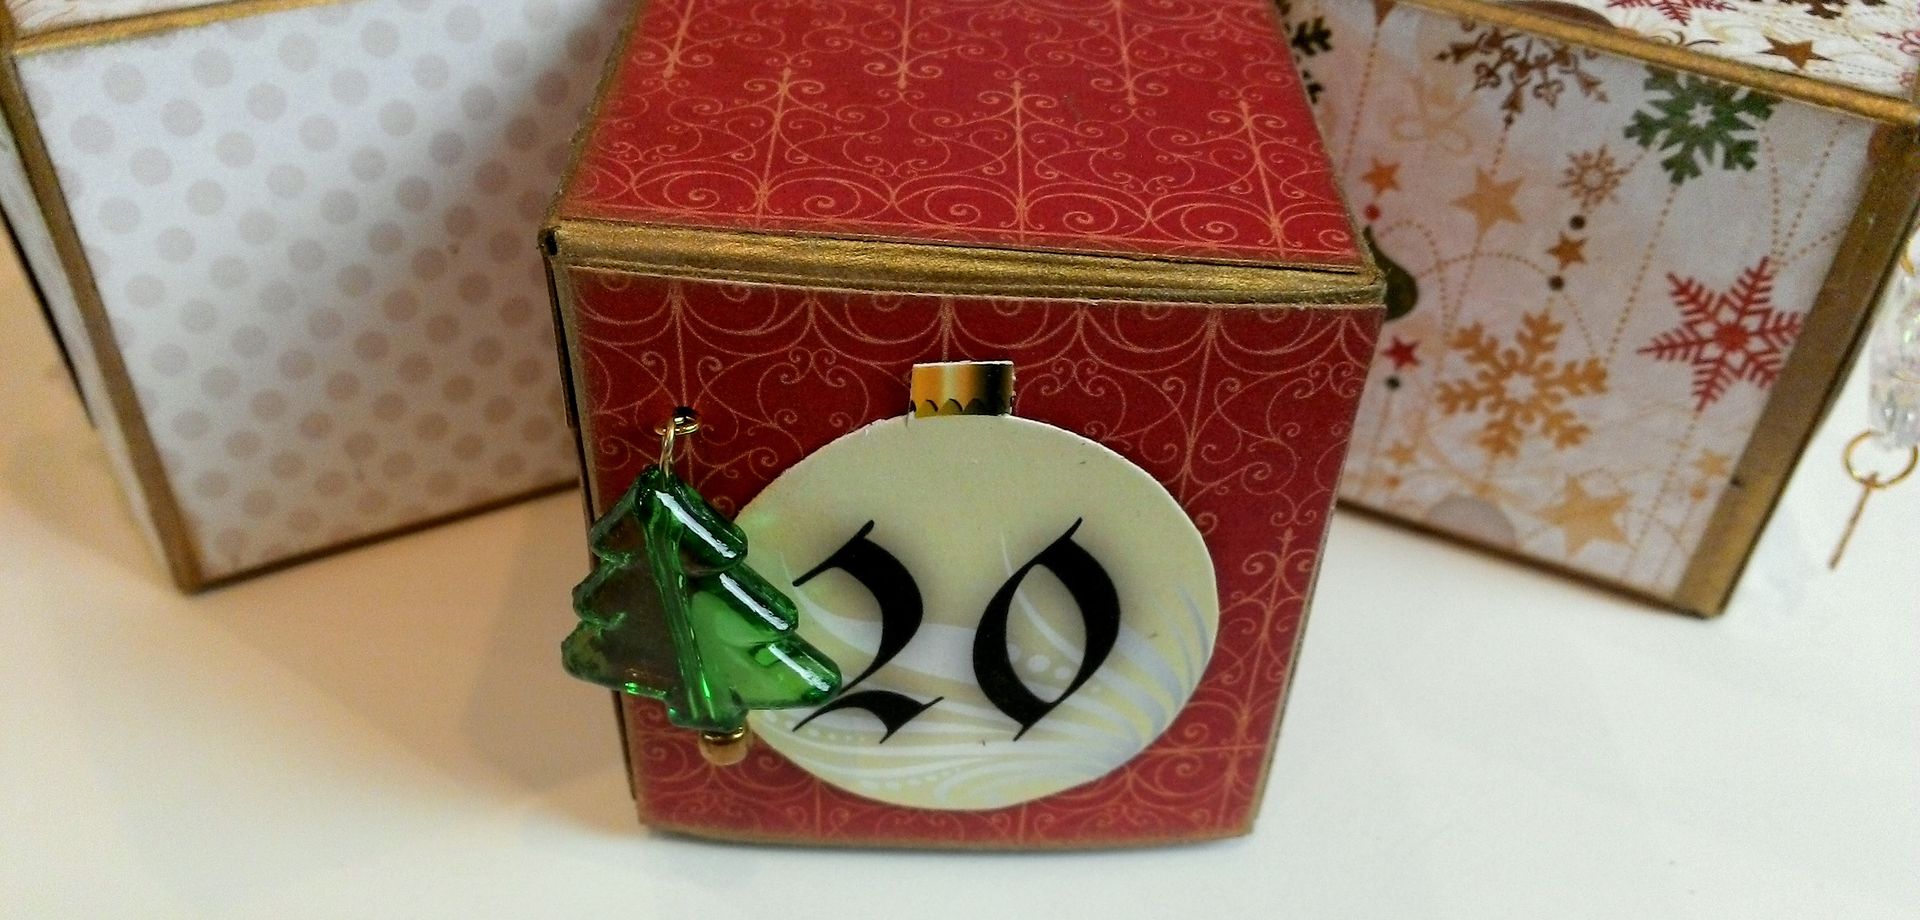
Once you have your boxes papered, glue the Christmas Ornament Days to the lid of each box (if you are using my images). Just as with the papers, I decided to randomly distribute the days on the tree. Of course, you could choose to put them in order. Also, be mindful of the direction you want your box to open so that the ornament day image doesn’t end up going in the wrong direction. I laid my boxes out in order with the lids facing the correct direction and decided on the order of the days before attaching the images.
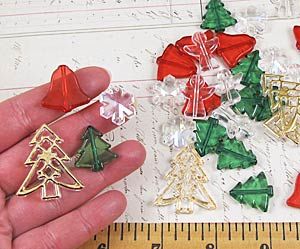
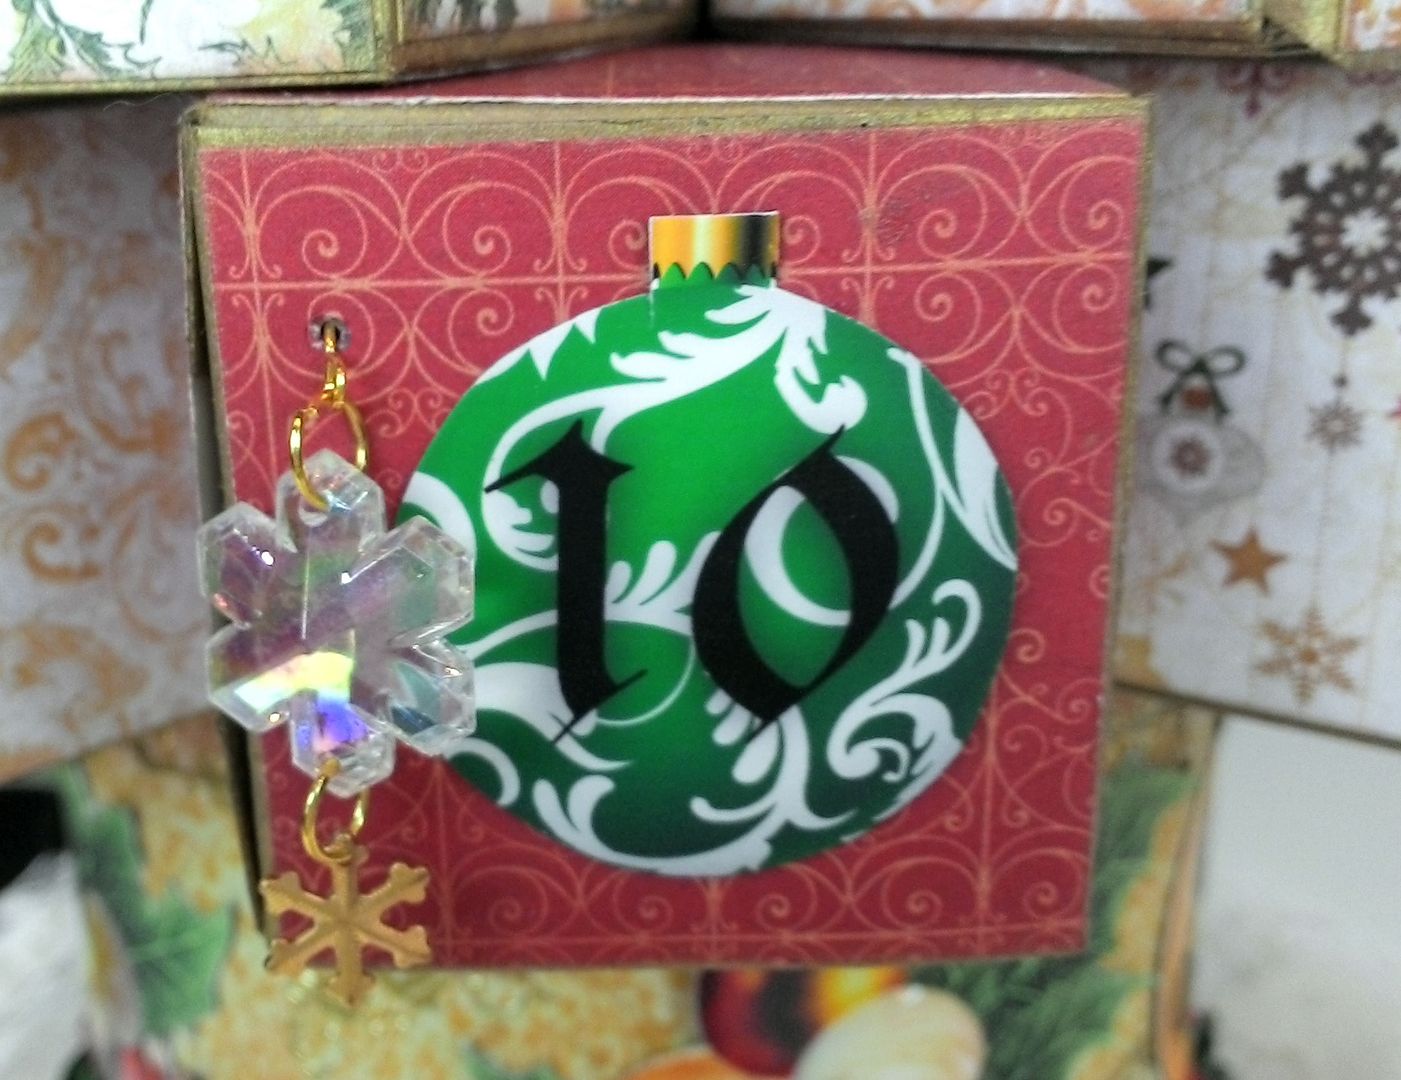
I used Acrylic Christmas Themed Beads that coordinated with the paper. There are five different shapes (2 different trees, an angel, a bell, and a snowflake).
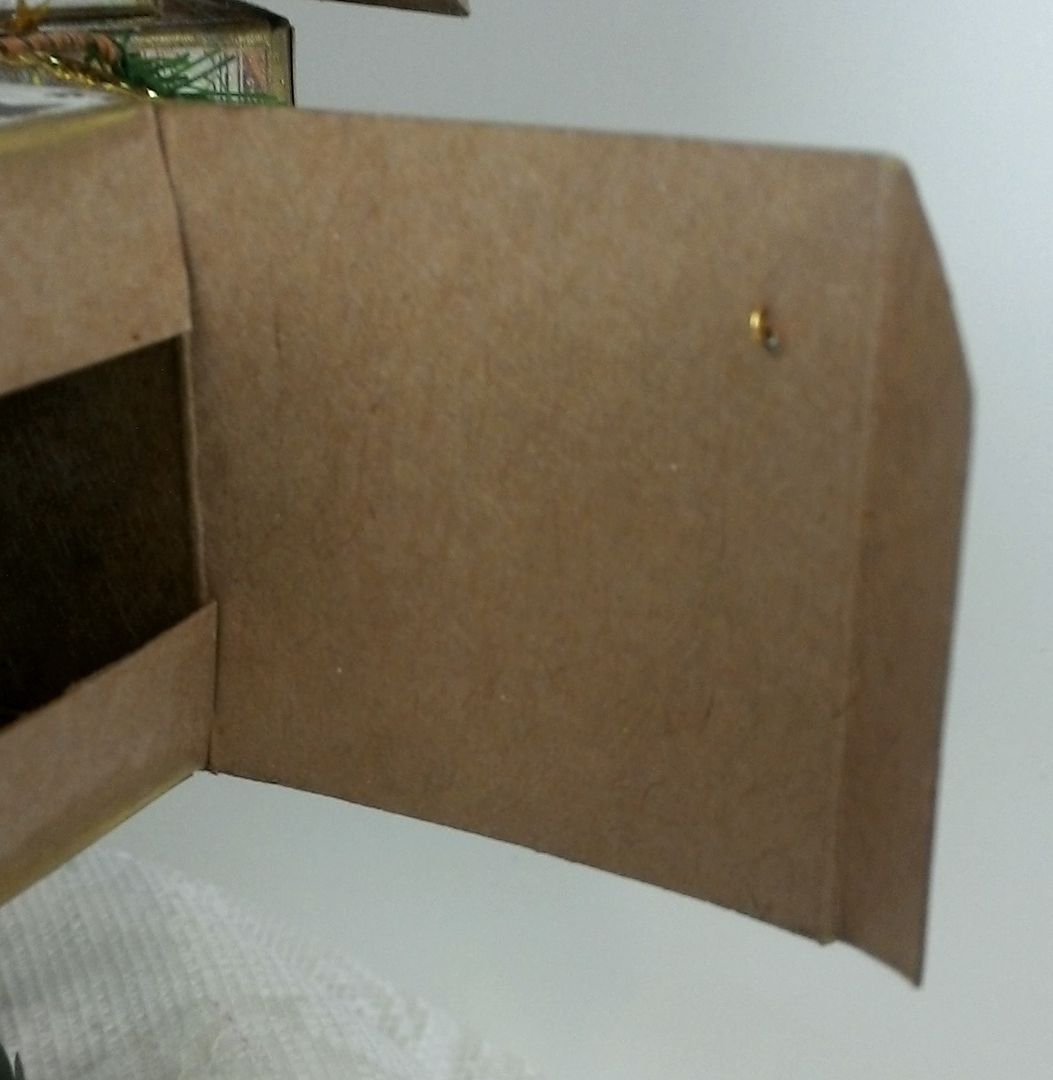
I jazzed up the snowflake bead by adding a brass snowflake. I attached the beads using a headpin and eye pin. To determine the placement of the beads, I took into consideration the length of the bead and where the inside tabs were located. The reason for considering the inside tab is that when you loop the eye pin to keep it from pulling through the lid, it creates bulk in the back of the lid if this bulk is where the tab the lid won’t completely close.
I created a template with a hole so that I could consistently mark the bead placement for each box.
Assembling the Tree
Cut 25 pieces of paper 1” x 1 ½” long (I used paper from the paper pad). I would recommend using cardstock as it is a bit sturdier and has color on both sides. Score and fold the pieces of paper long ways down the middle. These pieces of paper will be used to connect the boxes together.
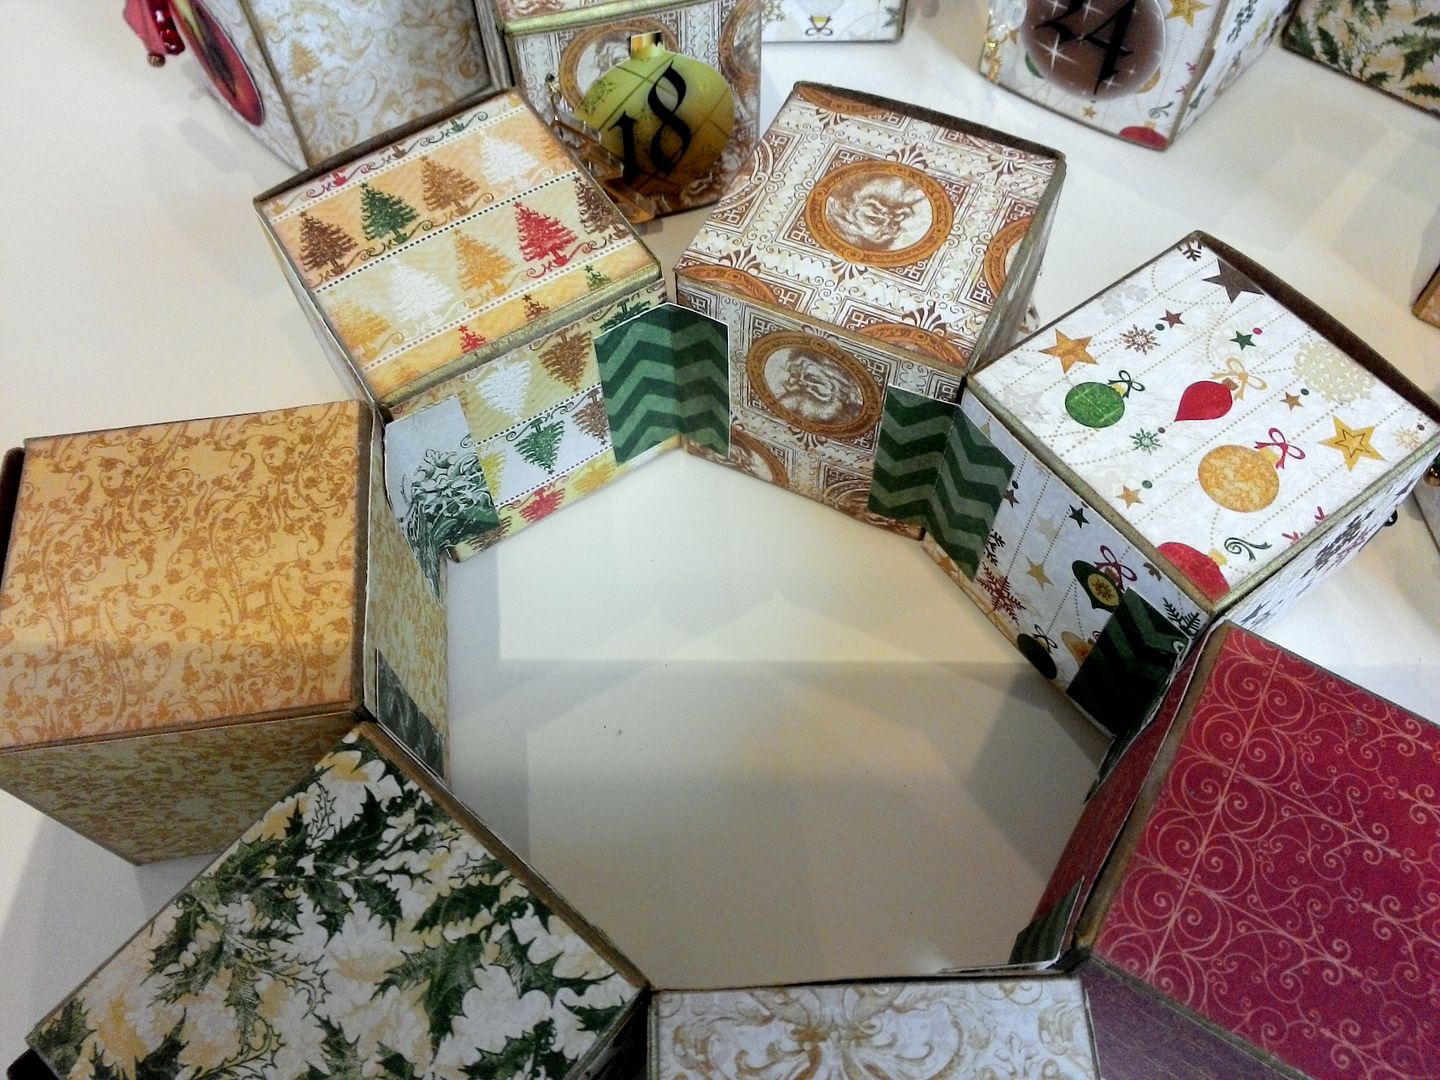
Use the paper piece to glue together 7 boxes. Attach half of the paper to the back edge of one box and the other half to the back edge of another box. Continue until all 7 boxes are connected into a circle.
Continue connecting boxes into 5 rings with each ring having one fewer box. You should end up with rings of 7,6,5,4, & 3 boxes; adding up to 25 boxes corresponding to 25 days. Use an additional box on the top to help make the tree more symmetrical and to accommodate hanging the garland.
Glue the 7 box circle to the top of the base. Center the circle on the base. Even though the boxes are connected with the paper, they are still flexible enough to adjust until they are centered on the base.
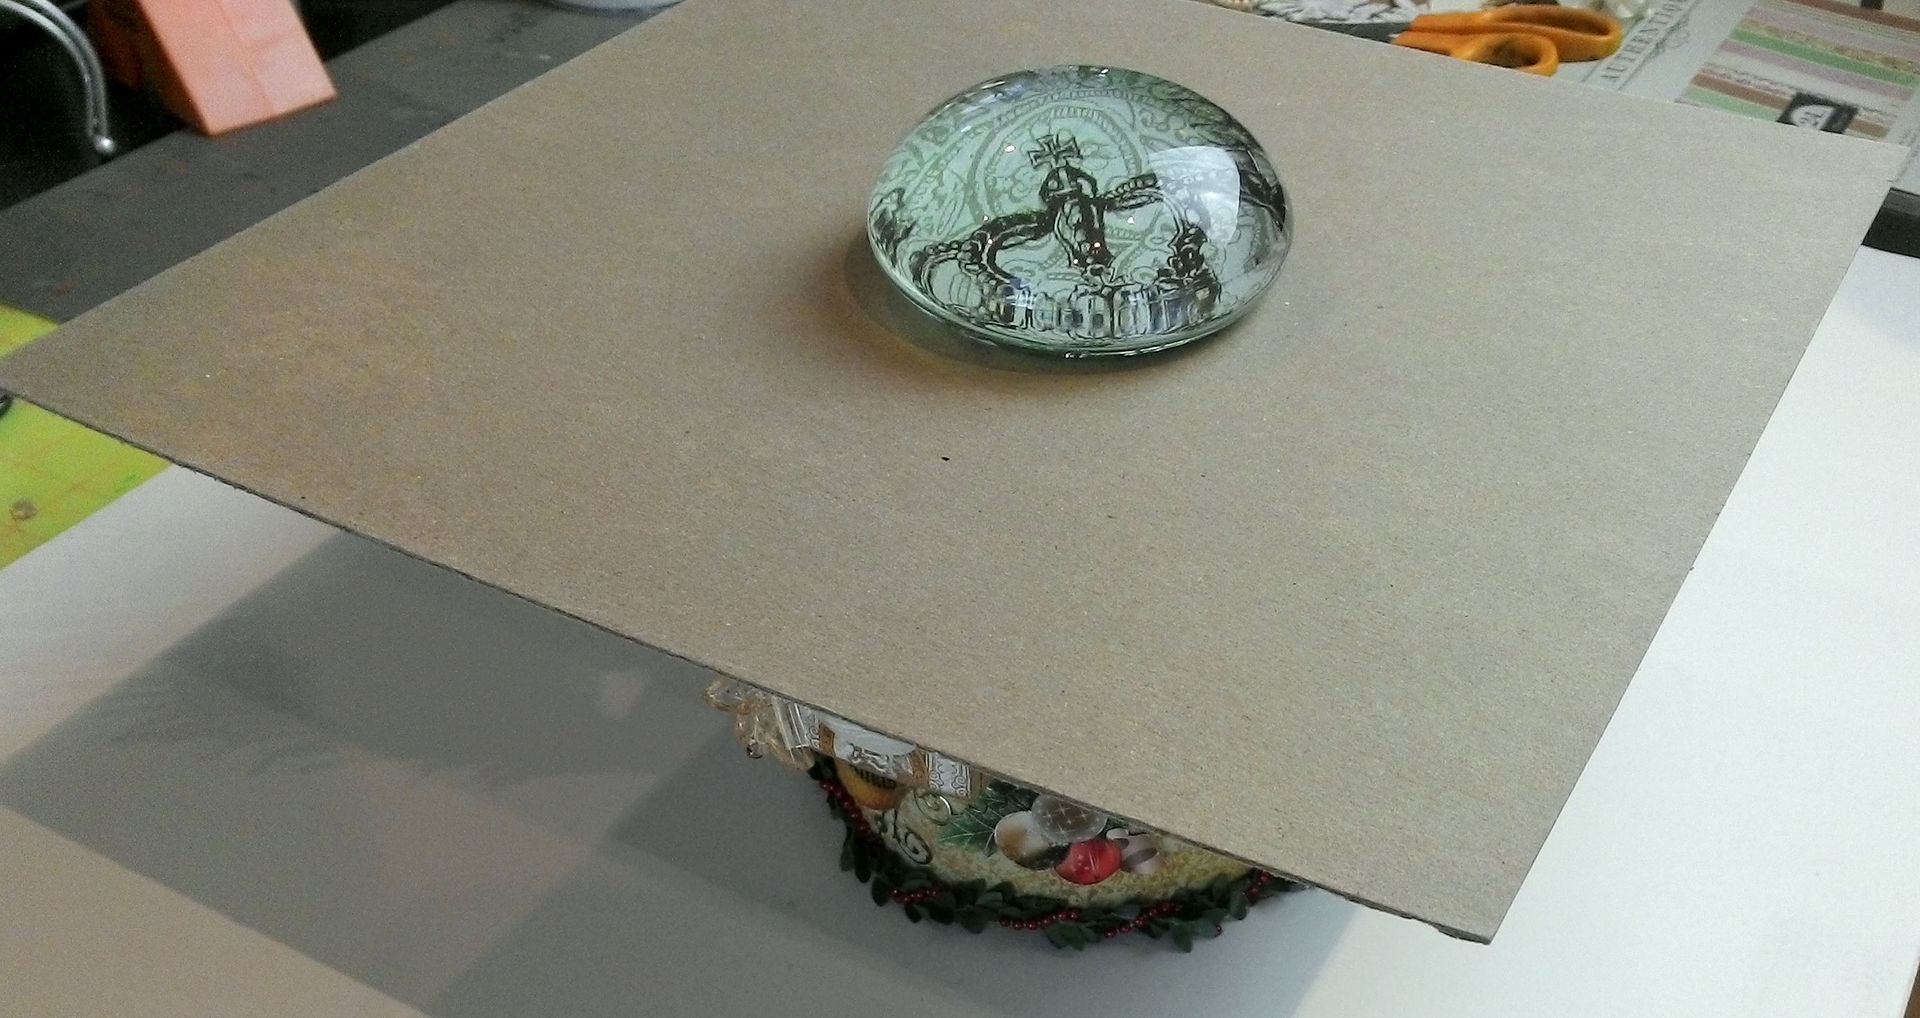
Once you have the boxes centered on the base, I recommend adding some weight to keep them in place while the glue dries. I used a piece of chipboard and a paperweight.
Next, glue the 6 box circle on top of the 7 box circle. Again apply weight to keep the circle in place once you have it where you want it. Since each circle has one less box than the last circle, you will need to adjust each circle so that it is in the center of the previous circle. The boxes will not line up but sit slightly shifted to one side or the other of the circle of boxes below.
Continue adding each circle of boxes to the next.
Decorating the Tree
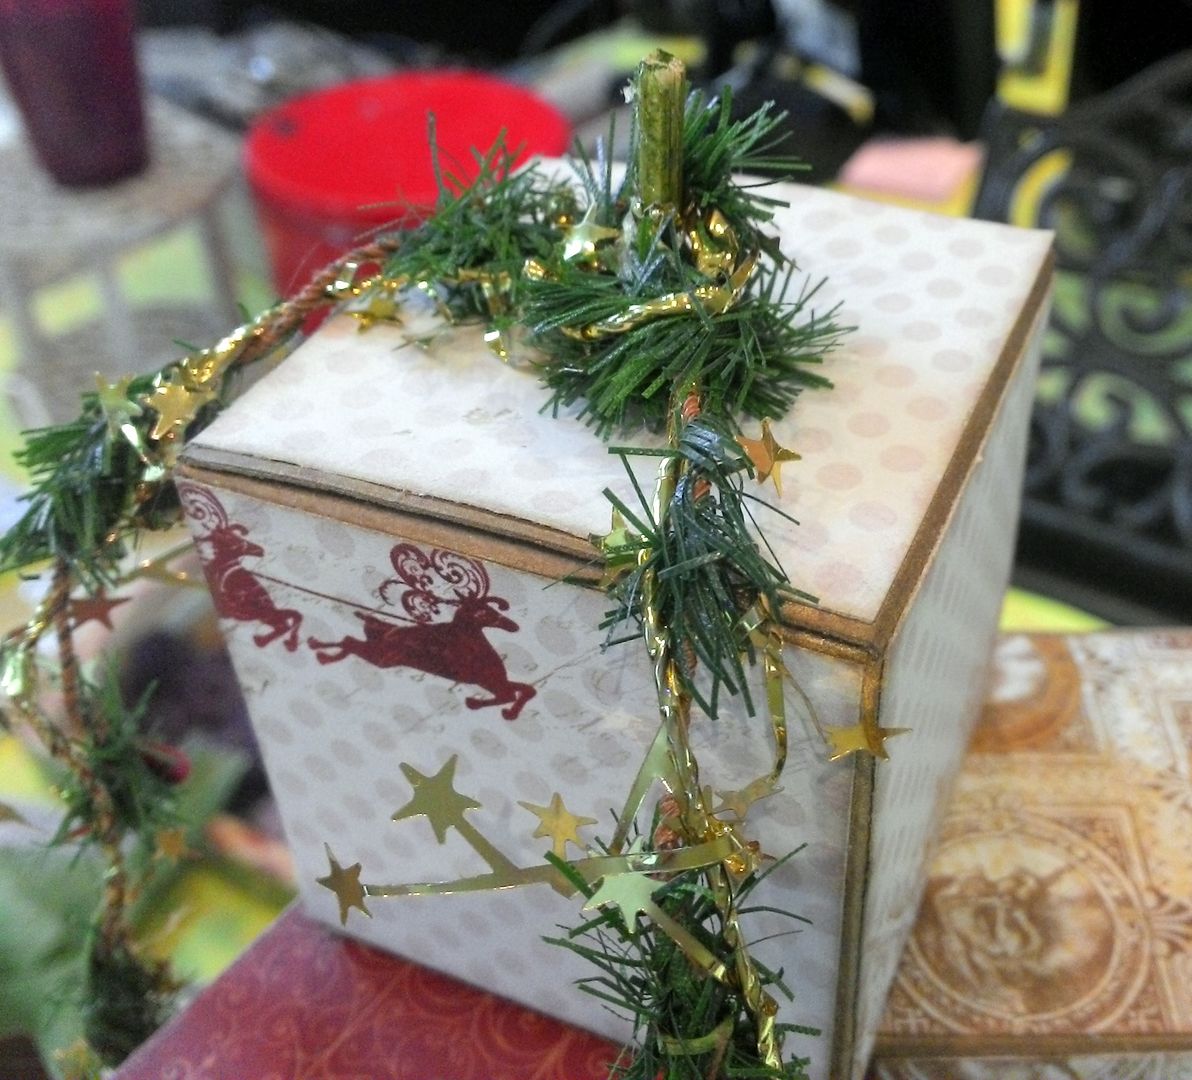
The last and 26th box goes on the very top. I covered it with paper and glued the lid shut. I glued a small wooden skewer into the top of the box. The skewer gave me a way to anchor the garland.
The garland is actually two different garlands; Mini Pine & Berry Garland and Gold Star Tinsel Garland. Both garlands are wired, so it was easy to braid them together and bend them as they cascade down the tree.
I made a loop with the garland at one end and glued it onto the wooden skewer using E6000 glue. Once I had the garland in place, I topped the tree with a Green Crinkle Paper Ribbon. The ribbon hides the wooden skewer.
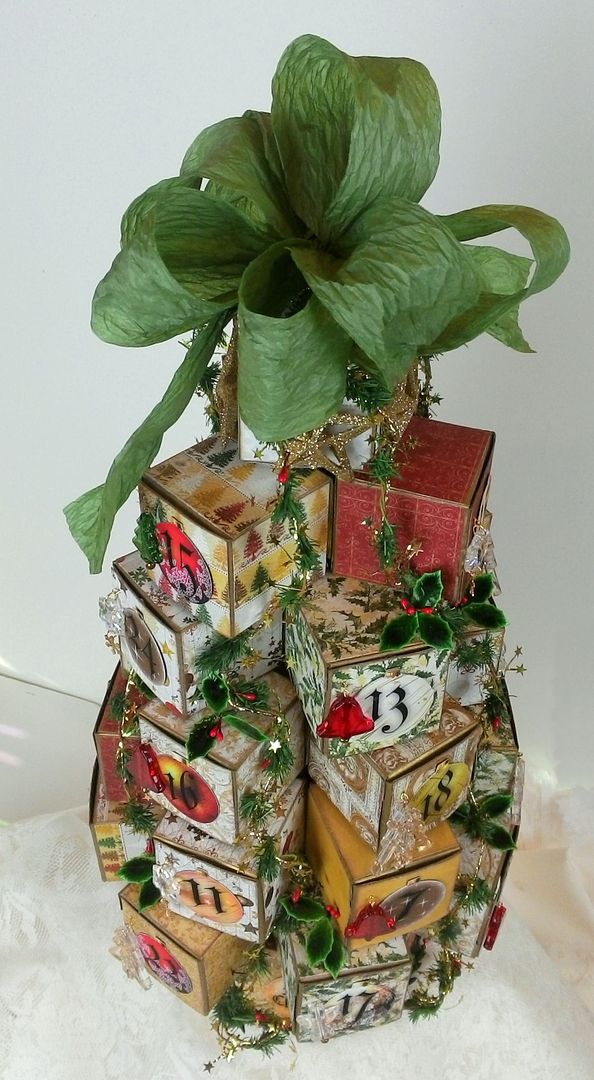
I draped the garland down the sides of the tree, bending and gluing it at various points on the boxes using E6000 glue. I draped it down the tree rather than wrapping it around as it would have blocked the box lids.
I also added Lacquered Holly & Barry clusters to various boxes. This particular assembly of the boxes gives you lots of ledges on each level of boxes to add embellishments.
Have fun making a Christmas Tree Advent Calendar!!









35 comments:
Laura ... your Christmas calendar is stunning. The tutorial is made so well and your talent is amazing! I would love for you to enter my name to your giveaway please. Hopefully I will get a chance to make this calendar this year still.
Hugs,
Karen B. ~ Todolwen
Wow! What a unique project :)
I love it!! Its the best id seen yet. WAY to Go!!!!!
Great advent calendar! Will have to make this one!
What a wonderful Advent tree, thank you for the opportunity to win one of your lovely collage sheets and for this great tutorial. Deb
Fantastic as all ways. Now what to put in the boxes.
Amazing work on this.
Great tutorial also.. Thank you:)
Many thanks for this wonderful tutorial. The calendar ist so fantastic!
Wow, its so beautiful and your tutorial is so clear & easy to follow. Thank you for making it like that. I would love to win the digital set so I could make 3 of these, my teenage daughter & then my 2 grandsons (from my eldest daughter) as they mean the world to me. ;)
{{{{Hugs}}}}
Marg B
craftycardsbymarg.blogspot.co.uk
Gorgeous!
OMG this is absolutely stunning!
This is the most creative advent tree i've seen in years. And, your instructions are clear with lots of details and pictures. It would be a fun project to do with the kiddos. Thank you so much for sharing and the give away. I would love to be entered,
2marie@comcast.net
This is amazing! I love the colors and the new collage sheet! Thanks for sharing.
Your advent tree is magnificent! Your creativity is appreciated.
jb523@charter.net
Oh Laura this is so lovely. I've not been around for a while as I've been away quite a lot just lately and am trying desperately to catch up on all the amazing creations you have been making. It looks like I may be some time......
xx
Another amazing piece! Definitely making this one. Your amazing talent has done it again!!
Thanks for a chance to win another great Collage Sheet.
Take care,
Diane
What an awesome tree! Love it!
It's beautiful! I'm so in the Christmas mood!
You never cease to amaze Laura! This is a wonderful, personal and great calendar that can be used for years to come. Great Joe!
Laura, I just found your blog and my head is spinning from all the beauty. I could sure use a little project to get me thru the holidays...so pick me, pick me!
Gloria in Virginia
very good idea, thank you
Wow Laura, that is so beautiful ! Thank you for offering a chance to win the prize. Keep on designing awesome items. This is one that I must do!
Patty League
leagu3393@comcast.net
How fortuitous!! My son just this minute asked me how to make an advent calendar with little boxes - he's making one for his girlfriend!! Thanks so much for sharing!! Cindy
Laura, you are amazing! This is perfect and a beautiful piece to boot!!! ~Lori stokeswright@gmail.com
WOW, this is just stunning! What a perfect advent calendar! I would love to win the Advent Calendar collage sheet. Laura, your talent never ceases to amaze me :)
such beautiful tree! Will have to do one of these! Thanks for a great project.
Christmas is full of surprises,
As you very well know.
But a daily dose of special,
Just waits below the bow.
So gather up your boxes,
And this season have a go,
At a super Advent Calendar
That is very apropos!
And thanks go out to Laura,
Who thinks outside the box.
And shows us how to make a tree
Stacked up like little blocks!
Sooo creative and looks like a ton of fun - and then you have a new Christmas heirloom to pass down the generations! Thank you so much for sharing this idea.
As usual, you did an outstanding job. This advent tree is super cute and super fancy. It will definitely become a heirloom. Thank you for sharing your creativity and giving us a chance to win the collage sheet.
This is wonderful!!! Would make Christmas special!
Laura- yet again you amaze us! This advent calendar is quite different!I will definitely be going to make one. Thanks for all your inspiration throughout the year.We love you, and your blog.
Judy
What a gorgeous take on the traditional advent calendar. I love your blog and just became a follower. I also recently became part of the Halloween Guild. I'd love for you to visit my blog: www.sundayview.blogspot.com
Have a great weekend!
Laura
WOW !!! What a fabulous Christmas tree calendar, really gorgeous !!! Thank you for the tutorial Laura, that's great. And thank you also for the new chance to win again something! :) Your collage sheet and digi are very beautiful I think. Have a lovely Sunday, Hugs Coco xx
Definitely my lucky day!! I have recently left the teaching profession and actually have some time to explore all the creative blogs out there. I just found yours! What a beautiful keepsake, Laura. Thanks for sharing your creativity.
*sigh* Gorgeous. I can't imagine BUYING an advent calendar when it's possible to make one so incredibly beautiful! It's too beautiful to hide away after Christmas - it'd have to be out all year! - Shroo:)x
Post a Comment