

After the great response I
got on the cigar
box chest project, I thought you might enjoy another cigar box project that
is both decorative and functional. In
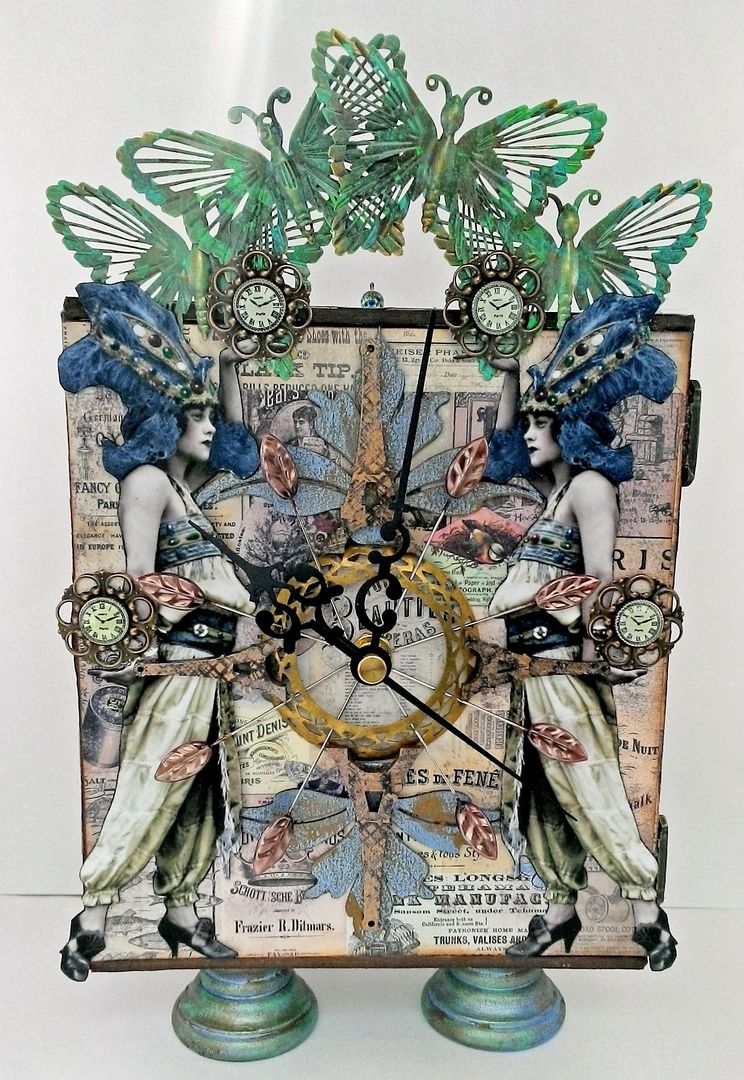
this tutorial, I’ll show you how to transform a cigar box into a working clock.

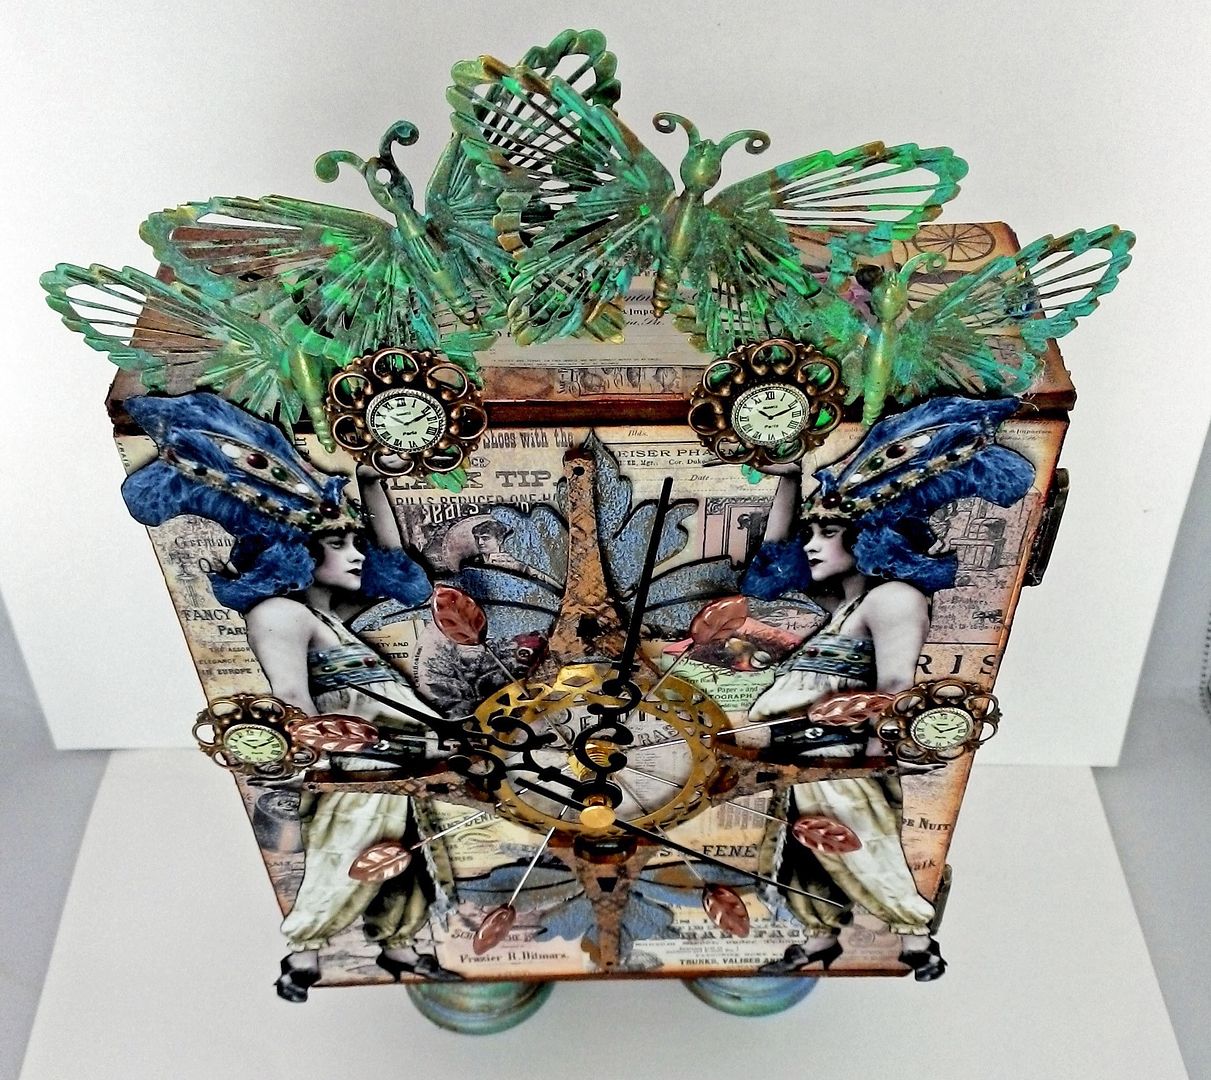
In the project example, I
decide to make the lid of the box the clock and the inside a scene. There are so many options and possible themes
for this project. Instead of having the
clock on the front you could have it inside the box. Instead of creating a scene inside the box
you could add matchboxes as drawers and use it to store your treasures. Last year I posted a tutorial on how to make
an ATC
Armoire out of a cigar box. You
could combine that project and this so that the lid is the clock and the inside
is the ATC storage area.
TUTORIAL
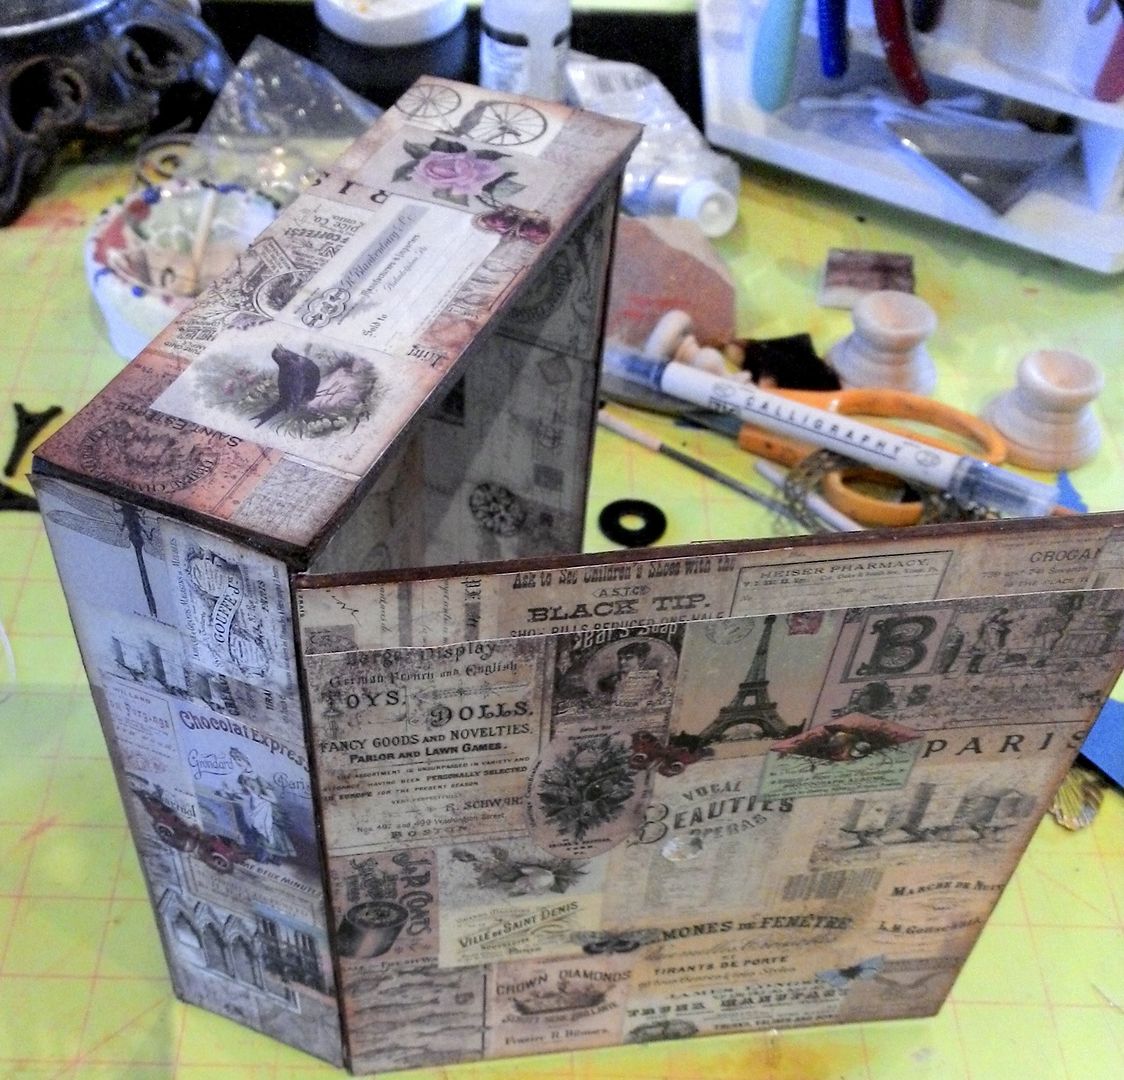
The first thing you need to
do is to find a cigar box. The size of
the box is completely up to you. It just
needs to be large enough to accommodate the clock mechanism. The box I used measures 7” x 6” x 21/4”.
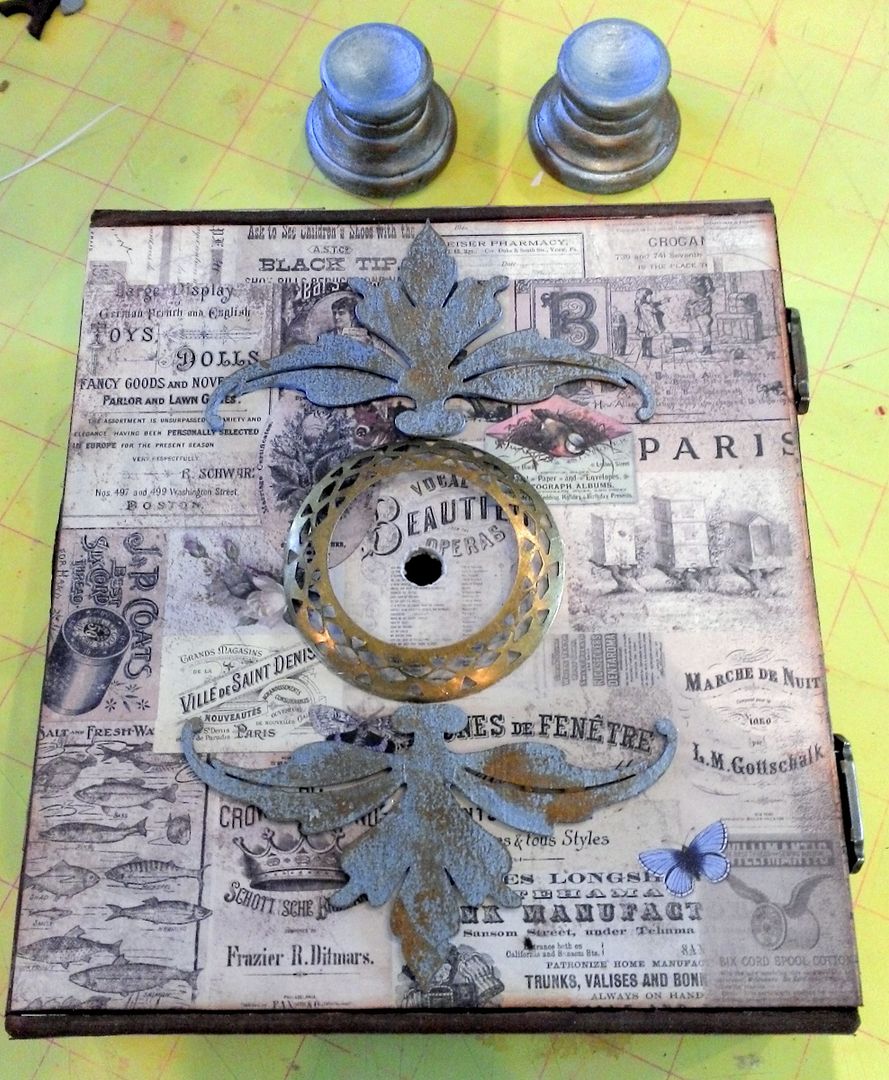
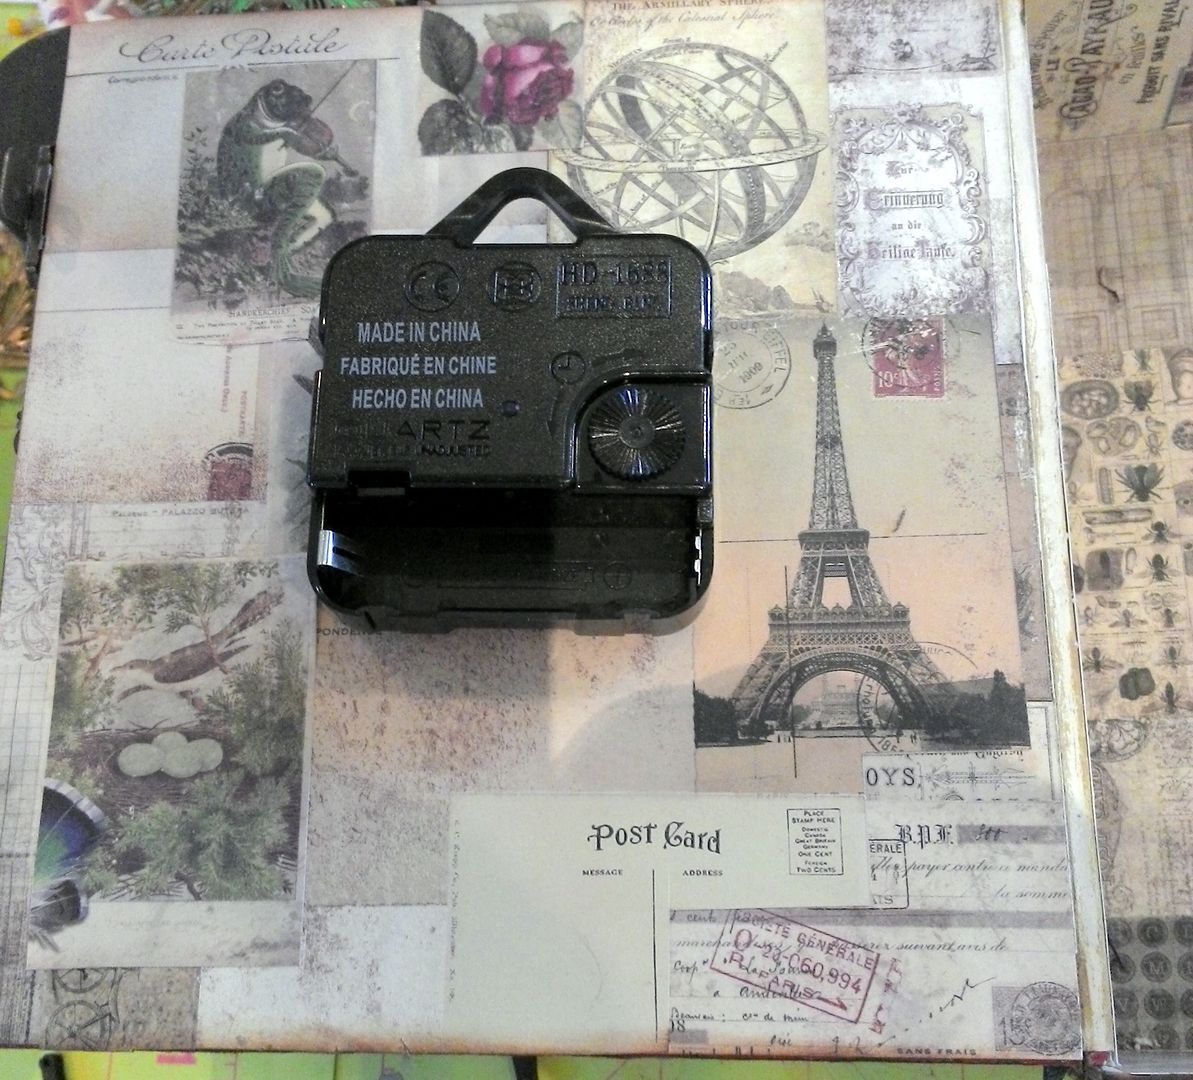
Start by finding the center
point of the cigar box lid and drill a hole large enough to accommodate the
center piece on the clock mechanism.

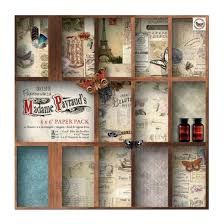
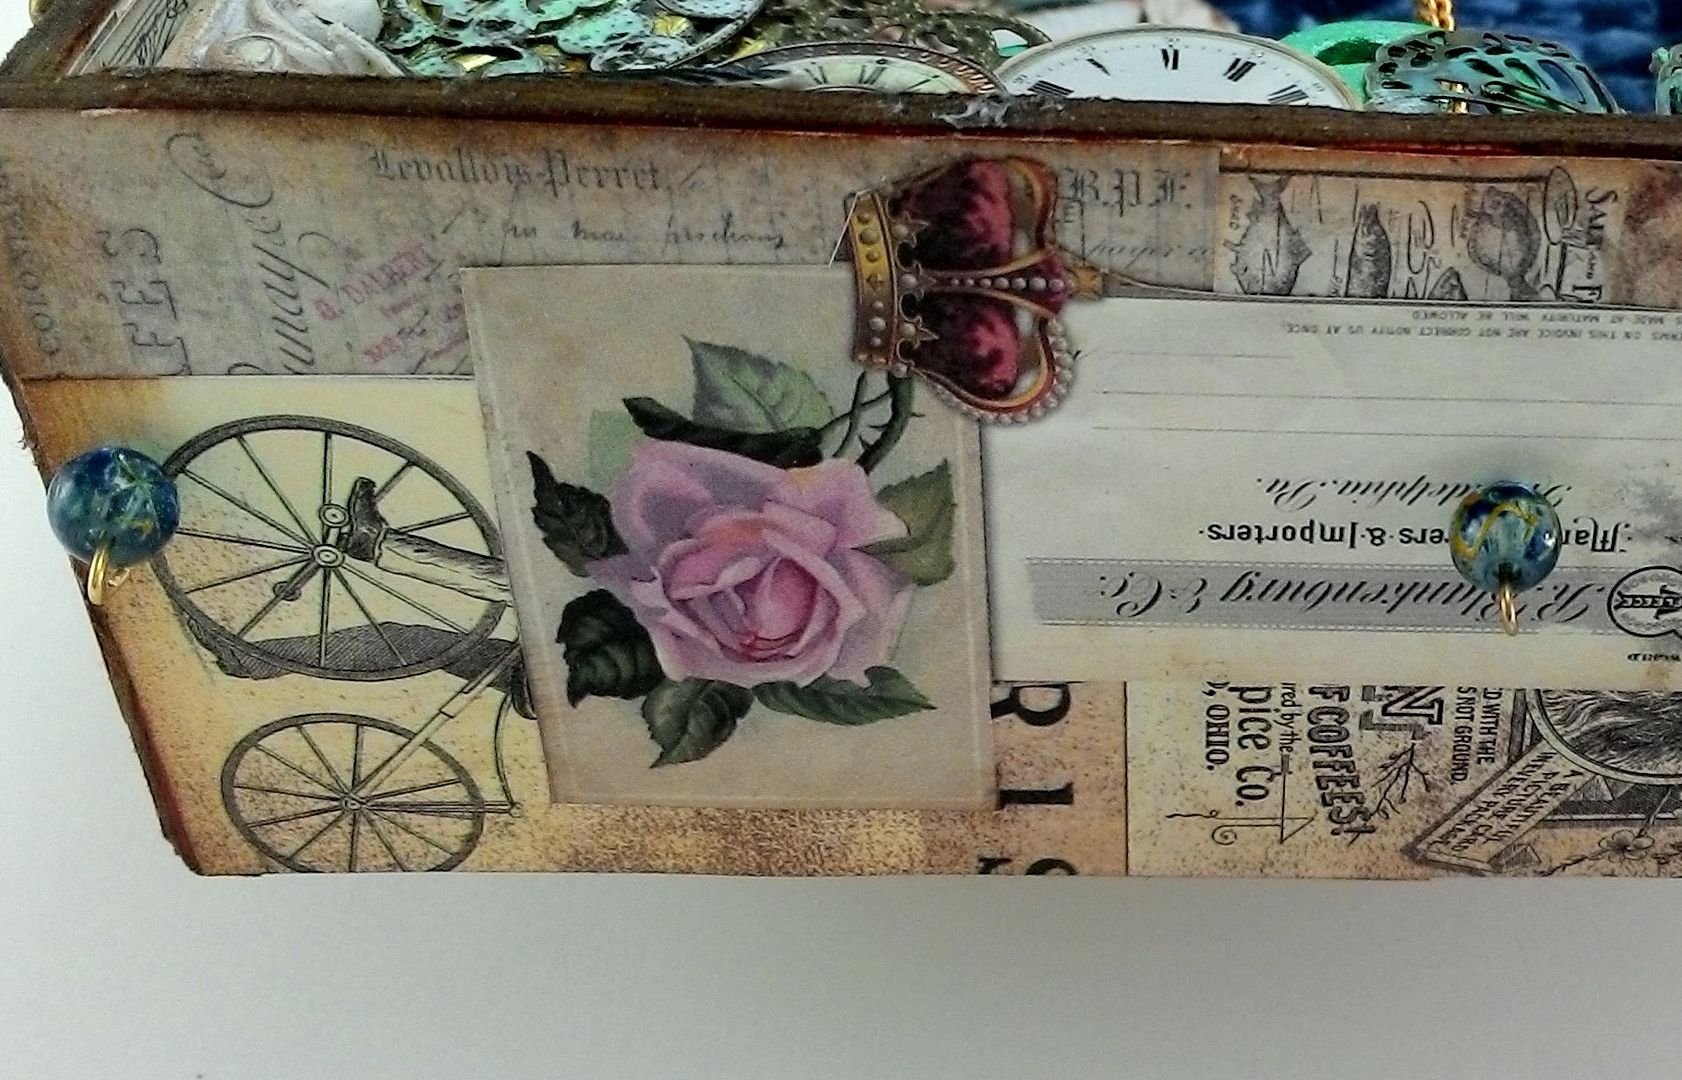
I covered all of the surfaces
of the box with the Madame Payroud’s 6x6 paper pack. I love the color scheme and the collage images
on this paper.

In the picture below you can
see the stained edges and the paper attached to all of the surfaces. Be sure to re-poke the hole for the clock mechanism.
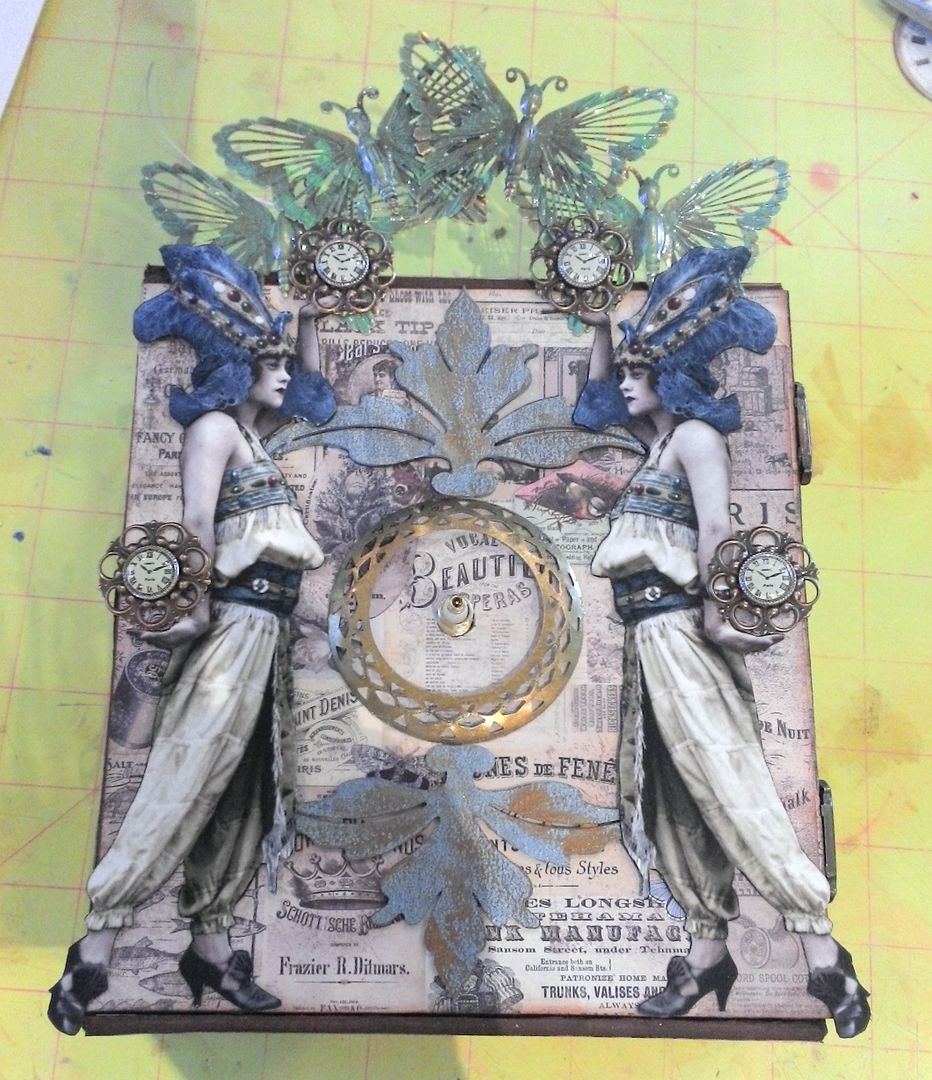
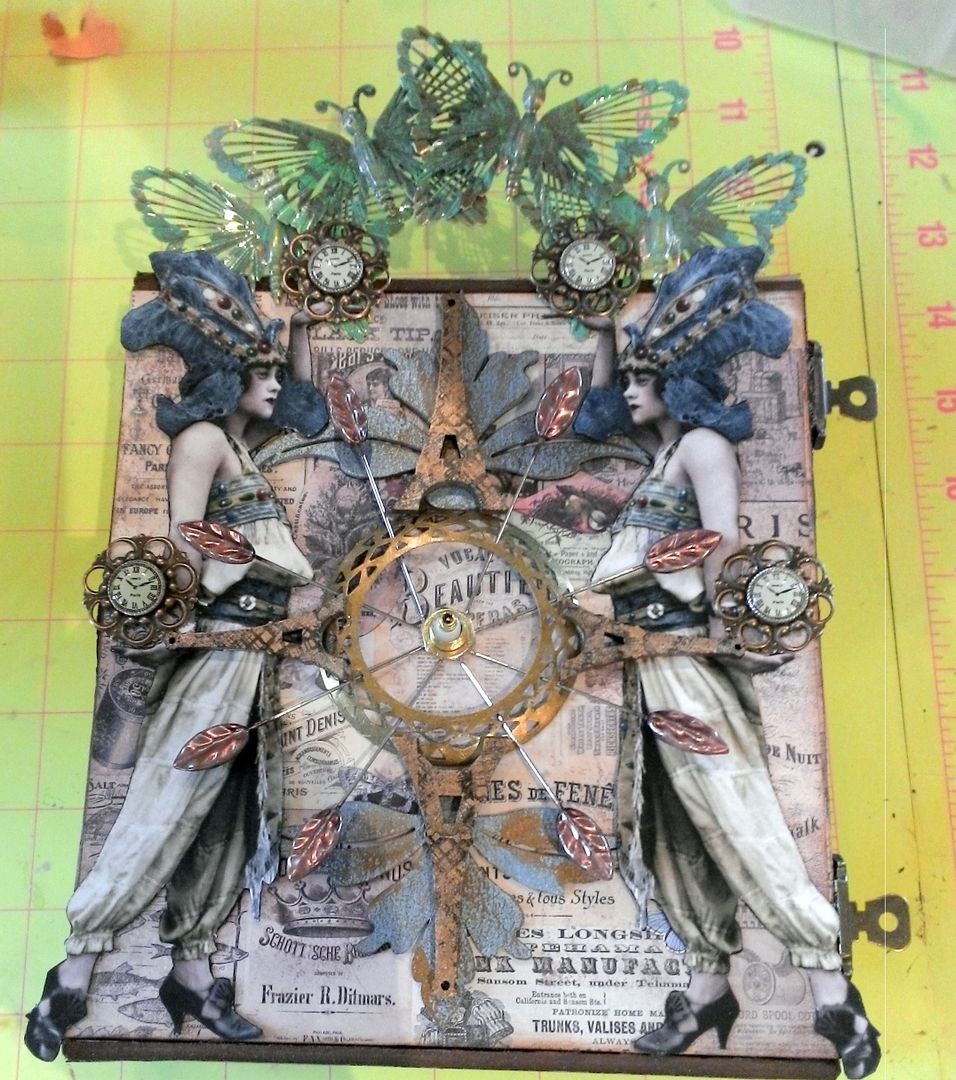
Next, I started work on the
front of the box and what will become the face of a clock. I used a round piece of filigree to frame the
center and painted two fancy
foliage chipboard embellishments (first with acrylic blue paint then dry
brushing Lumiere
Old Brass paint). I painted the egg
cup feet with the same paint mixture.
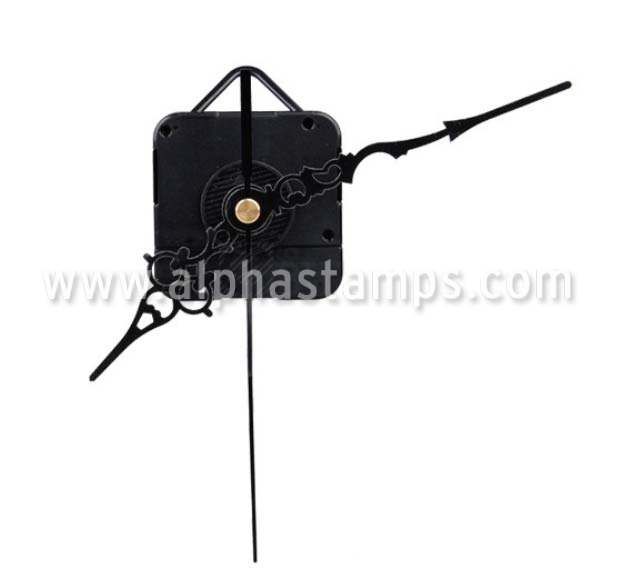
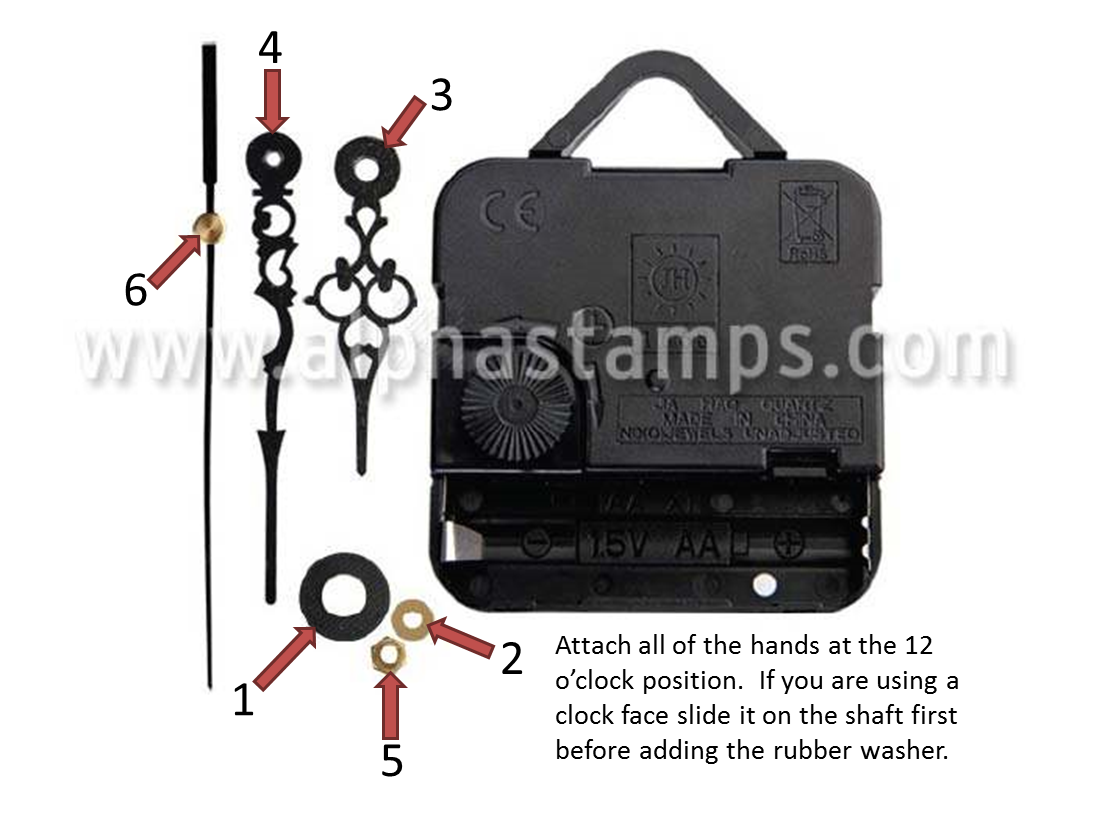
I glued the clock mechanism
to the back of the lid. The clock comes
with instructions on how to attach the hands of the clock to the mechanism (it's super simple).

I added the ladies (flipped versions) backed with heavy cardstock for support. In their hands are filigree pieces with
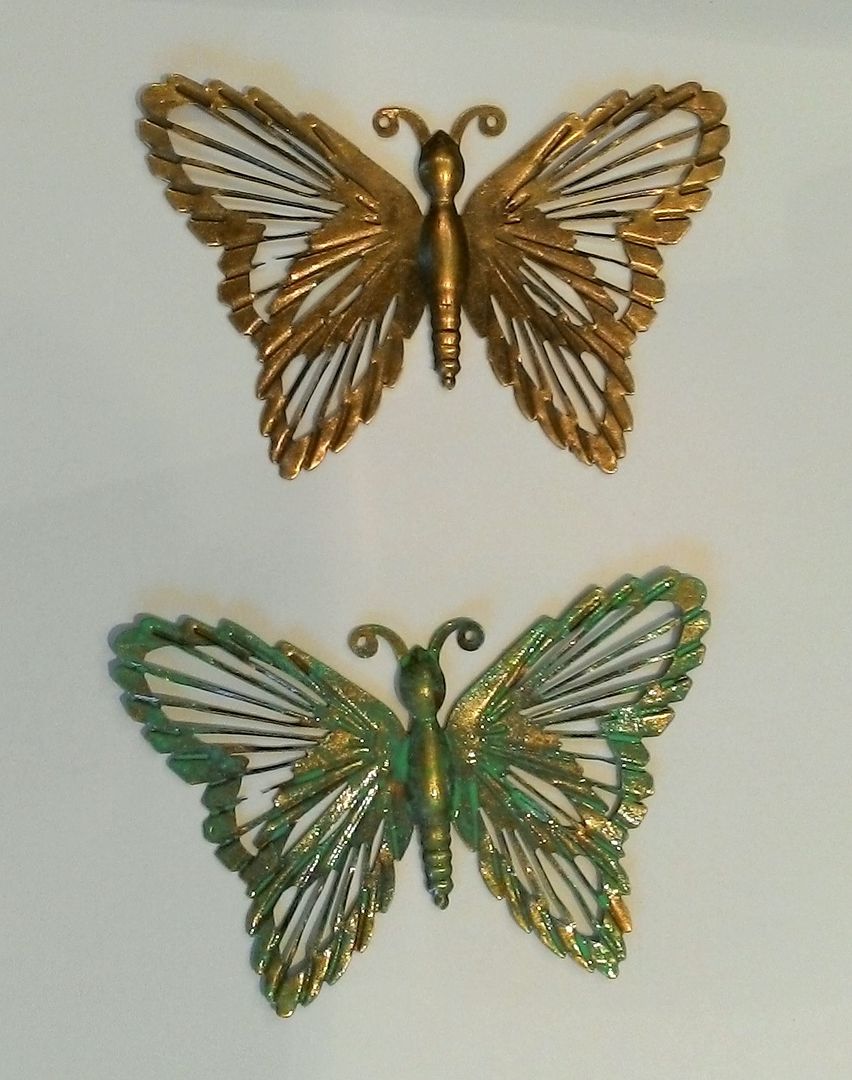
button clocks. The pediment is made of
filigree butterflies.
I painted the butterflies
with a combination of Verdigris
& Jade Metal Patina paint.
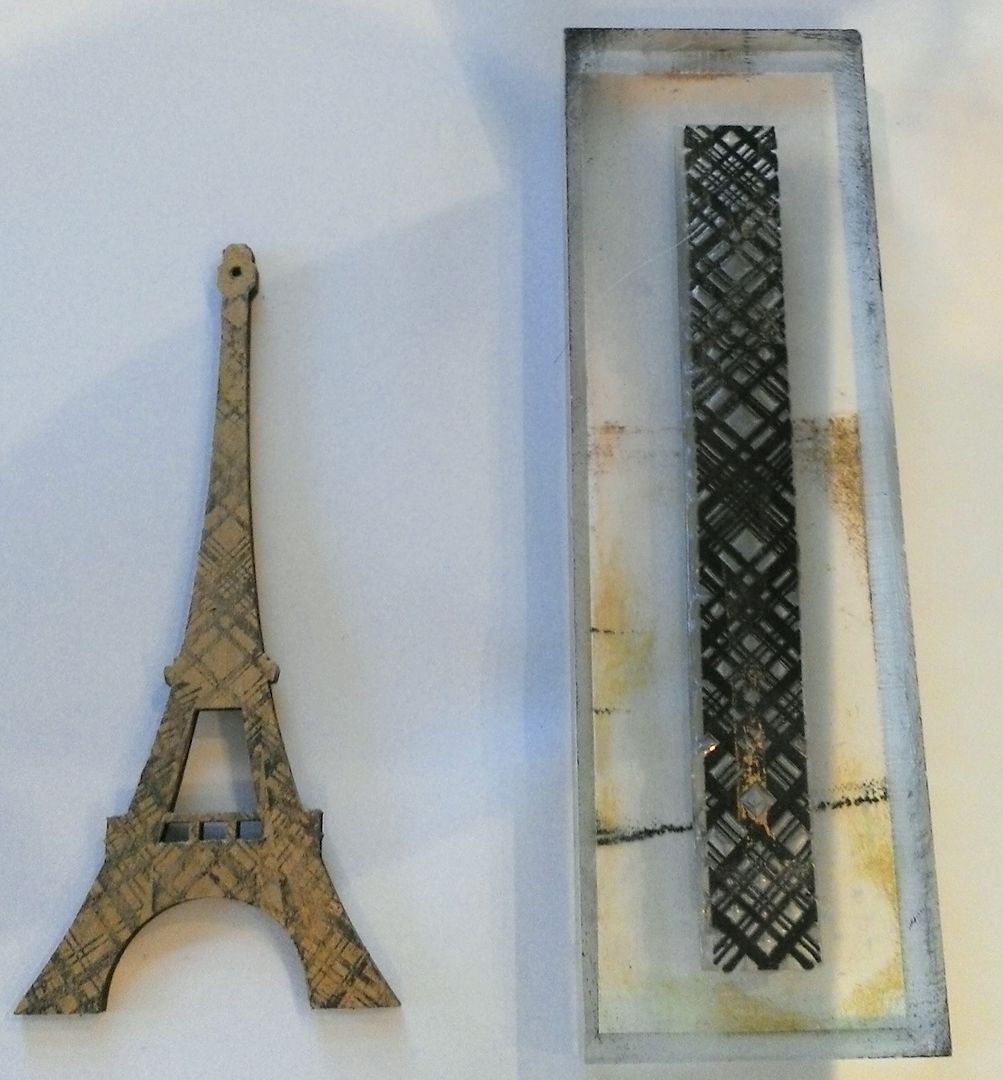
For the 12, 3, 6 & 9 o’clock
positions I used Masonite Eiffel towers.

I first painted the towers
with Gold Alcohol Ink. Metallic Alcohol
inks work nicely on slick surfaces like the Masonite. You could also use the Metal Patina
paints. Next, I stamped the tower using
Black Staz-On ink with a crisscross patterned stamp (from my stash).
For the other positions on
the clock, I used pearlized
stick pins. I inserted them through
the holes in the round filigree piece and glued them in place.
The last step is to attach
the hands of the clock.
INSIDE THE BOX
One thing you need to
consider when planning what you are going to do with the inside of the box is
the position of the clock mechanism on the back of the lid. Make sure the items inside the box don’t
prevent the lid from closing.
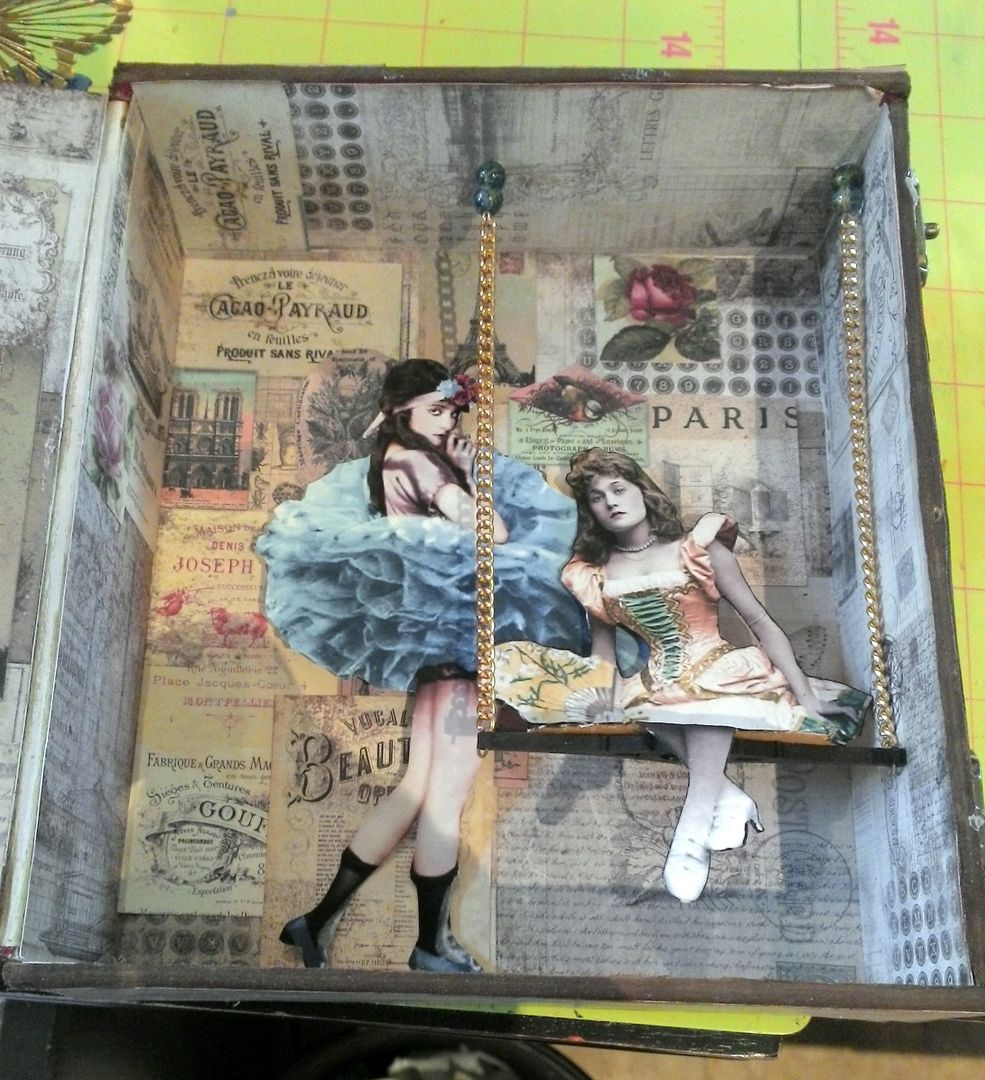
For the swing inside the box
I used two Eiffel towers for the seat.
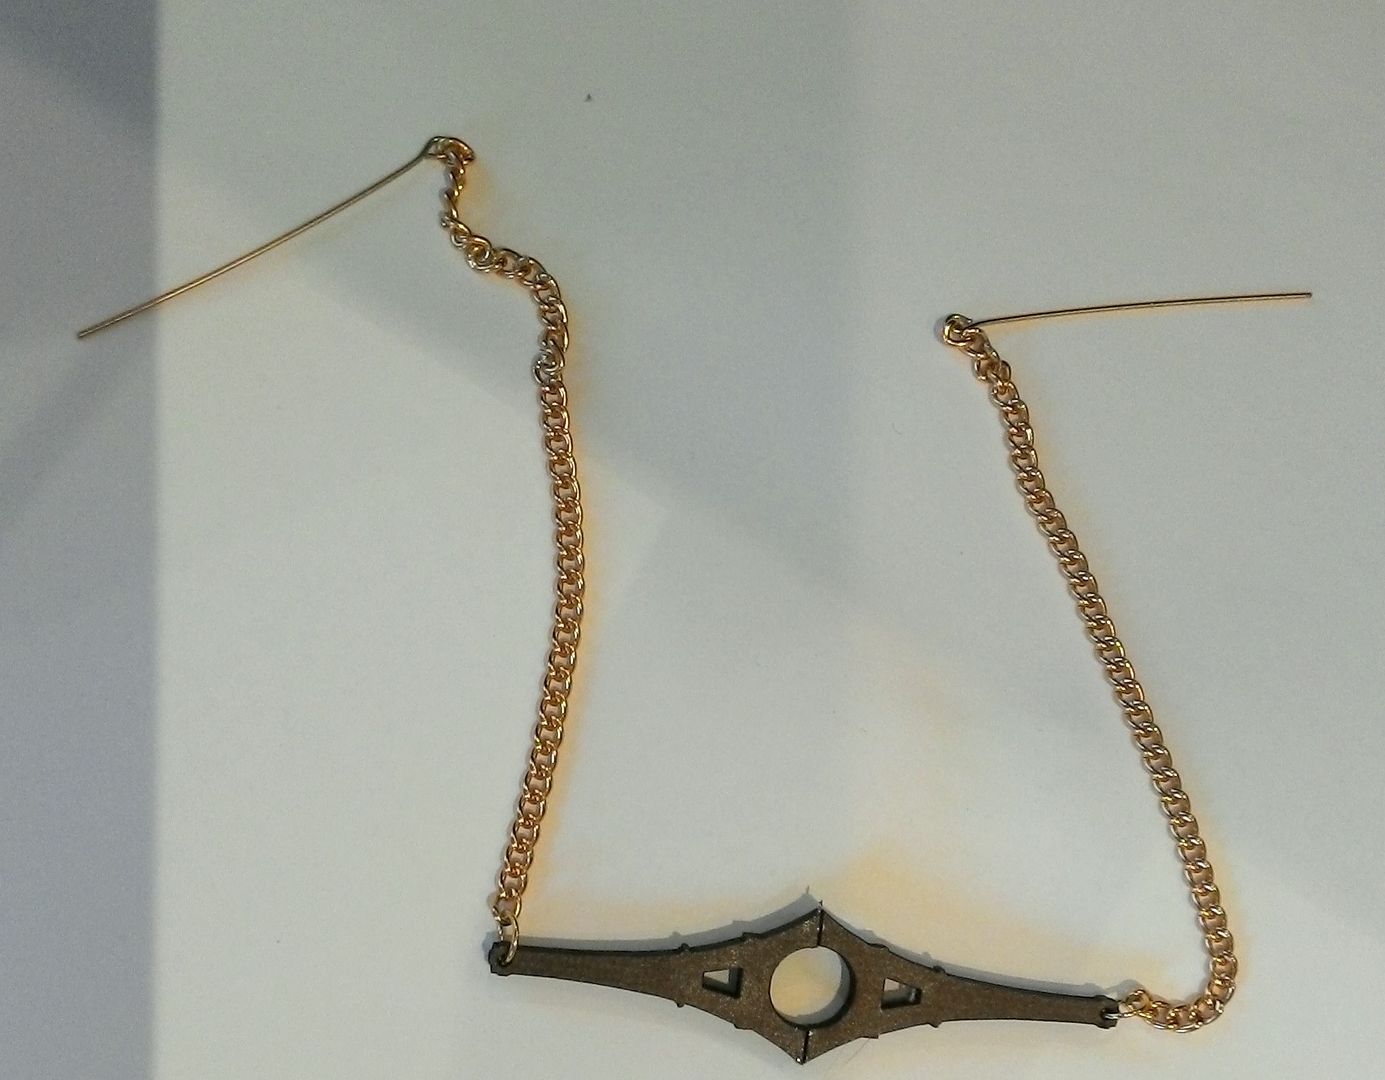
I poked holes in the top of
the box to insert the eye pins to hold the swing in place. I also added some beads to the eye pins. The image of the girl is bent (as if she is
sitting) and glued to the seat. To keep
the seat in place I glued the tip of it to the side of the box on the right. The girl with the tutu is attached to the
back of the box with multiple layers of double-sided foam core tape (to pop her
out).
In the picture below you can
see the top of the box where the eye pins are ticking through the holes then
through a bead and looped to keep the swing in place.
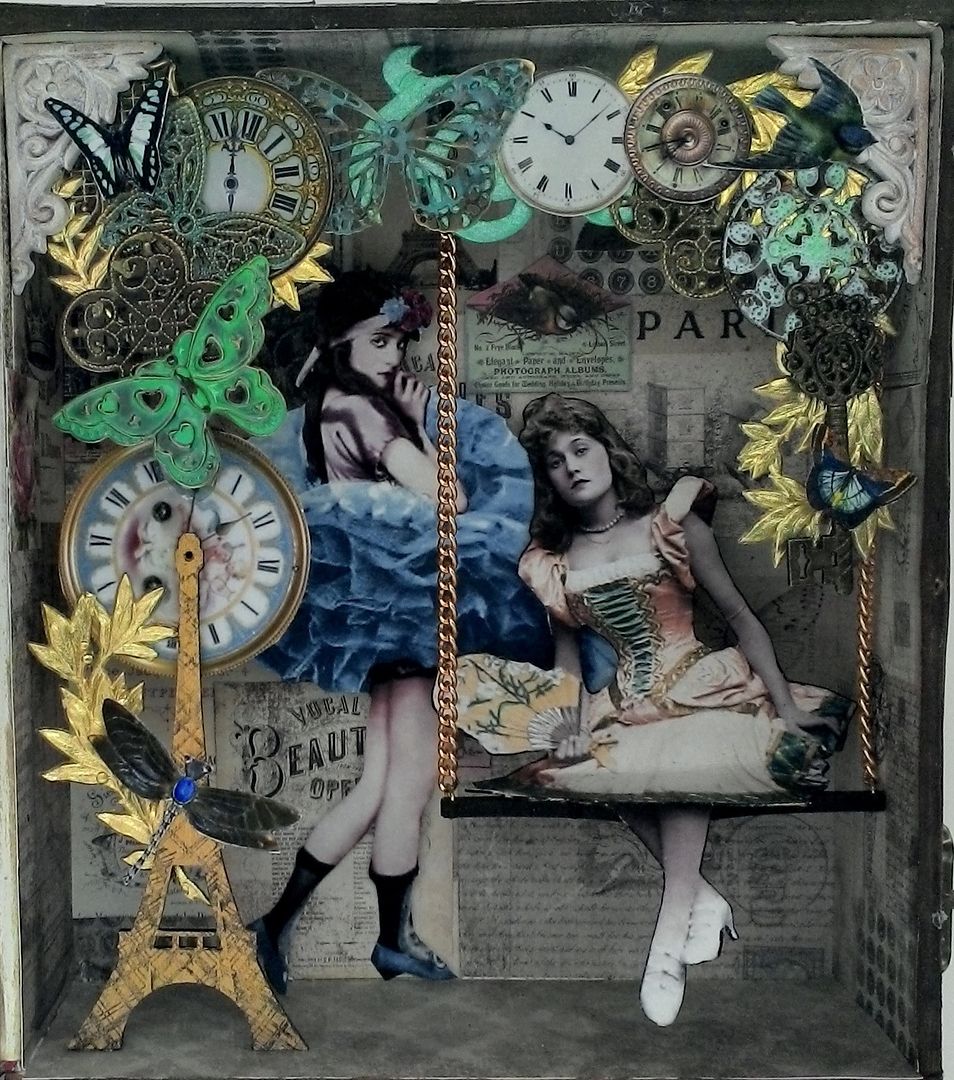
To frame the ladies I collaged
together a Masonite
Eiffel tower, more pieces of filigree, Dresden
myrtle leaves, paper clocks from my Tick
Tock collage sheet and other paper images.
The filigree is painted with the same Metal Patina paint that I used on the
butterfly pediment. I built the collage
on a flat surface first before attaching it to the box. To support the collage in the box, I attached
the resin
gables and then glued the collage to the gables. The Eiffel tower is glued to the bottom of
the box.
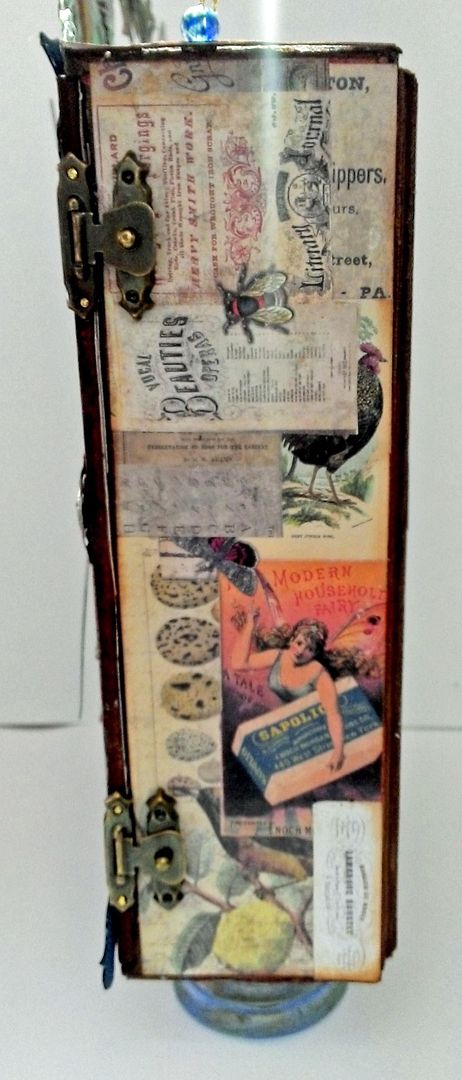
On the side of the box I
attached two latches to keep the lid closed and attached the egg cup feet to
the bottom.
NOTE: If you attach feet to the bottom of the box,
consider the weight of the stuff on the lid of the box versus the weight of the
box (without the lid). If the stuff on
the lid weighs a lot more than the stuff in the box, the box will fall forward
when you open the lid. This is only a
problem if the box has feet.

15 comments:
Stunning and gorgeous project. Love the 3D effect with the swinging girl and the clock. Many thanks for the detailed notes!!
belle réussite
I've been a fan forever. This is the finest thing that I think you've ever made. Thanks for sharing it with us.
I love you!!
Astrid - I am utterly speechless!! Seriously cannot put into words how staggering this work of art is?? Oh My with a Sigh!! :))
This clock is a true work of art! I love the swing!
I am so glad to find your BLOG!
Great post = )
Oh wow Laura! Dazzlement and the extreme gorgeous. Brilliant idea and I am going to apprentice under you with this..maybe different images but this is a beauty.
hugs
susan s
Laura, this is beautiful!
Laura, Simply out of this world Phenomenal!!! Thank you for the detailed tutorial! hugs
Laura,
This is such a cool and creative piece! I just can't stop looking at it. What a beautiful work of art!!
Hugs,
Nancy
Wow, amazing Laura! I love this fabulous cigar box clock!
It is totally awesome my friend.
Have a great sunday and love visiting you.
Hugs and more Hugs
MARTINA ♥
Laura, This is such a fantastic and unique project! Totally gorgeous!
I love the way your mind works! :D
hugs Karen
I am just so in awe of this project. I think it is my favorite. But I can't decide if I love the interior more than the outside....both are so unique and beautiful
Totally gorgeous and very creative haha!!! And a lot of work in it as usual I guess... But the boat I've just admired was so lovely that it won the first place in my heart today Laura... :) Thanks for sharing and for the lovely journey spent on your blog this morning! Bises, Coco xx
Post a Comment