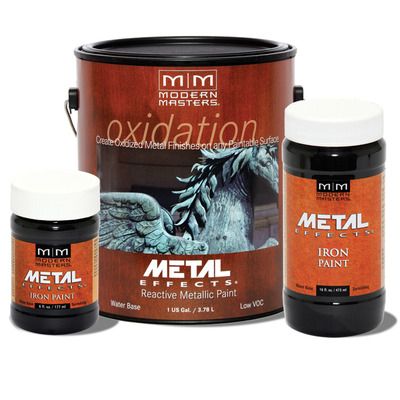
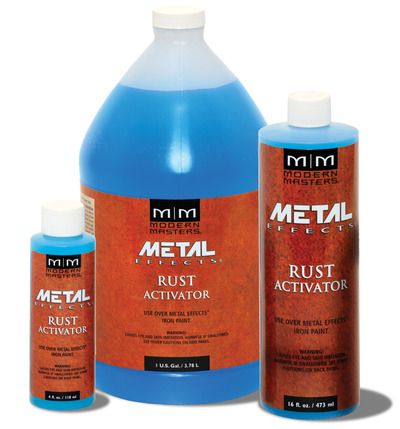
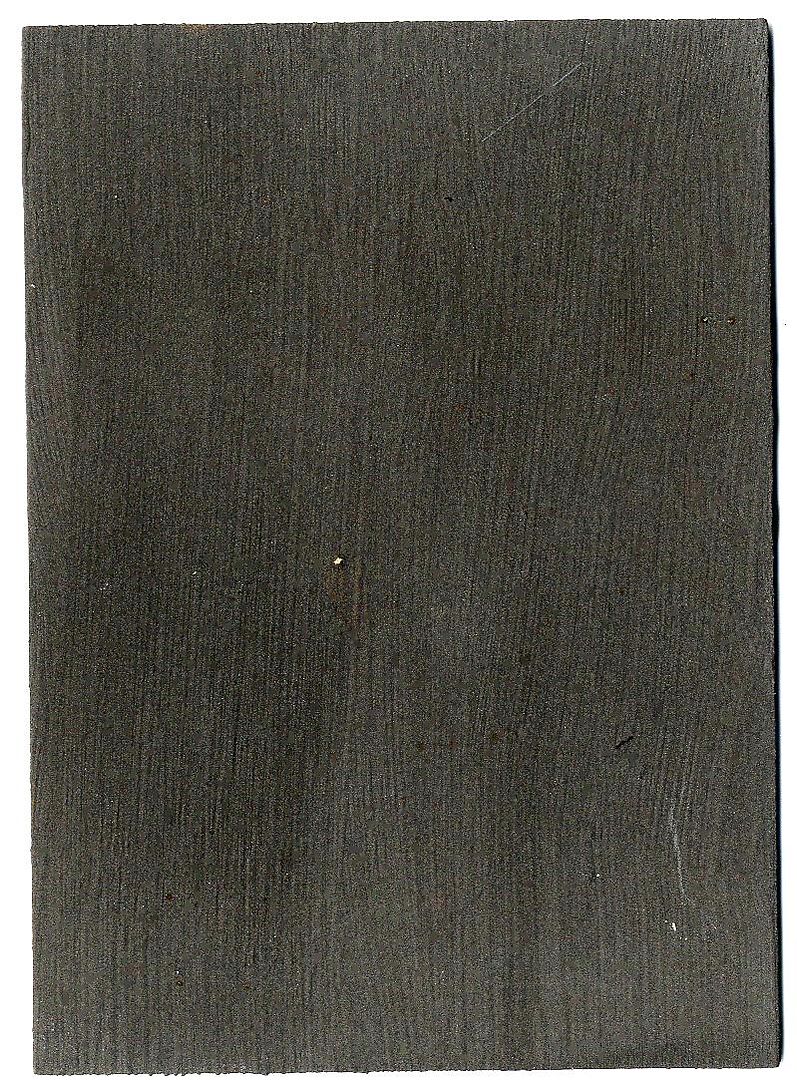
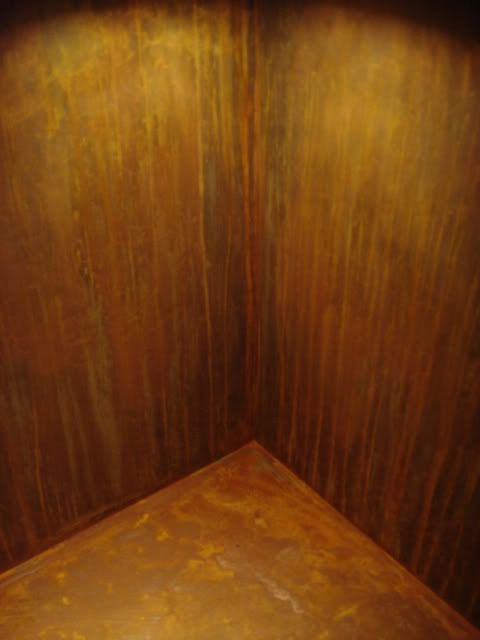
In this tutorial I’ll be rusting paper. The process is the same for any surface. At the end of the tutorial I’ve included pictures of other types of surfaces that I’ve rusted. One thing to note is that although the paint sticks to non-porous surfaces (glass, plastic and metal) it is not absorbed into the surface so it is easy to scratch.
Step One – Applying the Metal Effects Reactive Paint (Iron)
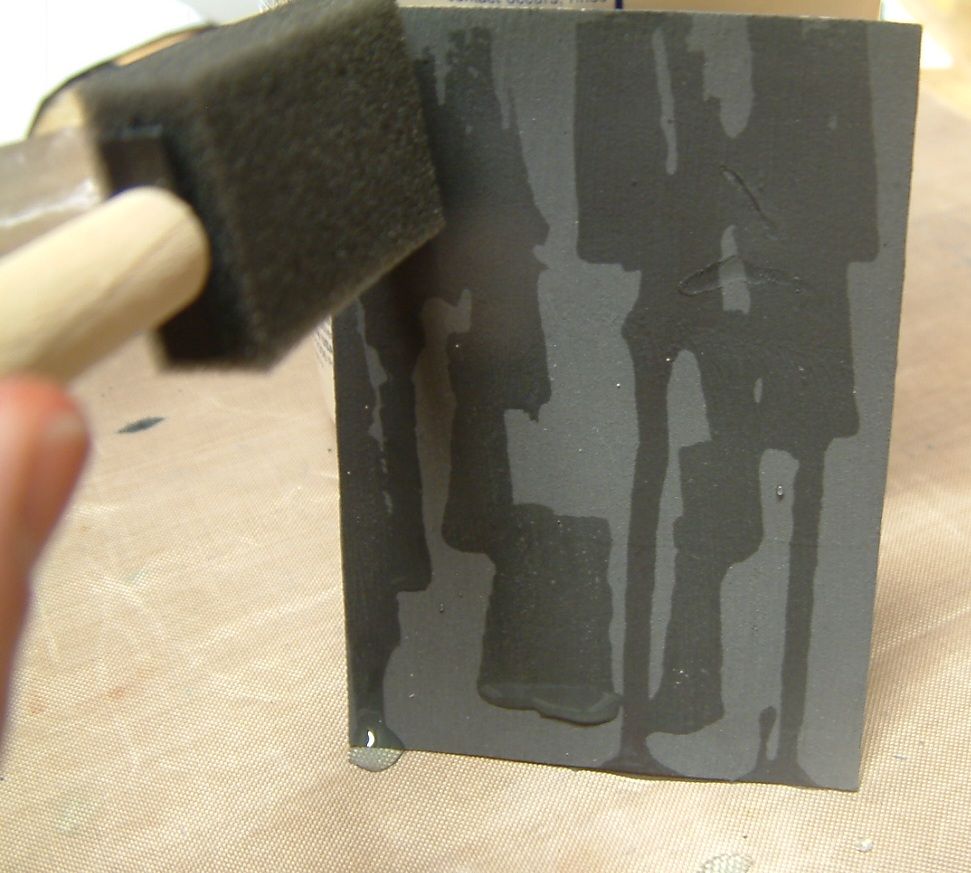
Stir the Reactive Iron Paint to insure the iron flakes are distributed throughout the paint.
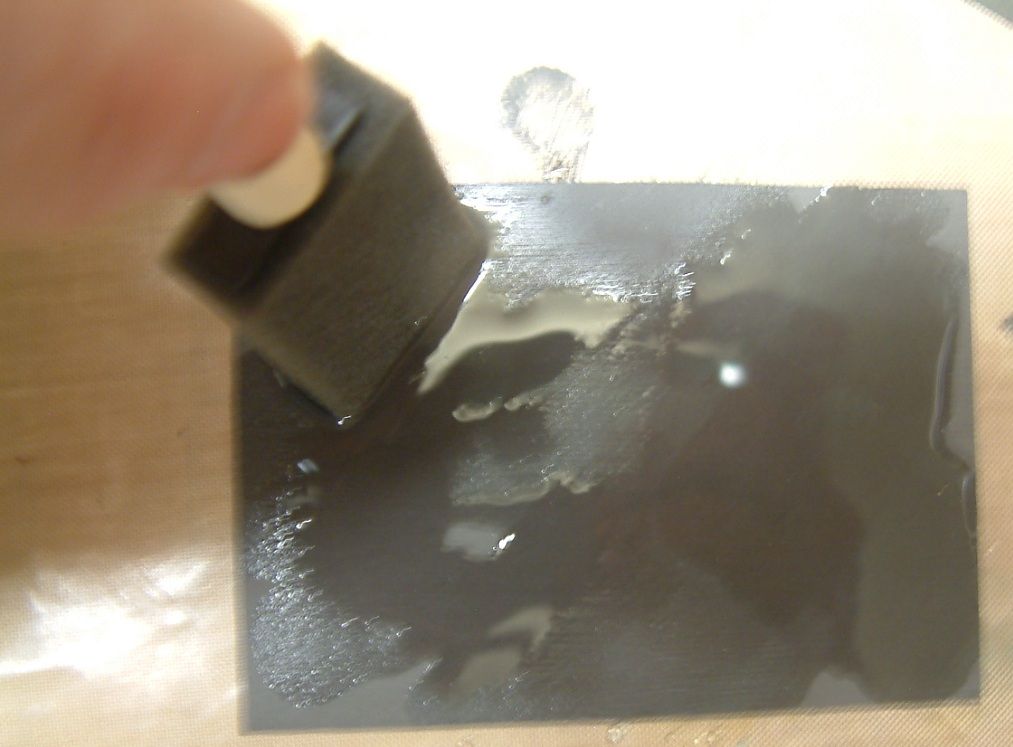
Paint the surface of your piece with the Reactive Iron Paint. You may need two to three coats to insure complete coverage. If you don’t apply enough paint you won’t achieve a good result.
Allow the Reactive Iron Paint to dry between coats.
Step Two – Applying the Rust Activator
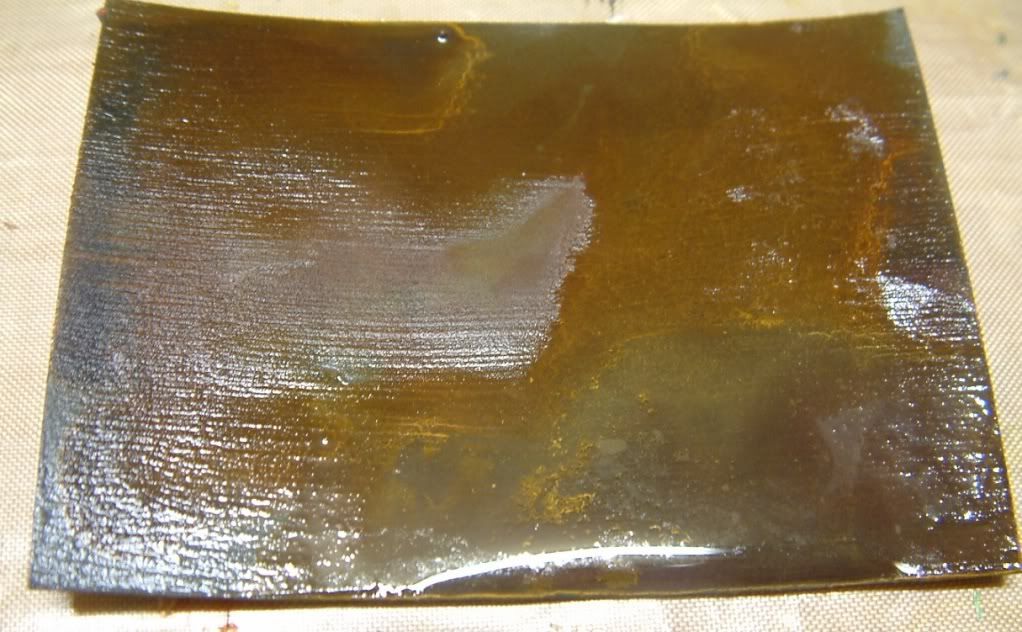
- Coat the surface with the Rust Activator. To achieve a varied appearance (rusting more in some areas than others) allow the Activator to pool on the surface.
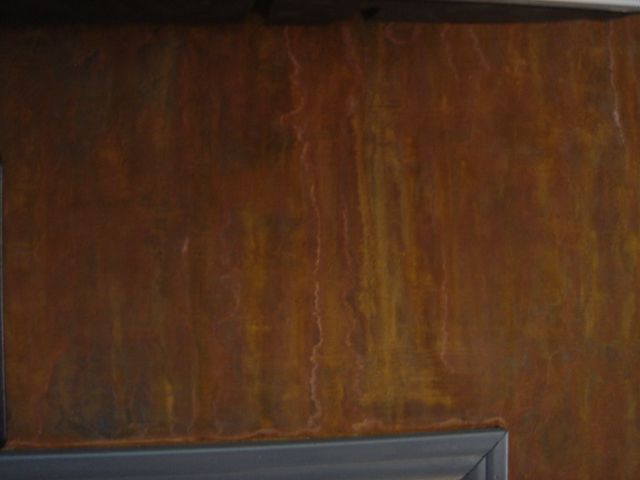
Another option is to prop up your surface, then apply the activator to the top, allowing it to drip down the paper creating streaks of rust.
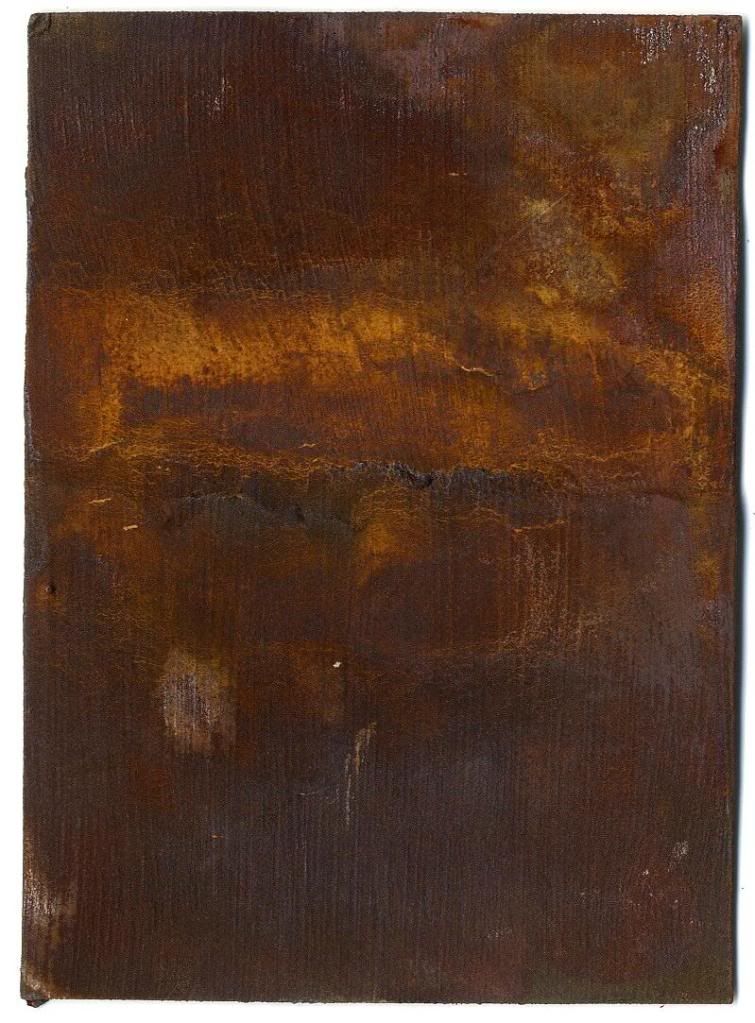
THE END RESULT
You can see in the two examples below, that the results will differ depending on how much Activator you use and where you let it puddle.
Step Three – (Optional) – Apply a Sealer
If you live in a very damp climate or if the object is out in the elements, you may want to seal the surface at the end of the process to prevent further rusting. For most indoor art projects this may not be necessary. Modern Masters sells a sealer or you could use other sealing products.
Other Ideas
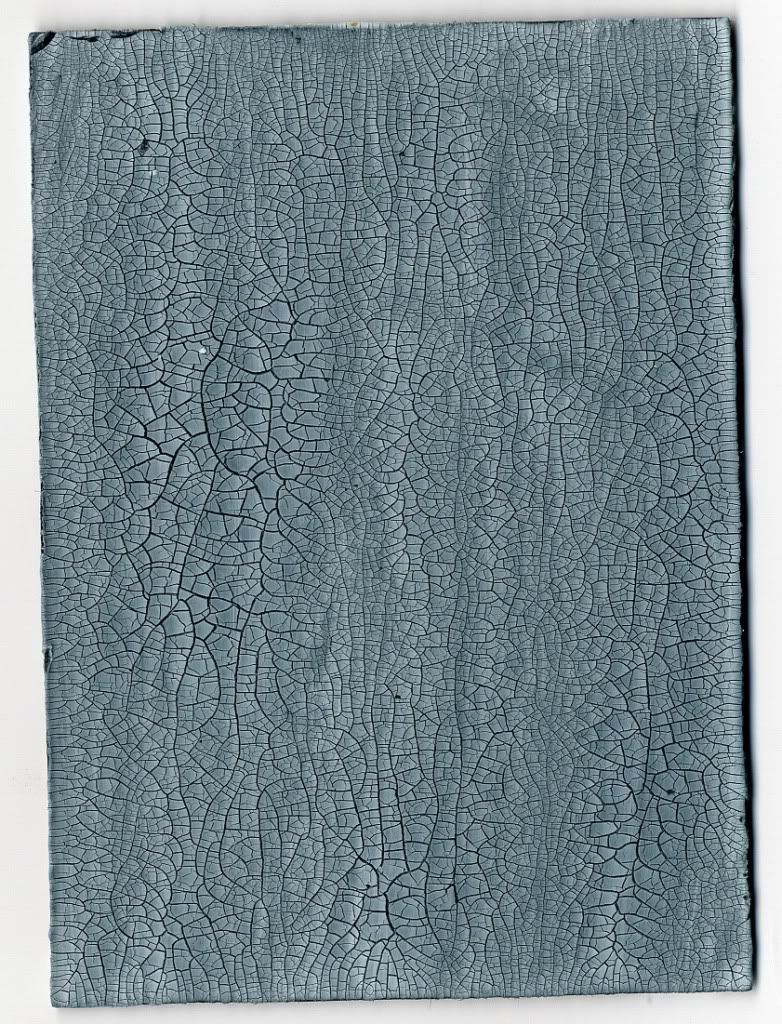
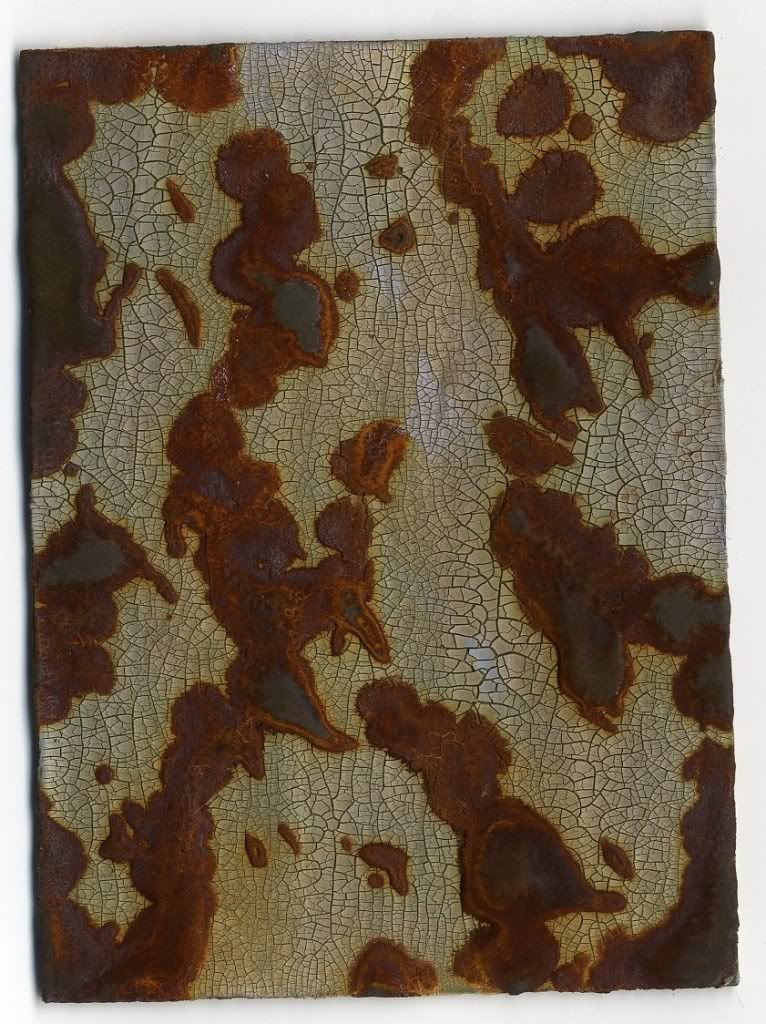
One of the great things about this product is that you can choose to rust only certain areas your surface. In the example below, I started with a piece of chipboard backed cardstock that I crackled with Ranger Crackle Paint. Next, I dripped globs of the Iron Paint onto the surface. Lastly, I applied the Rust Activator. As you can see, only the areas with Iron Paint are rusted. As the Rust Activator sits on the surface of your piece, you’ll notice the liquid becoming rusty. In the example below, I liked how the rusty liquid bled onto the blue.
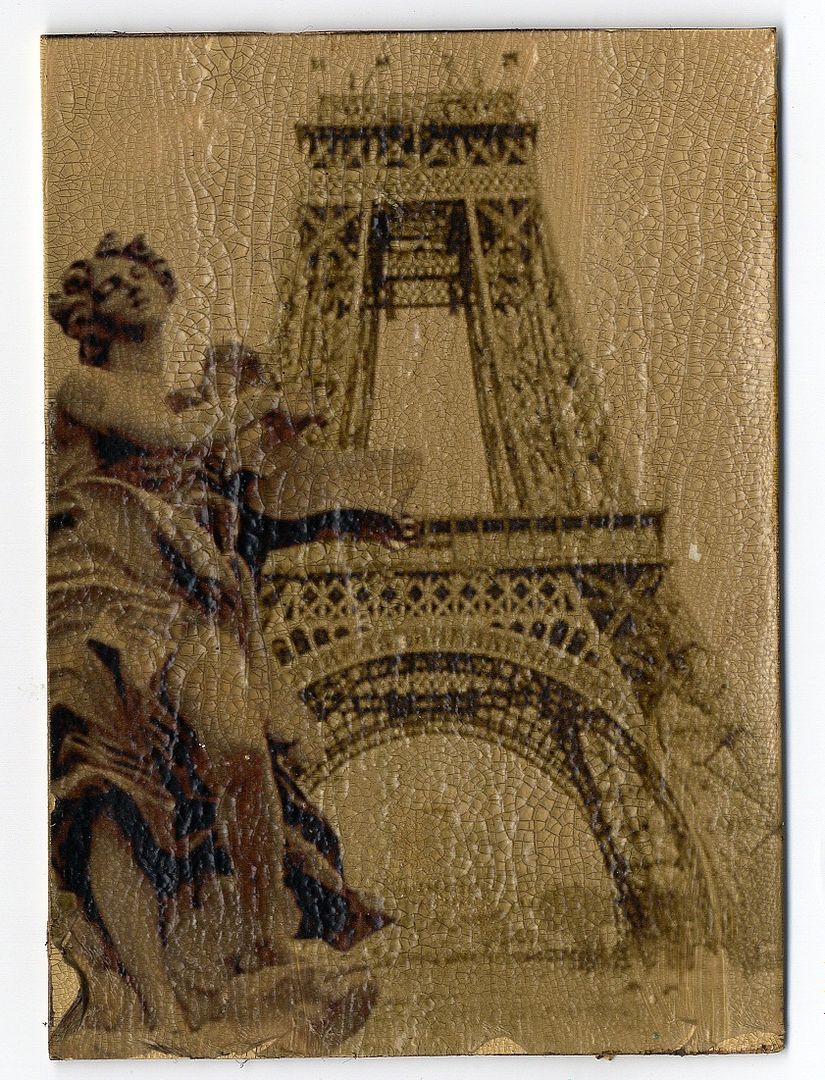
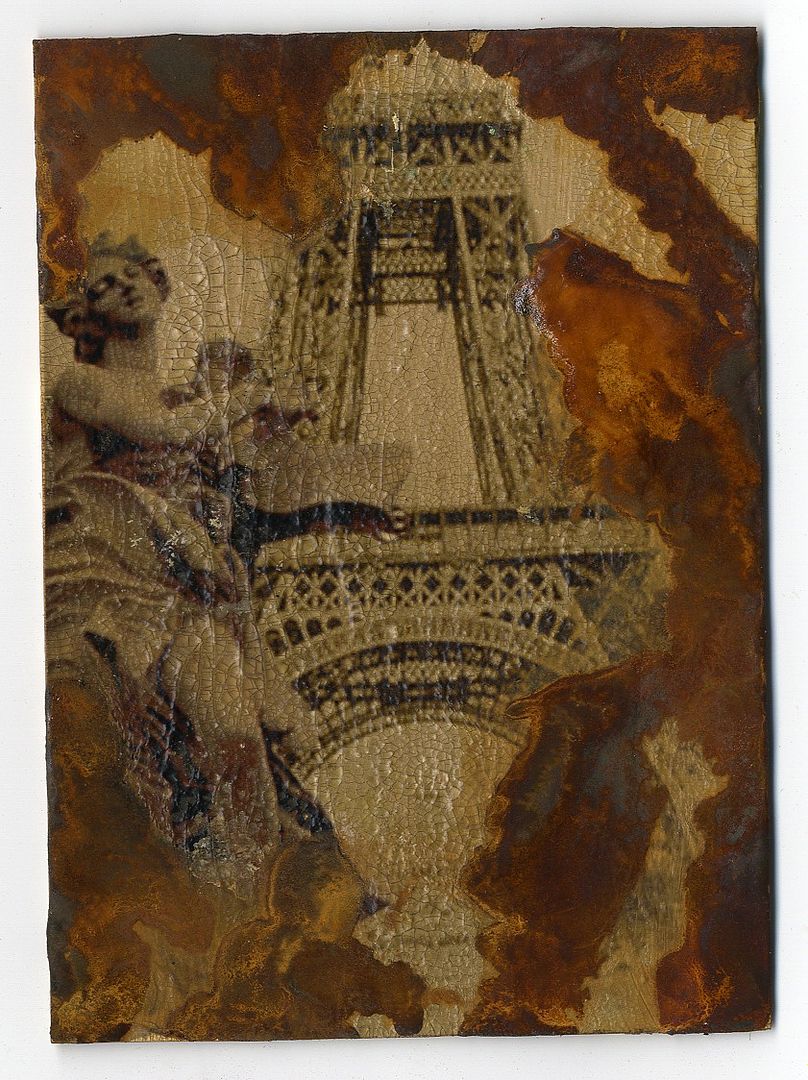
In the example below, I started with a piece of chipboard backed cardstock that I crackled with Ranger Crackle Paint. Next, I applied a rub-on-on transfer image I created with Grafix Rub-Onz (click here for the tutorial on this process). Then I applied the Iron Paint and finally the Rust Activator. Below are examples of different surfaces I’ve rusted using this product.
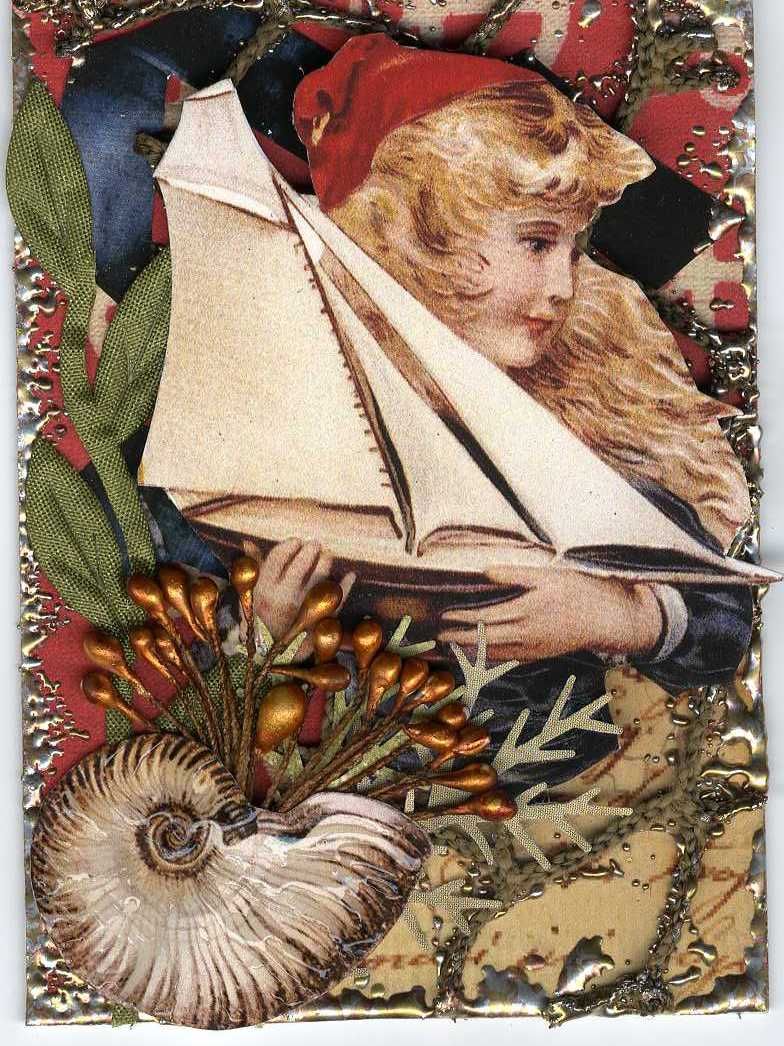
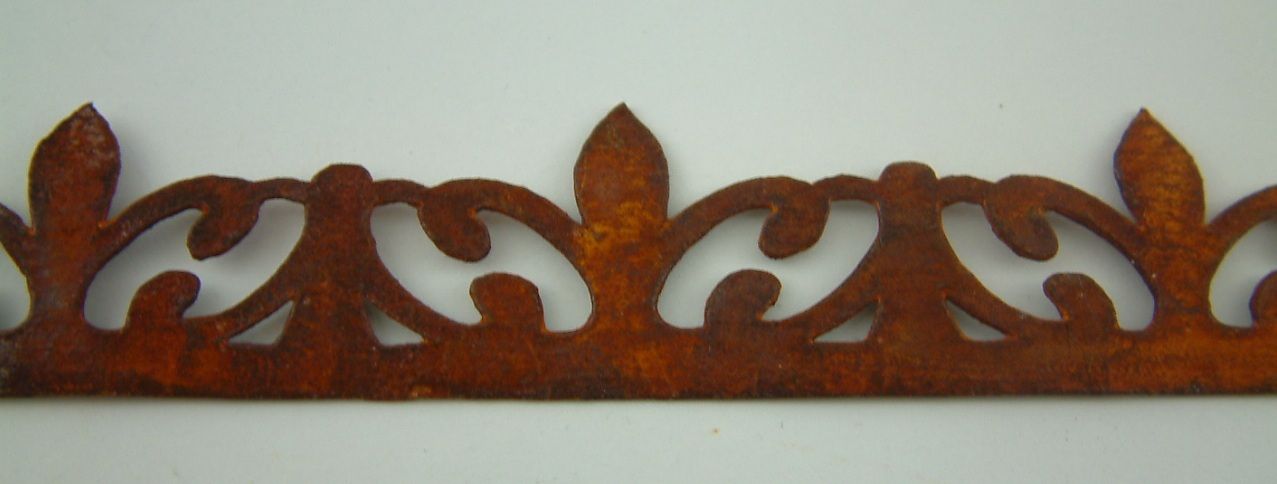
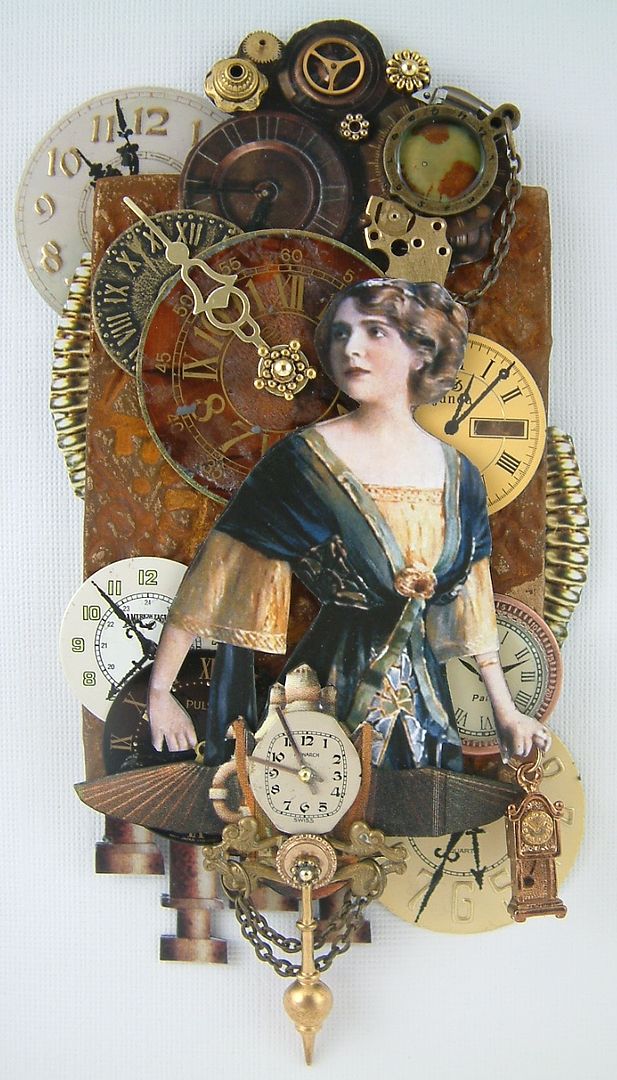
Artwork Using the Rusted Paper Border
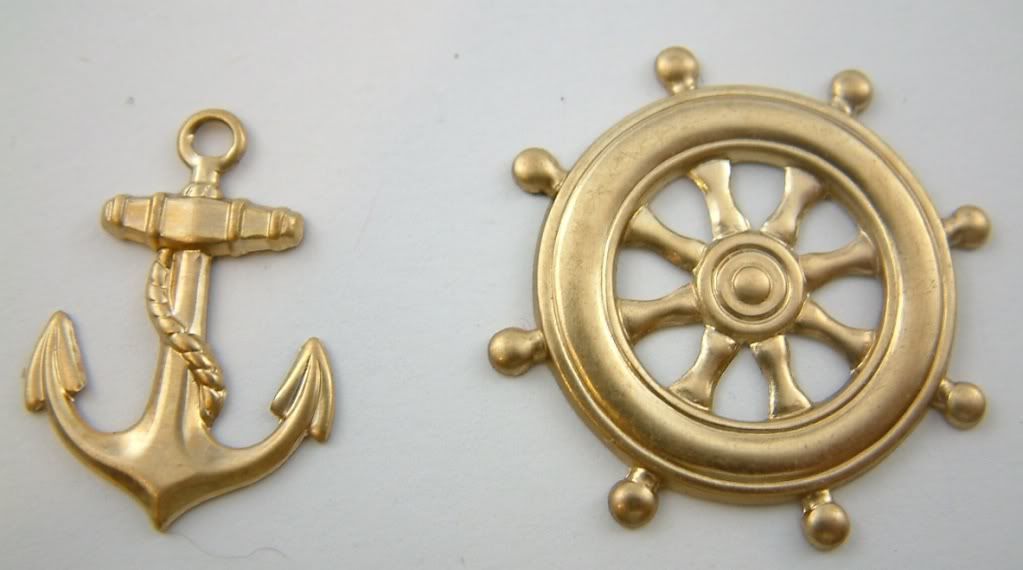
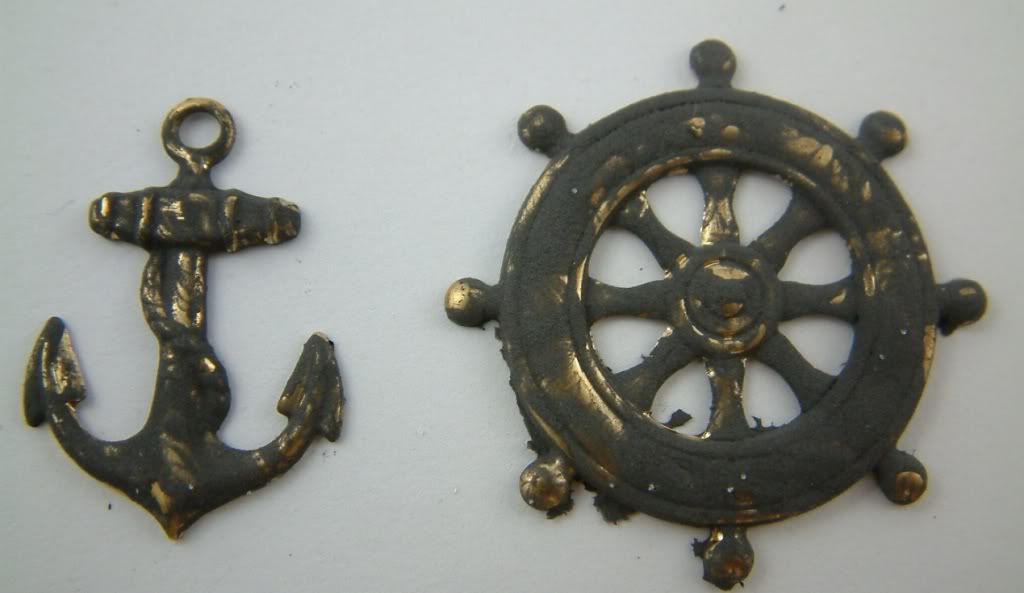
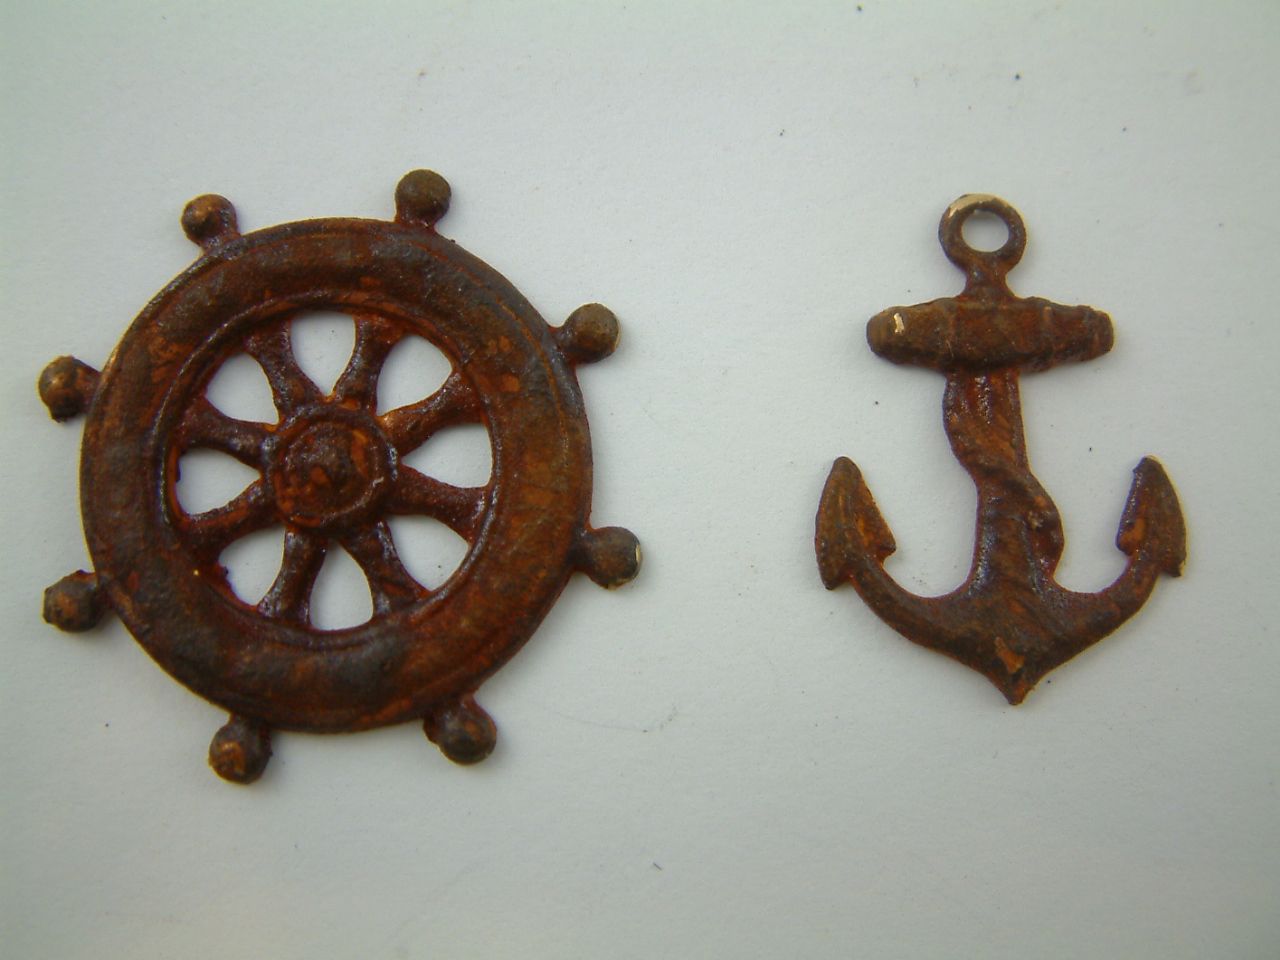
Rusting Brass
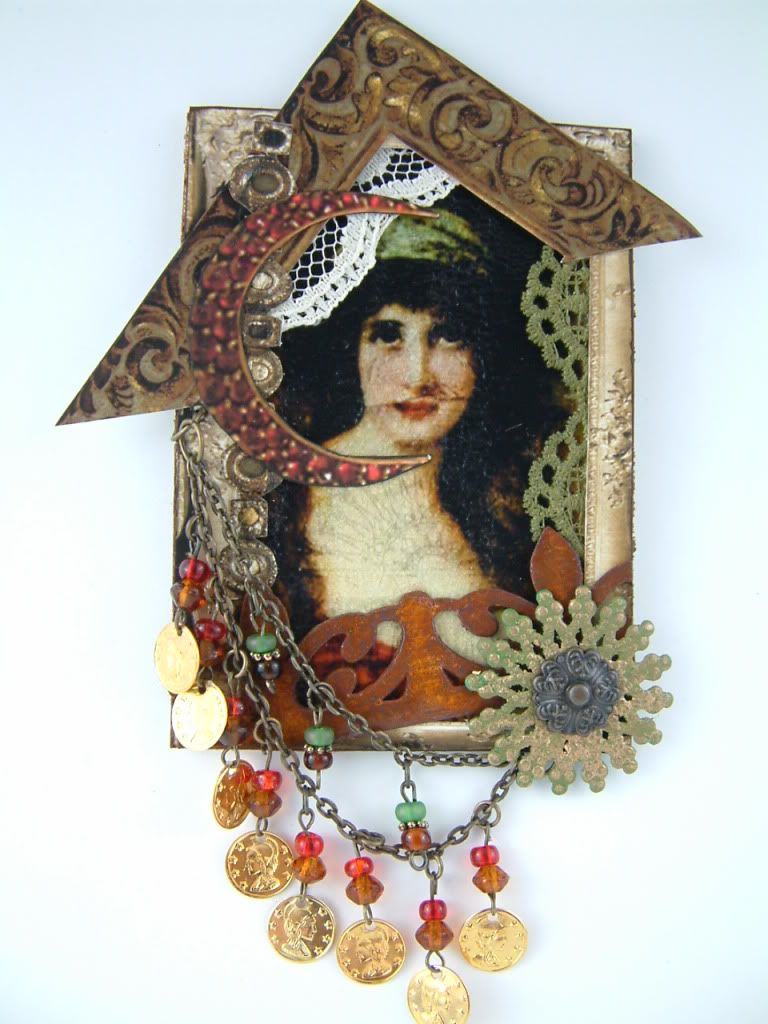
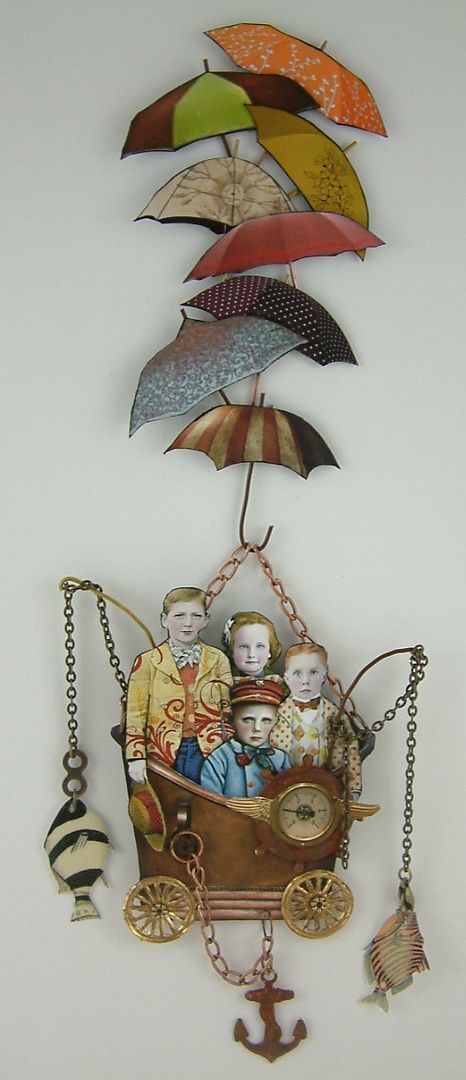
Artwork Using the Rusted Brass
Rusting Clay
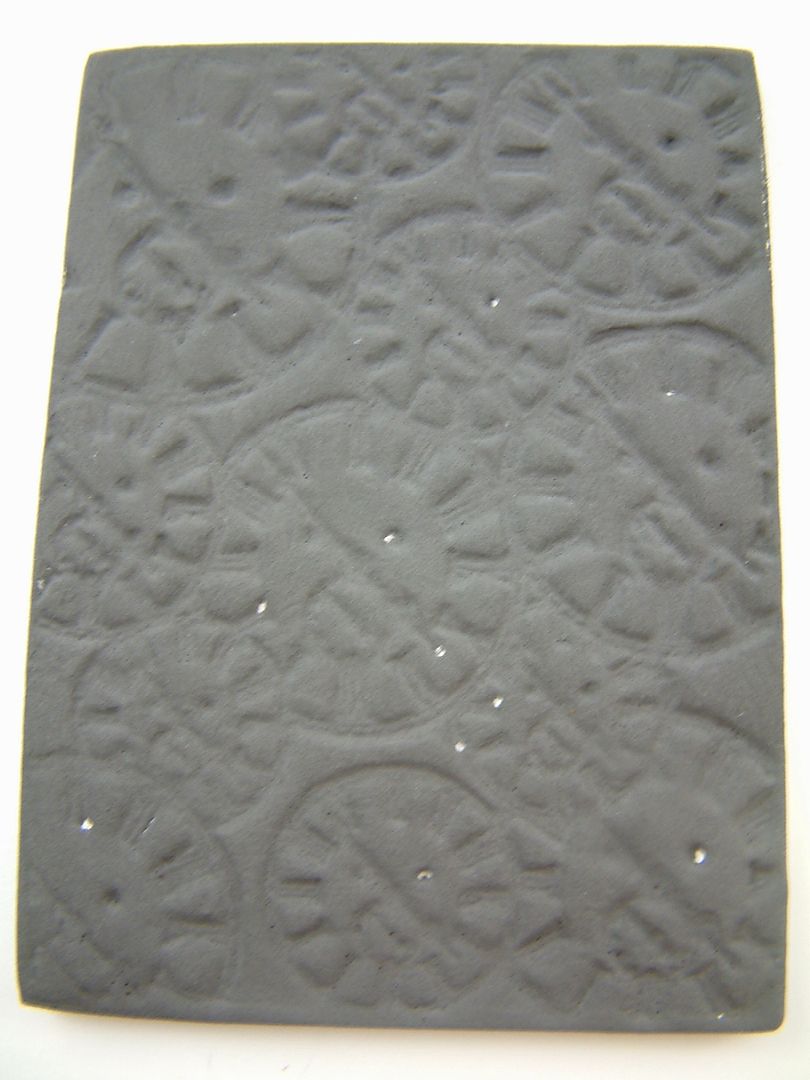
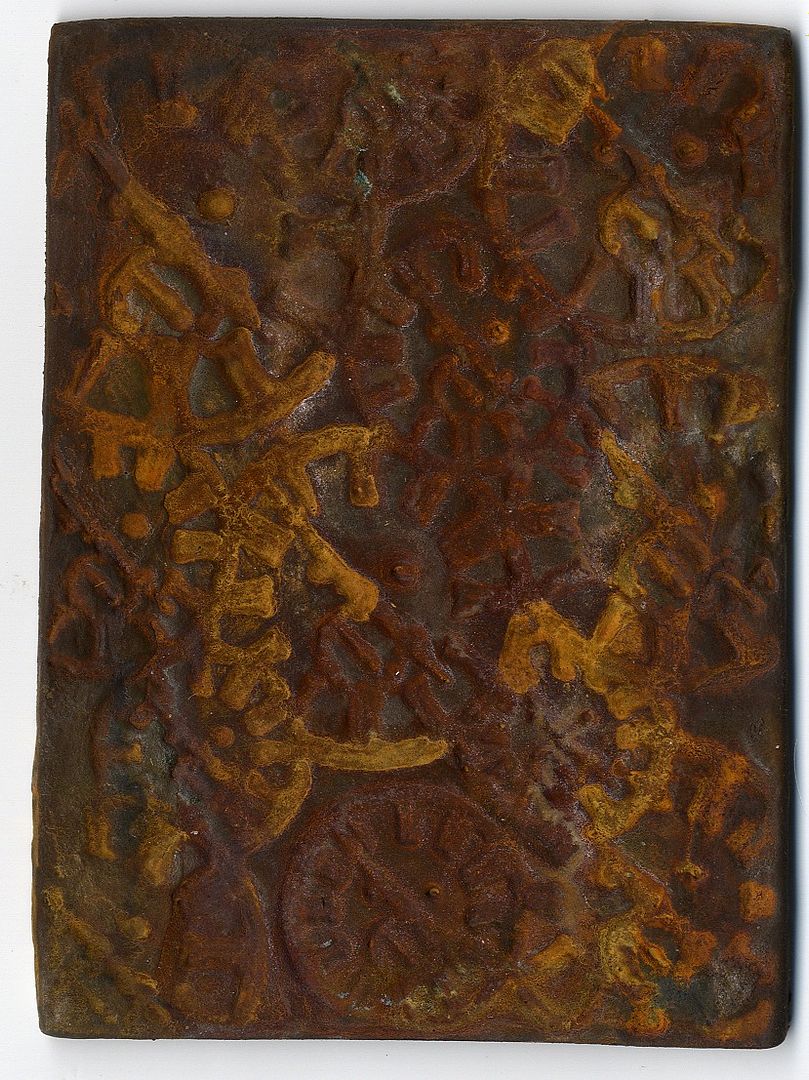
The paper clay was first embossed with a rubber stamp, and then rusted. This process works with any type of clay.
Before apply the Reactive Iron Paint
After Appling the Reactive Iron Paint
After Appling the Rust Activator
Artwork Using the Rusted Clay
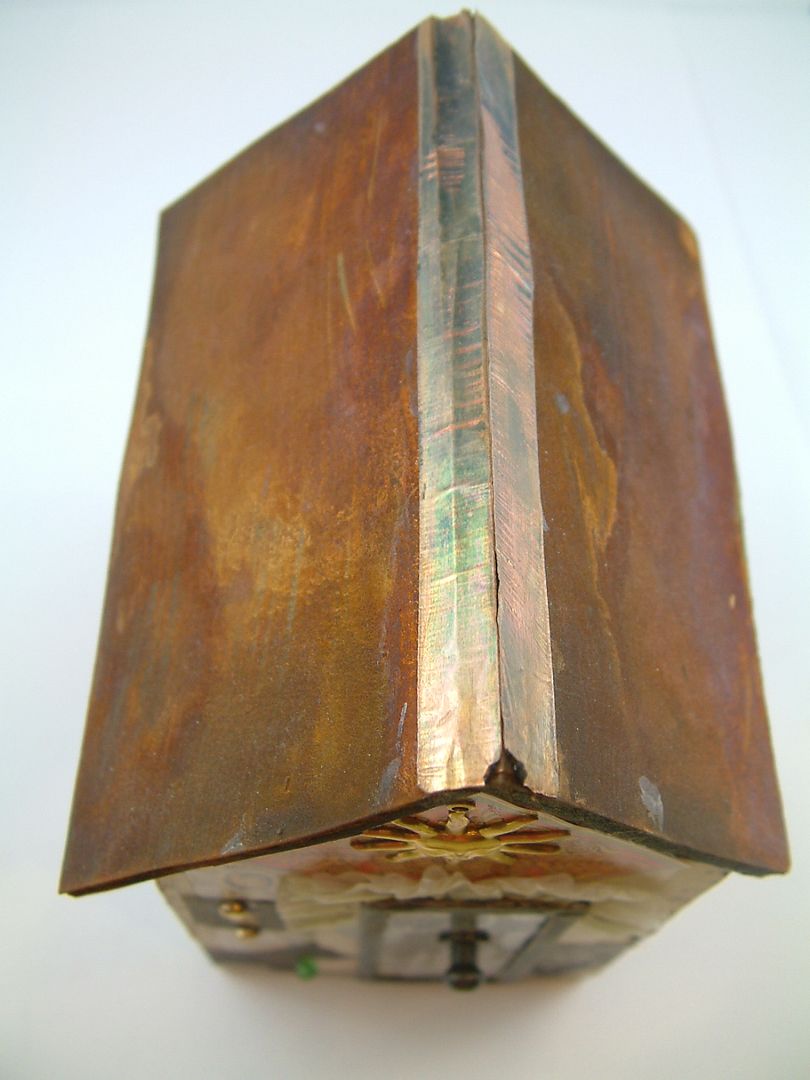
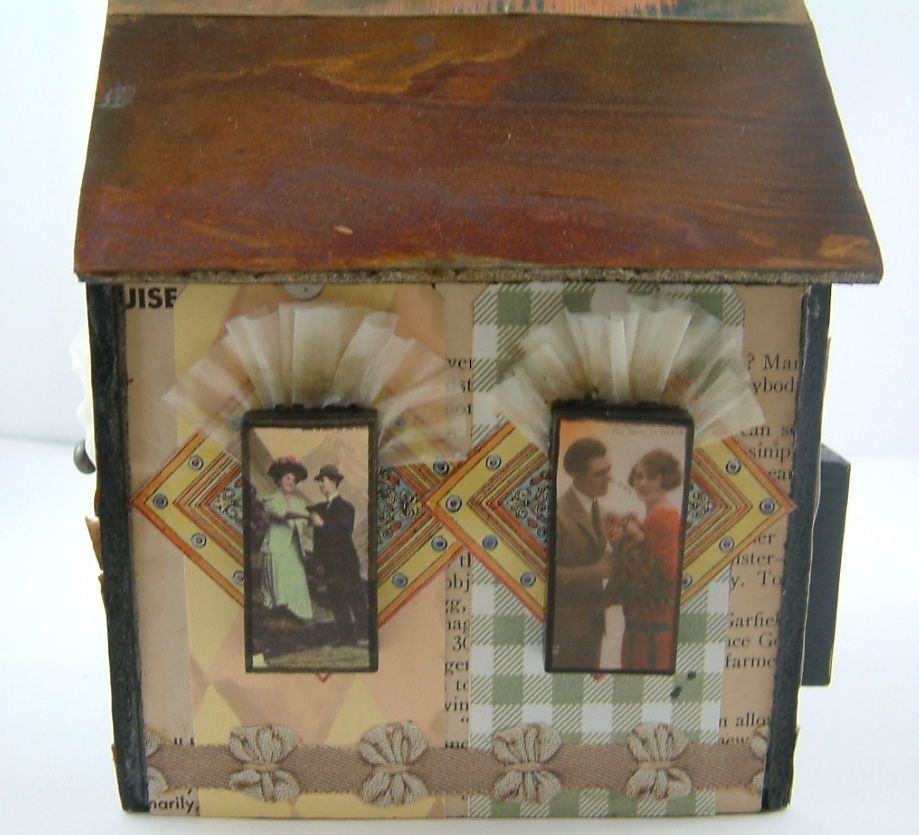
Rusting Foam Core Board
The roof of this house is made of foam core board.
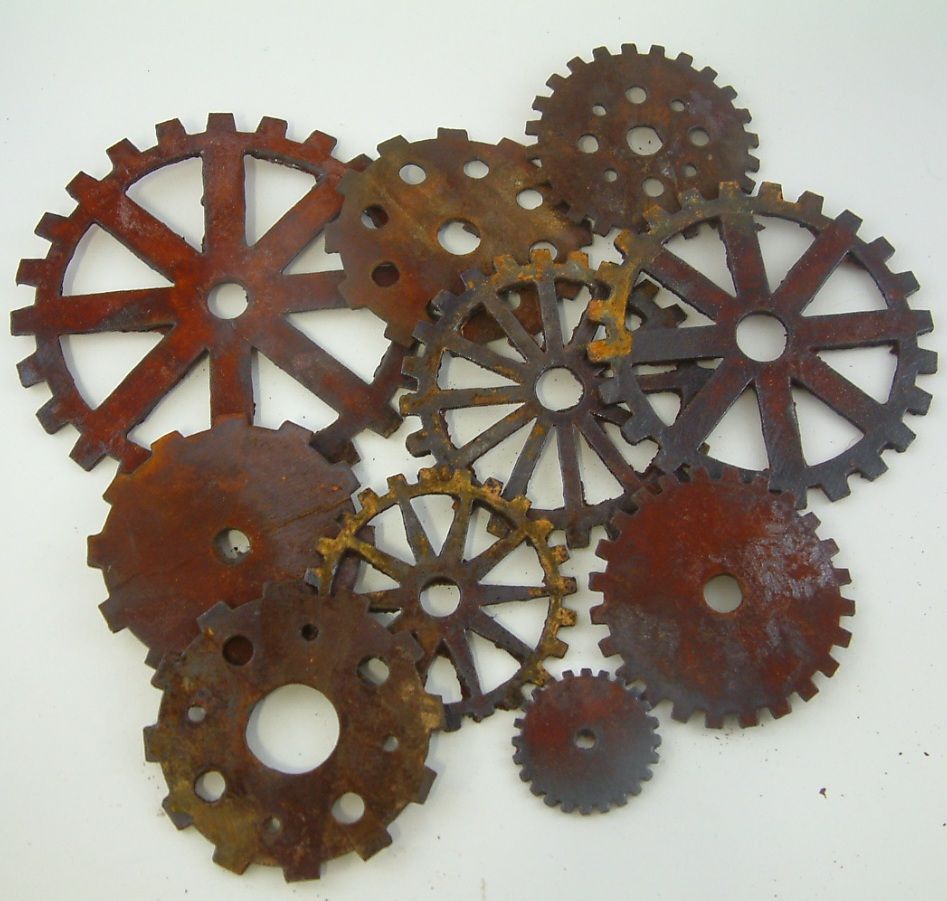
Rusted Chipboard Gears
You'll have to wait to see what I do with the gears.
Rusted Glass
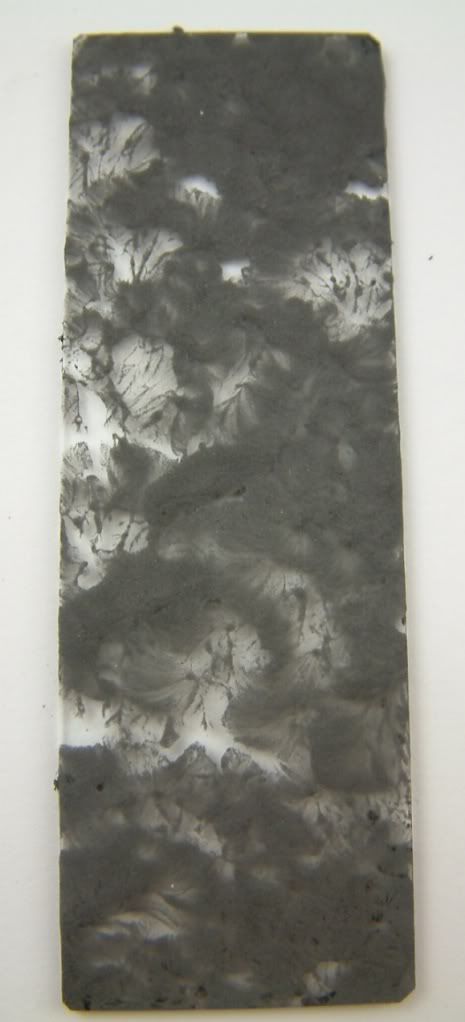
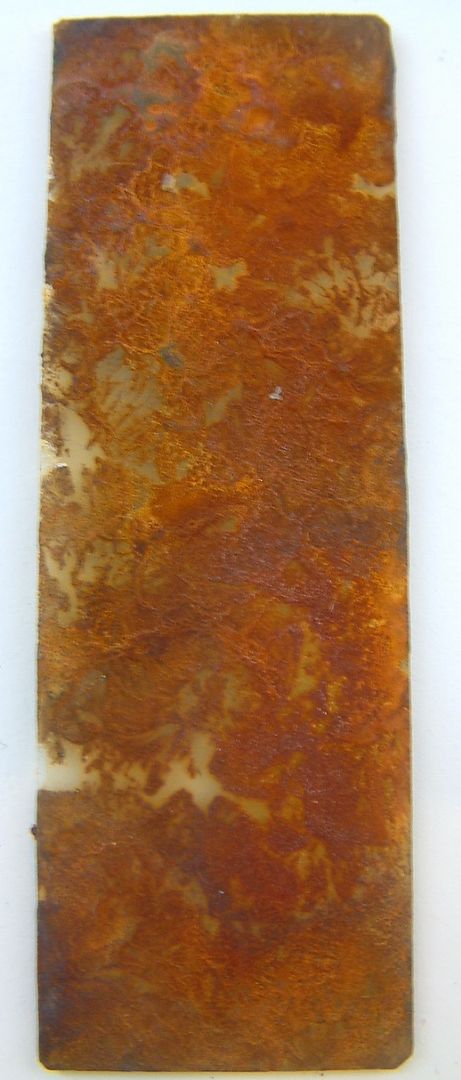
I applied the paint to only some of the surface so that you could still see that the surface is glass.
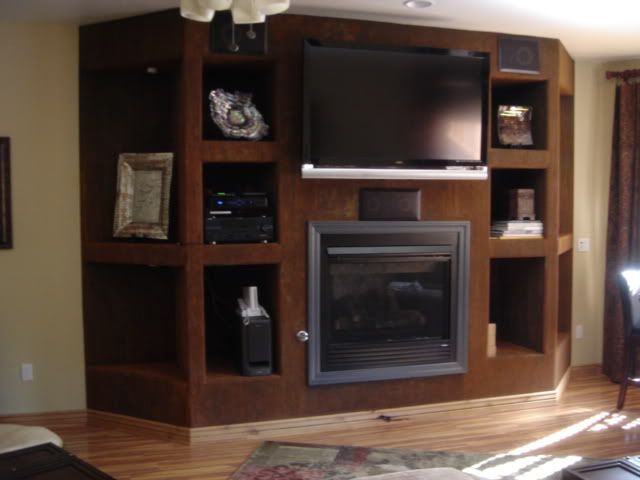
I liked this product so much I rusted a wall.
Below you can see the result of letting the Rust Activator drip down the surface.