-->

Welcome

I love answering your questions. If you ask them in the comment section, I have no way to answer you (if you haven't heard from me, that is why). If you use the "EMAIL ME" in the left column of this page, I will be able to respond to you. You can also use it if you want to be added to my newsletter. Laura

Friday, April 11, 2014

Ship Ahoy! - Tutorial & New “The Sea Calls to Me” Collage Sheet

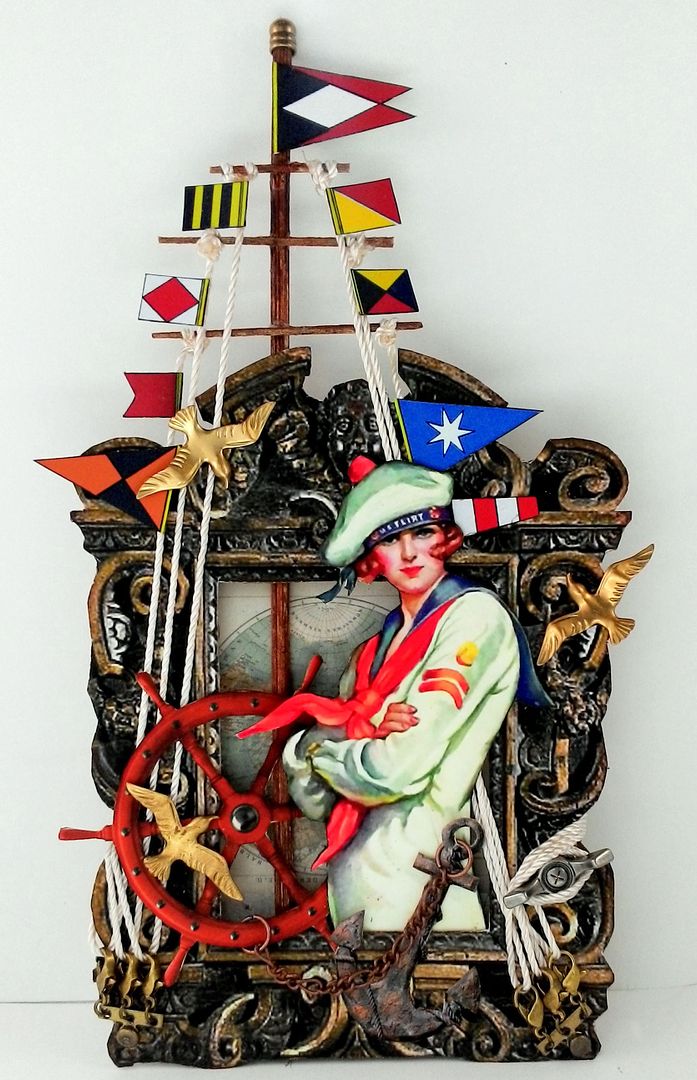
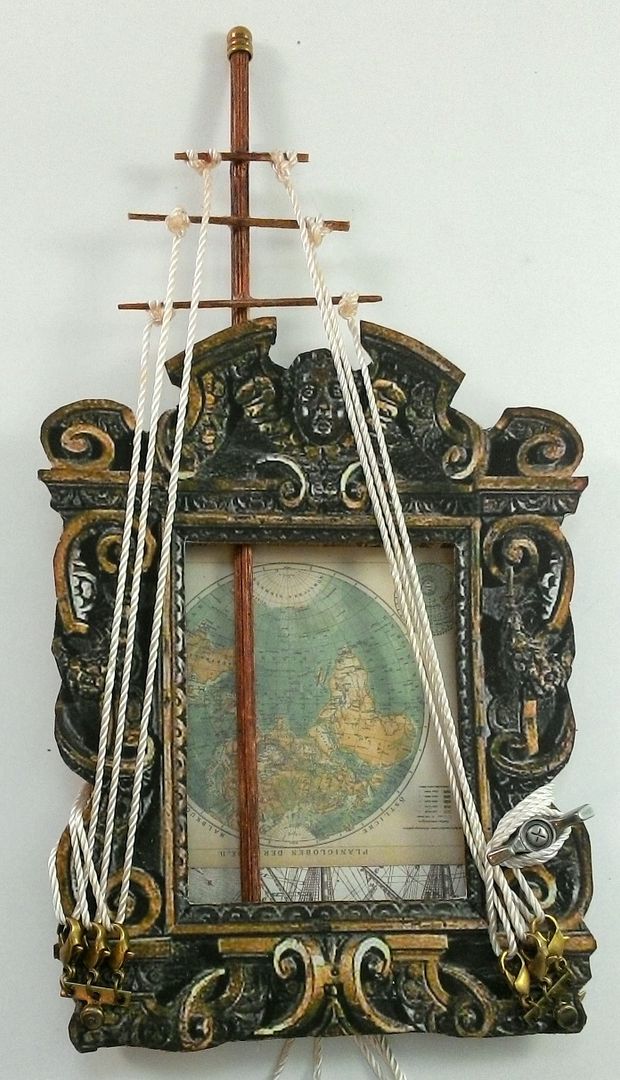
This is the first of multiple nautical and summer-themed pieces I have to share with you.  Titled “Ship Ahoy” the overall size of this piece is 5”x 8 ¾”.  Its unique feature is a ship’s mast with rigging which I think makes a great embellishment for any nautical themed project.  In the tutorial below, I’ll walk you through how to make a mast and how I assembled the piece

Just in time for the summer, I have a new nautical-themed collage sheet titled “The Sea Calls to Me”. The sheet is packed with seafaring women and nautical ephemera.  Click on the image below to purchase the sheet.

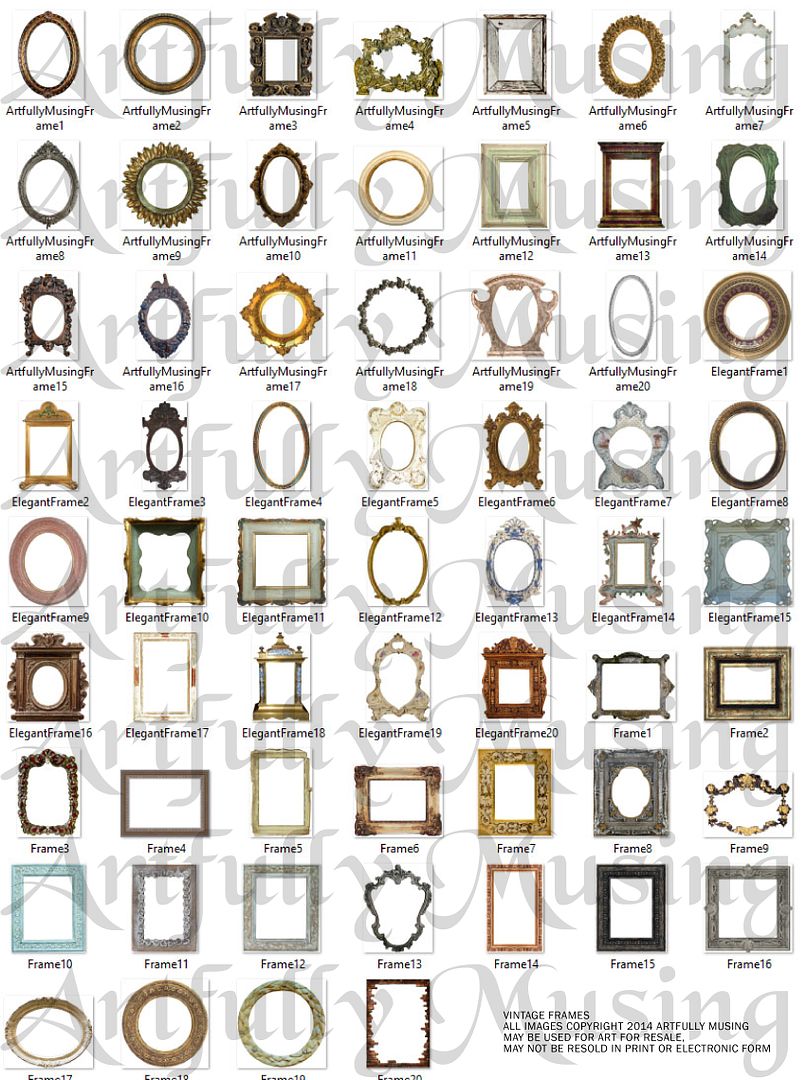
Frames are a great way to add structural elements to your projects and to create a focus on some of the elements in your piece.  I like to not only use the whole frame but also pieces of the frame or combine pieces of different frames.  The digital image set contains 60 separate and unique images with various styles.  Because these are separate images and are 300 dpi it is easy to change the size to fit your project.  Click on the image below to purchase the digital set.

TUTORIAL
To make the mast and rigging you will need string, a wooden skewer, flat toothpicks, stain or paint and hardware to serve as rigging.
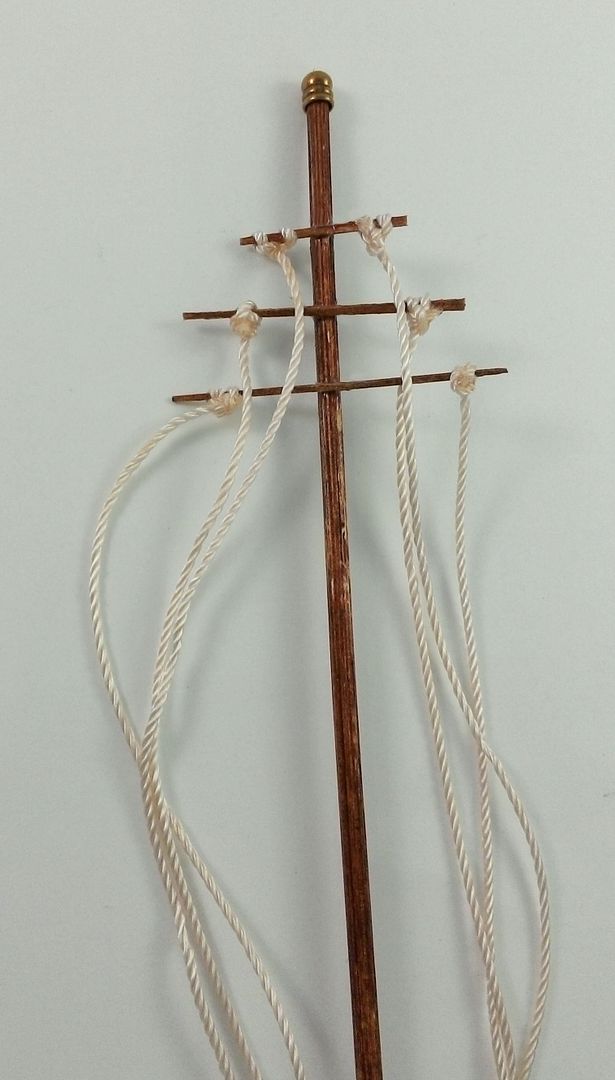
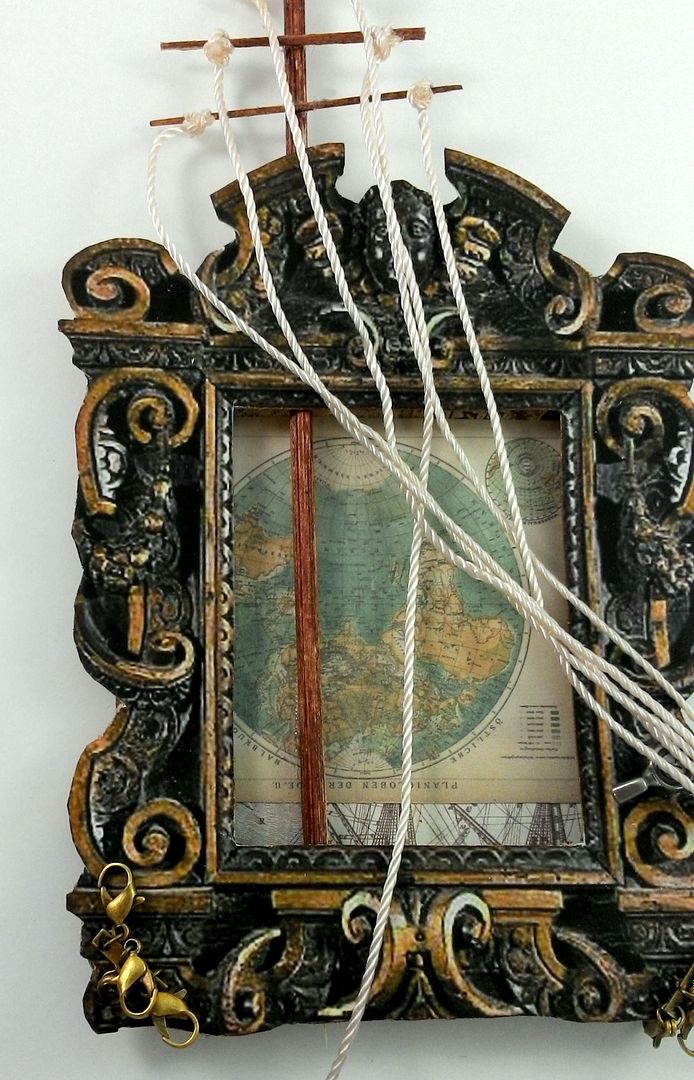
Start by staining or painting the three toothpicks and the wooden skewer.  Cut 6 long pieces of string (better to have extra than too little).  Tie each piece of string to the ends of the toothpicks.  After snipping away the excess string from the toothpick, add a little dab of glue to the knot to help keep it in place.
Stagger where you tie the string on each skewer.  Note in the picture below that the strings are closer together on the top toothpick then they are on the toothpick below it and so on.
Glue the toothpicks to the wooden skewer using a strong glue like E-6000.
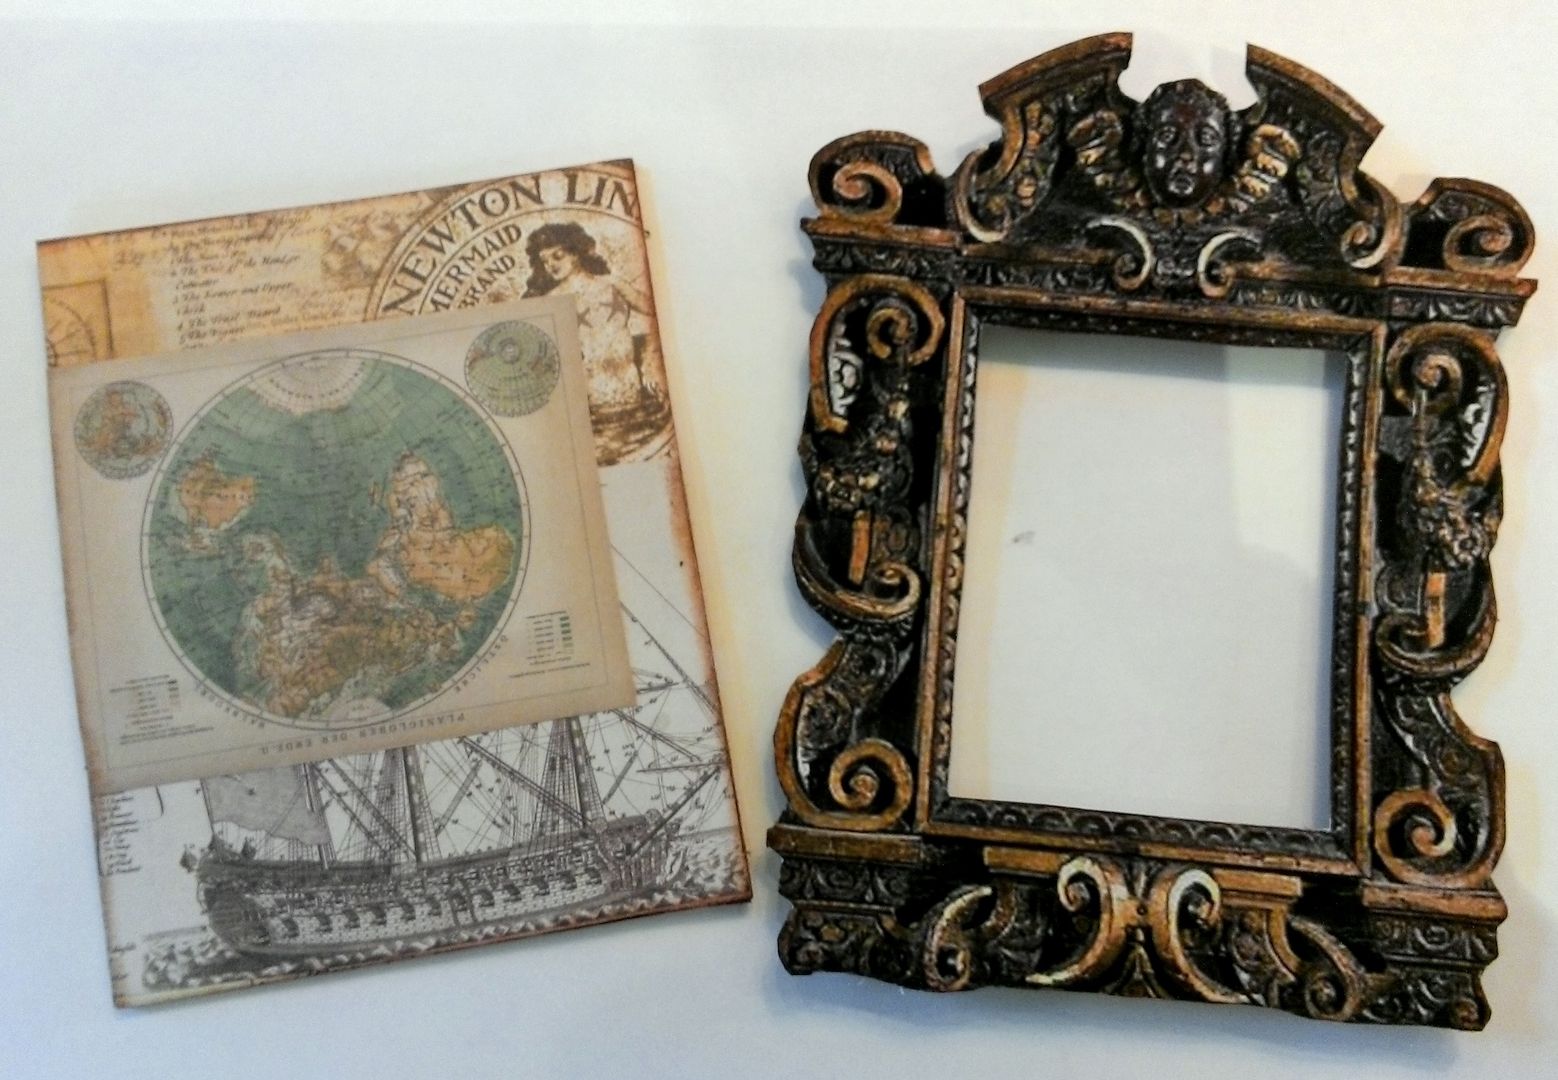
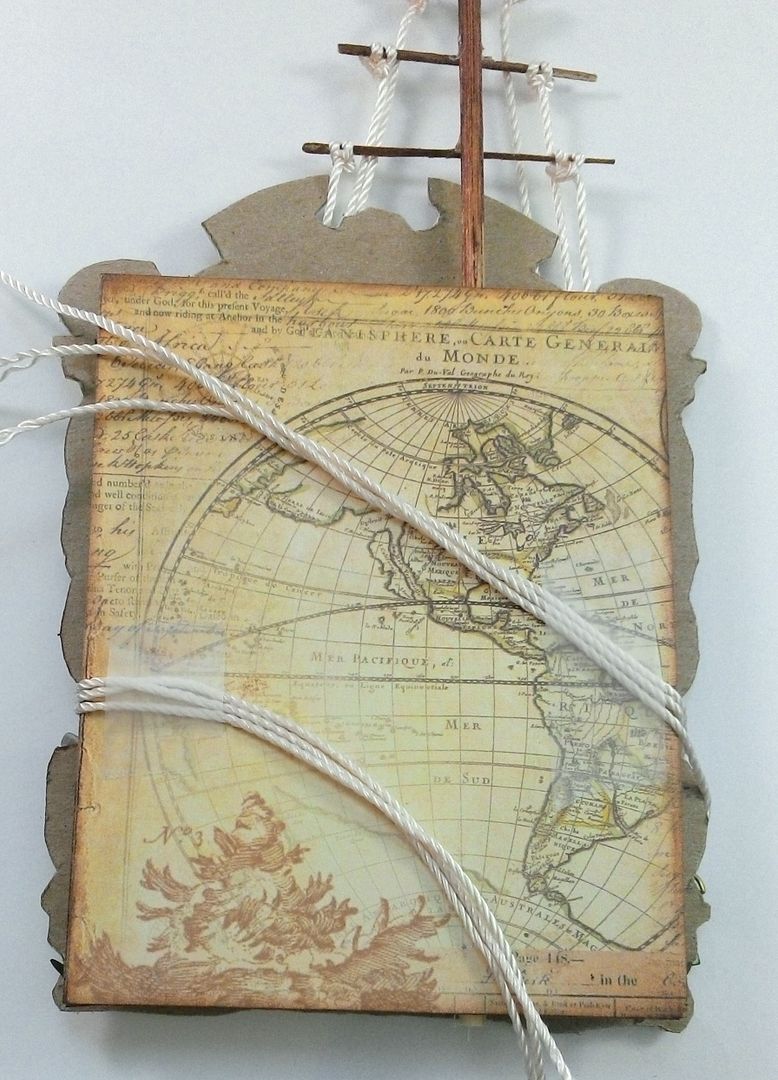
The base of the piece is made using a frame from my Antique Frames Digital Image Set.  For support, I backed the frame with lightweight chipboard.  The background is a piece of chipboard covered with decorative paper (front & back).  The size of the background is slightly smaller than the frame.  
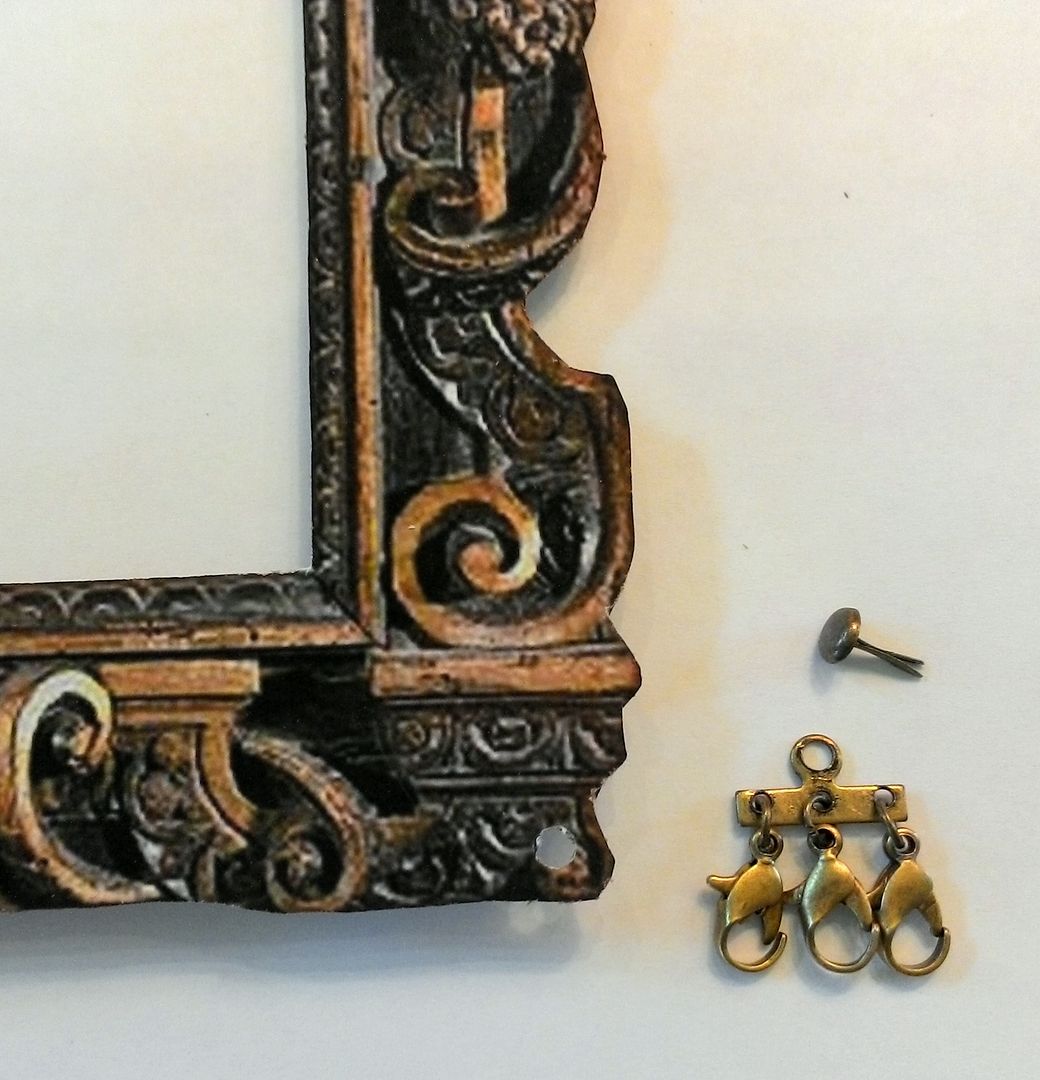
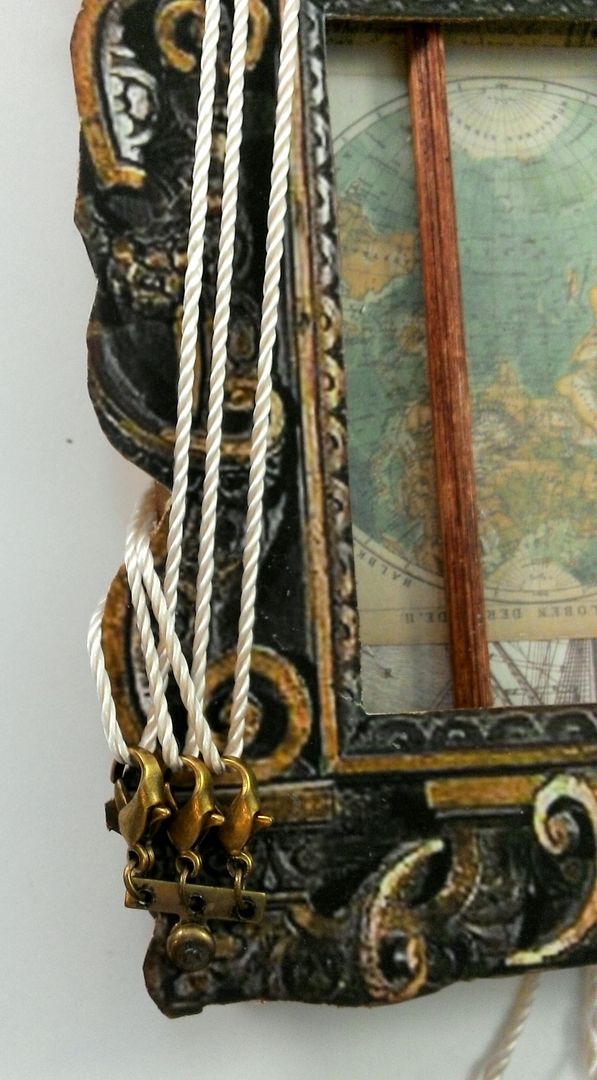
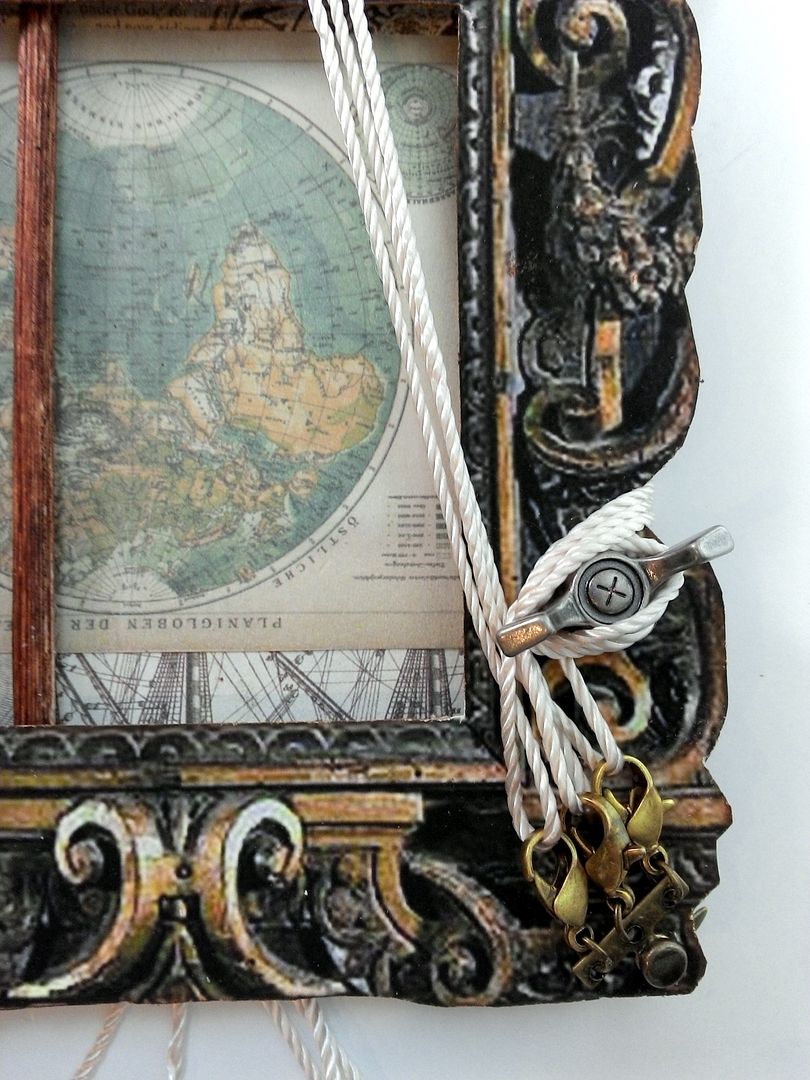
To accommodate the string, I added hardware to the bottom corners of the frame.  I selected pieces that I thought looked like rigging but are actually used for making jewelry.  The pieces include lobster claw clasps (3 on each side) attached to a three-hole connector (from my stash) using jump rings.  
The combination of clasps and a connector is attached to the frame with a brad.
The frame is attached to the background using double-stick foam core tape.  This pops up the frame adding depth and also creates space for the mast.  The mast is glued into place behind the frame and in front of the background.  I waited until this step to trim the end of the skewer thereby insuring that it was long enough.
Next, thread the string through the clasps.
The ends of the tread are attached on the back of the piece.  
The strings on the right side of the frame are wrapped around a handle before attaching it to the back.
I used tape to hold the string in place while adjusting it on the front.  Once you are satisfied with the placement of the string, glue it in place on the back, trim the excess and cover the ends with more decorative paper.
I further embellished the piece with a woman, anchor, ship’s wheel and flags from the TheSea Calls to Me collage sheet.  The final touch is 3 brass seagulls.
COLLAGE SHEETS & DIGITAL IMAGE SETS

Wednesday, April 2, 2014

Working Clock Made from a Cigar Box

After the great response I got on the cigar box chest project, I thought you might enjoy another cigar box project that is both decorative and functional.  In this tutorial, I’ll show you how to transform a cigar box into a working clock.
In the project example, I decide to make the lid of the box the clock and the inside a scene.  There are so many options and possible themes for this project.  Instead of having the clock on the front you could have it inside the box.  Instead of creating a scene inside the box you could add matchboxes as drawers and use it to store your treasures.   Last year I posted a tutorial on how to make an ATC Armoire out of a cigar box.  You could combine that project and this so that the lid is the clock and the inside is the ATC storage area.
TUTORIAL
The first thing you need to do is to find a cigar box.  The size of the box is completely up to you.  It just needs to be large enough to accommodate the clock mechanism.  The box I used measures 7” x 6” x 21/4”.

Start by finding the center point of the cigar box lid and drill a hole large enough to accommodate the center piece on the clock mechanism.
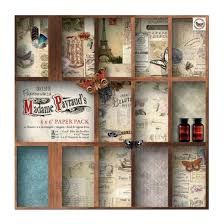
I covered all of the surfaces of the box with the Madame Payroud’s 6x6 paper pack.  I love the color scheme and the collage images on this paper. 
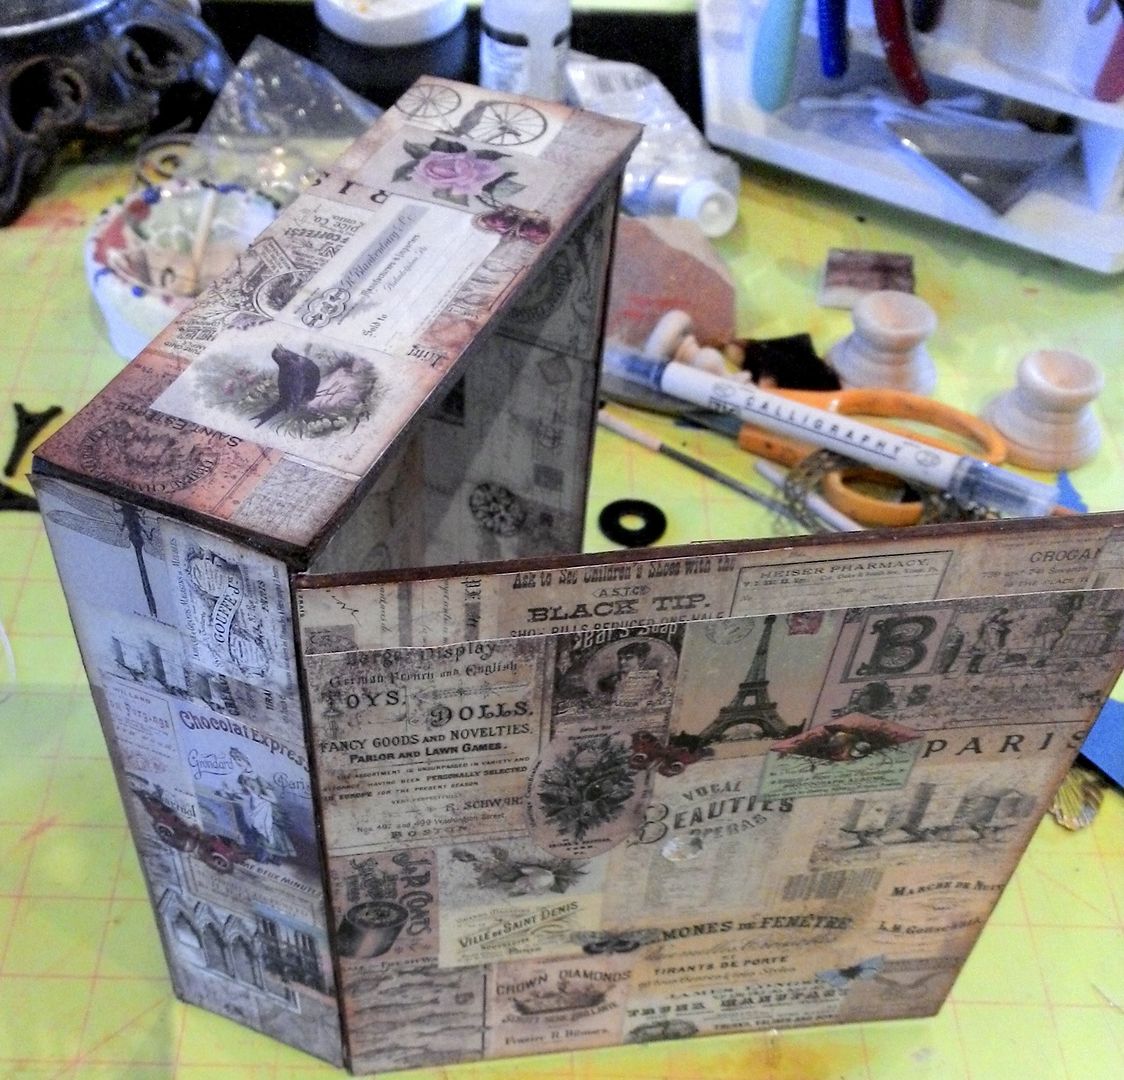
Before gluing the paper to the box, I cut up several sheets of paper so that I could re-collage the images on the box.  Using smaller pieces of paper made it easier to fit the paper to the different sized surfaces and to choose where I wanted the images to be placed.
In the picture below you can see the stained edges and the paper attached to all of the surfaces.  Be sure to re-poke the hole for the clock mechanism.
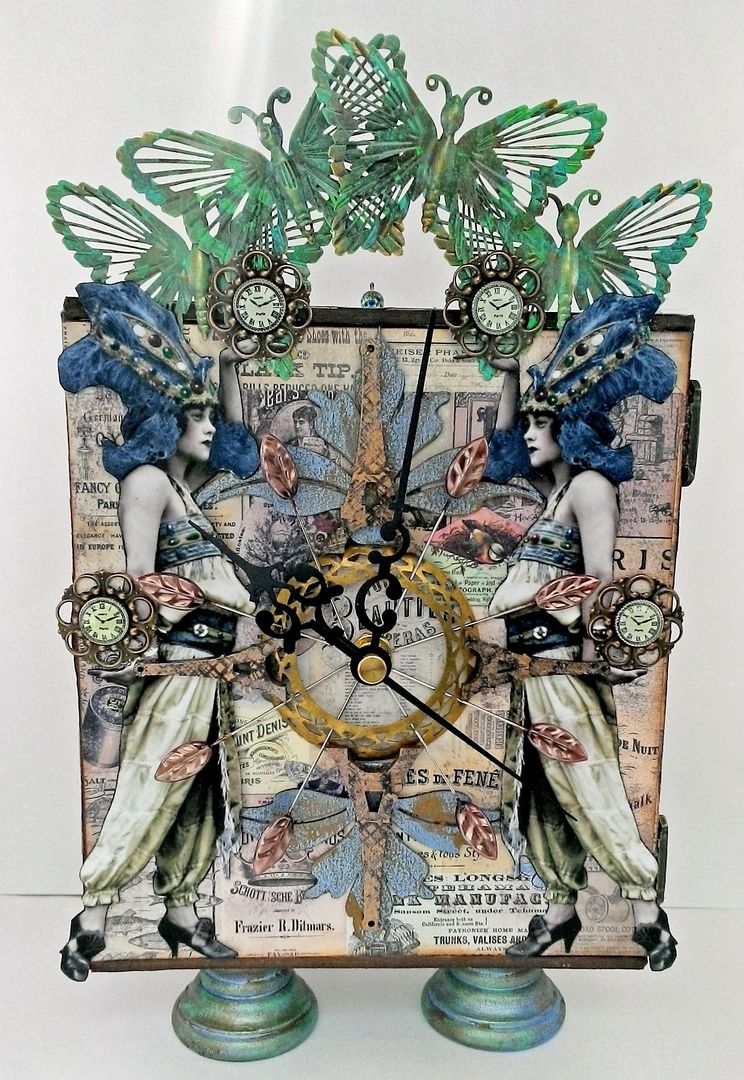
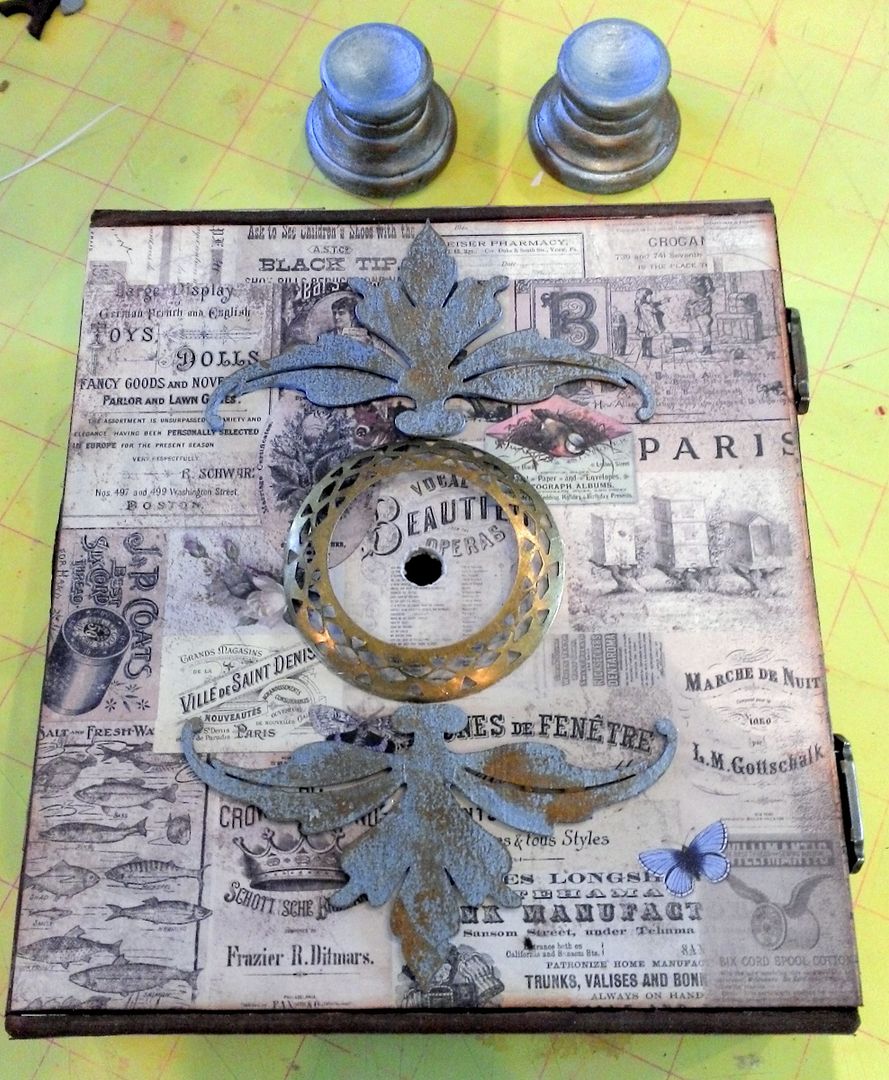
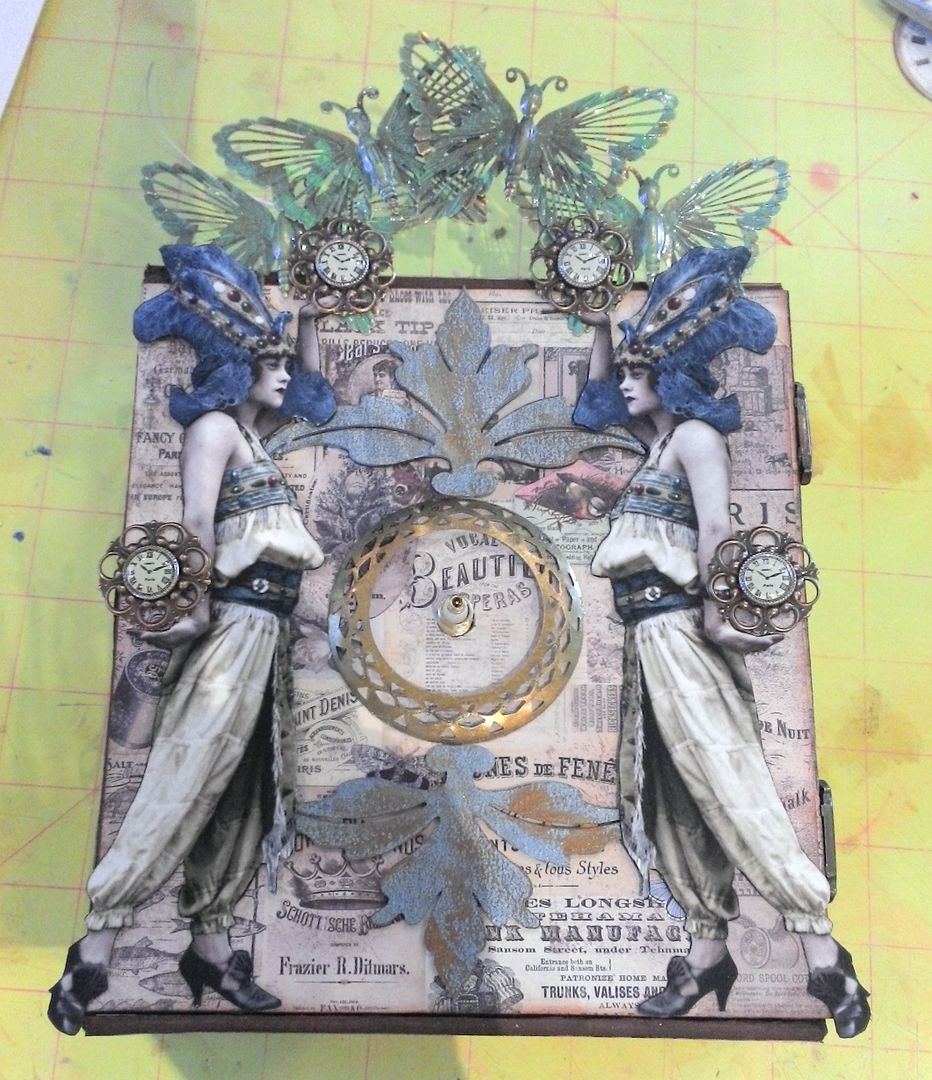
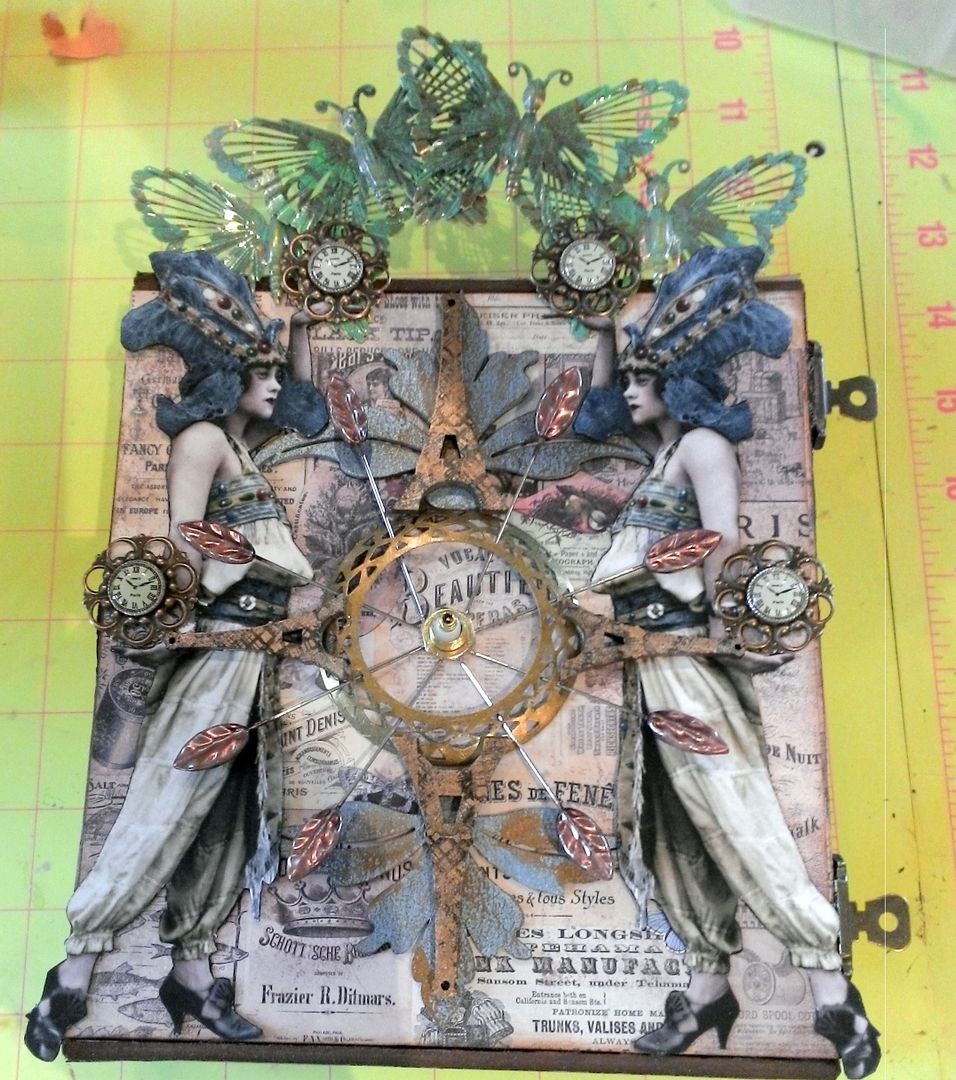
Next, I started work on the front of the box and what will become the face of a clock.  I used a round piece of filigree to frame the center and painted two fancy foliage chipboard embellishments (first with acrylic blue paint then dry brushing Lumiere Old Brass paint).  I painted the egg cup feet with the same paint mixture.
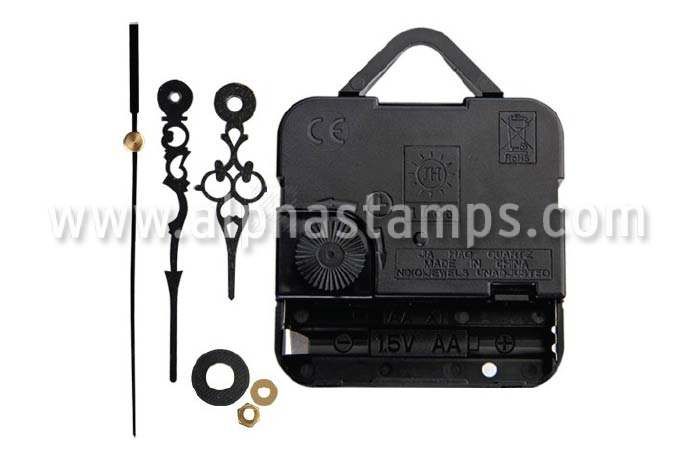
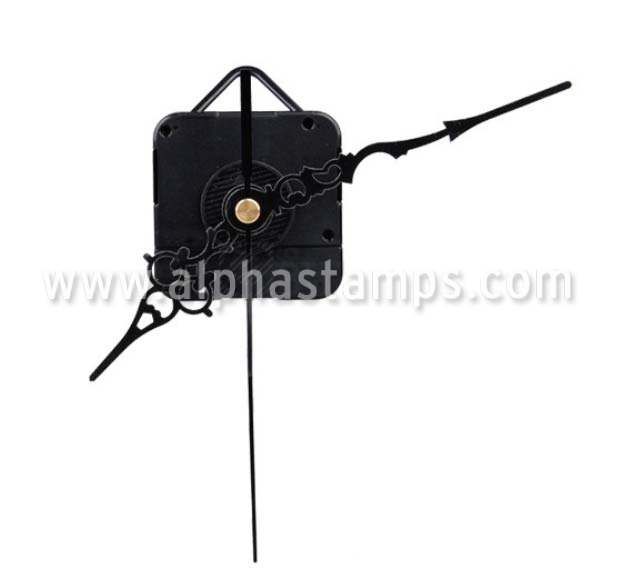
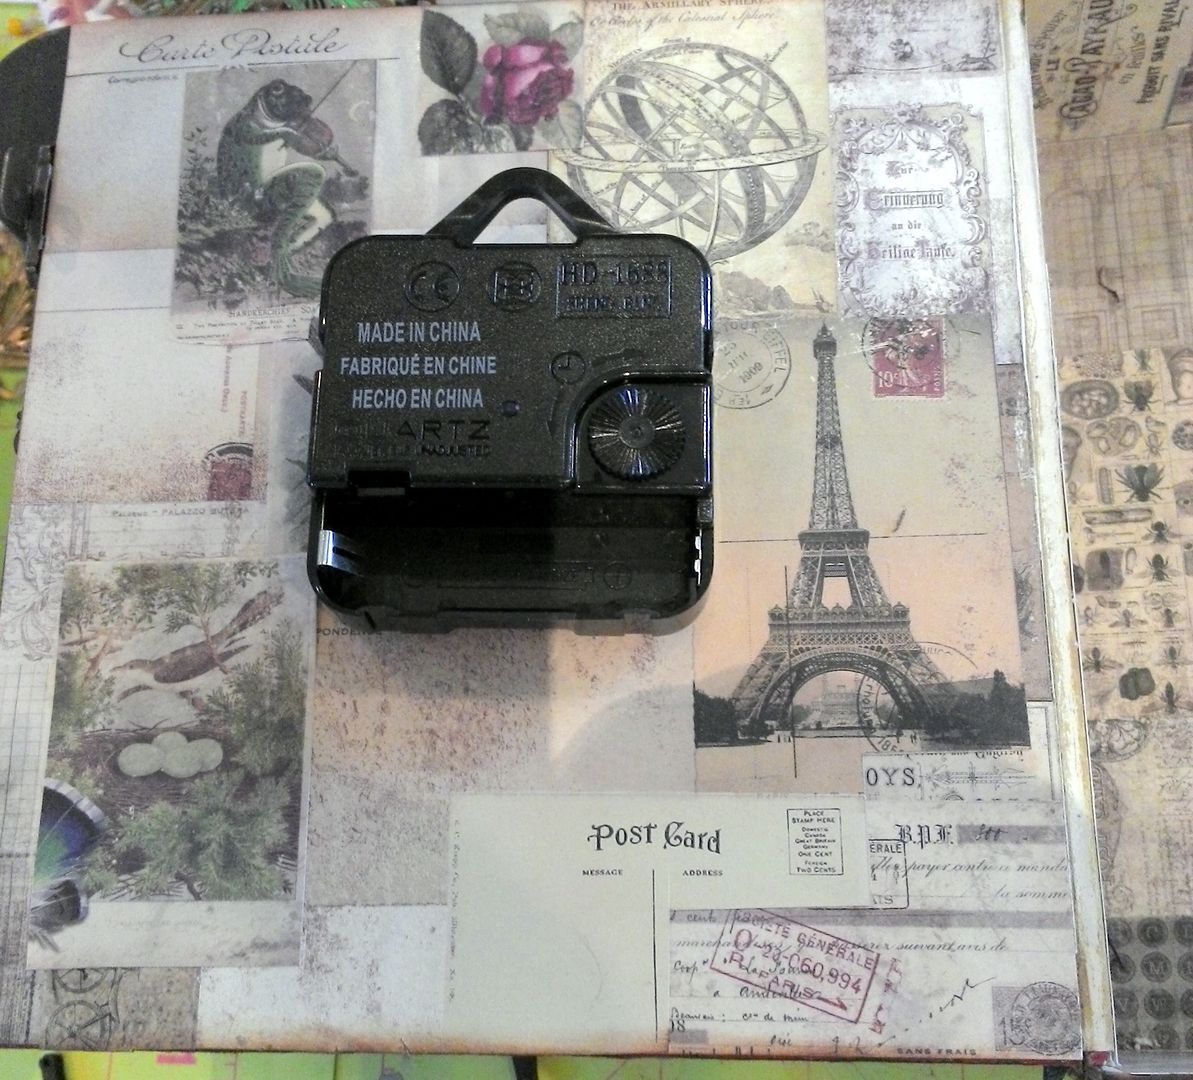
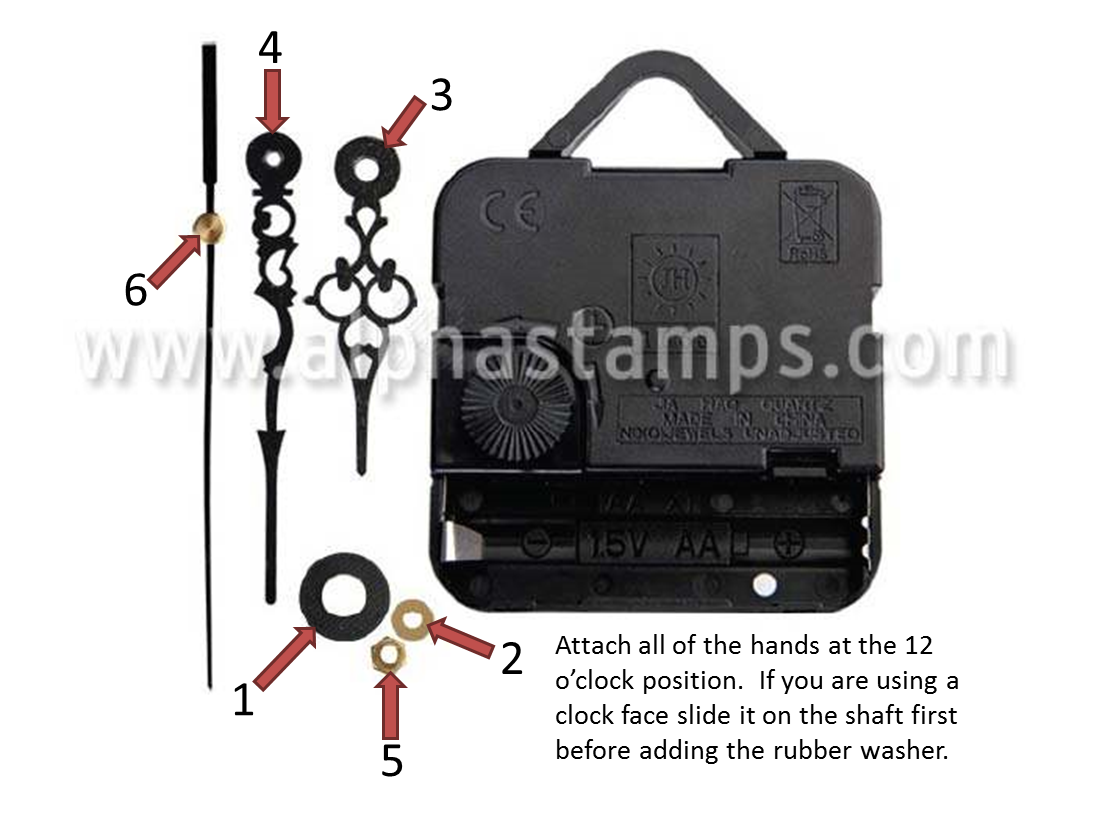
I glued the clock mechanism to the back of the lid.  The clock comes with instructions on how to attach the hands of the clock to the mechanism (it's super simple).
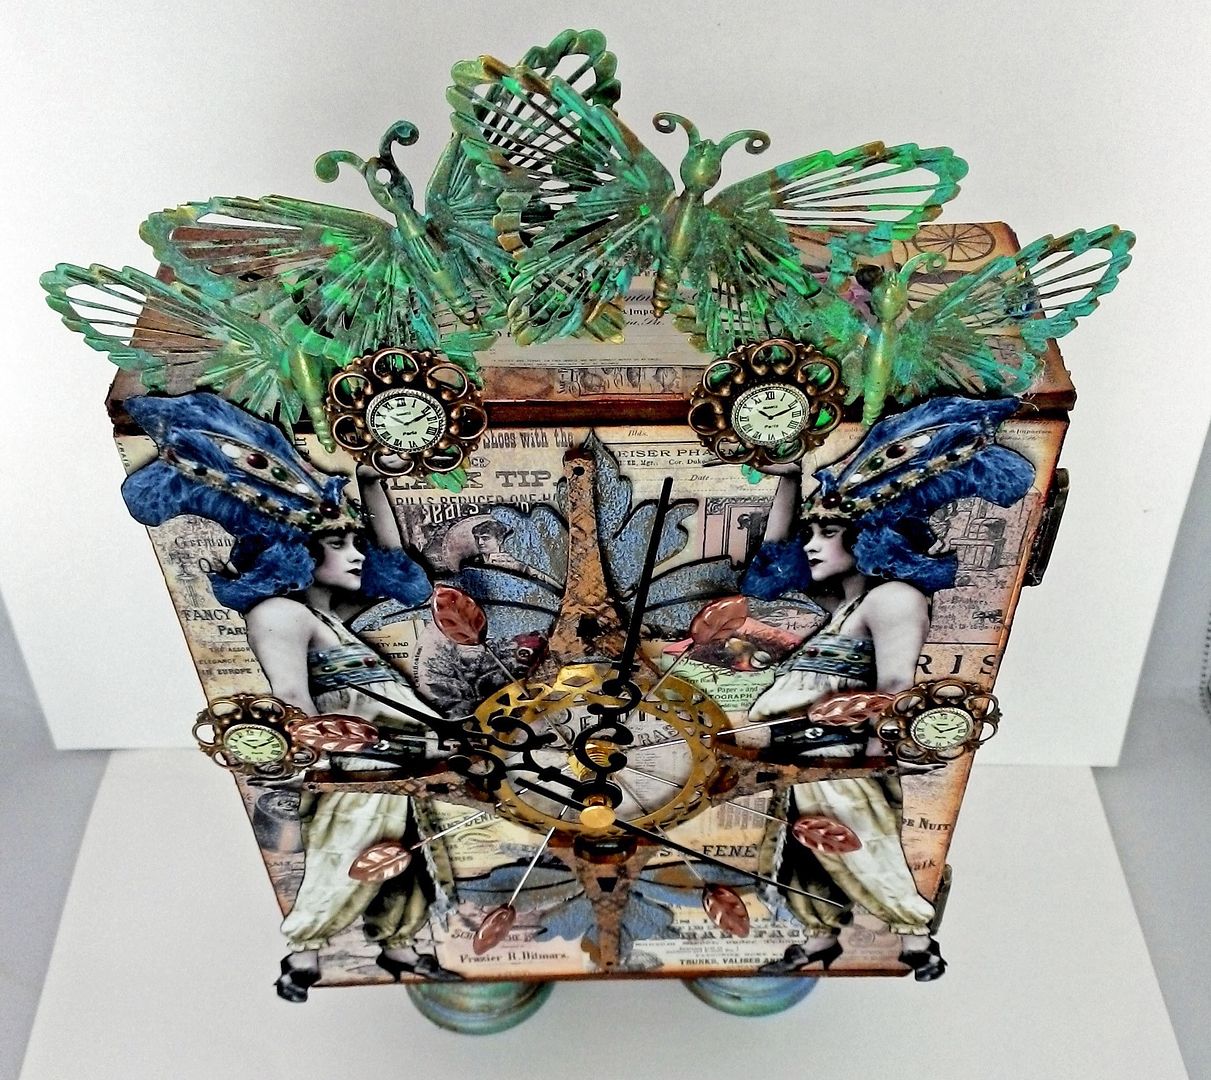
I added the ladies (flipped versions) backed with heavy cardstock for support.  In their hands are filigree pieces with button clocks.  The pediment is made of filigree butterflies.
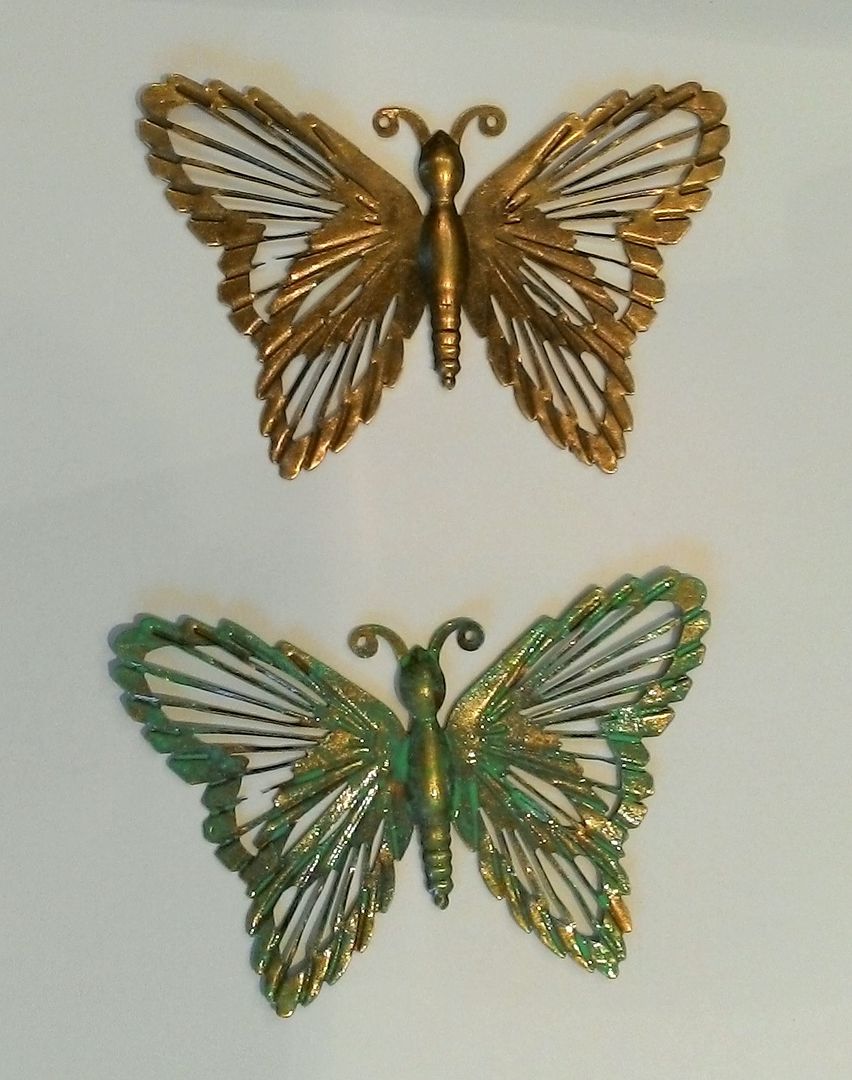
I painted the butterflies with a combination of Verdigris & Jade Metal Patina paint.  
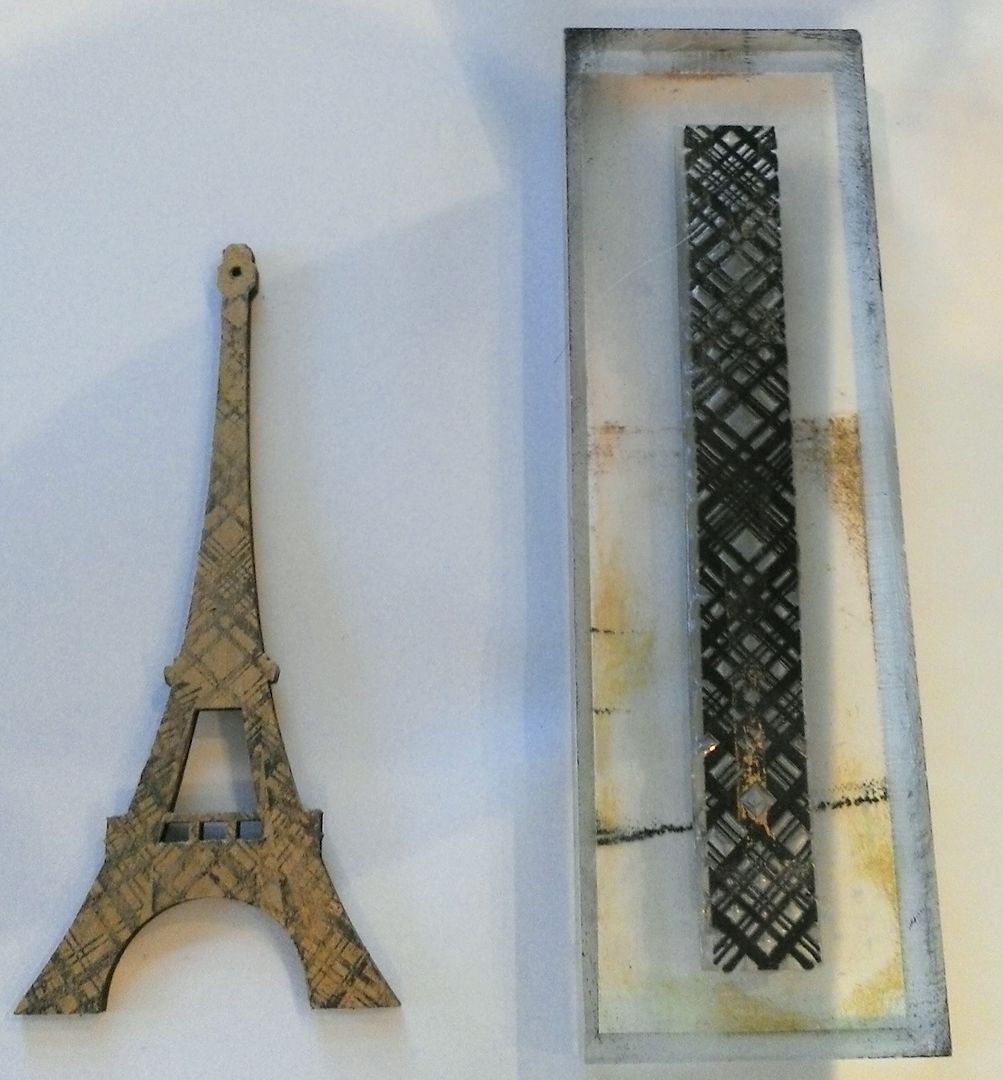
For the 12, 3, 6 & 9 o’clock positions I used Masonite Eiffel towers.
I first painted the towers with Gold Alcohol Ink.  Metallic Alcohol inks work nicely on slick surfaces like the Masonite.  You could also use the Metal Patina paints.  Next, I stamped the tower using Black Staz-On ink with a crisscross patterned stamp (from my stash).
For the other positions on the clock, I used pearlized stick pins.  I inserted them through the holes in the round filigree piece and glued them in place.
The last step is to attach the hands of the clock.
INSIDE THE BOX
One thing you need to consider when planning what you are going to do with the inside of the box is the position of the clock mechanism on the back of the lid.  Make sure the items inside the box don’t prevent the lid from closing.
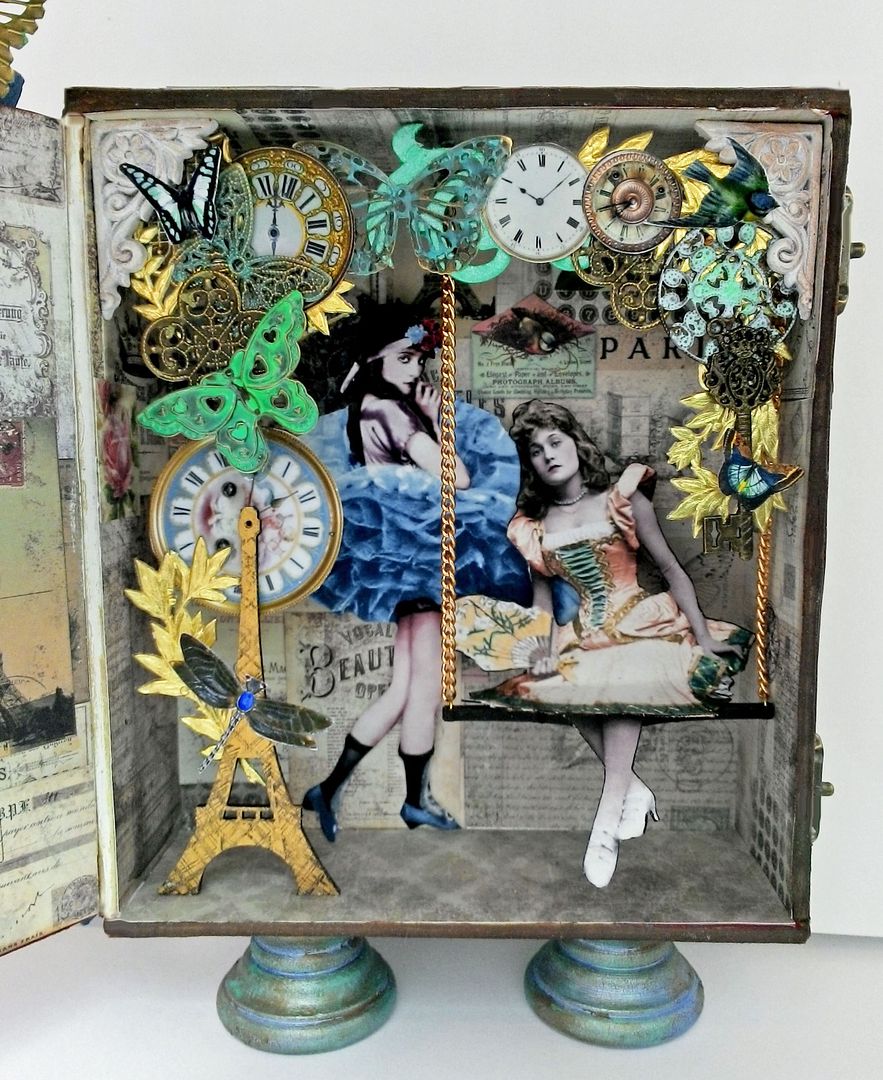
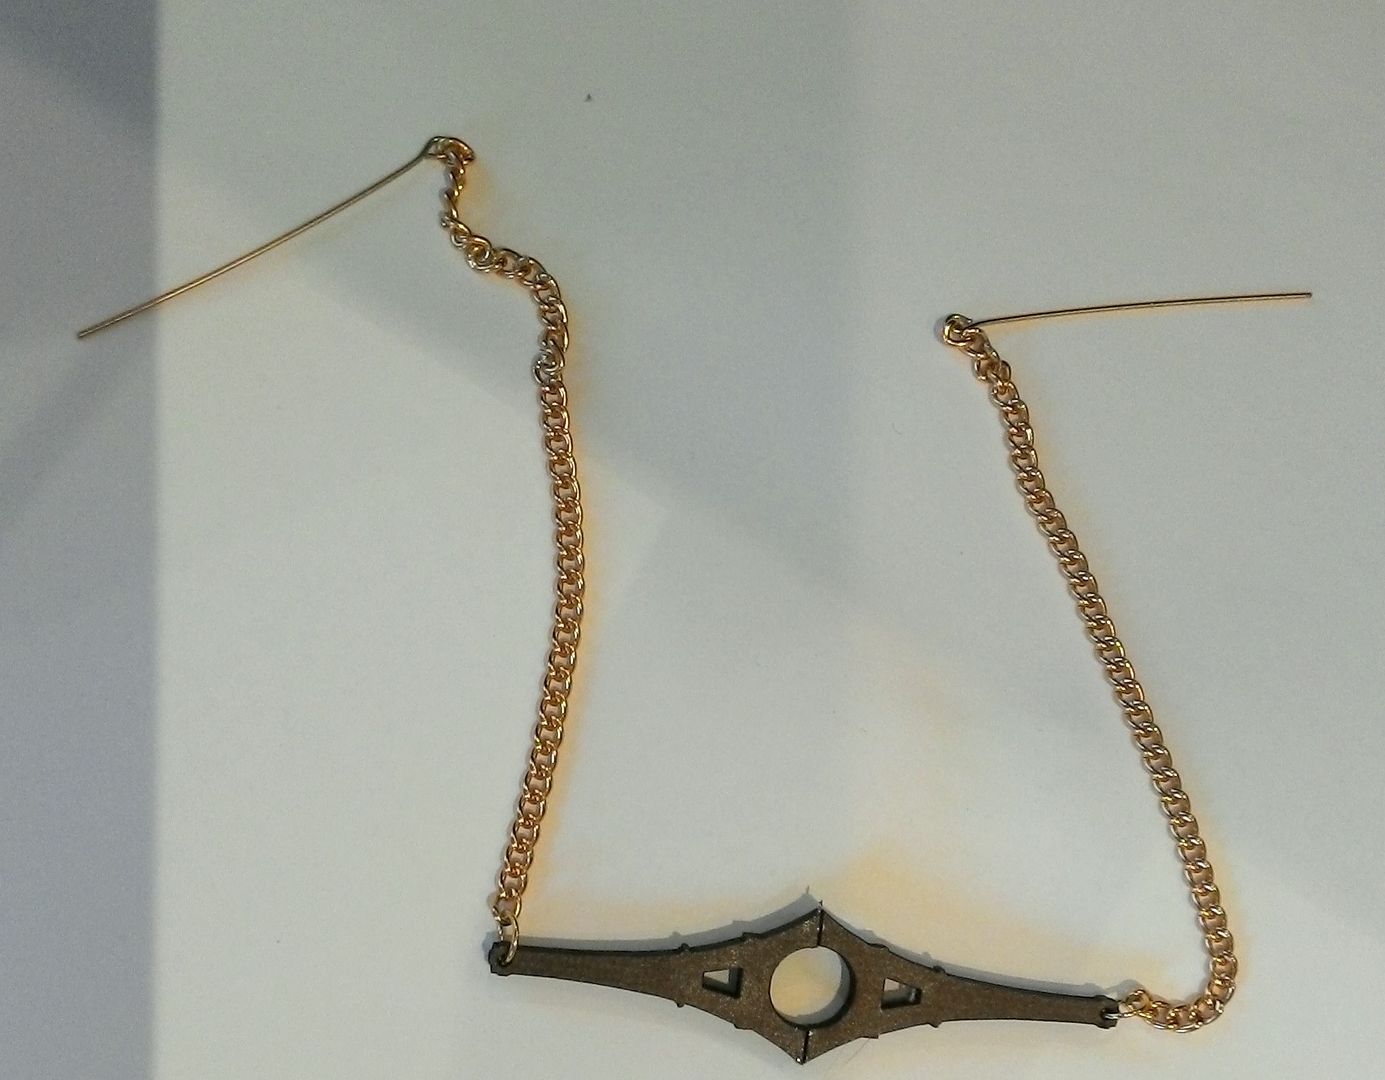
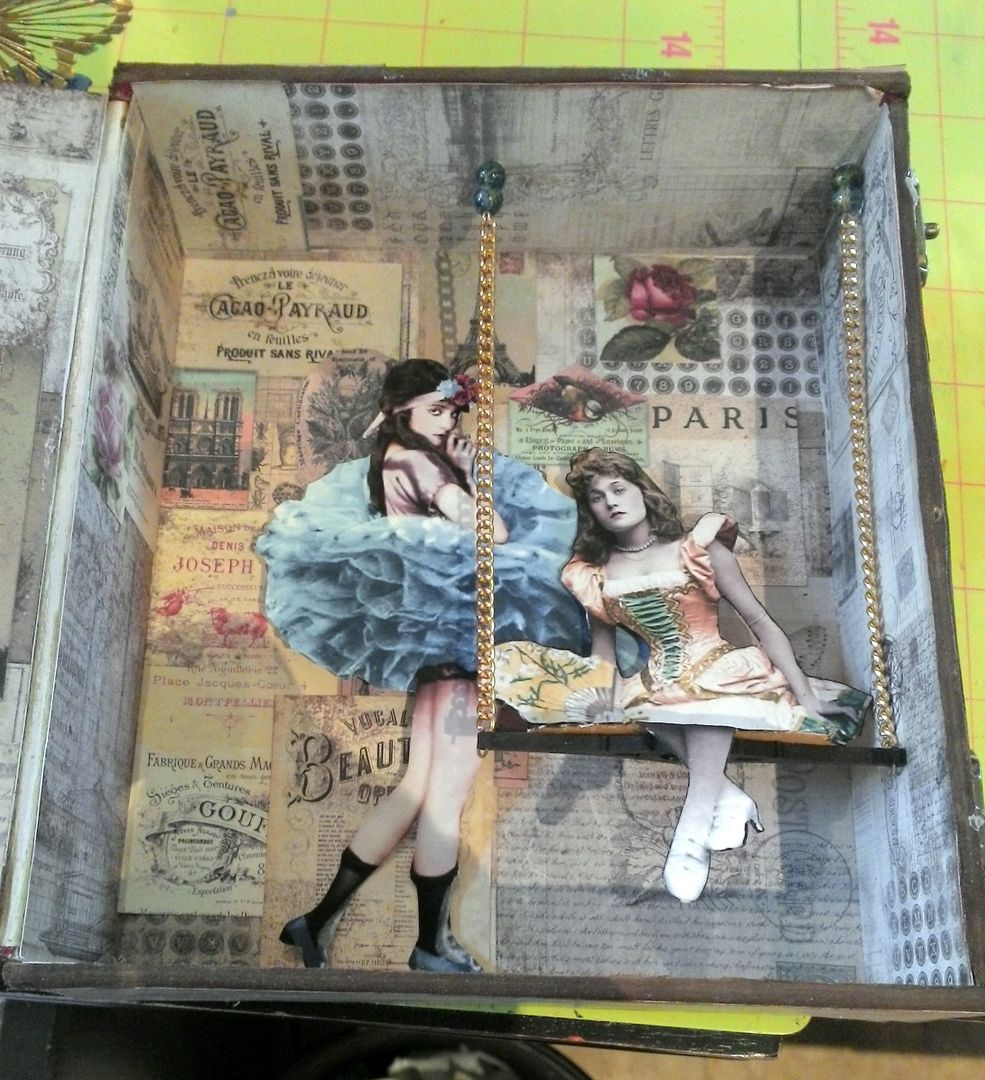
For the swing inside the box I used two Eiffel towers for the seat. 
I poked holes in the top of the box to insert the eye pins to hold the swing in place.  I also added some beads to the eye pins.  The image of the girl is bent (as if she is sitting) and glued to the seat.  To keep the seat in place I glued the tip of it to the side of the box on the right.  The girl with the tutu is attached to the back of the box with multiple layers of double-sided foam core tape (to pop her out).
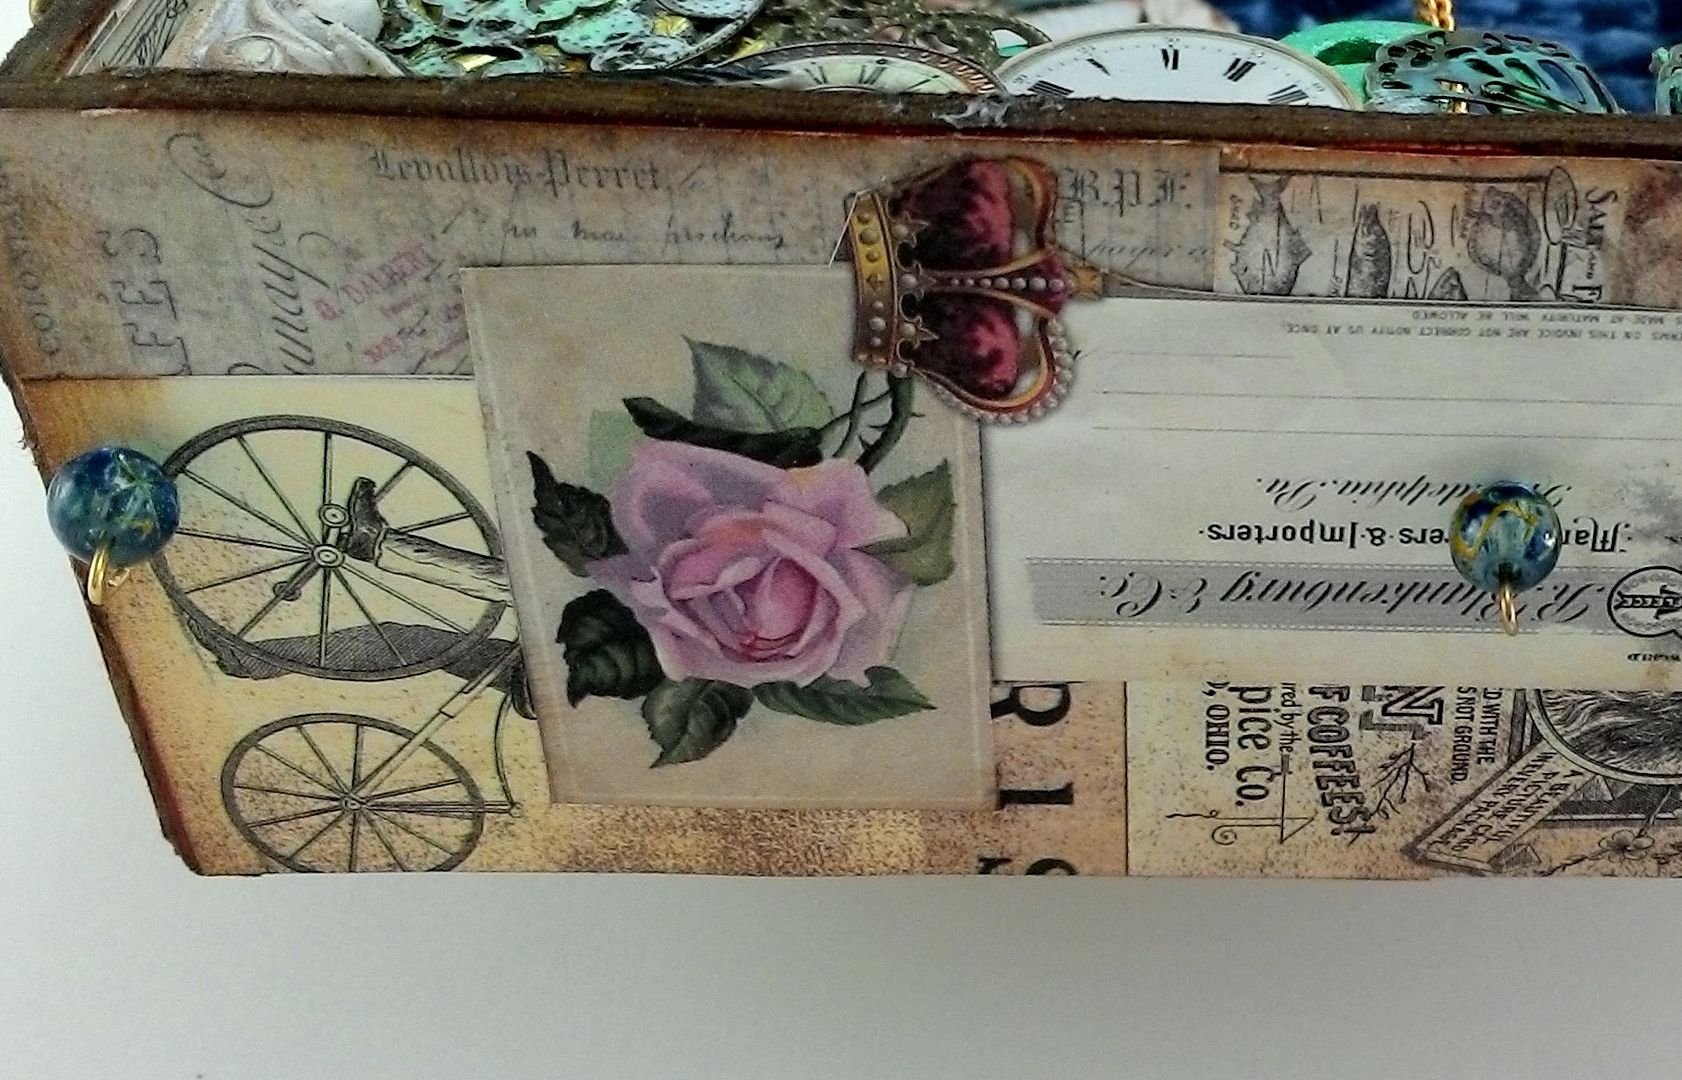
In the picture below you can see the top of the box where the eye pins are ticking through the holes then through a bead and looped to keep the swing in place.
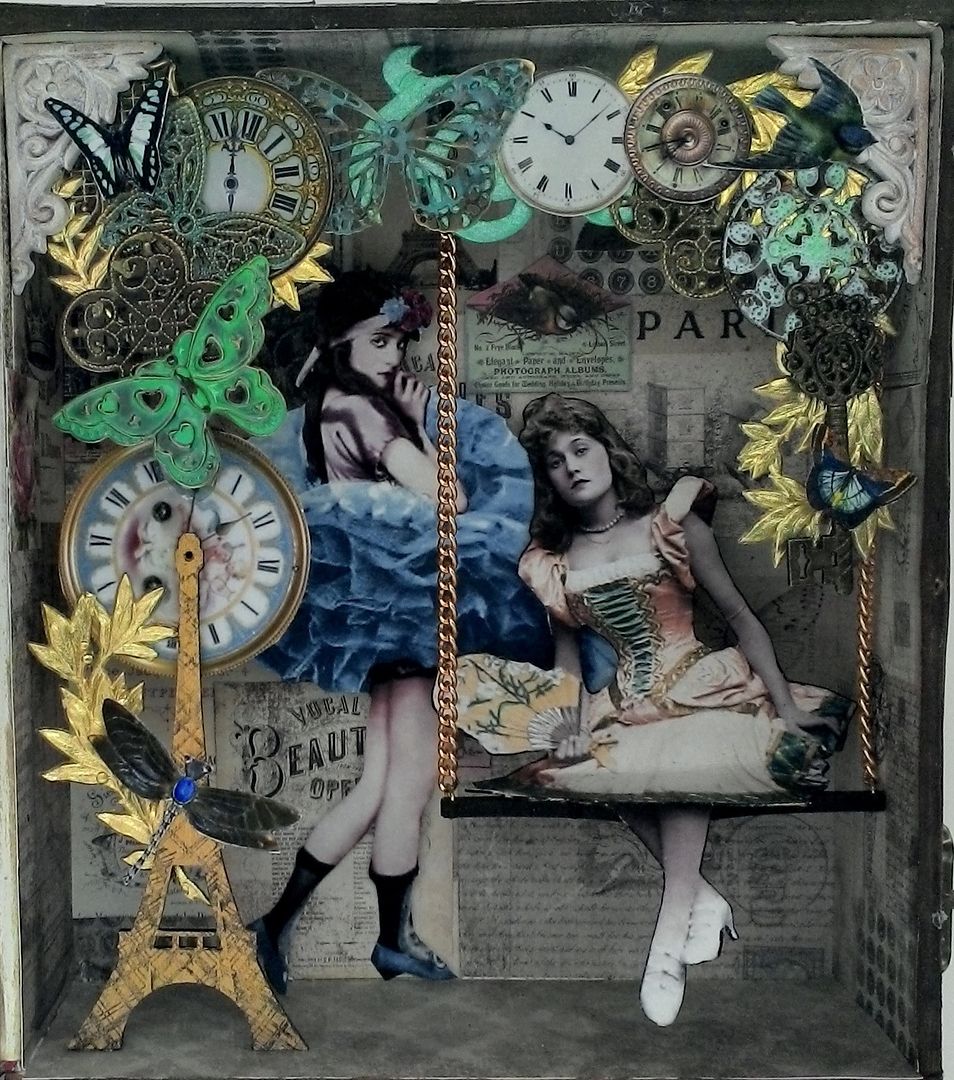
To frame the ladies I collaged together a Masonite Eiffel tower, more pieces of filigree, Dresden myrtle leaves, paper clocks from my Tick Tock collage sheet and other paper images.  The filigree is painted with the same Metal Patina paint that I used on the butterfly pediment.  I built the collage on a flat surface first before attaching it to the box.  To support the collage in the box, I attached the resin gables and then glued the collage to the gables.  The Eiffel tower is glued to the bottom of the box.
On the side of the box I attached two latches to keep the lid closed and attached the egg cup feet to the bottom.
NOTE:  If you attach feet to the bottom of the box, consider the weight of the stuff on the lid of the box versus the weight of the box (without the lid).  If the stuff on the lid weighs a lot more than the stuff in the box, the box will fall forward when you open the lid.  This is only a problem if the box has feet.

Saturday, March 22, 2014

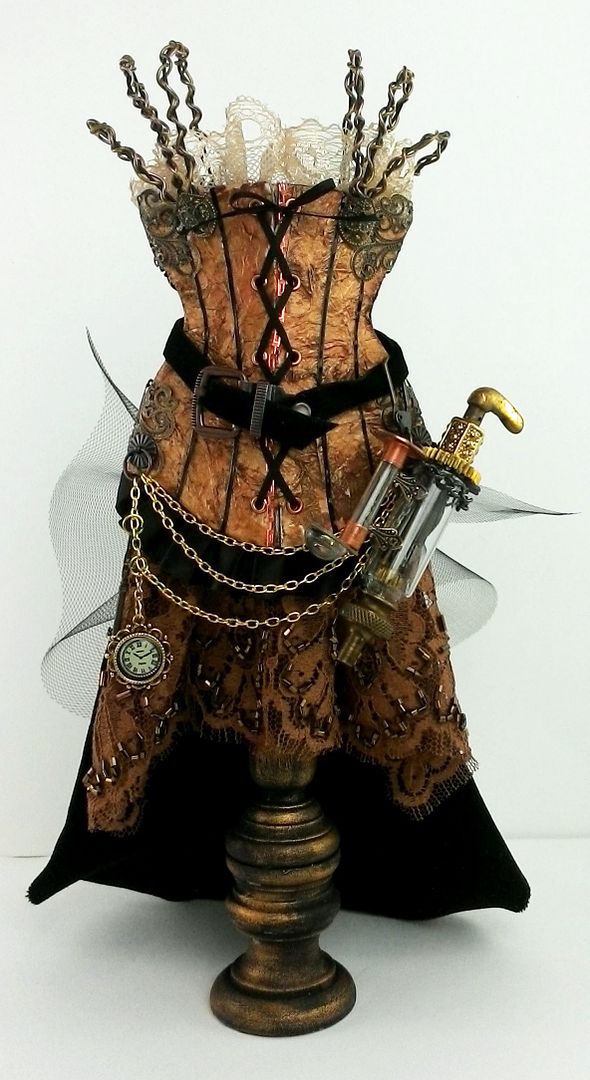
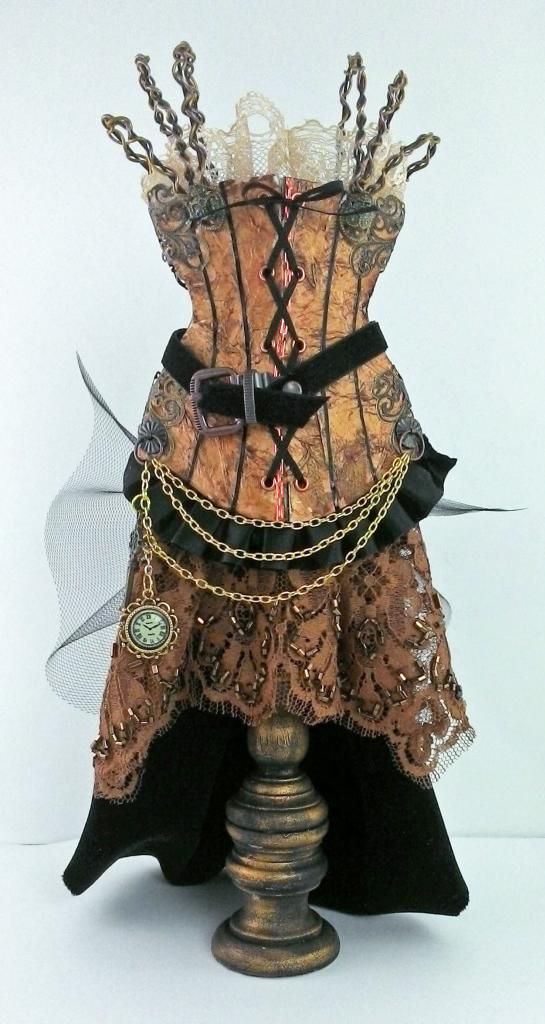
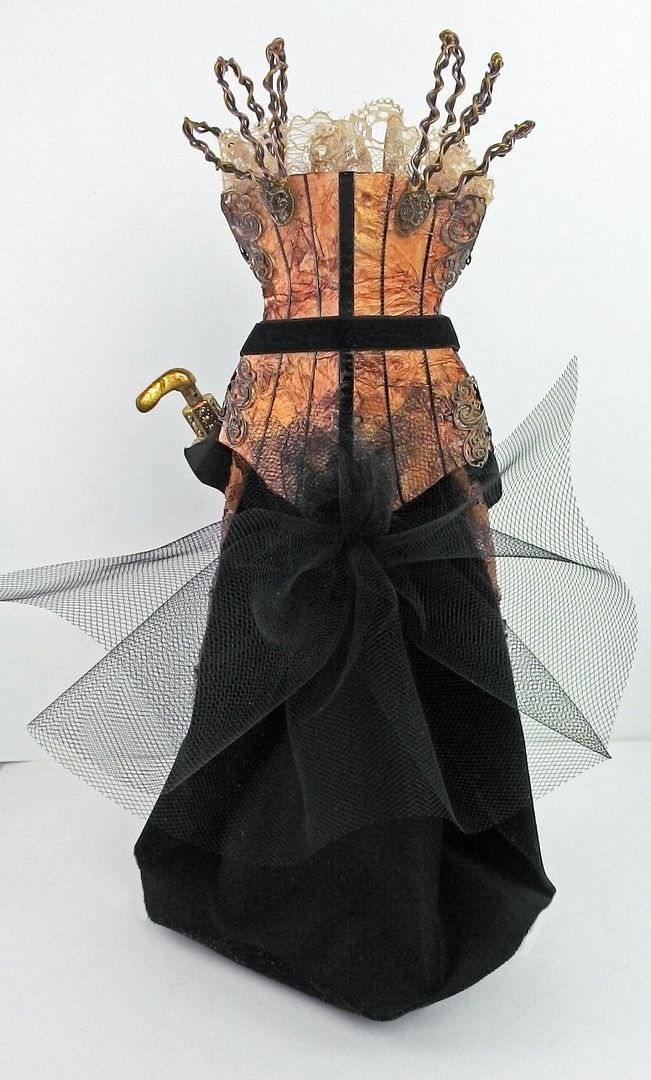
Steampunk Corset Dress

I’ve been working on so many “pretty” projects lately I decided to do a steampunk-themed one to get the taste of pink out of my mouth.
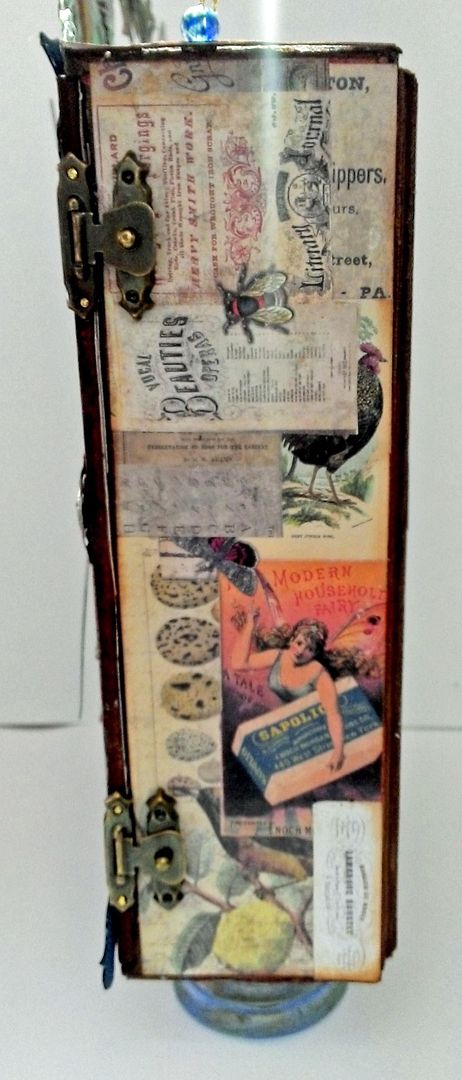
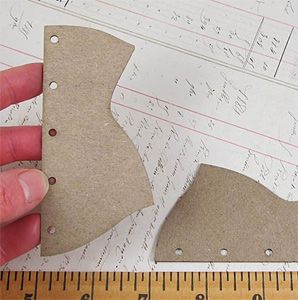
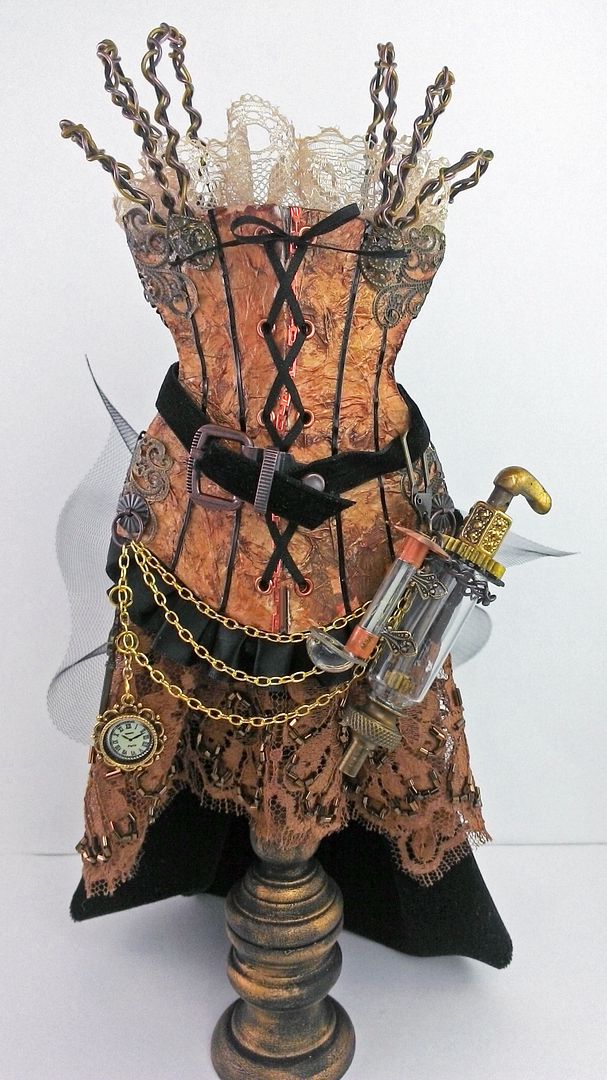
The top of the dress is made from 2 sets of chipboard corsets.  I used two so that I could make the dress 3-D.
On the back of the two pieces of corset, I used a piece of tape to join them.  I did this for both sets of corsets.  I used a tissue paper texture technique to cover the corsets back and front (click here for the video tutorial).  Don't glue the pieces of the corset together as you need a little give in the centers when you bend them slightly to attach the two sets together.  After applying the tissue paper, I stained them with Vintage Photo stain and then applied some Inca Gold Gilders Paste.  I thought the finished result looked like worn leather.
The black piping on the corset is stickers.  The stickers work great as they are pliable and you can apply them along a curve.  I used silk ribbon to lace up one set of corsets.
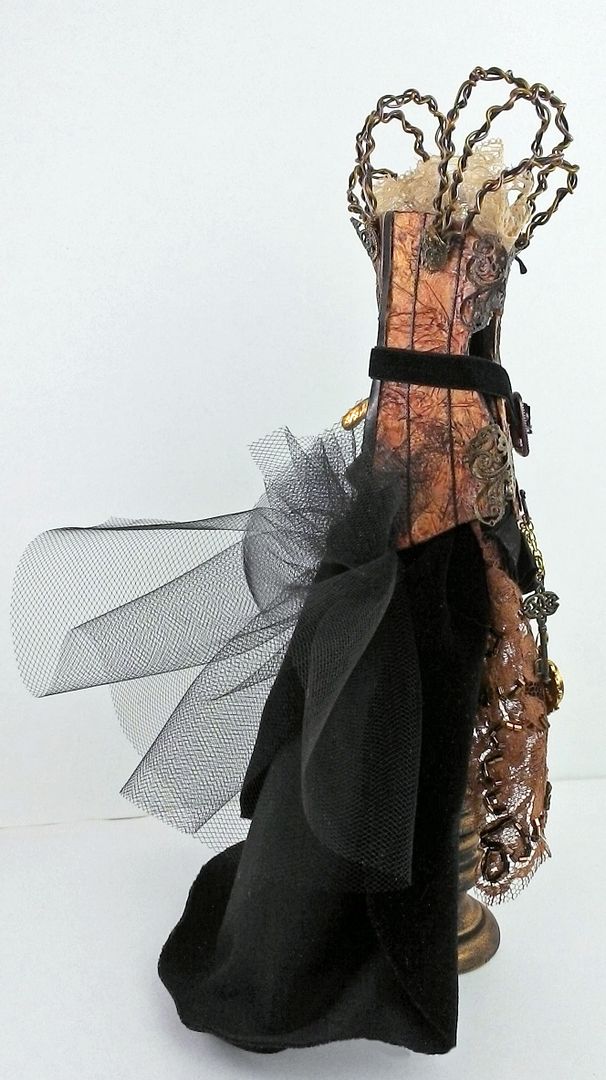
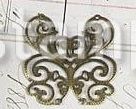
The shoulder straps are made from braiding 3 pieces of wire.  I used filigree butterflies (that are easy to bend) to attach the two corsets together.  
To make the dress I used beaded lace and velvet fabric (from my stash) and black tulle. 
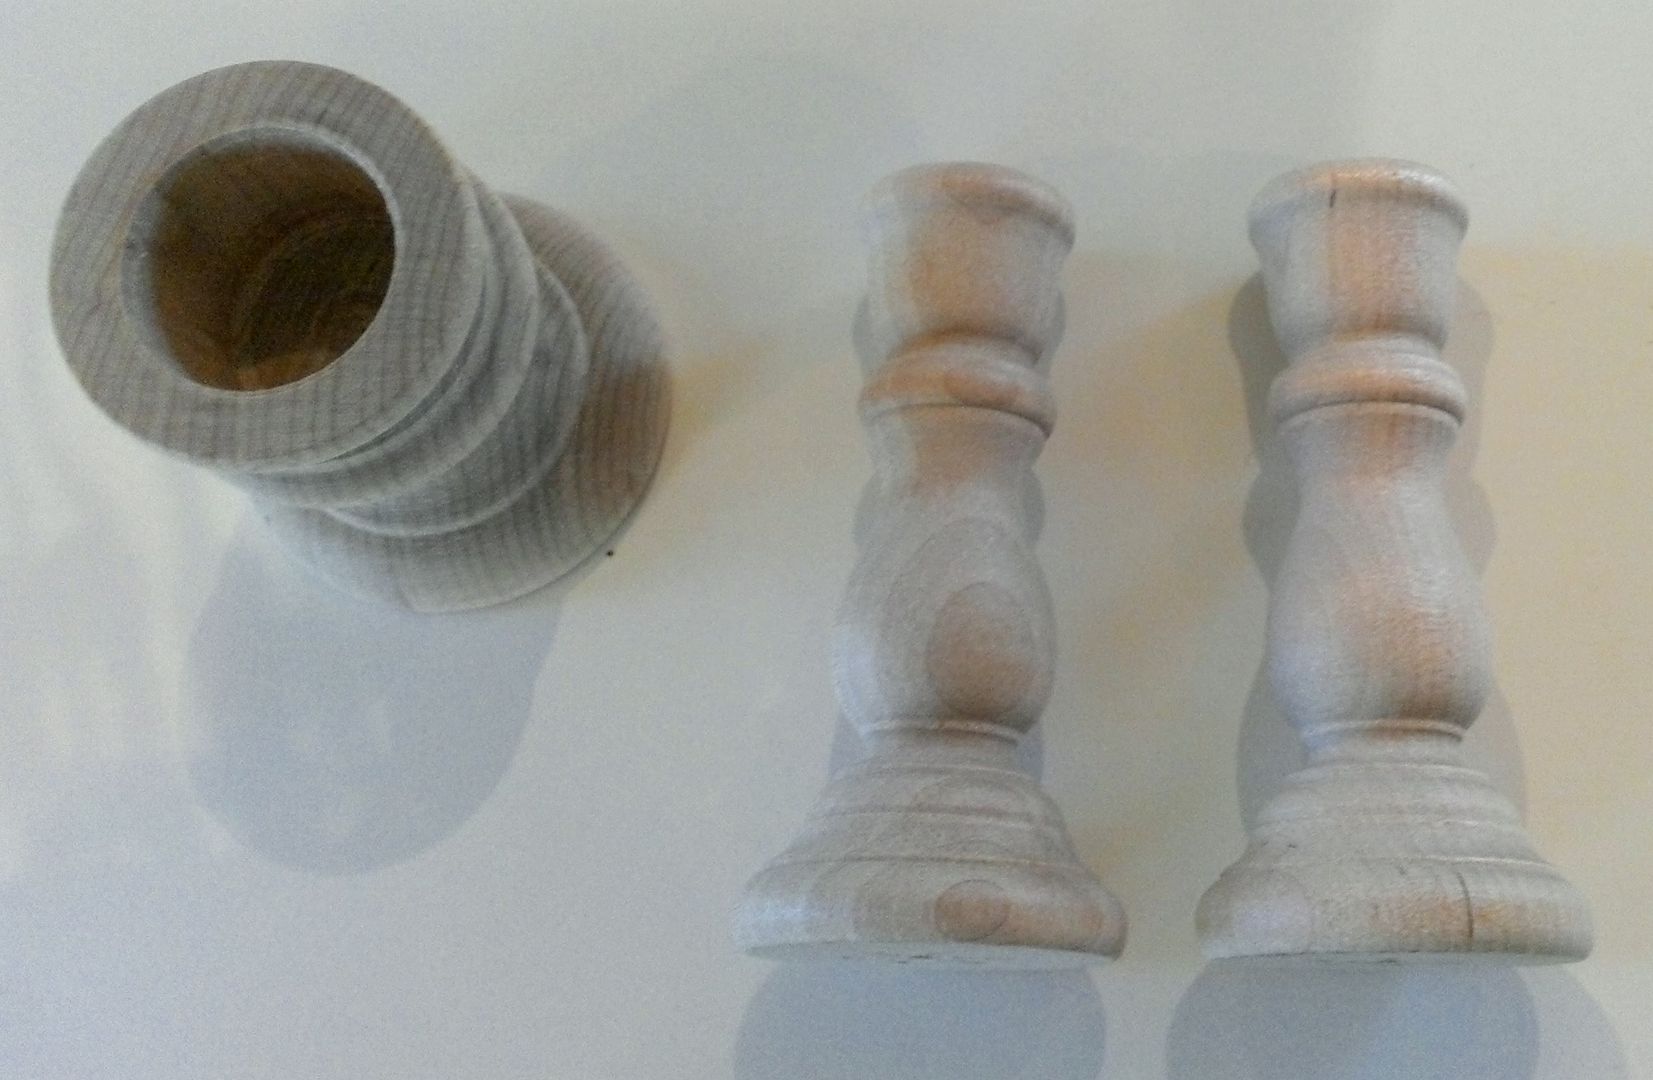
Once I finished adding all of the embellishments and fabric, I mounted the dress onto a stand made from gluing together wooden candlestick holders.  I painted them black then highlighted them with Gilders Paste.  The holders are the perfect size to fit between the corsets.
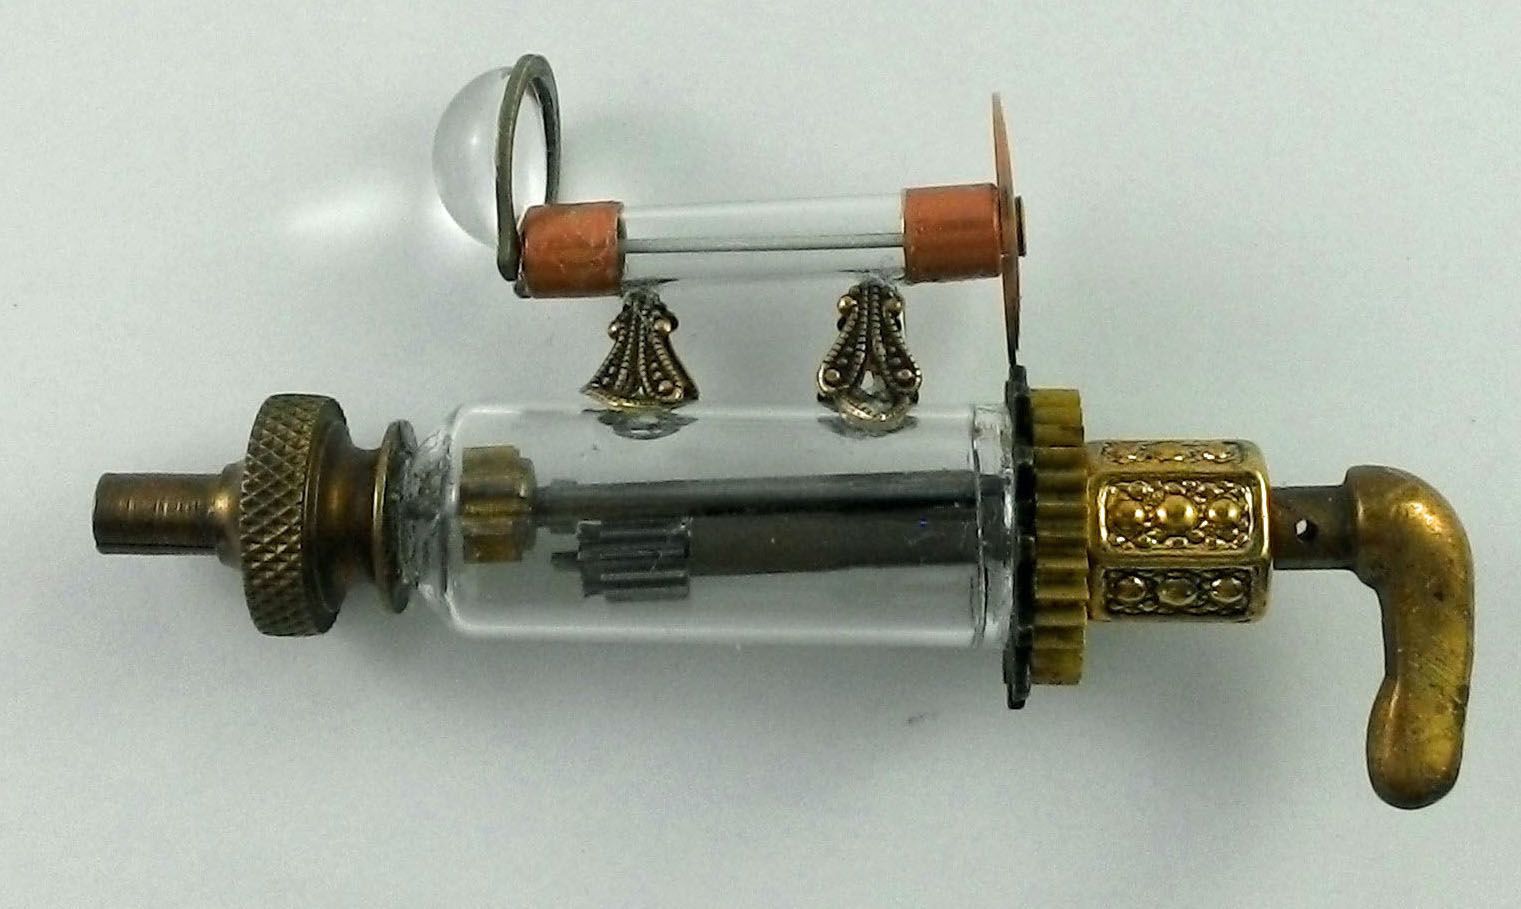
The final touch is the ray gun perhaps used to deal with unruly aliens.  It’s made from clock parts from my stash, a fuse, and a domed apothecary bottle.