-->

Welcome

I love answering your questions. If you ask them in the comment section, I have no way to answer you (if you haven't heard from me, that is why). If you use the "EMAIL ME" in the left column of this page, I will be able to respond to you. You can also use it if you want to be added to my newsletter. Laura

Tuesday, May 3, 2011

Love Shack

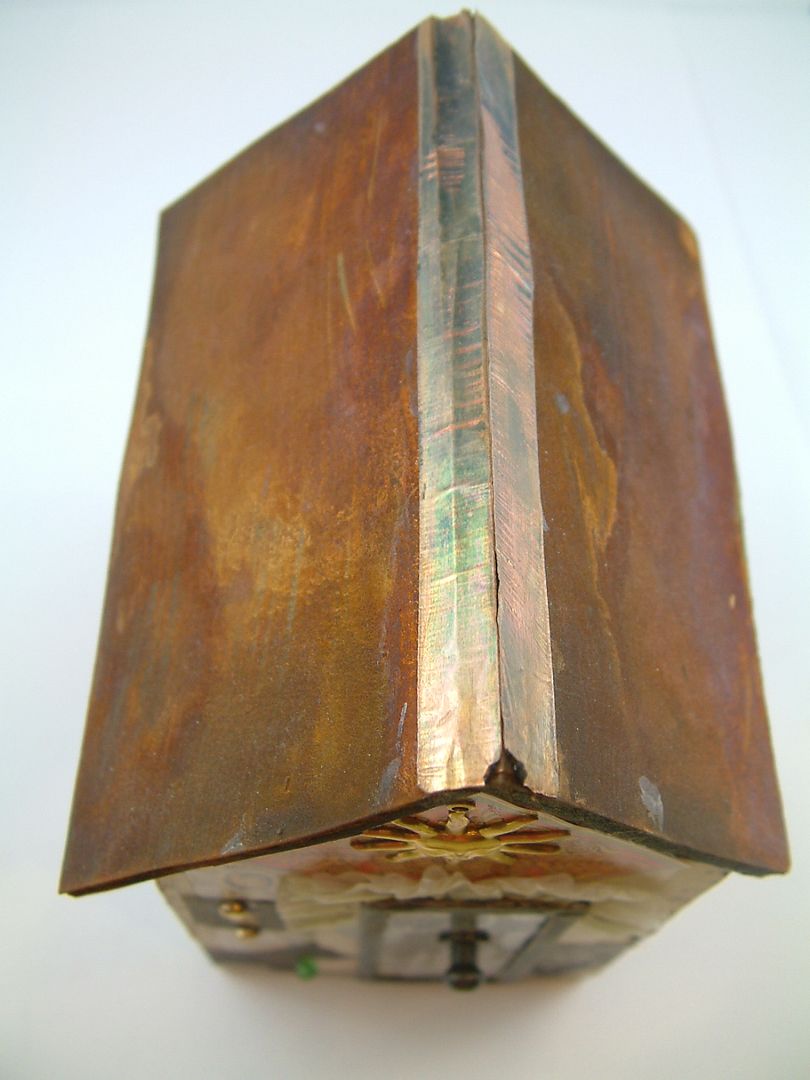
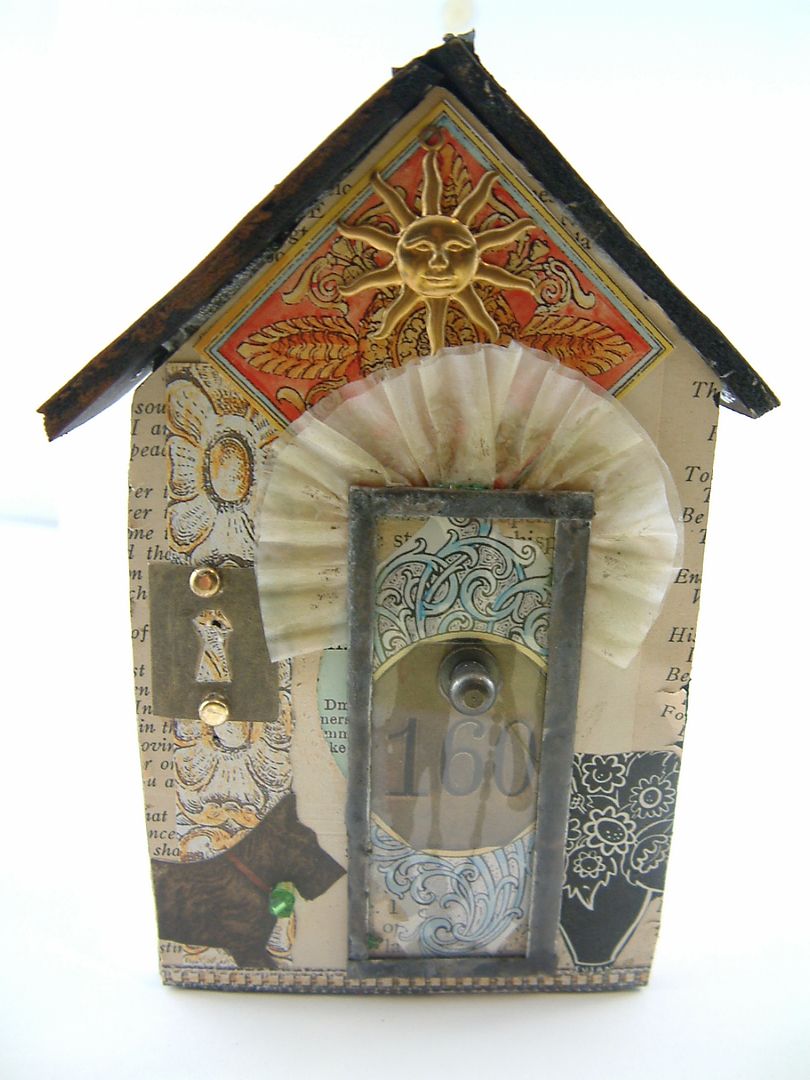
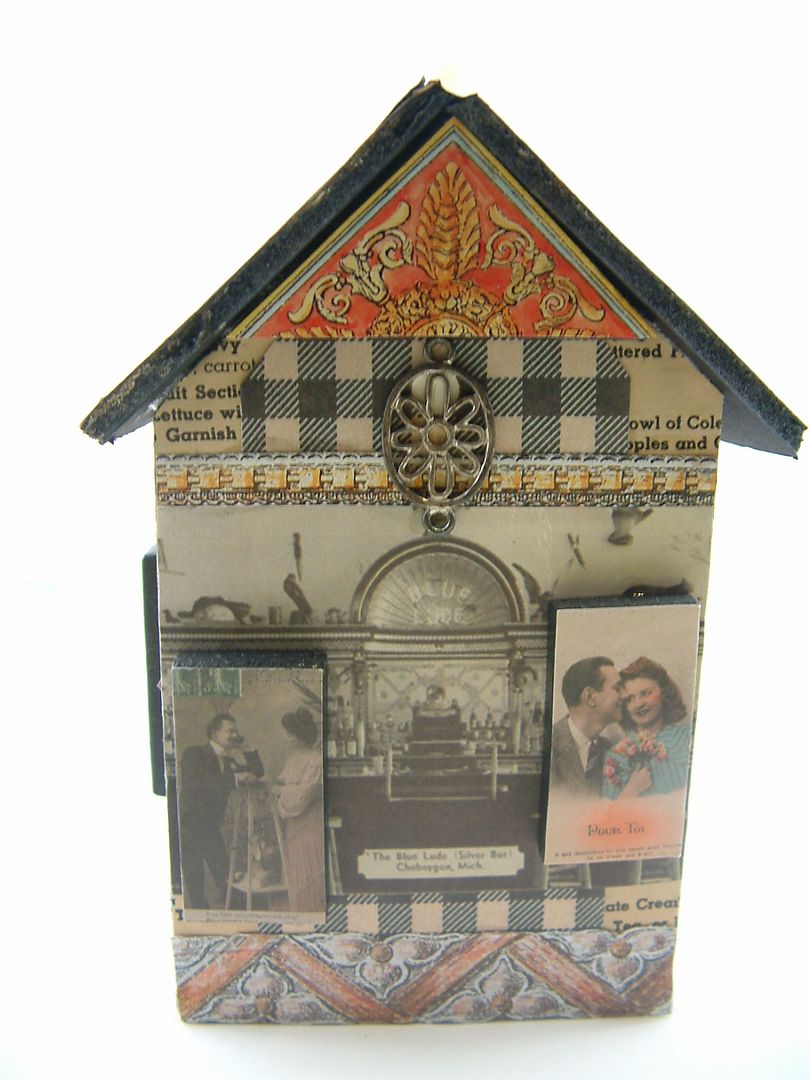
I call this house “Love Shack” because it makes me think of the B-52’s song.  Particularly the line “Tin Roof…Rusted”.  This house is made of foam core board and the roof really is rusted.  It’s not a paint treatment but real rust.  I thought I’d post this as a prelude to my tutorial on rusting (as I’m running a little behind finishing it).  The house is an end result of a class that I and the Creative Team ladies attended at Paper, Metal, Scrap in Payson AZ.  The best part of the class for me was learning the rusting technique.  I loved it so much I rusted an entire wall.  To decorate our houses we were given vintage magazines for images and boxes of odds and ends for dimensional embellishment.

The door on the front of the house is a glass slide that has been edged in copper tape and soldered.  The paper above the door is cupcake liner paper.

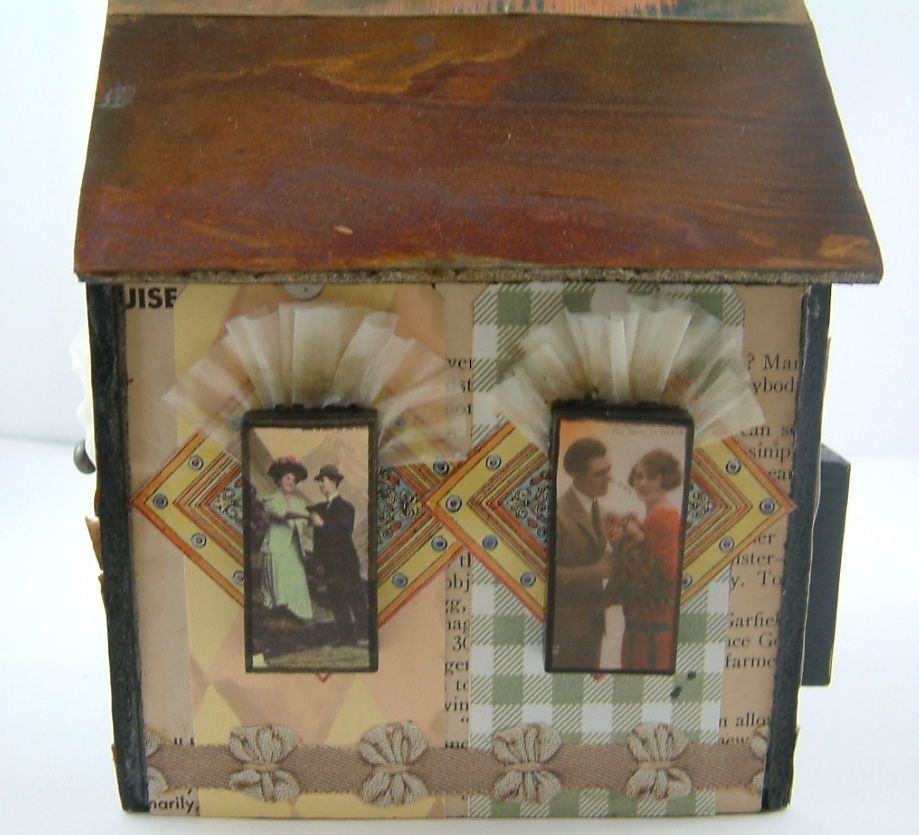
On the right side the windows are made from dominos with images of couples.  The paper above the windows is more of the cupcake liner paper.

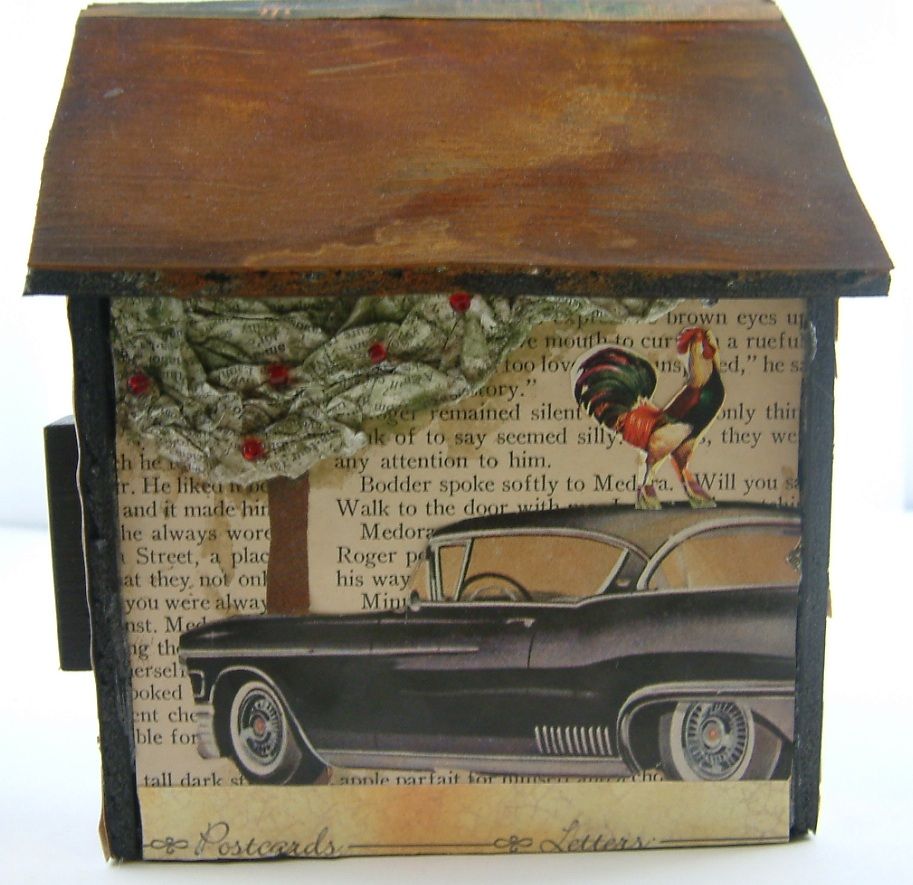
The tree on the left side of the house is made by crumpling very thin paper, applying glue then shaping.  I decided to shape an apple tree.
The back of the house is again dominos with images of couples.
I’ll be posting more houses made by the Creative Team in future months (they went crazy making whole villages).

Friday, April 29, 2011

Ideas for Storing and Displaying Oversized ATCs and Other Larger Pieces of Art

When it comes to storing and displaying standard sized ATCs I use 7 Gypsies ATC carousels but for larger pieces I use two different storage/display systems.  One I purchased and one I made. 

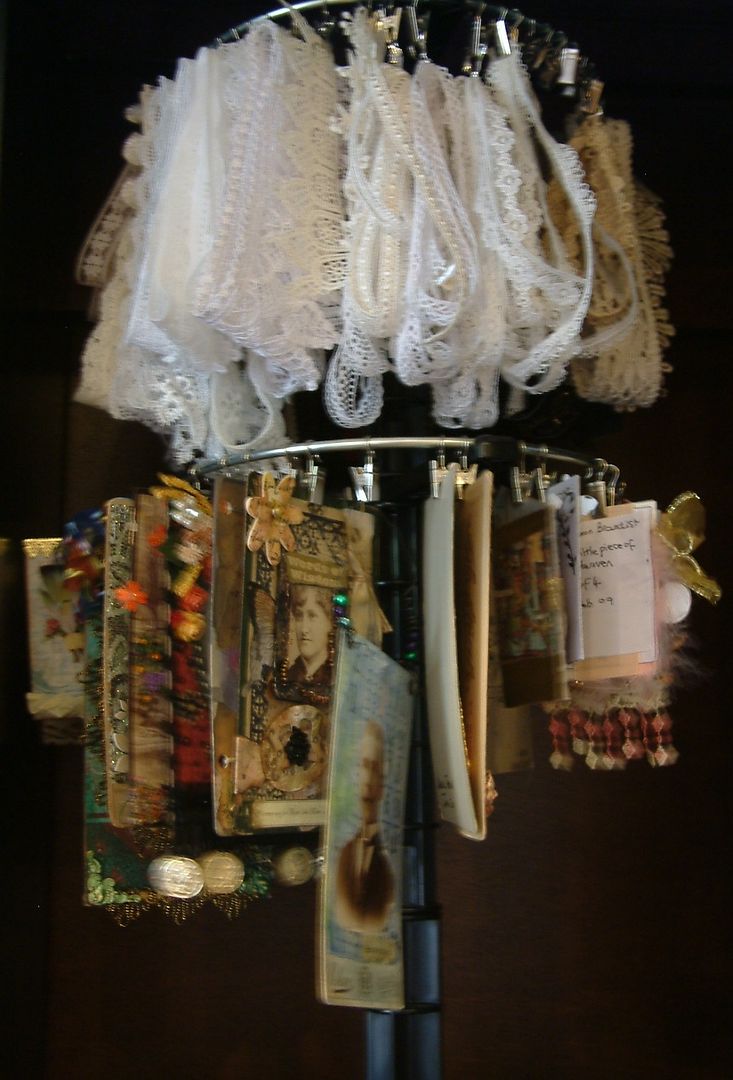
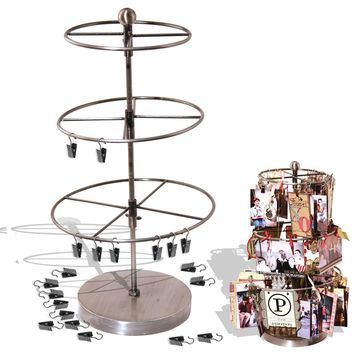
The one I purchased is a carousel system from Clip It Up.  You can purchase the system with one or two tiers.  The bottom tier is taller than the top tier.  I use the top tier to store my lace and the bottom tier to hang altered cabinet cards, altered postcards and oversized ATCs.  The clips that come with the product make it easy to add and remove pieces of art.  Here is a picture of my Clip It Up carousel. The top tier gives you 9 ½” hanging room (height) and the bottom tier gives you 15” hanging room (height). 


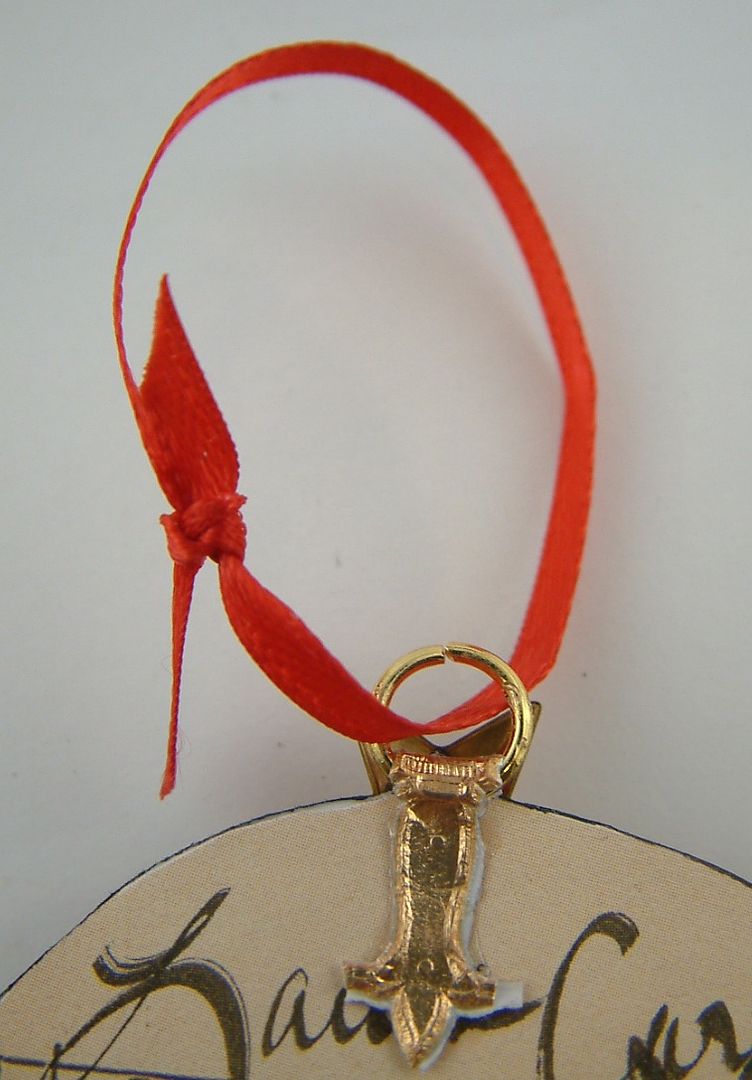
If you don’t want to use the clips that come with the system or there isn’t a good place to attach the clip, then add a small jump ring to the back of the piece and use ribbon to tie the piece to the carousel. 
Tip from Sheree Rose - I also use the Clip it Up carousel for my Altered Cabinet Cards but didn't want to have the clips damage the art work. I found packs of plastic bags at Michaels which I use to store the Cab cards and the clip only goes on the plastic.
 
You can find the Clip It Up system in scrapbook stores, online stores or buy directly from the manufacturer at http://www.clipitup.com/store/.  In addition to the carousel they sell other storage and display systems.


7 Gypsies also makes a large carousel system for ATCs and photos.   I don’t have this system so I can’t tell you how much hanging room is on each tier but I don’t think it is as much as the Clip It Up system.  If you have large and or long items the 7 Gypsies system might not work for you.   You can purchase the system from scrapbook stores, online stores or buy directly from the manufacturer at http://www.shopatron.com/products/category/ATC+%26amp%3B+Photo+Display/533.0.1.1.62667.99719.0.0.0
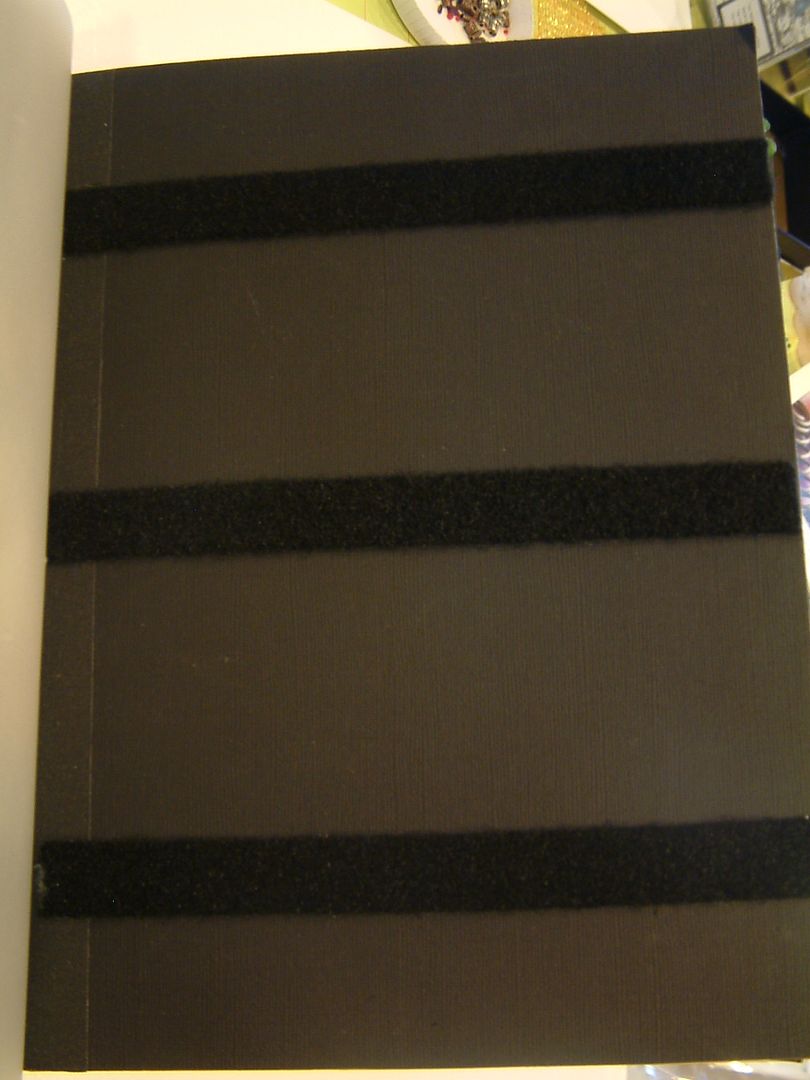
The second method I use for storage and display is Velcro.  First I made a post bound album.  For pages, I covered pieces of light weight chipboard with cardstock then attached strips of Velcro (the loop side) to each page (back and front).  The purpose of using chipboard is to create a stiff and sturdy page that will support the weight of the cards.  I punched holes in the pages to match the spacing of my album.
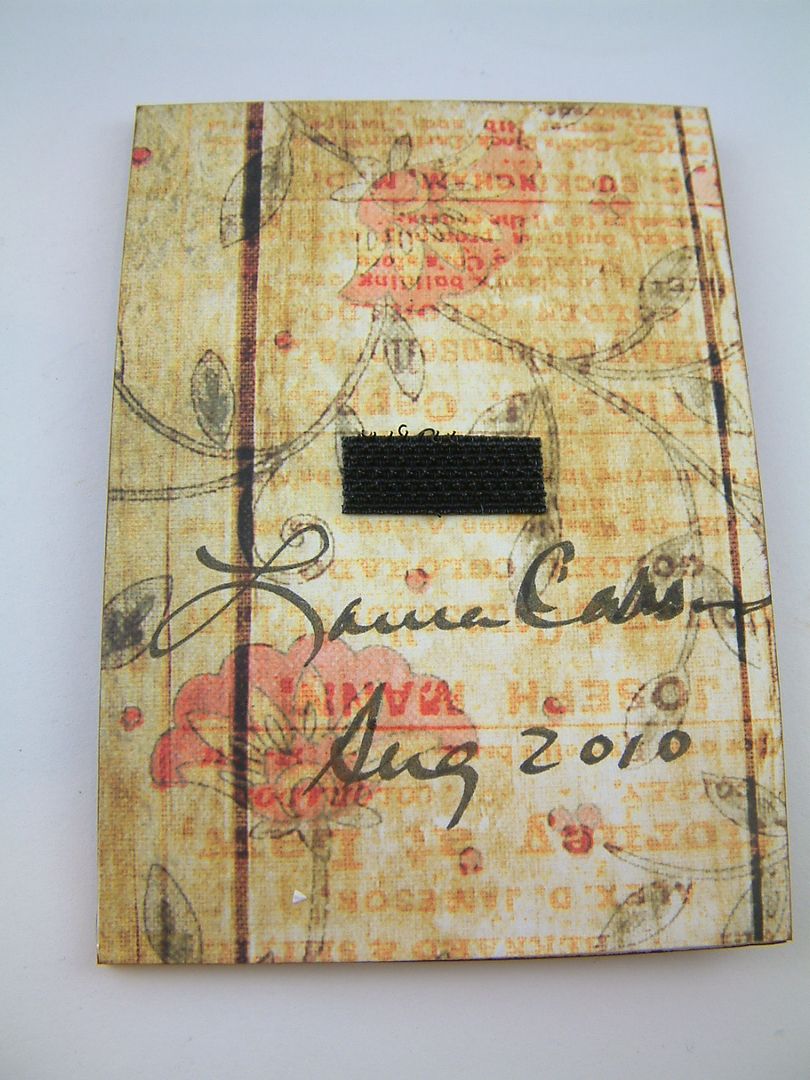
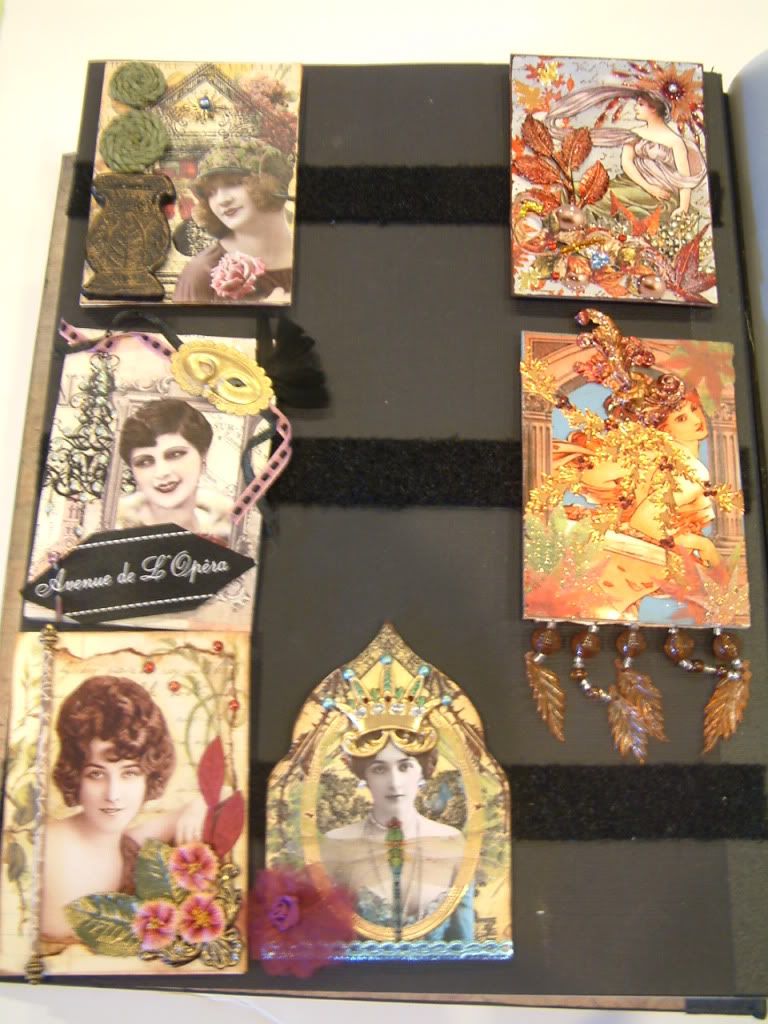
To mount cards to the page I attach a tiny piece of Velcro (the hook side) to the back of the card.  Now I can mount the card on the page. 
Using Velcro makes it easy to add, remove or reposition the art.
To keep the art on opposing sheets from rubbing together I added a sheet of vellum between each set of pages.
You don’t need to make your own album.  You could use a scrapbook album or a three ring binder.   I actually like storing even regular sized ATCs this way as you can see and touch the art without the plastic getting in the way. 
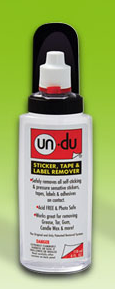
If at some point you want to remove the piece of Velcro from the back of the art you can use Un-Du which dissolves glue without harming paper, photos, embellishments etc. 
You can find Un-Du at many craft stores, scrapbooking stores and hardware stores.  You can also buy it directly from the manufacturer at https://un-du.com/index.php?option=com_wrapper&view=wrapper&Itemid=53.  They don’t ship out of the US but I’m betting other countries carry a similar product.

Sunday, April 24, 2011

Living a Boy’s Adventure Tale

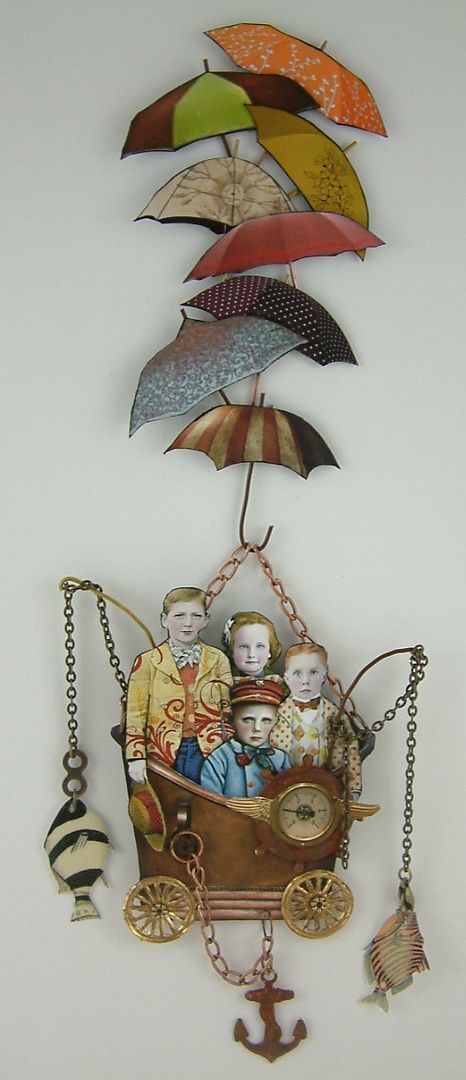
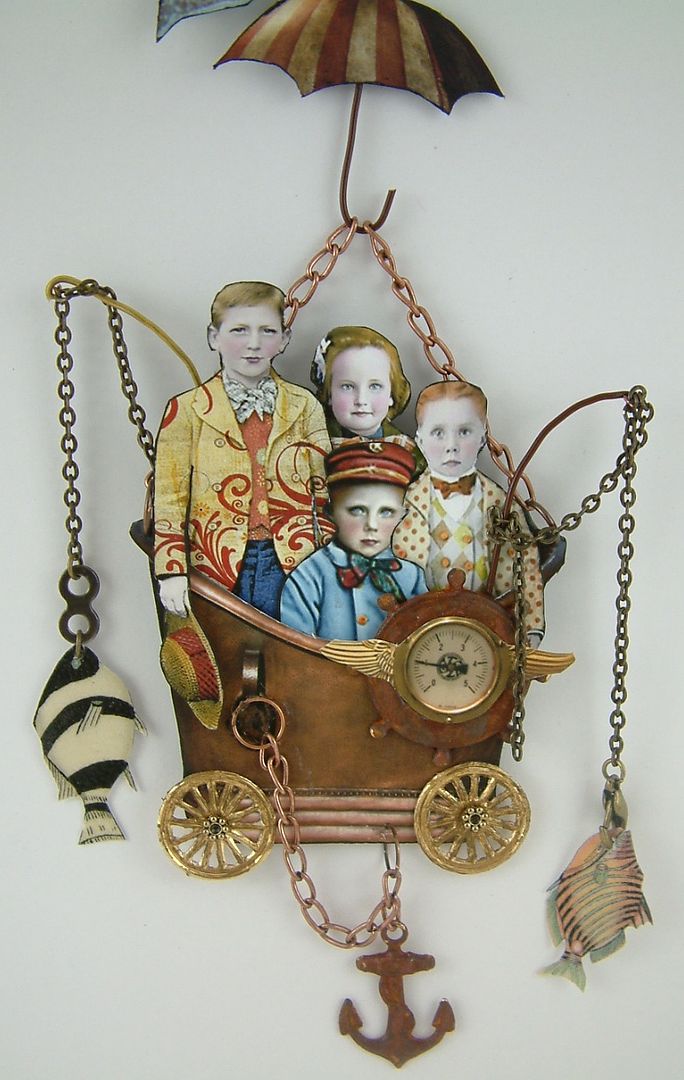
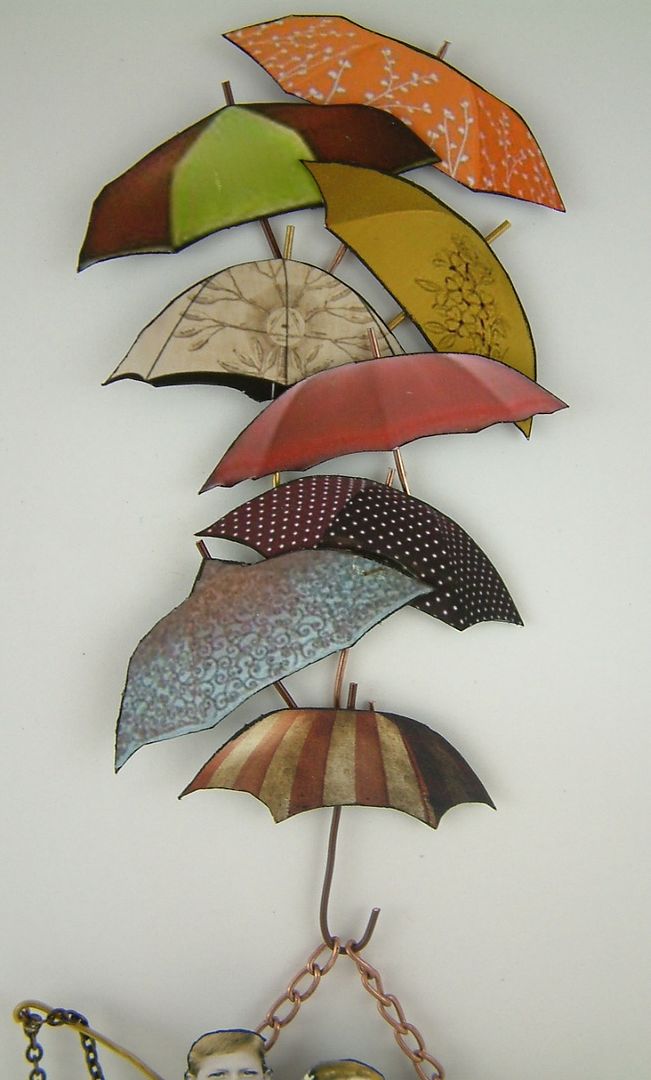
The name of this piece is inspired by the A-ha song  “Living a Boy’s Adventure Tale” (I’m a big fan).  It is also my “nod” to the Land of Nod Studios blog.  The images of the boys are ones where Deborah colorized black and white photos and offered them as part of her Free Photo Fridays.  The boys have created a flying machine from a copper bathtub and umbrellas.  I rusted the brass ships wheel and anchor.  Later this week I’ll be posting a tutorial on rusting.

Sunday, April 17, 2011

Steampunk Owl ATC

 
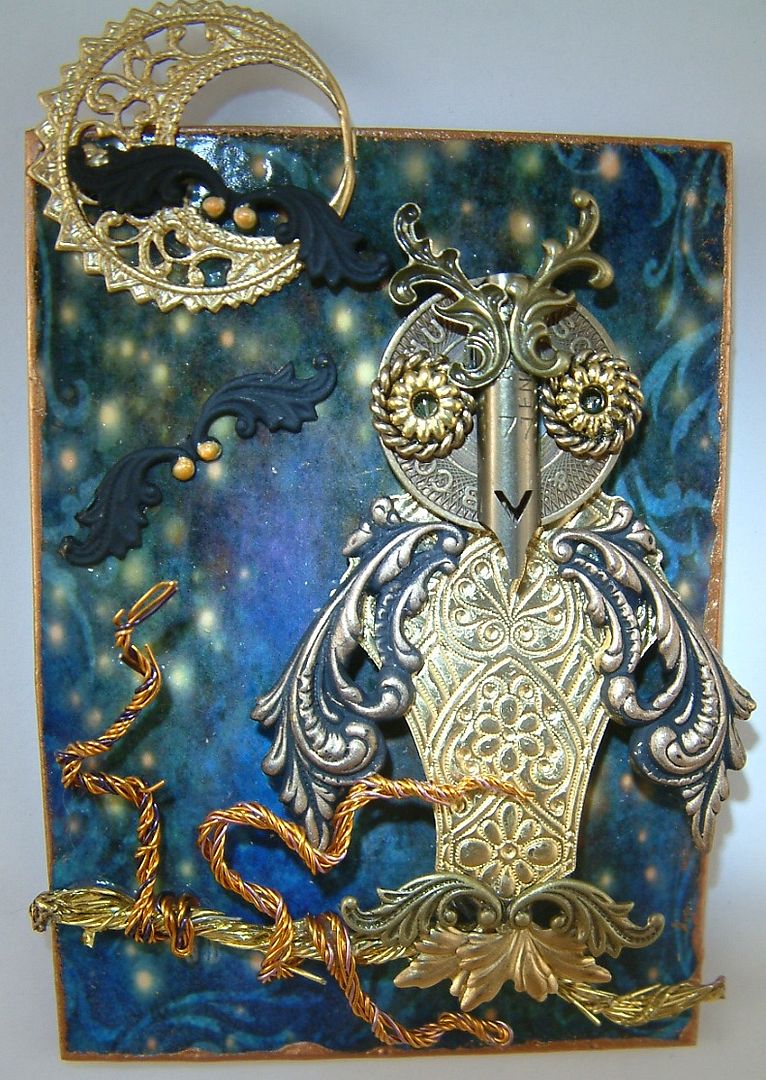
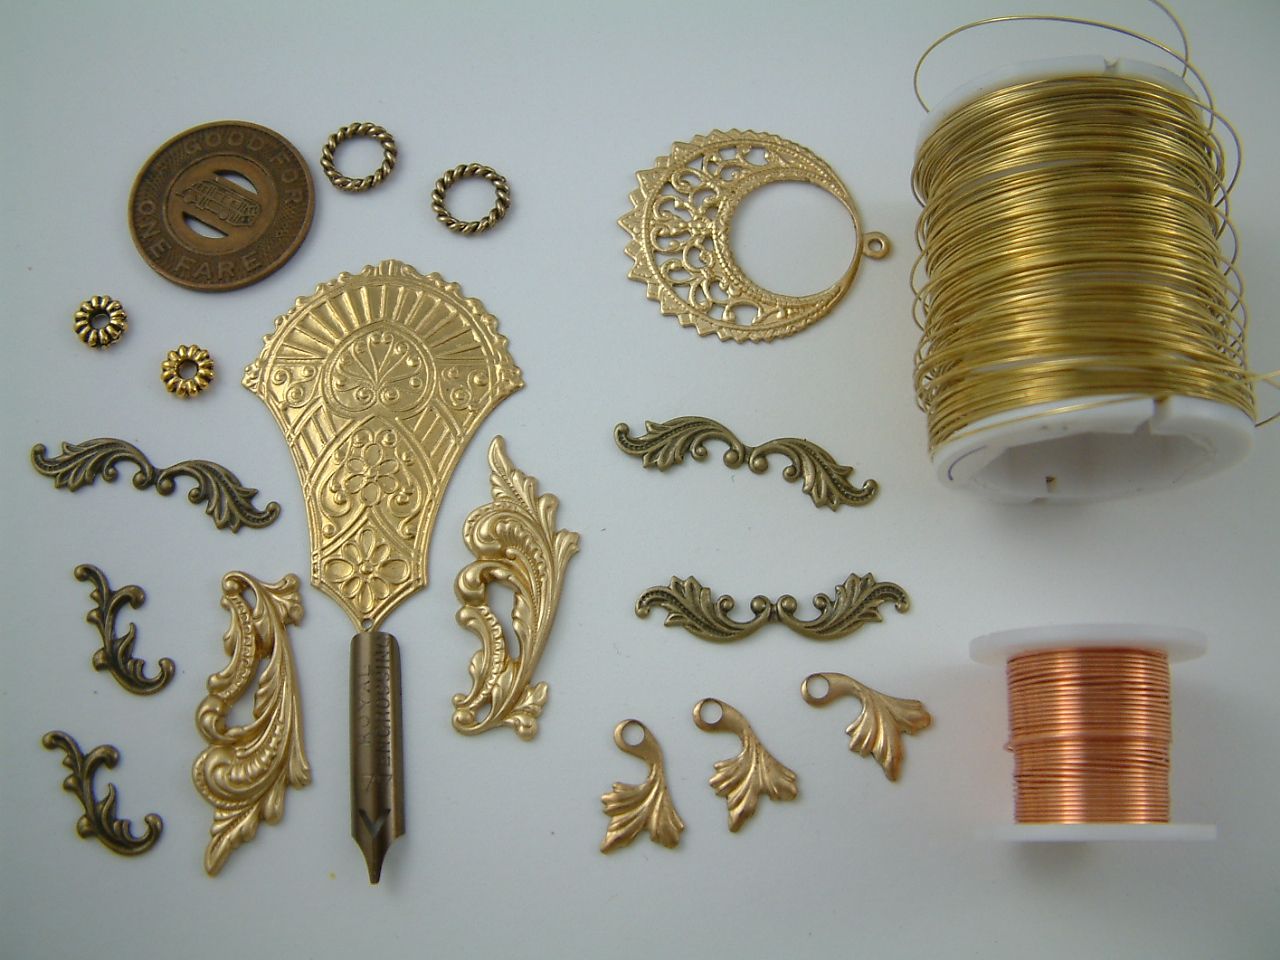
This card is for a swap in the Creative Souls Group.  Everything on the card (owl, moon, bats) except the background is metal.  The branches are made of twisted wire, the head is an old subway token and the beak is a pen nib.  Below is a picture of all the bits and pieces I used.
I made extra so I will probably offer one of these cards in next months (May’s) drawing.

Thursday, April 14, 2011

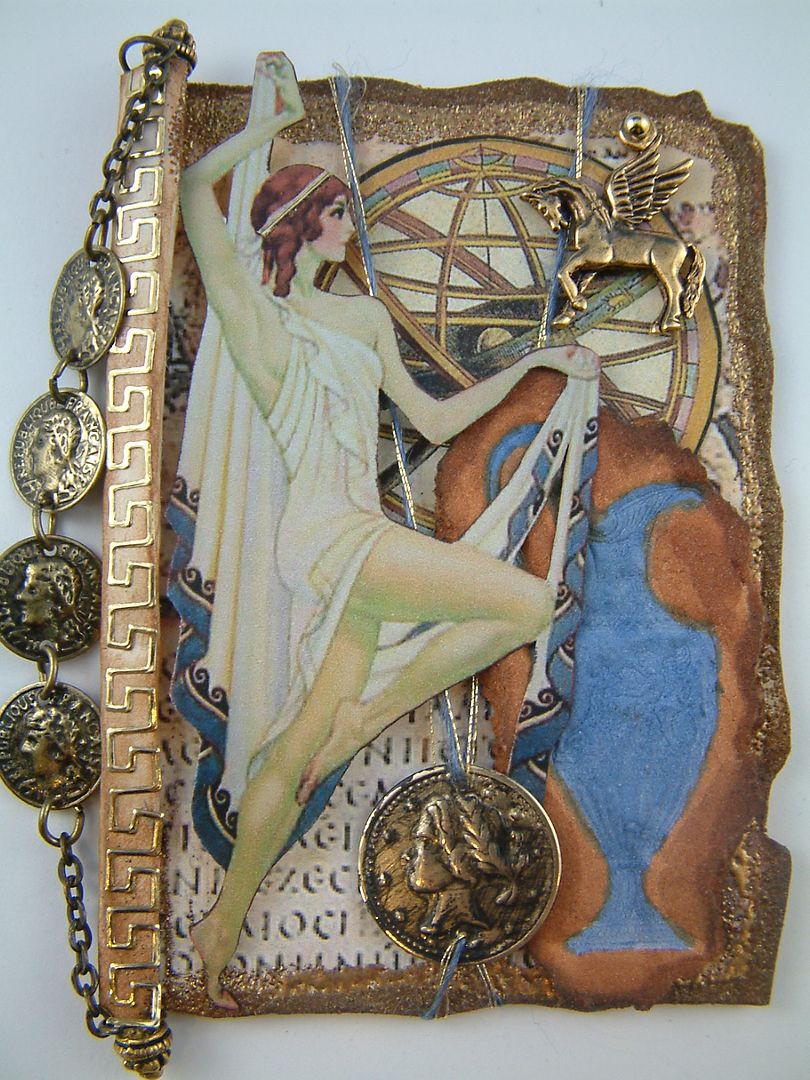
Polyhymnia Greek Goddess of Dance

The pot is paper clay that has been stamped, painted and inked.  Click here to see a tutorial on stamping paper clay.

Sunday, April 10, 2011

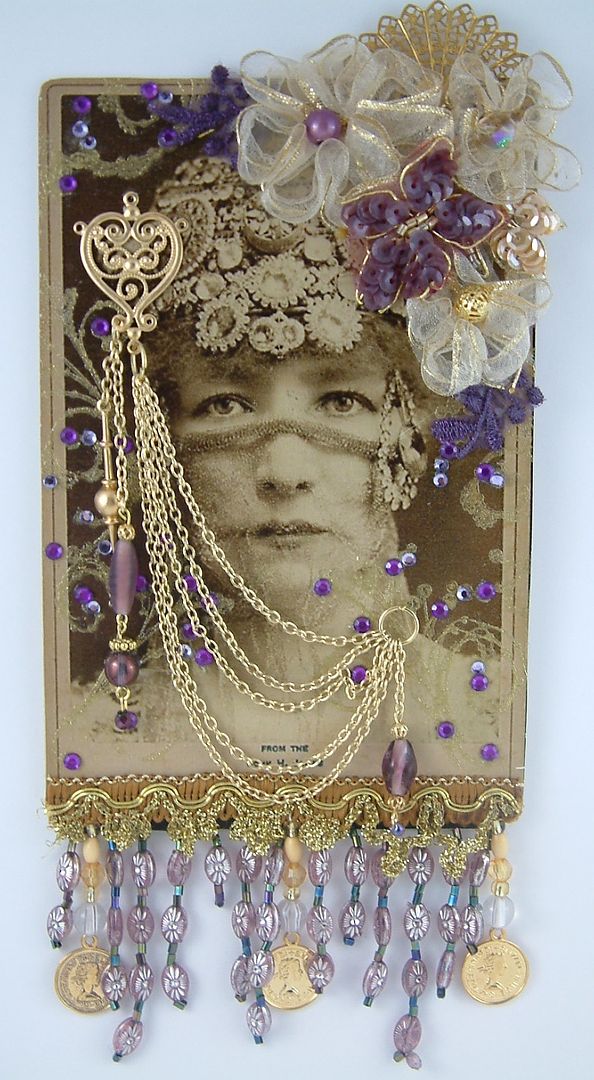
Hidden Beauty - Altered Cabinet Card

This is a altered cabinet card that I made for one of the creative team members (Julia Craighead).  As a group we've been doing a couple of rounds of trading altered cards.

Wednesday, March 30, 2011

Handmade Books

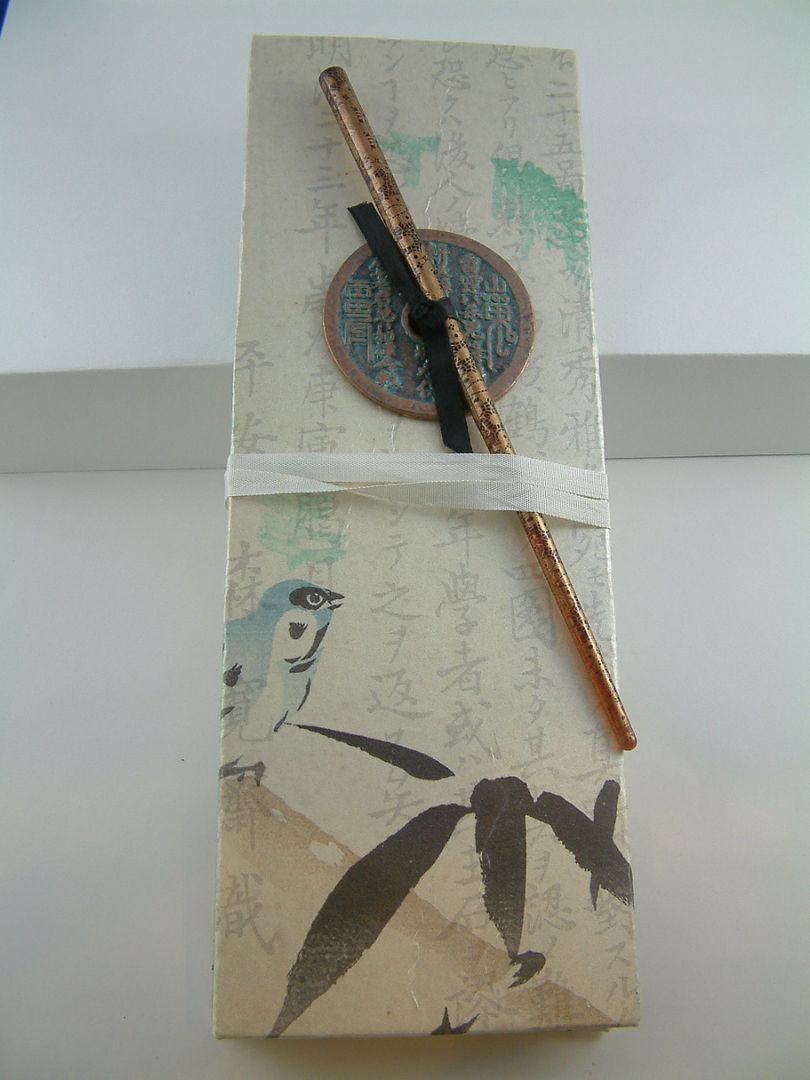
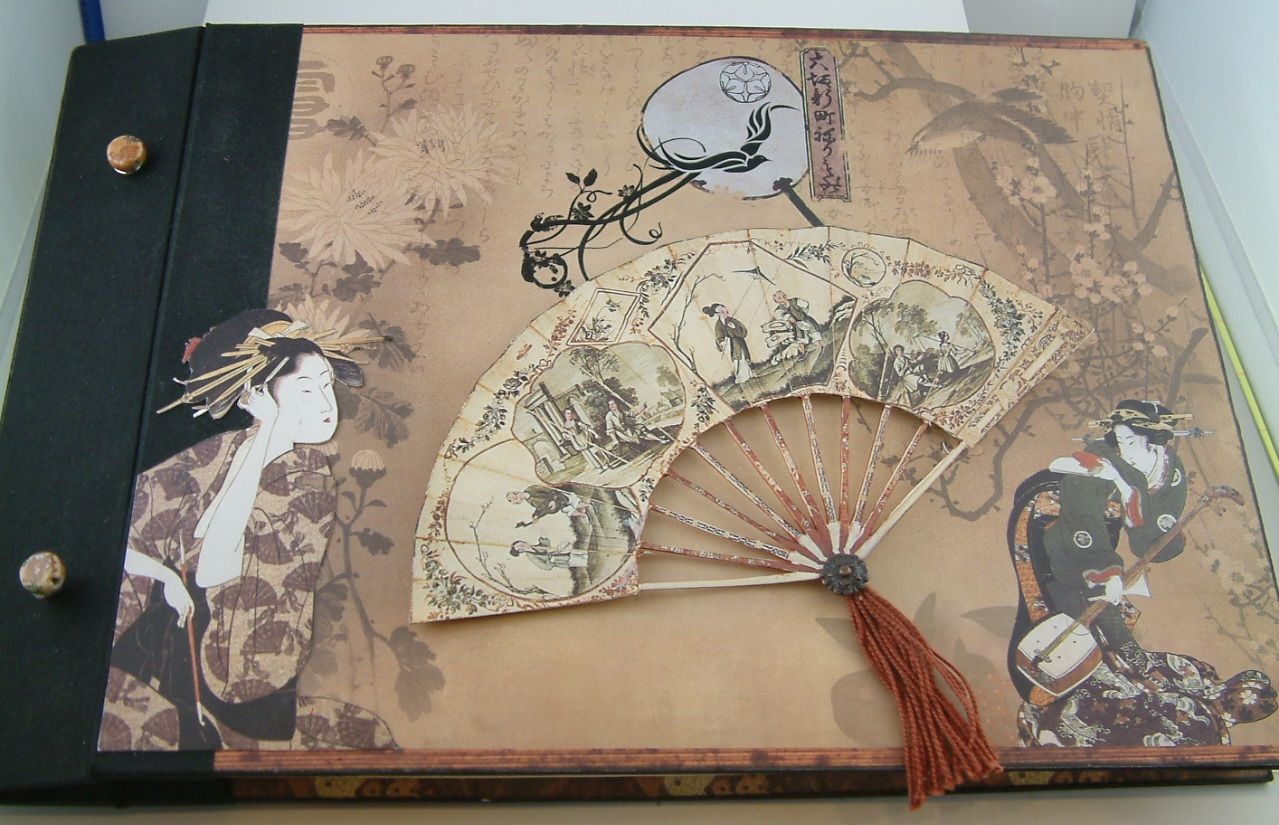
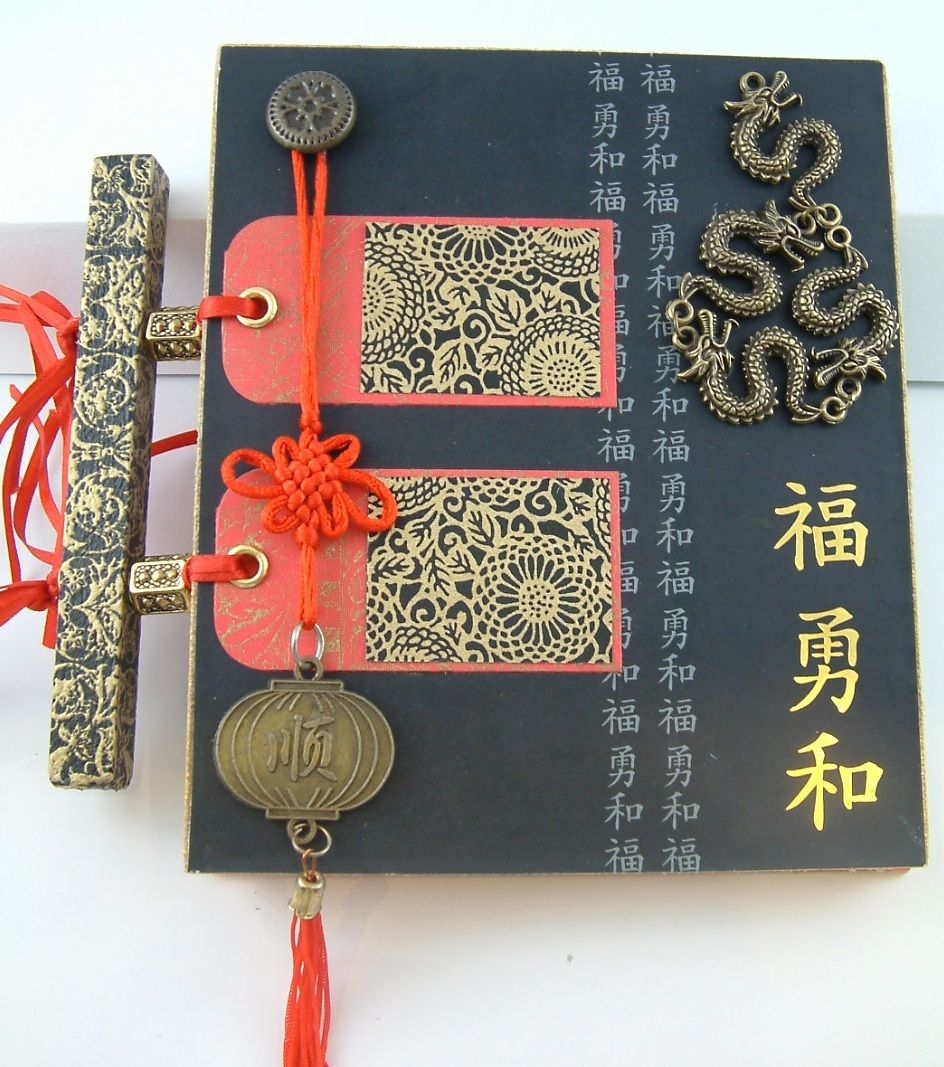
To wrap up one of this months themes; Asian inspired art, are three handmade books.

Monday, March 28, 2011

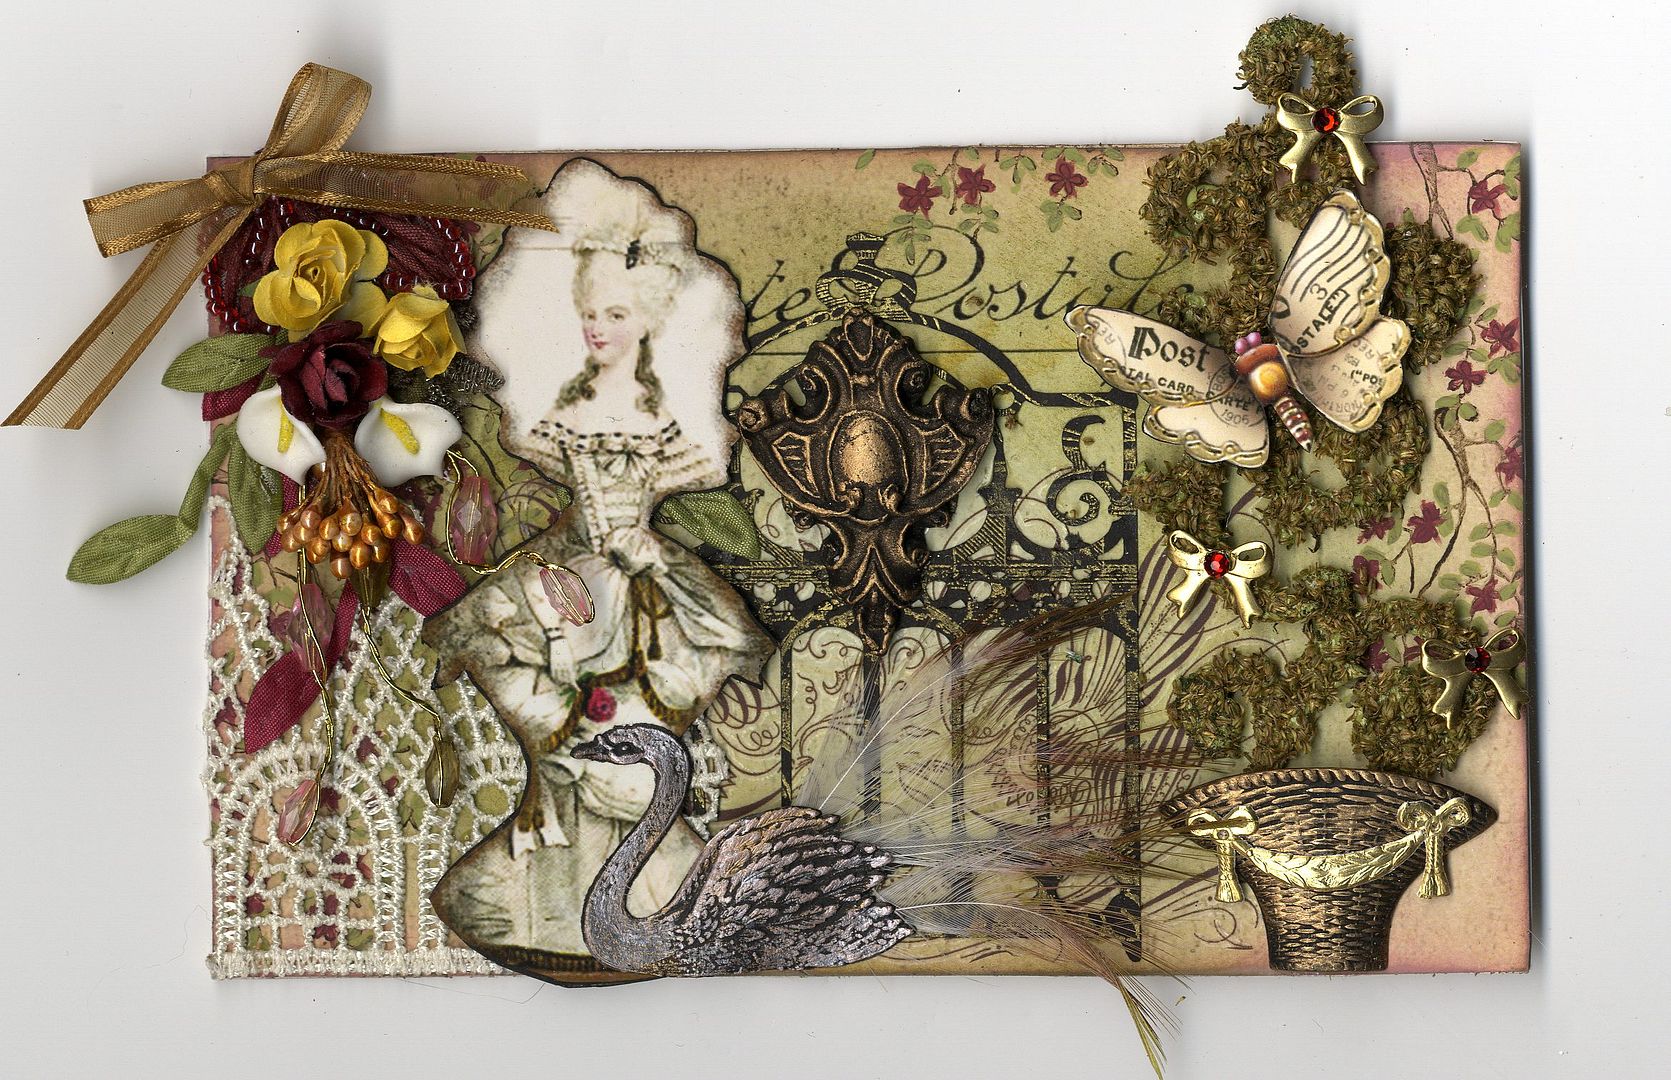
Springtime in Versailles Postcard

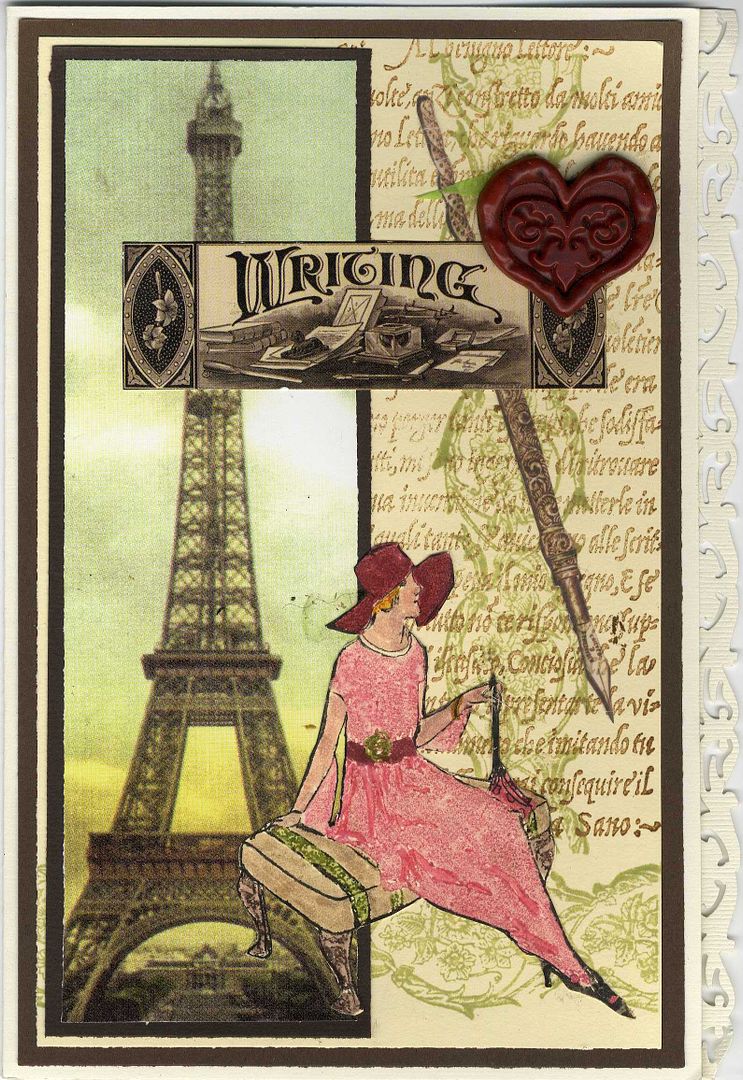
I’ve been working on a 4 x6 postcard for a swap in the Marie Antoinette Mail Art Group.  The theme is “Spring” so my piece is titled “Springtime in Versailles.  The plaque on the gate is the one I made in the tutorial "How to Make Your Own Molds & Working with Paper Clay".

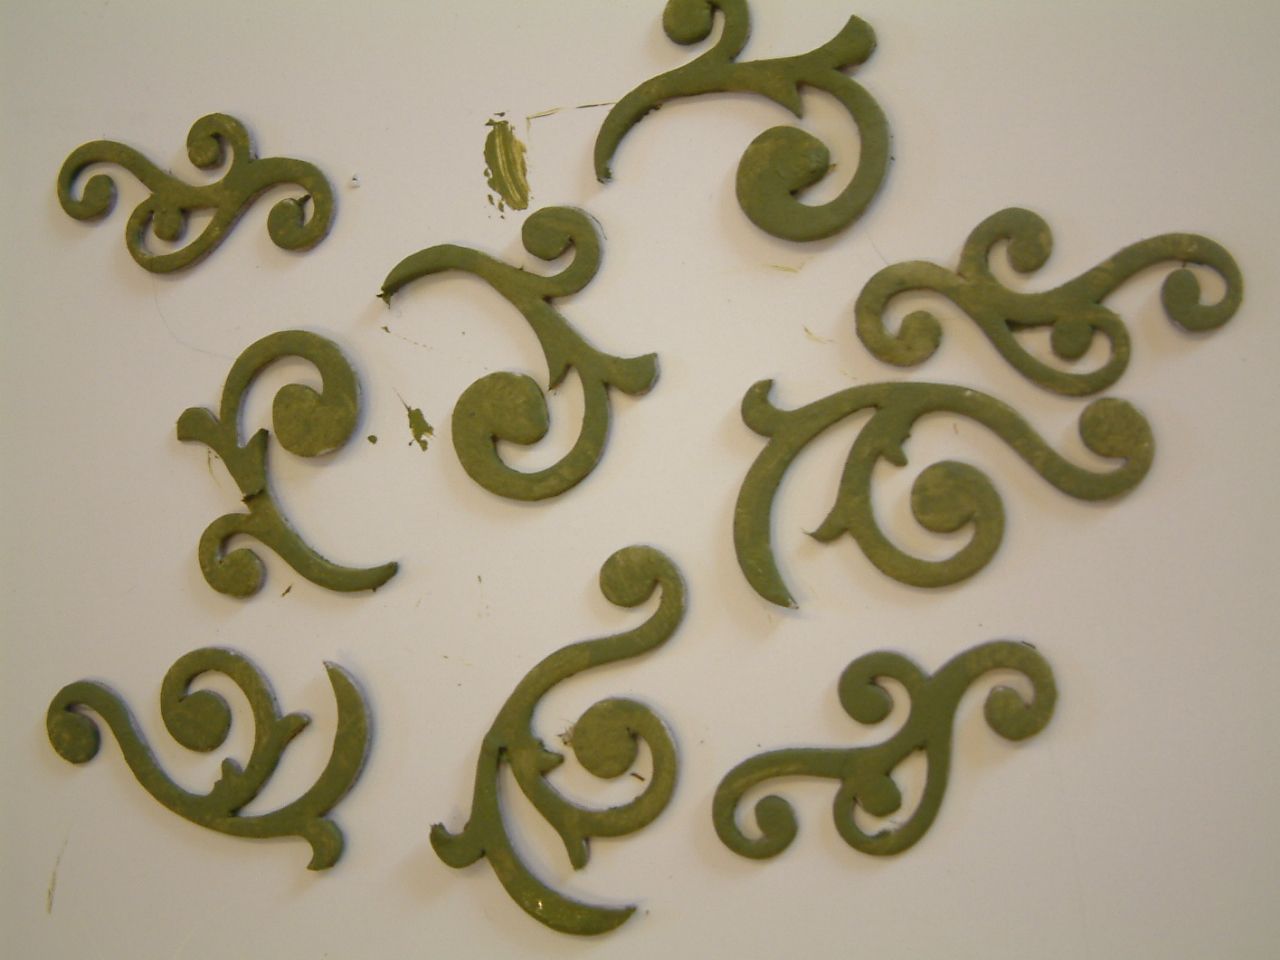
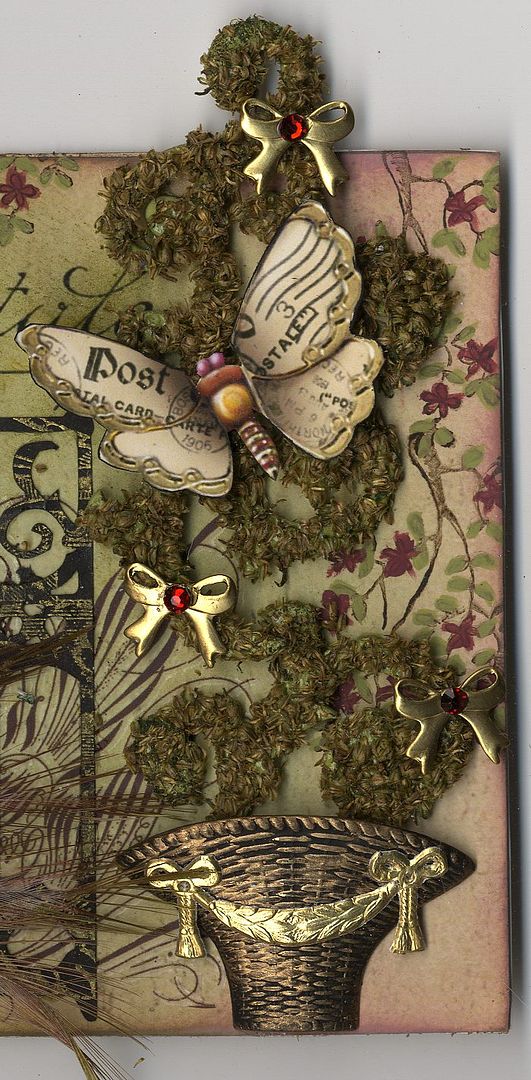
I decided I wanted to create a topiary since the French gardens at the time were so formal.  To make the topiary I started by painting chipboard swirls green.
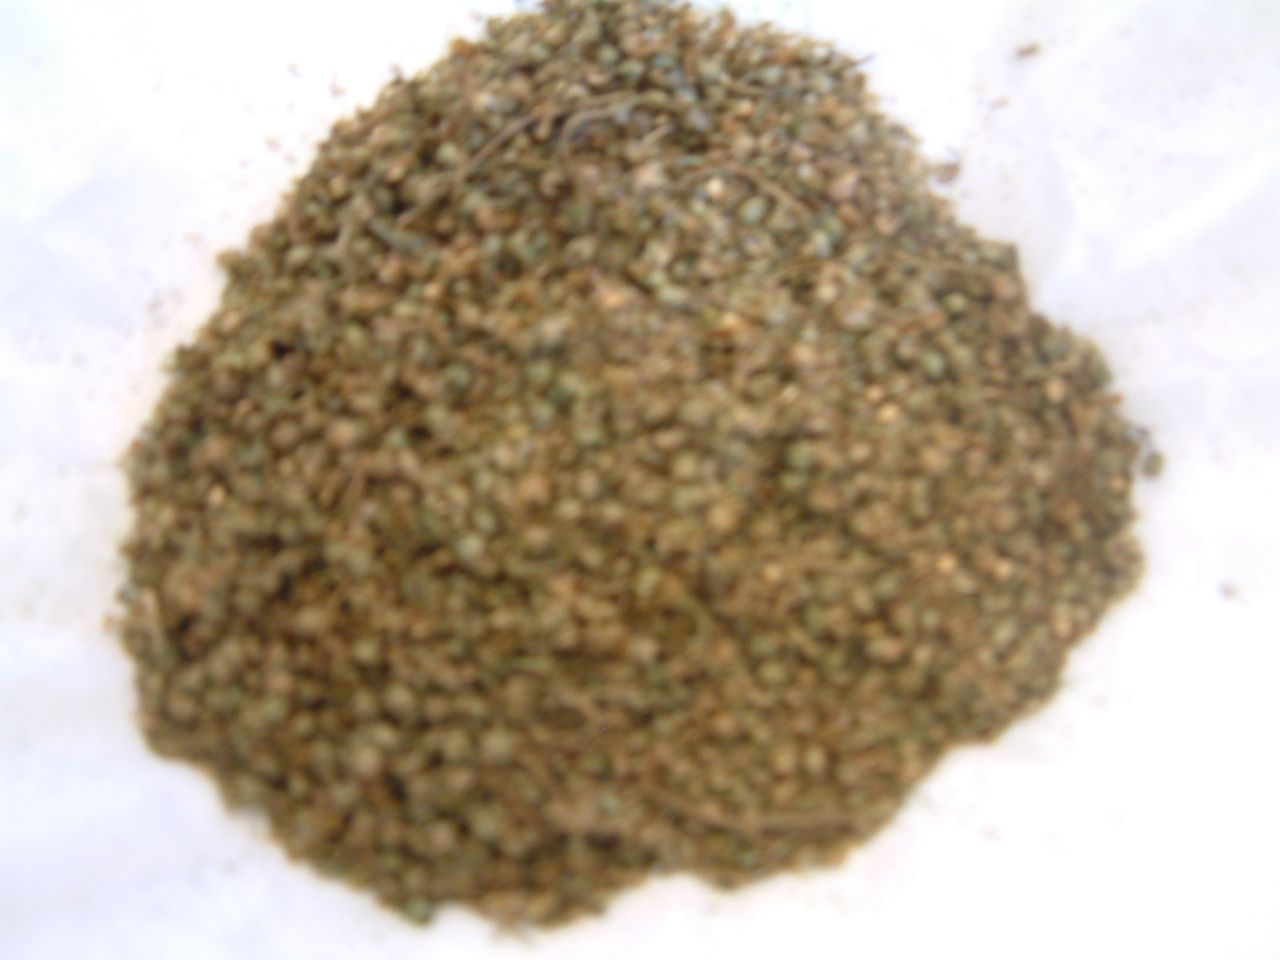
 Next, I removed flowers from the stems of dried flowers. 
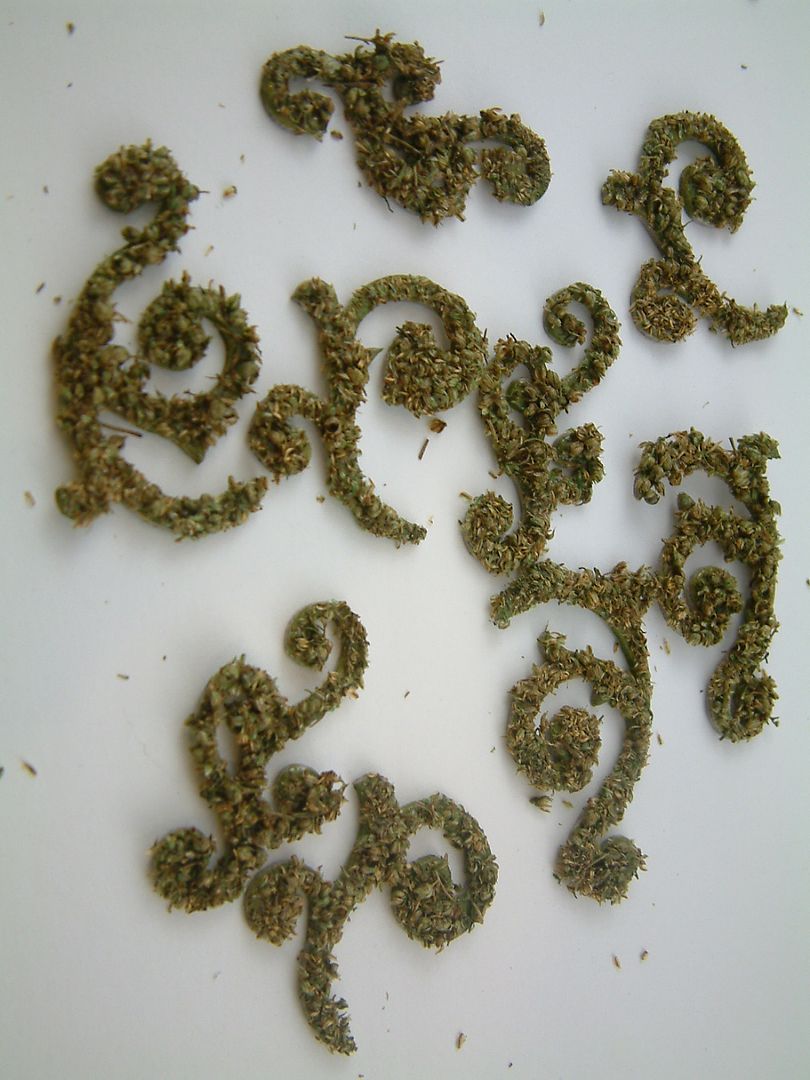
I applied Glossy Accents glue (dries clear) to the painted swirls and dipped them in the dried flowers.
 Lastly, I glued the swirls to the postcard and dressed them with jeweled ribbons and a butterfly.

Saturday, March 26, 2011

Tuesday, March 22, 2011

Three Muses Challenge

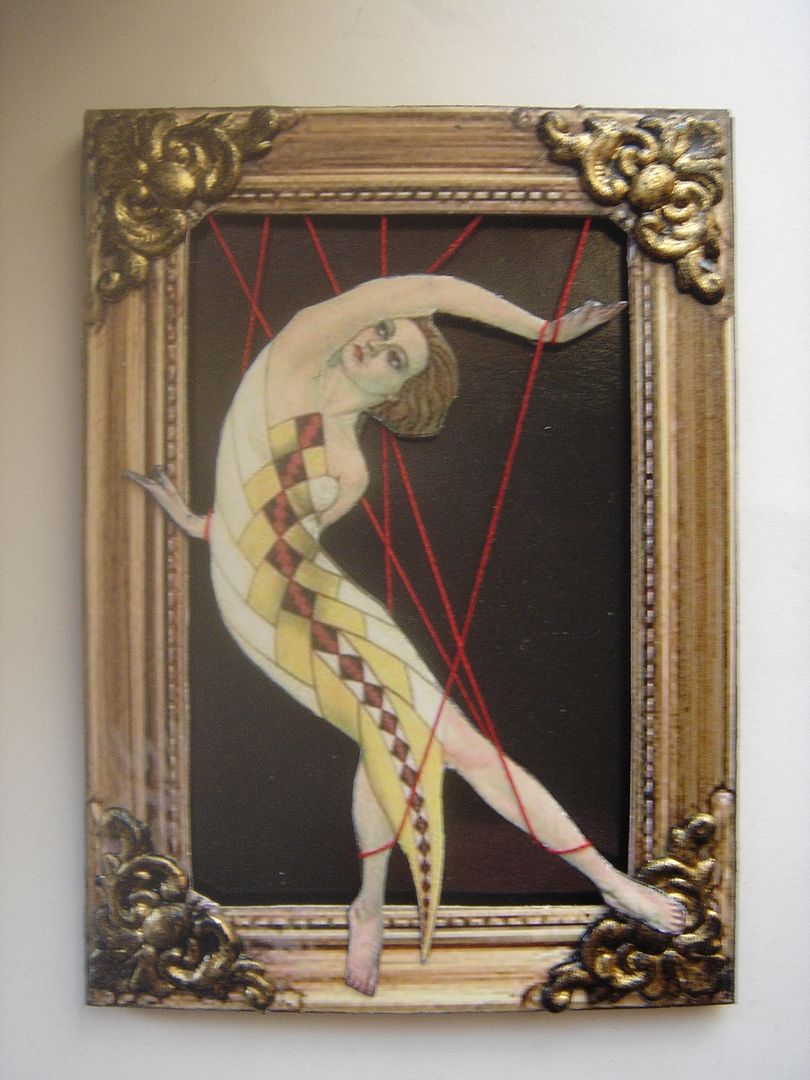
This week’s Three Muses Challenge is “Land of Odd”.  My entry for the week is titled “Marionette”.  The image is from a vintage magazine.  To give the piece dimension I popped up the frame and image using double sided foam tape.  I wrapped her in thread to give the sense of someone behind the scene is pulling the strings.

Sunday, March 20, 2011

Tutorial – How to Create Backgrounds & Embellishments Using Paper Clay and Rubber Stamps

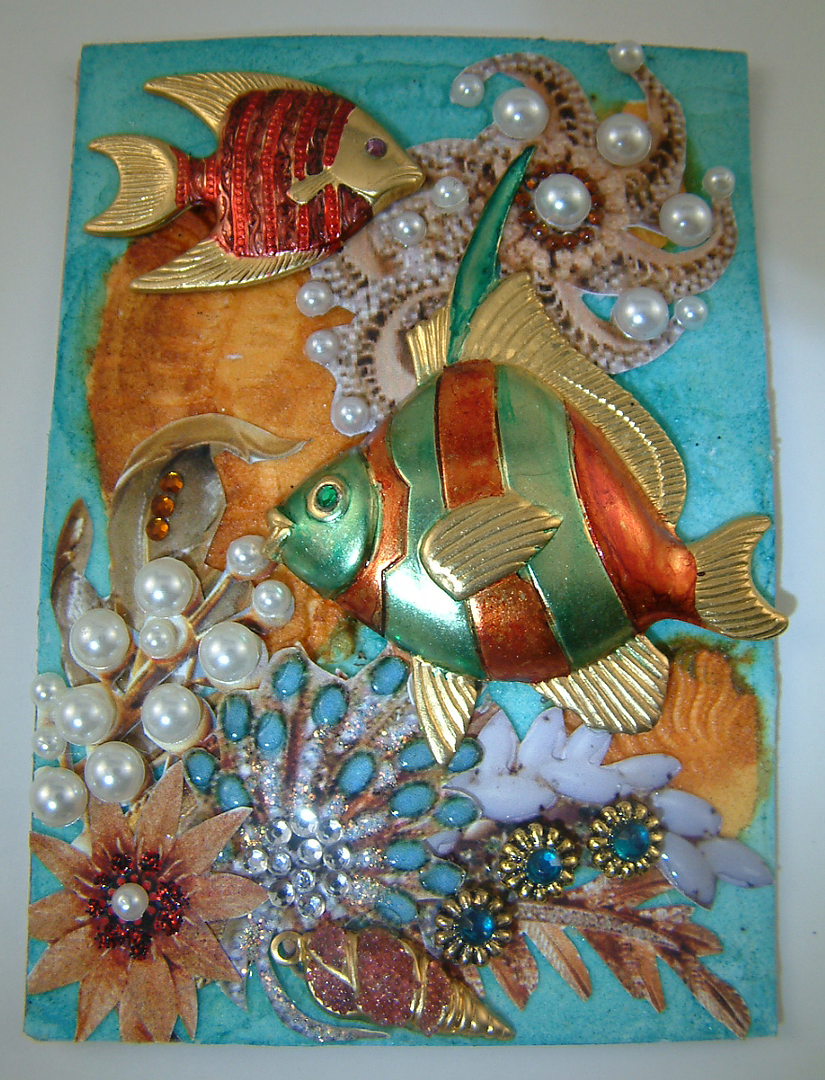
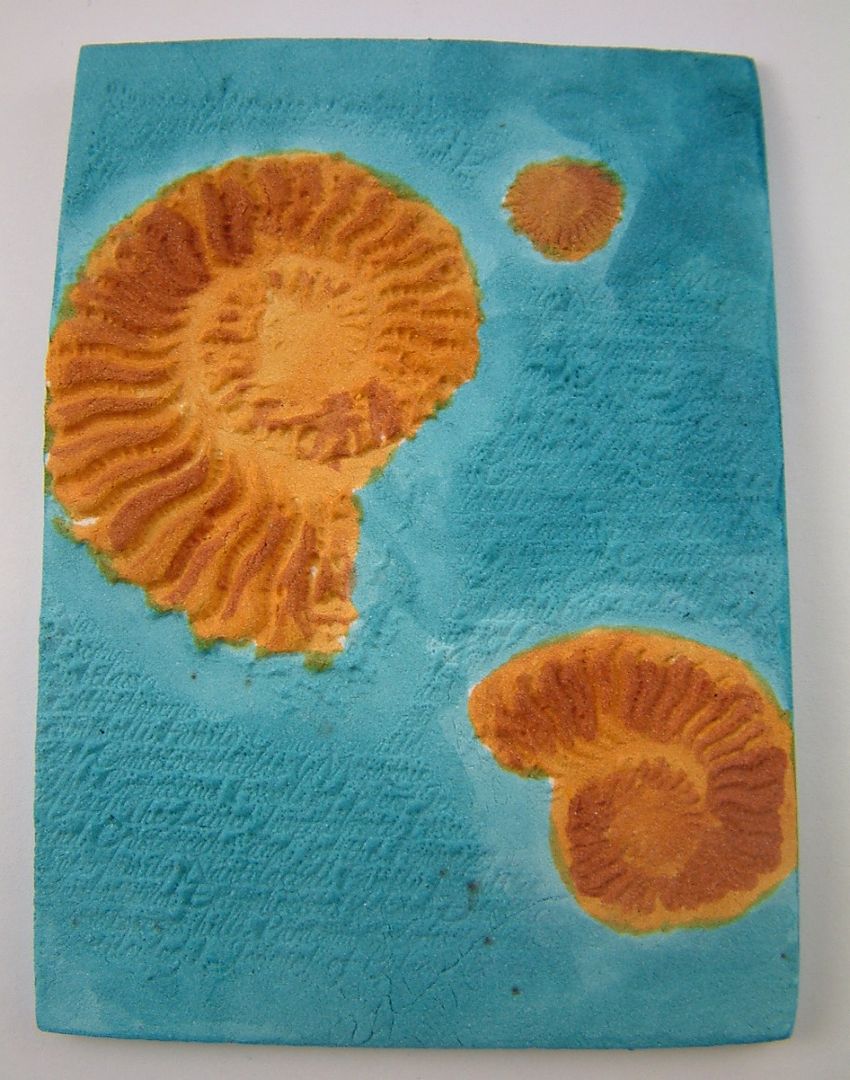
Stamping in paper clay is a great way of creating all kinds of dimensional embellishments and backgrounds and gives you another way to use your stamps. The background of the collage piece below is paper clay that has been pressed with a rubber stamp and painted with alcohol inks.  In this tutorial I’ll take you through the steps of creating backgrounds and other embellishments using paper clay and rubber stamps. 
You can use any type of clay for this tutorial but if you don’t have a lot of experience with clay, and don’t have a dedicated machine to bake clay, you might find paper clay easier.  Paper clay is easy to work with, does not require baking (air dries), can be painted, is easy to trim, is light weight and fairly durable.
If after reading the tutorial on “How to Make Your Own Molds and Molding with Paper Clay”, you made an investment in paper clay, stamping clay is another way to use your supply.

What You Will Need
Rubber Stamps or Acrylic Stamps (foam stamps won’t work)
Nonstick Surface such as a nonstick craft sheet, wax paper, parchment paper etc.
Some type of tool to roll out the clay like a rolling pin, brayer, or drinking glass.
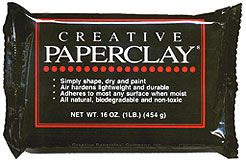
Creative Paper Clay – In the US you can find this at both Michaels and JoAnn craft stores.  Other crafts stores may also carry it.  On-line you can purchase it from Amazon.com, Createforless.com, Overstock.com and a huge variety of other on-line stores.
I recommend reading through the entire tutorial before starting
Step One – Condition the Clay
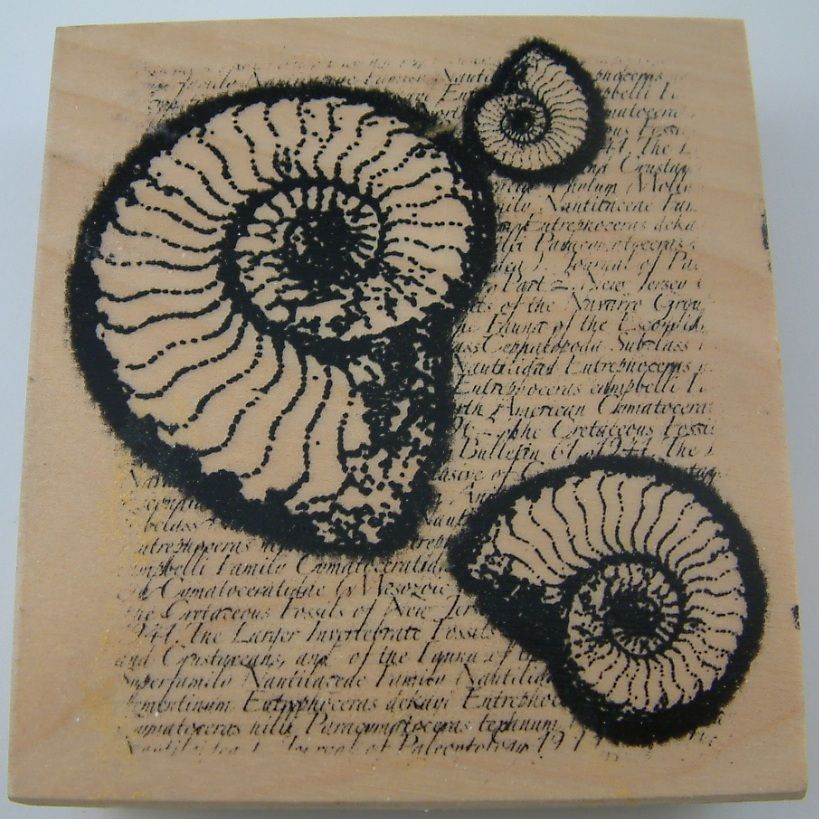
First choose a stamp.  You need to use either a rubber or acrylic stamp as a foam stamp is too soft.  The design on the stamp I chose was almost the size of a standard ATC (2 ½” x 3 ½”).
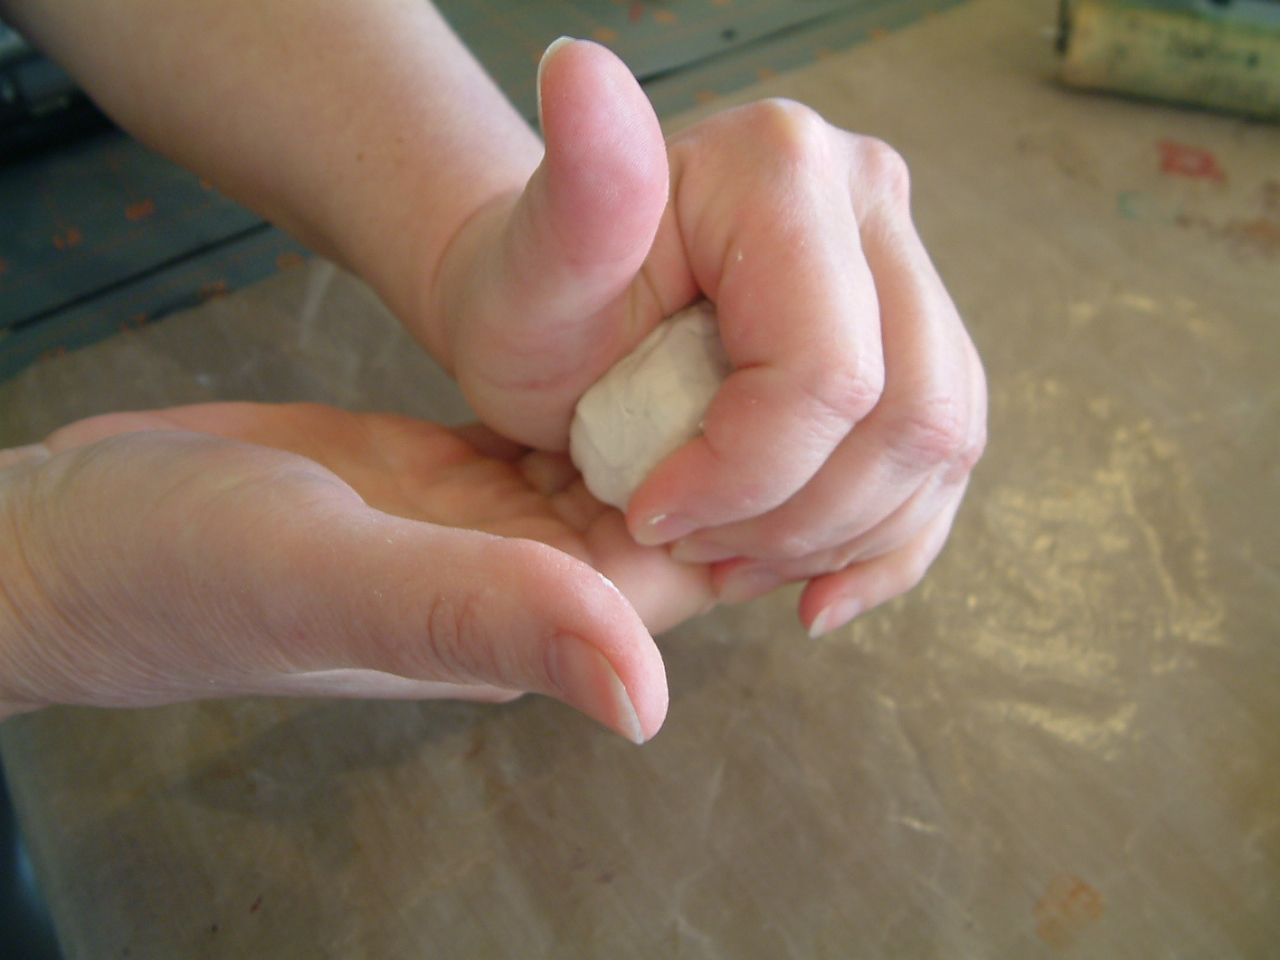
Remove the amount of clay you think you will need.  You should remove enough so that once the clay is rolled out it is slightly larger than the stamp and is the thickness you desire.  Since the example is an ATC I used enough clay so that when rolled out the clay was approximately 1/8” thick. For an ATC base I wouldn’t go any less than this as the clay will shrink slightly when it dries.  Knead the clay together so that the texture is consistent.


Step Two – Rollout the Clay
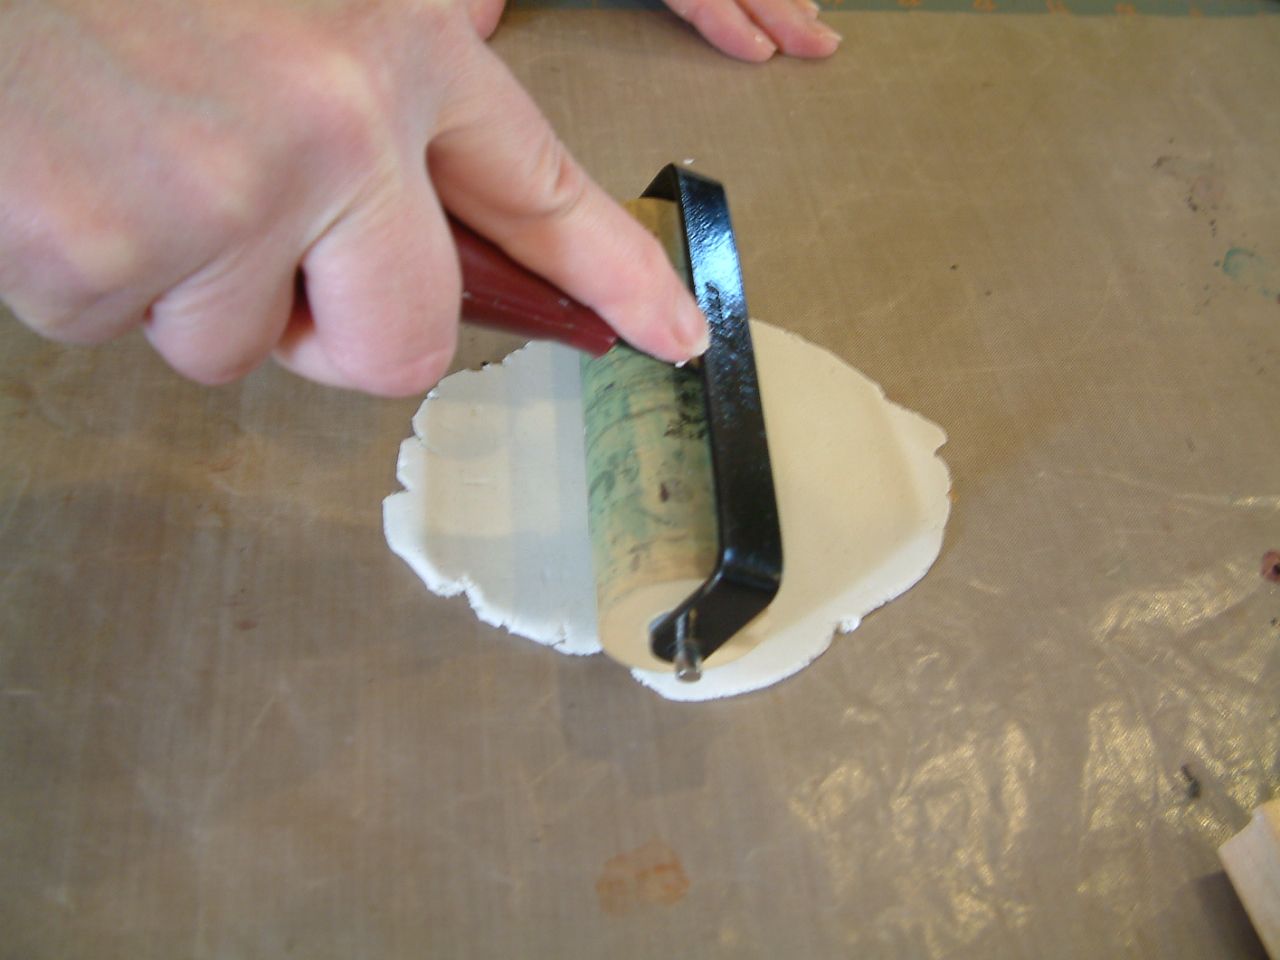
Fatten your conditioned clay and place it on your non-stick surface.  Use some type of tool to roll out your clay.  I used a brayer.  Roll the clay out so that it is slightly larger than your stamp or the image on your stamp.  Try to keep the thickness consistent. 
Step Three - Stamp the Clay
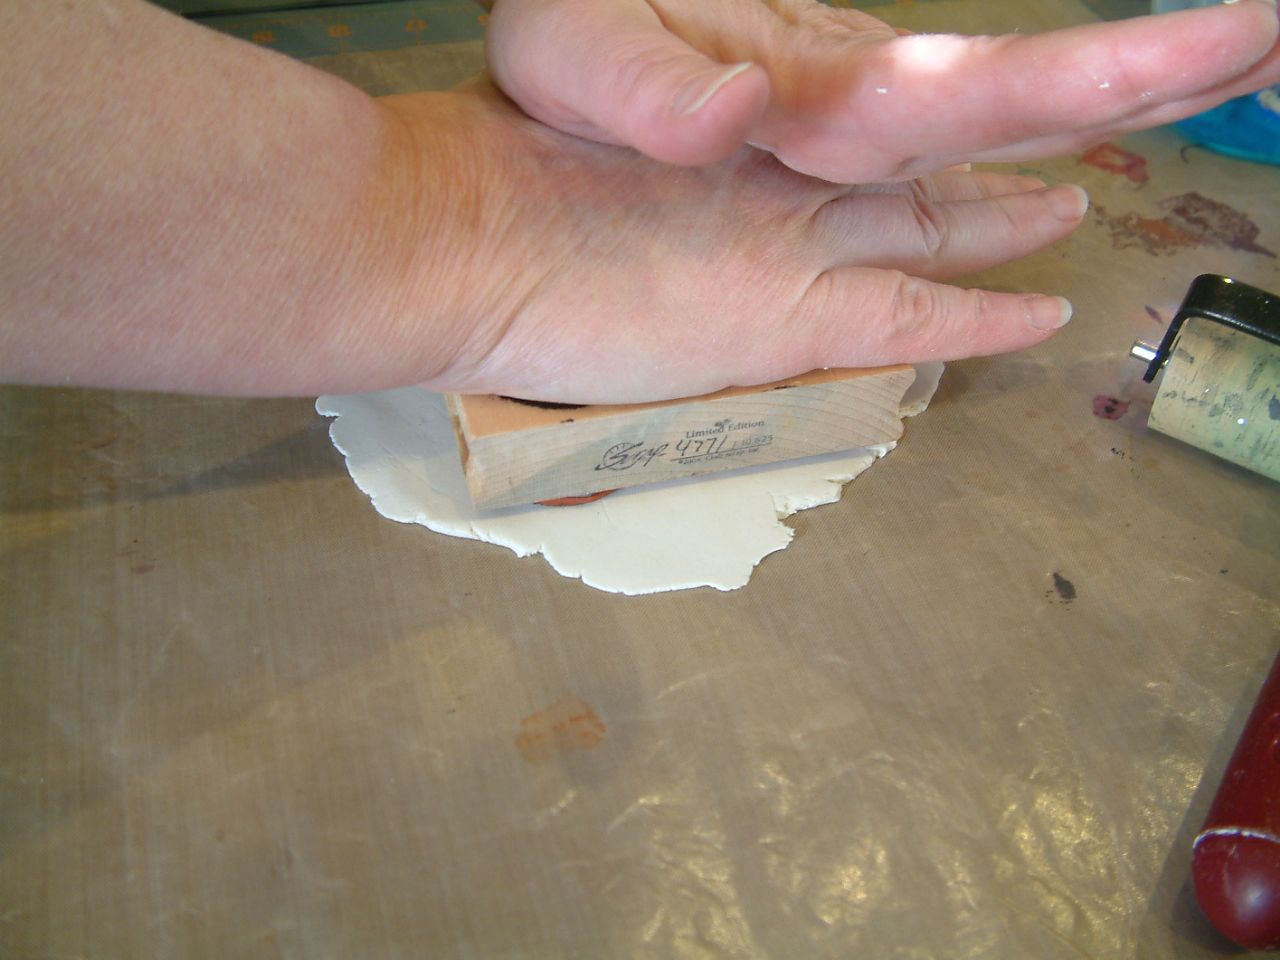
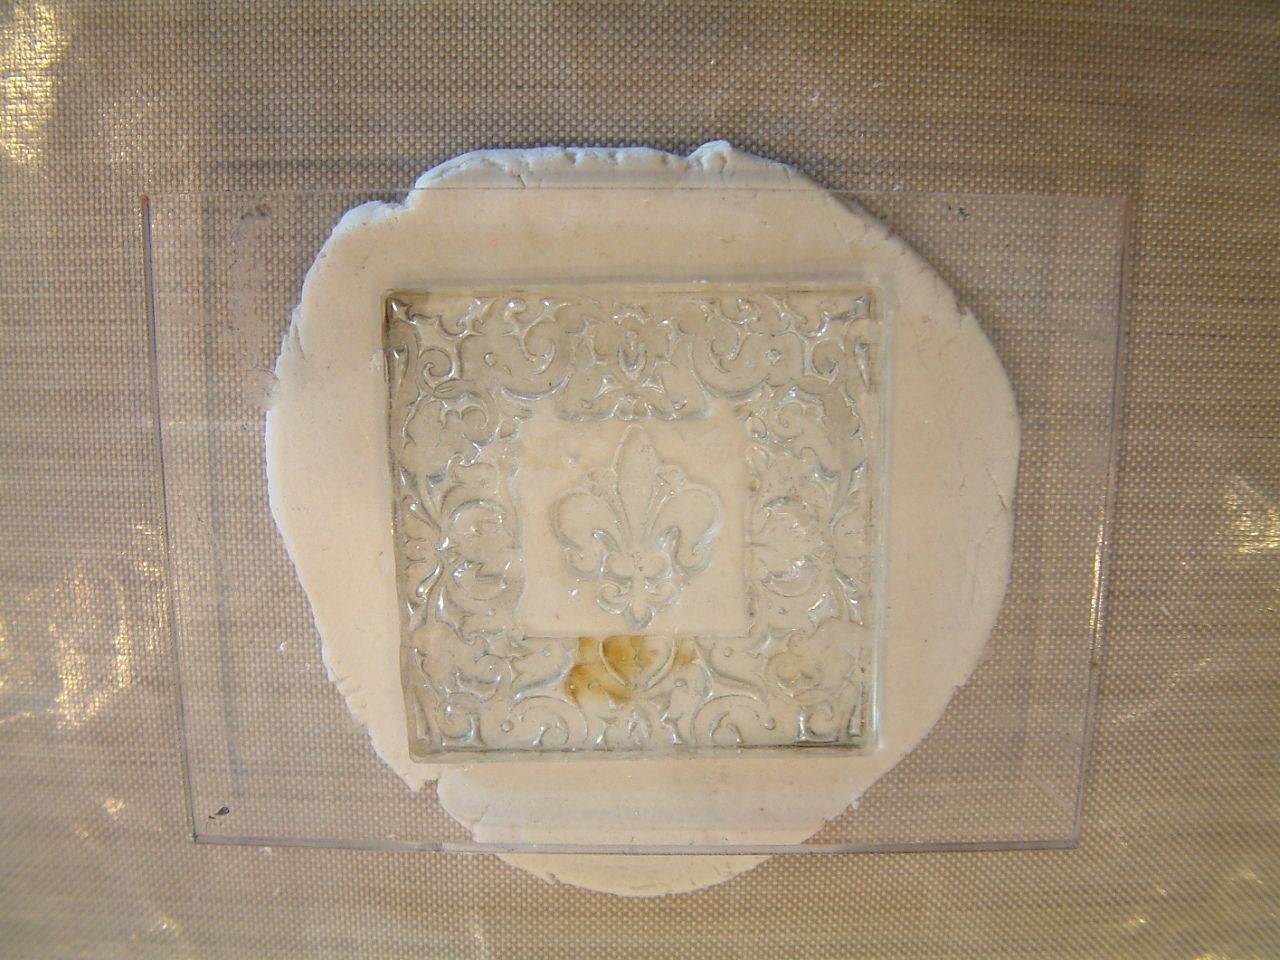
Firmly press your stamp into the clay.  You don’t need to spray the stamp with a release as the stamp won’t stick to the clay.
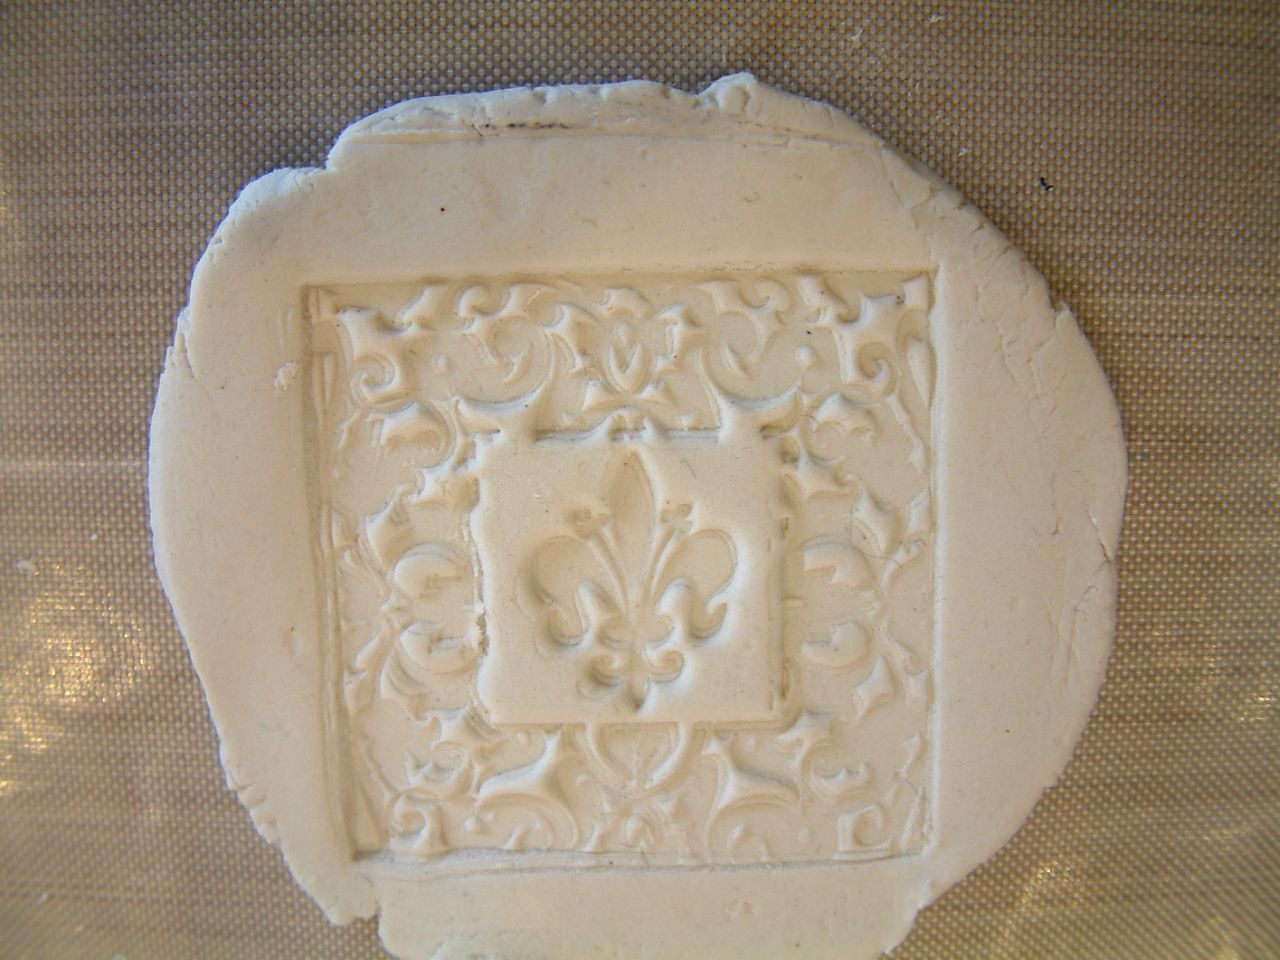
Remove the stamp from the clay.  If you didn’t get the result you expected just start again by conditioning the clay and rolling it out again.
Step Four - Trim the Clay
Since the example is for the background of an ATC I need to trim the clay.  You could choose not to trim your stamped clay if you were using it on the cover of an altered journal or book and you wanted the edge to have a rough look.
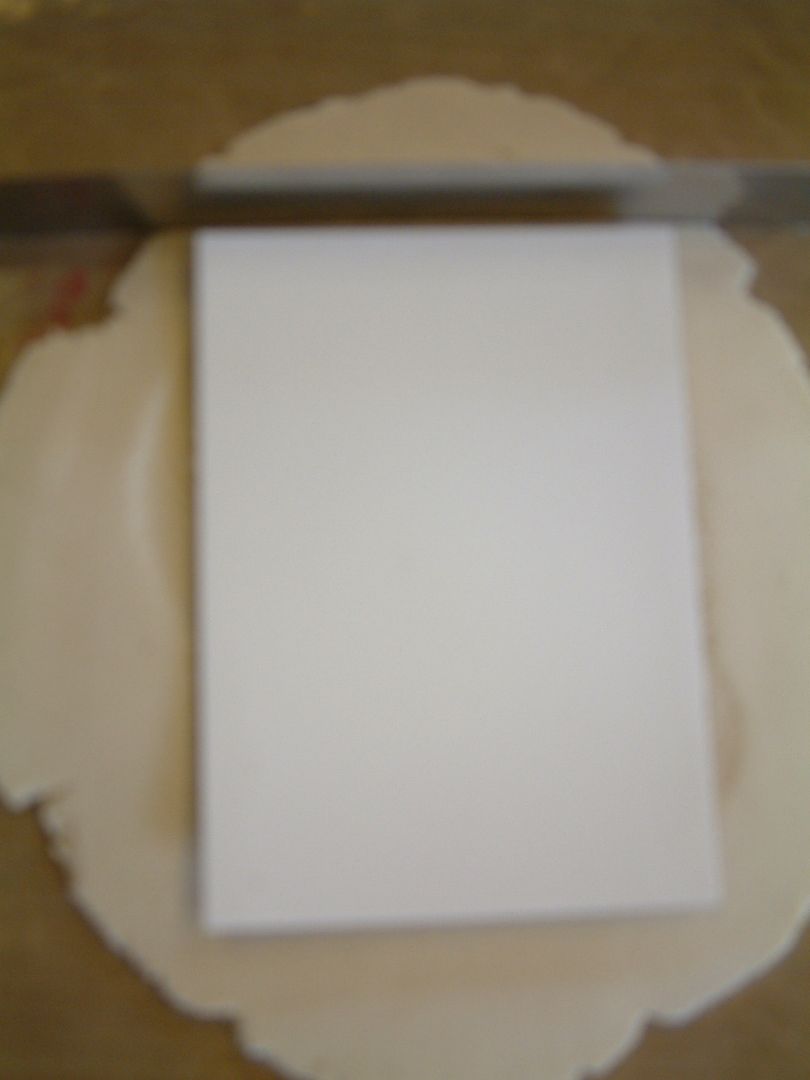
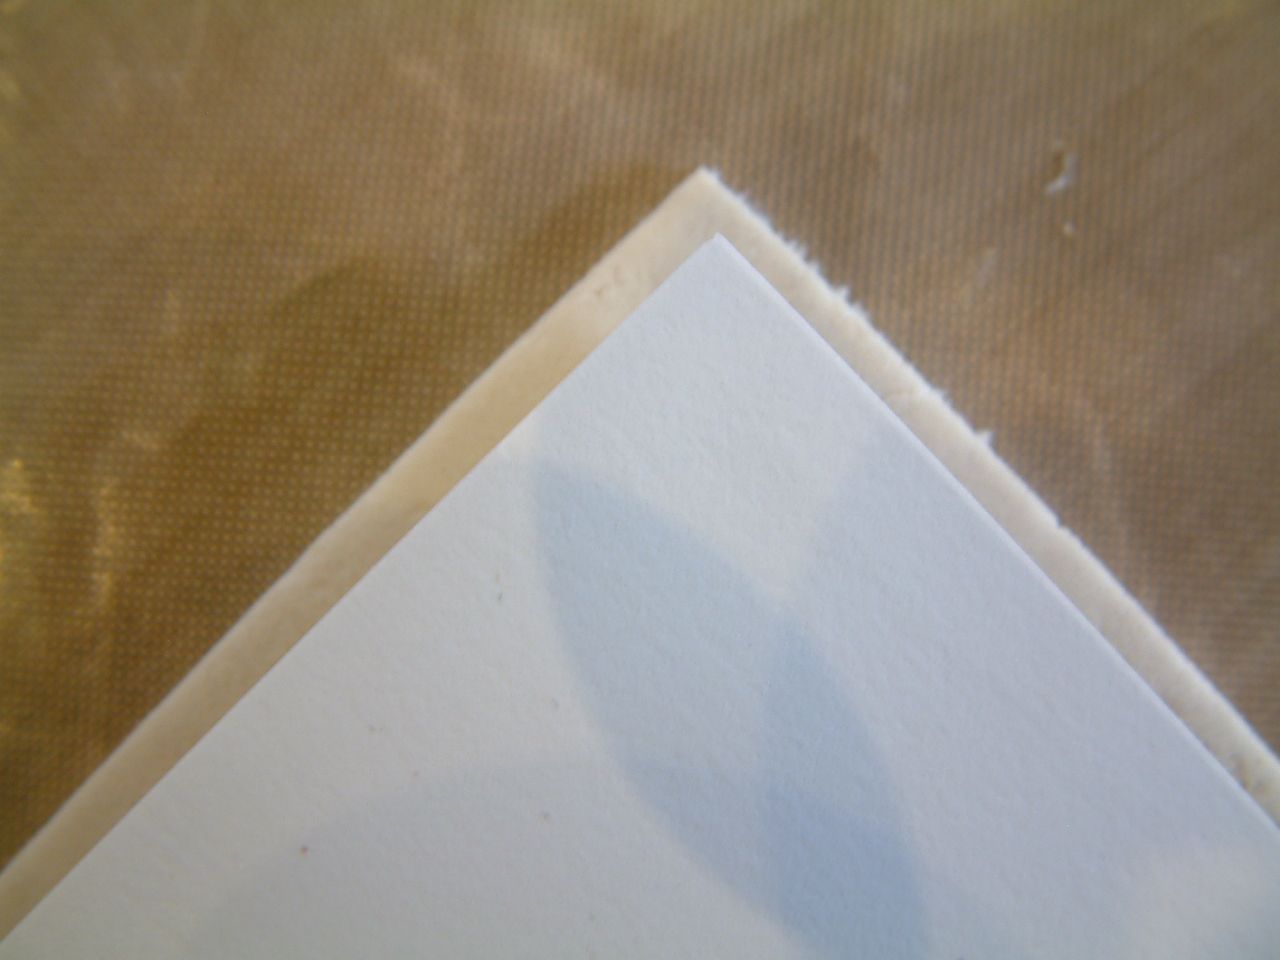
I use a long blade that is made to cut clay.  You could also use a knife or the edge of a metal ruler if it is thin.  Paper clay will shrink as the water evaporates so if the finished size of the dried clay piece is important, trim the piece slightly larger than what you need.  Since the example, when dry, needs to be the standard ATC size I trimmed my clay slightly larger.  I placed a piece of cardstock the size of an ATC on the clay and used it as a guide.
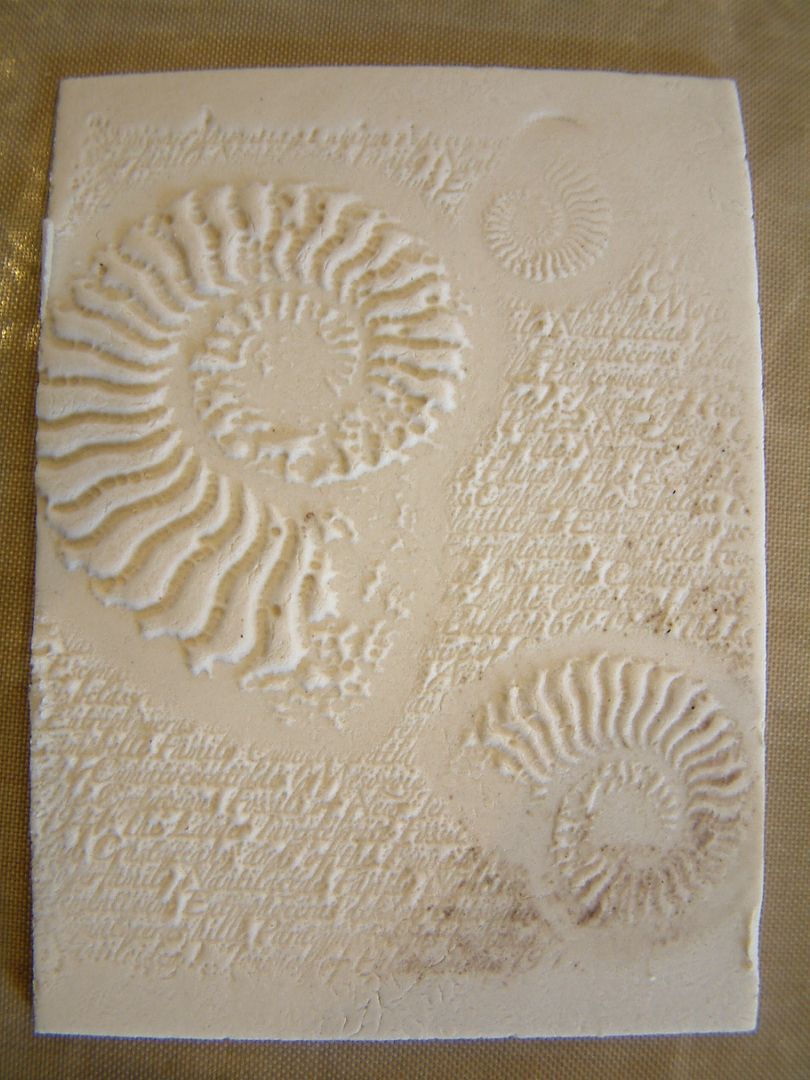
Below is the finished trimmed ATC background.
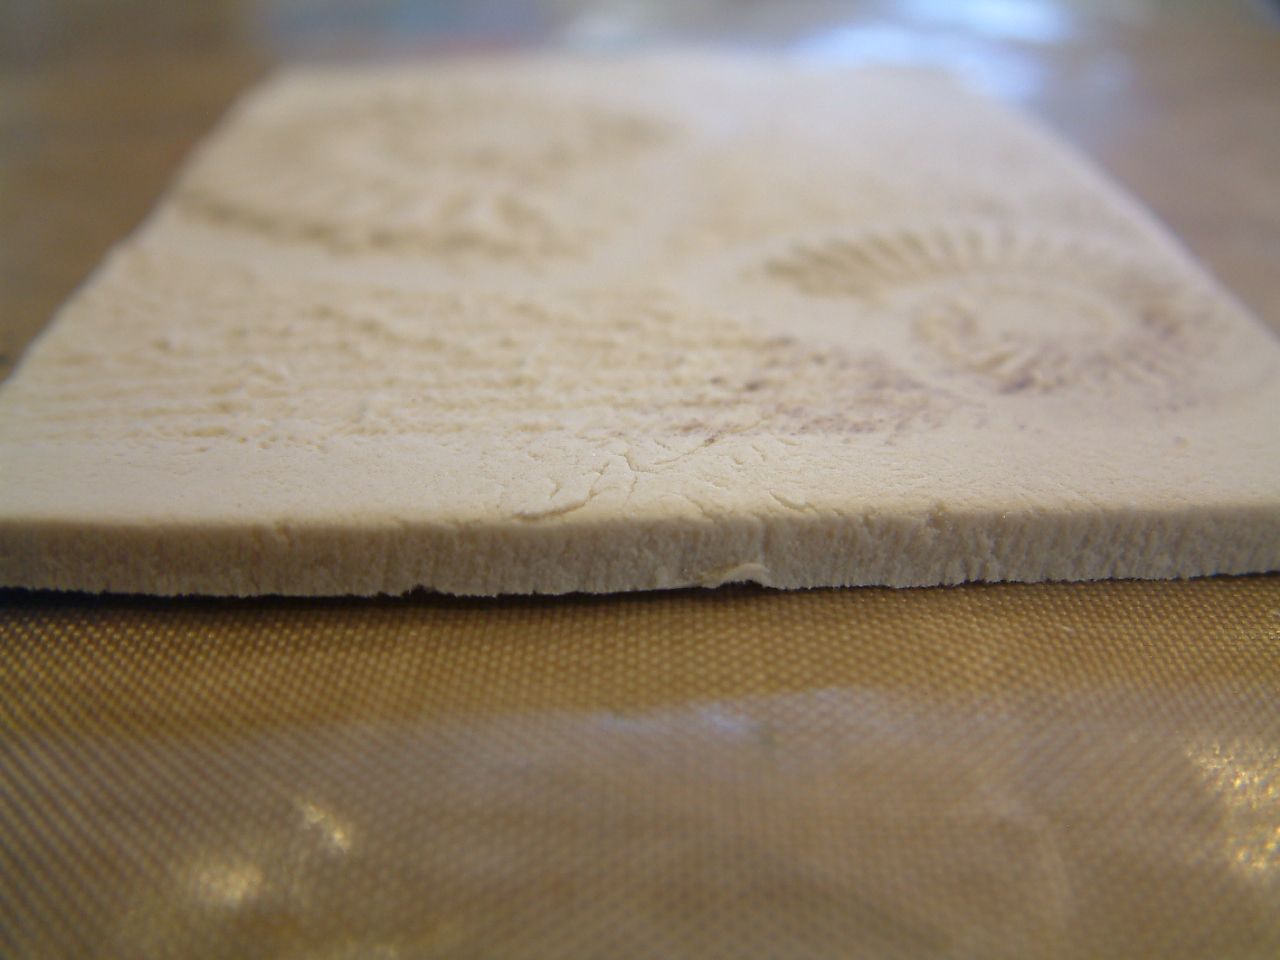
In the image below you can see the thickness of the piece.

Step Five - Drying the Clay
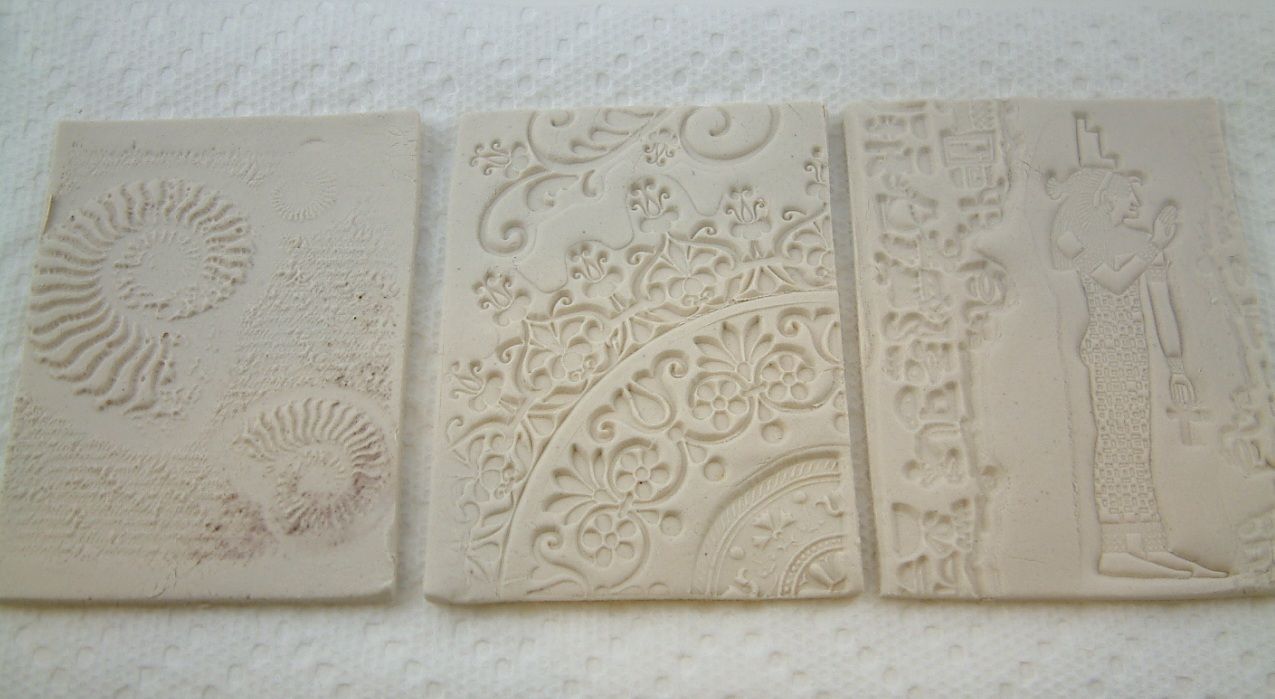
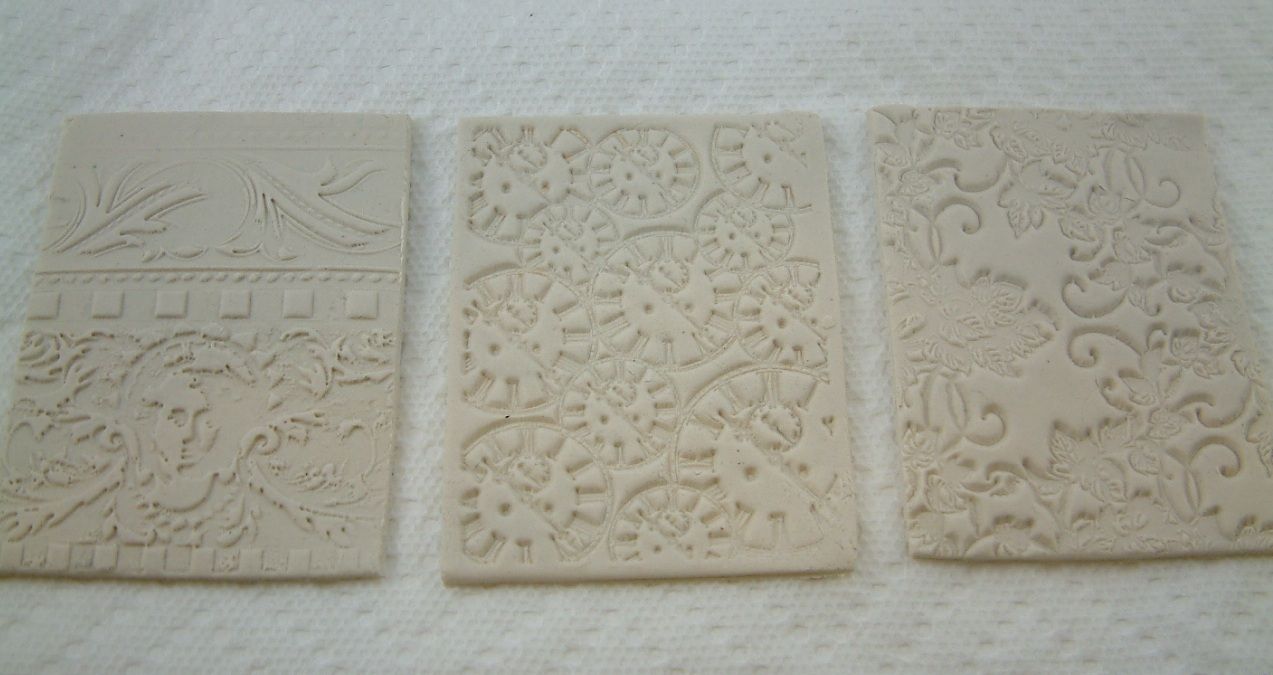
Carefully remove the stamped clay from your non-stick surface and place the clay on a paper towel.  The towel helps draw the moisture out of the clay.  When I work with clay I usually stamp several pieces.  In the images below you can see all of the ATC backgrounds I stamped.
Paper clay takes a long time to dry and the drying time will vary with the dampness of your climate.  The key to getting a good result is to control the drying process.  I can’t stress this enough.  Paper clay likes to curl as it dries.  The larger and thicker the piece the longer it will take to dry.  For a piece as large and thick as the example piece, it took 3 days.  The reason it took that long is that I controlled the drying process.  If you just left the clay lay in the open air it will dry overnight but it would be warped and not flat.
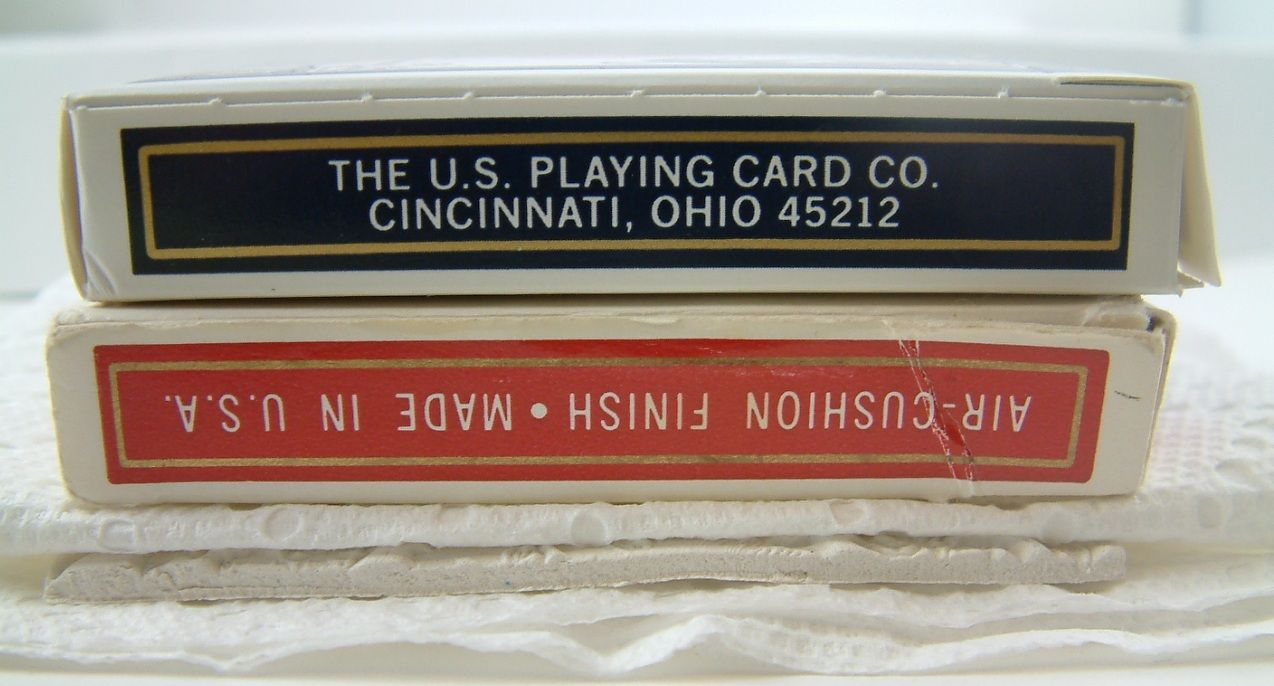
To control the drying process I first placed the clay pieces on a paper towel.  I turned the pieces over every hour or so and flattened them if they were starting to warp (you can adjust them as long as they are still wet).  If I could not monitor them I placed them in between sheets of paper towels, and place weight on them (like at night when I went to bed).  I kept repeating this process until they were dry.  Smaller pieces take much less time to dry.  For ATC sized pieces I use decks of cards as weights.
Note:  When the clay dries it changes from an off white color to white.  The outside will look dry but the inside might not be.  When the piece is dry it will be very stiff.  If there is any flexibly then the piece is not dry and you need to insure that it does not warp.
Step Six Four – Final Touchup
Once your piece is dry you made need to make some final adjustments.  Once the example piece was dry it was slightly too large so I used sandpaper to remove just a little from the sides of the piece.  If you are touching up smaller more intricate pieces you can use precision filing tools and or small scissors in addition to sandpaper.  See the link below for information about precision filing tools http://artfullymusing.blogspot.com/2010/11/cool-tool-precision-file-set.html
You are now ready to paint and embellish your stamped clay piece!!

NOTE: When gluing objects to paper clay you can use any glue that you would use with paper.
I used alcohol inks to paint the example piece.  I chose ink because it is translucent so you can still see the texture of the clay and it is easy to create dark and lighter areas with the same color ink.
Here Are Some More Examples of Stamped Pieces
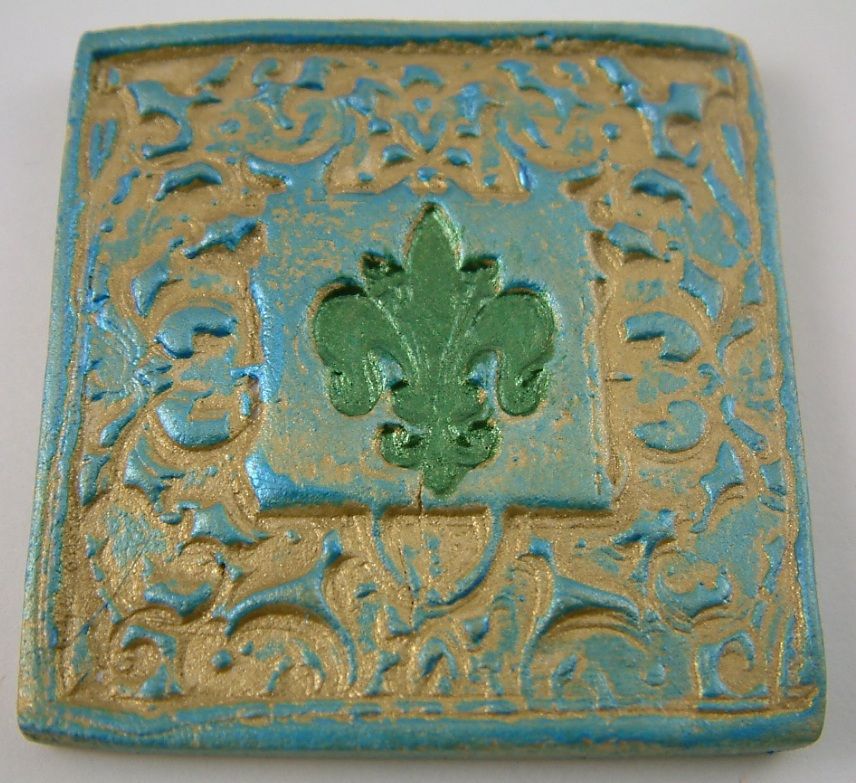
In the example below I used an acrylic stamp to create a 1 ¾” x 1 ¾ embellishment.  Small embellishments that you are going to glue onto another surface don’t need to be as thick as the ATC backgrounds.
First, I painted the piece with gold paint.  Next, using my finger I lightly brushed on teal metallic paint to just the raised surfaces.  Finally, using a brush I painted green metallic paint on the fleur de lis design.
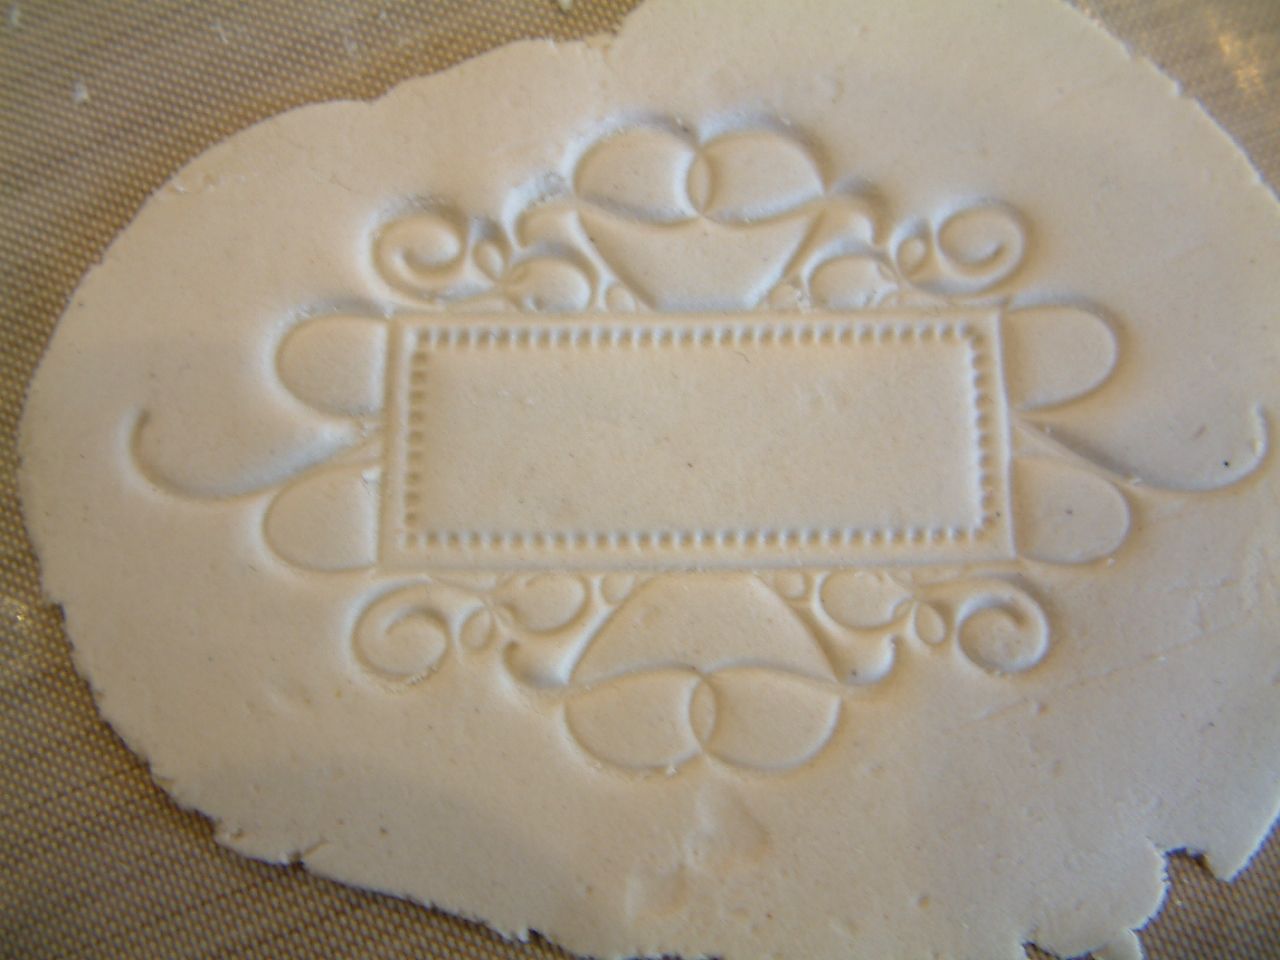
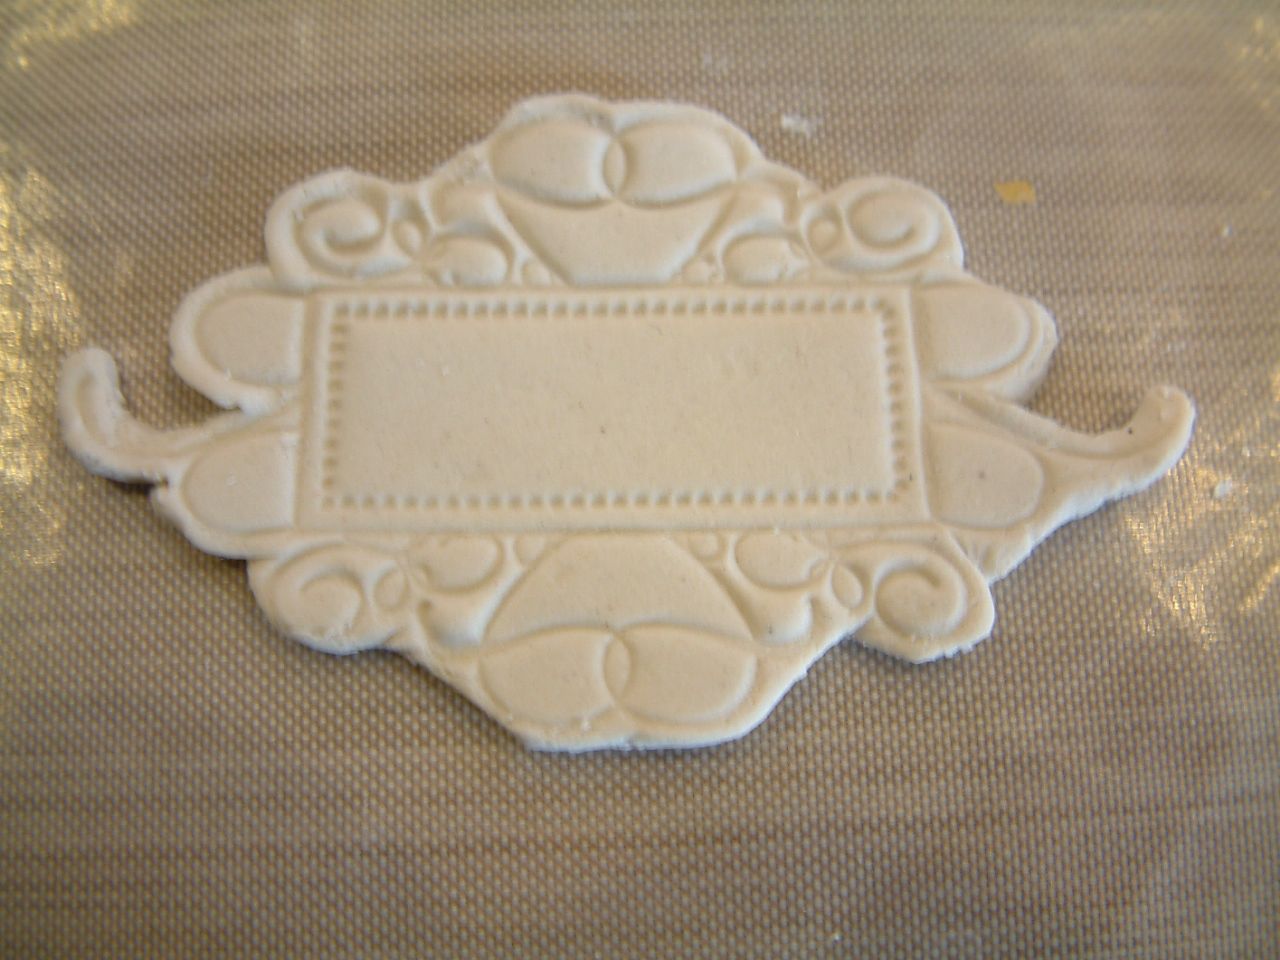
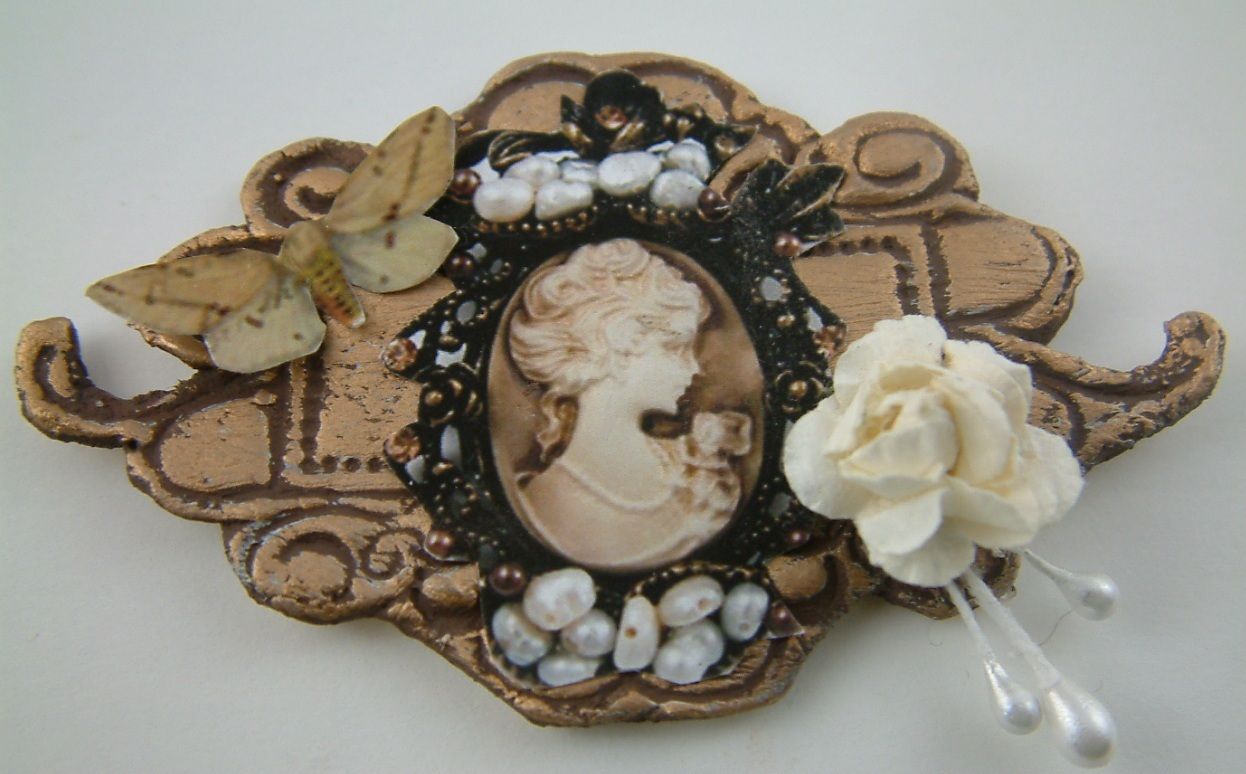
Below I used an acrylic stamp to create a 3” x 1 ¾” piece.  I carefully trimmed the wet stamped piece with scissors before starting the drying process.
Storing Paper Clay
To keep your paper clay moist, seal the package in a plastic bag.  Next, place the plastic bag in another plastic bag.  Drip some water into the second bag and seal it.  Because you sealed the clay in the first bag the water won’t come in touch with the clay but will evaporate in the second bag and keep the air moist around the first bag.  And as you know, no bag is completely airtight.  If you don’t do this your clay will dry out.  This is also a great trick for keeping brown sugar moist.