Welcome
I love answering your questions. If you ask them in the comment section, I have no way to answer you (if you haven't heard from me, that is why). If you use the "EMAIL ME" in the left column of this page, I will be able to respond to you. You can also use it if you want to be added to my newsletter. Laura
Sunday, July 3, 2011
Tuesday, June 28, 2011
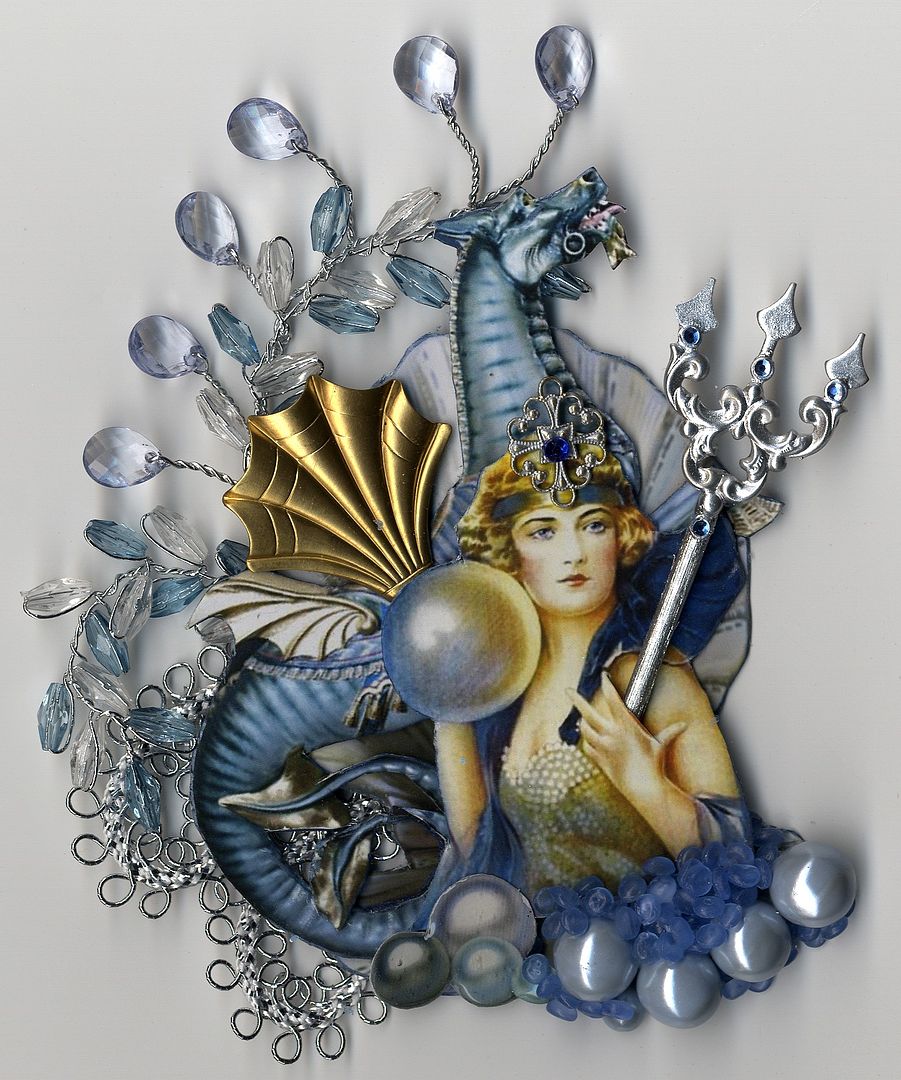
Mermaid Queen
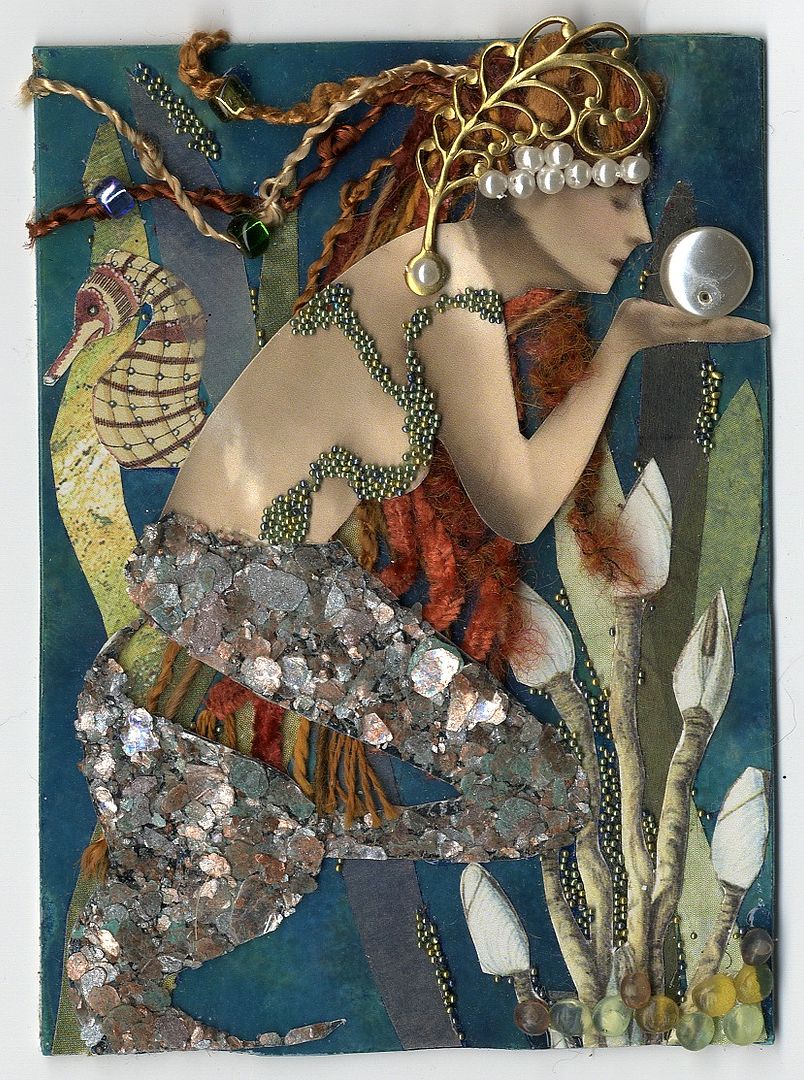
This piece titled “Mermaid Queen” wraps up this month’s mermaids theme.
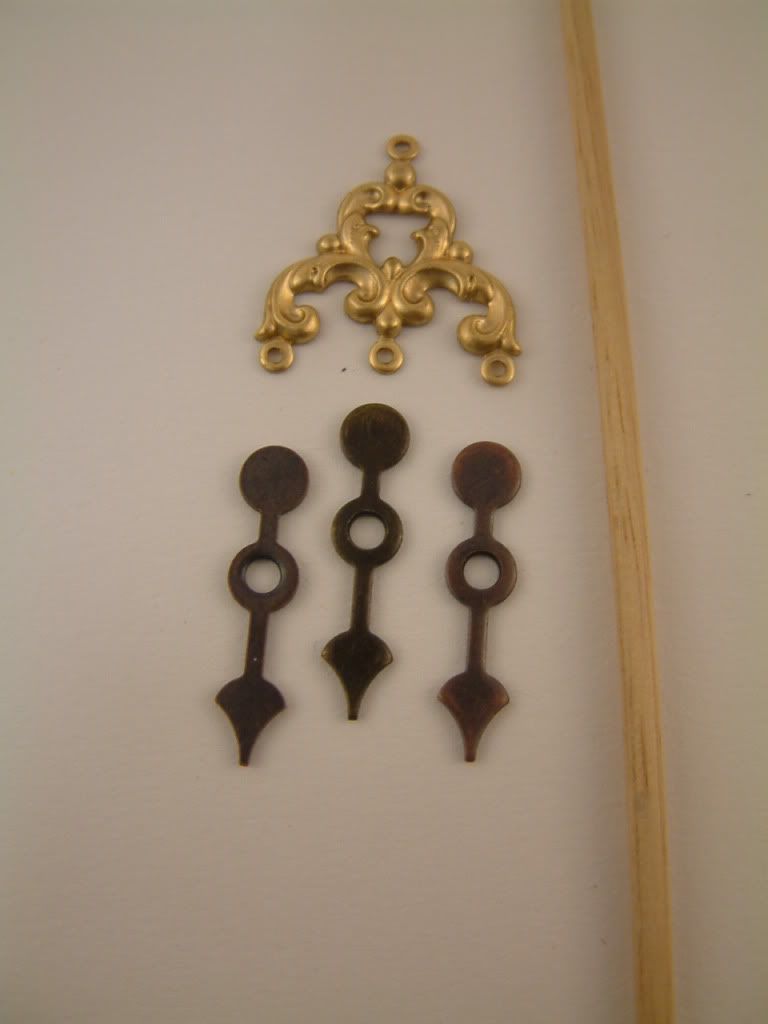
To create her trident I used the ends of three spinners, a jewelry drop, and a wooden skewer. The silver loops on the bottom right are made of silver trim.
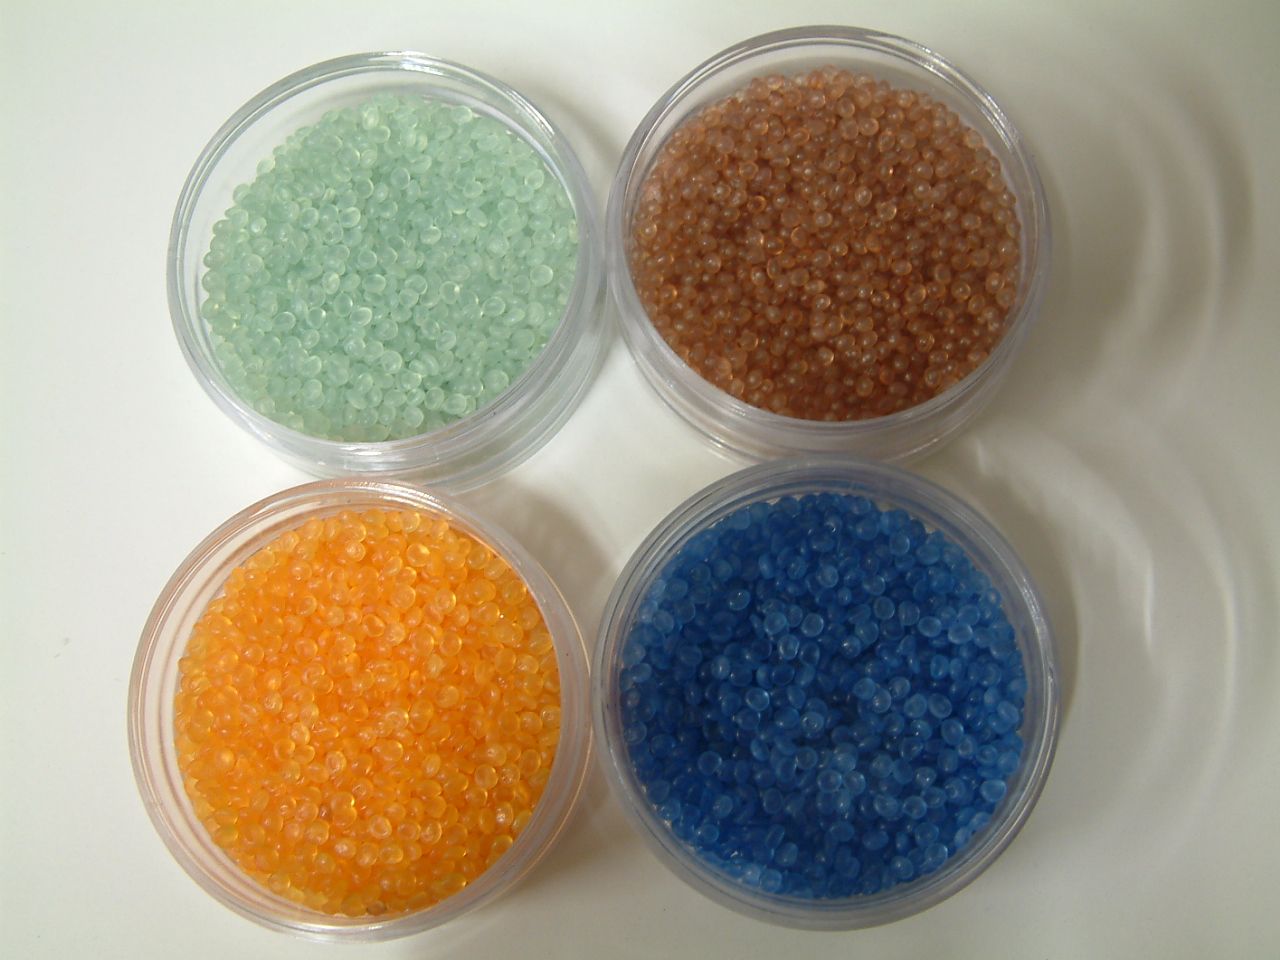
The blue pebbles are a product I purchased at Michael’s craft store a few years ago. I’m not sure if they still carry them.
A similar product is Robin’s Nest Dew Drops. They come in a variety of colors and can be purchased at Frantic Stamper and other online stores.
Friday, June 24, 2011
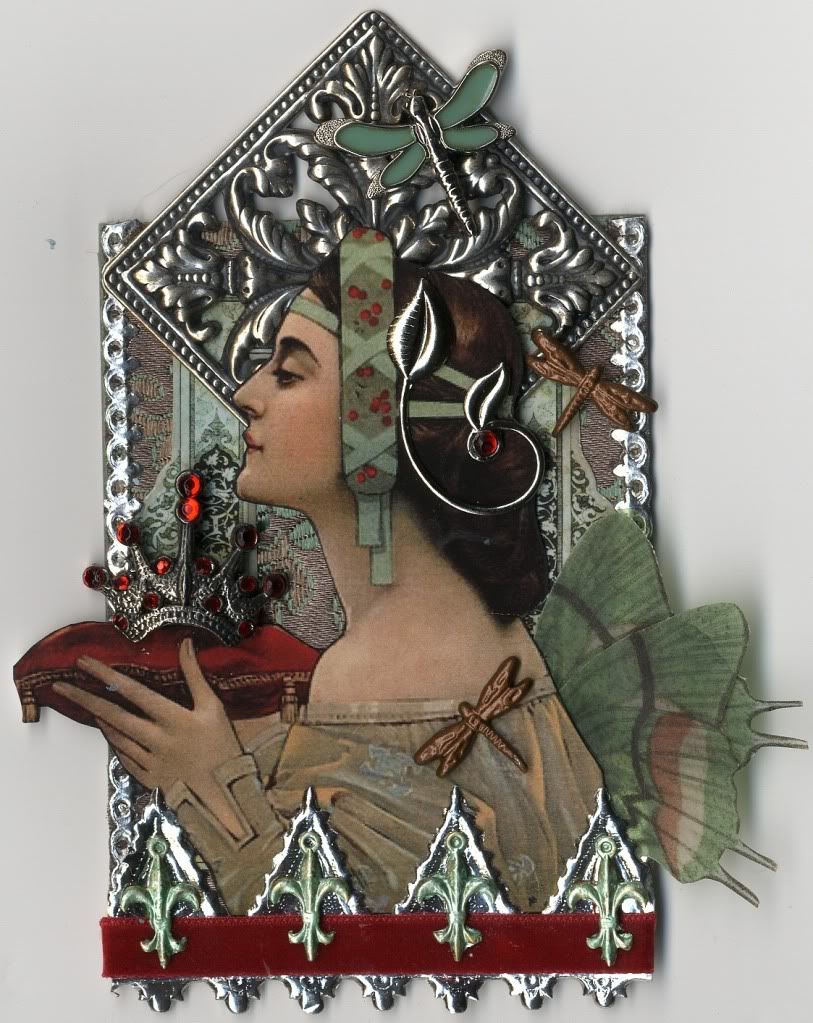
Queen of the Fairies
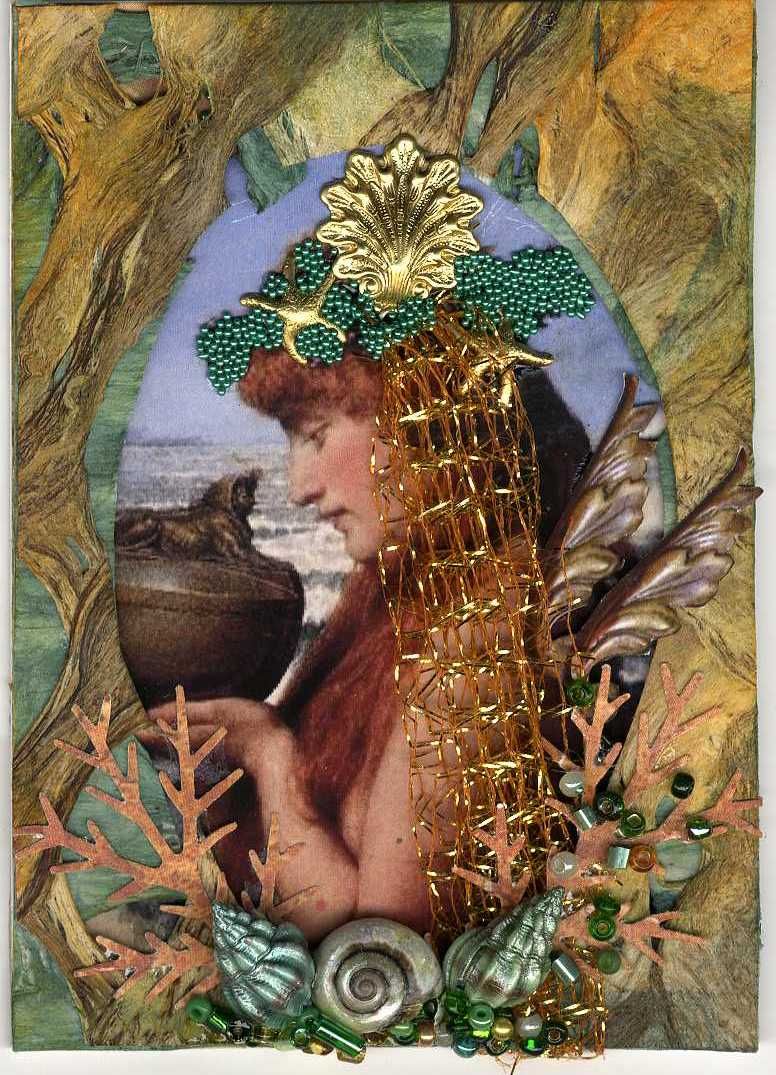
I was hoping to have this card finished last month but I just wasn’t happy with it. It’s been sitting around my studio for a few months. I loved the image of the woman which is from a cover of a vintage magazine, but I just couldn’t figure out where to go with the card. I almost tossed it. Anyway I’m finally happy with the results. It is not unusual for me to work on a piece over a long period. I usually have about 10 pieces going at the same time. I like to take the time to make sure that I’ve done the best I can with each piece (basically futzing and puttering until I’m happy).
For this card, I started with a fabric background but by the time I finished very little of the fabric is exposed. I’ve used German scrap around the edges and base. Her wings are made of vellum.
Friday, June 17, 2011
Wednesday, June 15, 2011
Idea for Removing Glue
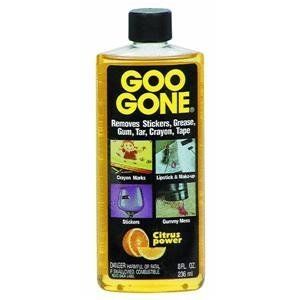
If you are like me, after a few weeks of working on projects all of your scissors and tools are sticky with glue and paper. Maybe you are not like me and I’m just very messy. The worst are the scissors I use to cut the sticky backing for un-mounted rubber stamps. I use Goo Gone to remove the glue. You can find this product in hardware stores and places like Wal-Mart and Target.
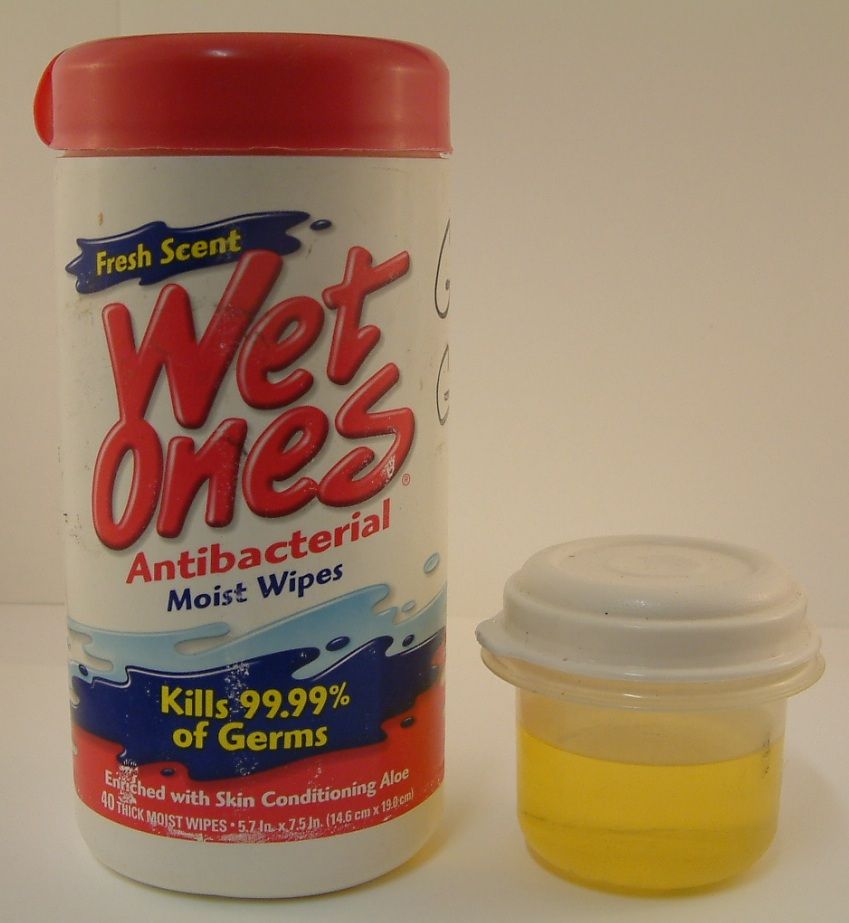
To make the process really easy I fill an empty Wet Ones container with Goo Gone. I then put my scissors and tools in the container to soak overnight. They next day most of the glue is dissolved. Any remaining glue wipes off easily with a paper towel. I then wash the tools in soapy water and they are back to new. For smaller scissors I run a wooden skewer through the handle to keep them from sinking to the bottom of the container. For very small scissors, tweezers and tools I have a small container of Goo Gone. The product doesn’t evaporate so it lasts forever.
Monday, June 13, 2011
High Flyers – Altered Altoids Tin
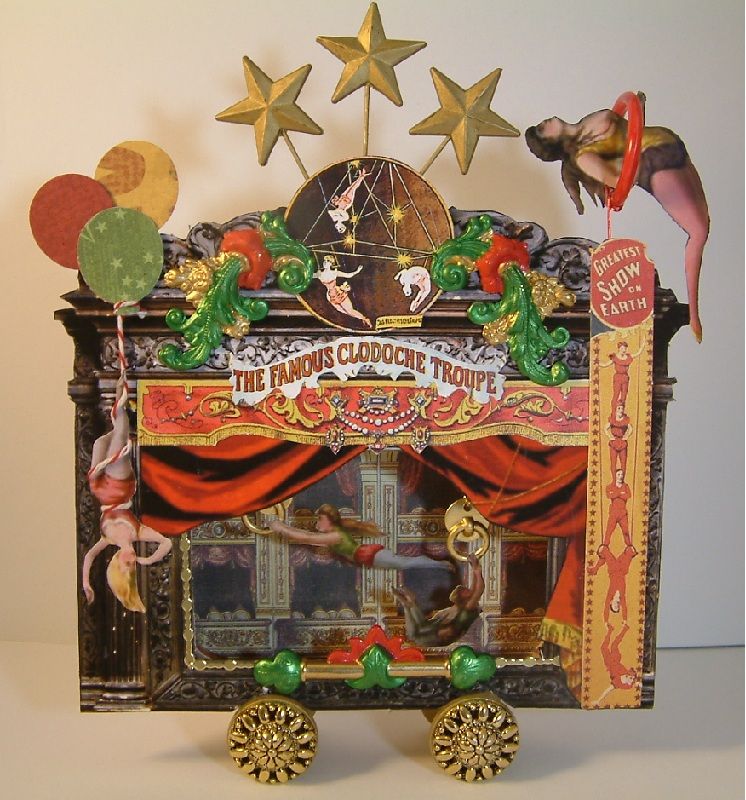
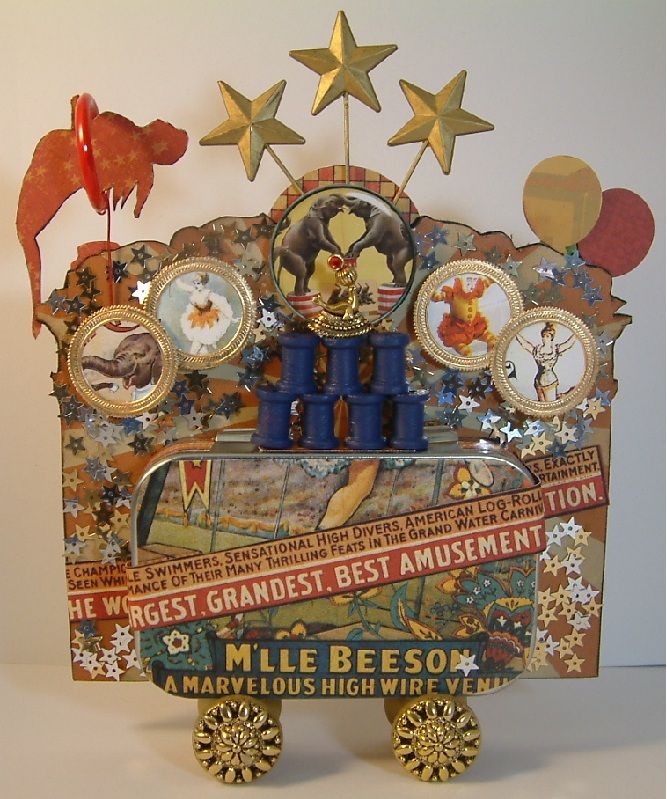
A couple of months ago the folks at Alpha Stamps (Leslie the owner and Bella the Design Team Coordinator) asked me if I would like to be a Guest Designer. I was thrilled so of course I said yes. For those not familiar with Alpha Stamps they are an online company (based in the San Francisco Bay area) that designs and sells collage sheets and rubber stamps. They also carry a fabulous selection of collage supplies. I’ve been a customer for years. Back in May they sent me a box of circus themed Alpha Stamp products. There were collage sheets, circus themed papers, rubber stamps, blank Altoids tins, chipboard pendants and various bits and bobs. They asked me if I would design something with one of the Altoids tins and design something with the chipboard pendants. The design of the rest of the pieces was completely up to me. Here is a sneak peek of one of the Altoid tin pieces I created.
FRONT
The wheels are made from wooden spools that have a hole on each end. I first painted the wheels then attached buttons by inserting the shank into the holes. The acrobat on the top is suspended in a plastic curtain ring that I painted with alcohol ink.
Close-up of the Inside
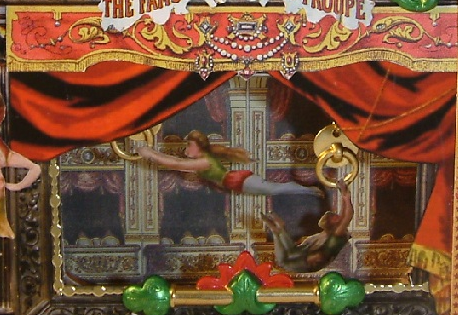
Alpha Stamps has a large collection of collage sheets with theater background images. I own them all. I used the images from one of the sheets for the inside of the tin. Removing the lid from the tin leaves two holes in the top which is how I suspended the acrobats.
BACK
VIDEO TUTORIAL – There is now a
YouTube video tutorial for this project.
The video also covers 5 other altered tin projects. You’ll find the segment about this project at
minute 29:16 in the video below.
Below are the supplies used for this project. Clicking on the item will pop you over to AlphaStamps.
Labels:
Alpha Stamps,
Altered Tins,
Altoids Tins,
Circus
Sunday, June 12, 2011
Mermaid Garden
For this card I wanted to blend flowers and seashells to complement the mermaid so I glued the seashells onto wire stems. For additional embellishment I used images of vintage jewelry.
Friday, June 10, 2011
Saturday, June 4, 2011
The Deep Blue
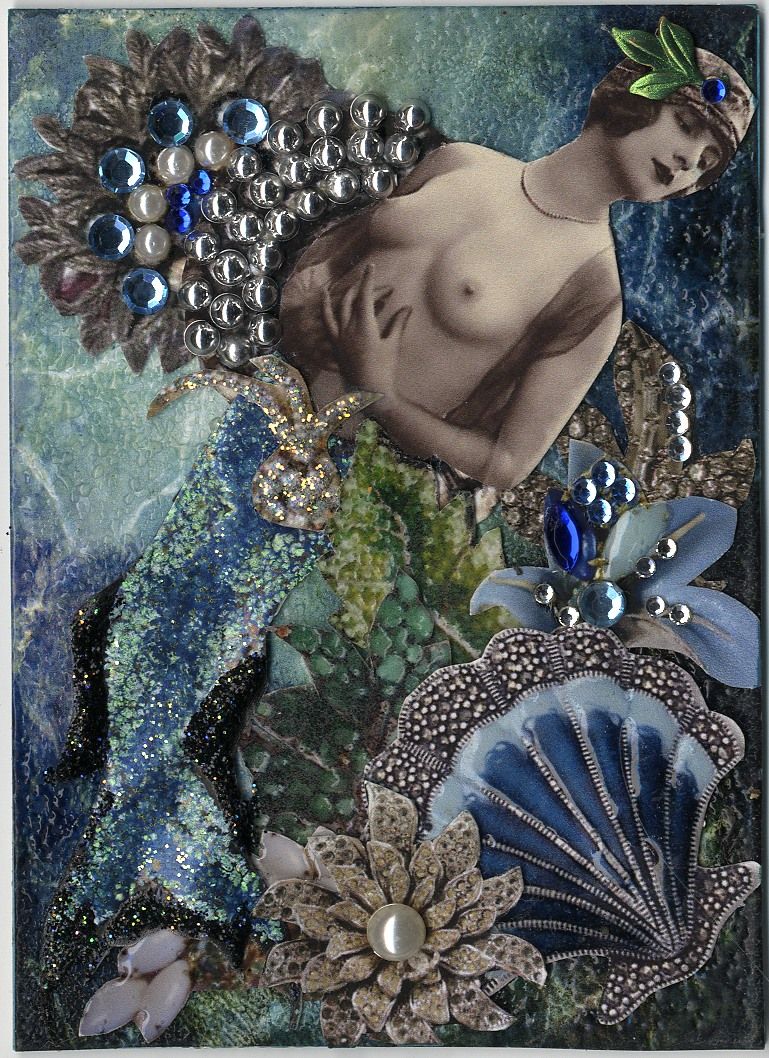
For this card, I wanted a watery looking background, so I started with watery patterned matte paper. To make it look wet I coated the paper with Versamark, sprinkled on clear embossing powder and heated. All of the sea creatures and plants except for the mermaid are images of vintage jewelry. I added Glossy Accents, pearls and rhinestones to add sparkle and dimension. The mermaid tail is made from vellum to which I added multiple layers of green and blue embossing powder. For a final touch I used black Stickles to give it a little sparkle.
Friday, June 3, 2011
King Crab
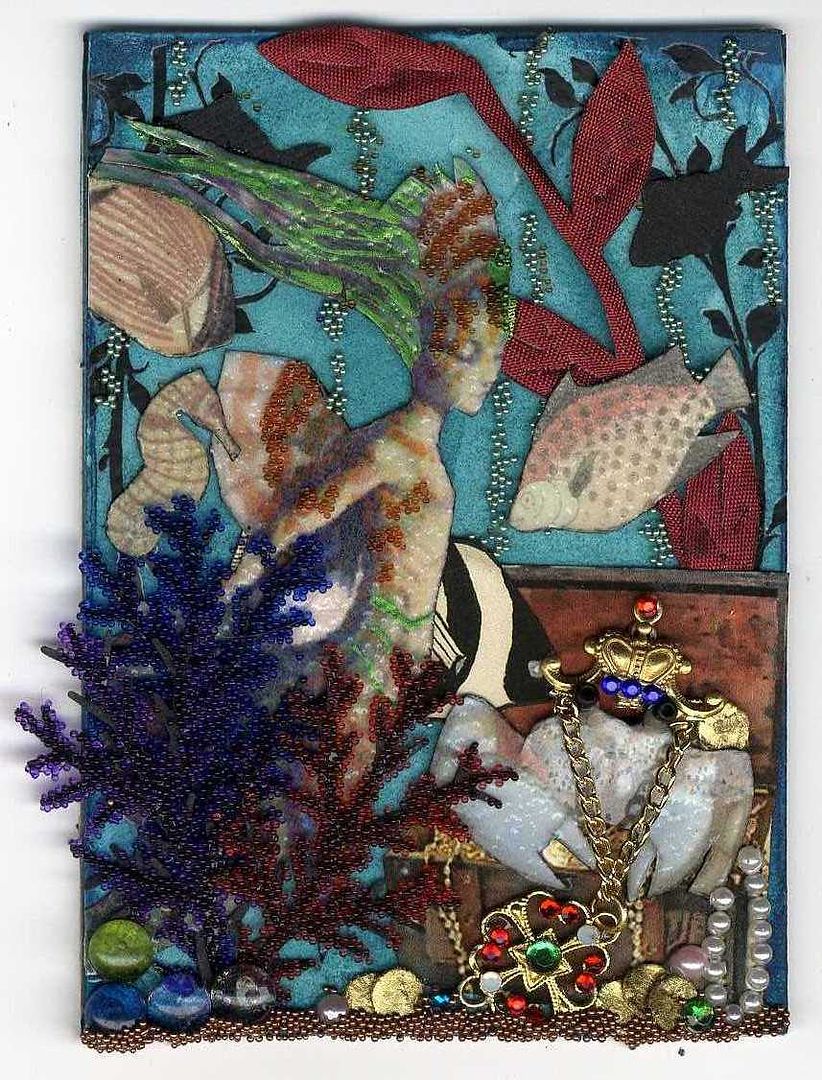
The crab found a treasure chest and crowned himself king. The background is matte paper painted with alcohol inks. The mermaid is embossed vellum applied to white cardstock and embellished with microbeads. I used a branch paper punch to create the sea plants by punching black cardstock then coating it with microbeads. I used a hole punch to punch black cardstock and painted it gold to create coins.
Thursday, June 2, 2011
Cream Marie
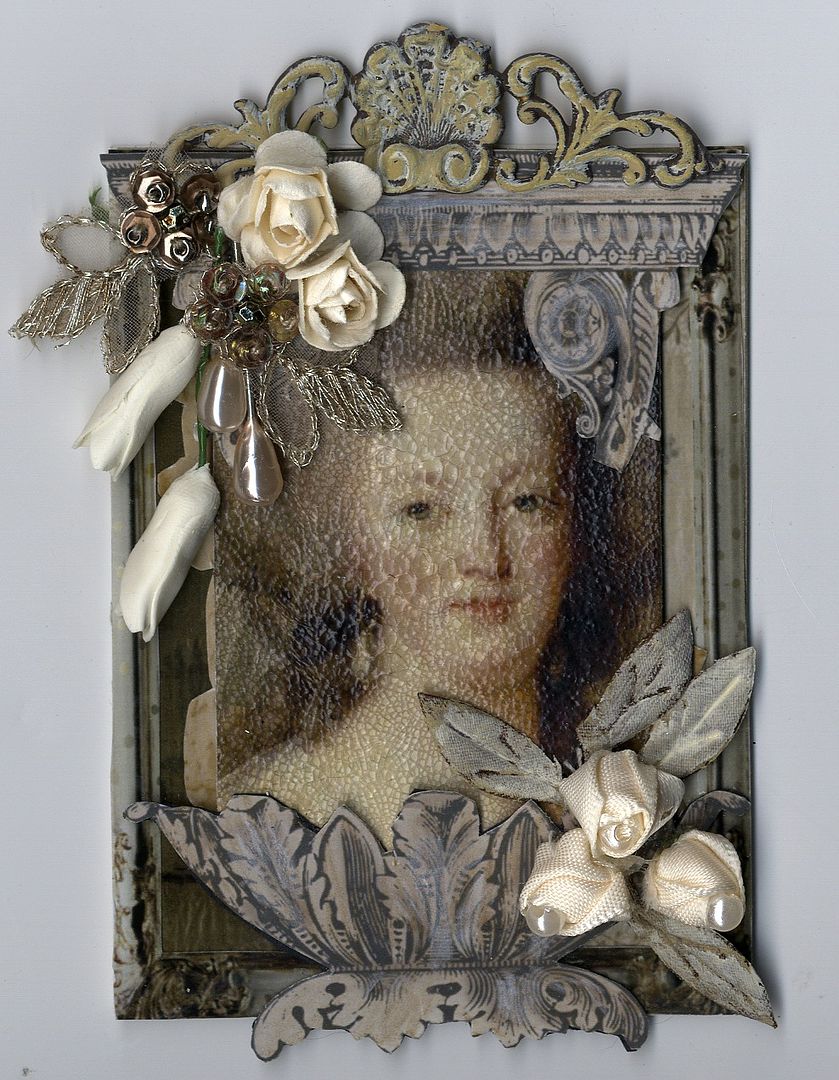
This card is for a swap in the Marie Antoinette Mail Art group. The theme required the use of only shades of cream. To give the Marie image a crackled look, I used Ranger Crackle paint and Grafix Rub-Onz Transfer Paper. Click here to see the tutorial.
Wednesday, June 1, 2011
Friday, May 27, 2011
Wednesday, May 25, 2011
Tuesday, May 24, 2011
Sunday, May 15, 2011
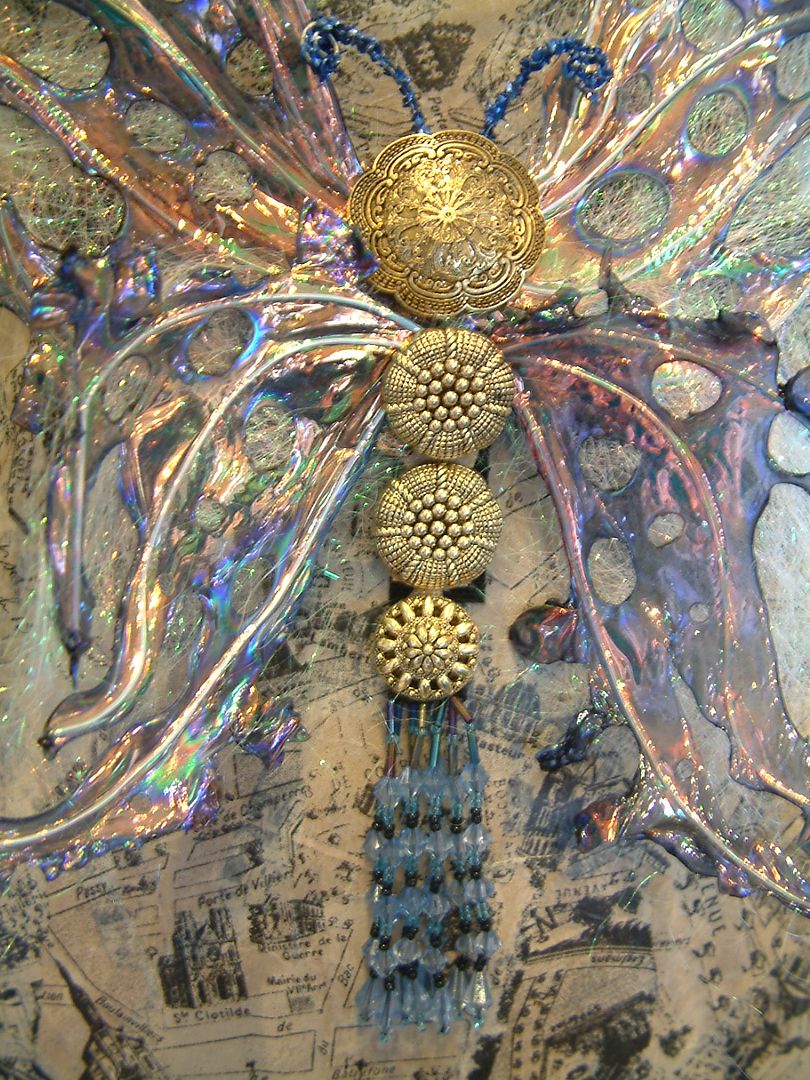
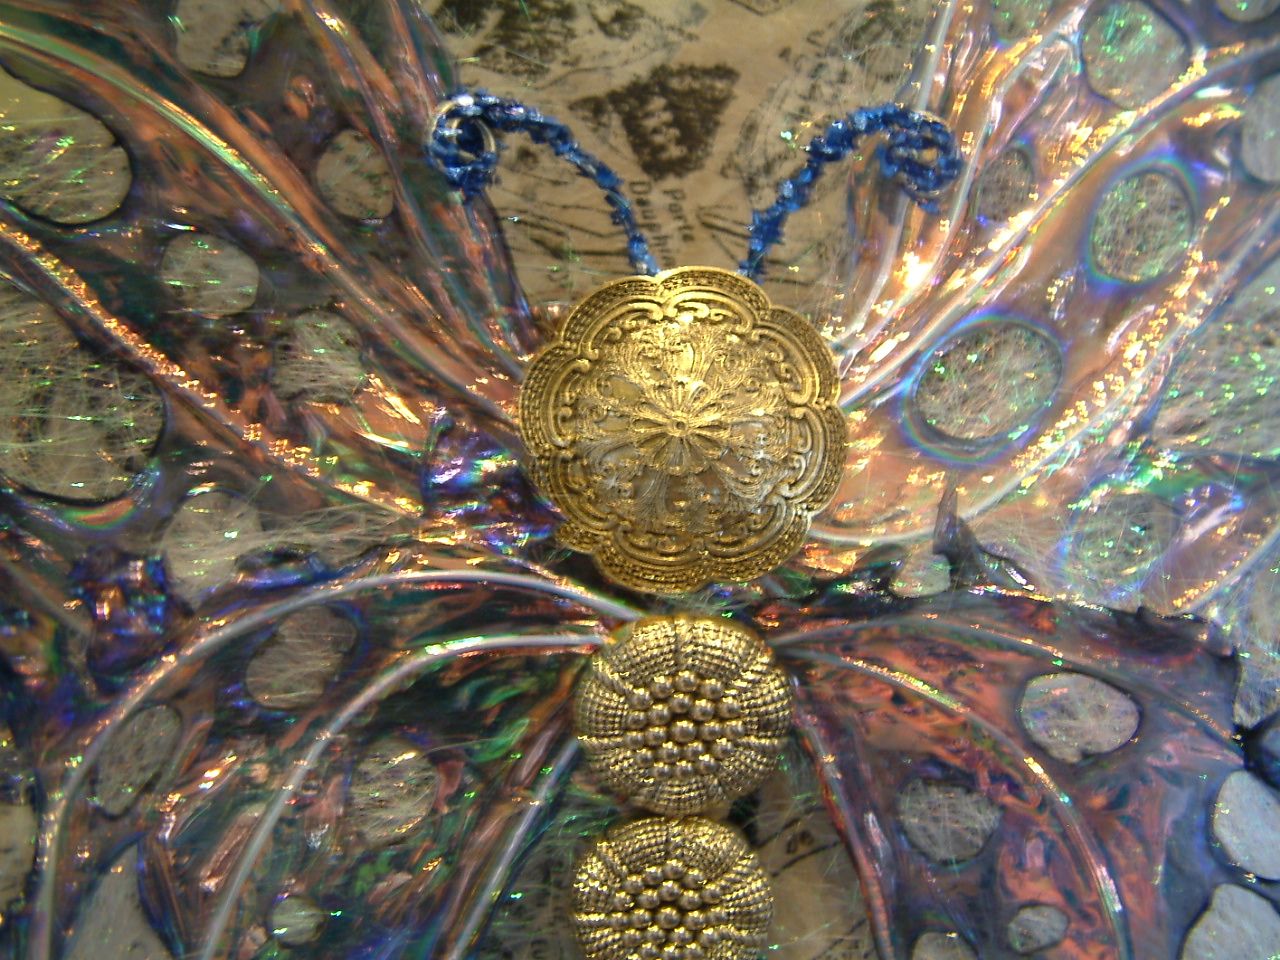
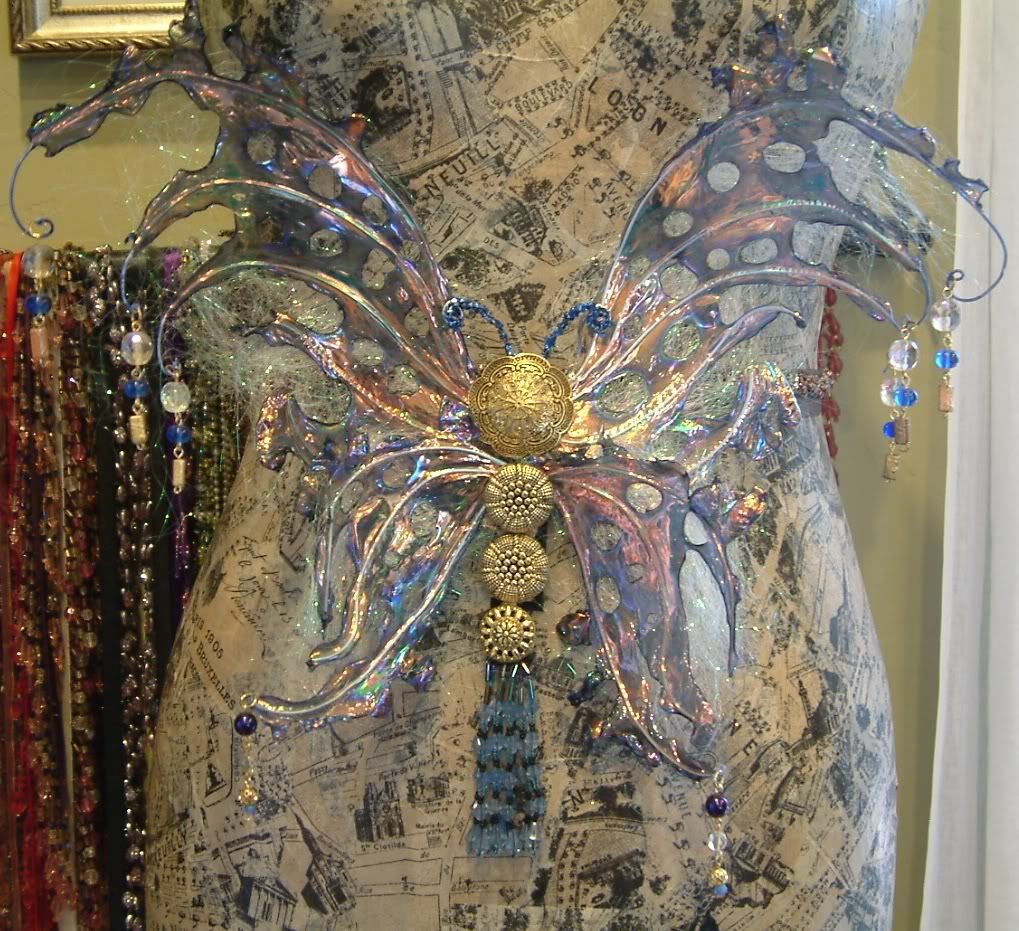
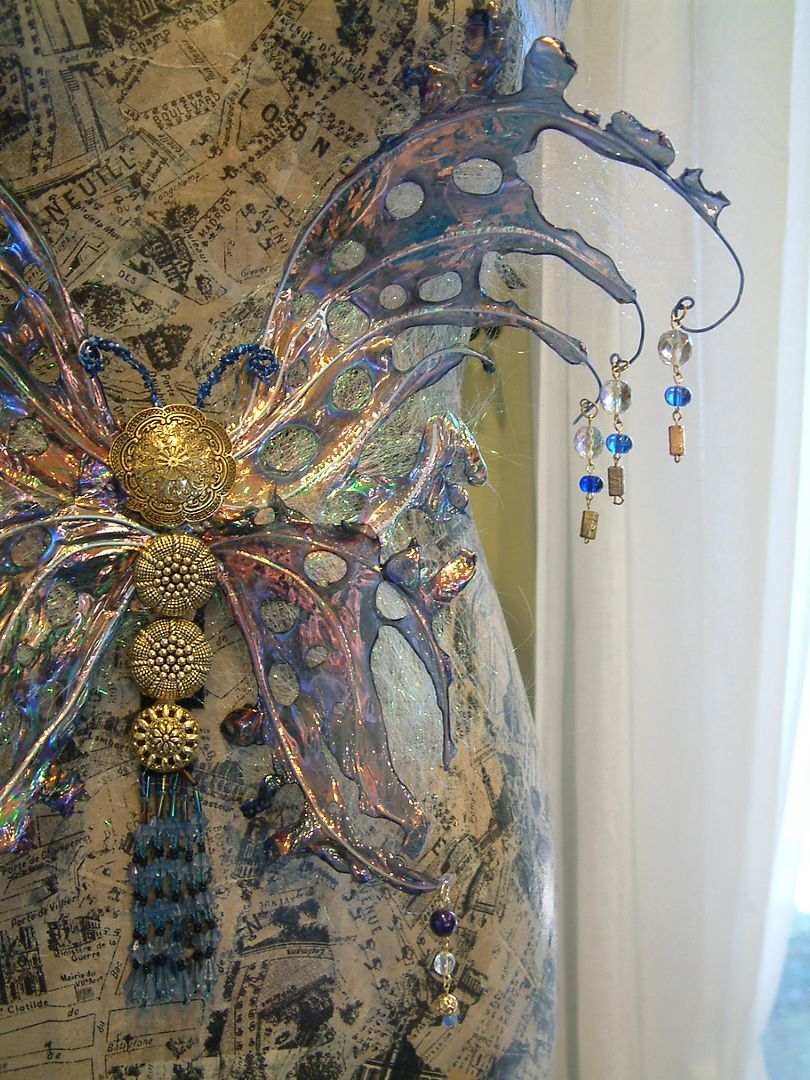
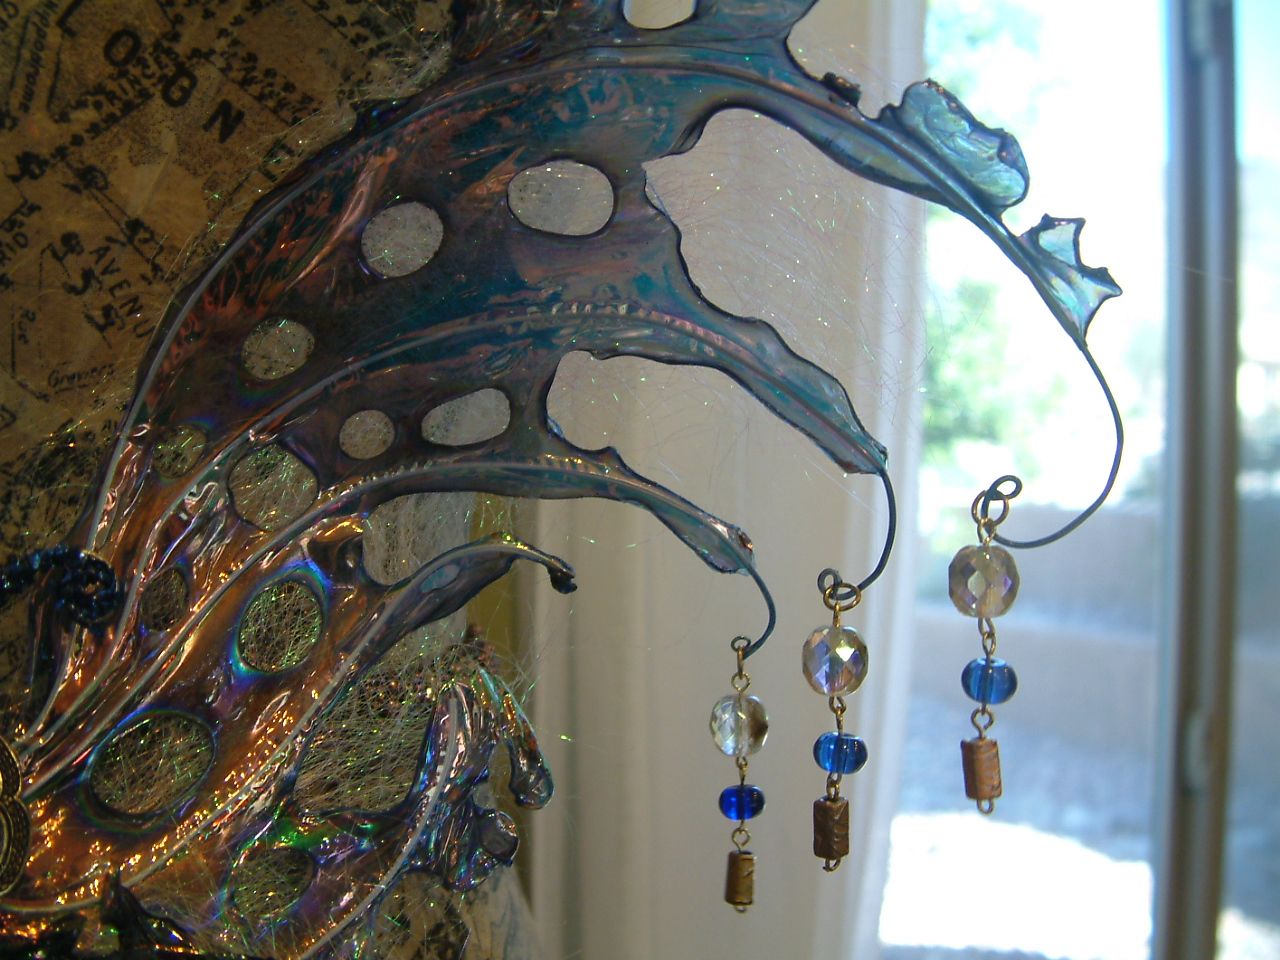
Fantasy Film Butterfly
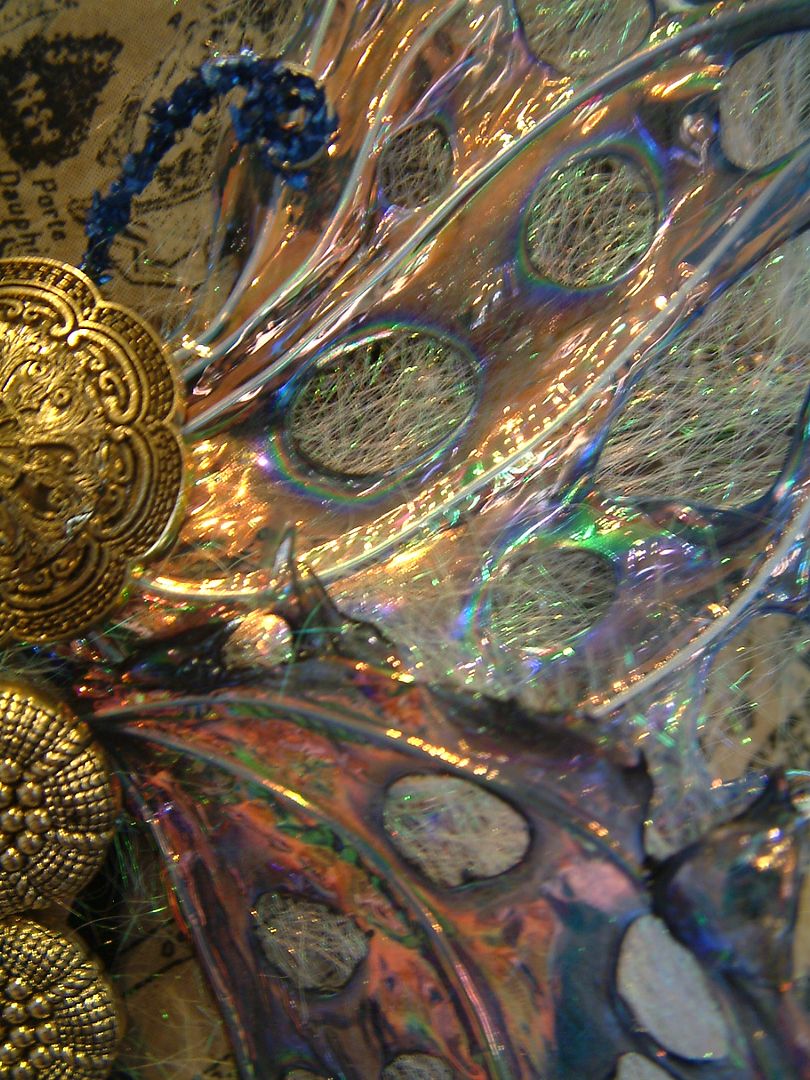
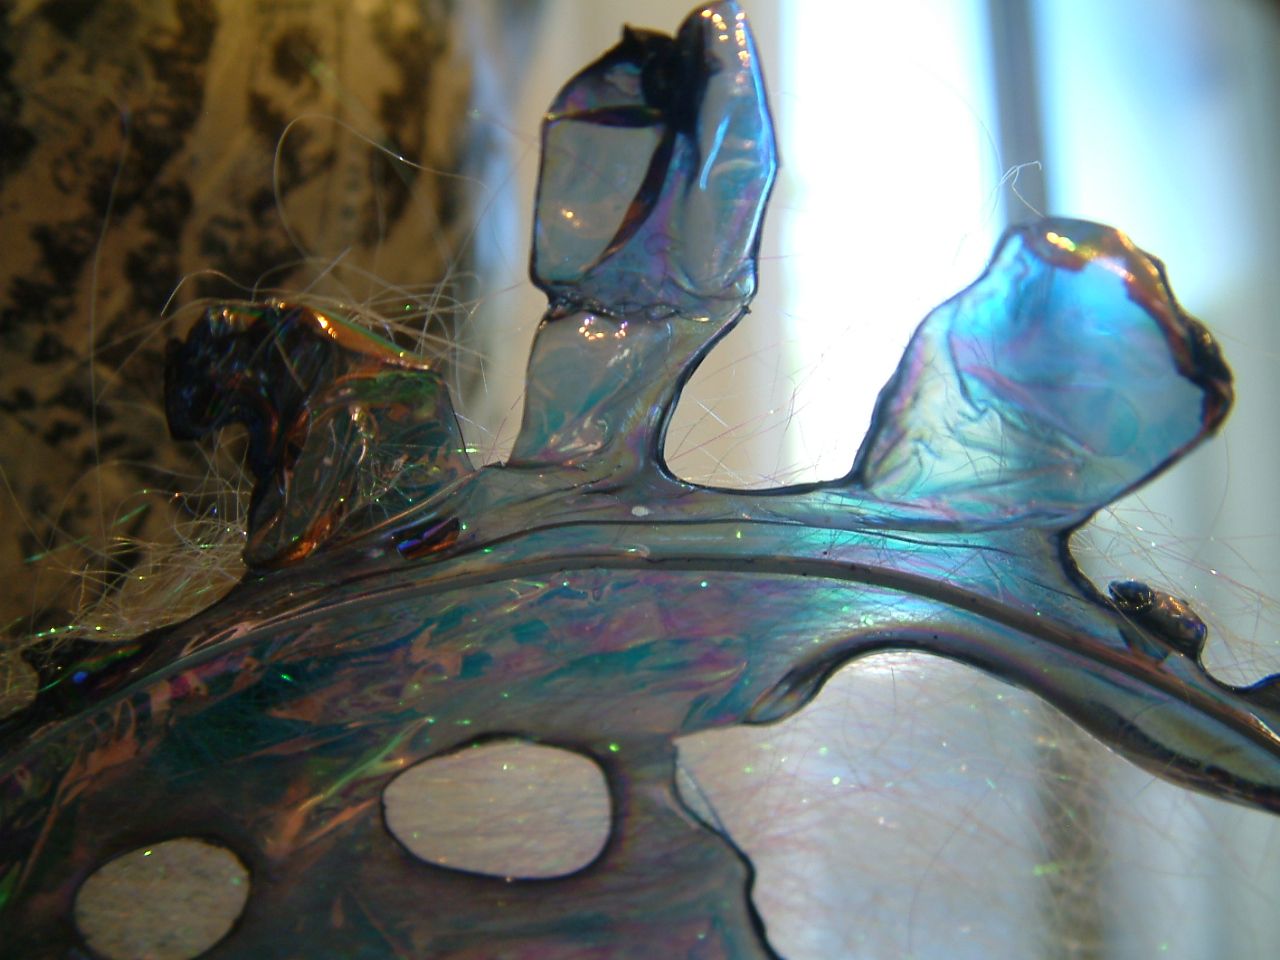
A few months ago I took a class at the Glitter Art Institute in Cottonwood Arizona. In the class I learned how to make a butterfly using wire and Fantasy Film.
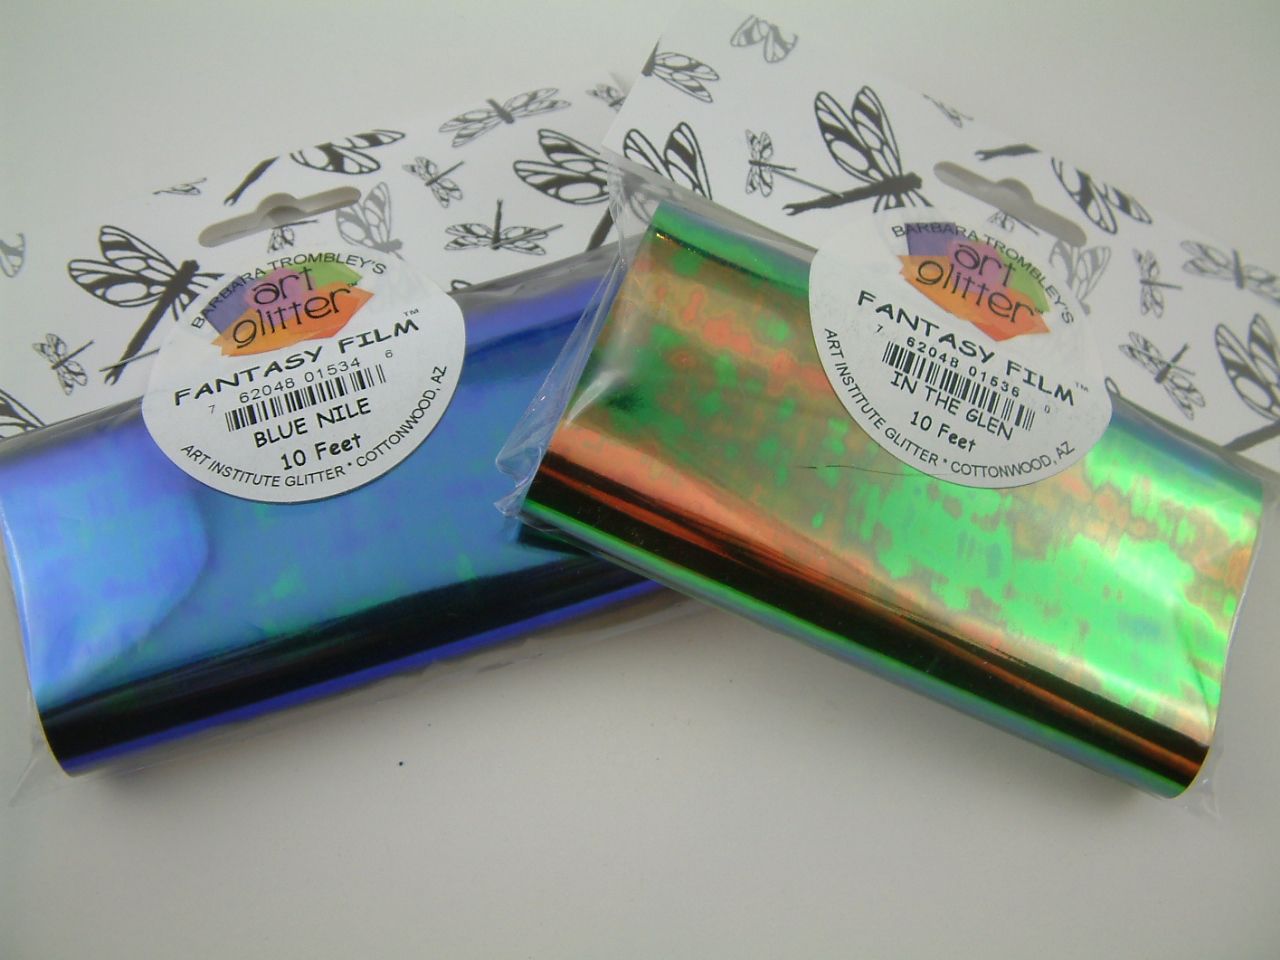
Fantasy Film is a translucent iridescent film that comes in several colors. The technique involves creating a frame with wire and ironing layers of the film onto the frame.
The holes and irregular edges are made by burning the film with a candle. The wispy white stuff is Fantasy Fiber which is shredded film.
The body is made of buttons and the antenna is made from fun wire. I added beading to the wings and base of the body.
You can purchase Fantasy Film, glitter and other products on-line from the Glitter Art Institute. The site also has on-line tutorials showcasing their glitter techniques.
I have lots of ideas of how to use this technique so stay tuned.
Tuesday, May 10, 2011
Sunday, May 8, 2011
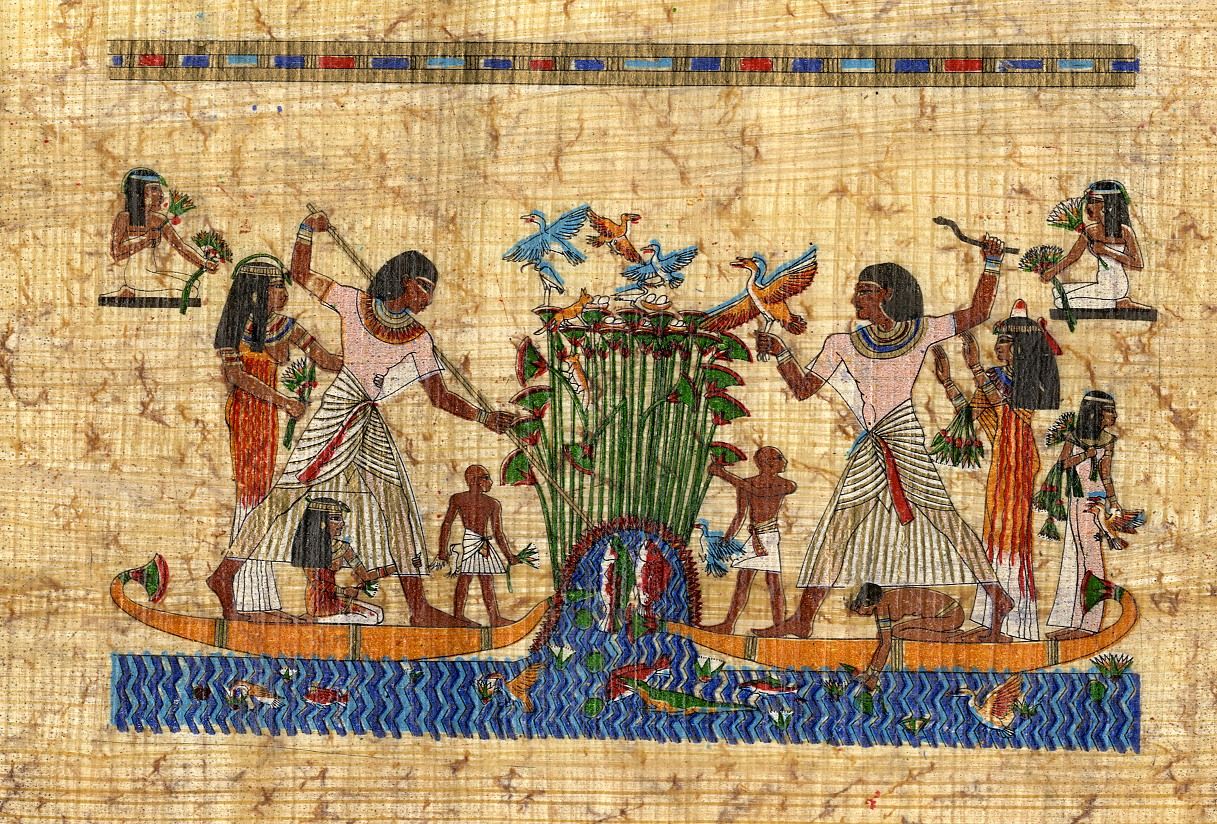
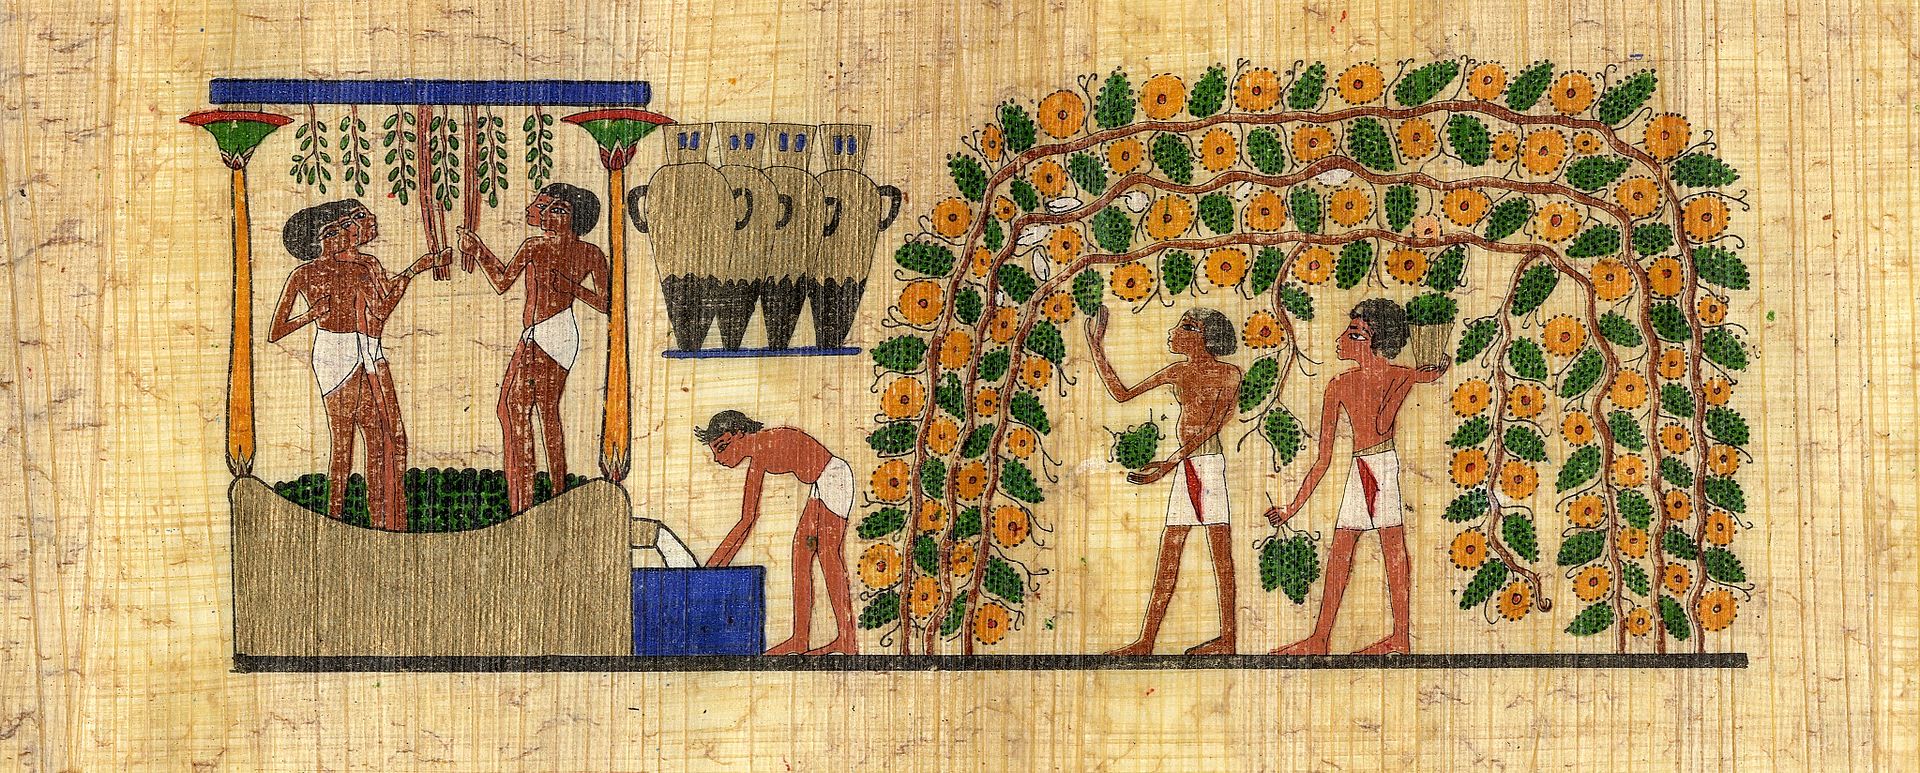
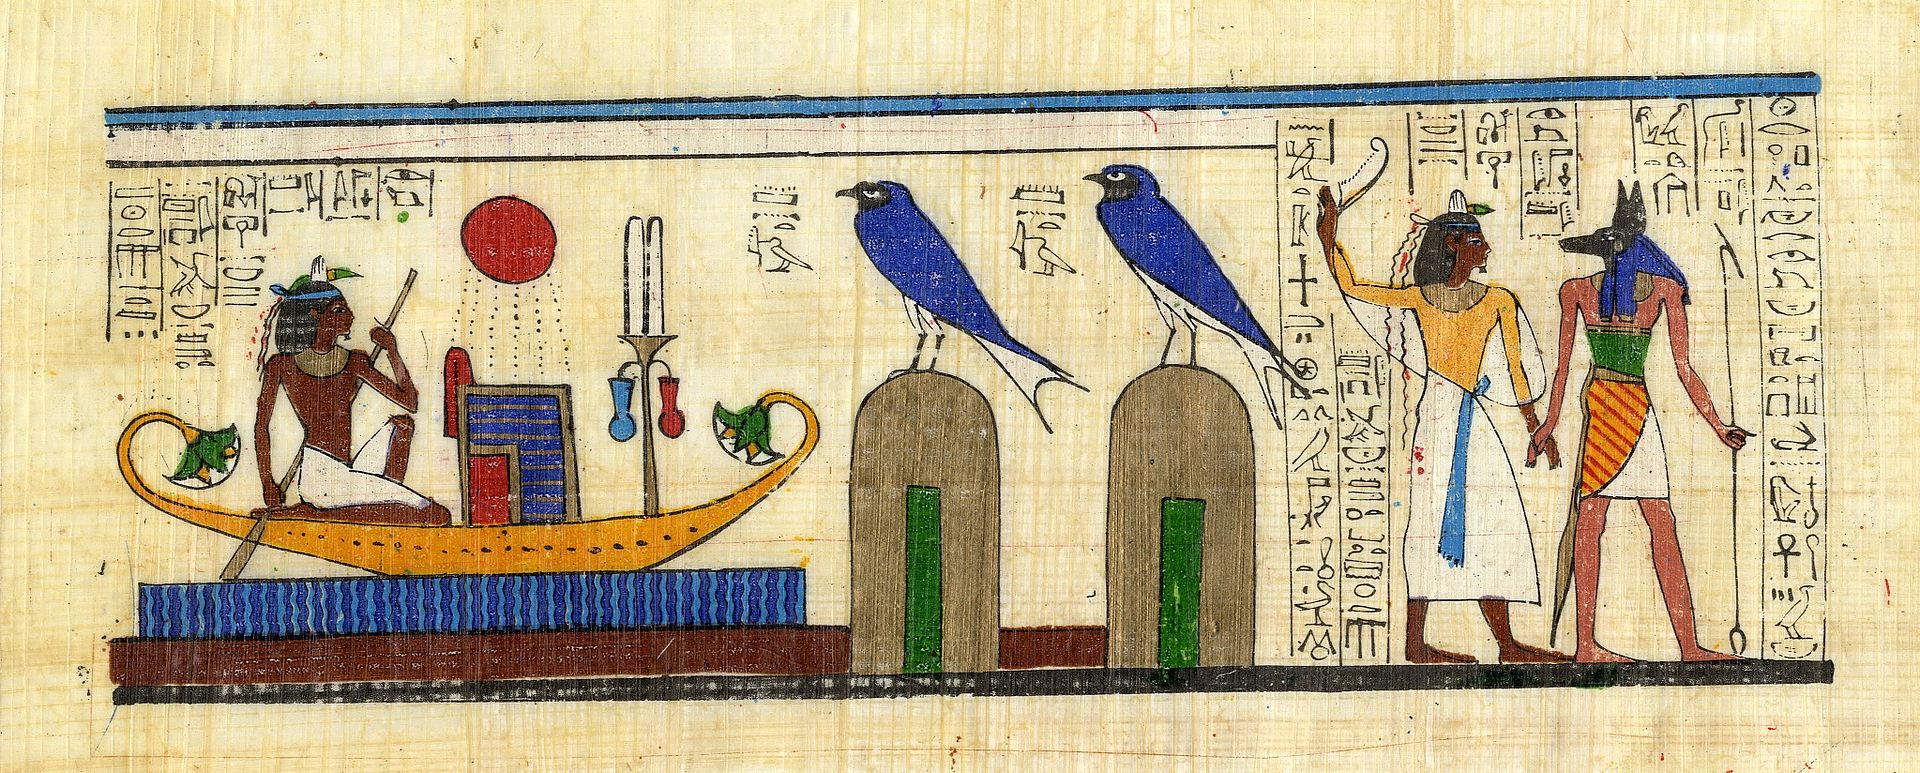
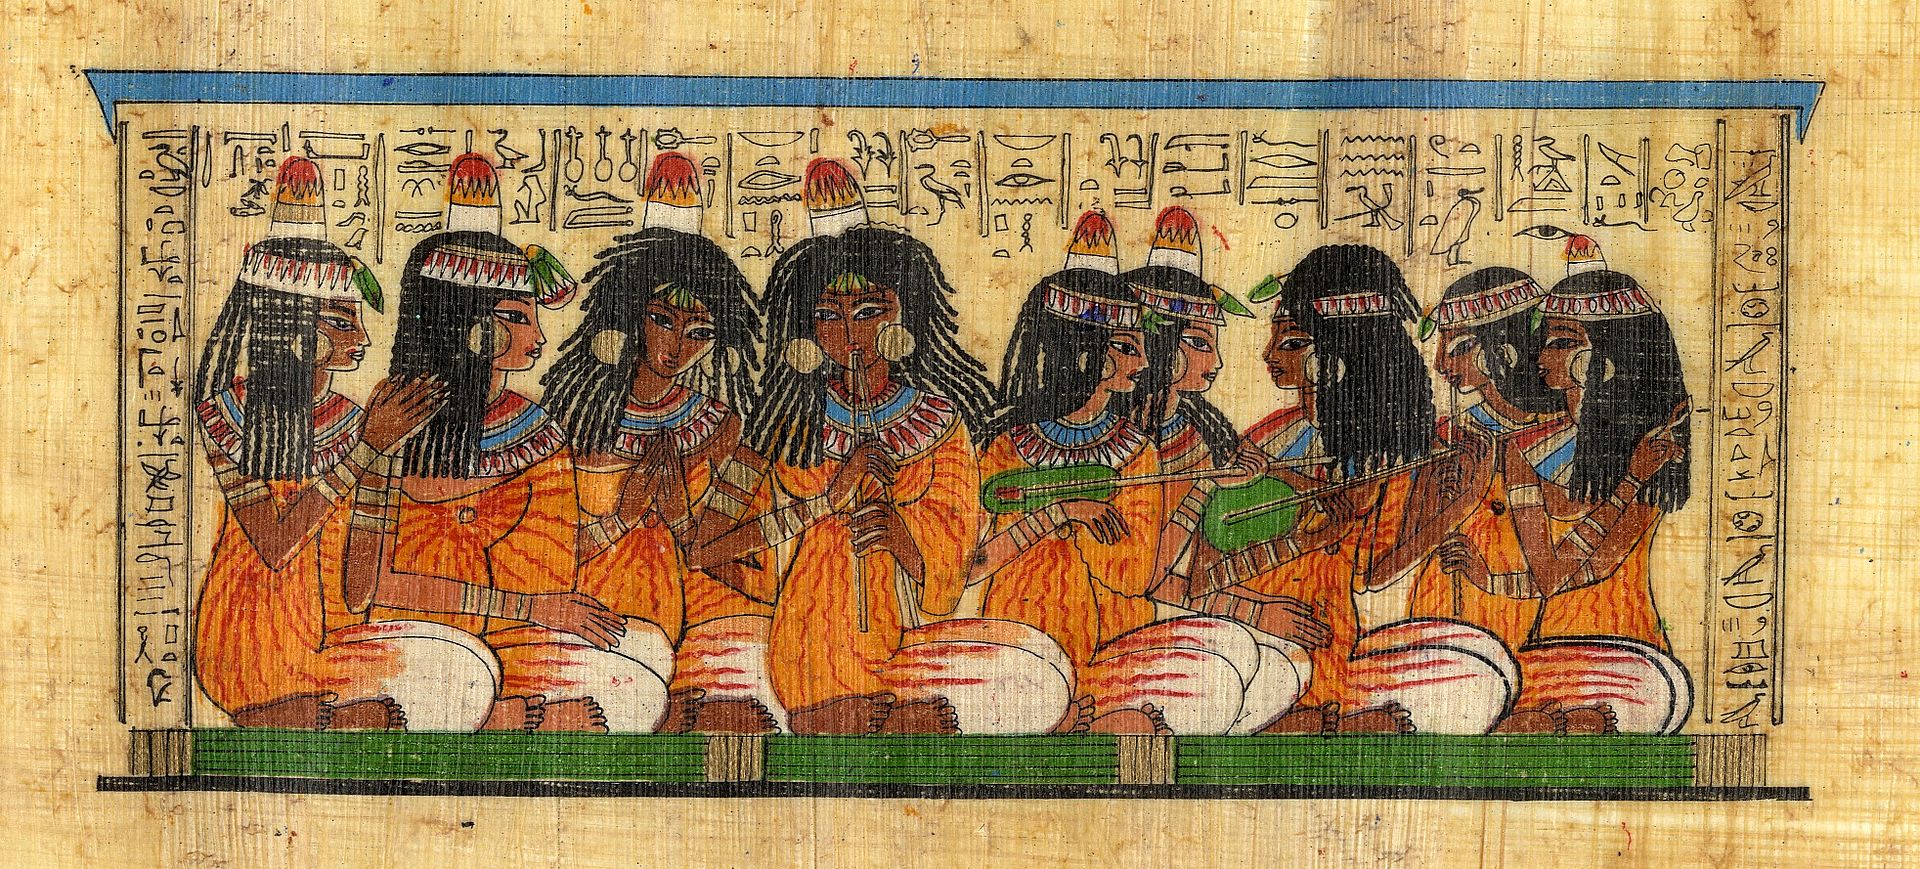
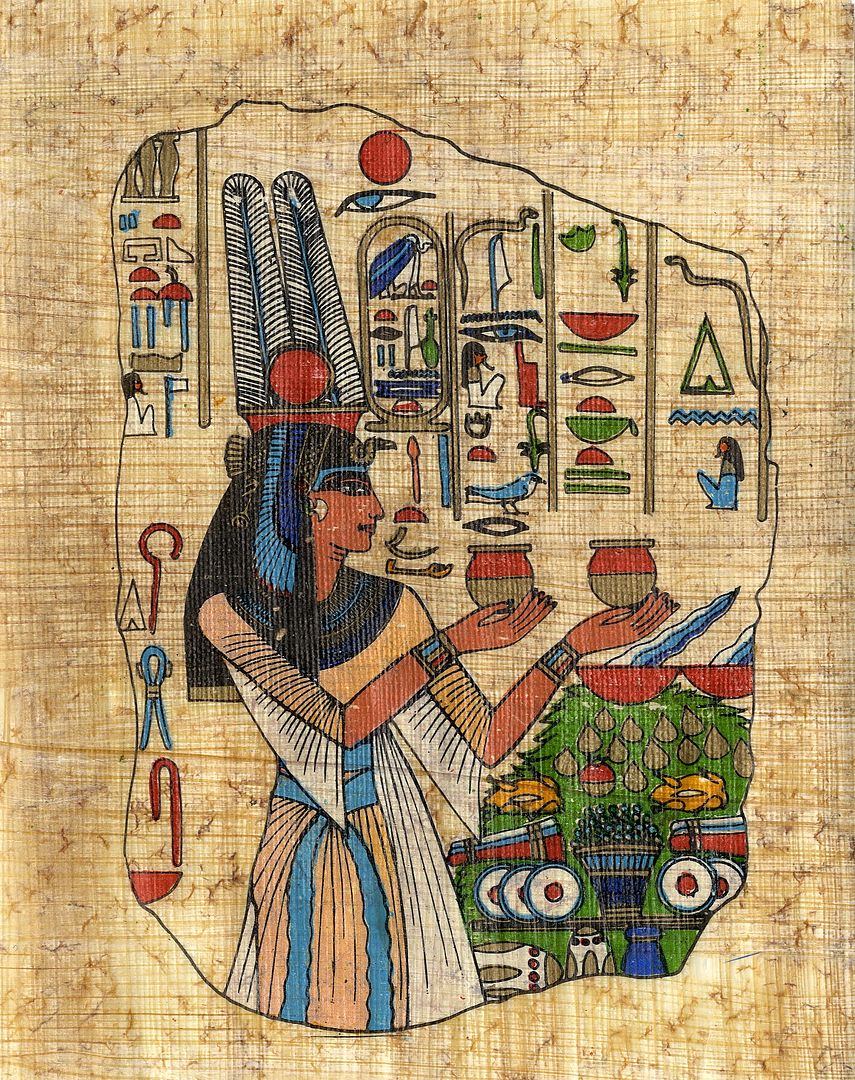
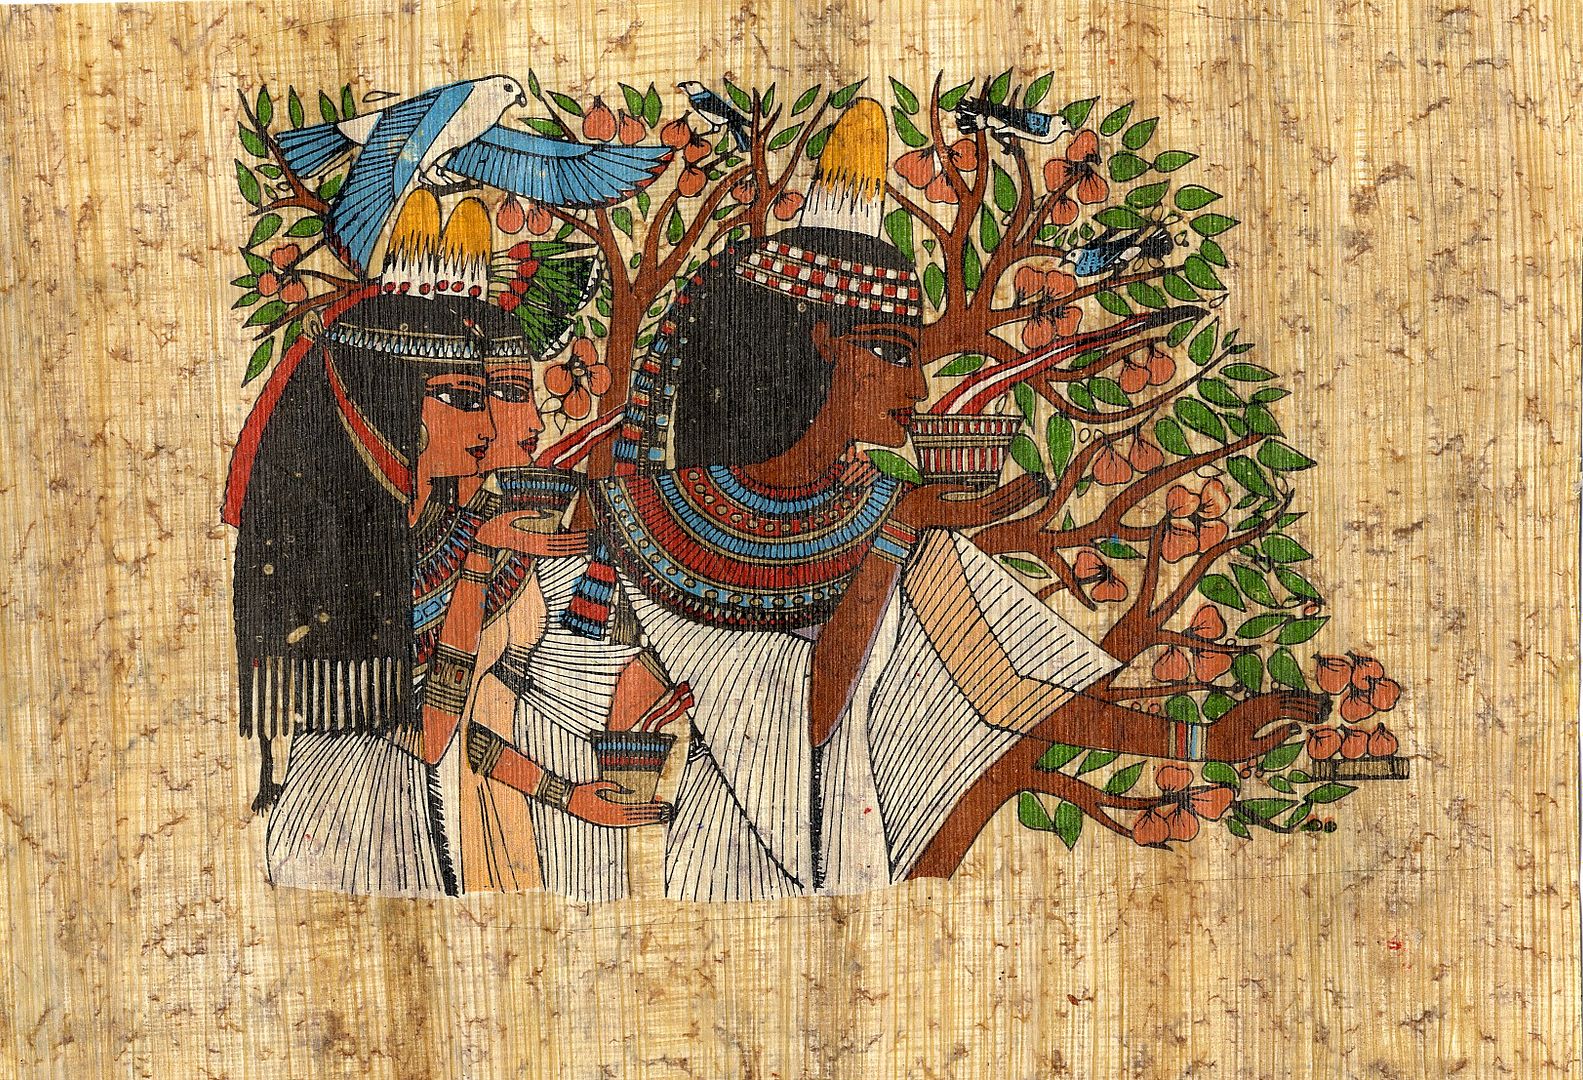
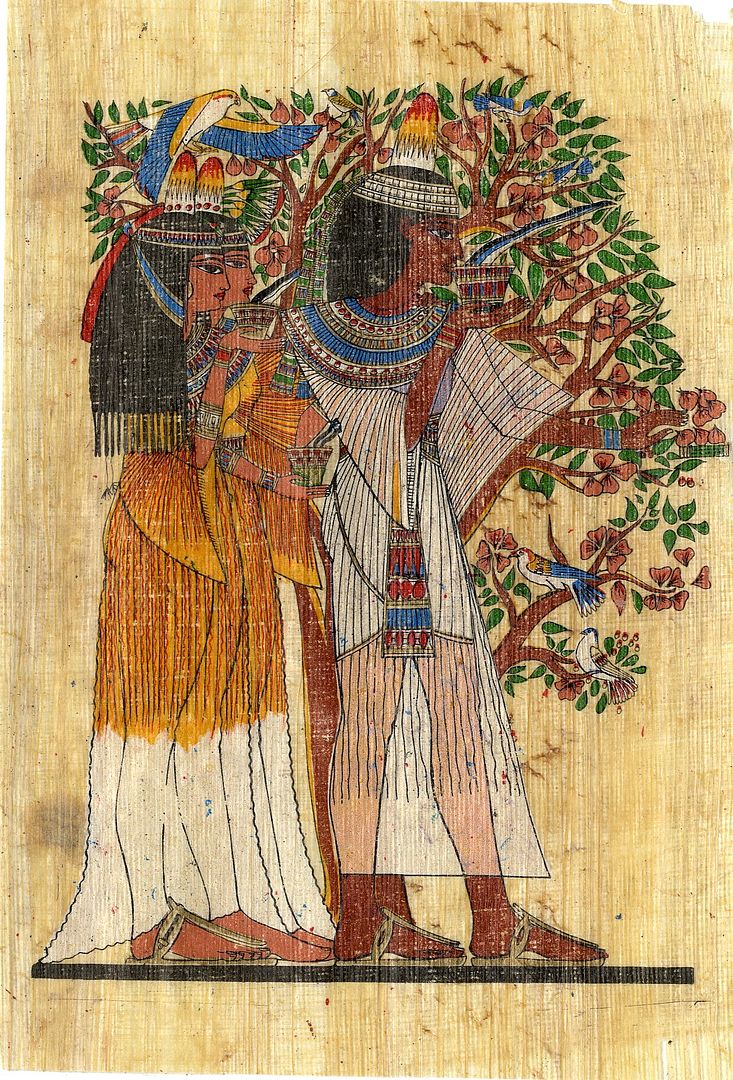
Egyptian Papyrus for Your Art
In 2000 I went on a trip to Egypt with my husband and parents. I purchased the images below which are printed on papyrus. You are free to use these in your art. To download an image, click on the image to expand it, right-click and select Save As.
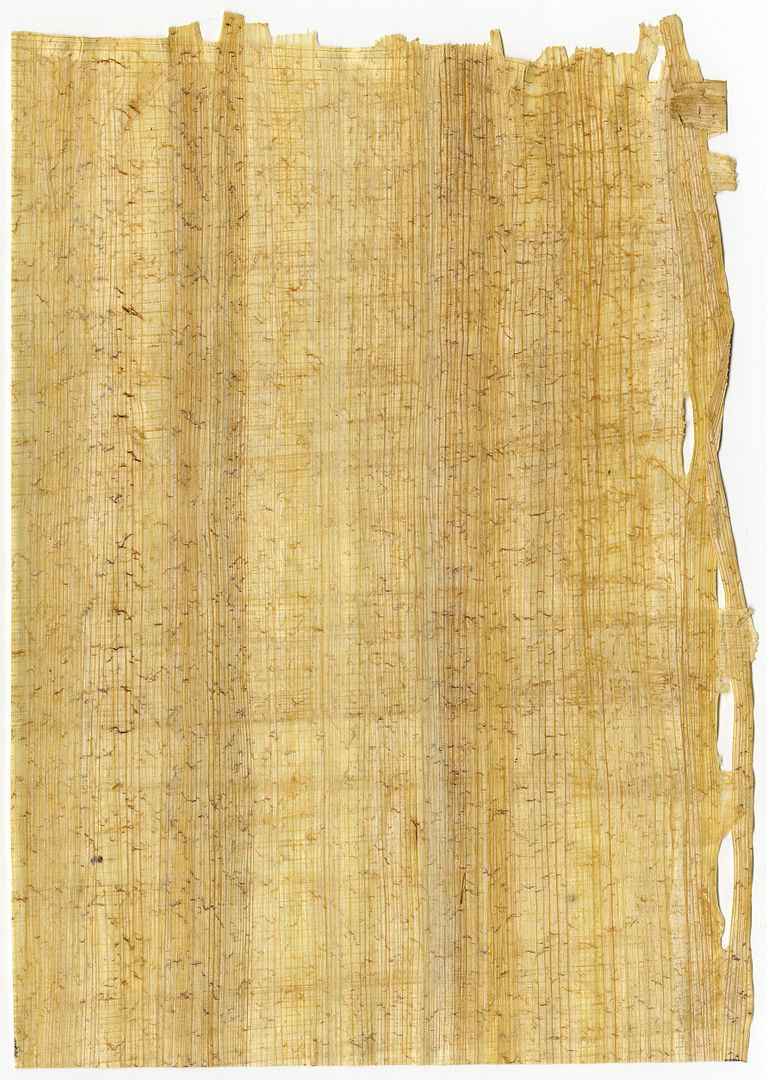
Below is a blank piece of papyrus which has a great texture.
Subscribe to:
Posts (Atom)