-->

Welcome

I love answering your questions. If you ask them in the comment section, I have no way to answer you (if you haven't heard from me, that is why). If you use the "EMAIL ME" in the left column of this page, I will be able to respond to you. You can also use it if you want to be added to my newsletter. Laura

Saturday, November 10, 2012

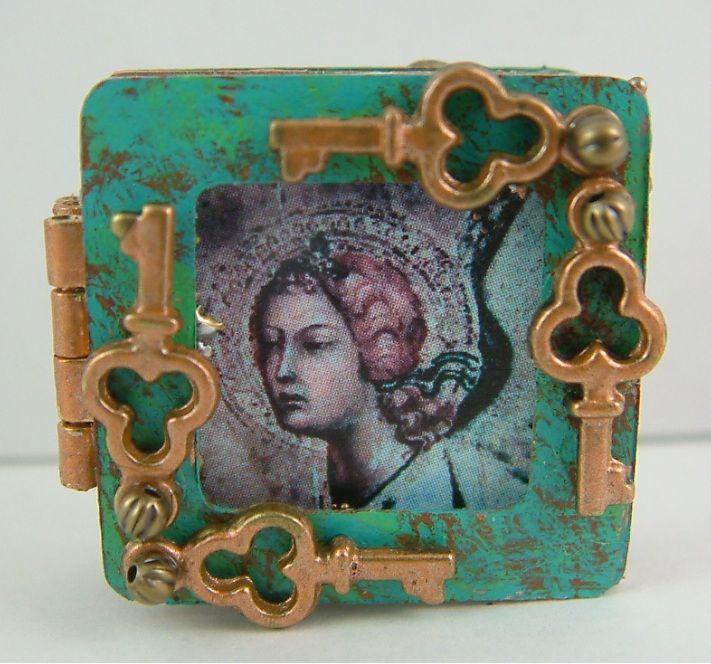
Angel Miniature Metal Book

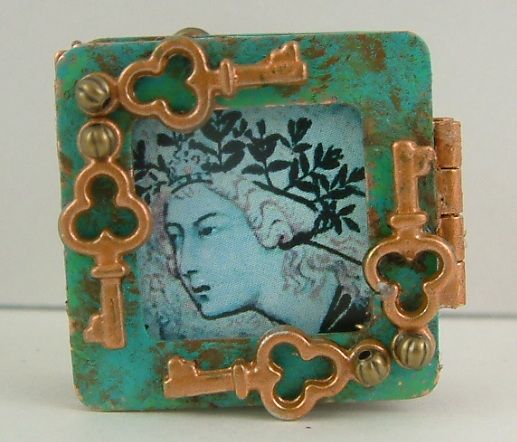
I designed this tiny metal four page book for Alpha Stamps.  I think this is the smallest book I’ve ever made.  You can see in the picture below that the book is slightly larger than a quarter.
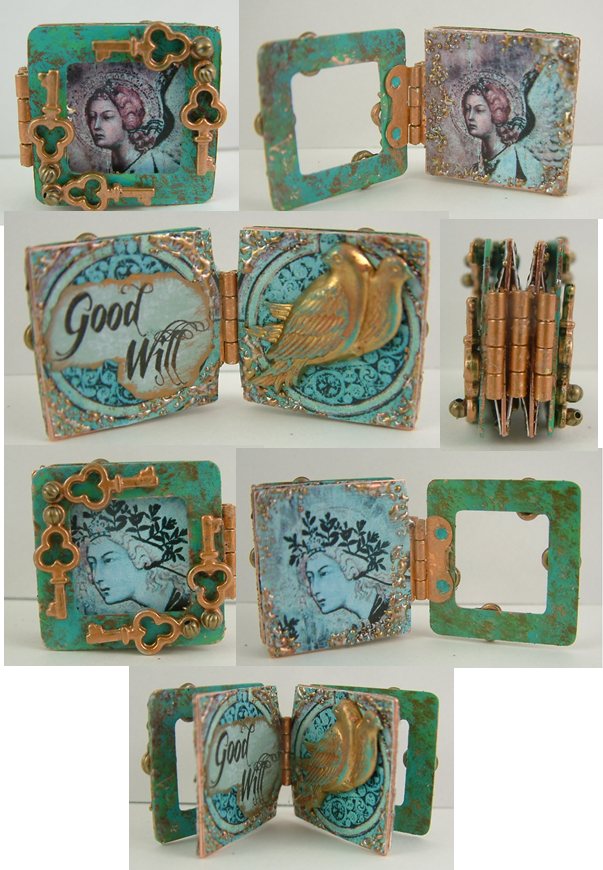
The book is made up of a square metal washer on the front and back and two copper stamping blanks in the middle.  I used Metal Patinas (Verdigris, Jade and Antique Copper) to color the square washers.
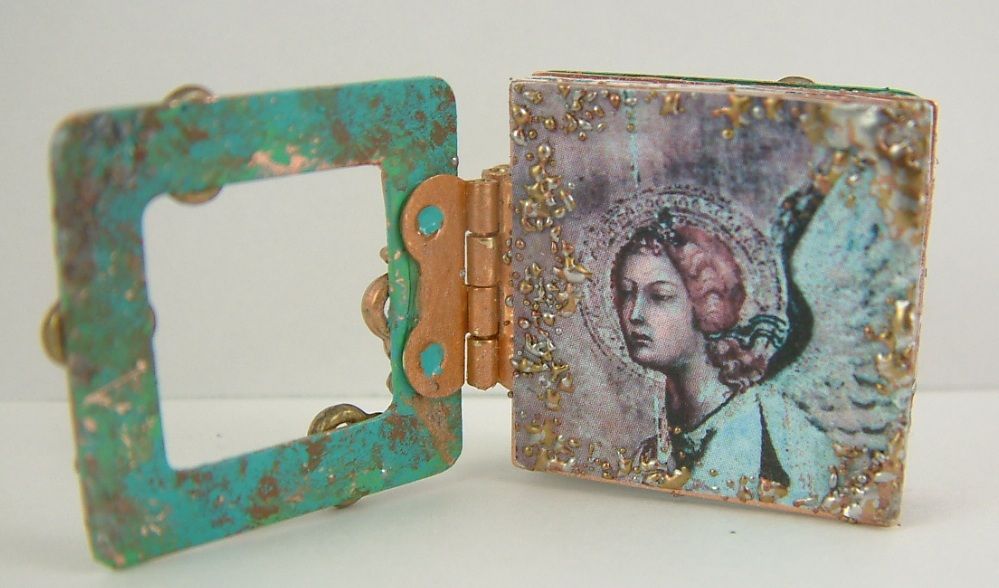
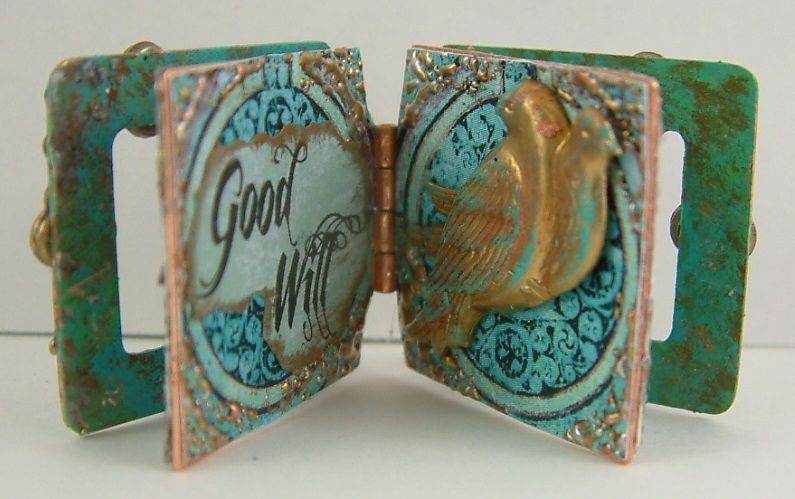
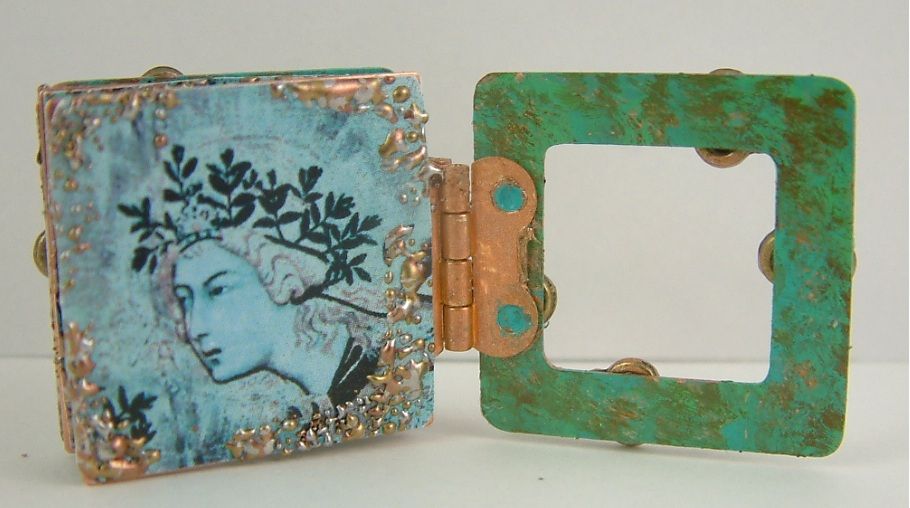
The four pages are hinged together.  I attached the hinges using E6000 glue.
The textured bits around the edges of the pictures is melted embossing powder.
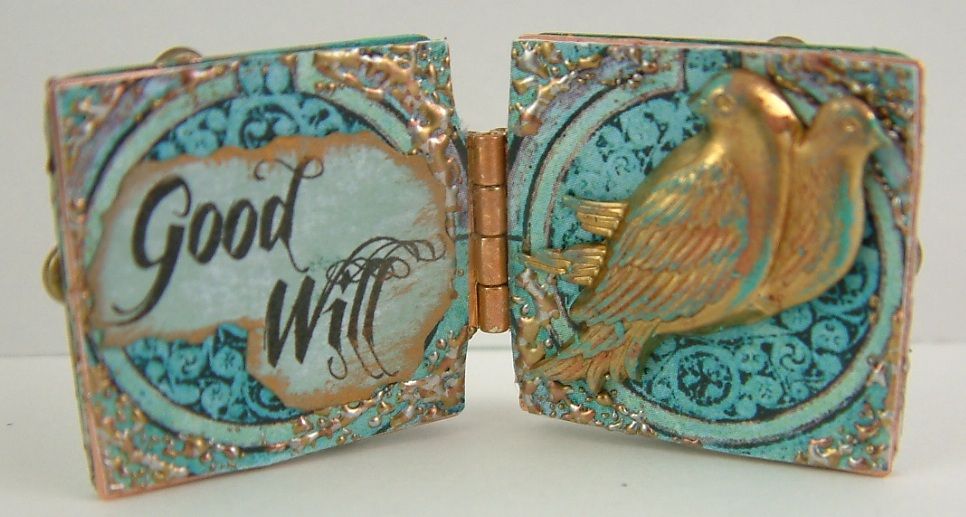
This is the back of the book.
Alpha Stamps Products Used in This Book
1 Inch Square Copper Washer – Book Front & Back
Gilders Paste – Patina – Used to color the doves

Friday, November 9, 2012

Come Little Leaves

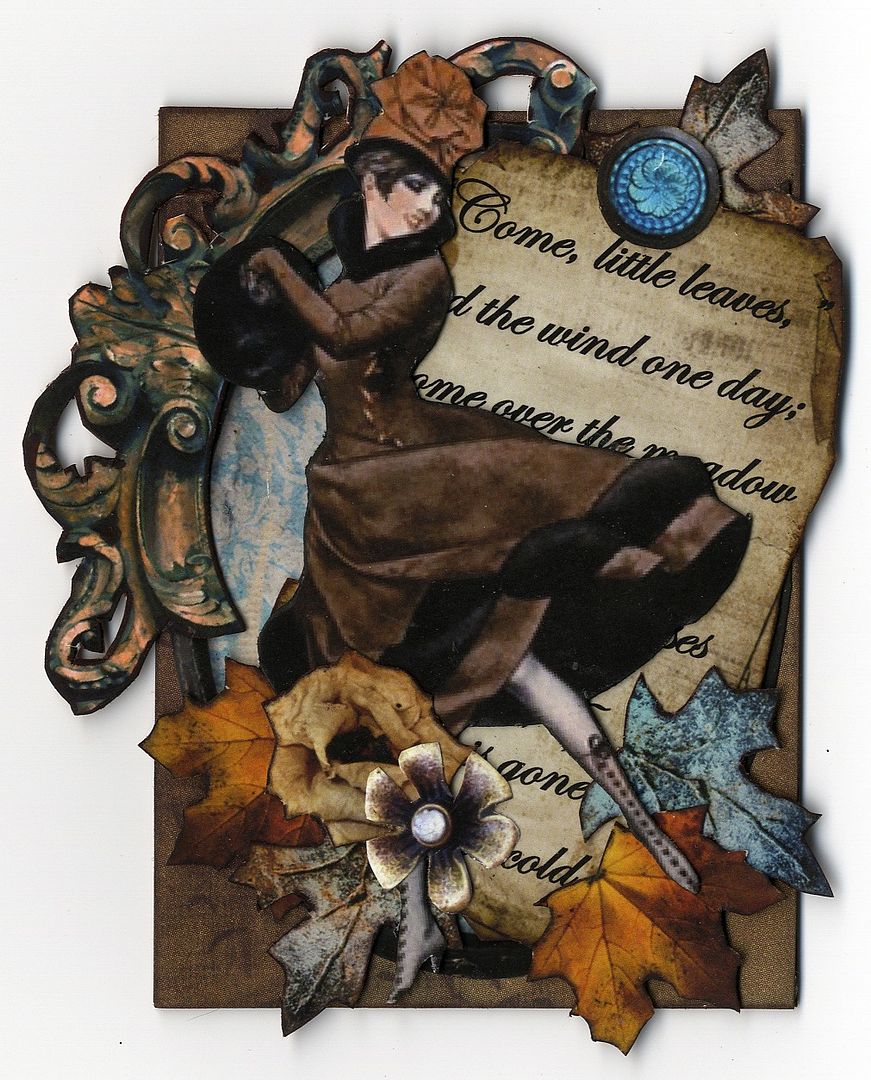
Here is a little fall inspired art for you.  The image of the woman is from a vintage magazine cover.

Tuesday, November 6, 2012

Bird Waltz

Over the last few months, in addition to all of the Halloween projects, I’ve been slipping in a few other projects plus participating in various swaps groups.  Throughout November is catch up time.  I'll be posting these items and the swap returns I’ve received from other artists.  This little vintage piece is called “Bird Waltz”.

Sunday, November 4, 2012

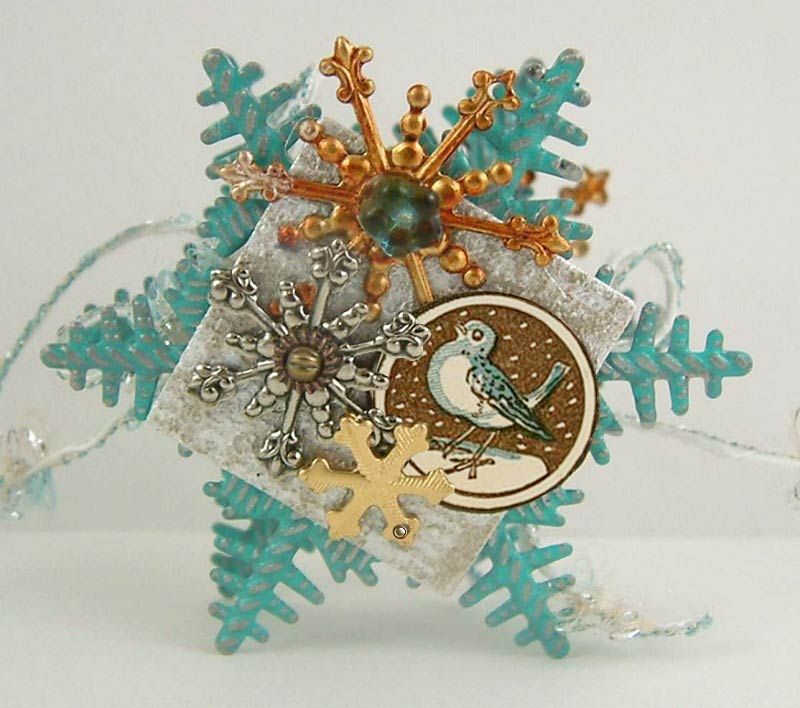
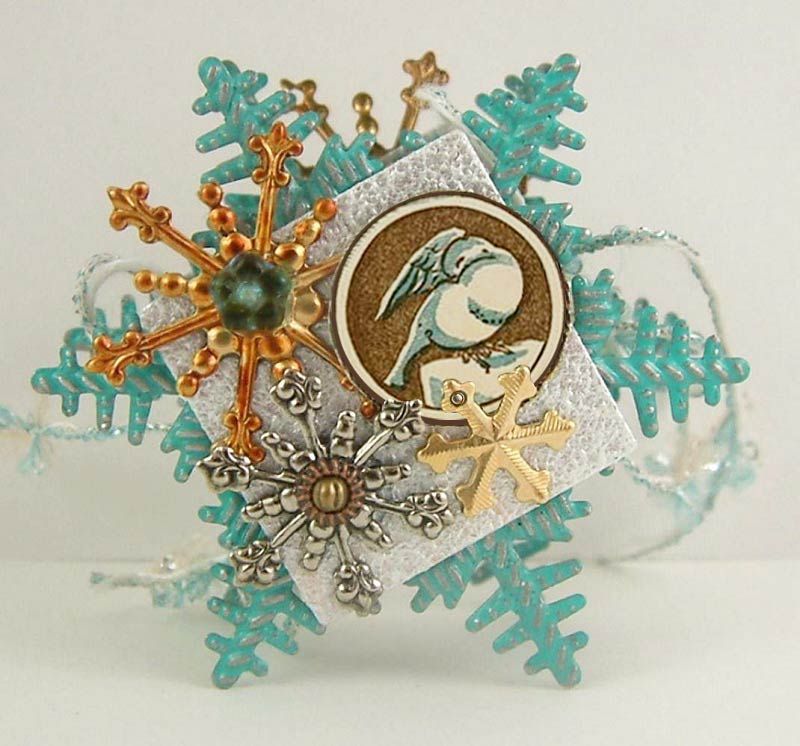
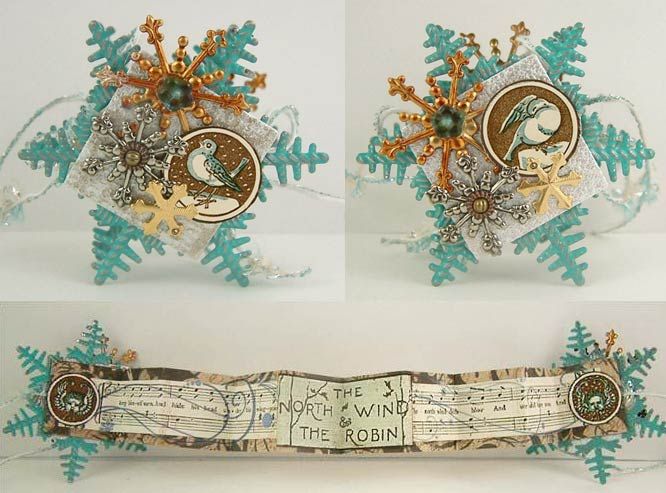
The North Wind – Accordion Fold Book

Now that Halloween is over I’ve been busy working on fall, winter and Christmas inspired art.  The first piece is one I designed for Alpha Stamps.  The overall size of this accordion folded book is 2" x 1 ¾” (including the snowflake).The cover is made from a silver snowflake painted with metal patina paint and then lightly sanded to expose some of the silver.  The snowflake is the same one I used for the base of some of the bottles in the apothecary event.  The prongs of the snowflake act as feet.
To the snowflake I glued a square metal stamping blank that I painted with the Ranger Metallic Pearl Paint Dabber.  This is the same paint I used on the bottle for the “Bottled Ghost”.  The stamping blank acts as a solid cover for the accordion folded pages.
The song inside is from an old children’s song about the north wind and the robin.
The north wind doth blow,
And we shall have snow,
And what will the robin do then, poor thing?
He’ll sit in a barn
To keep himself warm
And hide his head
Under his wing, poor thing.

Alpha Stamp Supplies Used For This Project

Wednesday, October 31, 2012

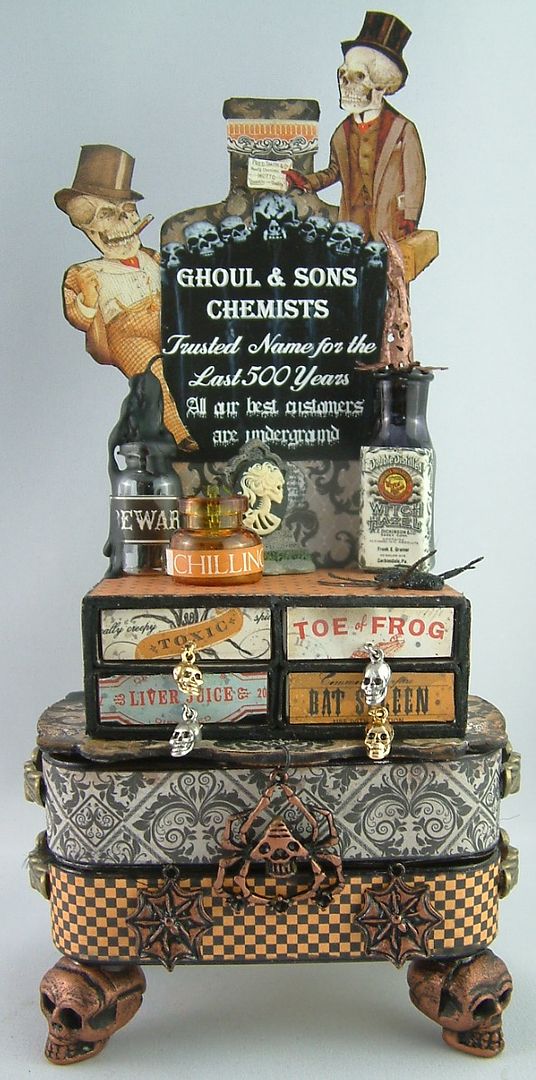
Ghoul and Sons Chemists


GHOUL & SONS CHEMISTS
Trusted Name for the Last 500 Years
“All Our Best Customers Are Underground”

This is my last Halloween treat for you!!

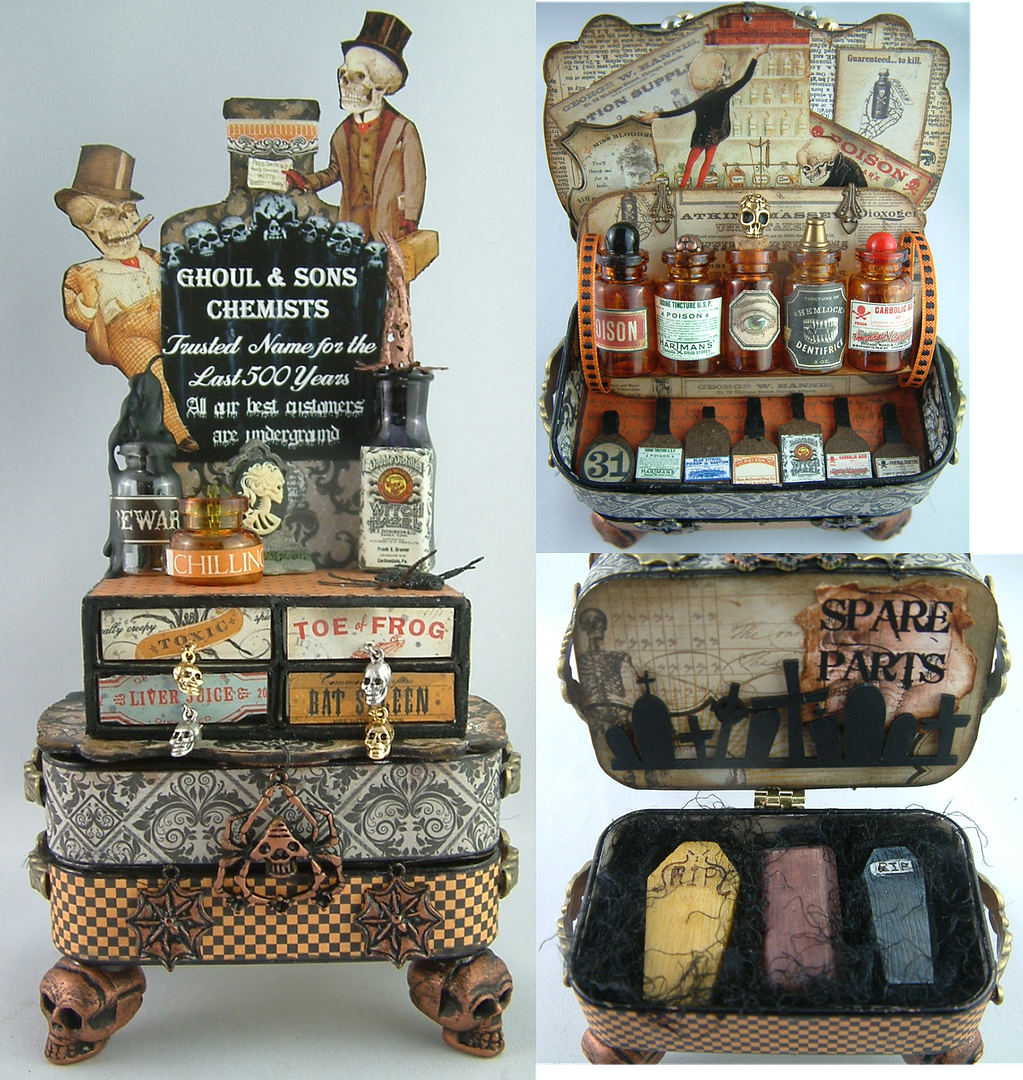
This piece has three tiers consisting of matchboxes, two Altoids tins and a chipboard potion bottle for a back (the same kind I used for the potion swap).  All the tiers are hinged together.  The first tier is a matchbox chest with drawers that open.   The matchboxes are sitting on a decorative piece of chipboard.  The chipboard is hinged to the first Altoids tin.  By lifting the copper colored spider charm you can lift the top to reveal the contents - the matchboxes and everything are still attached.

I used one of the chipboard potion bottles that I used for the potion swap for the back of the piece.  The first layer is a matchbox chest with drawers that open.  The matchboxes are sitting a decorative piece of chipboard.  The chipboard is hinged to the first Altoids tin.  By lifting the copper colored spider charm you can lift the top to reveal the contents. 

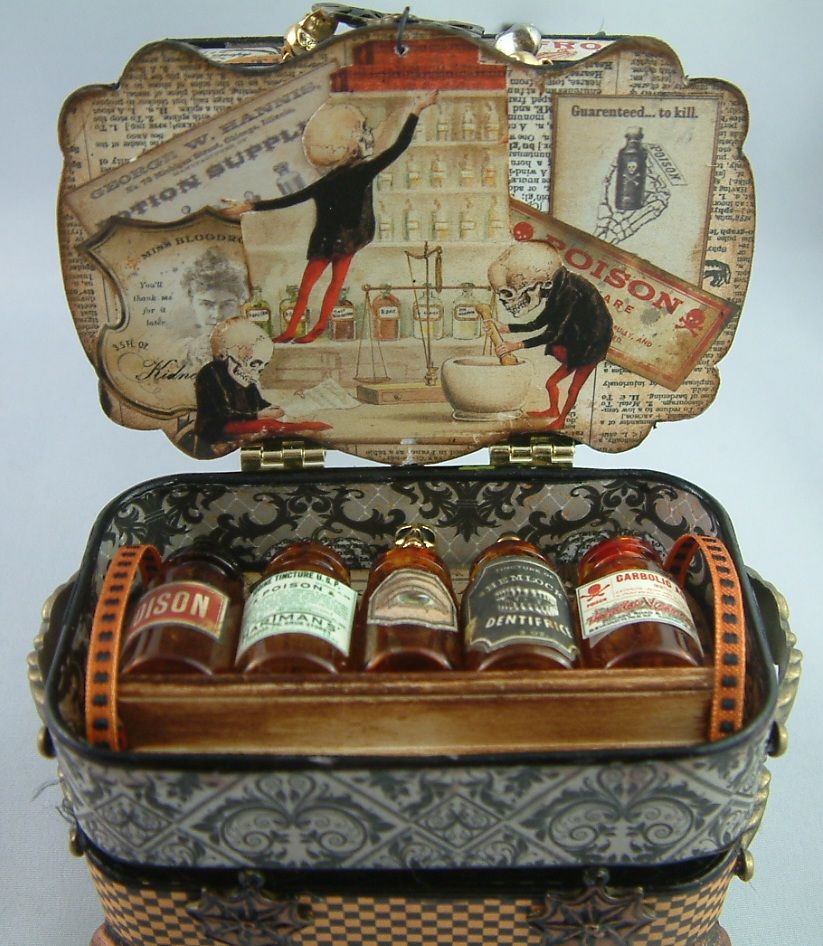
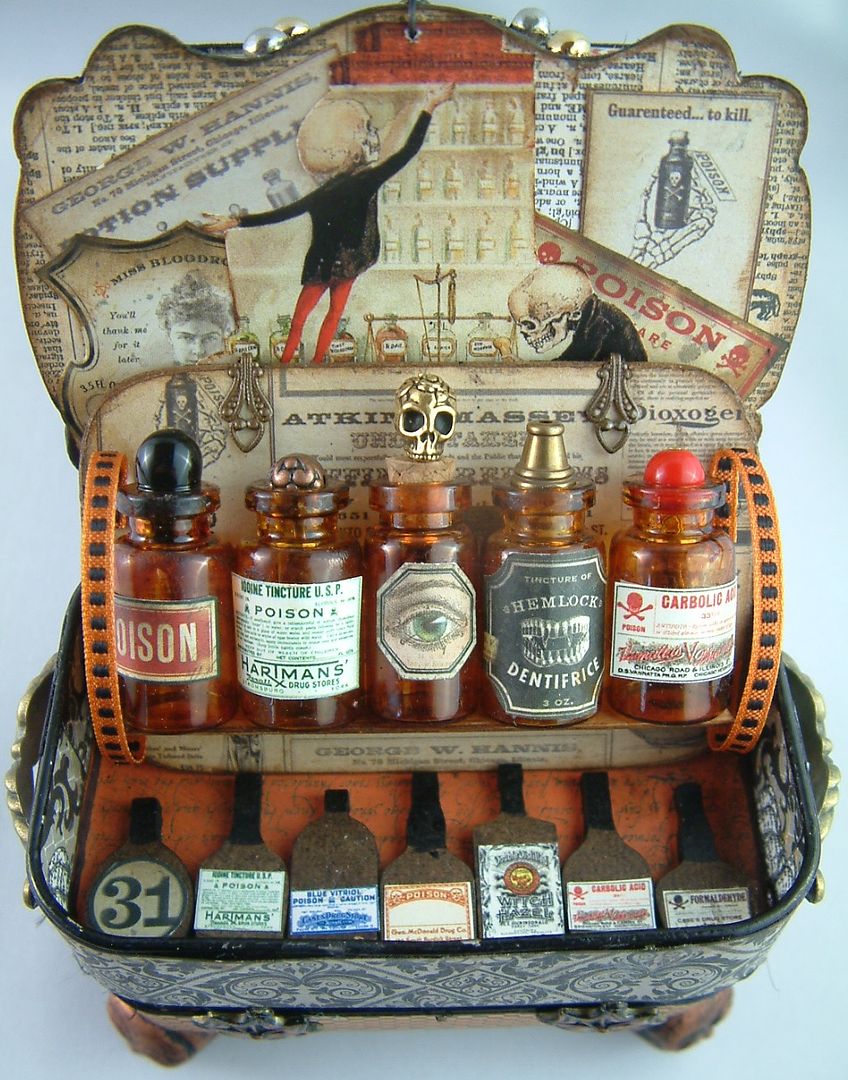
Inside the Ghoul sons are busy at work mixing their concoctions.  The bottles you see are resting on a piece of chipboard.  By pulling on the ribbon handles you can lift the bottles out of the tin.
At the bottom of the tin are Masonite bottles – the same ones I used for the book apothecary in the tutorial.  You can use them to prop up the glass bottles attached to the chipboard; like a traveling samples case.
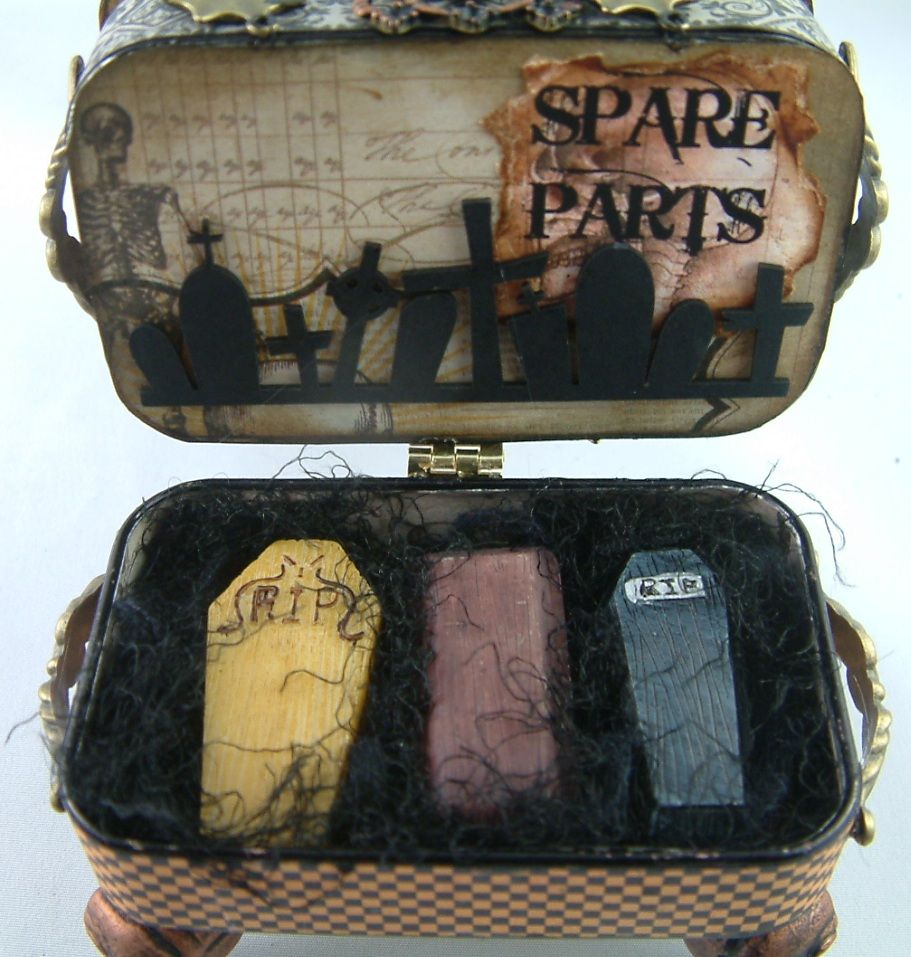
The first and second tins are hinged together. By pulling on the two spider web copper colored charms you can lift the entire piece and access the second Altoids tins.    That’s where the Ghoul family keeps its spare parts!
I hope you have enjoyed my little engineering project!   
HAPPY HALLOWEEN!!!

Alpha Stamps Products Used In this Piece
CHIPBOARD/MASONITE
PAPER & STICKERS
COLLAGE SHEETS
BEADS & CHARMS
METAL BITS & Other Items
Halloween Fiber Set – Black Fiber
BOTTLES


Friday, October 26, 2012

Halloween Blog Party – Witches Ball

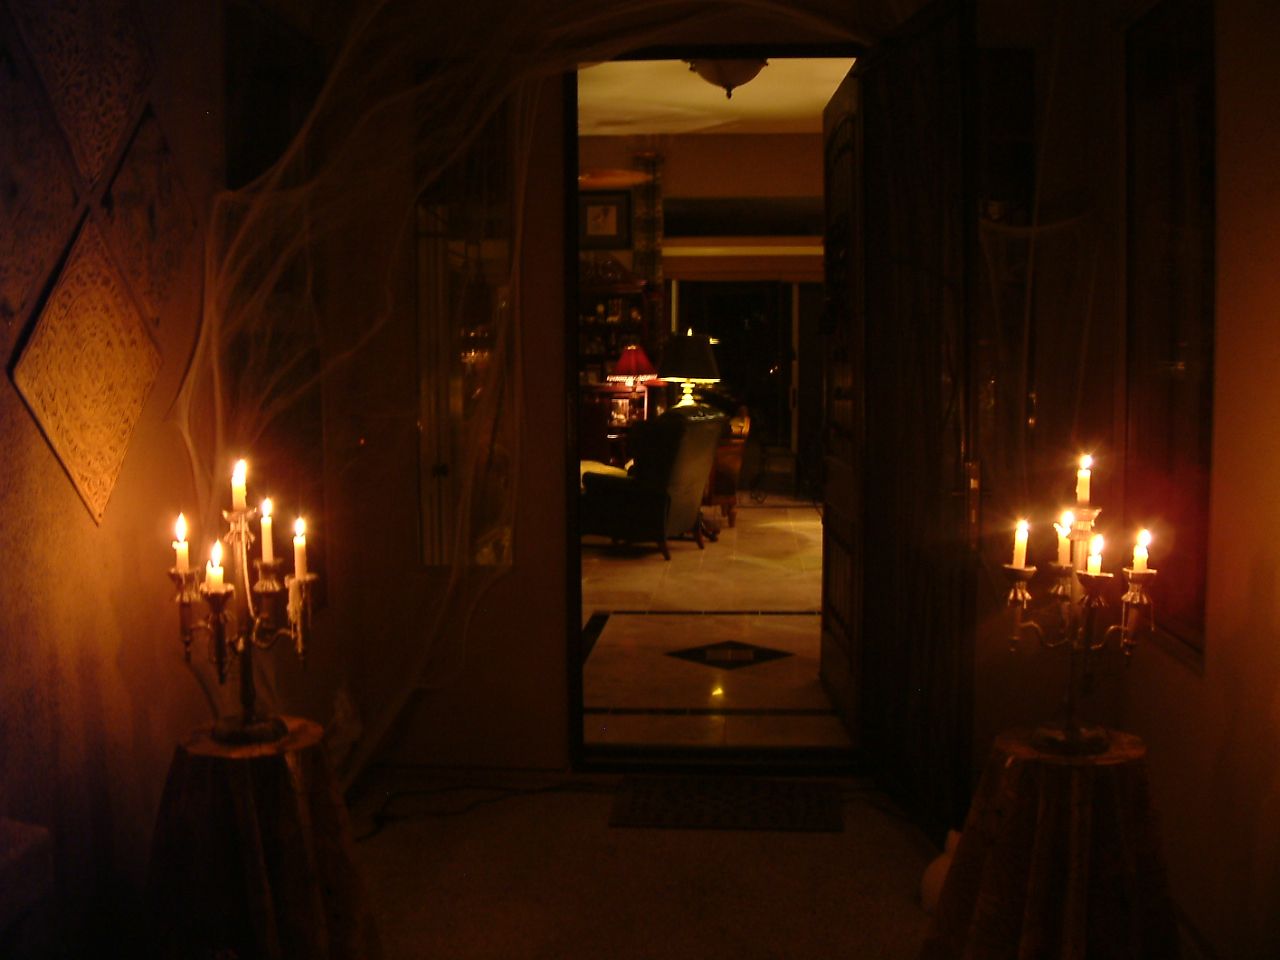
Welcome!  I’ve been very busy getting ready for the witches ball.  This annual even hosted by the gals of the “Black Hat Society” is the premier event of the season.  The invitation just recently arrived so I’m in a tizzy about what to wear.  I know that many of the witches will have already ordered their outfits from the best shops in Transylvania, but I don’t have enough time to do that.   I guess I’ll just have to whip up my own.
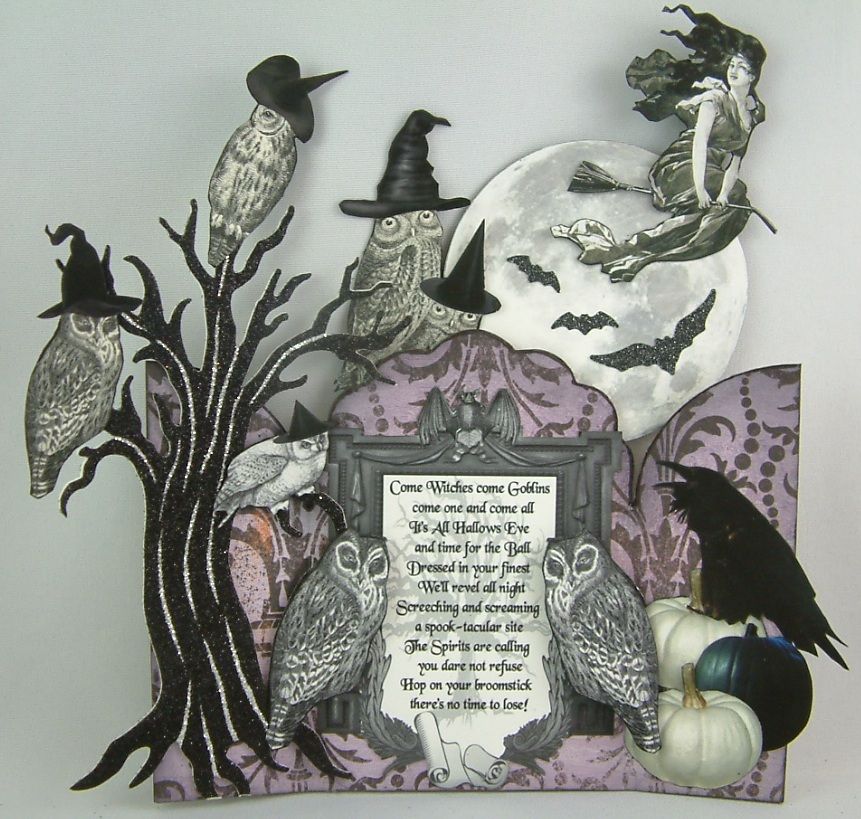
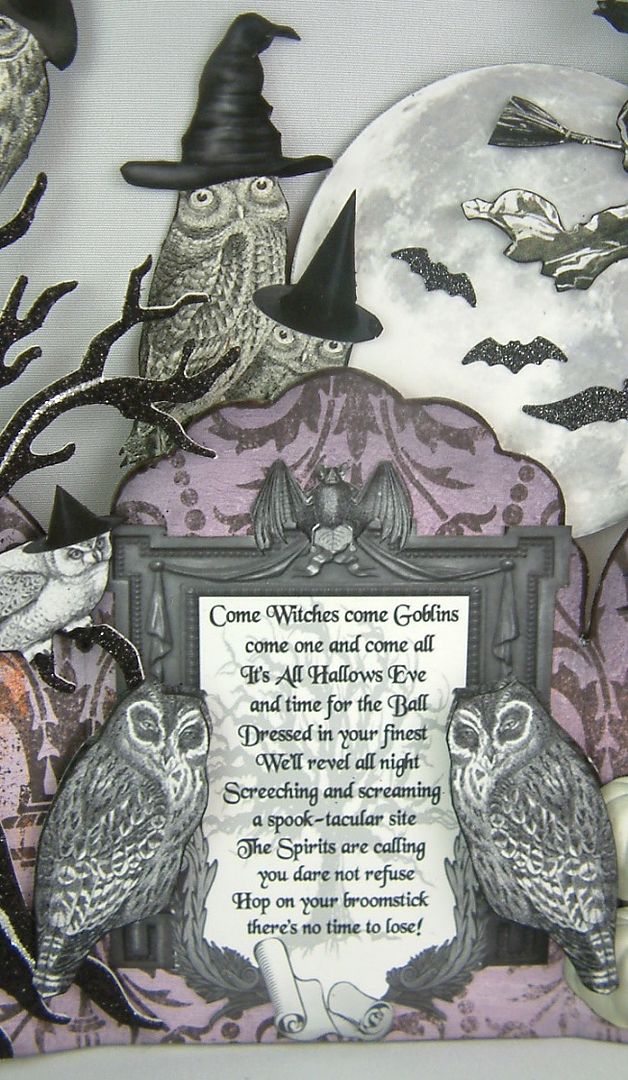
This is from one of my collage sheets and the little ditty is written by me.
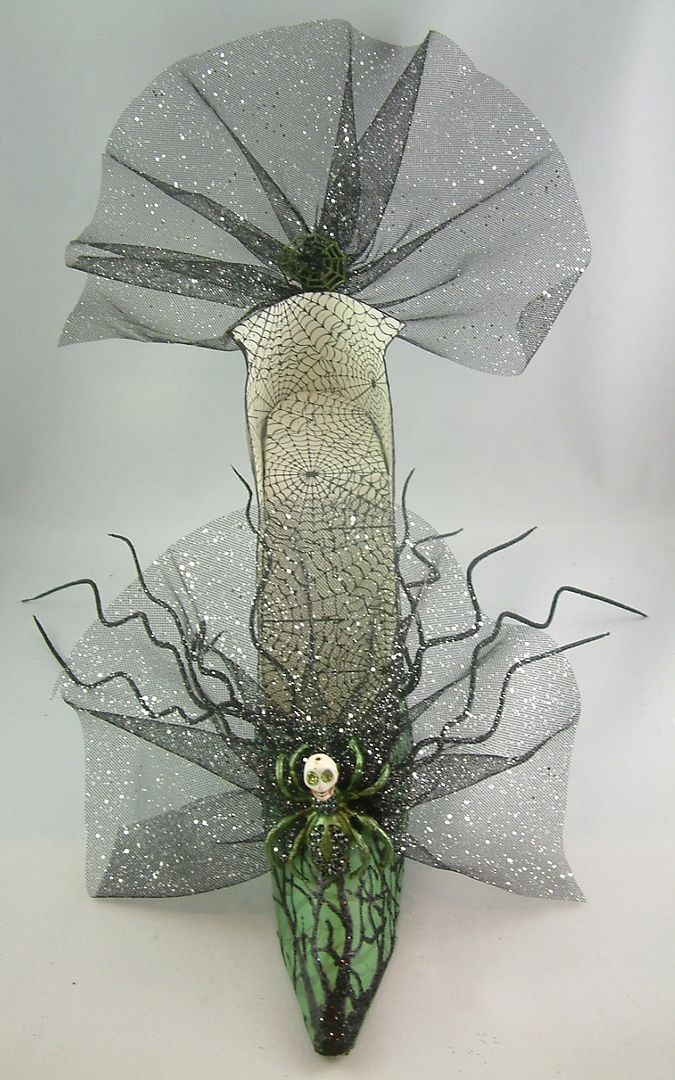
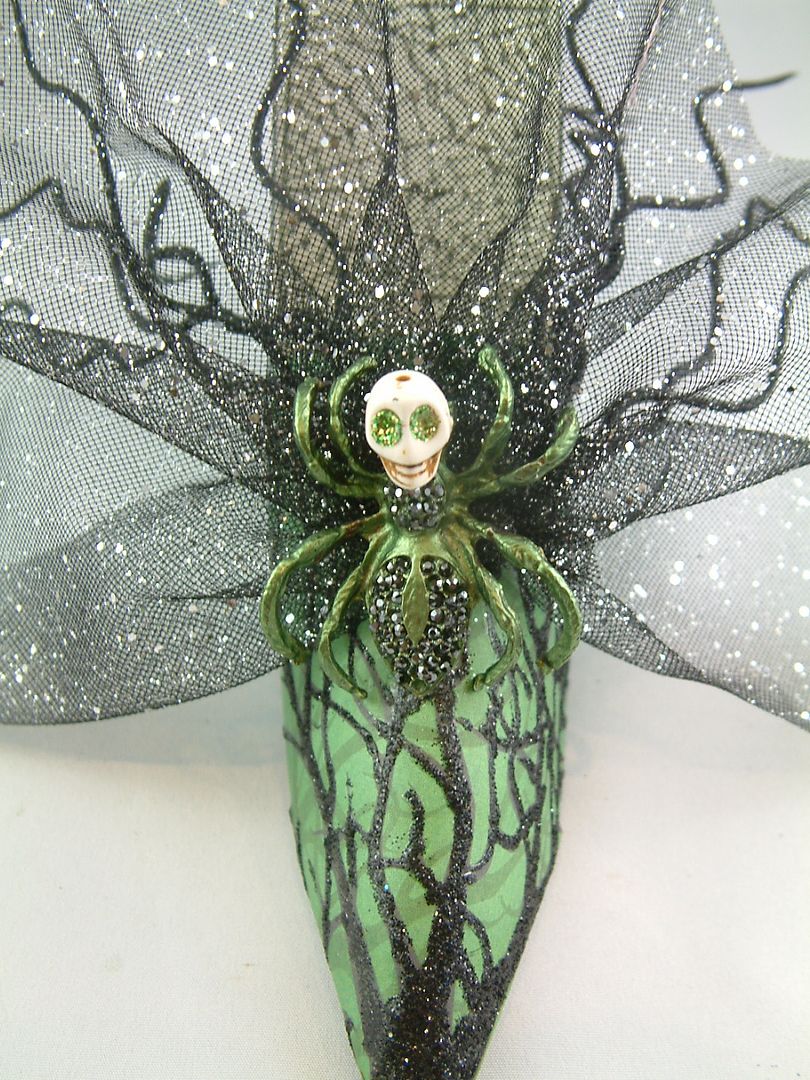
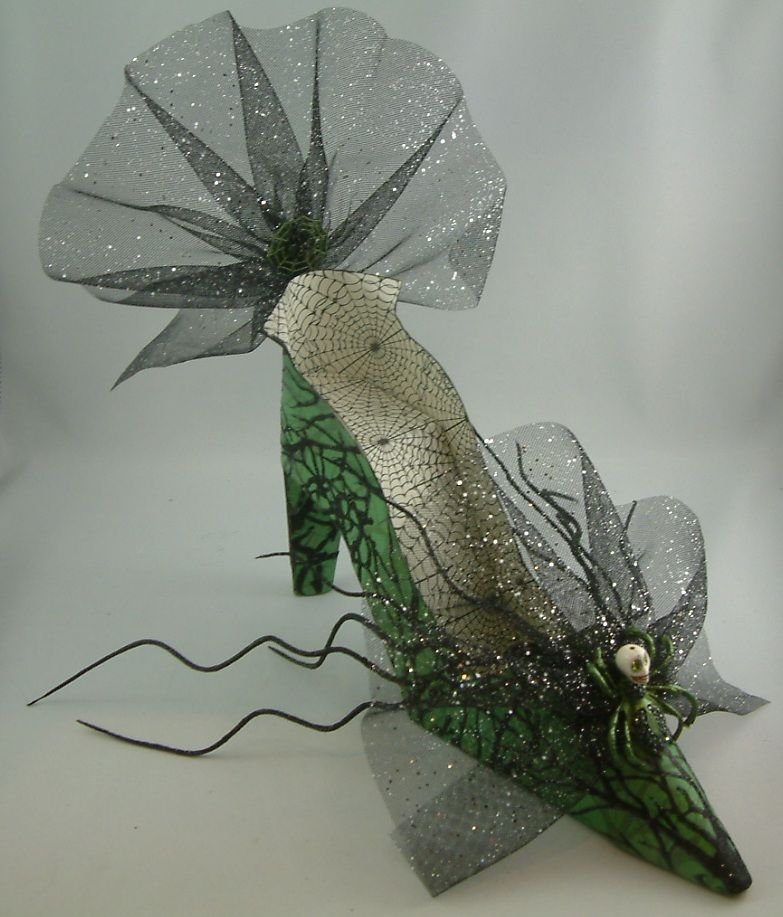
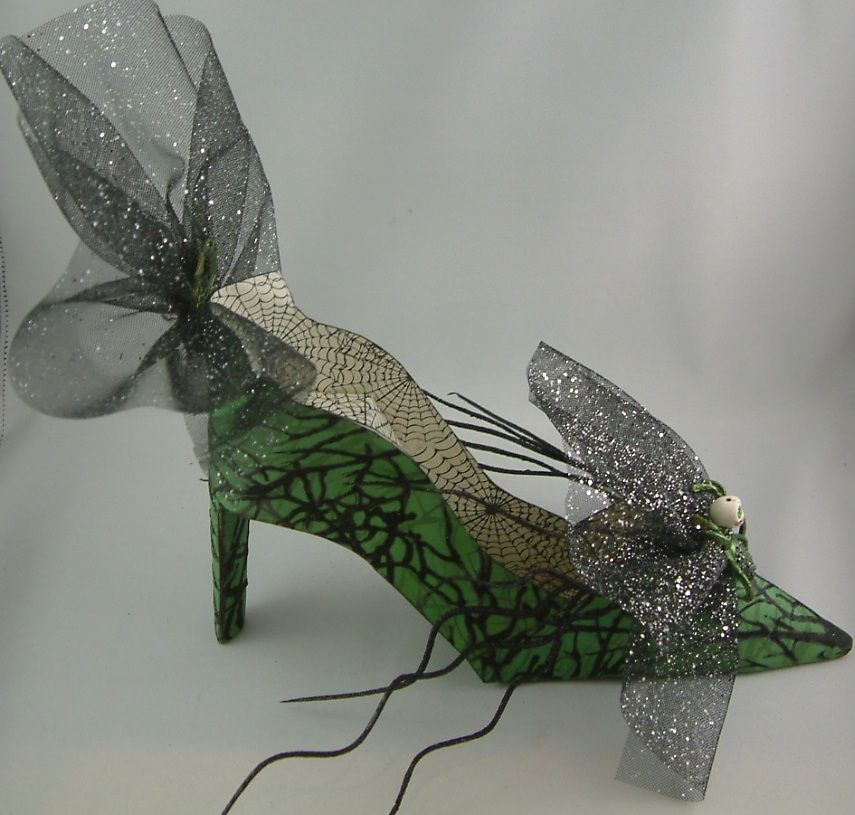
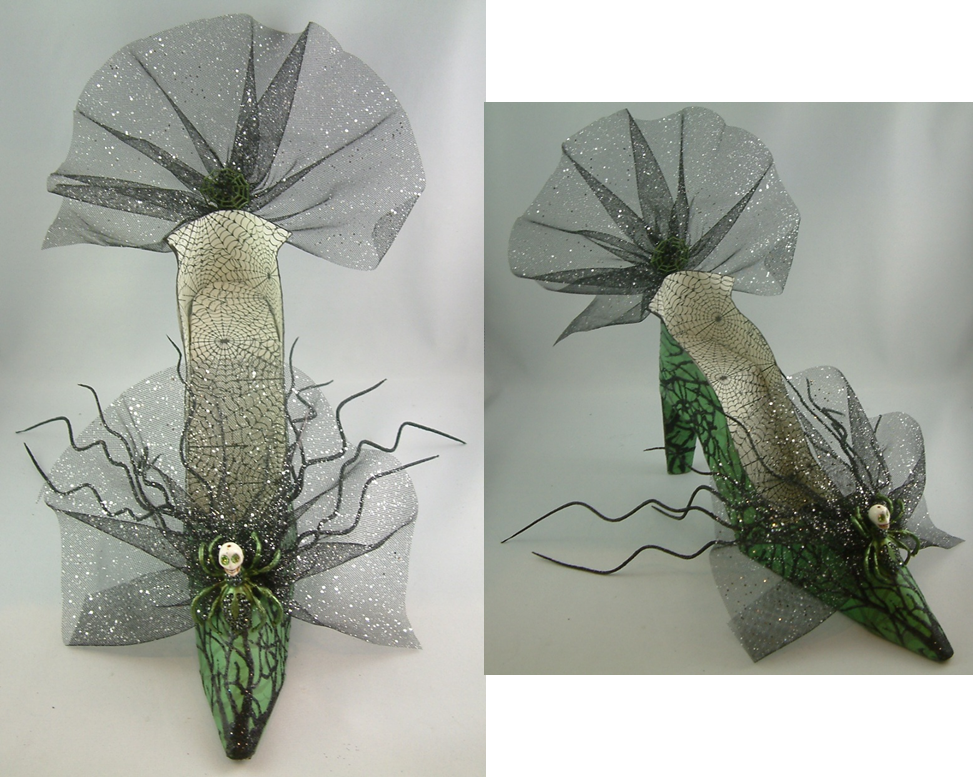
I don’t know about you, but I have a thing for shoes!  I whipped this one up using paper.  I accented the design of the paper with glitter.  I added sparkly fabric and twigs.  The brass spiders are painted with Metallic Olive Lumiere paint and accented with black Swarovski crystals.

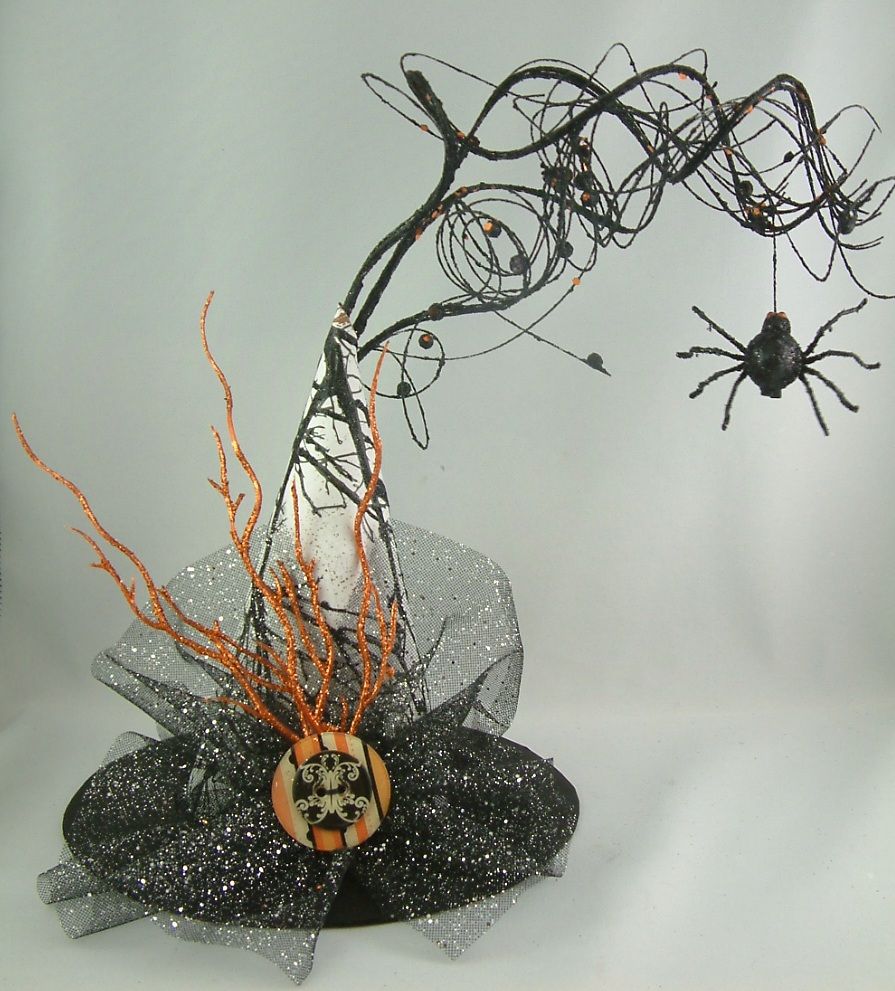
Itsy Bitsy Spider wanted to go to the ball, so I told him he could if he hung off the end of my hat and promised not to annoy guests by biting them.
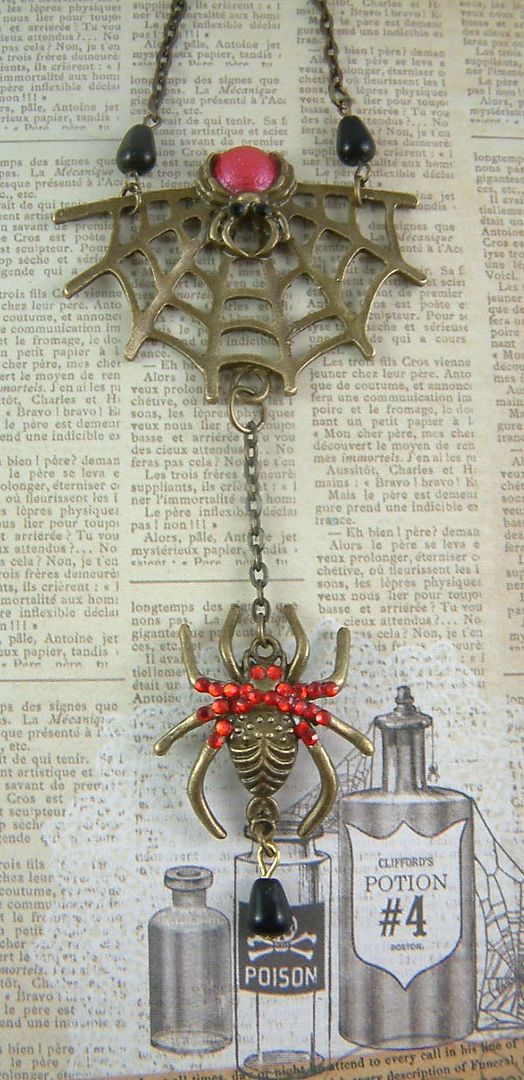
I think this necklace will work perfectly.  The spider on the top is painted with red Liquid Pearls.  The spider at the bottom is accented with Swarovski Crystals.
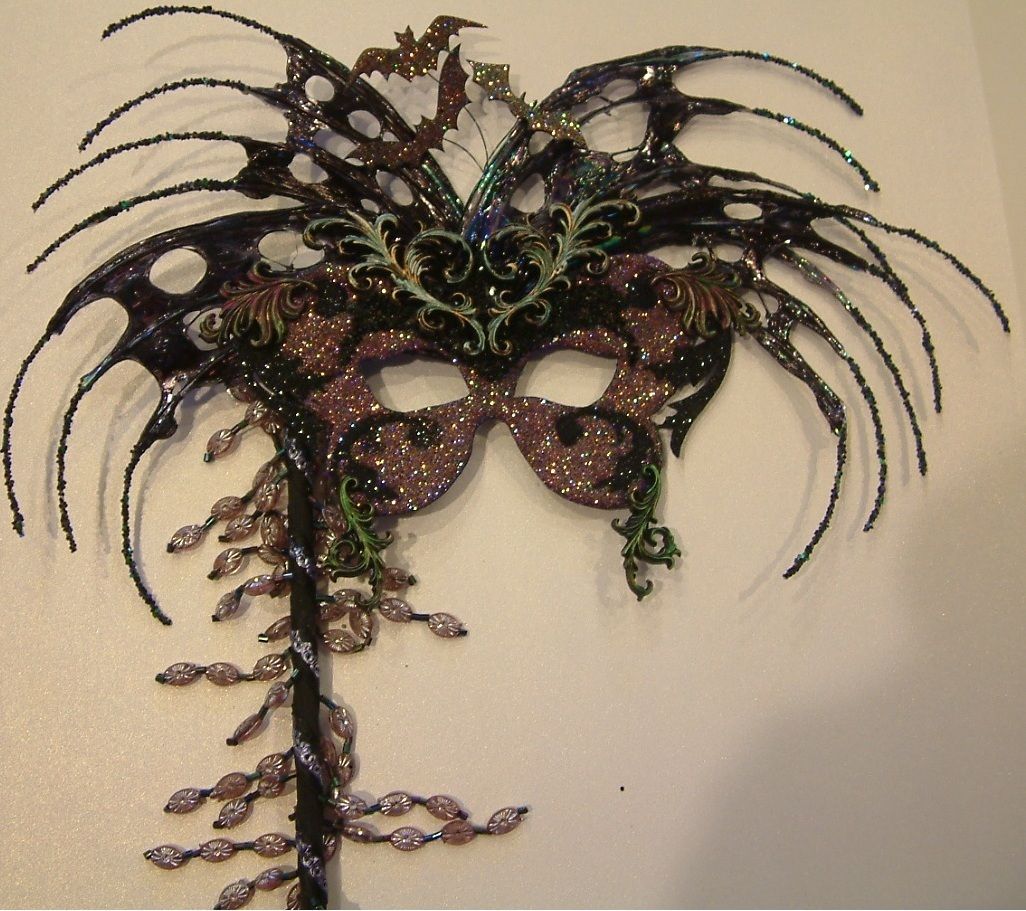
I can’t go to the ball without a mask.  This one is made from paper, fun wire and fantasy film and accented with beading and glitter.  I’ve also embellished it with bats and swirls.
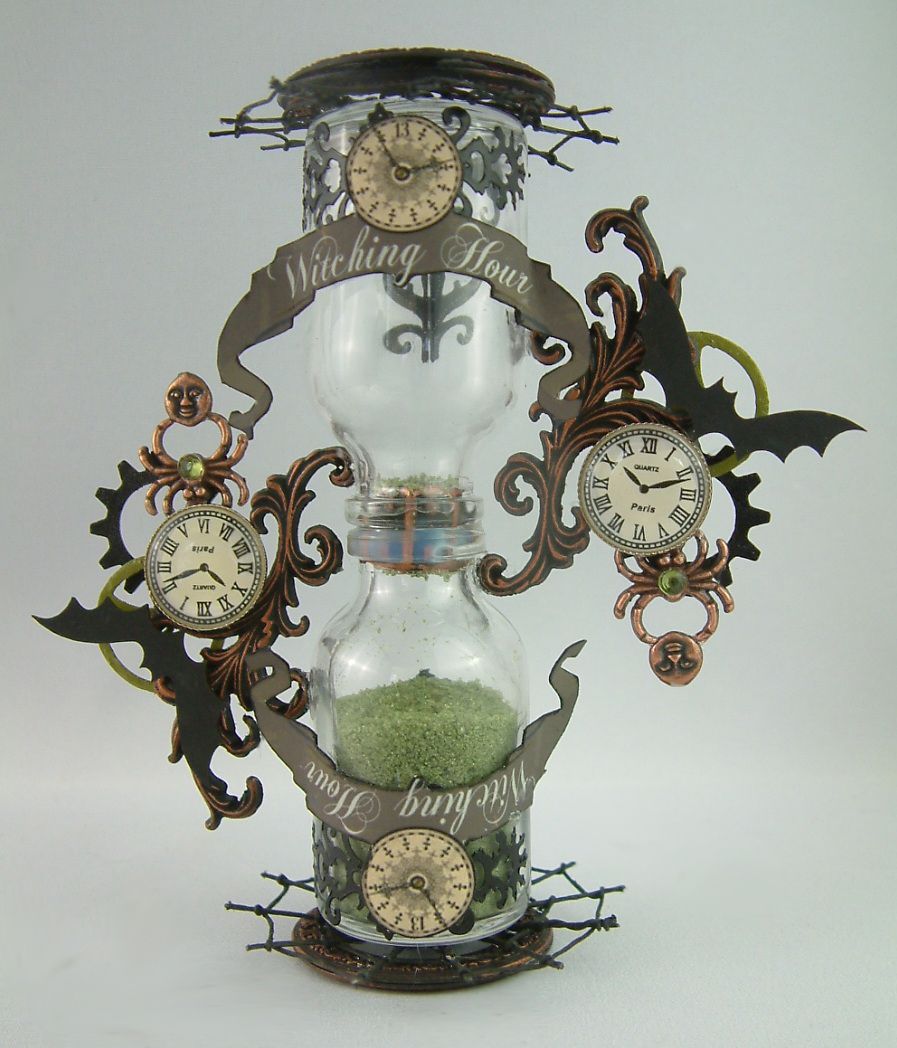
Oh I just know I’m going to be late.  My "Witching Hour" – Hour Glass says its time.
This is a working hour glass made from two bottles.  I’m thinking I’ll do another winter themed one and include a tutorial for you guys.

Thanks for stopping by and I hope to see you there!

Thursday, October 25, 2012

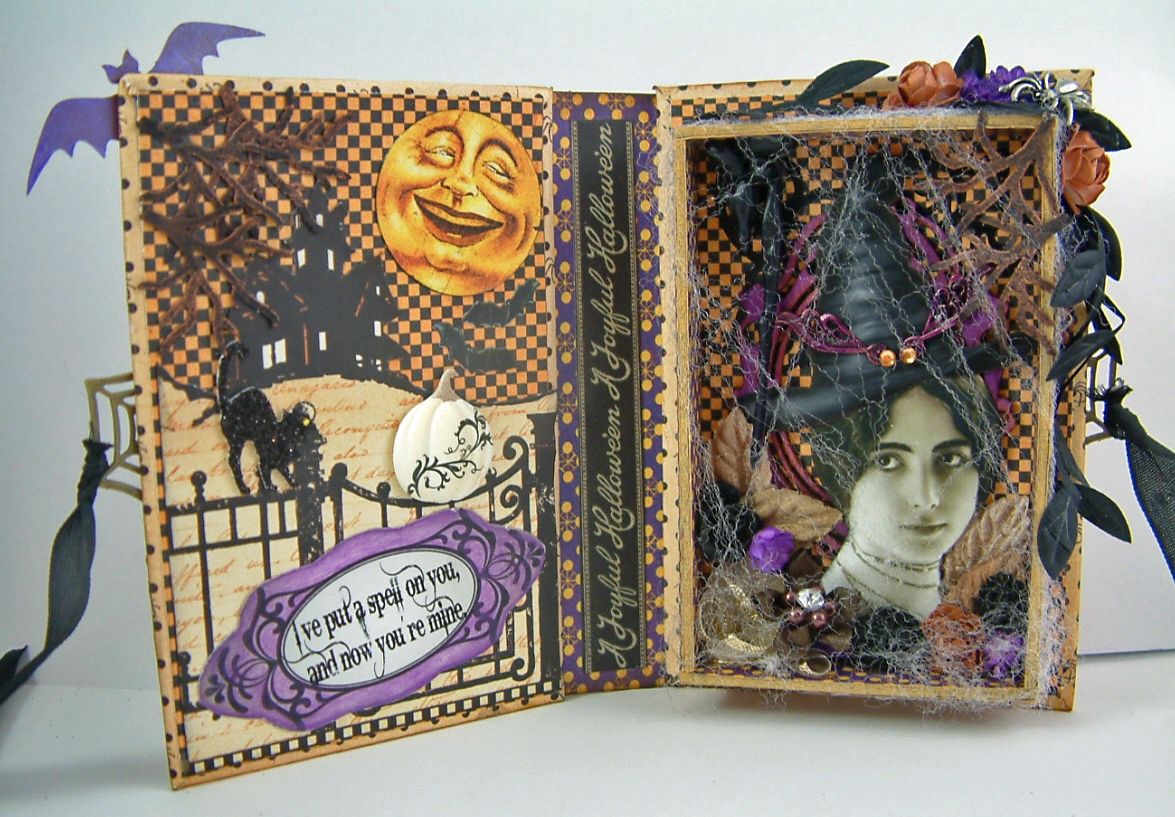
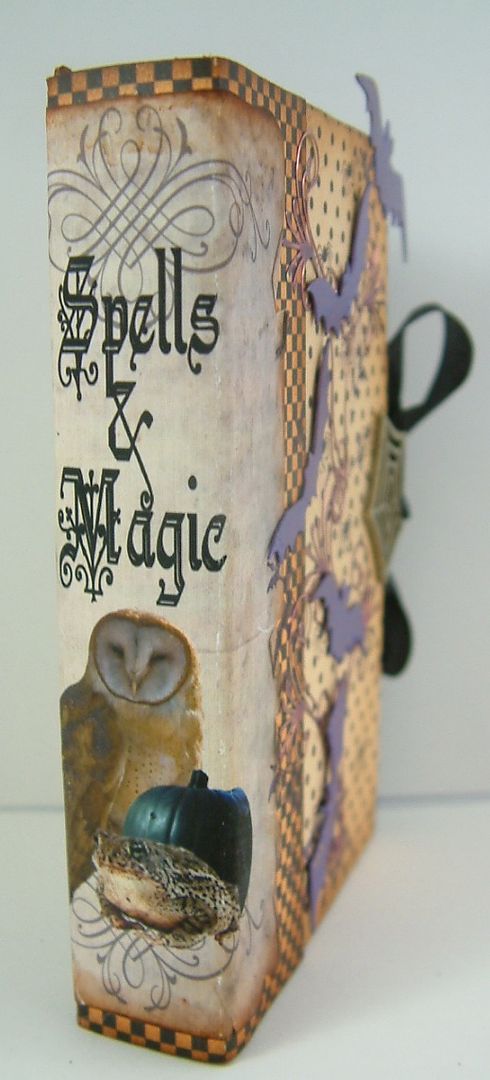
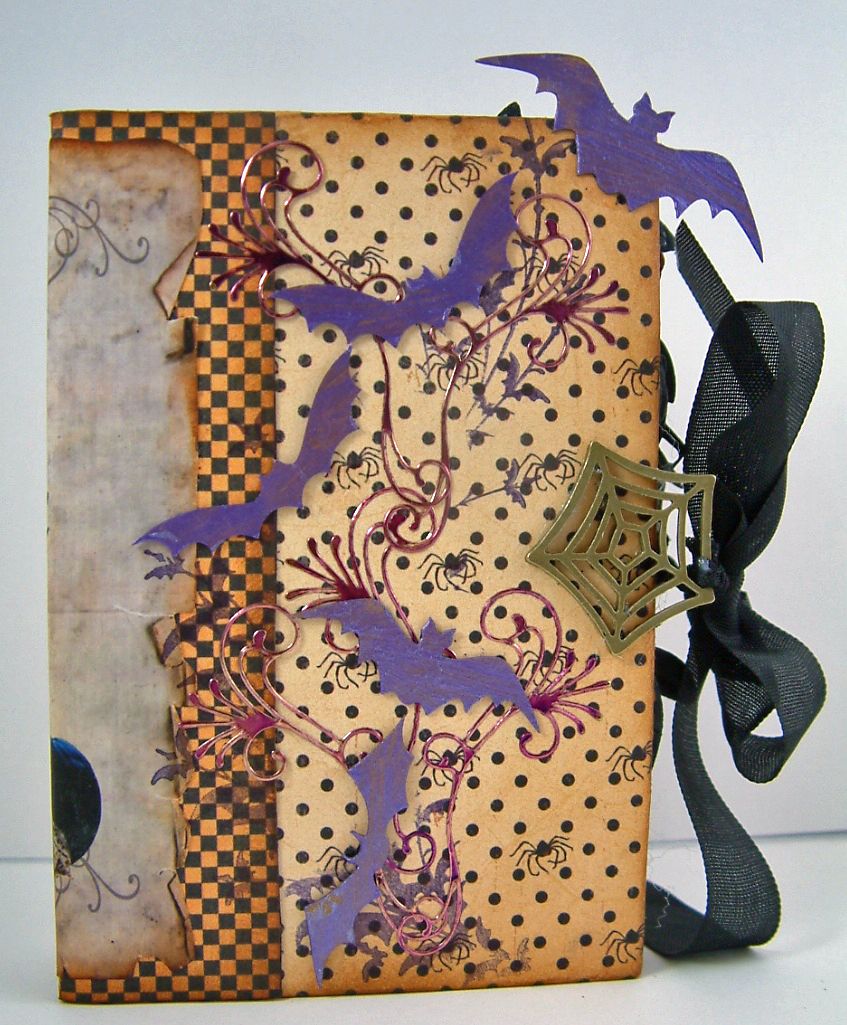
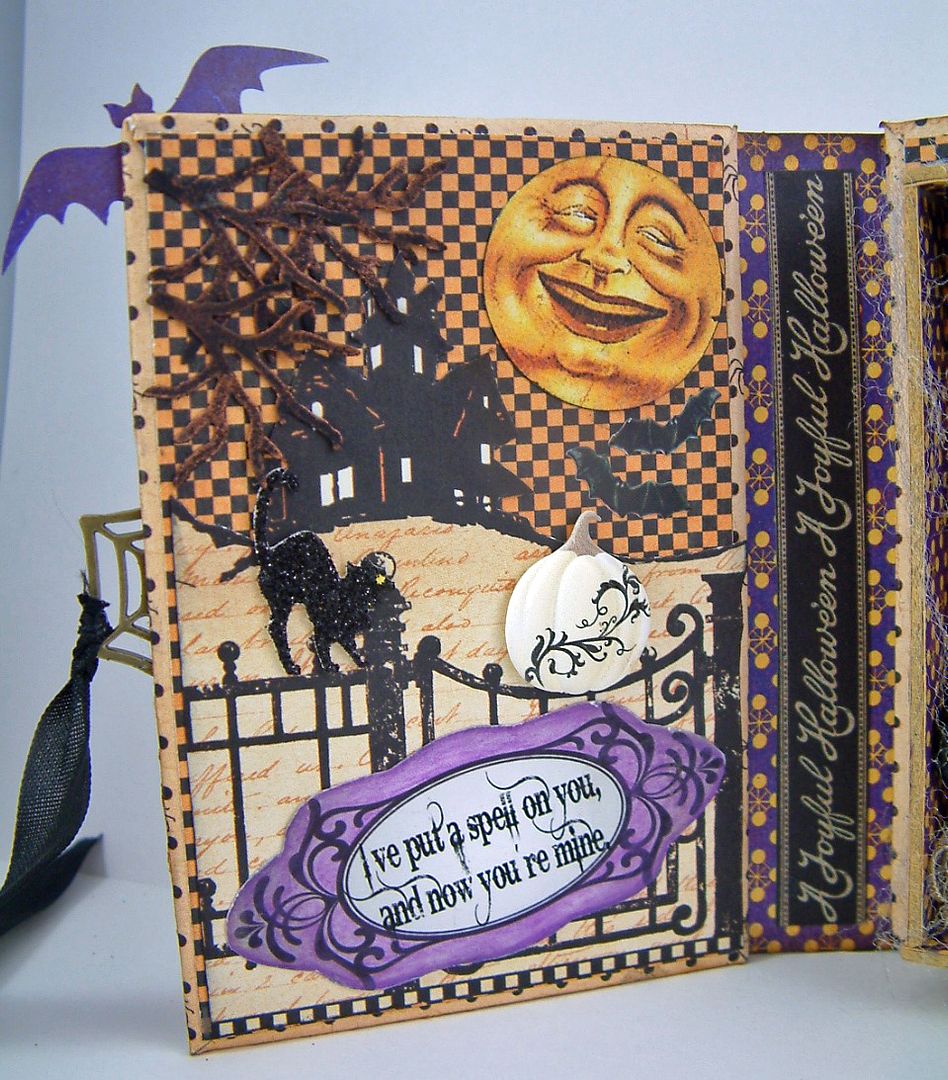
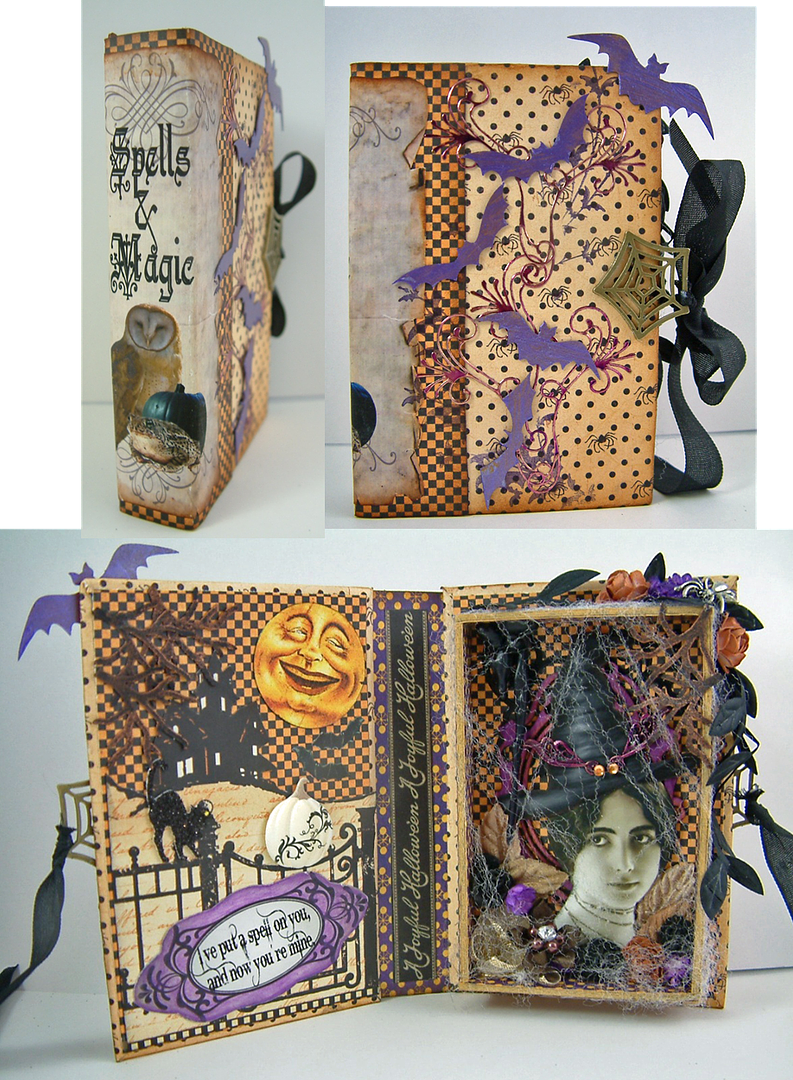
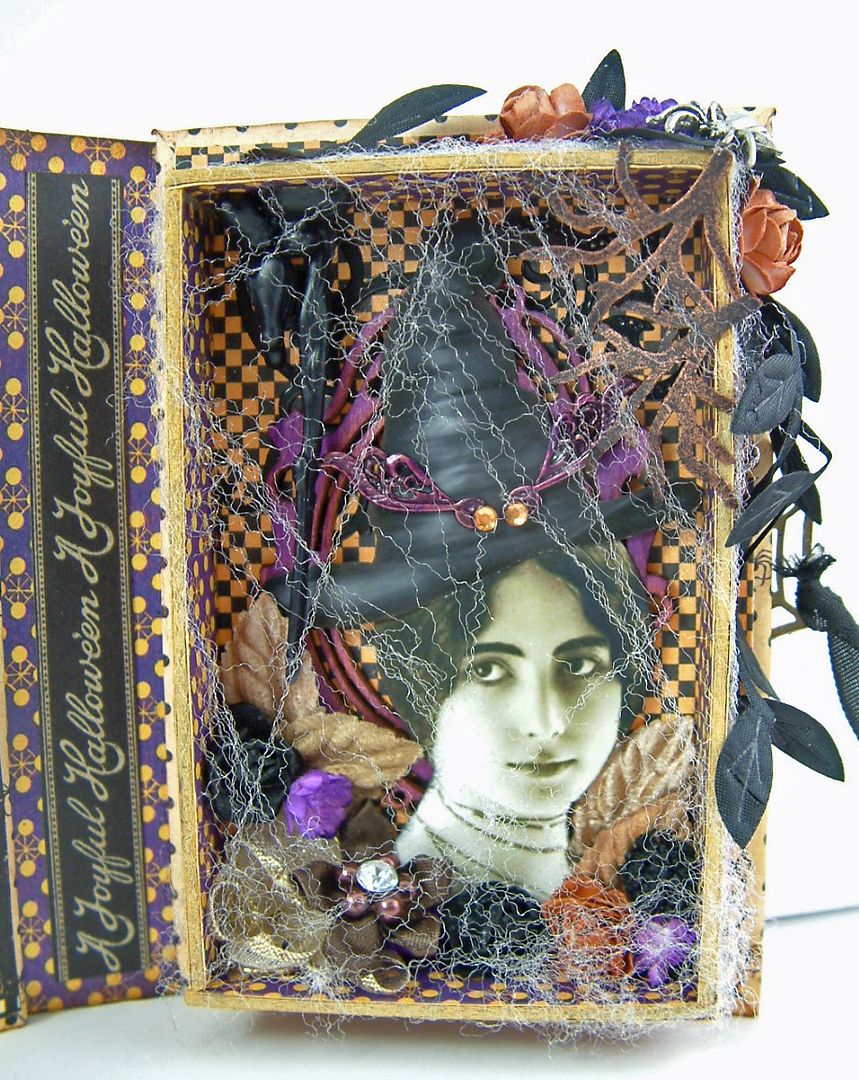
Shadow Box Book – Spells & Magic

 “I’ve Put a Spell on You, And Now You’re Mine”
This is a book I intended to include in the third apothecary tutorial “Books, Coffins and Cauldrons”.
The cover and spine of this book is constructed the same as all of the other books in the tutorial.  The covers of this book are 4 ½” x 3”.  The size will fit in the apothecary I demonstrated in the tutorial.
The difference is in the inside where there is a box made from chipboard.  All I did was cut four pieces of chipboard (2 long pieces and two short pieces) so that when glued to each other they would create a frame slightly smaller than the book cover.  The depth of the frame is up to you.  My frame is 5/8” deep.  You don’t need a back as the back book cover gives you the back.  I would recommend that make your frame first before assembling your book so that you make sure the spine of the book is big enough to accommodate the frame and you can close your book. 
The frame creates a great niche for dimensional embellishments.  I draped spider webbing that I purchased at the craft store around the front of the frame.
Supplies Used In This Piece

Wednesday, October 24, 2012

Apothecary Event Giveaway – Update


I hope you have all been enjoying the apothecary eye candy I’ve been throwing at you from the giveaway participants.  I know I have been inspired by the direction each person has taken and all the clever ideas.  Below is the list of participants I have on the list so far.  I’ve posted the artwork of all of them with the exception of a couple.  Today I discovered that some of the entrants emails had been dumping into a spam file of mine.  I think I recovered everything and contacted all the people affected.  If you have sent me your entry, and you don’t see your name on the list below, please contact me again so I can get you on the list and post your pictures.

You have until October 30th to send me your entry.  You can send me pictures or the link to your blog where your pictures are posted.  I’ll be doing another big post (like today) of entrants on the 30th

 LIST OF GIVEAWAY PARTICIPANTS – SO FAR
Tracey-Anne McCartney
Gene Fisher
Hazel Thomson
Joanne Parkin
JoAnne Webster
Carmen Daspit
Martina Fuchs
Wendy Aspinall
Janice Bryanted
DiAnn Denson
Rhea Freitag
Ginger Benedict
Ginger Brame
Janice VanBeek
Sandra
Paulette Lancaster
Sue Young
Virginia Johnson
Raeven
Debbie Lynch
Elaine
Celine Verdegaal
Ruth Hanslbauer
Donna Humphries
Karen Mallory

Laurie Davis – Not posted yet - holding for a question
Barbara Thompson – Not yet posted - holding for more photos

Other Things Coming In October

I have more Halloween stuff planned for you!  I have another type of book that I’ll be posting that didn't make it into the video tutorial on books, coffins and cauldrons.  I’ll be participating in the Halloween Blog Party Saturday that is hosted by Afancifultwist.com so I have a bunch more art ready for that event.  And for Halloween, in addition to posting the winners of the giveaway I have another apothecary of mine to show you.  

Sunday, October 21, 2012

Saturday, October 20, 2012

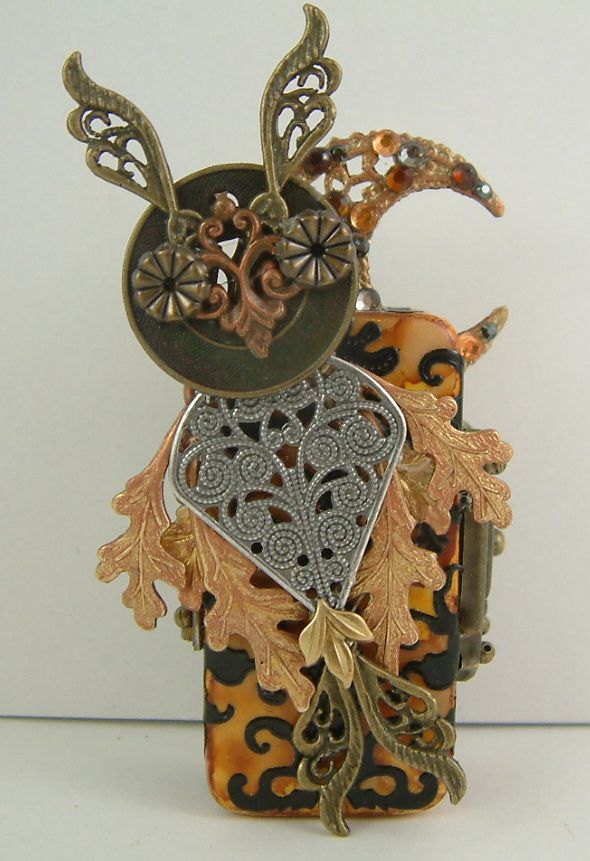
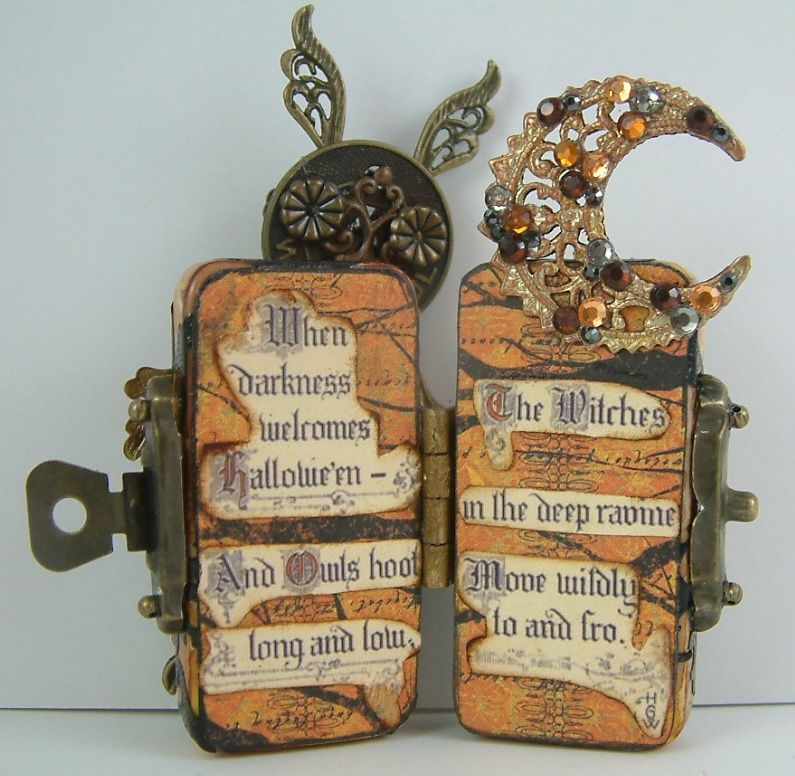
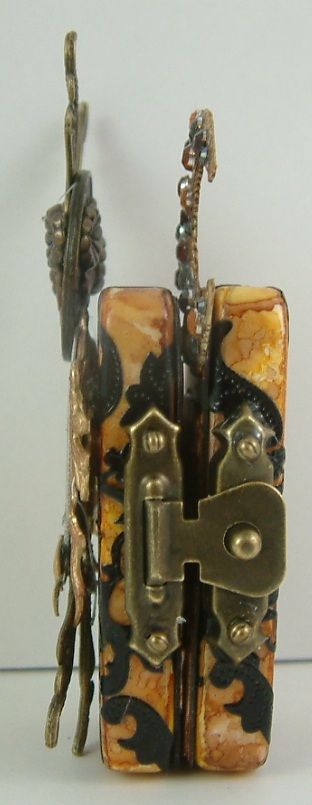
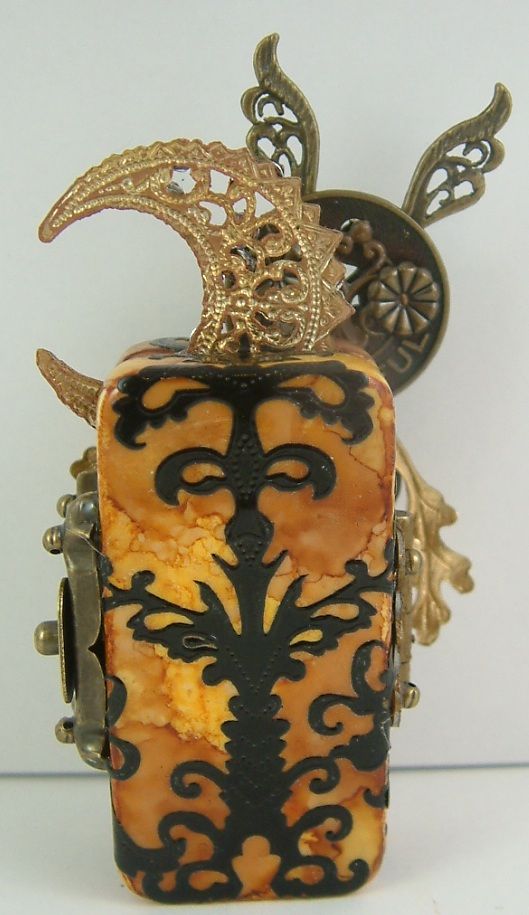
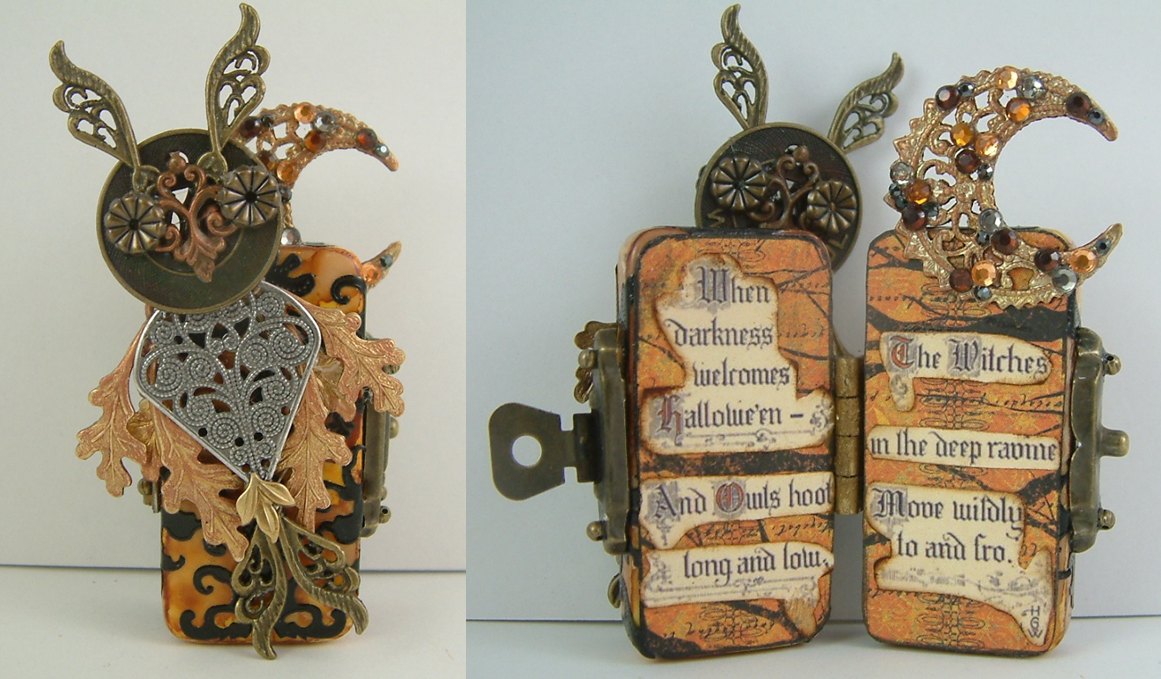
Owl Domino Book

I love making owls out of bits of jewelry findings.  I decided I would use one for the cover of a domino book.  I first colored the domino with a combination of alcohol inks.  I then added black stickers.  Unlike the previous domino book which was tied closed with ribbons, this one is hinged and closed with a clasp.  
The poem inside says:
When darkness welcomes Halloween
And owls hoot long and low,
The witches in the deep ravine,
Move wildly to and fro.
It comes from a vintage postcard.

Supplies Used In This Piece

I’ll be posting more of these owls in November with fall inspired art.

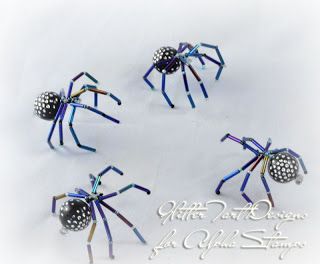
Beaded Spider Tutorial by Caroline Ouzts Hay


My friend Caroline has posted a great video tutorial on how to make a beaded spider. 

Friday, October 19, 2012

My Haunted Family Tree – Domino Book

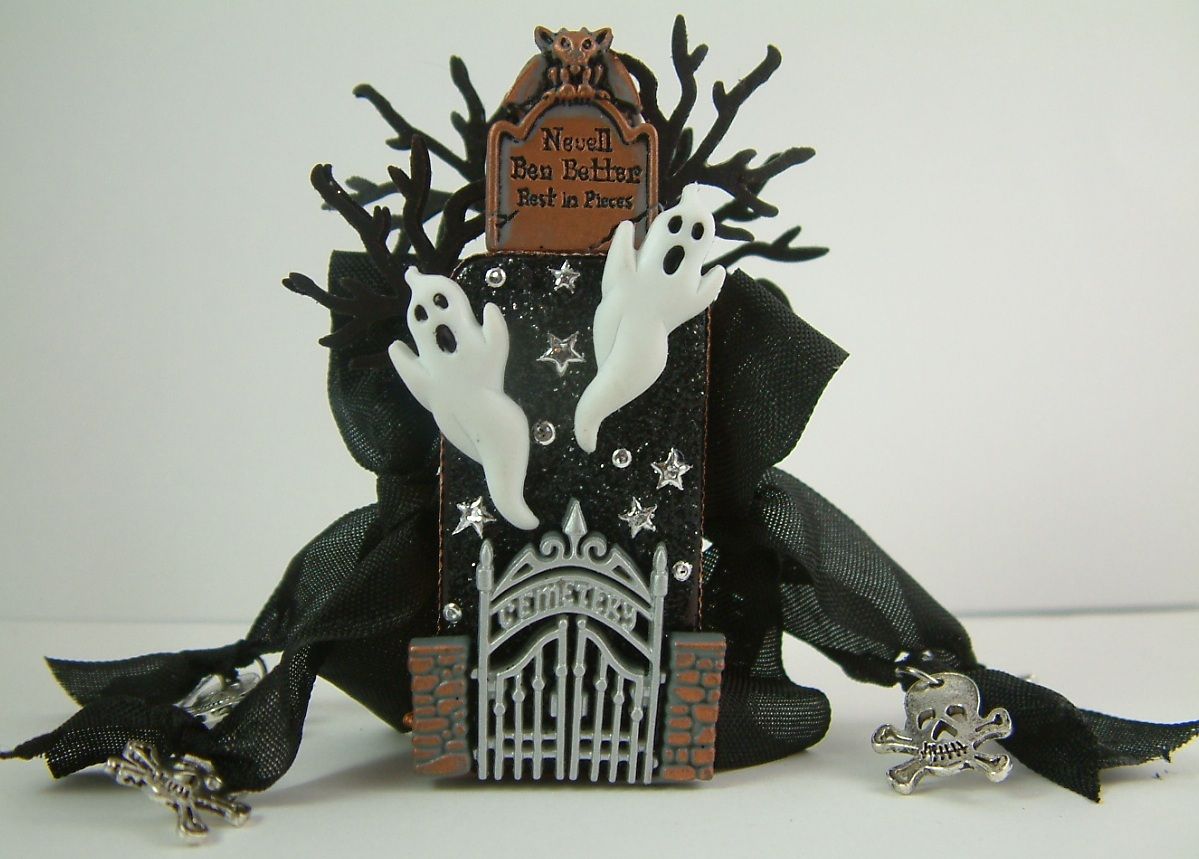
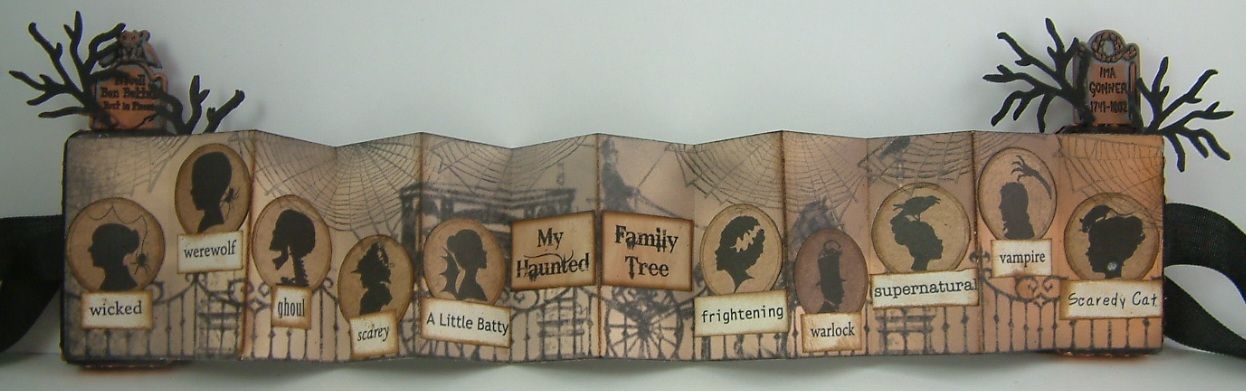
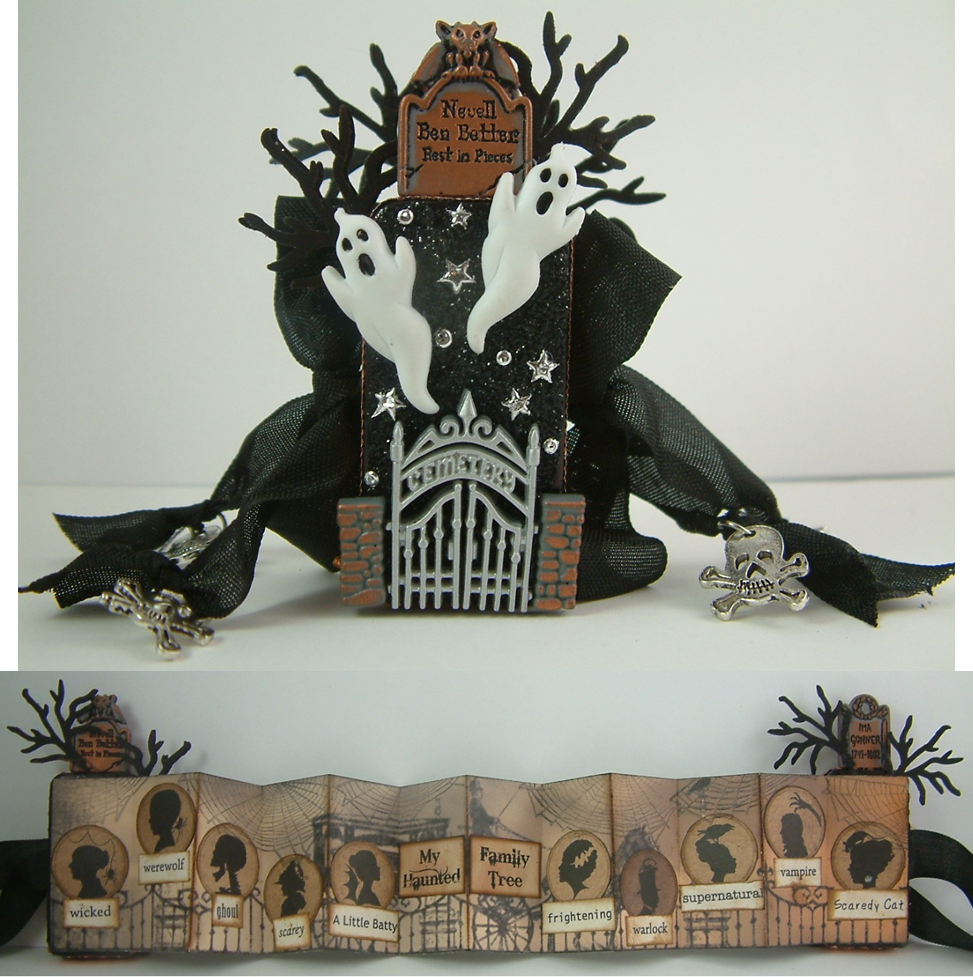
I couldn't go through Halloween and not make some domino books.  On this book I started by coating the front of the dominoes with Glossy Accents, then sprinkling on black glitter.  The gate, ghosts and tombstones are all buttons (with shanks removed).  I used Copper Gilders Paste to add color to the gate and tombstones.  I used a punch to create the black branches (I think it is a Martha Stewart punch).
I used two different 12 x 12 papers on the inside of the book.  One of the papers is the strip with the gate and hearse and the other had all the images of the gruesome silhouettes (which I cut out).  

Supplies Used In Making This Book

Thursday, October 18, 2012

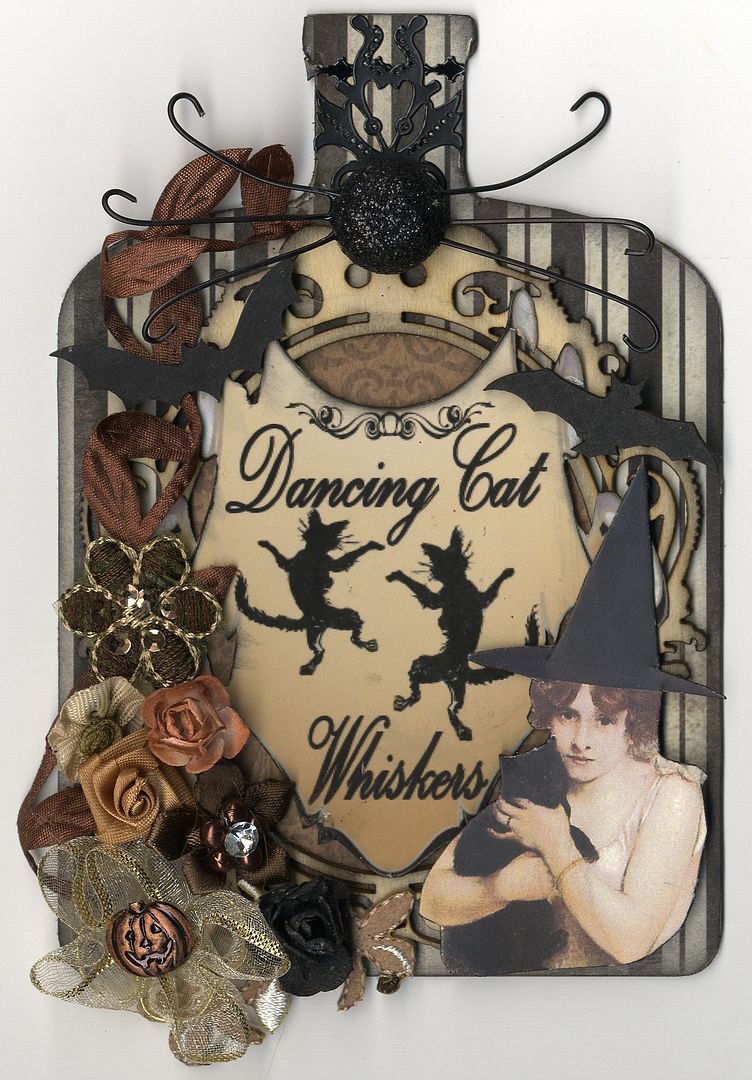
Dancing Cat Whiskers Chipboard Potion Bottle

This is my first bottle for the chipboard bottle swap.  The label is from one of my new potion label collage sheets designed to fit the chipboard bottles and large glass bottles.  For the nose and whiskers at the neck of the bottle, I found some small round glittered Styrofoam balls at Michaels Craft Store.  I cut them in half and added wire whiskers.

Supplies I Used:

Wednesday, October 17, 2012

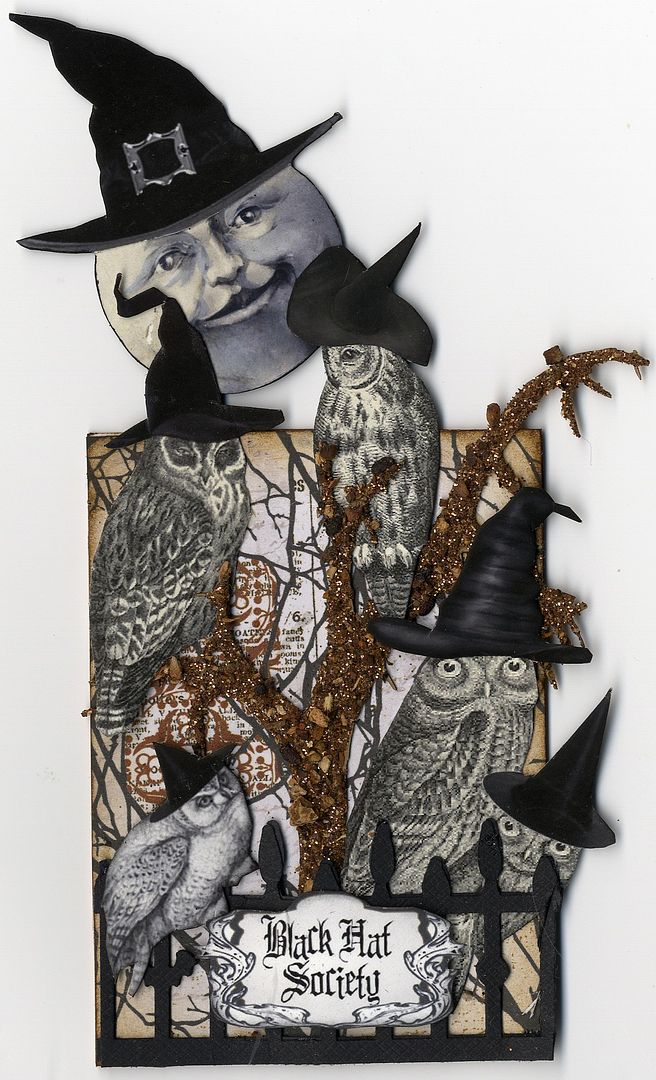
THE BLACK HAT SOCIETY


The girls are all gathered for the annual meeting of the “Black Hat Society”!

Tuesday, October 16, 2012

Chipboard Potion Bottle Designed for Alpha Stamps


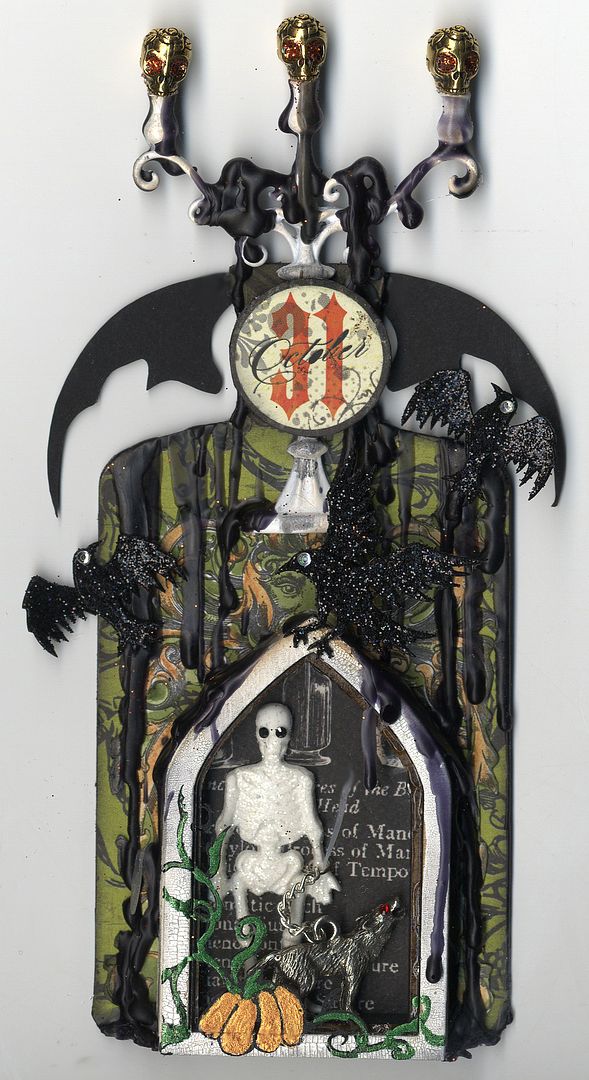
I’ve been showing so many altered bottles for Halloween.  How about a bottle made from chipboard.  Alpha Stamps is now caring a set of chipboard bottles in three different sizes.
The bottle pictured above is 6 ½” tall with candelabra and skulls.  At the bottom is a shadow box shrine with a skeleton and his pet wolf inside.  I used real wax to create the black drips on the bottle.  The candelabra is made by Prima and is part of their Shabby Chic Collection.  I think that lots of stores carry it.
Alpha Stamp Products Used on This Piece