

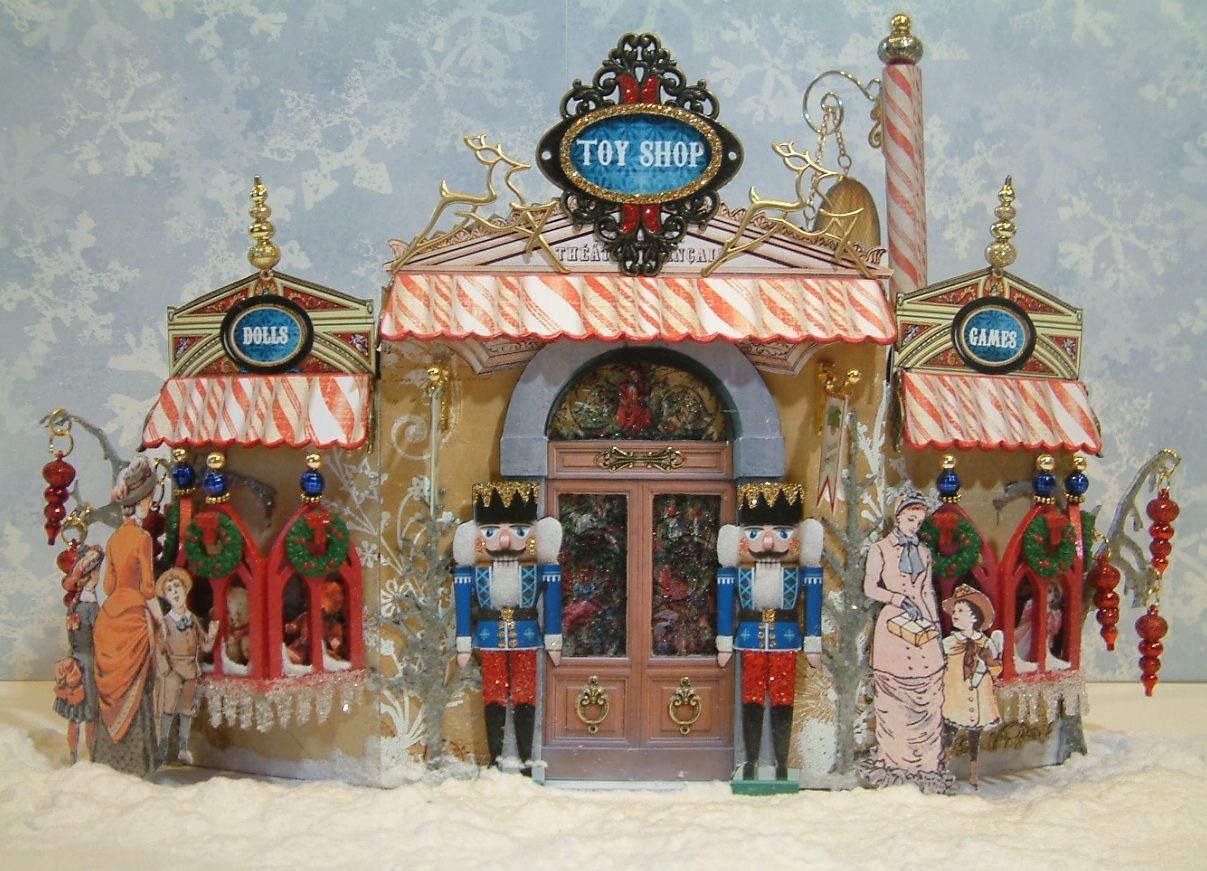
A great way to add an extra touch to winter themed art is with snow and icicles. You can achieve the look of ice and snow using White Flocking Powder and Twinklets Diamond Dust Glitter Sugar Crystal. Both products are available at some craft stores, art supply stores, and on the Internet. To give this Toy Shop a touch of winter I added snow and icicles to the bay windows.

Adding Snow to Your Project
What you will need:
· A glue that dries clear – If you want to add snow to a non-porous surface like glass or metal you will need a glue like Ranger Glossy Accents or G-S Hypo Cement
· White Flocking Powder
Step 1 – Wherever you wish to add show, you must first paint the area with white paint. This is to block out the color of the surface so that it won’t show through the white flocking powder.
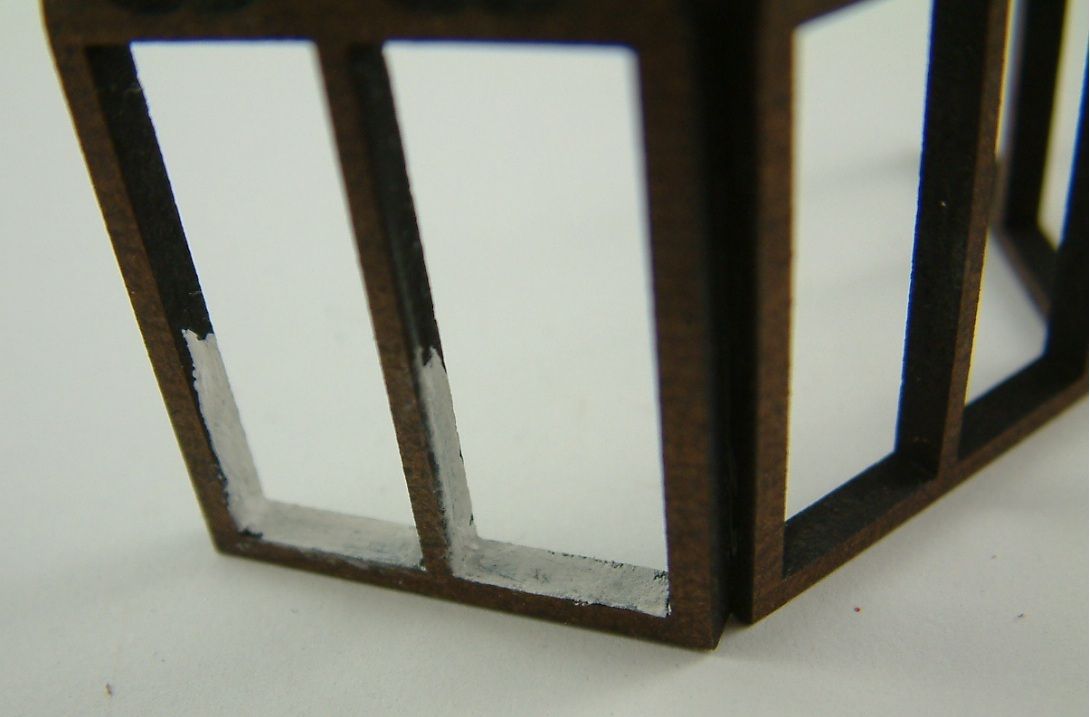
Step 2 – Apply glue to the area painted white. Sprinkle flocking over the glue. Knock off the excess flocking and allow the glue to dry. Once the glue is dry the flocking won’t be as thick so repeat this step as many times as necessary until the flocking is as thick as you desire. For additional layers just add more glue on top of the flocking and sprinkle more flocking onto the glue.
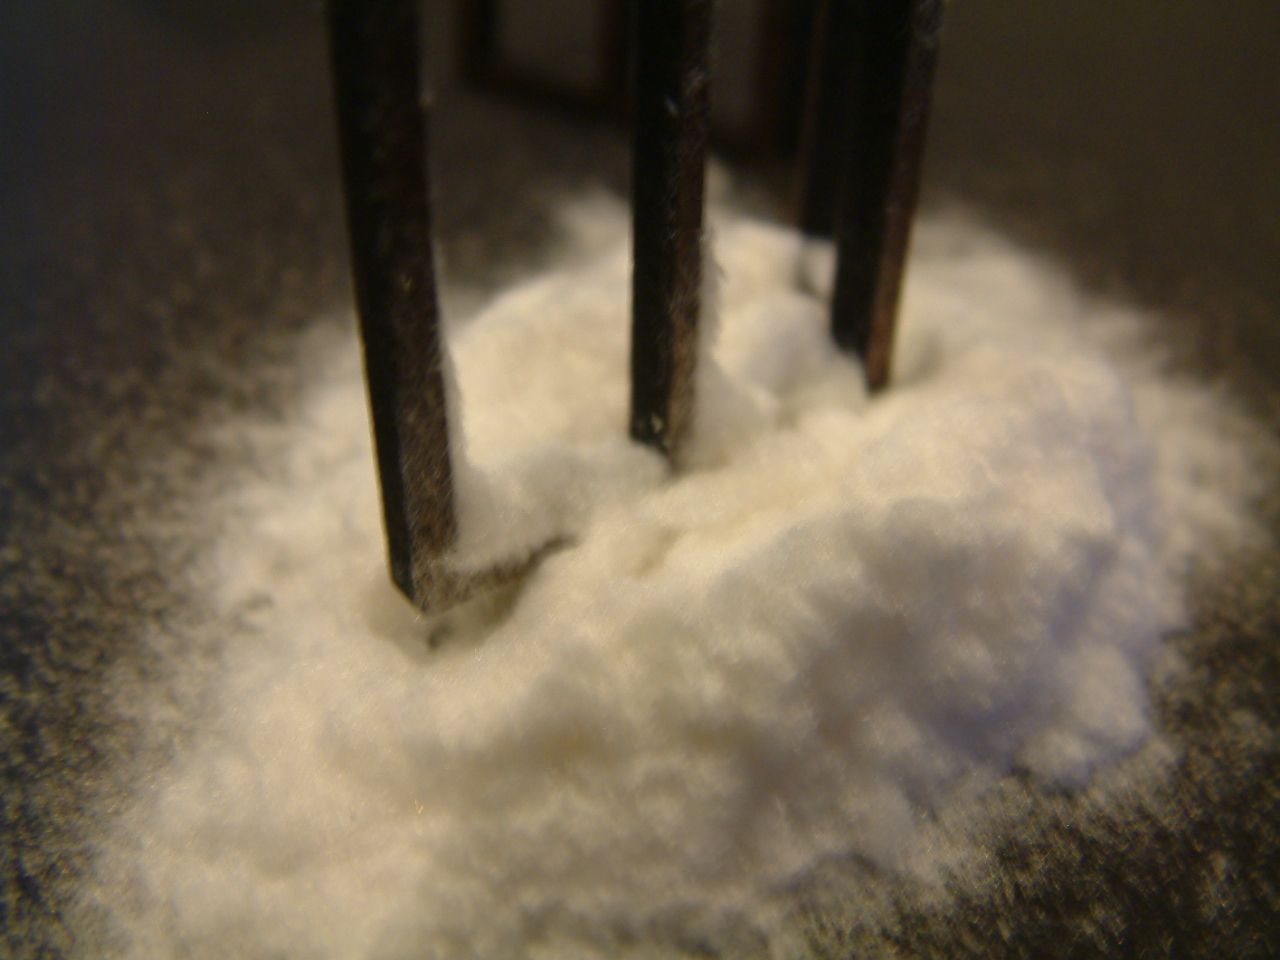
When I’m adding snow to windows, I add more to the corners where it would naturally pile up. When you’ve finished adding flocking and the area is dry, brush the surface with a soft paintbrush to remove all of the excess flocking.


Adding Icicles to Your Project
What you will need:
· A glue that dries clear and works on non-porous surfaces like Ranger Glossy Accents or G-S Hypo Cement
· Transparency film (acetate) – A good place to find transparency film is at office supply stores
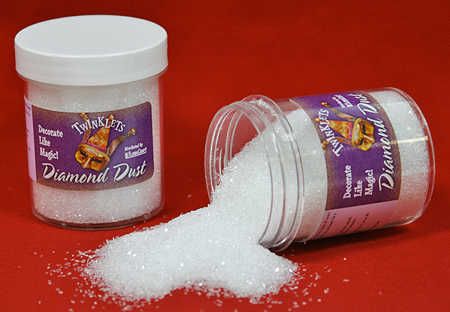
· Twinklets Diamond Dust Glitter Sugar Crystal
Step 1 – Cut a strip of transparency film slightly longer than the area to which you want to add icicles. Decide how long you want the icicles to hang and cut icicle shapes into your strip of transparency film (see the pictures below).
Step 2 – Glue the transparency film strip to your project. Once dry, trim off the excess transparency film.
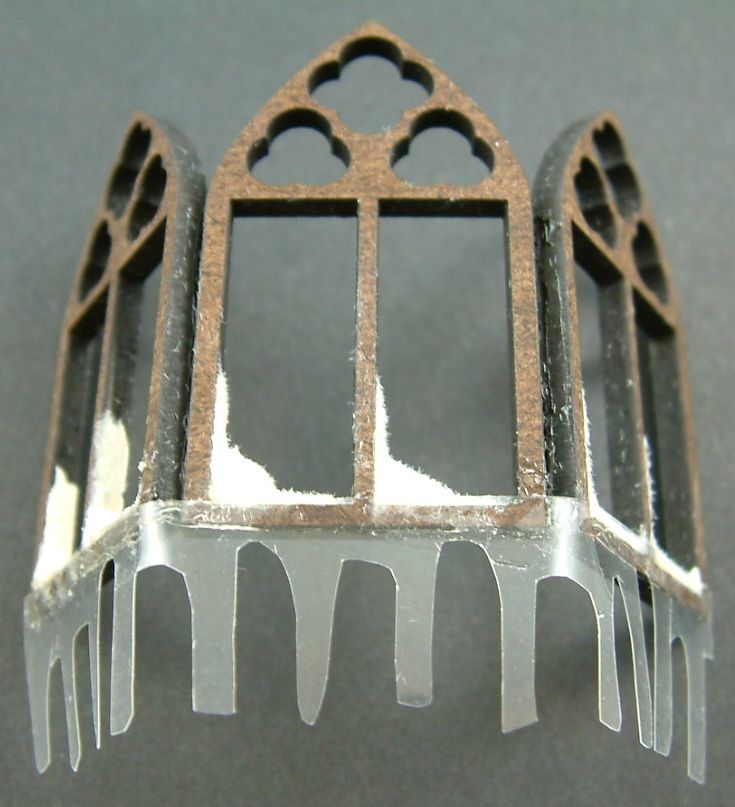
Step 3 – Coat the transparency film with a generous amount of a glue. Sprinkle Twinklets Diamond Dust onto the transparency film and let dry. Note in the picture below that the area to which icicles are being added is curved. If you were to add the Diamond Dust to the transparency film before gluing the transparency film to the windows, the Diamond Dust will pop off the transparency film as you try to bend it around the corners of the windows. Allow the glue to dry; then brush the surface with a soft paintbrush to remove all of the excess Diamond Dust.
8 comments:
OMGoodness.
I am speechless !!!!!!
Spectacular !!!!!!
Great tutorial Laura. Thank you for your generosity!
Elaine Allen
wow that is fab! Thanks for the tutorial. Hopefully I'll be able to use it someday...
This is so beautiful and creative, with so much to see, it's like watching a wonderful movie!
It's terrific, Laura. I love it all. Thank you so much for the tutorial too. (someday, I may be able to make a part, maybe a kiosk).
When you are building up,the snow in the corners, do you apply glue to the second layer onto the flocking from the first, and so on?
that looks like fun! I adore the Toy Shoppe with the bears in the window! beautiful!
Thank you for this tutorial, Laura!
Love the tutorial! Really appreciate your advice! http://georgie-hornpuddinnpie.blogspot.com/2011/11/terrific-tuesday-you-want-to-win-this.html
Post a Comment